992
Stretch ceiling from A to Z
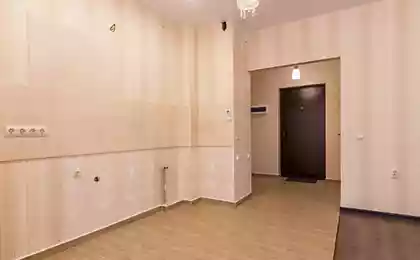
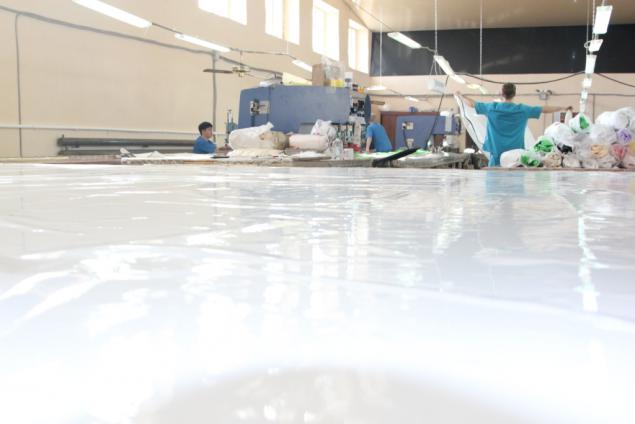
Probably everyone has seen the suspended ceiling, but not many are, how it is made. In this topic I will try to describe in simple terms all the stages of the manufacturing process and installation of suspended ceiling on arrival gager to the acceptance of the work.
Will 32 photo (shot on different instruments) with explanations and one video.
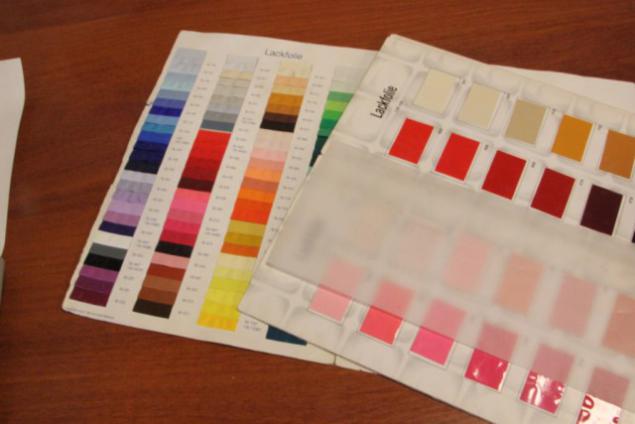
1. Choose the color and texture (for a normal company in the catalog of more than 100)
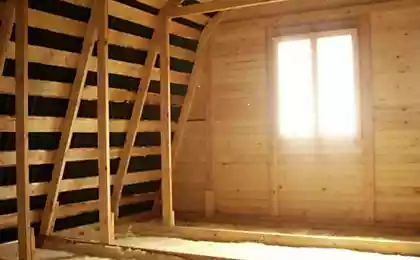
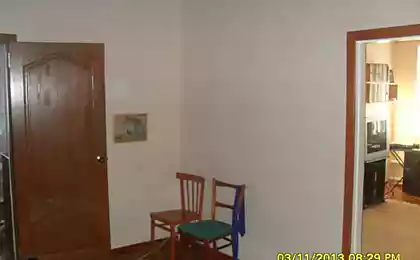
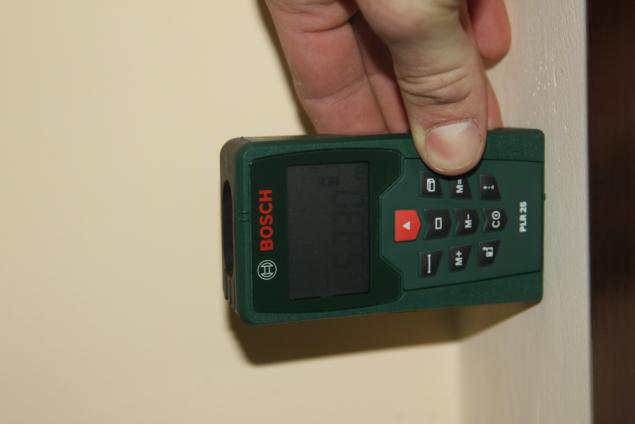
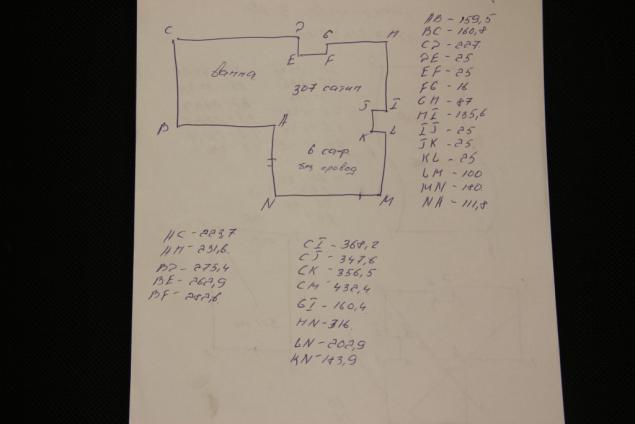
2. Measured space on the walls of such a laser tape measure. You can simply tape, but it will be longer because the measurement space, we need all the diagonals plus the length of all sides.
3. We measure clockwise, the first angle "A". Later, it will be clear why the Latin alphabet and so on. We get a list of sizes in the end.
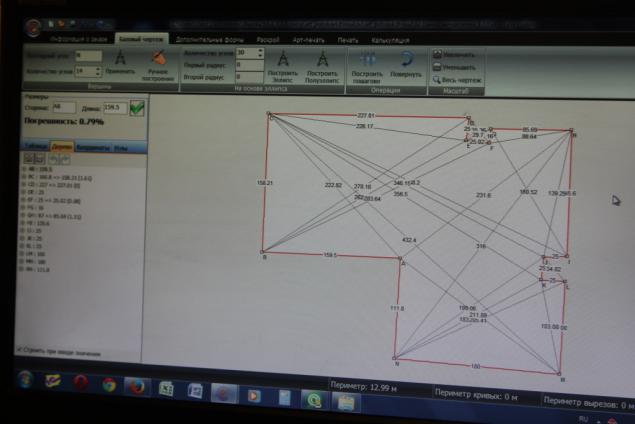
4. We bring the girl metering manager (not necessarily just such).

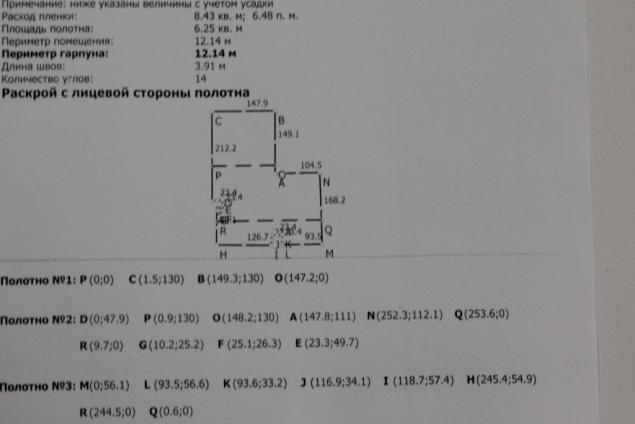
5. It puts the value of the program of construction, that are needed for this and the diagonal, letters and so on.
6. Select the direction of the joints, if any.
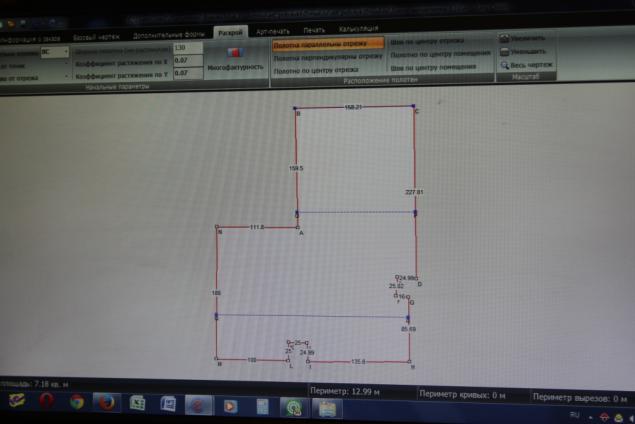
7. prints the cutting blades and move the warehouse of material.
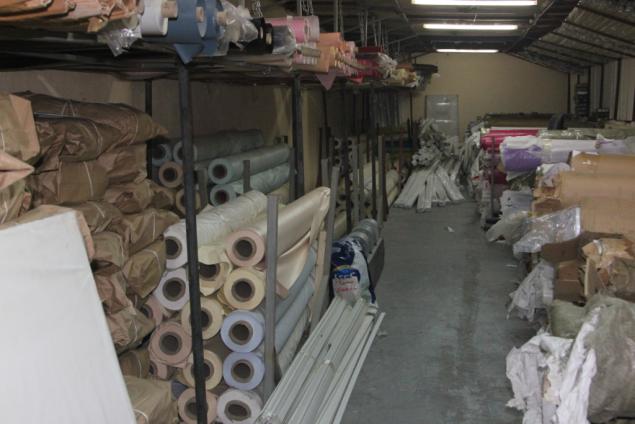
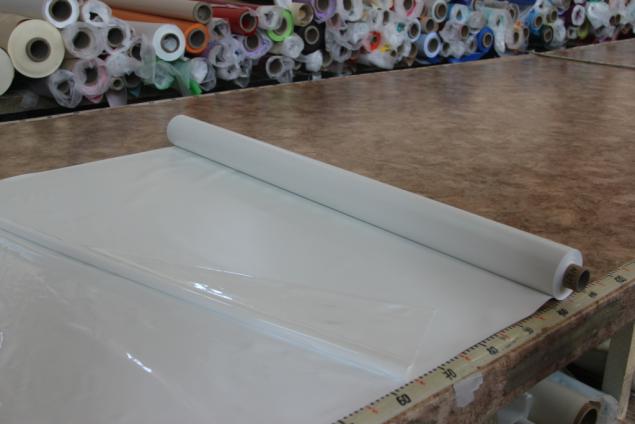
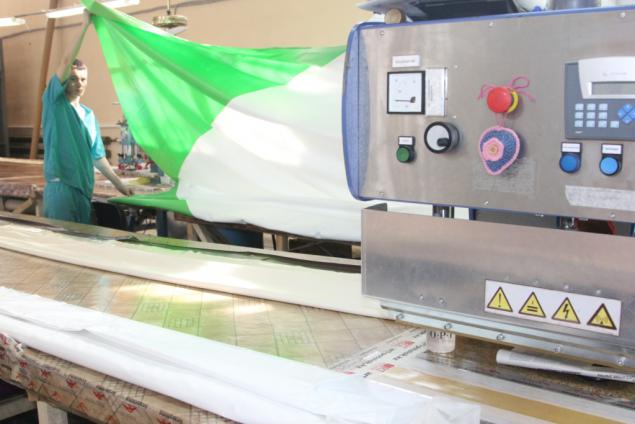
8. Select the desired us to roll with the material and moves to the shop.
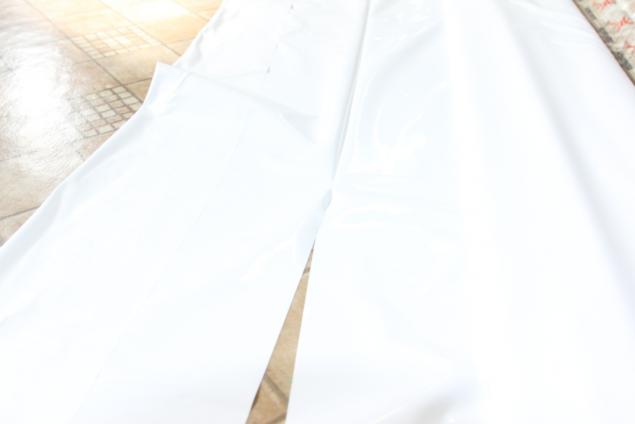
9. glossy film on the roll is double, nail varnish to disconnect.
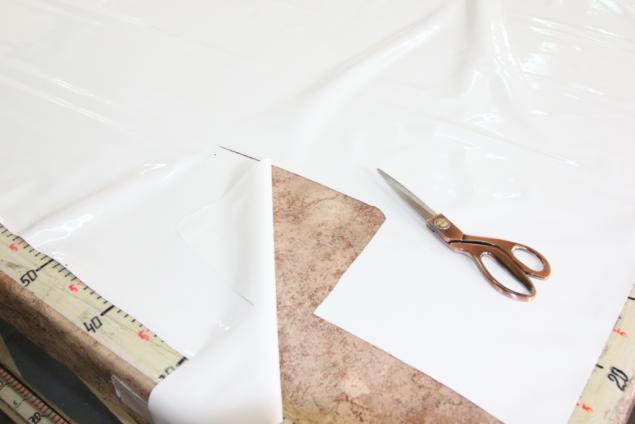
10. We place a point on the canvas according to the sheet cutting. Values are given points in a rectangular coordinate system in the plane formed by two mutually perpendicular axes «X» and «Y».
11. Cut the fabric at points.
12.TVCH installation for soldering various paintings.
13. The solder joint.

14. TCI.
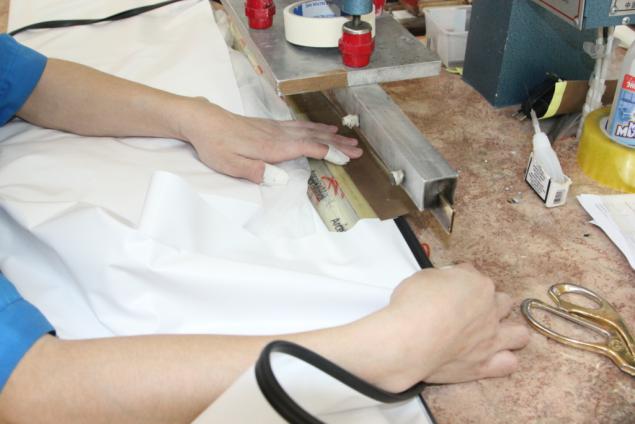
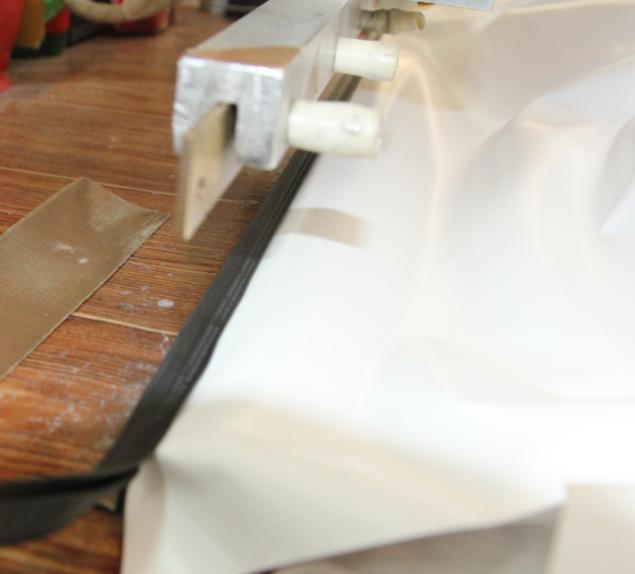
15. Go to the next HD installation, it is welded to the web harpoon (that is black on the edge).
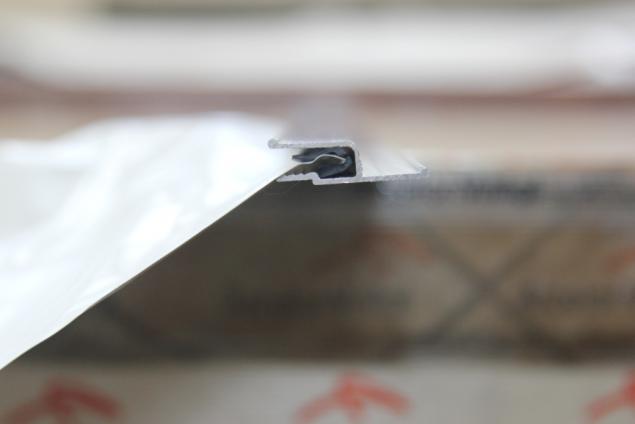
16. Harpoon serves to canvas tightly grappled / latches with a profile during installation. Example.
17. If thrust his hand under the electrode (not highly recommended TB), she breaks out, a wild strain.
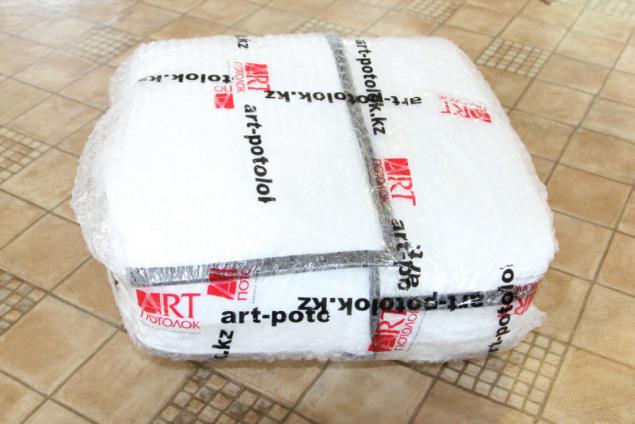
18. Harpoon welded. Paving and pack.
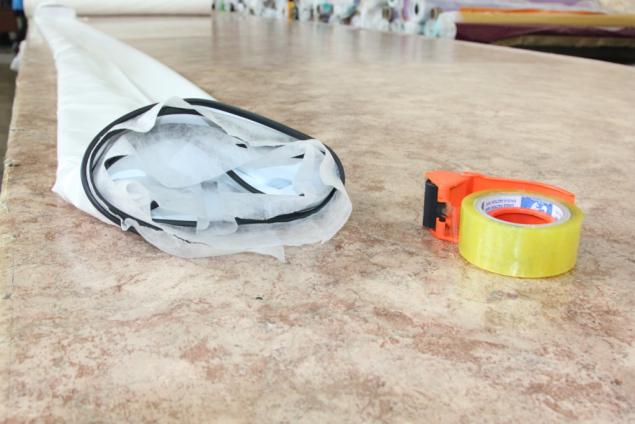
19. We get here is a pretty parcel of the future of stretch ceiling, until it's just canvas.
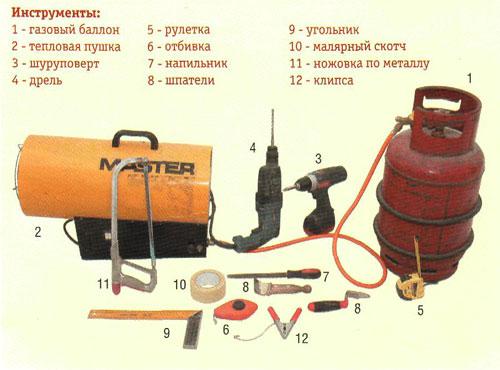
20. Take the profile, go to tools and installation.
Posted in [mergetime] 1395237038 [/ mergetime]
The installation process will not describe in detail, full of videos on the subject.
For example such, do not consider for advertising, just guys doing it right:
It is better to describe briefly how to do the starry sky.
21. We have in stock, so a fiber Pribluda stars 300 controller. Will colored starry sky.
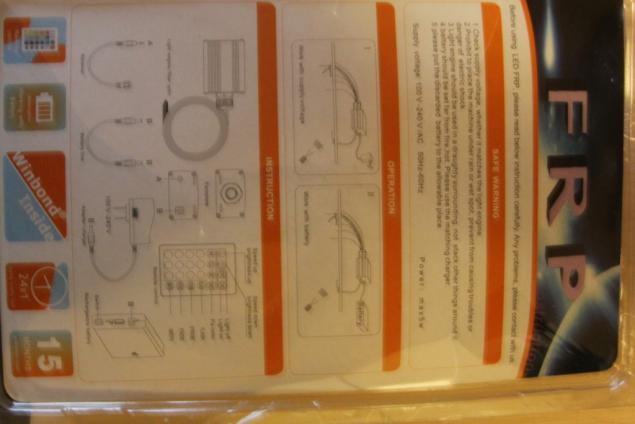
22. China, of course, manufacturing. Even with the easy installation instructions on the back.

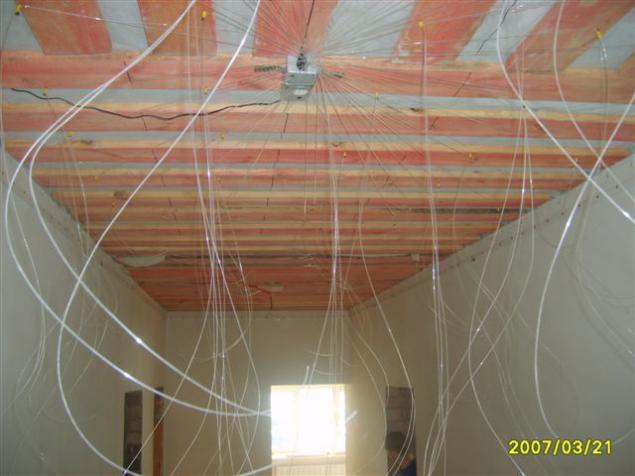
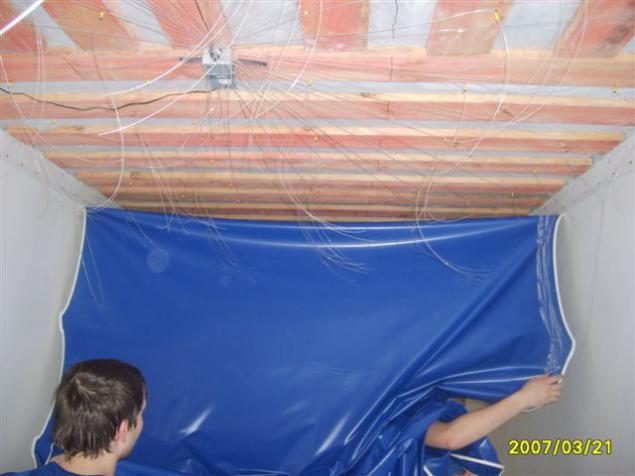
23. After installation, the profile is attached generator (Pribluda) in the center of the room to the filament reaches out in all directions to walls. Energized it and check.
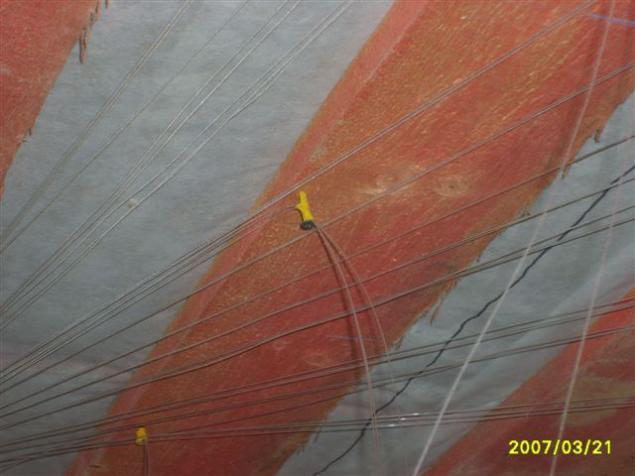
24. Threads fasten bundles of ceiling area.
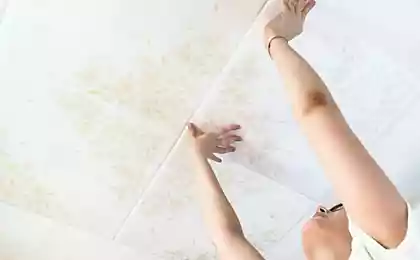
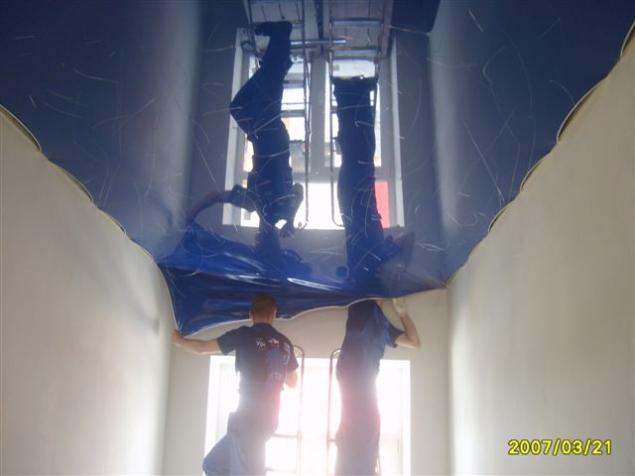
25. Preheat, glossing and install the web, but not completely, leaving no gaps zapasovannogo harpoon since it then we will have to dismantle the profile. Give canvas cool, minutes 10-15.
26. Disassemble half cloth.
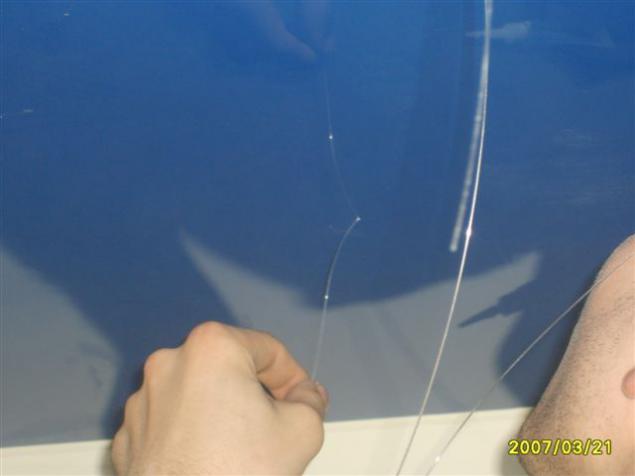
27. The needle pierces the fabric and thread sticks. Here's how it looks for Polonia.

28. Mount half, we get a forest of hanging threads. Repeat all the same with the second half cloth.
29. When all the threads already in place from the outside, take the glue and glue start one.
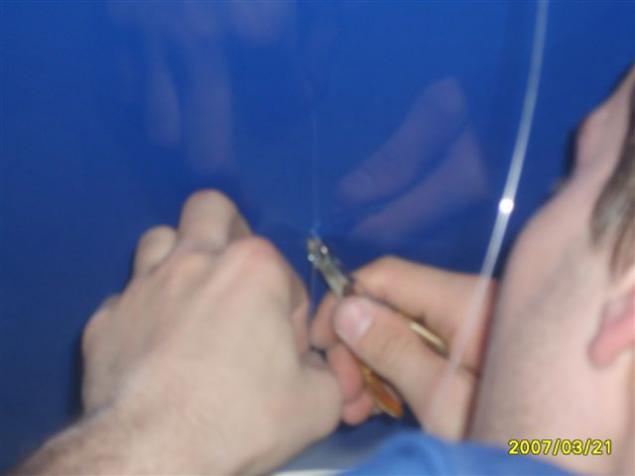
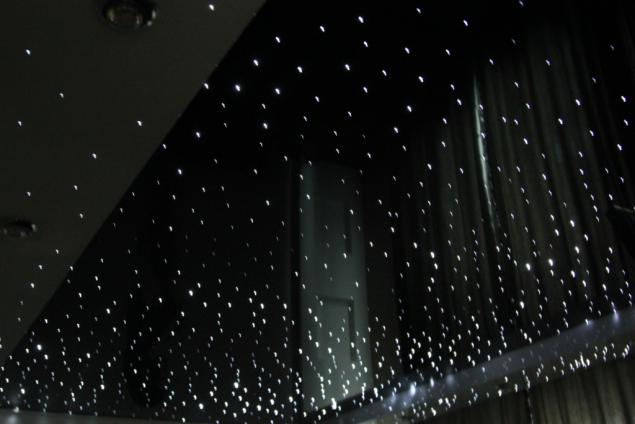
30. trim. If the fiber is cut at an angle, the star will be less because lit only the tip of the thread.
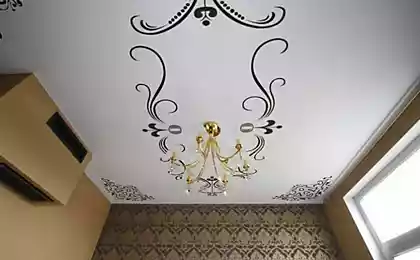
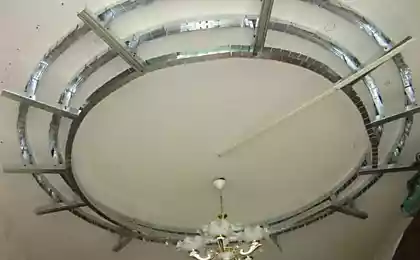
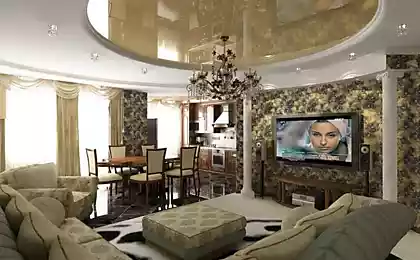
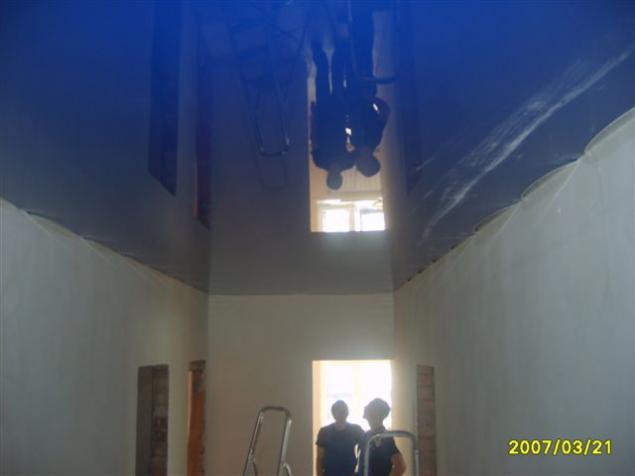
31. Outcome. However, the final ceiling of the other, because This was not possible to capture, but it looks all the same.
Posted in [mergetime] 1395237455 [/ mergetime]
32. All. If you have any questions to ask.
Source:
Will 32 photo (shot on different instruments) with explanations and one video.
1. Choose the color and texture (for a normal company in the catalog of more than 100)

2. Measured space on the walls of such a laser tape measure. You can simply tape, but it will be longer because the measurement space, we need all the diagonals plus the length of all sides.

3. We measure clockwise, the first angle "A". Later, it will be clear why the Latin alphabet and so on. We get a list of sizes in the end.

4. We bring the girl metering manager (not necessarily just such).

5. It puts the value of the program of construction, that are needed for this and the diagonal, letters and so on.

6. Select the direction of the joints, if any.

7. prints the cutting blades and move the warehouse of material.

8. Select the desired us to roll with the material and moves to the shop.

9. glossy film on the roll is double, nail varnish to disconnect.

10. We place a point on the canvas according to the sheet cutting. Values are given points in a rectangular coordinate system in the plane formed by two mutually perpendicular axes «X» and «Y».

11. Cut the fabric at points.

12.TVCH installation for soldering various paintings.

13. The solder joint.

14. TCI.

15. Go to the next HD installation, it is welded to the web harpoon (that is black on the edge).

16. Harpoon serves to canvas tightly grappled / latches with a profile during installation. Example.

17. If thrust his hand under the electrode (not highly recommended TB), she breaks out, a wild strain.

18. Harpoon welded. Paving and pack.

19. We get here is a pretty parcel of the future of stretch ceiling, until it's just canvas.

20. Take the profile, go to tools and installation.
Posted in [mergetime] 1395237038 [/ mergetime]
The installation process will not describe in detail, full of videos on the subject.
For example such, do not consider for advertising, just guys doing it right:

It is better to describe briefly how to do the starry sky.
21. We have in stock, so a fiber Pribluda stars 300 controller. Will colored starry sky.

22. China, of course, manufacturing. Even with the easy installation instructions on the back.

23. After installation, the profile is attached generator (Pribluda) in the center of the room to the filament reaches out in all directions to walls. Energized it and check.

24. Threads fasten bundles of ceiling area.

25. Preheat, glossing and install the web, but not completely, leaving no gaps zapasovannogo harpoon since it then we will have to dismantle the profile. Give canvas cool, minutes 10-15.

26. Disassemble half cloth.

27. The needle pierces the fabric and thread sticks. Here's how it looks for Polonia.

28. Mount half, we get a forest of hanging threads. Repeat all the same with the second half cloth.

29. When all the threads already in place from the outside, take the glue and glue start one.

30. trim. If the fiber is cut at an angle, the star will be less because lit only the tip of the thread.

31. Outcome. However, the final ceiling of the other, because This was not possible to capture, but it looks all the same.
Posted in [mergetime] 1395237455 [/ mergetime]
32. All. If you have any questions to ask.

Source: