695
Repair their own
Good day, comrades!
Continuing the theme of repairing bathrooms and toilets, I decided to share my experience, the main essence of which was the united toilet and bath for larger space (since. "Khrushchev" option with leaning the knees in the bathroom door does not suit me).
Himself repair was carried out after detailed design drawings (have experience with architectural programs), procurement and plumbing materials.
Well, the short report itself ...
25 photos
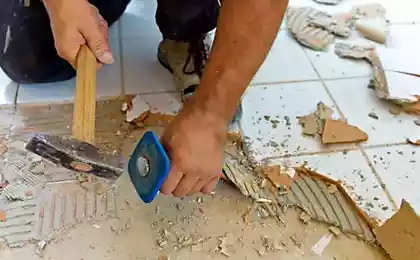
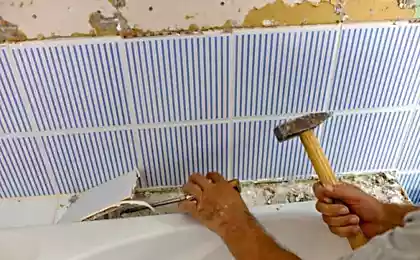
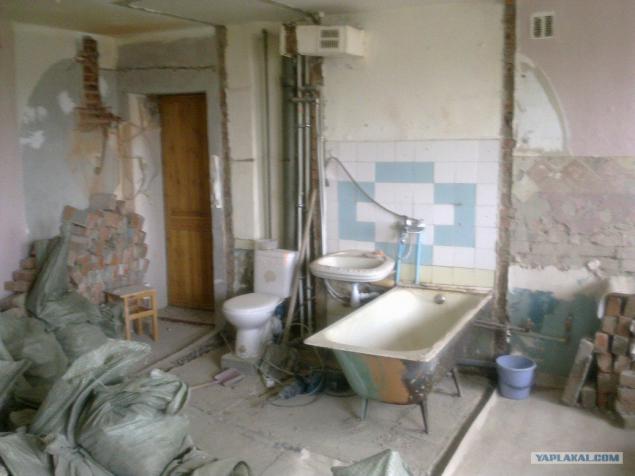
The very first photos there, I'll start with the dismantling
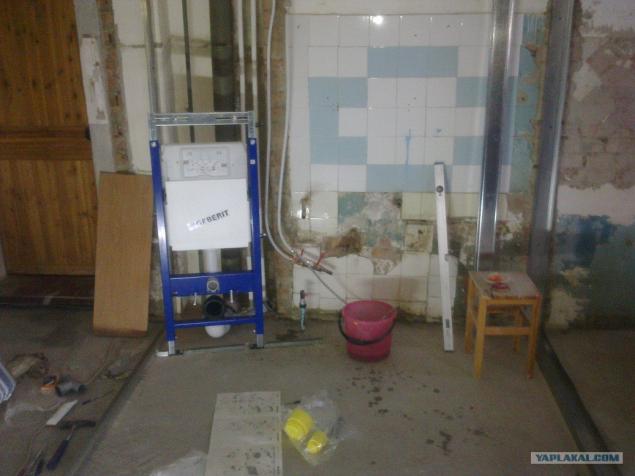
Setting installation and marking a metal frame partitions
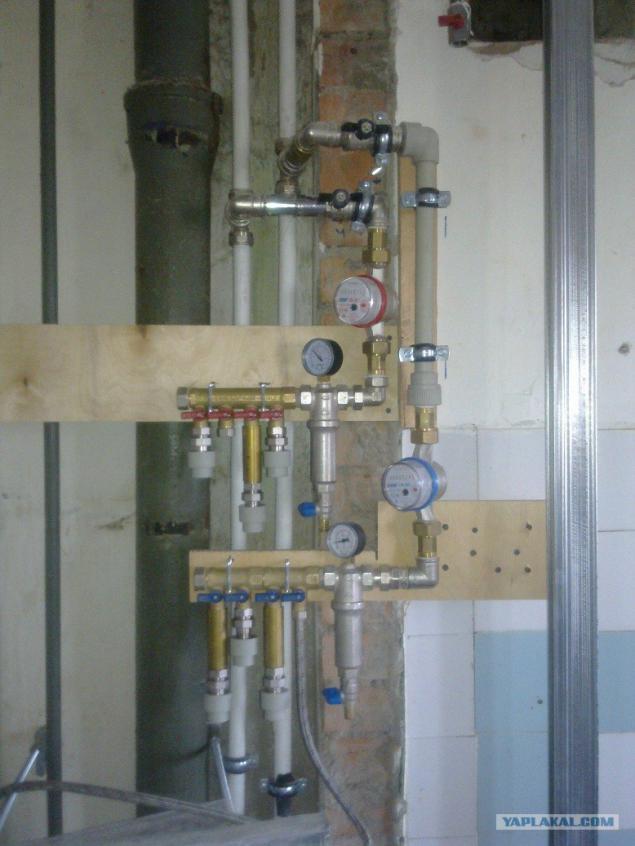
Replacing risers and installation of reservoirs, filters and counters
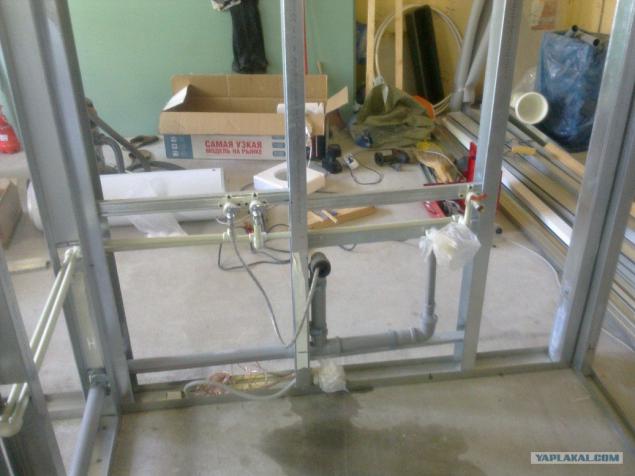
Transfer of the sewer pipe to the opposite side and the installation of polypropylene trub.Metallokarkas partitions.
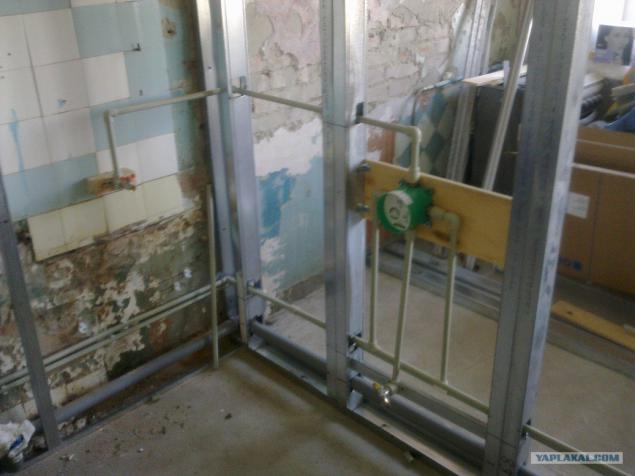
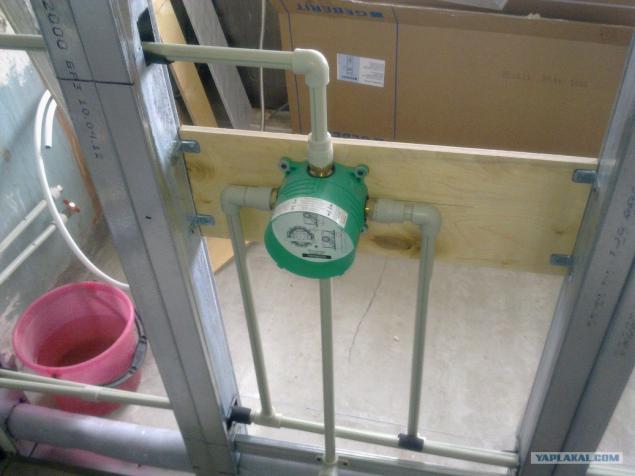
Boxing for the installation of in-line mixer, wiring pipes
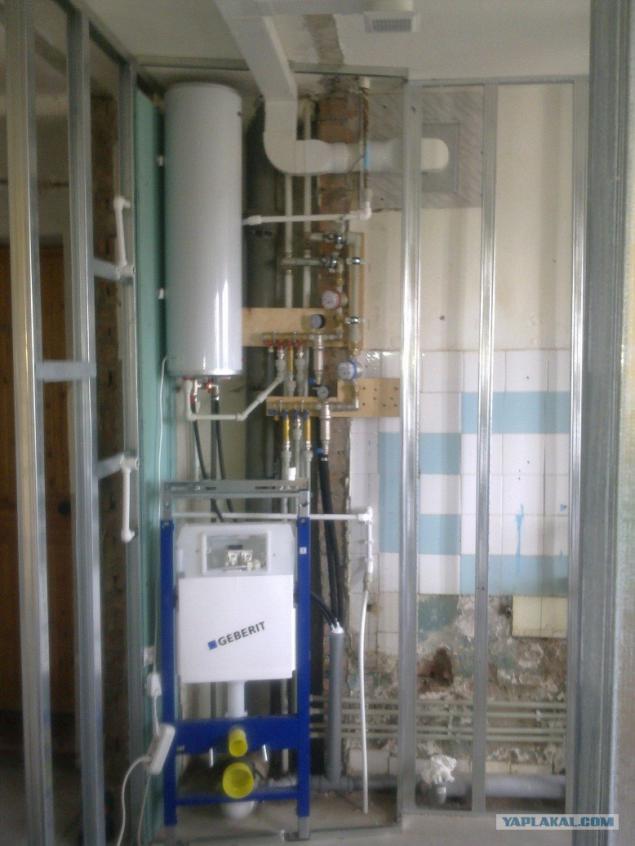
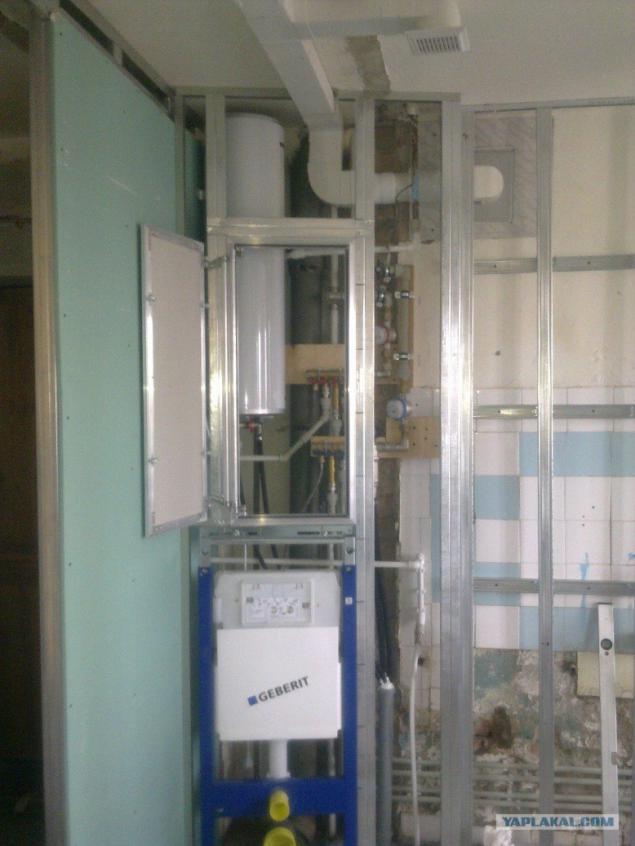
The narrowest water heater was just by the way-all kompaktnenko and easily closes ...
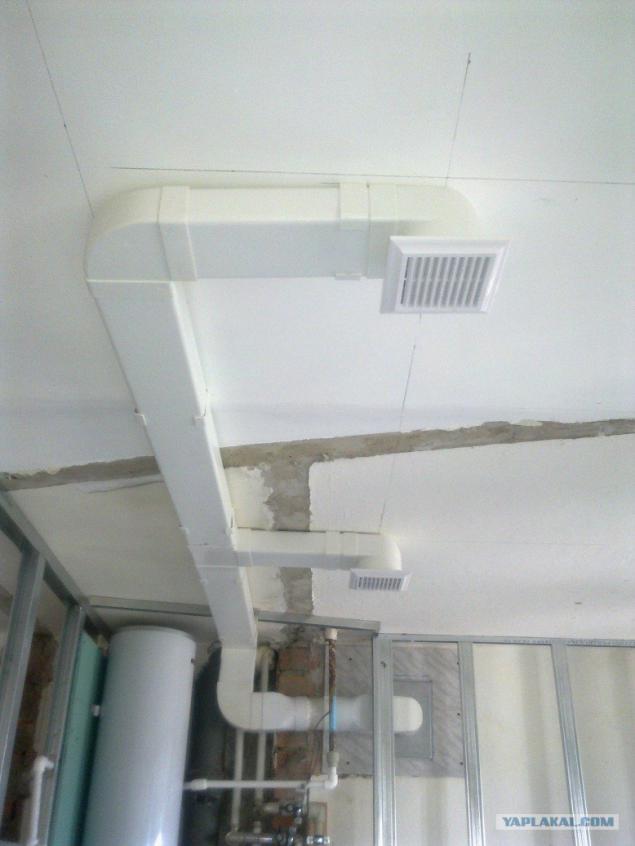
Installation of air ducts and installation of ducted fans
The box itself faucet
Luc nevidika
He just lined with GCR
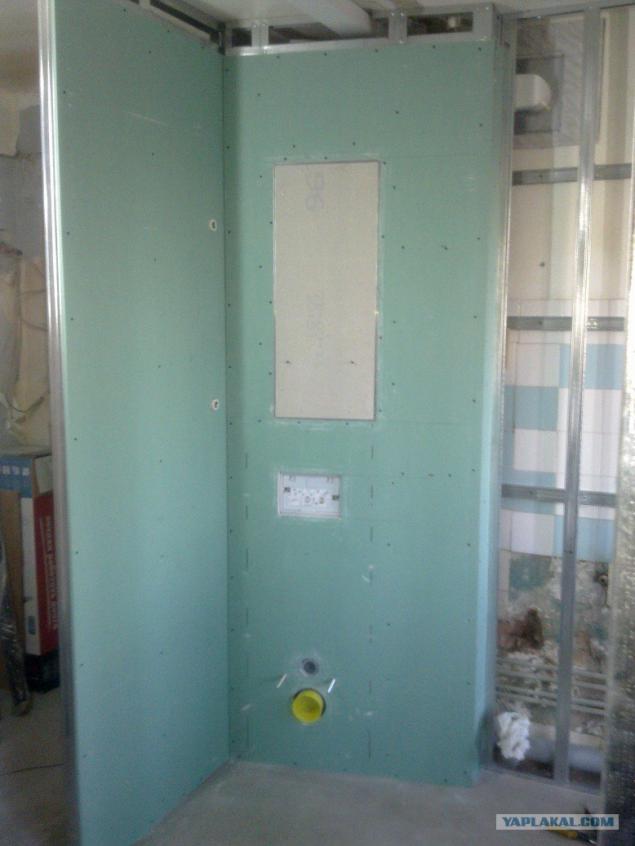
Required step in the walls of the device in the bathroom, waterproofing
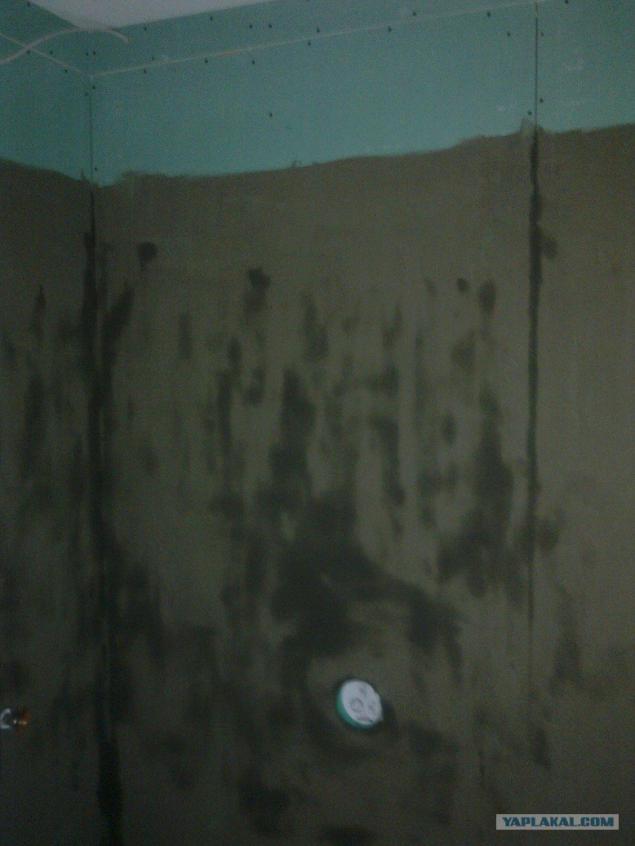
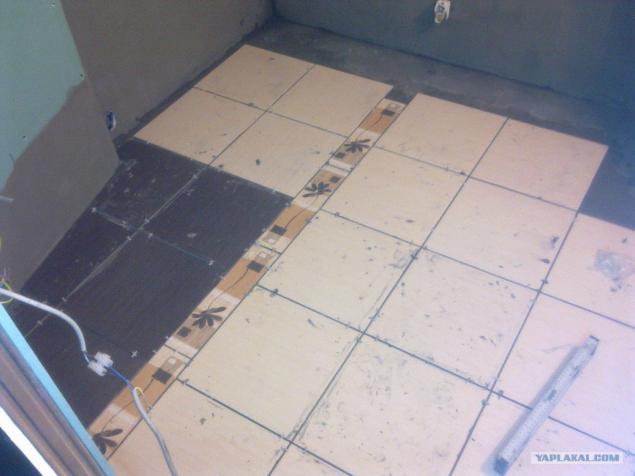
I do not like the wet process -ukladka tile (floor)
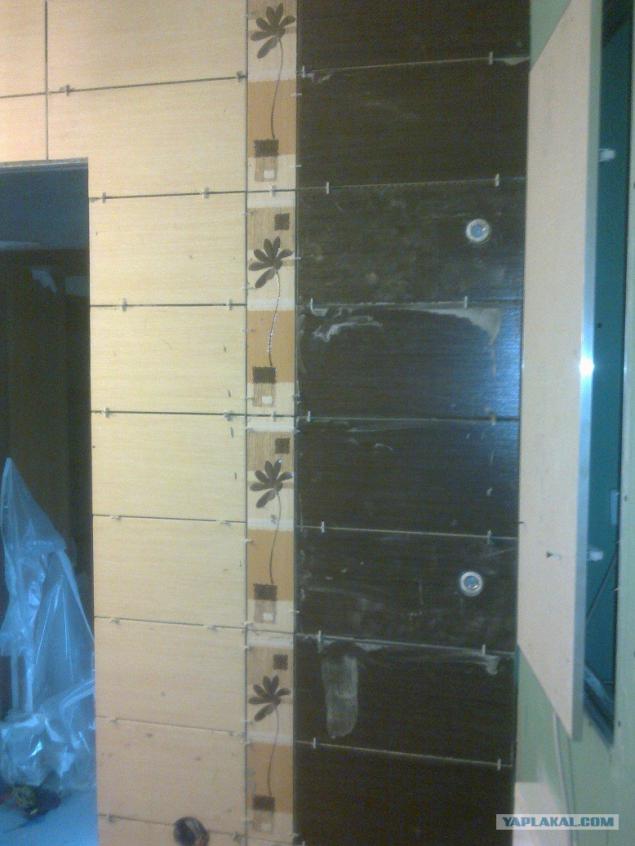
Walls
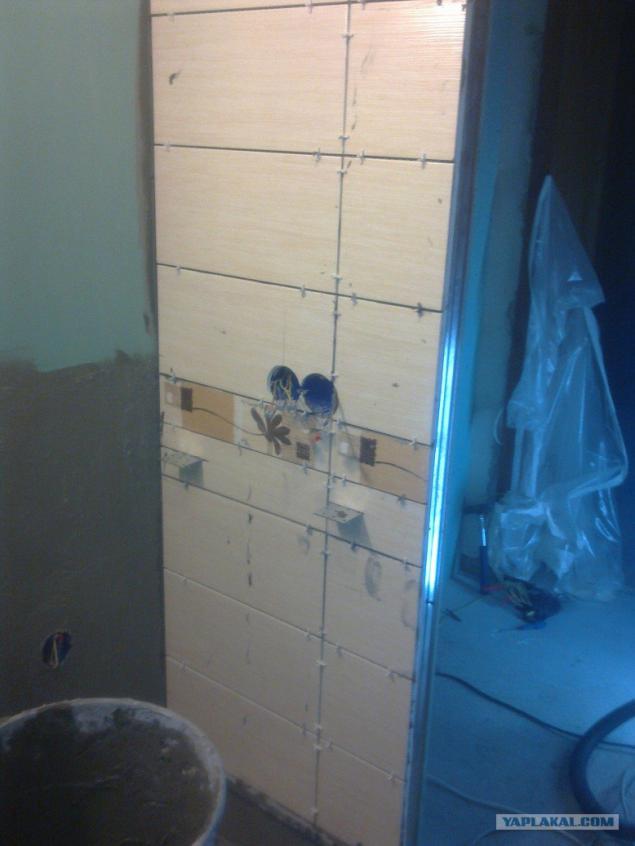
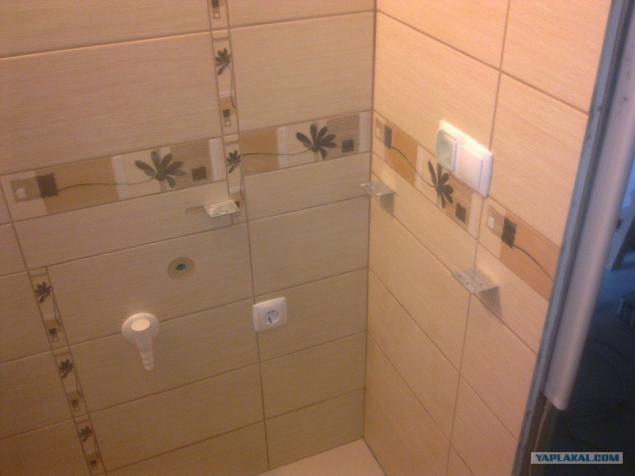
The holes in the tile under the outlet and holder pedestal (not to fence feet)
Tiles on the site hidden hatch to service the water heater and valves
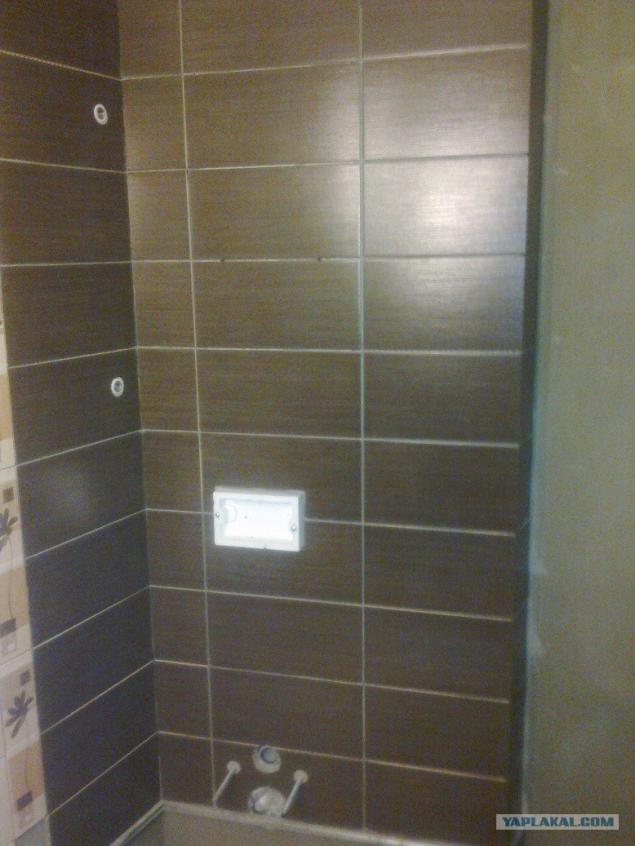
at this point will be set and a washing machine cabinet
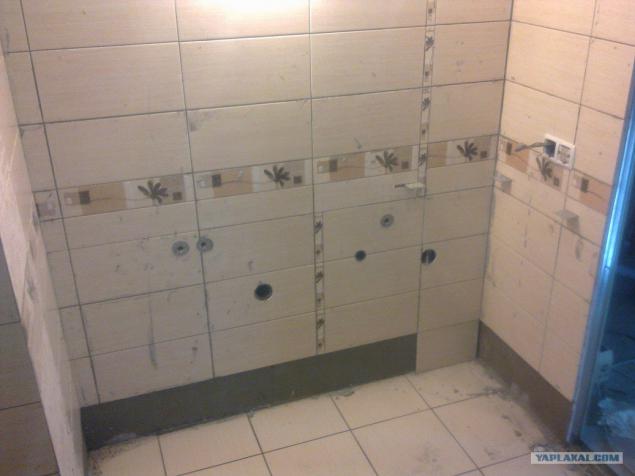
even tiles
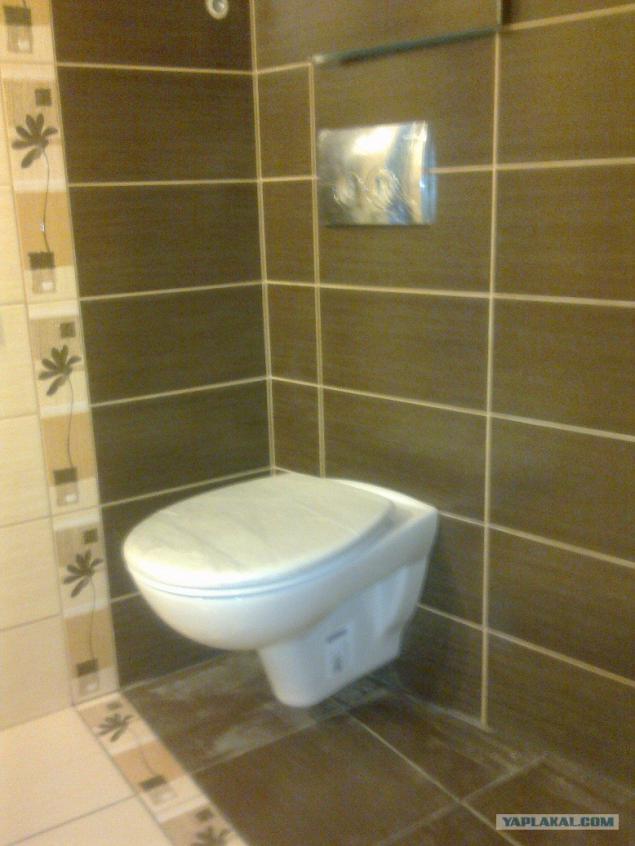
hanging toilet (sorry for the quality)
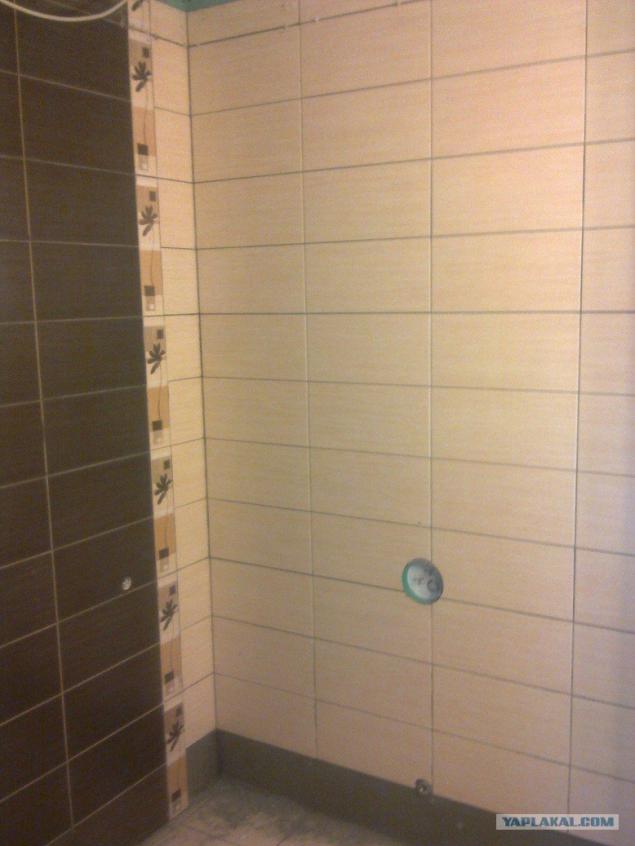
sockets and connecting the washing machine
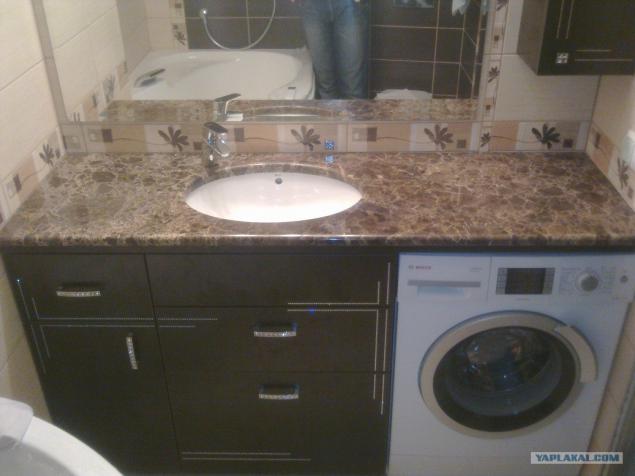
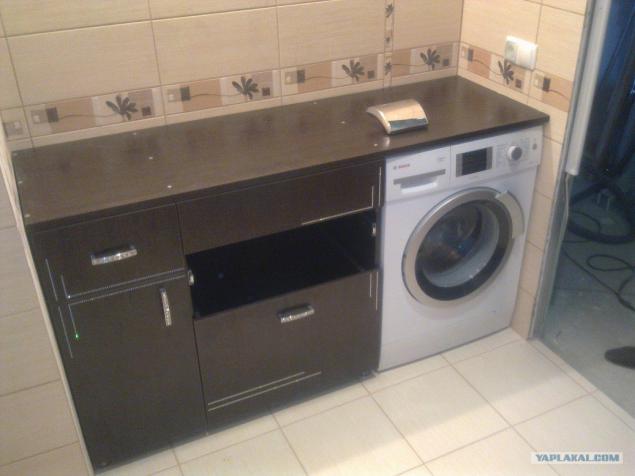
Made by my drawings cabinet under the sink and countertop
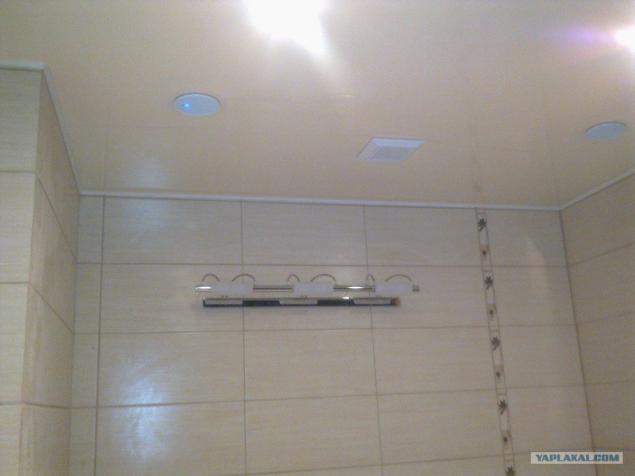
Stretch ceiling, radio, light
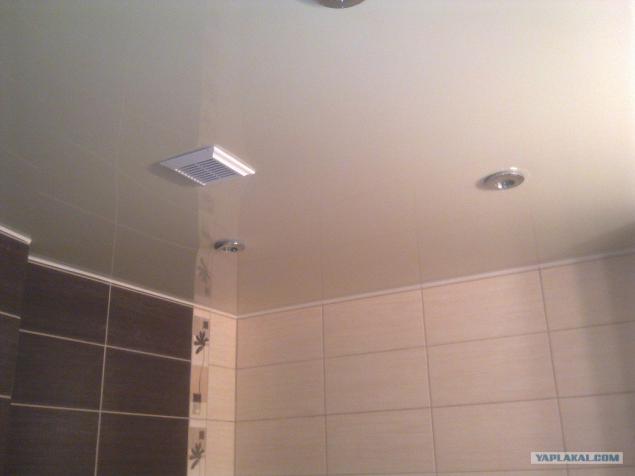
Stretch ceiling light, extractor
Well, she bath spout mounted thereon
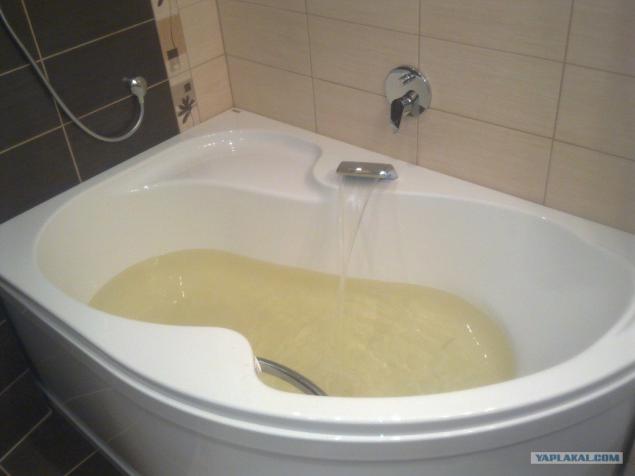
Built-in mixer and spout in working
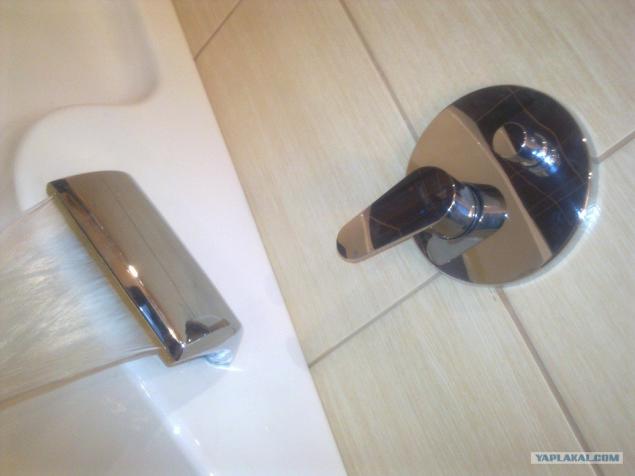
So in conclusion, installed countertop and mirror ...
Everything is made with their own hands, not much blame if the curve ...

Source:
Continuing the theme of repairing bathrooms and toilets, I decided to share my experience, the main essence of which was the united toilet and bath for larger space (since. "Khrushchev" option with leaning the knees in the bathroom door does not suit me).
Himself repair was carried out after detailed design drawings (have experience with architectural programs), procurement and plumbing materials.
Well, the short report itself ...
25 photos

The very first photos there, I'll start with the dismantling

Setting installation and marking a metal frame partitions

Replacing risers and installation of reservoirs, filters and counters

Transfer of the sewer pipe to the opposite side and the installation of polypropylene trub.Metallokarkas partitions.

Boxing for the installation of in-line mixer, wiring pipes

The narrowest water heater was just by the way-all kompaktnenko and easily closes ...

Installation of air ducts and installation of ducted fans

The box itself faucet

Luc nevidika

He just lined with GCR

Required step in the walls of the device in the bathroom, waterproofing

I do not like the wet process -ukladka tile (floor)

Walls

The holes in the tile under the outlet and holder pedestal (not to fence feet)

Tiles on the site hidden hatch to service the water heater and valves

at this point will be set and a washing machine cabinet

even tiles

hanging toilet (sorry for the quality)

sockets and connecting the washing machine

Made by my drawings cabinet under the sink and countertop

Stretch ceiling, radio, light

Stretch ceiling light, extractor

Well, she bath spout mounted thereon

Built-in mixer and spout in working

So in conclusion, installed countertop and mirror ...
Everything is made with their own hands, not much blame if the curve ...

Source:
