203
How to sew a dress with a whole-cut sleeve
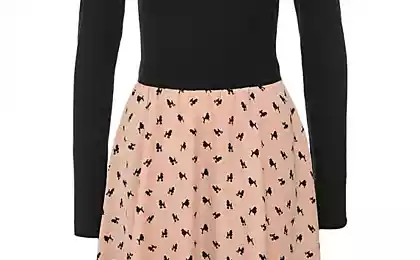
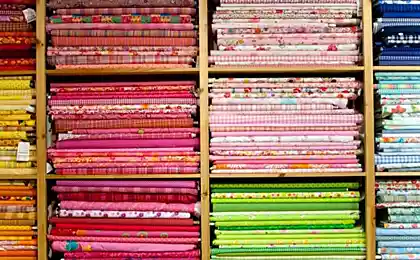
Whole-sleeve dress - classic. It always looks spectacular and is great for ladies with any figure. To sew such a dress under the power of even a beginner needlewoman, and the design features of this model allow you to use fabrics of completely different thicknesses.

That's why the editorial board "Site" will tell you how to sew whole-sleeve dress with your own hands!
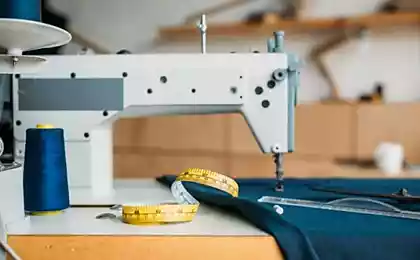
Dress with a flat sleeve dress is very comfortable, as it He sits freely and does not restrain your movements.. The abundance of styles will allow you to model your dress, which will suit you as much as possible. And since it does not require separate work on the elements, it can be stitched quickly and easily.
Step by step:

I attach a video to my instructions, which will help you get acquainted with all the nuances of sewing in more detail. full-sleeve dresses without patterning!
about:blank
I hope this article inspires you to create such a thing. Good luck and fresh ideas in needlework! I'm sure you'll succeed, even if it's your first sewing experience.

That's why the editorial board "Site" will tell you how to sew whole-sleeve dress with your own hands!
Dress with a flat sleeve dress is very comfortable, as it He sits freely and does not restrain your movements.. The abundance of styles will allow you to model your dress, which will suit you as much as possible. And since it does not require separate work on the elements, it can be stitched quickly and easily.
Step by step:
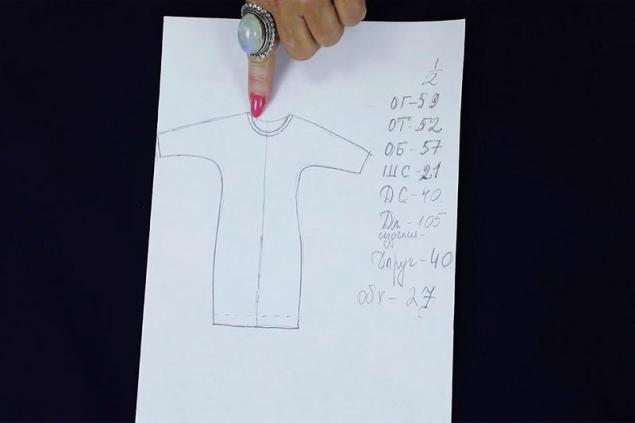
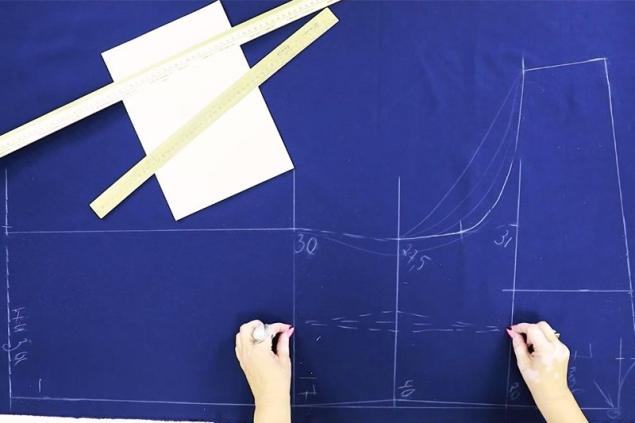
- The first thing you need to carefully make measurements of the girth of the chest, waist, hips, back. In addition, determine the length of the sleeve, as well as the volume of the hand on the intended end of the sleeve. All values (except the length of the sleeve) are divided into two. We will work with them in the process of cutting. These are the meanings used as an example.
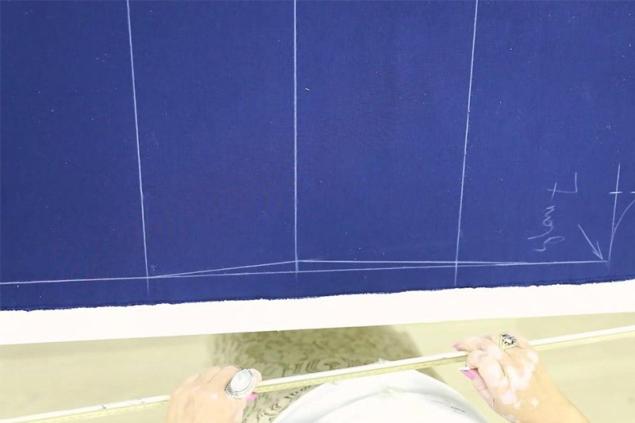
- We are going to build the back of the dress. We do not use tracing, we do it directly on the fabric. First of all, we lay a horizontal line at the bottom. Then on it perpendicularly mark the width of the chest line, thighs and bottom of the dress. Determine the length of the product. Make a concave waistline in the center of the back. From the edge of the thighs to the bottom, we draw a line for narrowing.
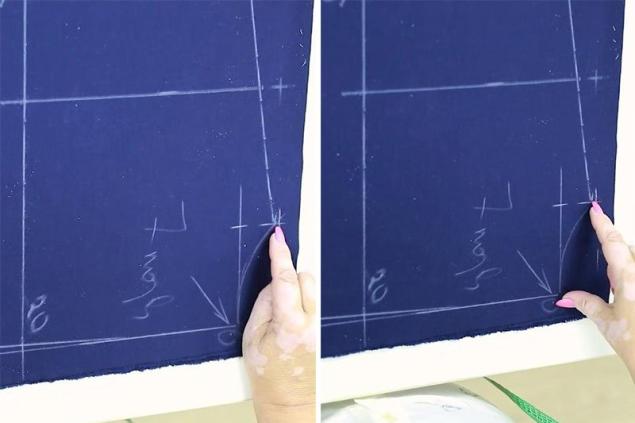
- Note the horizontal line of back width. We conduct the shoulder with a slope of 2.5 cm. The height of the neckline is 3.5 cm, and the width is 9 cm. You can save more if you want a more open cut.
- We measure and mark from the end of the shoulder the length of the sleeve and its width. It is better to point to 1-2 cm more, so after fitting you can remove excess tissue. Then, in the middle of the distance between the waistline and chest, put a mark. From her, we begin to lead the arc of the sleeve. No matter how you draw it, the markup will be correct. Just focus on what kind of dress you want to end up with.
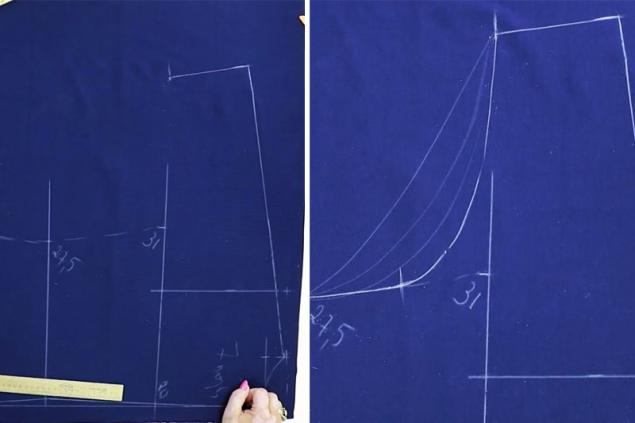
- Owners of a narrow waist can make a pull in the middle. You can not remove extra centimeters of tissue directly on the arc from above. In this case, the dress will not sit down and will go in waves.
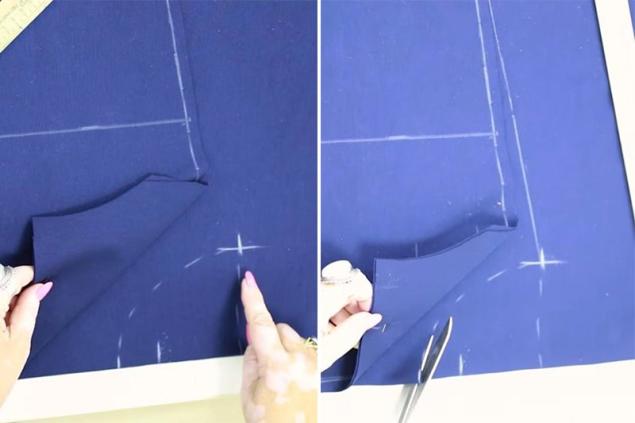
- Cut out the finished tissue for the back. We make a retreat on the seam of 1 cm. After doing this, we can begin to cut the front of the dress. The beauty is that we have already done all the basic measurements and no longer need to puzzle over complex calculations. We put the cut back on the fabric and mark the location of the cutout on it. The front cut will, of course, be larger. If you want it to be under the neck, 8 cm will be enough. But we make a looser dress, so we put off 11 cm. Make an oblique line of transition to the shoulder and sleeve. Done! We can cut fabric for the front of the dress.
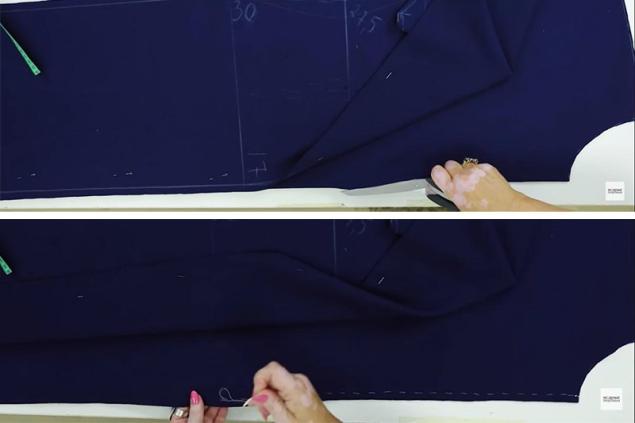
- We'll make a seam in the center of the product, so we cut the main lower horizontal line and sweep it away.
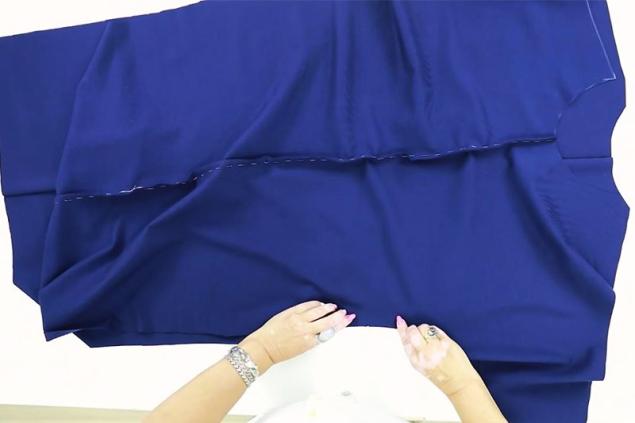
- This is the most enjoyable part of making a dress! We can finally see the results of our work. We put the finished front and back on each other and sweep the side parts from top to bottom.


I attach a video to my instructions, which will help you get acquainted with all the nuances of sewing in more detail. full-sleeve dresses without patterning!
about:blank
I hope this article inspires you to create such a thing. Good luck and fresh ideas in needlework! I'm sure you'll succeed, even if it's your first sewing experience.