159
The method of transferring any pictures to the fabric
So, all the dishes are washed at home, the furniture is polished to shine and the whole family is fed. In a word, quarantine. What else can you do with your hands that are not boring? We have a wonderful answer for you.

We offer to engage in one creative business, namely, to transfer various interesting images to the fabric.
This work is not difficult, more meditative. But the result is quite qualitative: the colors remain bright, and the image itself is not “grain”. And you're going to waste nothing. Make tea even longer.
Working with fabrics To rendering On the fabric succeeded, you need to carry out all the upcoming operations on a comfortable ironing board. And be as careful as possible with the iron on. Electricity is no joke.
The ingredients
Preparation
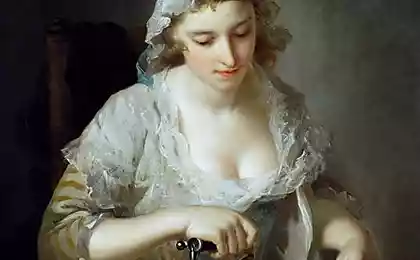
This method is suitable in order to make a picture under the frame. Hang it in the kitchen and it'll be beautiful. A white T-shirt, handbag or pillowcase will also become more original.
This wonderful hobby was suggested to us by Olga Papsueva - an interesting person with huge reserves of energy and knowledge of all sorts of everyday tricks.
https://www.youtube.com/watch? v=xKcInHQZcPc
By the way, here is a video where she will personally tell and show all the subtleties of transferring images to textiles. We wish you an interesting viewing!

We offer to engage in one creative business, namely, to transfer various interesting images to the fabric.

This work is not difficult, more meditative. But the result is quite qualitative: the colors remain bright, and the image itself is not “grain”. And you're going to waste nothing. Make tea even longer.
Working with fabrics To rendering On the fabric succeeded, you need to carry out all the upcoming operations on a comfortable ironing board. And be as careful as possible with the iron on. Electricity is no joke.
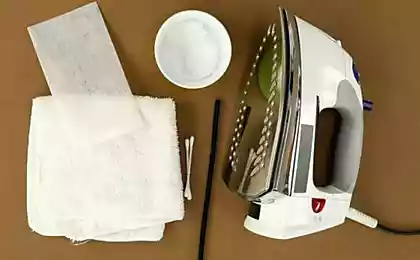
The ingredients
- ironing board
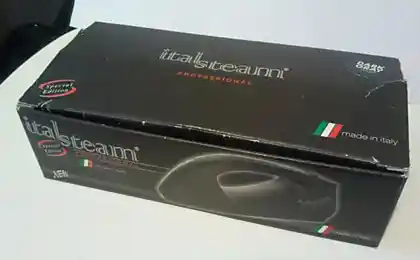
- iron
- cotton-cloth
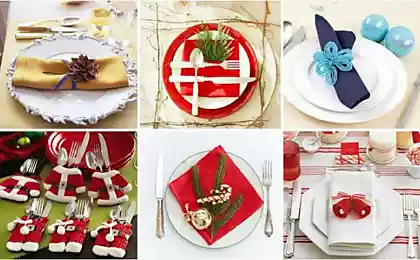
- napkin
- PVA glue
- brush
- baking paper
- polish
- foil at will
Preparation
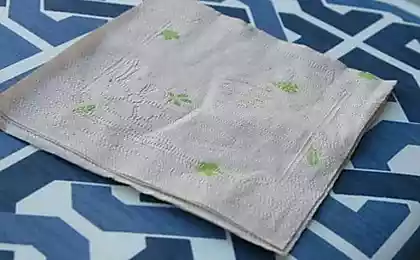
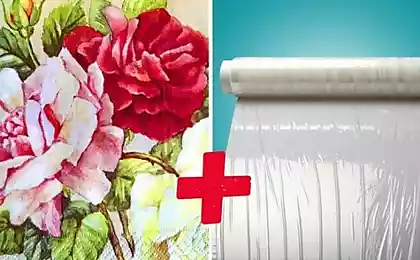
- First of all, pick up a napkin with the image you are interested in.
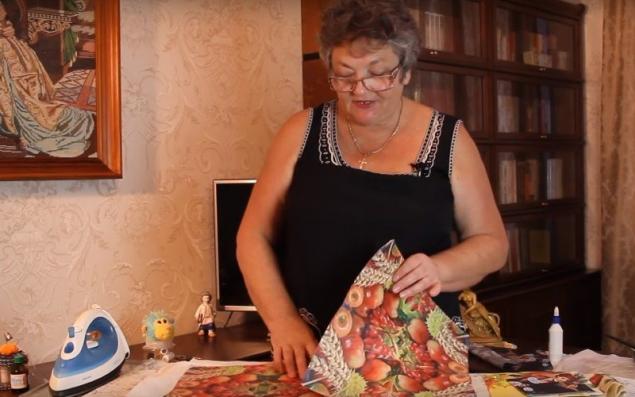
- Modern napkins have several layers. Carefully tuck the paper with the edge and divide the layers. Now carefully separate one and put it aside.
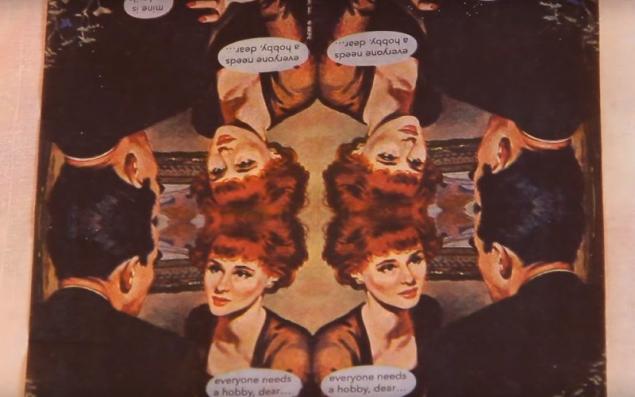
- Take a fabric, put a napkin on it and mark the location of the picture by its size. Now put the PVA glue in a thin layer with a brush. Give him some time to dry the fabric, but the glue on it is still glued.
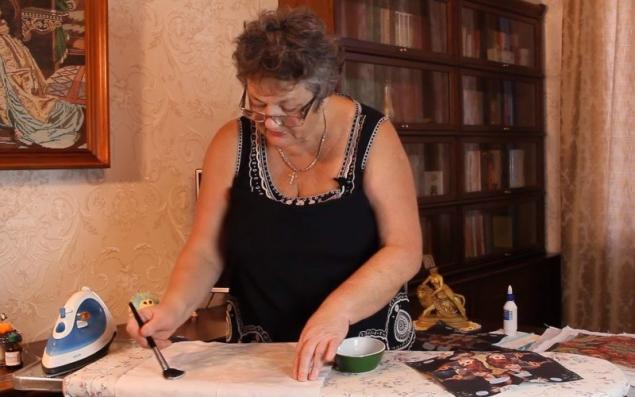
- Very carefully place the napkin on the glued area. Avoid bubbles and lumps.
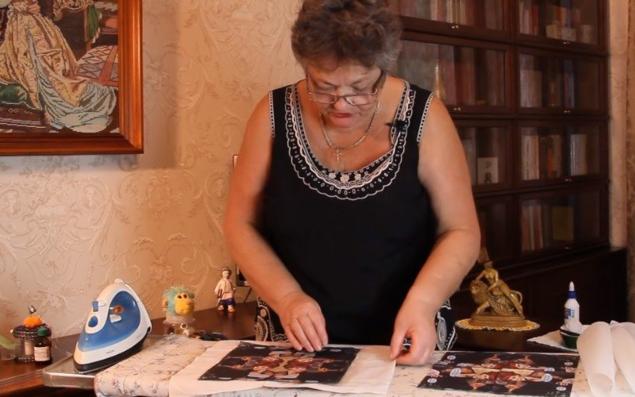
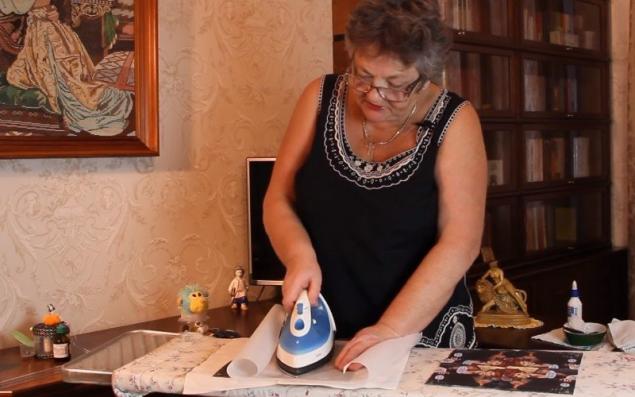
- Cover the napkin on top with baking paper. Now take a hot iron and at maximum temperature smooth the whole thing for 3 minutes. Turn off the iron and keep ironing for another minute.
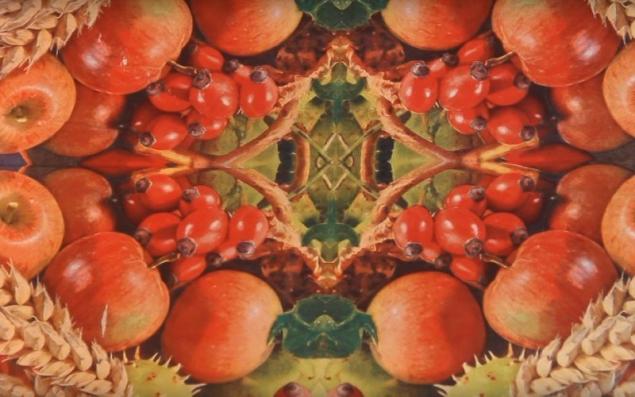
- In principle, the image transfer is complete. The drawing took the texture of the fabric, and it is already difficult to distinguish it from the canvas of the painting. But if you have varnish, you can varnish your work. It will work well if you do it in 3 layers. Here is an example of an already dried job:
- Also, if you are afraid to do something wrong, use 2 layers of foil instead of wax paper. One iron on top and the other under the fabric. So the foil will warm up the craft from both sides.
This method is suitable in order to make a picture under the frame. Hang it in the kitchen and it'll be beautiful. A white T-shirt, handbag or pillowcase will also become more original.

This wonderful hobby was suggested to us by Olga Papsueva - an interesting person with huge reserves of energy and knowledge of all sorts of everyday tricks.
https://www.youtube.com/watch? v=xKcInHQZcPc
By the way, here is a video where she will personally tell and show all the subtleties of transferring images to textiles. We wish you an interesting viewing!
Purchases during quarantine and how to make them according to the rules
Method of preparing fried cakes with rice


