1072
How do giant mirrors for telescopes
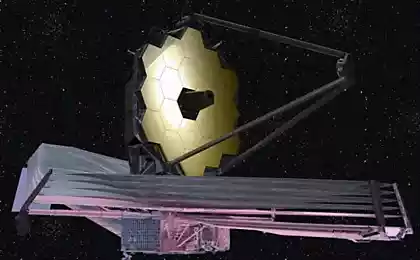
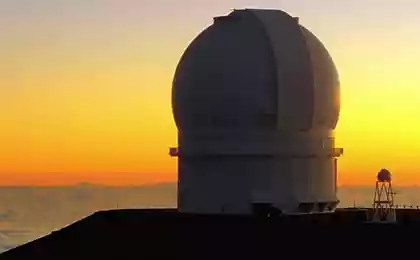
Atacama Desert in Chile - a paradise for astronomers. The unique air quality, favorable weather conditions throughout the year and very low level of light pollution makes this inhospitable area ideal for the construction of giant telescopes. For example, телескоп E-ELT , under which are already preparing construction site . However, this is not the only large-scale project of this kind. Since 2005, work is underway to create another spectacular astronomical instrument, Гигантского Magellan Telescopes (GMT). It will look like after construction in 2020:
At the heart of its optical system is reflective surface of 7 huge round mirrors. Each diameter of 8, 4 meters high and weighing 20 tons. In itself, the production of such mirrors, and even with the required precision, is a real masterpiece of engineering. How to create such a product? About it - under the cut.
At the moment, made two mirrors, the third molded and gradually cooled, the fourth is scheduled to cast at the end of this year. The manufacturing process developed by the Laboratory of mirrors Steward Observatory, University of Arizona (niversity of Arizona's Steward Observatory Mirror Lab).
Each mirror is composed of a plurality of hexagonal segments, which allowed a 5-fold reduction in weight compared to solid-cast products of the same mirror size. Billets of high quality made of borosilicate glass in Japan. The thickness of the segments is less than 28 mm, which has a positive effect on the operating conditions - such a mirror will quickly take the ambient temperature, which prevents the occurrence of oscillations of air at the surface and image distortion.
Substrates for mirror segments. I>
Also, lightweight design mirrors allow themselves to collect a reflective surface with a diameter of 25 meters only from 7 major and 7 secondary mirrors. It is at times easier to manage and configure the telescope. Compare that to 798 segments in the project E-ELT.
After laying the glass blanks on the substrate (1681 pieces), top the entire area covered by a huge mirror of the future rotary kiln. The temperature reaches 1178 degrees Celsius, the furnace rotational speed - 5 rpm. As a result, the segments are fused to form a single array with glass parabolic shape of the surface. The rotation of the furnace due to the centrifugal force just as a rough form a parabolic surface.
Thereafter, the long process of controlled uniform cooling, in the same kiln. It takes three months to prevent the occurrence of cracks due to too rapid cooling. At the end of the cooling, the future of the mirror carefully removed from the heat-resistant substrate and transferred to the polishing stand.
Then begins an even more lengthy and painstaking process of polishing the mirror. In contrast to the spherical mirror, the surface curvature is constant, polishing giant parabolic mirror highest precision is a very difficult task. In the case of mirrors for the deviation of the locus from the spherical shape was 14 mm.
Generally, parabolic lines and surfaces are, so to speak, unnatural. Almost all the available tools and created in any way associated with the circles and spheres, so scientists and technologists had to smash his head on the mirror-polished.
One of the main tools is a rotating disk with a diameter of about 1 m, with dispensers polishing agents. The disc can be moved along the guide rails, whereas the mirror itself is rotated around the axis on the stand of the polishing.
This diamond grinding tools for the main surface treatment is designed to align the majority of defects in the glass surface, and give a saddle shape. The fact is that during rotation waterglass adopted symmetrical parabola shape that is the closest approximation. And saddle for a parabolic surface by a computer controlled grinding, during which glass is removed 6-8 mm. Precision machining surface at this stage is 100 microns.
Then begins polishing. After each polishing cycle using интерферометра is measured surface of the mirror. Laser beam scanned the entire surface area, and various deviations of the reflected beam on the convex and depressions are fixed and mapping defects. The resolution of the interferometer is about 5 nanometers.
On the basis of the map of defects computer controls the instruments during the next cycle of polishing, spending more time or applying more pressure in the treatment of specific areas. To fix detected single point defects have also been used polishing wheels with a diameter of 10 to 35 cm with a sufficiently flexible soles, repeat the curvature of the mirror surface.
For the tasks to be performed by the telescope allowed to have surface defects no more than 25 nanometers. And to achieve this is very difficult. Polishing the first mirror in the end took about a year.
Source: habrahabr.ru/post/236147/

