2128
Sitting, not bothering anyone, mending old headphones
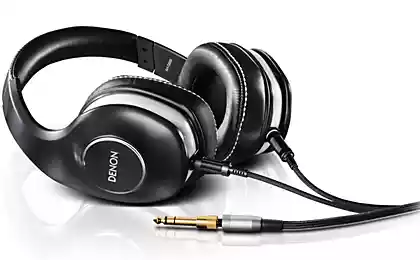
That is the moment when the regular headphones out of order. Would work a hundred years, but the weakest of modern headphones - wire near the connector - again haunt. Again in the store? Oh, no, too arms straight. Besides have to look exactly the model that is not easy, because inserts gradually replaced the hated (by me) in-ear uhosuykami. And they sound surprisingly good for this class of headphones.
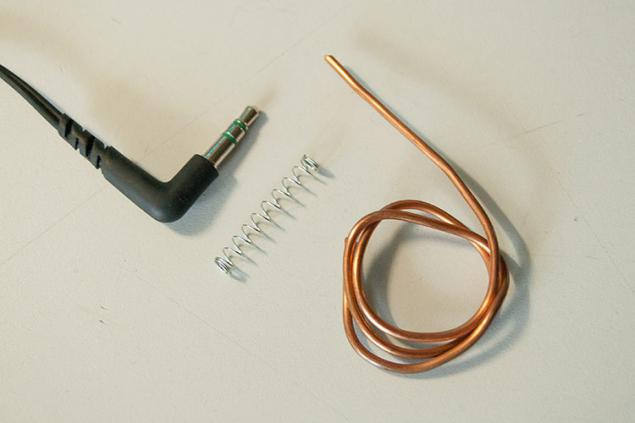
So, take up the instrument, and drove off. Under the cut photos to 800 kb.
According to this technology, I repaired several pairs of headphones. The lifetime after such repairs are still dependent on the quality of the wires, but it is much larger than the factory. An old monitor headphones live with such a connector for five years, and some Japanese lived only 3 weeks (before repair work and a half).
From the materials we need:
- a thick copper wire;
- spring from the pen;
- liquid superglue + soda or cold welding;
- string.
Of the tools we will need in the first place the soldering iron and pliers for fine work.
Thus, the patient in the first photo. First you need to free himself from the rubber body plug. To do this, make a cut:
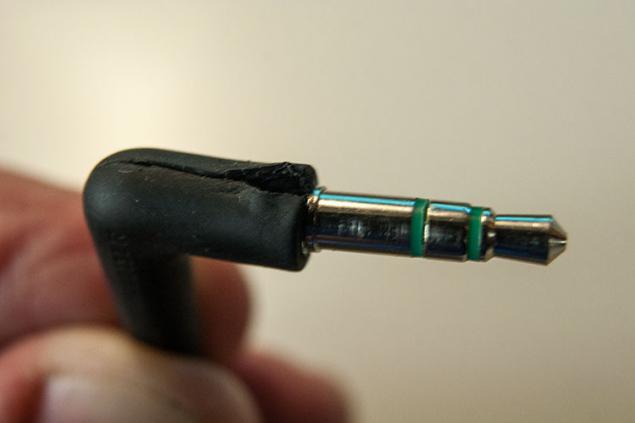
Usually soldered to the plug wires are filled with plastic, which is formed from a small keg. This construct is then inserted into a pre-molded rubber boot. At the same headphone casing cast seems right on this barrel, and firmly stuck to it. Carefully disassemble the steps no longer work, so, make an incision, to break out of plastic desired item. The wires are thin enough to break away almost imperceptibly. Result:
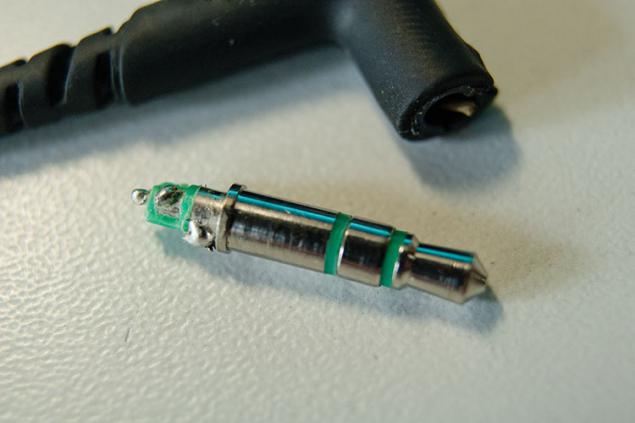
Now we need to make a copper wire base construction. Before it stands to clean it with sandpaper. First bend just such a loop:
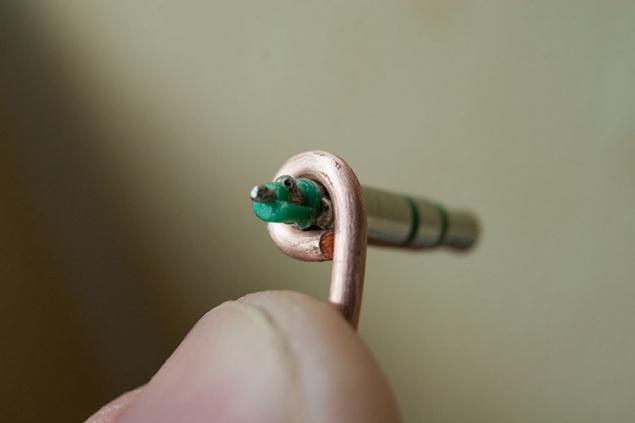
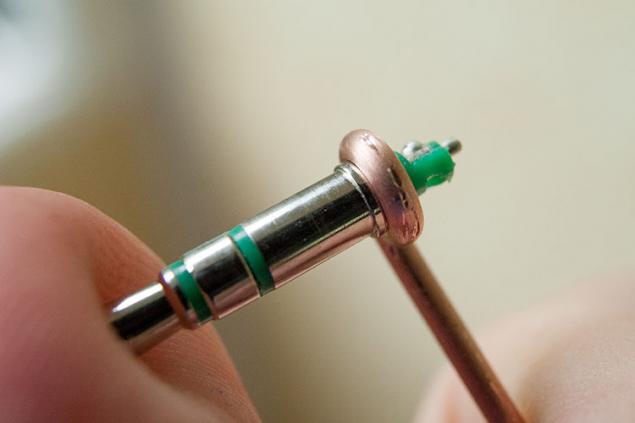
It must be worn tightly on the item from the solder contacts. Next, attach the basis of this form:
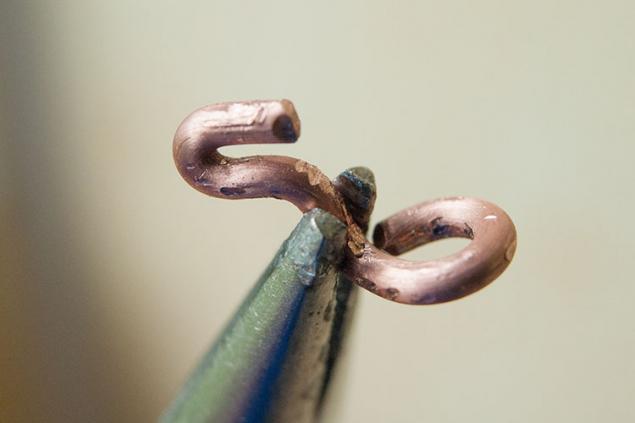
The base is ready. The resulting hook serve for fixing springs which serve as protection against excessive bending of the wire. Now take the spring and unwind a few turns:
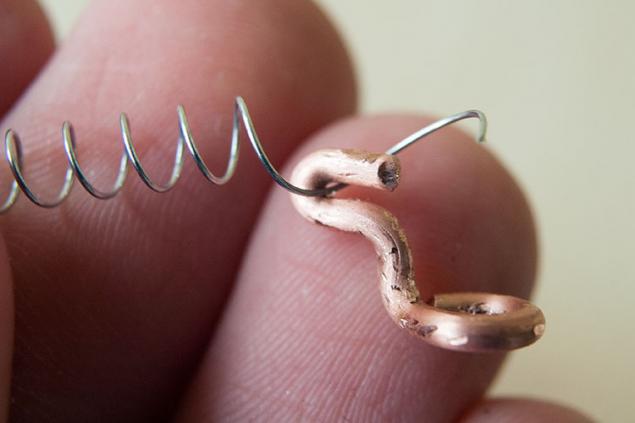
Straightening again displace part of the spring. At this time, the diameter of the turns should be slightly less than the diameter of the copper wire. We put the spring in the hook and clamp pliers like so:
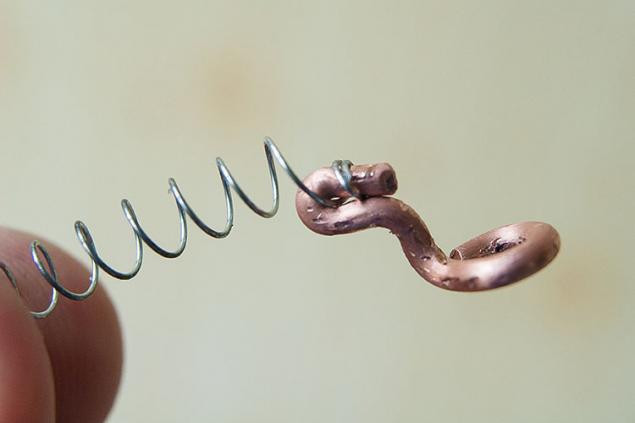
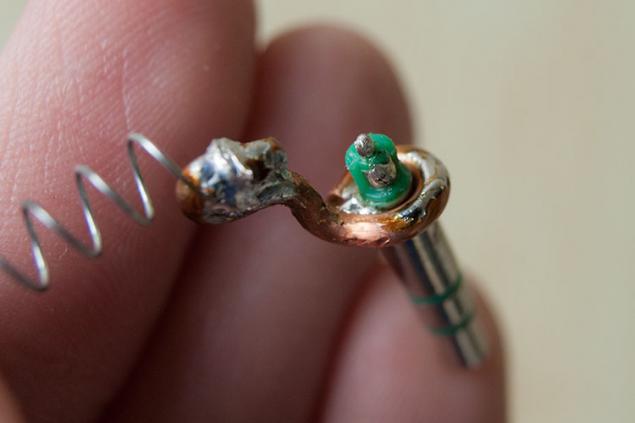
Solder to the base plug and spring. Based on a small patch immediately Ludim, which is soldered common. Despite the fact that the spring is made of steel, remarkably soldered using rosin flux simple:
Now we undertake wire. Purified from a small section of insulation:
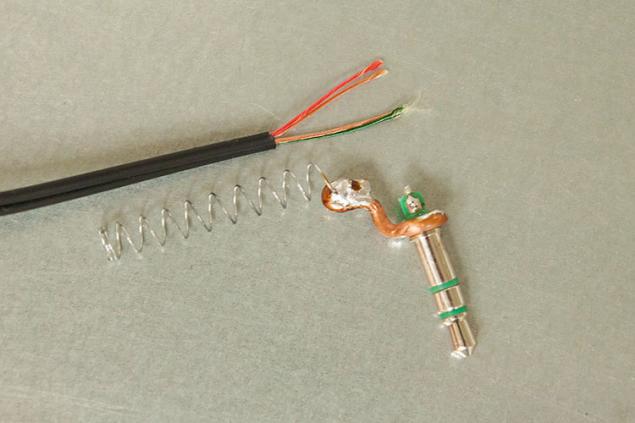
The most opposite - to get rid of the fibers which are wound on the wire strands. For this, I pinch wires between a nail of the thumb and the pad of the index, and movement, similar to the removal of insulation from the wire, disintegrating postings. Veins collect a pile of forceps and twisted together, and fiber fired. Previously burned once, but after this the wires become brittle lacquer burned at great length.
For tinning used as flux aspirin. Aspirin perfectly removes varnish. Important: it is very corrosive vapors, do not allow them to inhalation or contact with eyes, !
That should get such a result:
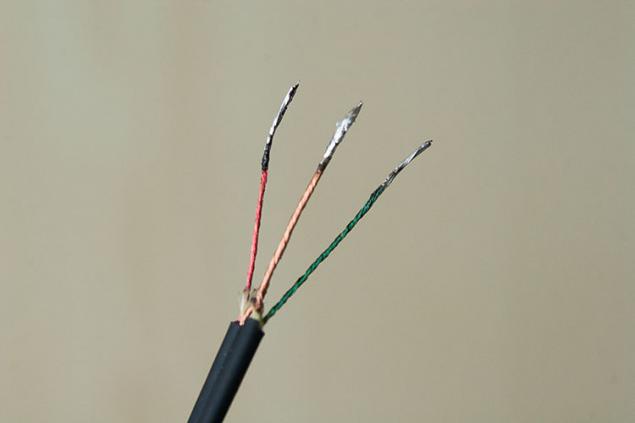
As can be seen, the "land for land". Ready wire are passing through a spring-loaded, and the basis for primatyvaem thread which is then impregnated with superglue:
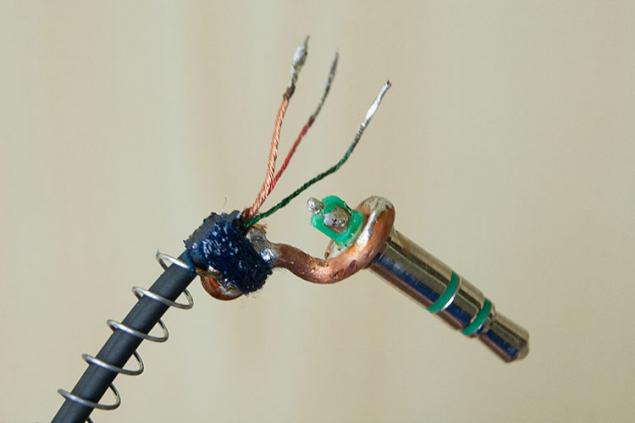
Solder the wires in place. Red wire (right channel) for the extreme contact. Green, he's left, soldered to the middle. Earth payaem to prearranged Piglet based.
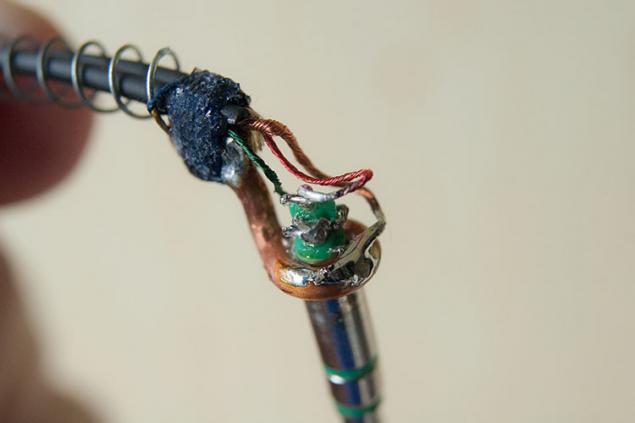
What more kung fu, wire springs and did not want to stay in place. It's time to test the headphones. If everything is OK - do housing.
Previously I modeled it from a piece of cold welding. A very simple way, without even requiring disclosure. The only negative - in small quantities is difficult to observe the mixing ratios, and the solidified weld can be very loose and fragile. This time I decided to try the "home Composite" - superglue and baking soda. The technology is quite known: pour in the right place a handful of soda, gently drip there superglue. Soda soaked for a couple of seconds, the glue instantly grasped, and we get a solid and durable plastic. Layer by layer building up an object, something where you can enclose caked lumps of soda instead of powder.
For example, in the interval between the base and the wires in this photo:
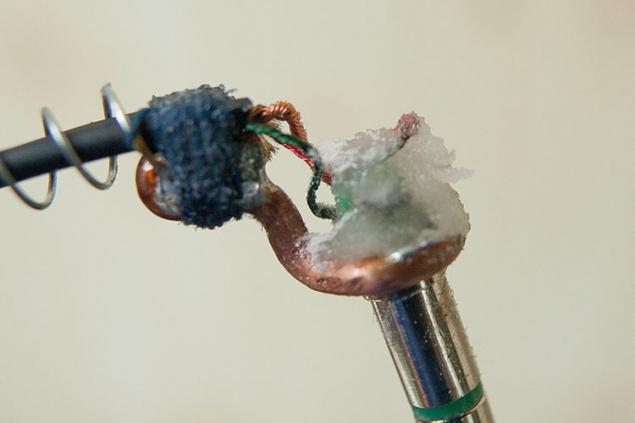
I assumed it harder cold welding. But the reality was even worse than expected. This process took a good half hour! Nevertheless, the result is very good. After processing a file I got here this connector:
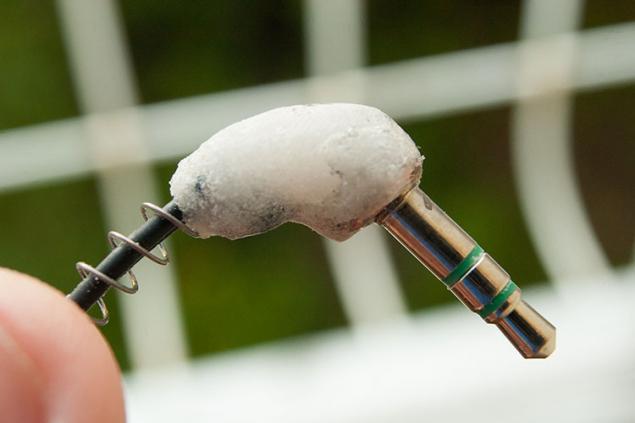
After painting in black will look very nice.
As you can see, the process for perseverance. But once purchased 3, 5 mm plugs, except the Chinese, not to find out what to do? Players have a fruit company is deemed reliable but is very finicky nest in which the curve Chinese plug simply does not concern contacts. Somehow I was lucky to buy a few direct mini-jack from Neutric, which were too large and therefore dangerous to the nest and find a corner in the sale failed. Therefore, someone can help my instructions, I'm sure.
Source: habrahabr.ru/post/226341/
Headlamp, powered by the heat of the human body
Samsung introduced a new tablet GALAXY Tab S with Super AMOLED screen


