1737
The path from concept to "mature" a prototype device
The publication will be of interest to people working in "at hardware" start-ups, especially if the founders are "software" of the past.
Most people who are a significant part of his career he worked in the "software" industry and wants to create "at hardware" product, it may seem that the path from idea to prototype, such as the development of a mobile application or website, designed, painted design, implemented prototype. In principle, these phases are preserved and the development of devices, but the realization of the prototype phase can bring you a lot of surprises and have a few iterations. What happened with the creation of our first product LaMetric. B>
The path from concept to fully functional prototype and small batch pilot took eight long months, which allowed to improve the original idea, to understand what should be the final result, to prepare a product for mass production and before going kraudfandingovoy campaign to be sure of the implementation of a quality product to reduce risk on a tight schedule production.
I will focus only on the phase of the prototype, as it took us most of the time.
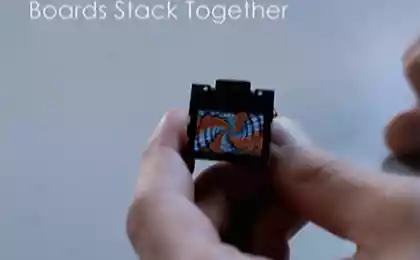
Cardboard mock
Once the product idea was embodied in the 3D model, we needed a real prototype to understand what still has to be the size of the device. Without sinking in the early stages in the subtleties of different technologies construction of shells we went easier and proven way to make some layout options manually from cardboard. This method is inexpensive and implemented very quickly. Also on maketkah can draw markers in prospective areas of future connectors or touch keys. The result is lower in the photo.
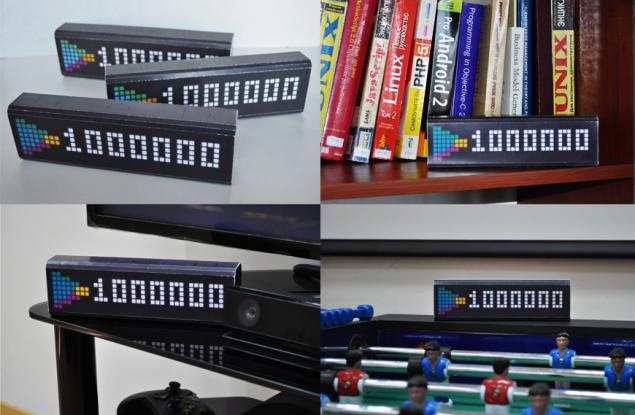
Cardboard models of different sizes in different environments i>
Cardboard mock helped introduce the device in the desired setting, evaluate the readability with different distances. As the product will be used in different places (table, bedside table, hanging shelves, shop windows), it was very important to understand how the size of the device will be perceived (the displayed text and icons in all these places) with different distances and choose the best. Keeping the layout in hand, you will come to mind a lot of new ideas and options for use of the device. Do not spare cardboard to try different device form factors.
The next step - implementation of a working prototype "on his knees" with basic functionality.
Working prototype "on his knees"
By designing the architecture of the device must be in the fastest time (two weeks to a month) to create a working prototype. Fortunately, there are a lot of different debugging tools, Arduino, Raspberry Pi, Virt2real and others that can be easily purchased online. Speaking to the "software", there is better use of existing technology, libraries or developments which you have. At this stage, I will not draw attention, as each case is unique and individual.
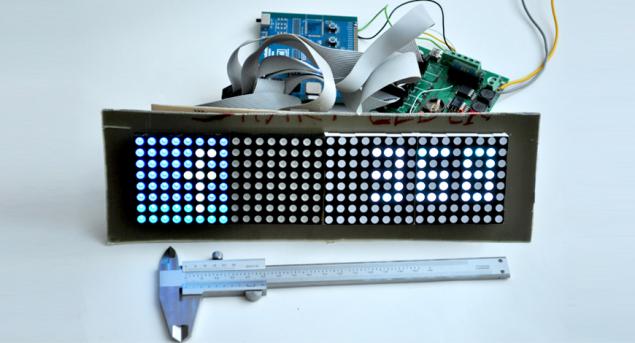
Prototype "on his knees" i>
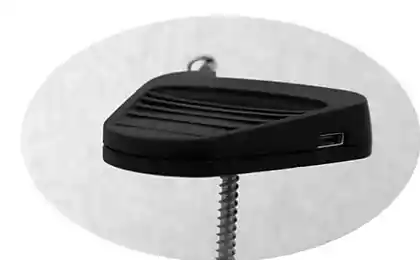
To turn a set of components in the device, we placed them in a makeshift cardboard box, plastered her black self-adhesive film.
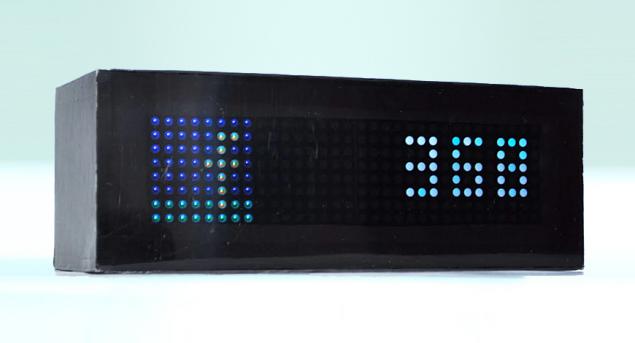
Prototype "on his knees" turned into a device i>
This result helped us to quickly test the functional unit and make some changes in architecture. With this prototype, we can anticipate more detail for themselves the difficulties encountered in the course of further development.
The result was still far from the 3D model and suitable only to confirm the idea. In view of its actual users, to put it mildly, does not evoke emotion. During the creation of the concept, inspired us Nike + Fuelband , we wanted to achieve the same effect on the display and perception of product. It was important to understand whether we can achieve this.
This idea has motivated us to improve the prototype.
"Mature" prototype
In most cases, complete solutions for rapid prototyping are not suitable. The reasons for this may be many. The first and simplest is that the evaluation boards will not fit into the case.
Consequently, there is no avoiding the following stages of development:
If it is a piece of electronics - it is necessary to design a circuit board, prepare documentation for the production of single copies, solder them to make commissioning and startup. Difficulties that had to meet, and how they were overcome, we have described in the first article Habré; If this case - then you need to create a model of every detail so that they meet all the requirements and capabilities of the technology of production. In this case, the apparatus consists of several unique components. I had to try different techniques and choose more suitable for each individual piece. Experience of choice of production technologies hulls we also shared in last article; As for the "software", it will be necessary rewrite and optimize the code to fit your needs. Also try to use the library and developments that are supplied with the debugging tools to the maximum;
Depending on the complexity of the product, on the above items, you can spend a lot of time, but in return you get a lot of different experiences and nerves satisfaction with the work done.
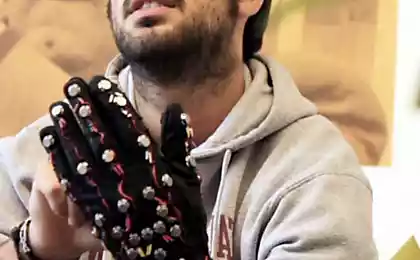
In our case, most of the time was spent on the screen, so that it looked and functioned as intended in the concept. This clarity of each pixel, high-quality color reproduction and the effect of the merger of the screen with the body off. On account of the hull shape, it was important for us to comply with all dimensions, radii and curves.
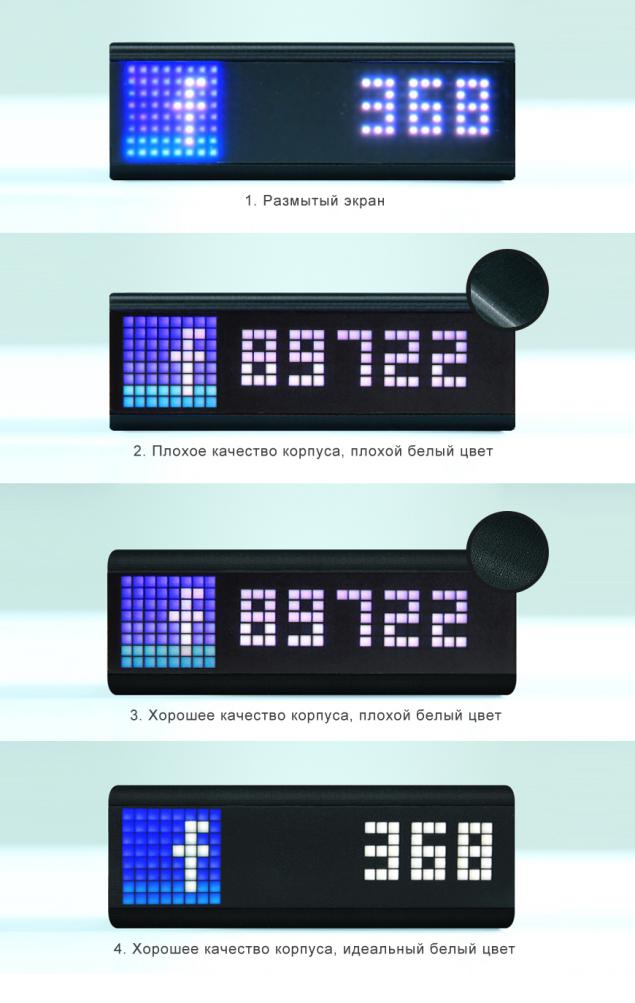
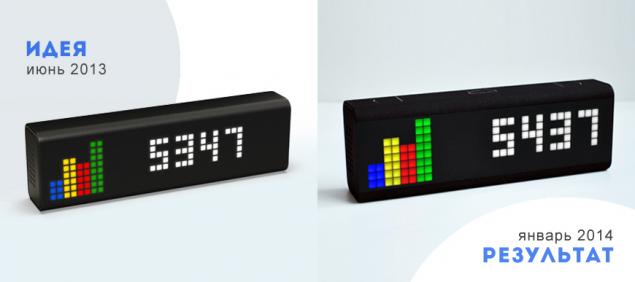
4 iterations to "mature" prototype i>
The photo shows several iterations done by us in the course of manufacture of "mature" prototype, which was spent the most time:
Iteration 1. Blurred screen
The first surprise with which we met this blur, "blurry-effect." Initially we had the assumption that achieve clear square pixels without additional tweaks will not work, the LEDs in any case be lighted each other. The solution was obvious and simple, make a square lattice "sieve", which accumulated to light clearly in the square area.
Iteration 2. The poor quality of housing, poor white
We still did not like two things:
- The quality of housing produced by 3D printing technology FDM method;
- Not perfectly white pixels;
For the construction of the shell was used 3D printing technology, which is based on the SLS method. She was pleasantly surprised and we coped with the task at 100%. On the count of white tried to solve this problem, "Software" means (combining different proportions of the three colors), as well as constructive, trying to pick up the front screen with a different shade or make a lattice with a white material. These attempts failed to bring the results to the necessary and desirable ideal.
Iteration 3. Good quality housing, poor white
Continuing the search for solutions to the problems associated with poor white, and the solution was found hiding in the name of the problem itself. It was decided to use white LED board and redesign so that you can fit two LED next to the white + RGB. The effect was something that should be no worse than that of Nike.
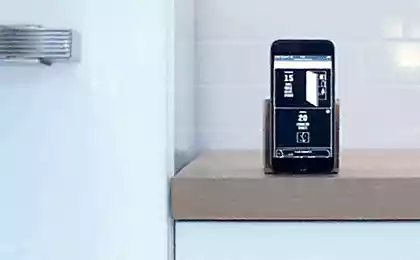
Iteration 4. Good quality housing, perfect white color
Having achieved the desired result, we have made a small pilot batch to test the product on real users. Their reaction was quite different than the initial prototype. There was a perception of the product and not the research sample. Everyone likes clarity pixel icons and text readability, the softness of the screen to the eye, comfortable shape of the device, the quality and usefulness of the product. Many people immediately wanted to buy it for home or office.
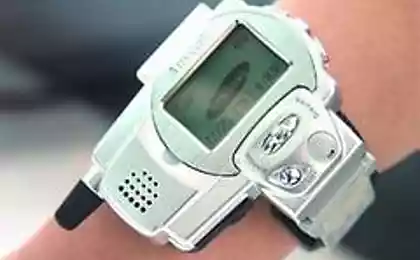
Good feedback and reviews brought us a more extensive vision of how you can still use the product that prompted us to do a virtual simulator device for opportunities to generate even more options to apply to everyone who could not see and test samples of the pilot batch.
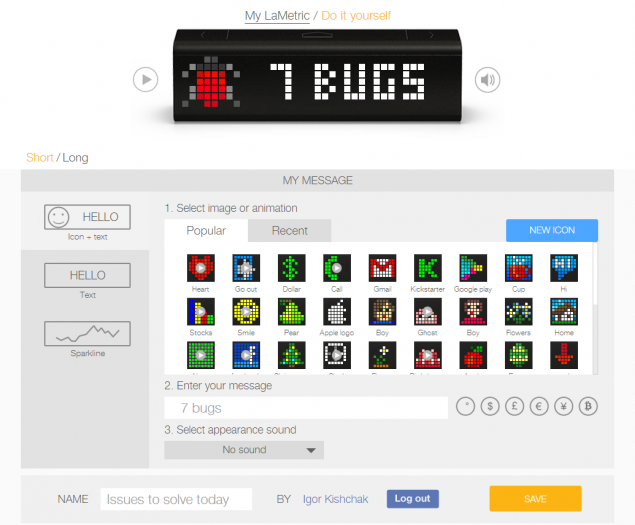
«Screenshot» simulator device i>
Individual comments. At this stage, you will begin to operate as the phrase "mass production", so it is necessary to delve into issues such as the preparation of the project to production, optimization for production facilities and opportunities, etc. Habre has good articles on this topic post1, post2, post3.
Conclusion
"Mature" prototype has given us an understanding that you can achieve the desired effect and the type of device, and added confidence before starting the "Kick" campaign, which we plan to implement in the near future. We certainly share with you the results and lessons learned.
Source: habrahabr.ru/post/218995/