БАШНЯ
About
RU
EN
ES
CN
UK
401
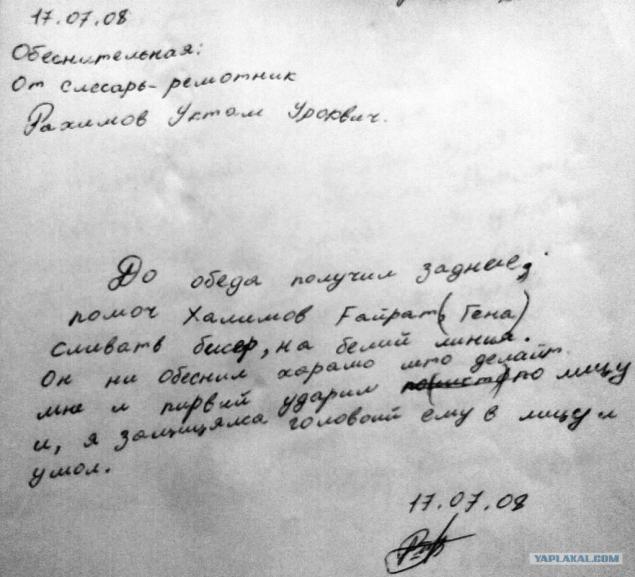
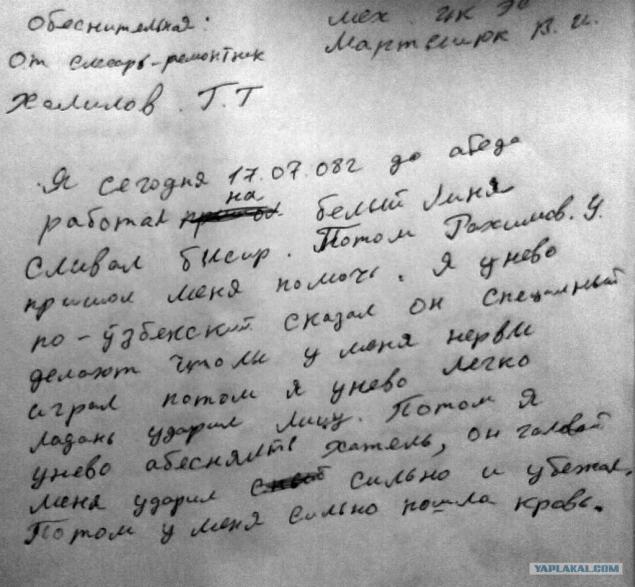
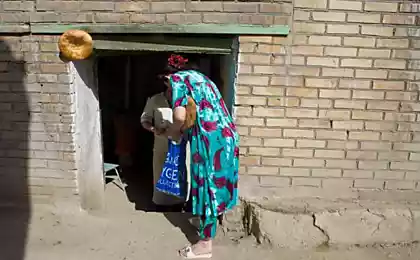
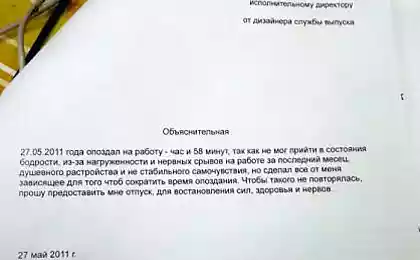
Explanatory Ravshan (2 photos)
Part One
Part two
Source:
Creative explanatory
For those who are constantly late for work
The creative approach when writing explanatory
Ravshana Kurkova shocked fans and told that two months ago she became a mother for the second time
Ravshana Kurkova is 38 and still looks 25! The actress kindly shared her secrets of beauty and youth.
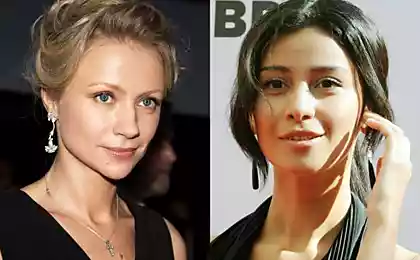
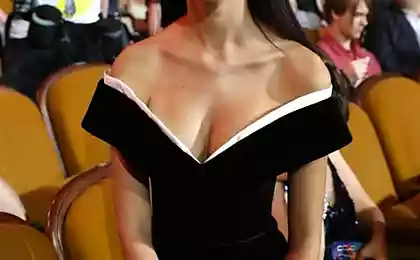
Ravshan Kurkova (Ravshana Kurkova)
Ravshan Kurkova photo shoots
The most beautiful people of Moscow
The women of the country in 2013
Another fun explanatory
These Bukhara cakes
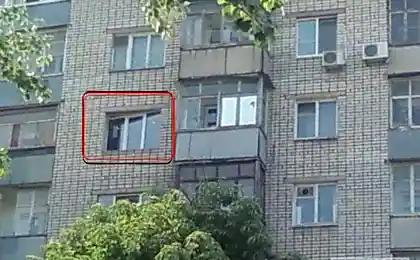
Put the windows Ravshan! (2 photos)
Stars that suddenly stopped aging and shine brighter than 20 years ago
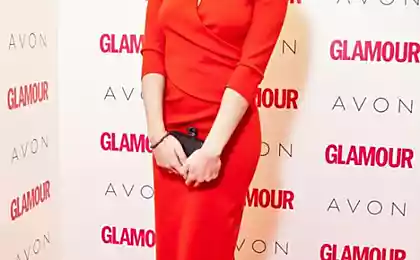
Woman of the Year Glamour
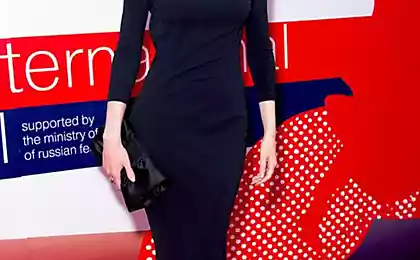
Closing MIFF 2012
Opening MIFF 2012
Ravshana Kurkova: “You just want a person to be happy, whether you slept together or not.”
Ideal explanatory
Badge - tse duzhe vazhlivo
Explanatory Director
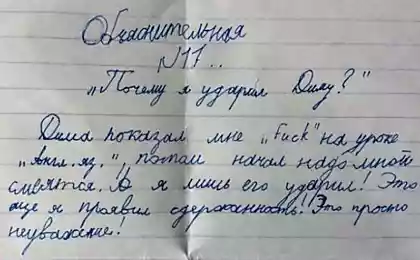
Convincing explanatory (1 photo + text)
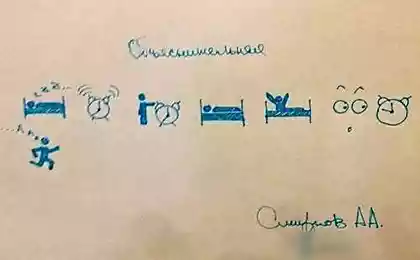
Explanatory soul (3 photos)
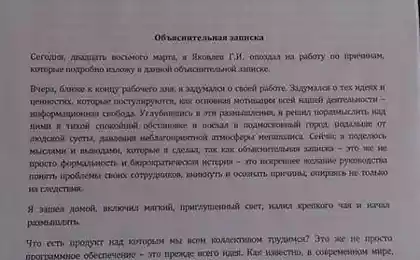
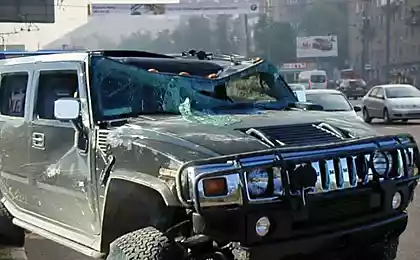
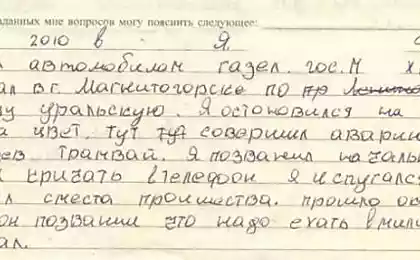
Masterpiece explanatory participant accident (3 photos)
Explanatory of the traffic police (2 Scrin)
Creative explanatory
For those who are constantly late for work
The creative approach when writing explanatory
Ravshana Kurkova shocked fans and told that two months ago she became a mother for the second time
Ravshana Kurkova is 38 and still looks 25! The actress kindly shared her secrets of beauty and youth.
Ravshan Kurkova (Ravshana Kurkova)
Ravshan Kurkova photo shoots
The most beautiful people of Moscow
The women of the country in 2013
Another fun explanatory
These Bukhara cakes
Put the windows Ravshan! (2 photos)
Stars that suddenly stopped aging and shine brighter than 20 years ago
Woman of the Year Glamour
Closing MIFF 2012
Opening MIFF 2012
Ravshana Kurkova: “You just want a person to be happy, whether you slept together or not.”
Ideal explanatory
Badge - tse duzhe vazhlivo
Explanatory Director
Convincing explanatory (1 photo + text)
Explanatory soul (3 photos)
Masterpiece explanatory participant accident (3 photos)
Explanatory of the traffic police (2 Scrin)
Industrial sculpture in Moscow
Flat lamochki