640
4x4x4 led cube
It all started about six months ago on YouTube, I happened to see a very interesting thing that is called "4x4x4 led cube». Watching her
It works a little fascinated. In general I liked the idea. As in electronics, microcontrollers and other shnyaga I
extremely powerful, the idea to assemble, something like that quickly disappeared. But one day, on one zabugornom forum, I found
sufficiently detailed description of the process of creating such a thing. So I decided to test their strength and forgive me the guru of electronics.
And on the same day were ordered to ebey 100 white (as it later turns from green to purple, well, okay, just 5 bucks)
LEDs and programmer type USBasp (4 dollars), after their arrival, one online store electronic components were
Book: prototyping circuit board, controller atmega16, kvatsevy generator and a handful of resistors, kondentsatorov, transistors and
Other stuff.
The assembly began with the creation of the most important element - LED cube 4x4x4 pixel size. The cube is created layer by layer, the layer B16
LED with common cathode layer 4 with a common anode. What would weld them together, I used a wooden substrate with 16
holes markup to accommodate 16ti LEDs. Generally only 64 LEDs, the distance between them of about 23 mm.
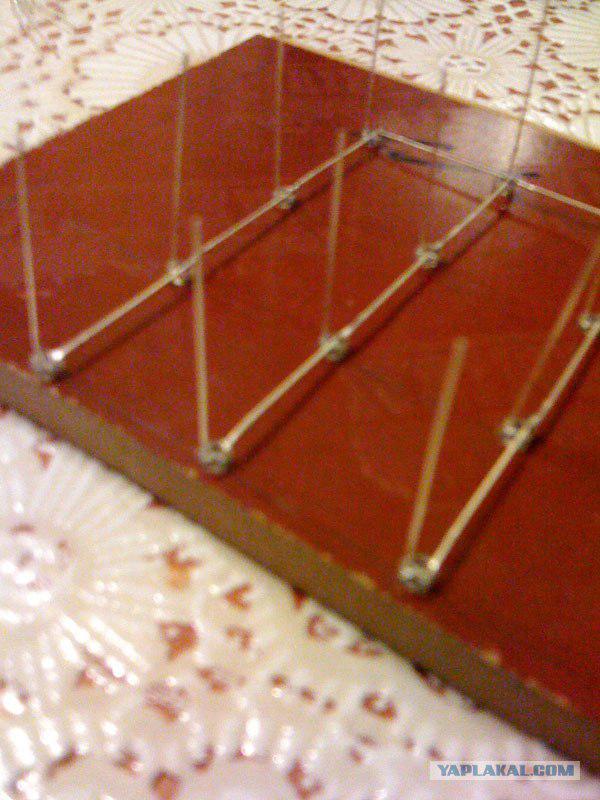
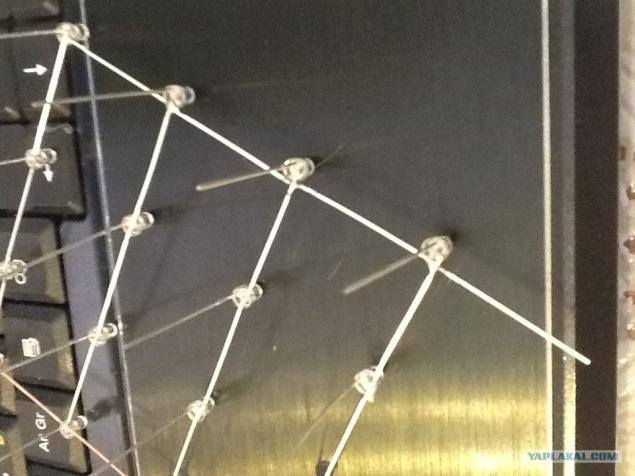
Layer ready.
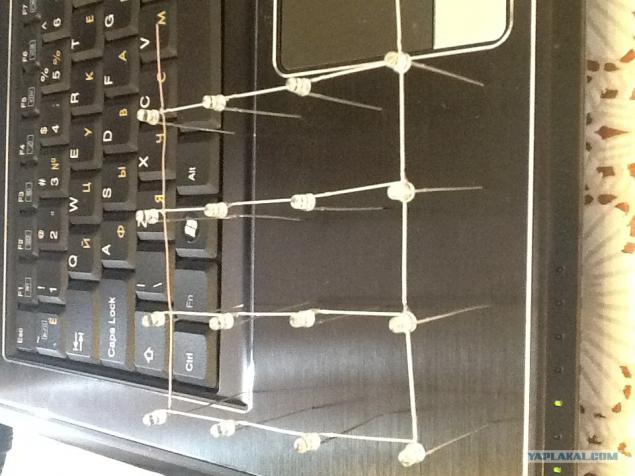
More
Now solder layers anodes of LEDs to give 4x4x4 cube with 4 layers of cathode and anode with 16 columns.
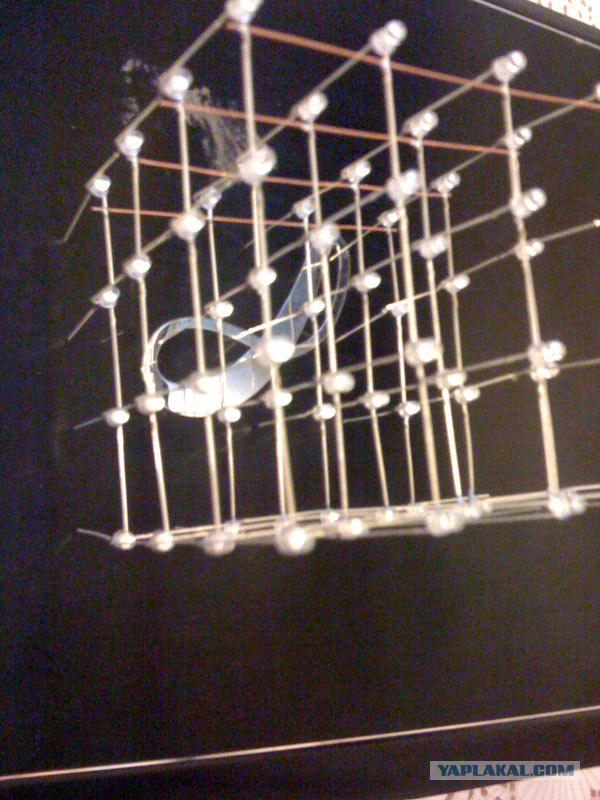
The cube is ready. Now we have to start assembling the controller.
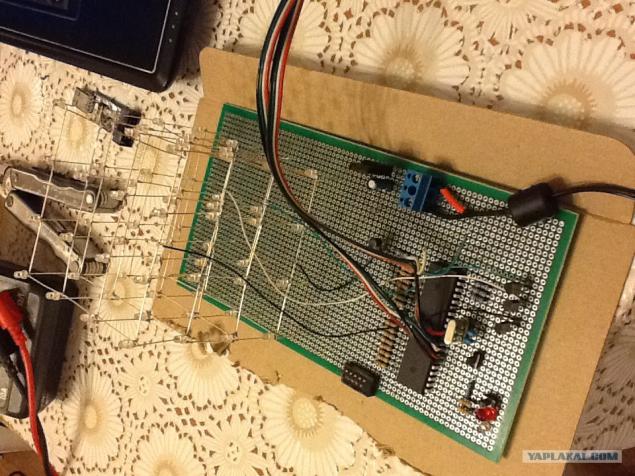
I started with a voltage regulator. Close kondentsator in the picture, in consequence, has been deleted, since blew up, well, I forgot,
that relied on the power supply voltage 9c and 12c used.
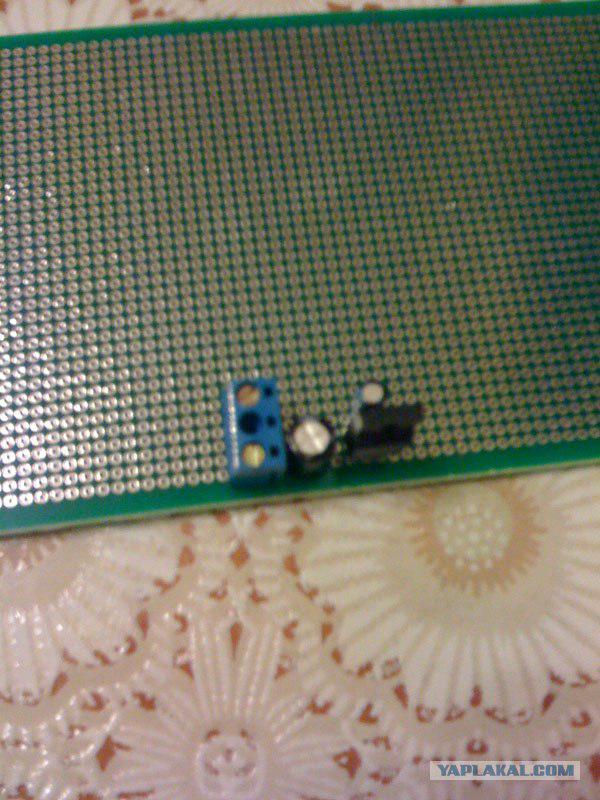
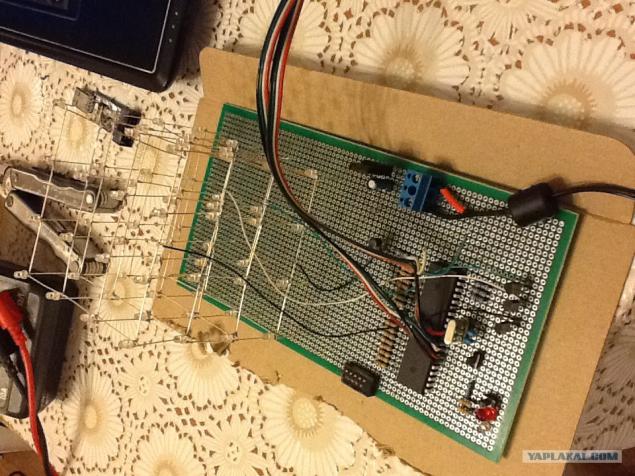
Beyond that it was soldered the microcontroller and its piping.
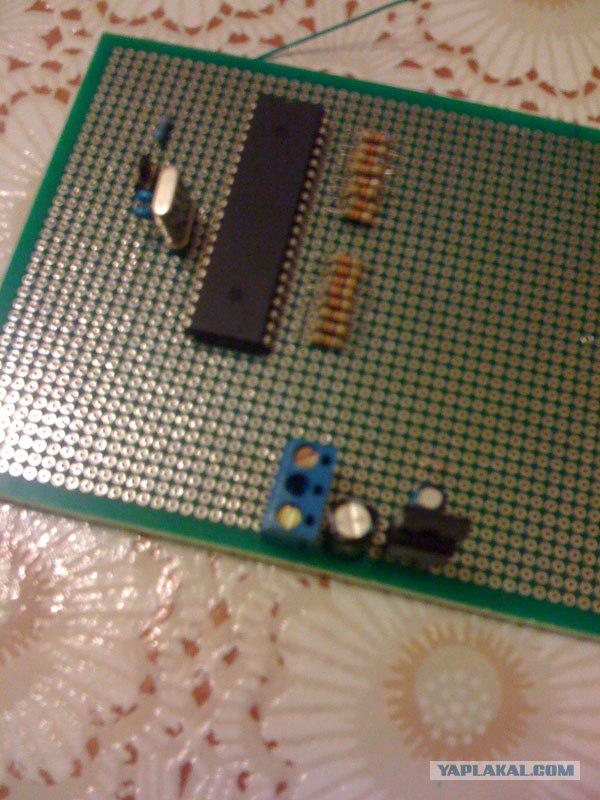
And now he is ready. The problem arose when the controller firmware. In the beginning I used to flash programmer, and the power
I took the chip with the board, but in this case, the programmer or does not want to define a chip, well, I decided to try
fully connected to the programmer and mikruhu, the picture can be seen colorful trail, this is it. And lo and behold, they ask. And
even started to work. But how the hell knows ...
More
Posted in [mergetime] 1330900685 [/ mergetime]
The fact that half of the LEDs is simply not working. The problem was solved by re propayki and cleaning fee of flux and other foreign objects. Unfortunately, there do not understand why do not work 4 column of LEDs is probably a problem in the controller, can I have it overheated during soldering, which may be something else. I will understand.
In any case, for the first time is not bad, I learned a bunch of new microcontrollers, realized their mistakes during assembly and in general it was very interesting. Perhaps I will gather as a thread cubic 8h8h8, the difficulty increases at times, because it has 512 LEDs. And here is the video.
Thank you for attention!
Source: http: //
It works a little fascinated. In general I liked the idea. As in electronics, microcontrollers and other shnyaga I
extremely powerful, the idea to assemble, something like that quickly disappeared. But one day, on one zabugornom forum, I found
sufficiently detailed description of the process of creating such a thing. So I decided to test their strength and forgive me the guru of electronics.

And on the same day were ordered to ebey 100 white (as it later turns from green to purple, well, okay, just 5 bucks)
LEDs and programmer type USBasp (4 dollars), after their arrival, one online store electronic components were
Book: prototyping circuit board, controller atmega16, kvatsevy generator and a handful of resistors, kondentsatorov, transistors and
Other stuff.
The assembly began with the creation of the most important element - LED cube 4x4x4 pixel size. The cube is created layer by layer, the layer B16
LED with common cathode layer 4 with a common anode. What would weld them together, I used a wooden substrate with 16
holes markup to accommodate 16ti LEDs. Generally only 64 LEDs, the distance between them of about 23 mm.

Layer ready.

More

Now solder layers anodes of LEDs to give 4x4x4 cube with 4 layers of cathode and anode with 16 columns.

The cube is ready. Now we have to start assembling the controller.
I started with a voltage regulator. Close kondentsator in the picture, in consequence, has been deleted, since blew up, well, I forgot,
that relied on the power supply voltage 9c and 12c used.

Beyond that it was soldered the microcontroller and its piping.

And now he is ready. The problem arose when the controller firmware. In the beginning I used to flash programmer, and the power
I took the chip with the board, but in this case, the programmer or does not want to define a chip, well, I decided to try
fully connected to the programmer and mikruhu, the picture can be seen colorful trail, this is it. And lo and behold, they ask. And
even started to work. But how the hell knows ...

More
Posted in [mergetime] 1330900685 [/ mergetime]
The fact that half of the LEDs is simply not working. The problem was solved by re propayki and cleaning fee of flux and other foreign objects. Unfortunately, there do not understand why do not work 4 column of LEDs is probably a problem in the controller, can I have it overheated during soldering, which may be something else. I will understand.
In any case, for the first time is not bad, I learned a bunch of new microcontrollers, realized their mistakes during assembly and in general it was very interesting. Perhaps I will gather as a thread cubic 8h8h8, the difficulty increases at times, because it has 512 LEDs. And here is the video.
Thank you for attention!
Source: http: //
