774
Clean helmet
I want to tell you how you can quickly and efficiently clean your helmet from last year's mud.
38 ph
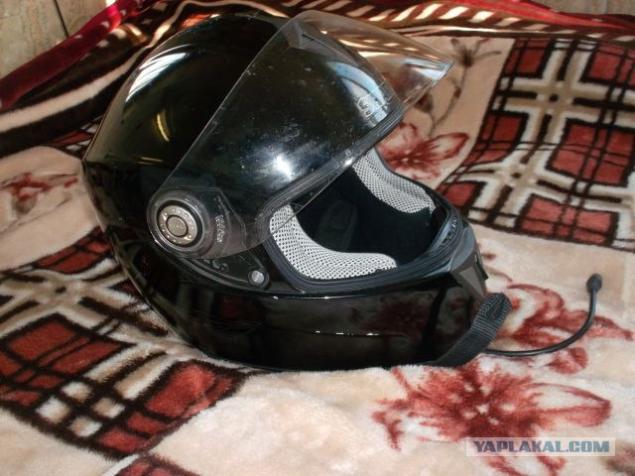
I show by example
I decided to choose to clean your helmet, because the experience is already there.
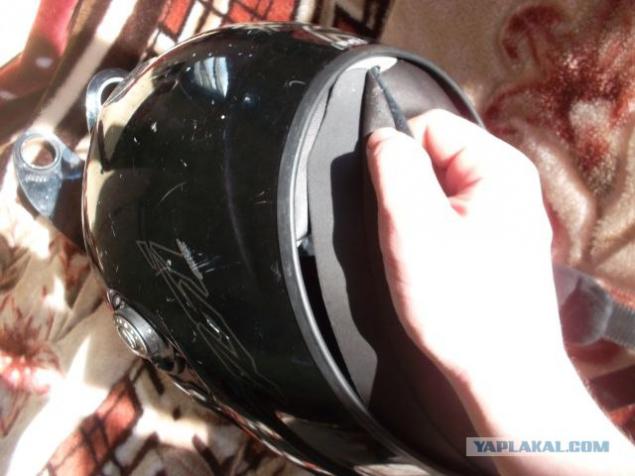
So for starters, otsoedenyaem visor (visor) of the helmet. Usually this is done by simply pressing a button on the Mount.
1
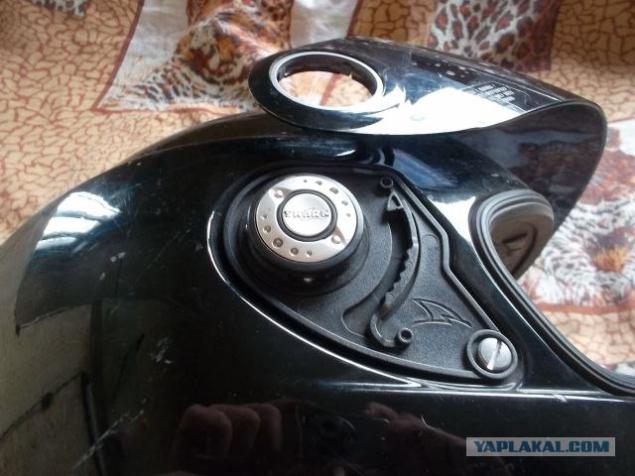
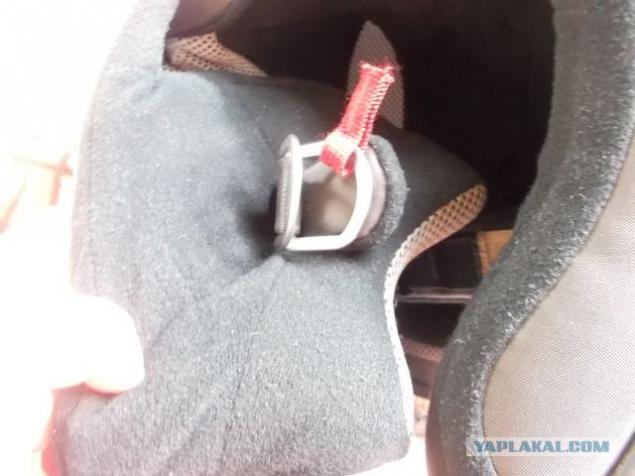
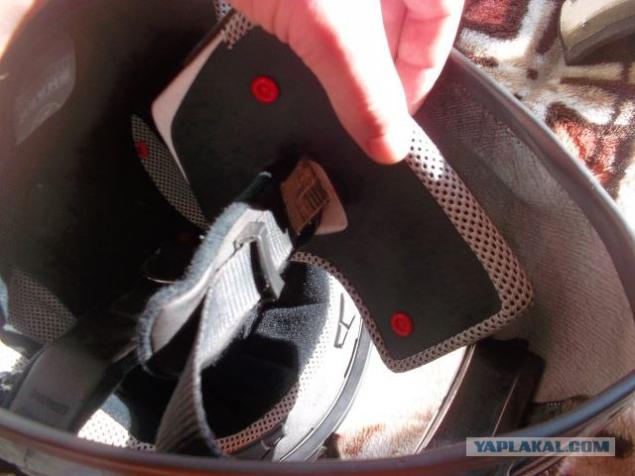
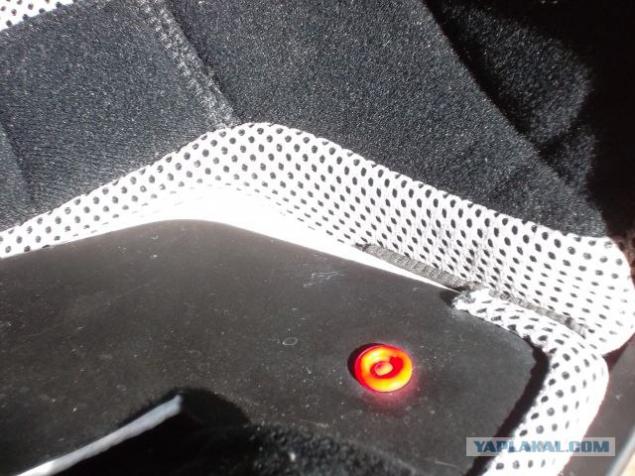
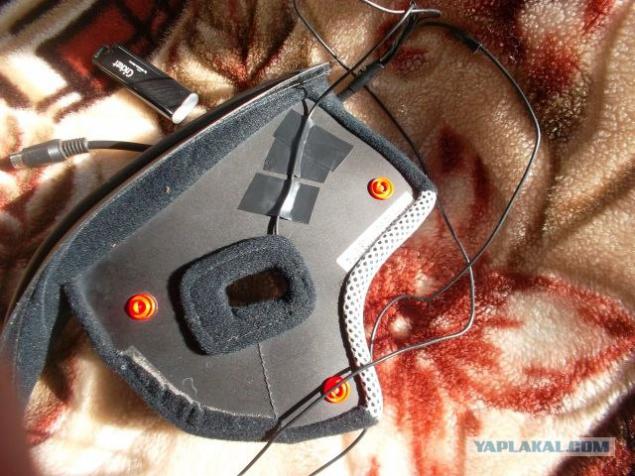
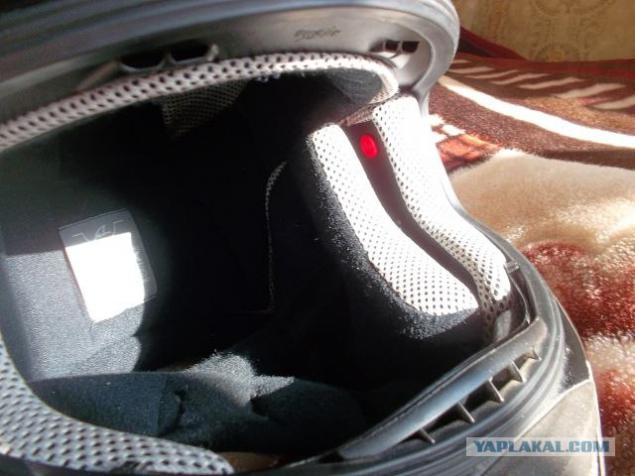
Then otsoedenyaem inner cheeks, one kept me on the red snap. A good place to nychki
2
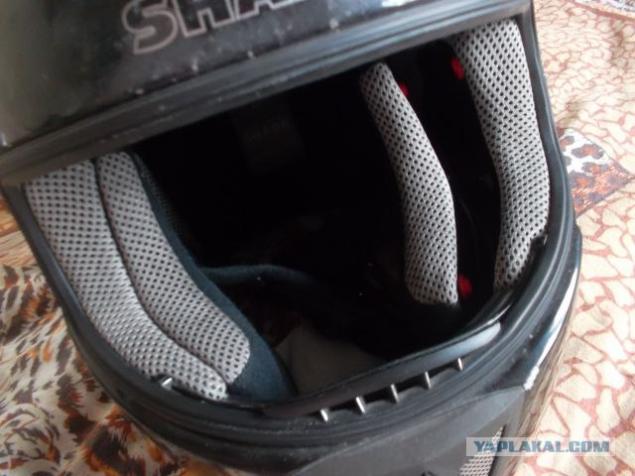
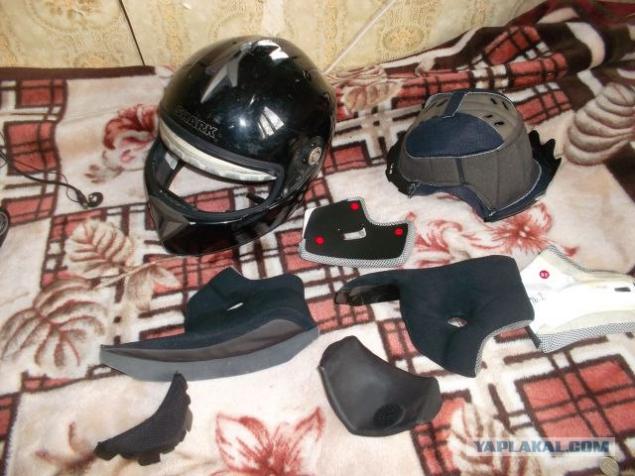
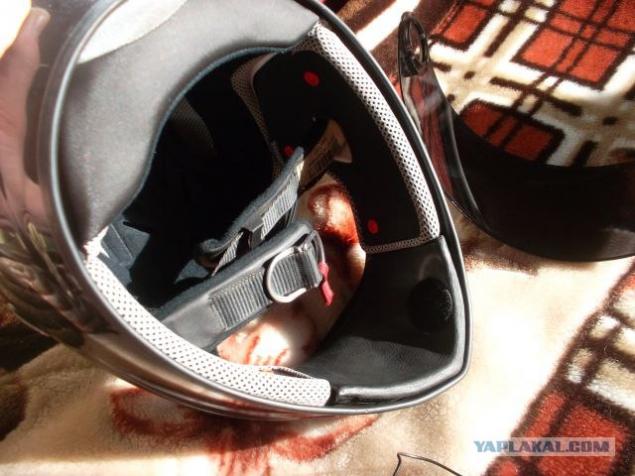
These cheeks are poluvorotnikom helmet, ie they go back to his back. In general everything is visible in the photo.
3
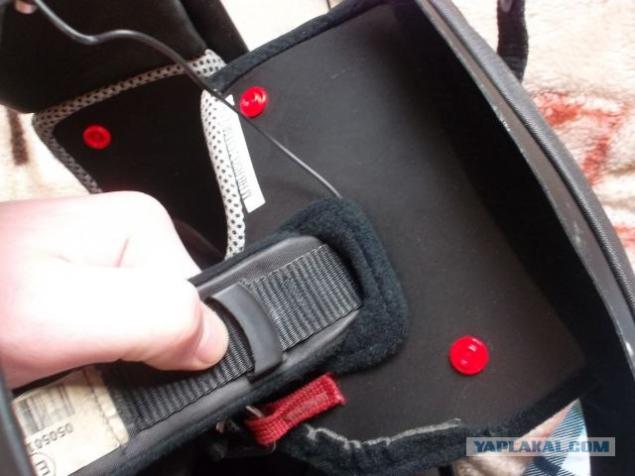
Through cheeks are belts with fasteners. Since in my photo, mount not fit, you have to straighten.
4
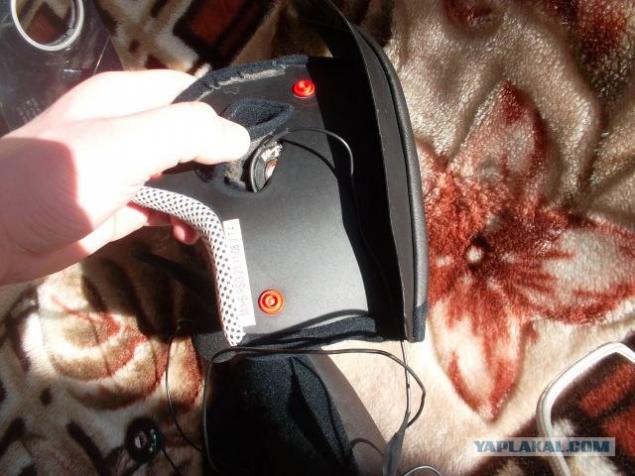
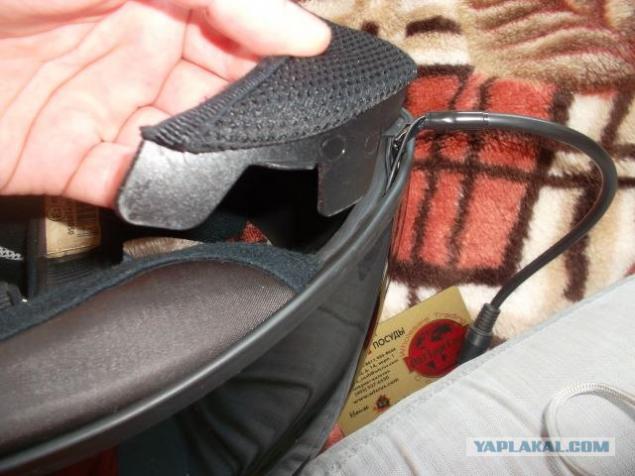
We take out the headphones from the radio. They were right stuff inside the cheeks, under the fabric through the hole for the belt.
5
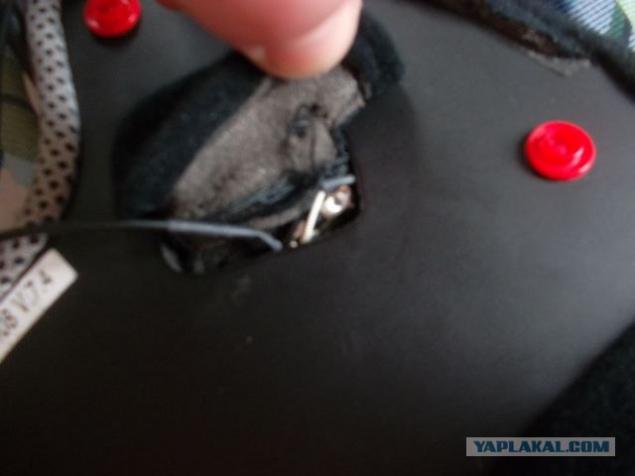
That itself from the earpiece radios. I have then somewhere to fix the wires.
6
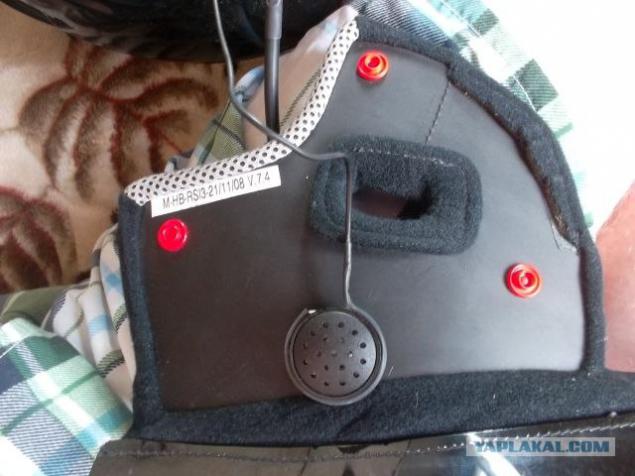
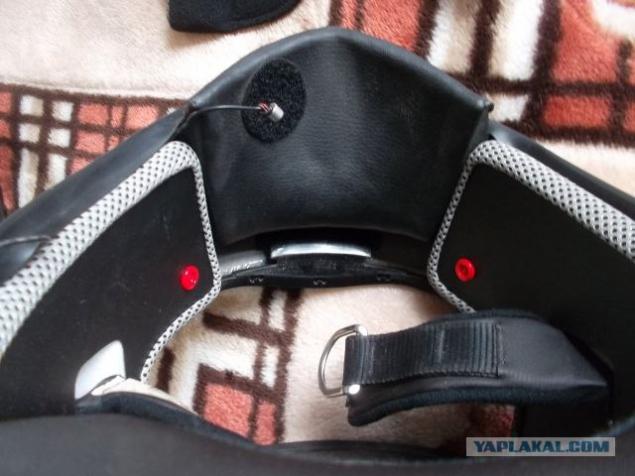
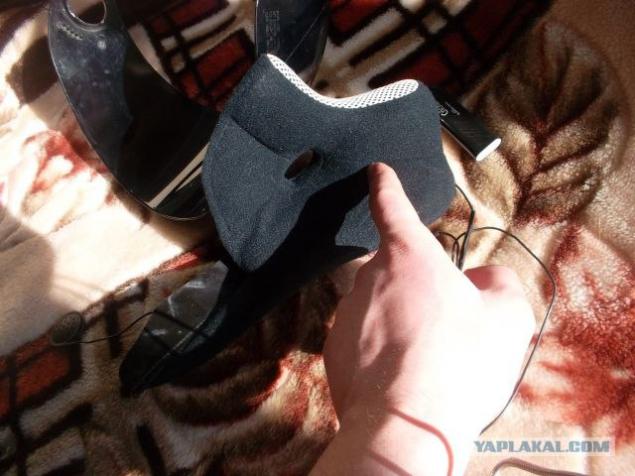
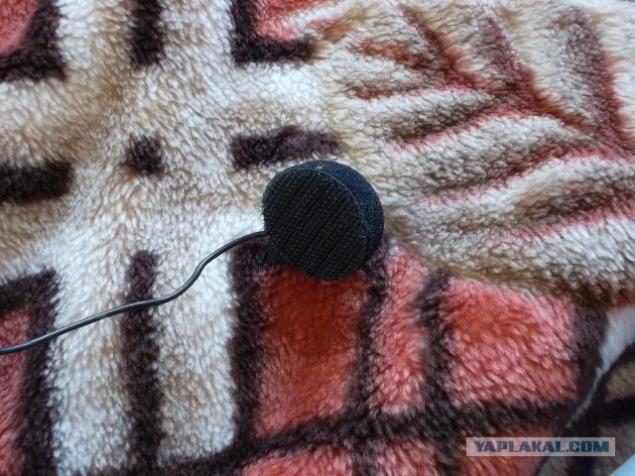
Then remove mikrofonchik. It is to have the inner foam jaw. Glue the base, and the mikrofonchik krepetsya Velcro. Just remove the mesh podborodnuyu.
7
We do the same with the second cheek.
8

We take out the strap. It is seen as a push wire of the second earpiece.
9
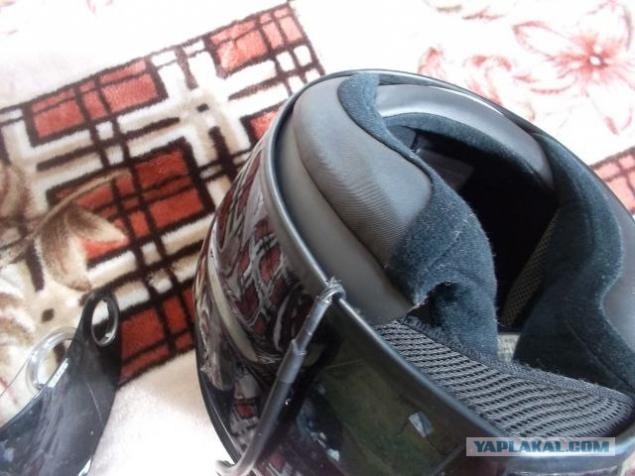
Both cheeks are removed, is now back collar is already easy hanging.
10
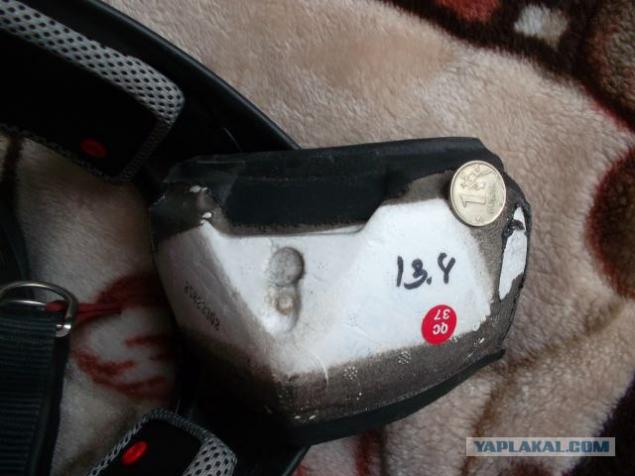
We take out bodborodok carefully it is made of foam, but the essence of the design is such that everything is at the disposal. And like all tightly interconnected docked, felt very good.
11
It seems found an old grist
12
Now freed from foam cheek ugly strain. They must be removed.
It is necessary to release the inner cap for cleaning.
13
Similarly, in the foam cheeks locking fastening seat belt passes so easily. Doing so, as in the photo and take out.
14

Now the inner cap, he was almost relieved.
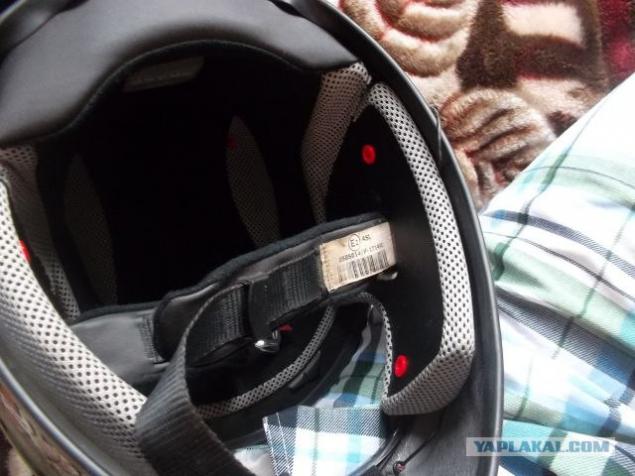
15

He now holds just under the visor. Now it is easy to be pulled out, but put it back !!!
16

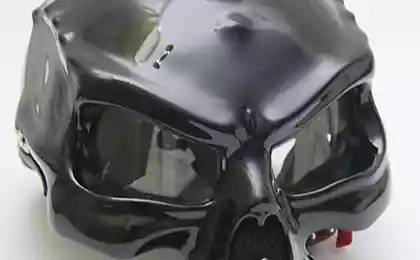
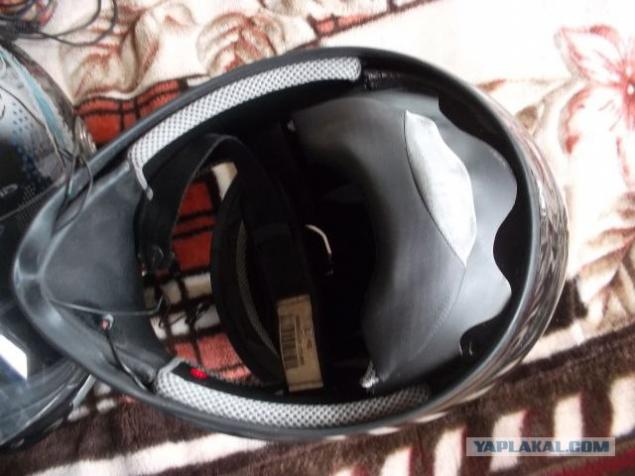
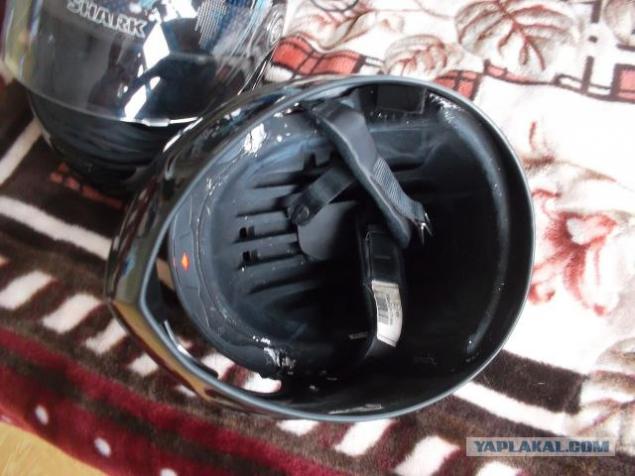
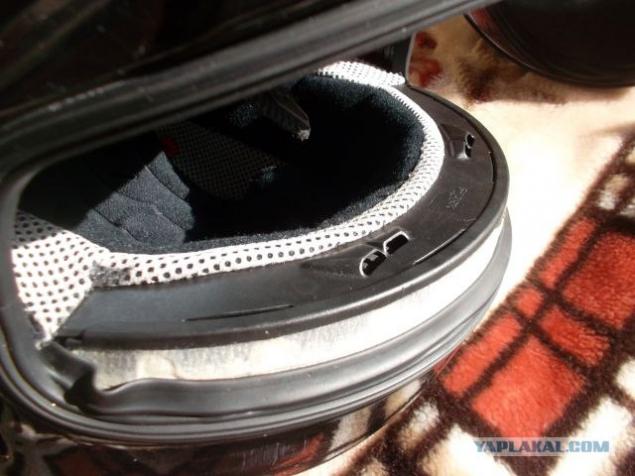
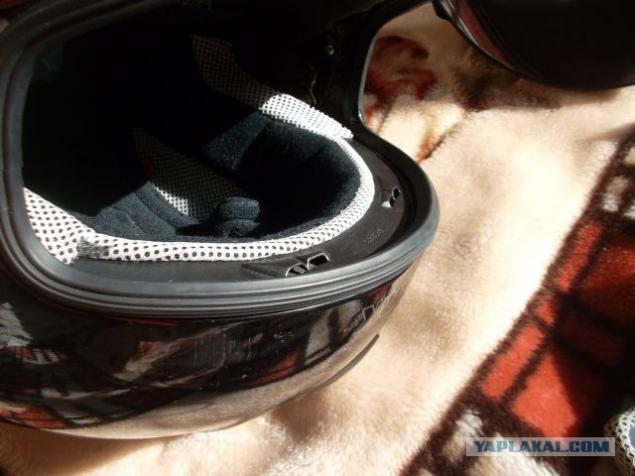
That's how the helmet looks without the cap. The internal part, a very dense foam or something in that spirit, freely walks the shell, but not vylaziet. From the visor and go to the back of the collar vents.
17
That's how it looks in a disassembled state. It is evident cap, made of a lightweight material also has ventilation channels. And the inside of the (white), which looks out from under the shell.
18
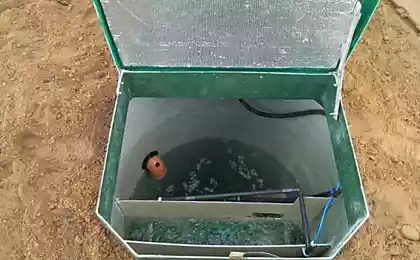
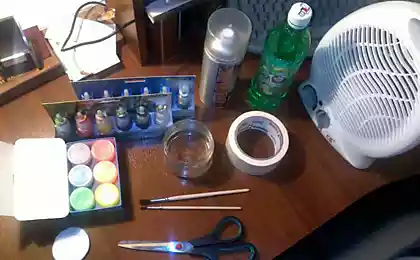
Fill the container with warm water and the powder. And descends to the elements of interior decoration material is very good, clean easy, strong enough, and dries very quickly.
19
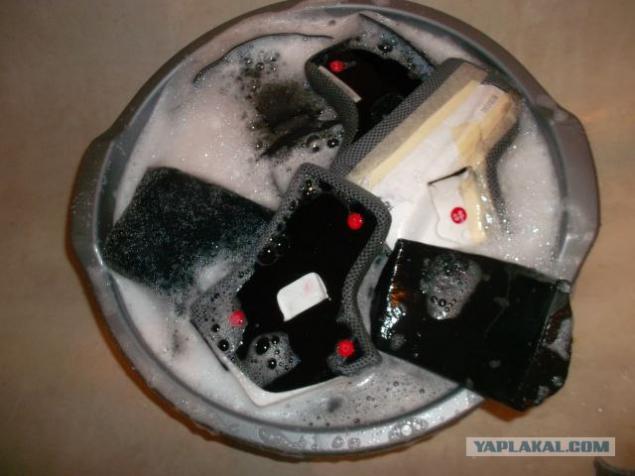
Individual elements can be cleaned with a toothbrush unnecessary. Do not toothpaste and let the host. soap.
20

Now is the time to fix the wires. Nothing complicated, just rewind to the right places.
21
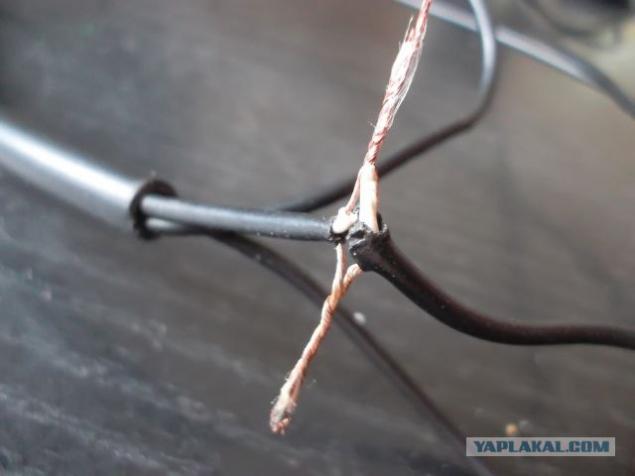
And so, all dried up, the wire rewound. Insert the cap back collar cap shove under the inner part of the helmet, but the fix is not required.
22
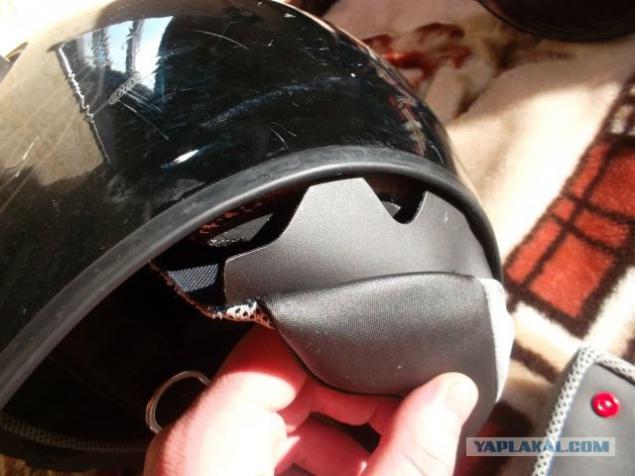
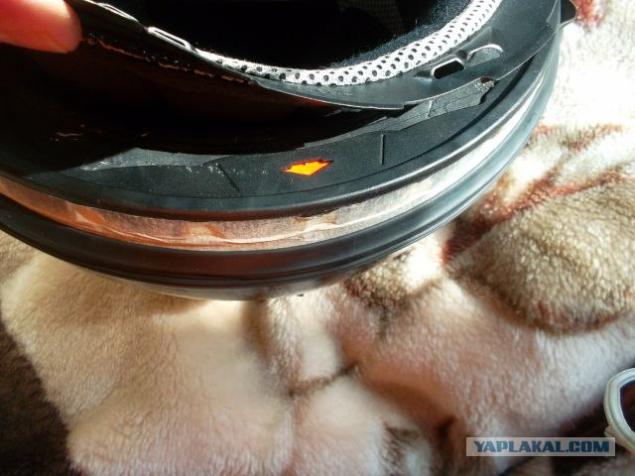
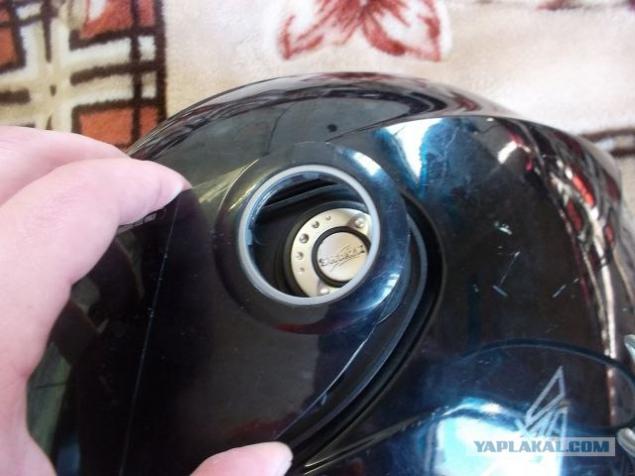
Here begins a little more complicated, you have to insert the visor cap in a special slit in the visor of the helmet, and because cap walks, visor cap postoyayano flies. Home accurate fix for this as a guide there is a red arrow slotted pobokam. Reed visor must be parallels slots
23
But at the same time it managed to insert in all places. You must immediately put exactly, because that will be hard to live and curves.
24
Close uplotnyayuschiey special rubber band, and safeguard against dirt.
25
We put in place a solid foam cheek.
26
Main everywhere neat dock surface. Tighten the cap on the inside. I glue in some places. Convenient to travel when never loose. And better insulation.
27
When zapihnete one solid cheek, second best to push at the same time the lower jaw. Do not forget the main thing that all were joint to joint. Otherwise, it can walk or crooked gray whole structure.
28
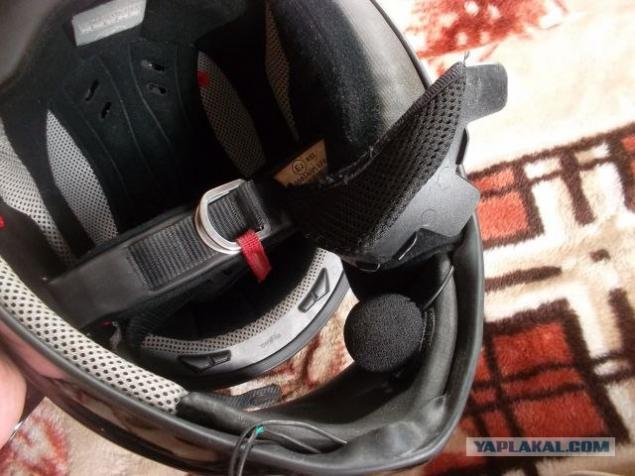
Now insert the speaker into the internal (soft) cheek.
29
I remember where I found the ears when wearing a helmet. So I put your speaker on the place, to the ear. Speaker provides extra bulge. soundproofing ears. Where is my speaker pointed.
30
Priliplyaem dangling wires with electrical tape. In previous observations made sure that the smaller the wire to hang out, so they are tenacious.
31
Insert the soft cheek in the rear collar hood and push through under the interior. Stouter.
32
It is very important that all stood in their places. The design should get the most tightly knit. If everything is smooth, the red latch should match each other and easy to knit.
33
Now gently shove the wires inside, under the gum and solid parts.
34

And secured the whole thing, chin mesh. All cables are hidden, and securely sit in their seats.
35
Held in place mikrofonchik
36
We put in place the visor.
37
All. Helmet ready for the season, it is clean and smells good.
38
All successful season.

Source:
38 ph

I show by example
I decided to choose to clean your helmet, because the experience is already there.
So for starters, otsoedenyaem visor (visor) of the helmet. Usually this is done by simply pressing a button on the Mount.
1

Then otsoedenyaem inner cheeks, one kept me on the red snap. A good place to nychki
2

These cheeks are poluvorotnikom helmet, ie they go back to his back. In general everything is visible in the photo.
3

Through cheeks are belts with fasteners. Since in my photo, mount not fit, you have to straighten.
4

We take out the headphones from the radio. They were right stuff inside the cheeks, under the fabric through the hole for the belt.
5

That itself from the earpiece radios. I have then somewhere to fix the wires.
6

Then remove mikrofonchik. It is to have the inner foam jaw. Glue the base, and the mikrofonchik krepetsya Velcro. Just remove the mesh podborodnuyu.
7

We do the same with the second cheek.
8

We take out the strap. It is seen as a push wire of the second earpiece.
9

Both cheeks are removed, is now back collar is already easy hanging.
10

We take out bodborodok carefully it is made of foam, but the essence of the design is such that everything is at the disposal. And like all tightly interconnected docked, felt very good.
11

It seems found an old grist
12

Now freed from foam cheek ugly strain. They must be removed.
It is necessary to release the inner cap for cleaning.
13

Similarly, in the foam cheeks locking fastening seat belt passes so easily. Doing so, as in the photo and take out.
14

Now the inner cap, he was almost relieved.
15

He now holds just under the visor. Now it is easy to be pulled out, but put it back !!!
16

That's how the helmet looks without the cap. The internal part, a very dense foam or something in that spirit, freely walks the shell, but not vylaziet. From the visor and go to the back of the collar vents.
17

That's how it looks in a disassembled state. It is evident cap, made of a lightweight material also has ventilation channels. And the inside of the (white), which looks out from under the shell.
18

Fill the container with warm water and the powder. And descends to the elements of interior decoration material is very good, clean easy, strong enough, and dries very quickly.
19

Individual elements can be cleaned with a toothbrush unnecessary. Do not toothpaste and let the host. soap.
20

Now is the time to fix the wires. Nothing complicated, just rewind to the right places.
21

And so, all dried up, the wire rewound. Insert the cap back collar cap shove under the inner part of the helmet, but the fix is not required.
22

Here begins a little more complicated, you have to insert the visor cap in a special slit in the visor of the helmet, and because cap walks, visor cap postoyayano flies. Home accurate fix for this as a guide there is a red arrow slotted pobokam. Reed visor must be parallels slots
23

But at the same time it managed to insert in all places. You must immediately put exactly, because that will be hard to live and curves.
24

Close uplotnyayuschiey special rubber band, and safeguard against dirt.
25

We put in place a solid foam cheek.
26

Main everywhere neat dock surface. Tighten the cap on the inside. I glue in some places. Convenient to travel when never loose. And better insulation.
27

When zapihnete one solid cheek, second best to push at the same time the lower jaw. Do not forget the main thing that all were joint to joint. Otherwise, it can walk or crooked gray whole structure.
28

Now insert the speaker into the internal (soft) cheek.
29

I remember where I found the ears when wearing a helmet. So I put your speaker on the place, to the ear. Speaker provides extra bulge. soundproofing ears. Where is my speaker pointed.
30

Priliplyaem dangling wires with electrical tape. In previous observations made sure that the smaller the wire to hang out, so they are tenacious.
31

Insert the soft cheek in the rear collar hood and push through under the interior. Stouter.
32

It is very important that all stood in their places. The design should get the most tightly knit. If everything is smooth, the red latch should match each other and easy to knit.
33

Now gently shove the wires inside, under the gum and solid parts.
34

And secured the whole thing, chin mesh. All cables are hidden, and securely sit in their seats.
35

Held in place mikrofonchik
36

We put in place the visor.
37

All. Helmet ready for the season, it is clean and smells good.
38
All successful season.

Source: