974
Padding interior doors with their hands
Hello everybody!!! That's decided to share with you how to make his way home more beautiful car. I understand that this is not a car forum, but judging by the huge count of posts registrar motorists here enough.
There are photos and a short description of the process.
Pervonahov please do not break , the end will tell
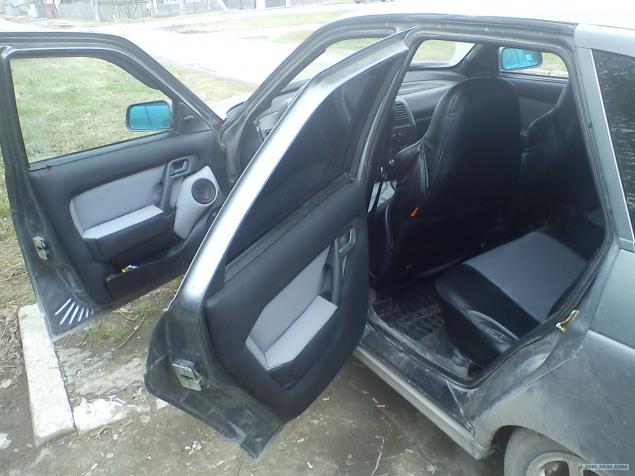
So, in the beginning of the materials and tools that I need.
Materials:
- Automobile leatherette 3 PM black and gray-shirts perforation - 350r. per meter (140 * 100) ... eventually left about half gray, black all gone, except for scraps. a total of nearly 2,000 rubles.
- Plywood 4mm - about 400 rubles a sheet of 1, 5 * 1, 5 meters
- Two rolls parolona 1m * 2m * 1 cm - 140 rubles.
- Different length screws, washers, drill 1, 9mm, staples staple gun - the price will not say, because fines.
- Scotch masking wide, about 2, 5 reel - 50 rubles. roll.
Tools:
- E. Jigsaw (taken from his father)
- Drill (my personal)
- Staple gun (taken from a friend)
- File semicircular (purchased) - 50 rubles.
- Others screwdriver, scissors, paper knife was all neatly Remove door trim. I started from the back, they are not so pathetic and potrenerovatsya possible.
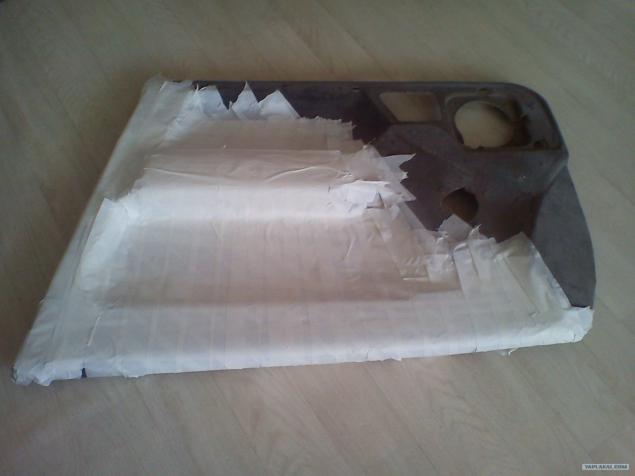
And we start to paste masking tape. At first I thought it better to tape lay plastic wrap, but then this idea has disappeared since work with it was uncomfortable).
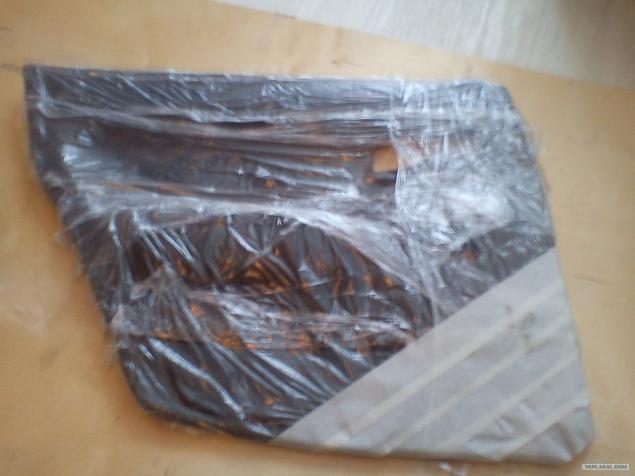
dvlshe continued without film
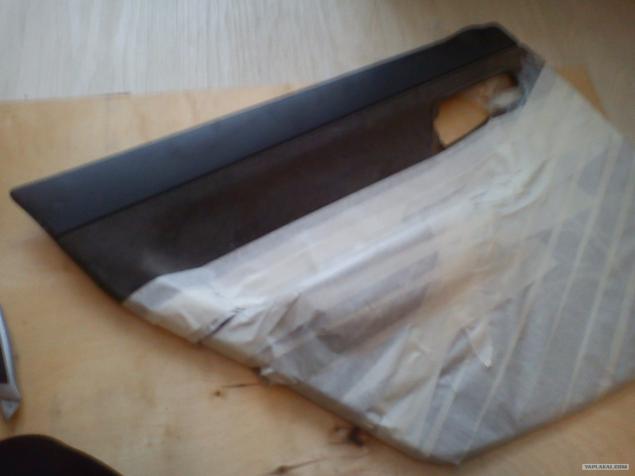
close up ... all for the quality of the photo I'm sorry, filmed on the phone
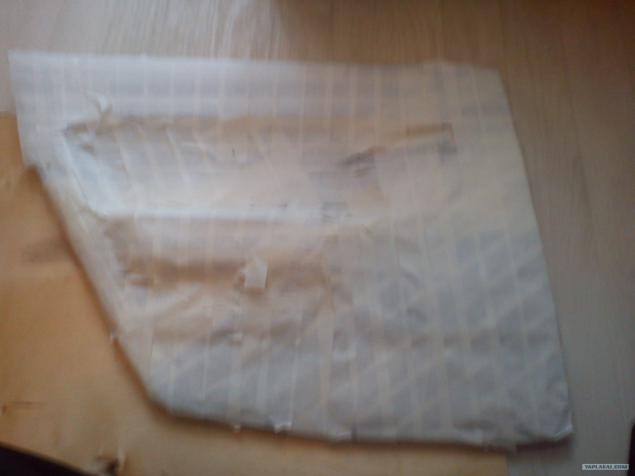
then starts to look like a marker or approximate curve patterns ... in short stencils))
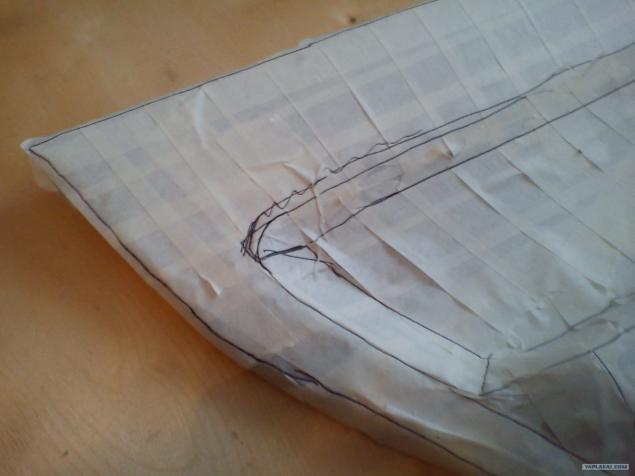
be sure to take into account the handle
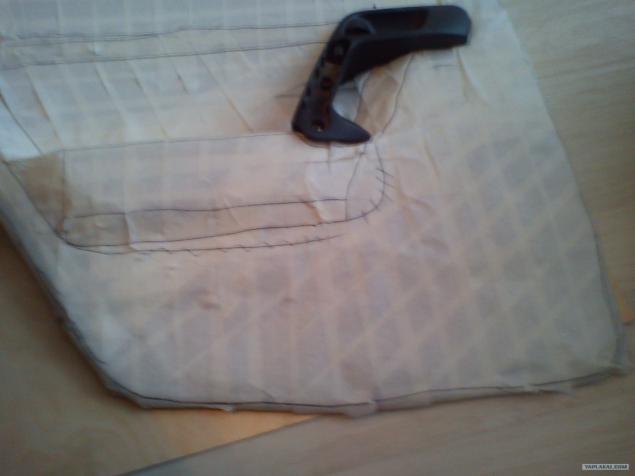
More
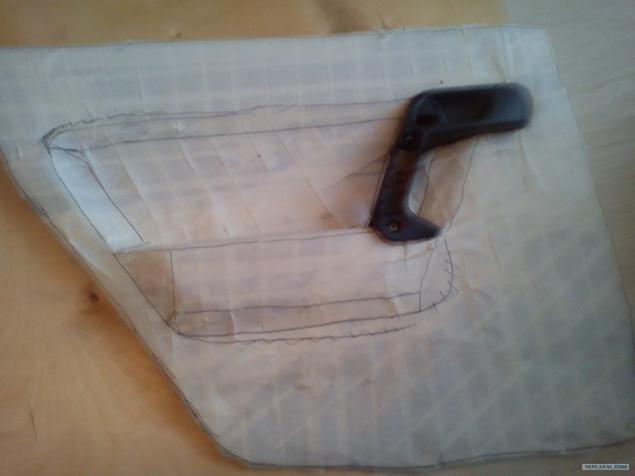
Well, as finished cut out
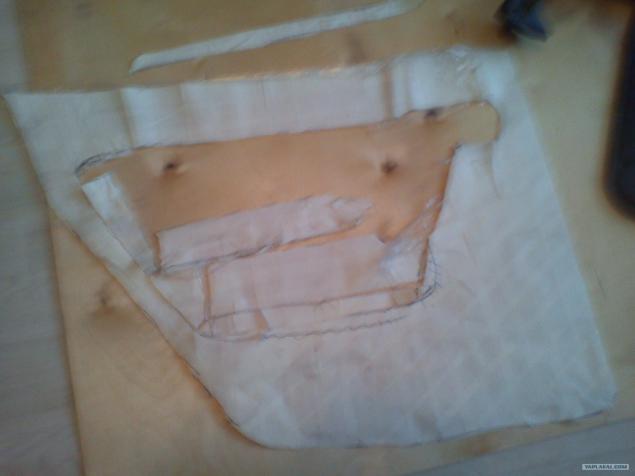
on all portable plywood ...
A little retreat)) I first took up el.lobzik and the first workpiece had a wide margin, and then of course regretted ... since many had to work with a file
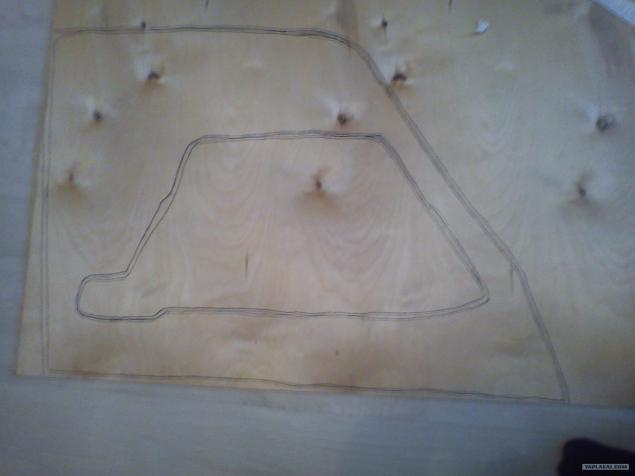
all moved, begin to cut)
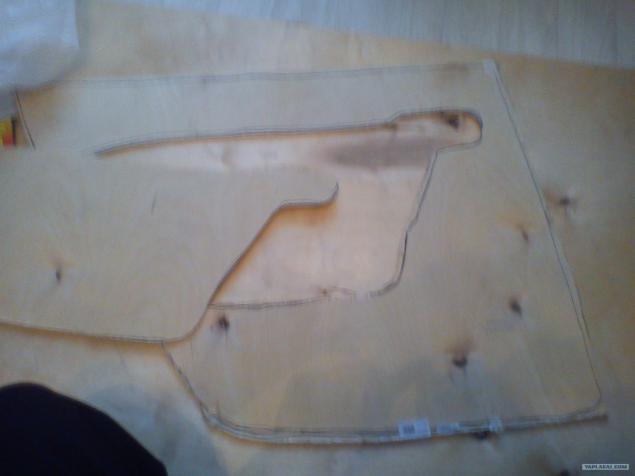
More
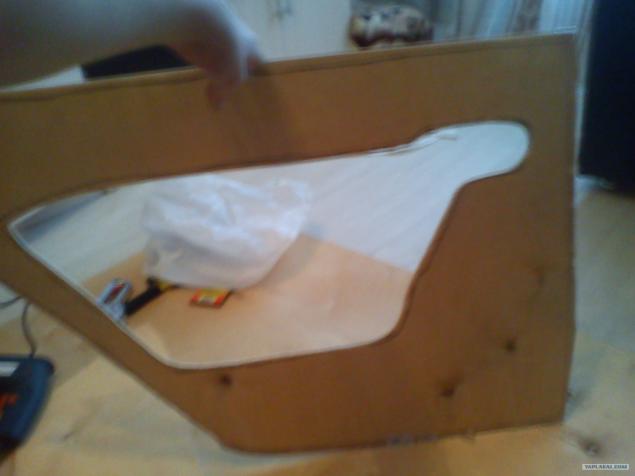
all have cut begin to customize the details of the place ... I used the file, someone with an accuracy better than me friendly, easier to
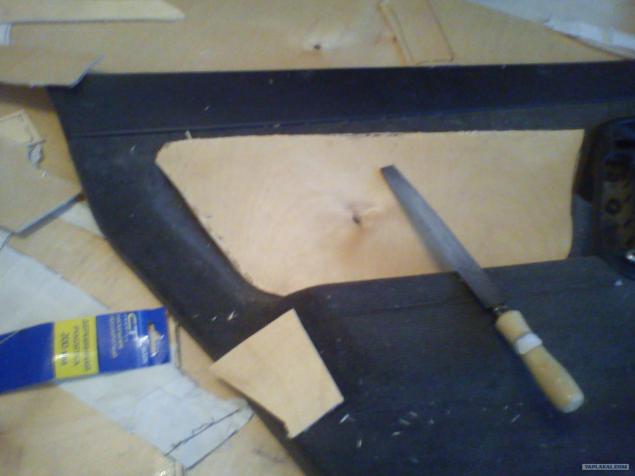
the hand clutching the handle
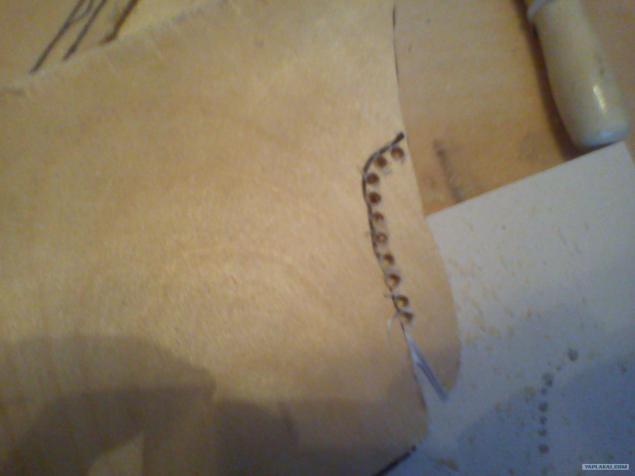
Here
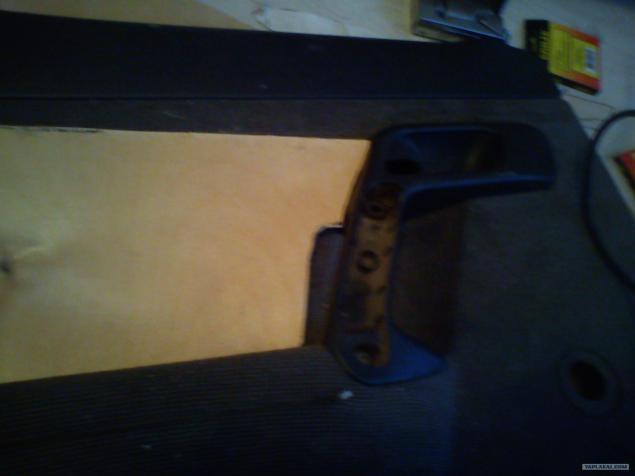
All parts fit ... about)
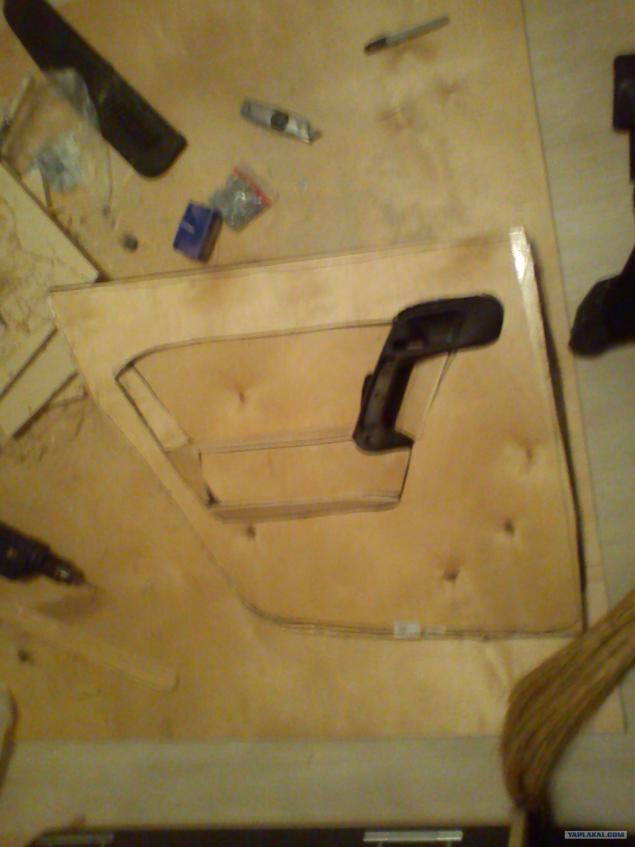
swift start to the details ... of colors depends on your imagination and the availability of materials))
paralon cut out details on the size, with a margin of leatherette and stseplerom brings beauty
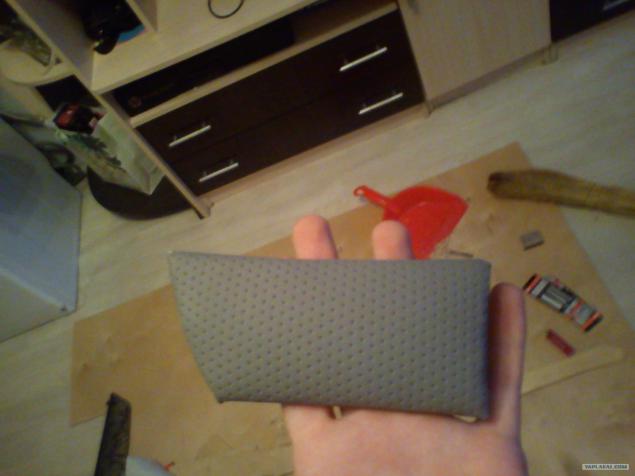
parolon)))) As you may have noticed, I do it all at home. Garage is not, and I live in a hostel, ie among all the living room, kitchen, bedroom ... all in one room)
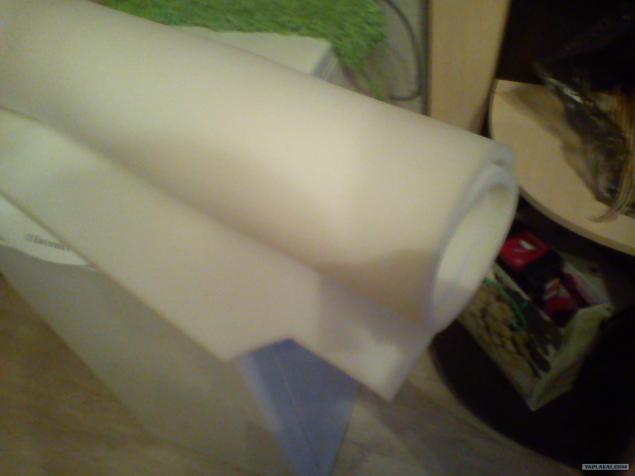
reverse side
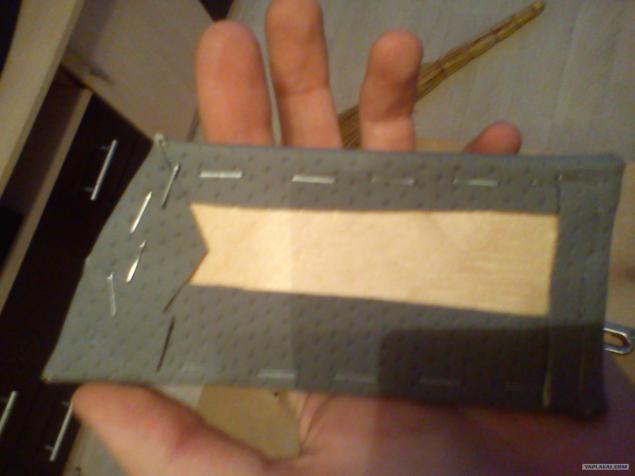
Black Circuits
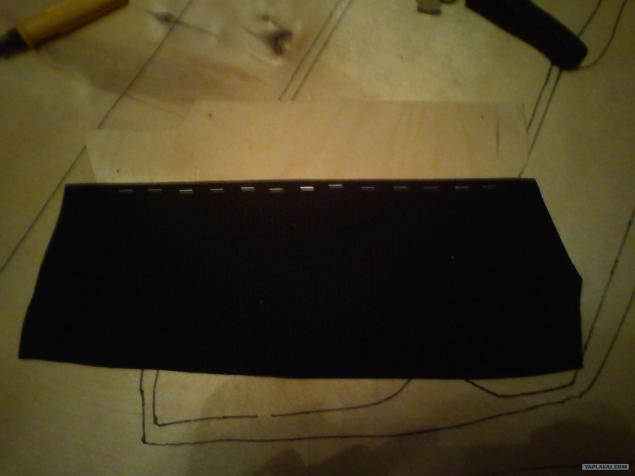
clearly
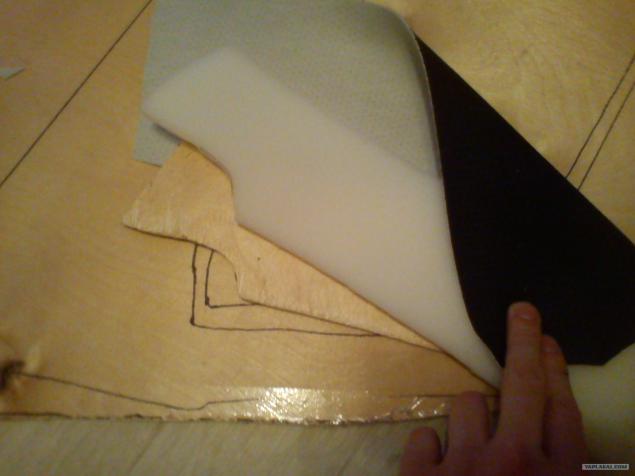
before wrapped with detalek suffered already finished parts on the plywood templates for the second door
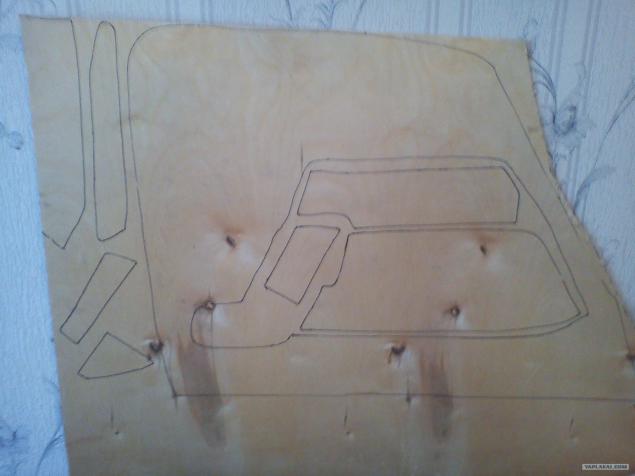
Darky drill around the perimeter of the small drill 1, 9mm
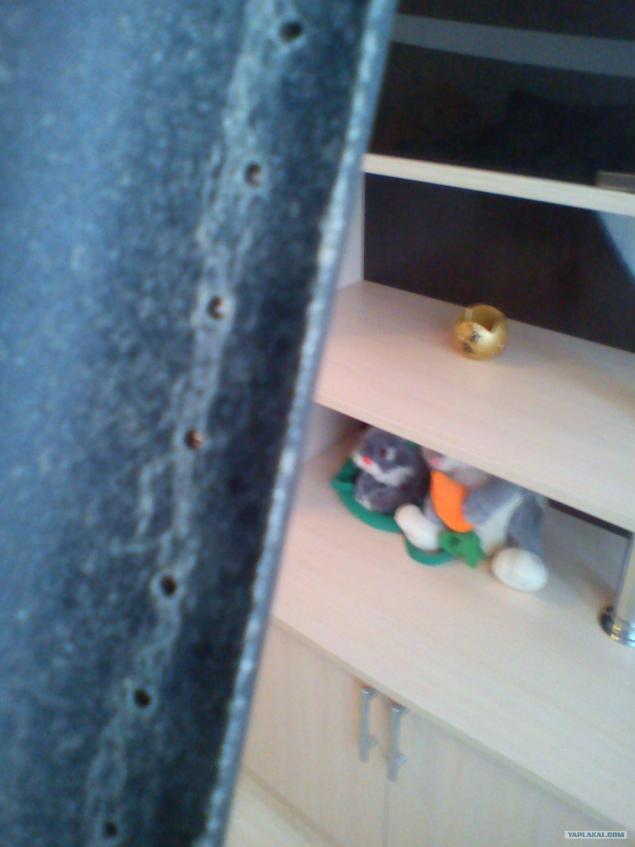
More
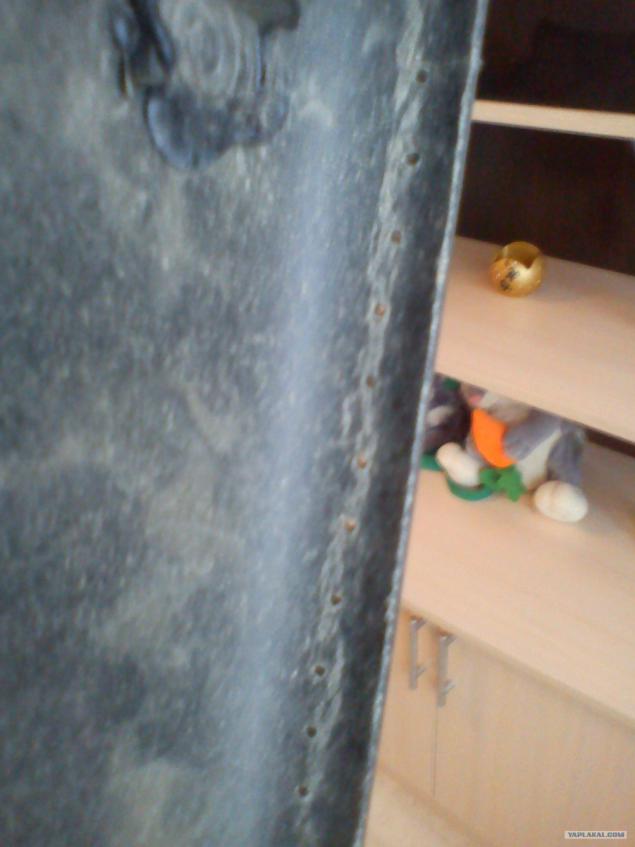
do pad under the handle
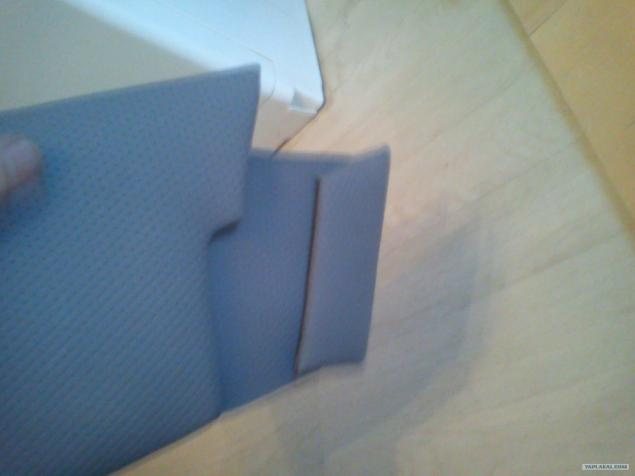
Rear Vidocq
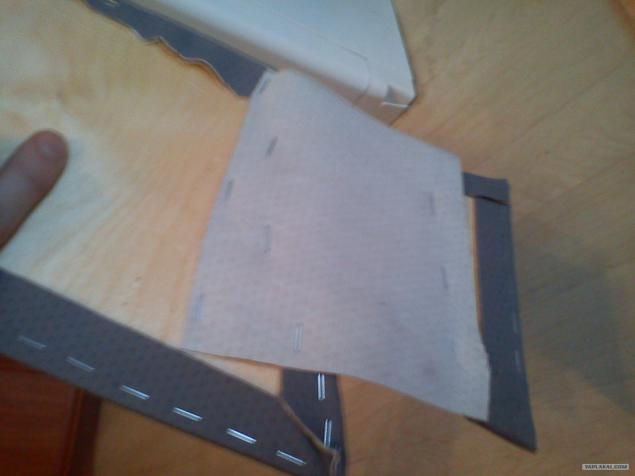
try on
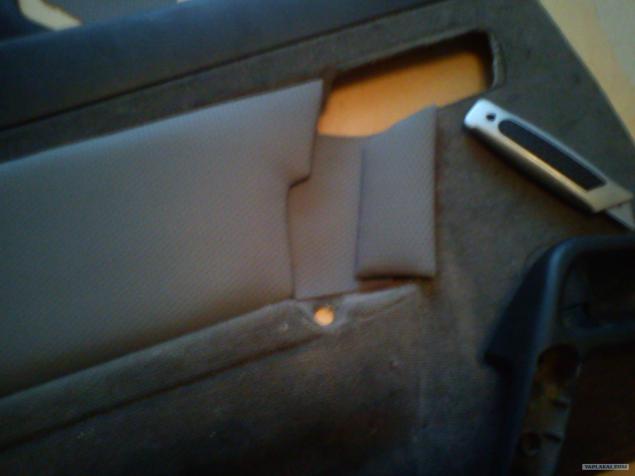
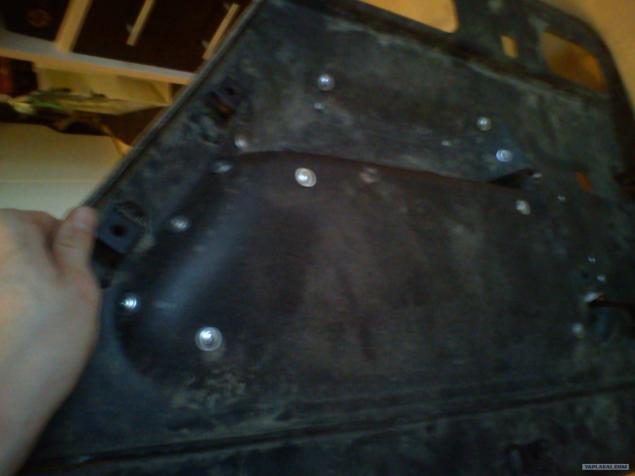
parts are mounted on screws
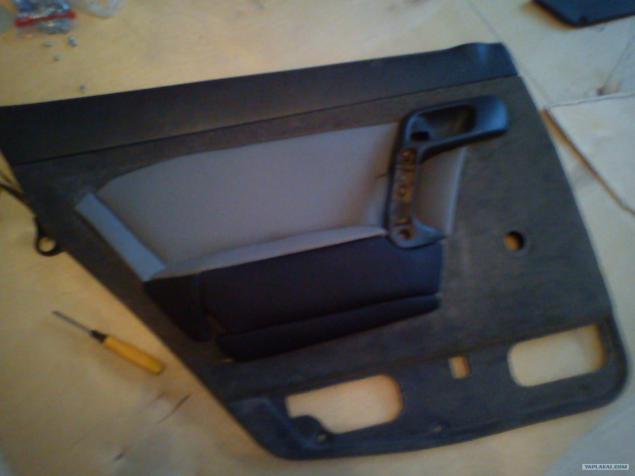
More
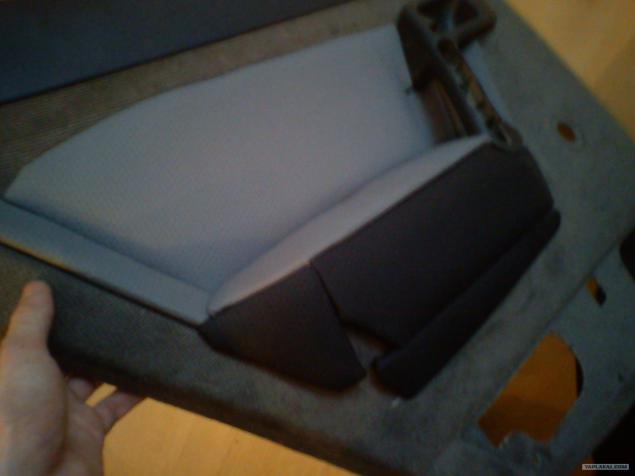
mounting method
try to make a straight and angular hand between the parts, or else have to insert pieces of imitation leather as I did
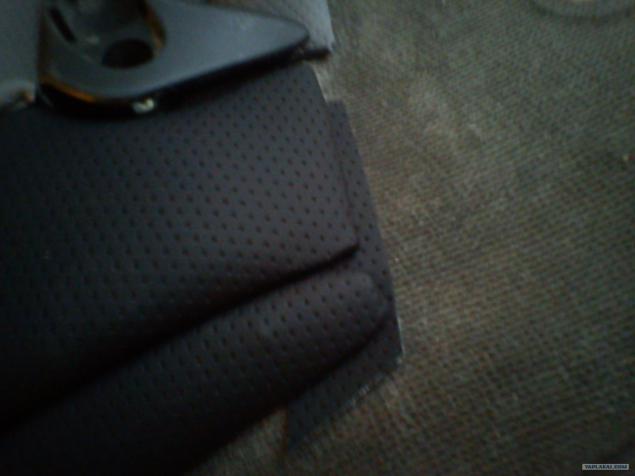
We cut out a large chunk of a stapler and sealed inside only
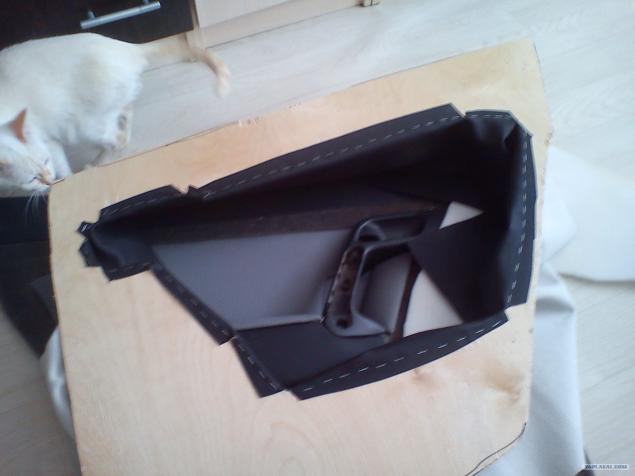
More
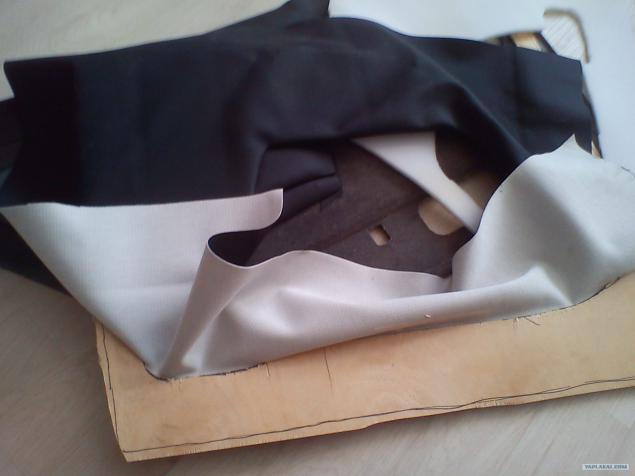
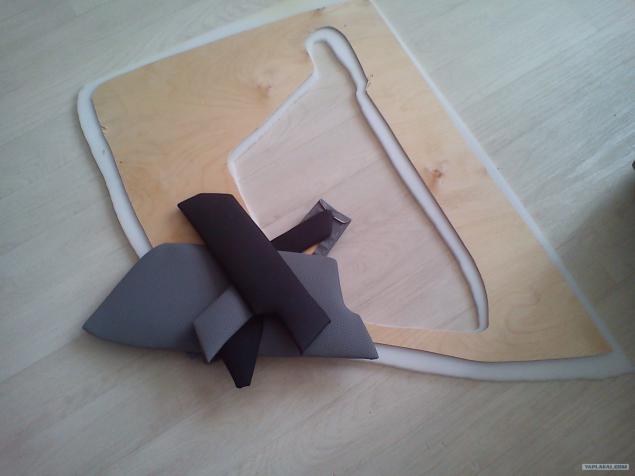
paralon decided to use two layers, one the size of plywood, the second more about how to trim ... we put a big bottom, smaller on top of previously been screwing all items to trim
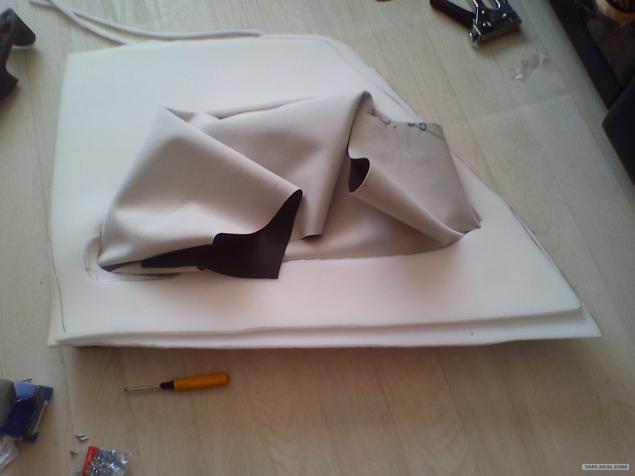
all neatly laid
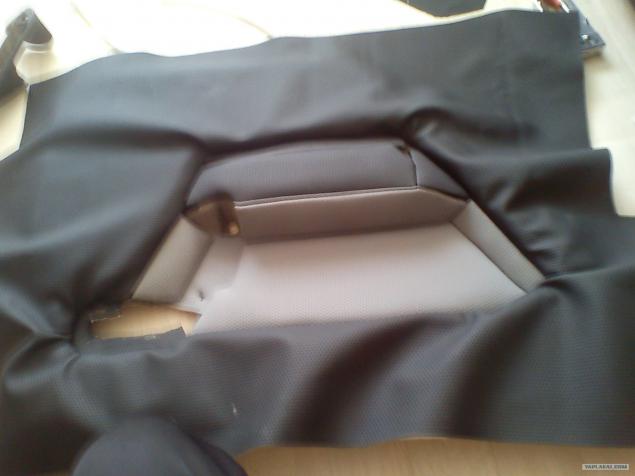
and from the top, pulling begin to flash (for this drilled hole) ... I sewed, stitch 1 back on top, two on the bottom forward and then one step back again, and so on
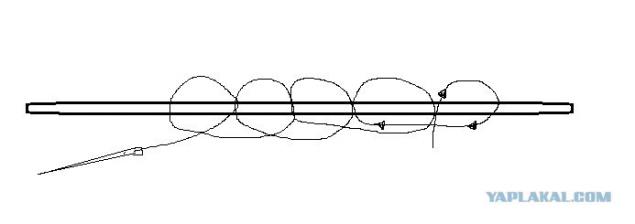
vizulno
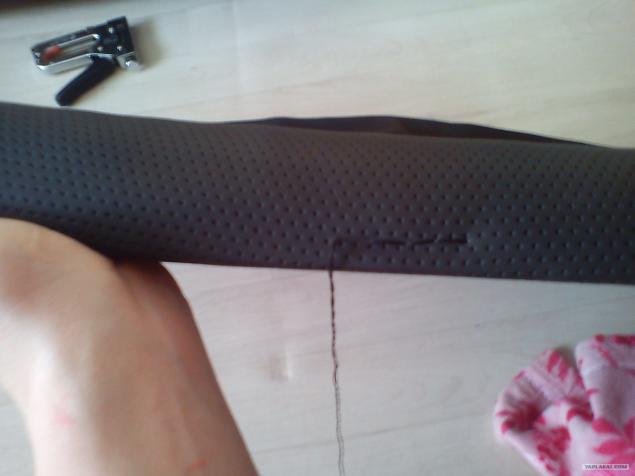
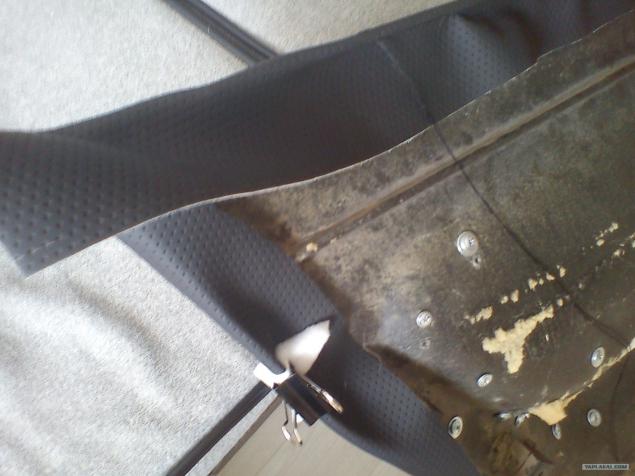
the process is not easy, you need to constantly monitor and tighten that there were no creases. At first I was helping my other half, then I decided not to torture and used paper holder. Yet it may very well bring to suicide is that the hole is not visible, all random
but then I got used to and everything went faster.
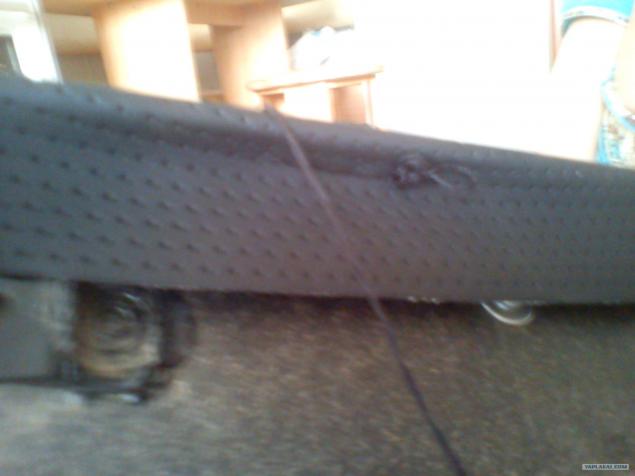
Here and ready the door ... but you have to make three more
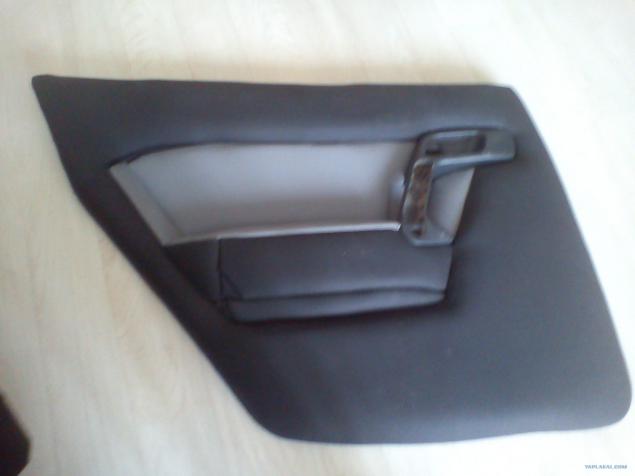
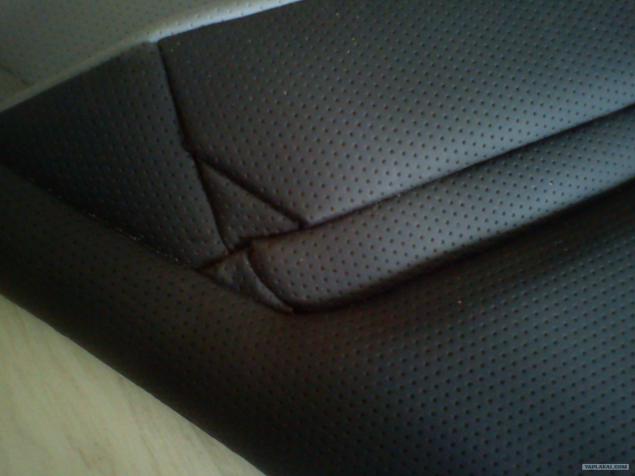
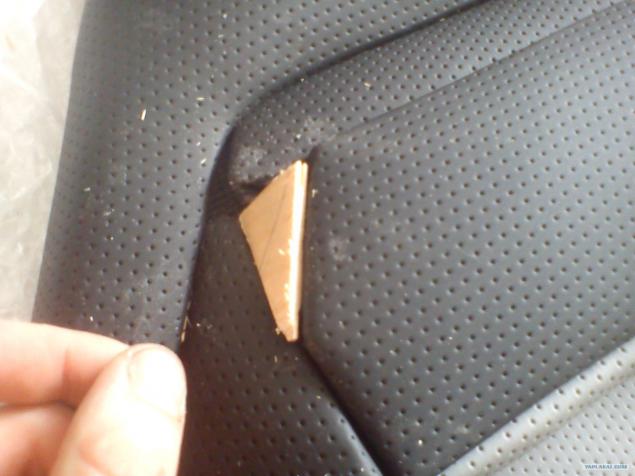
insert missing two triangles
We make a hole with a knife in a cross button for closing the door and inserted back plastmassku
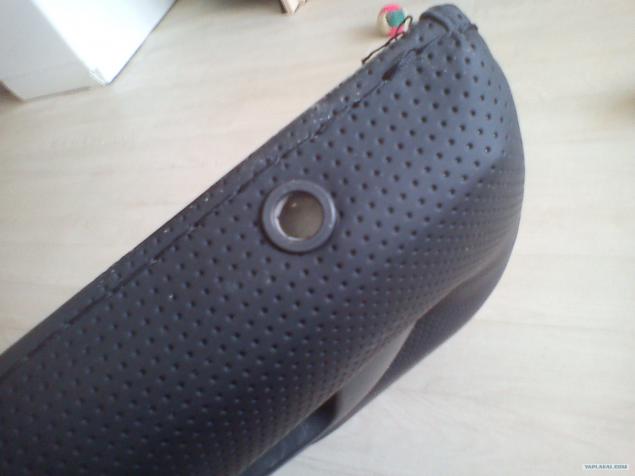
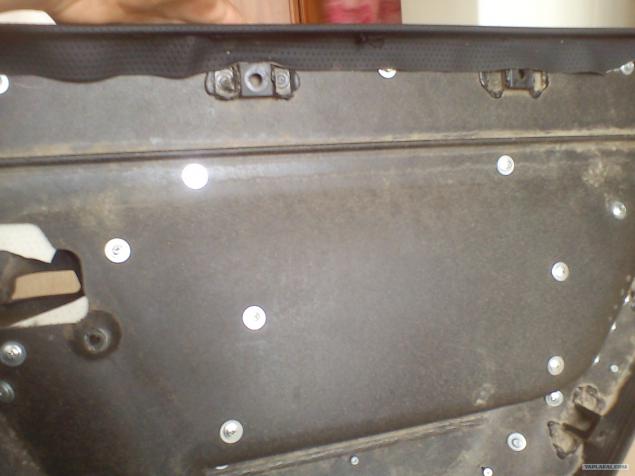
rear view
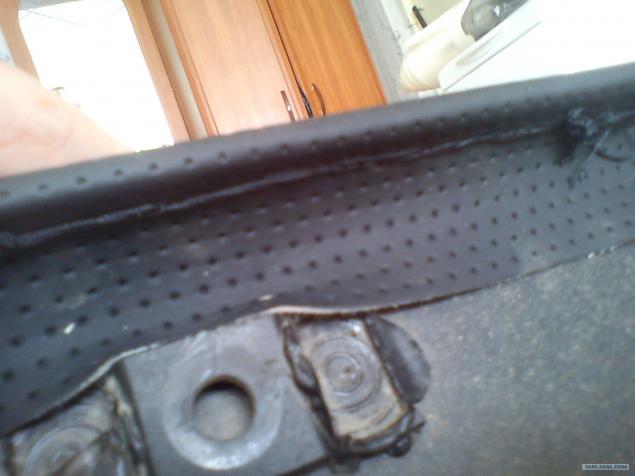
seam
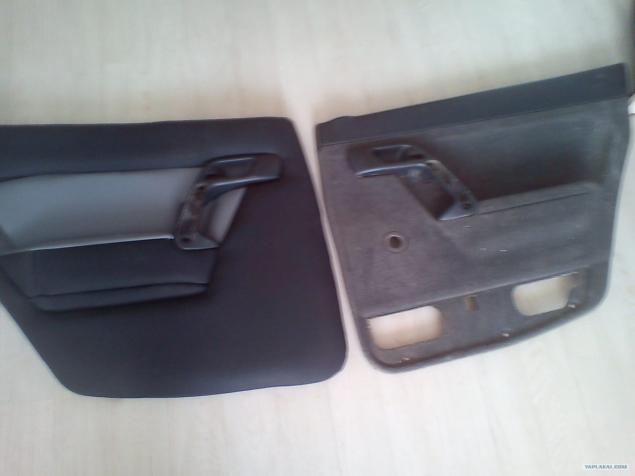
the second door and comparison)
and all over again
Holder to help me)
triangles
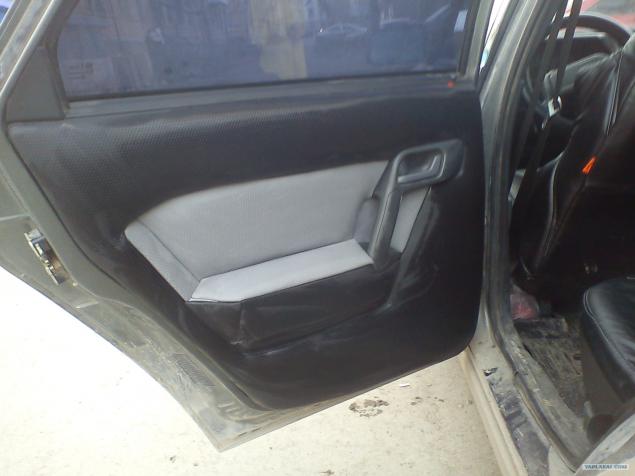
and finally fitting the door ... wiped with a wet cloth, so it looks
Further the front door, I have there a double podium, so it took less scotch
Well then so clear
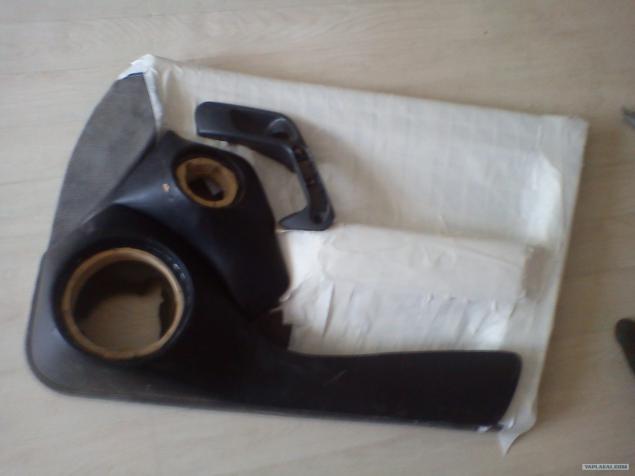
snapping parts
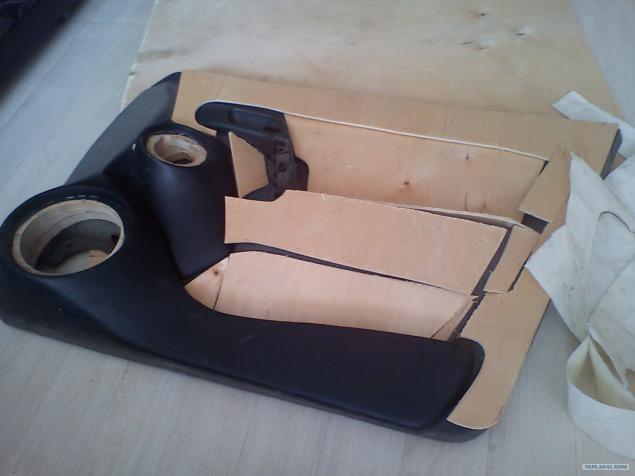
More
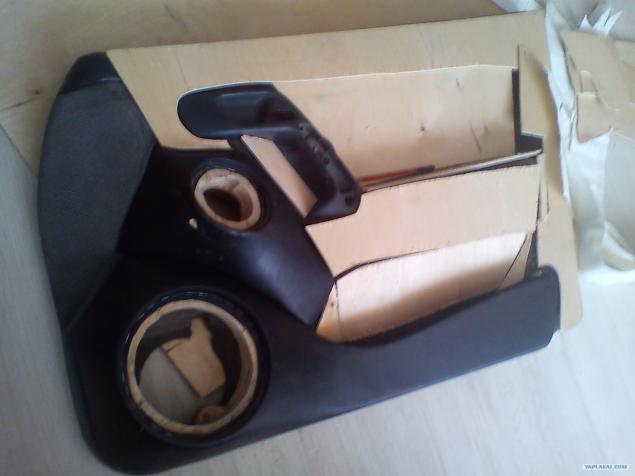
More
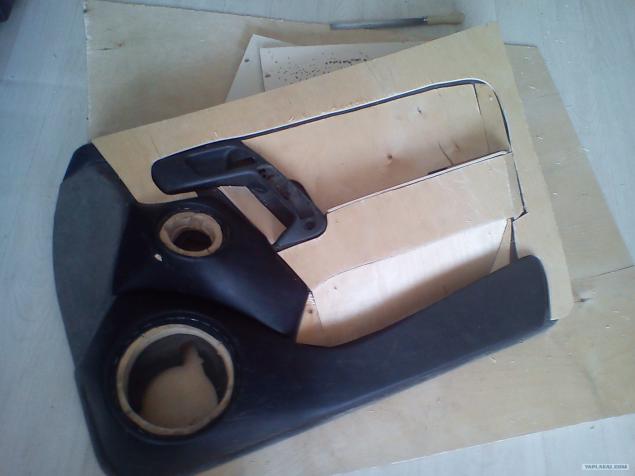
Cushioning and sadim to place
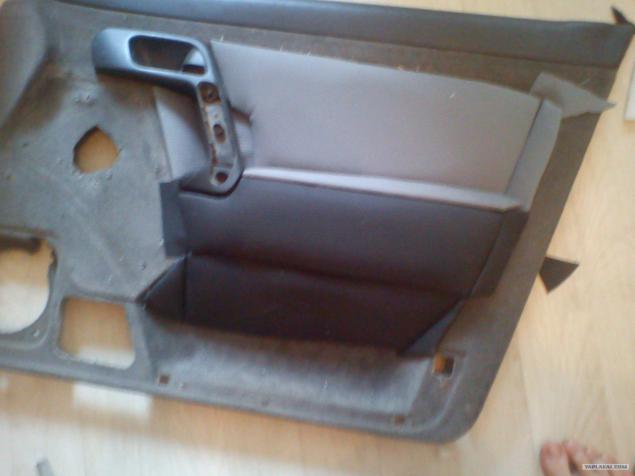
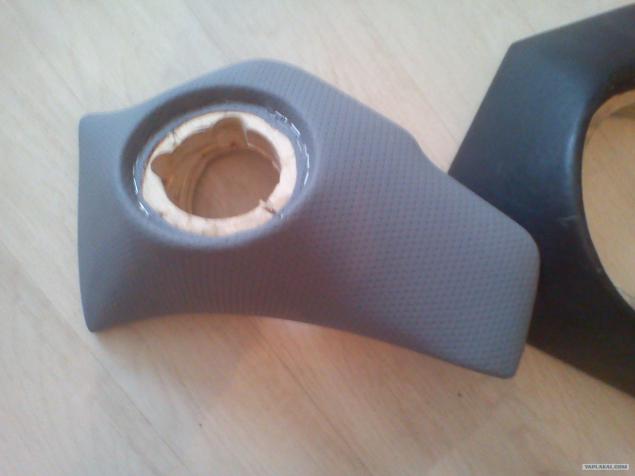
obtyanuli upper small podium
here the main part is not closed, it was necessary to think of it as a place to do
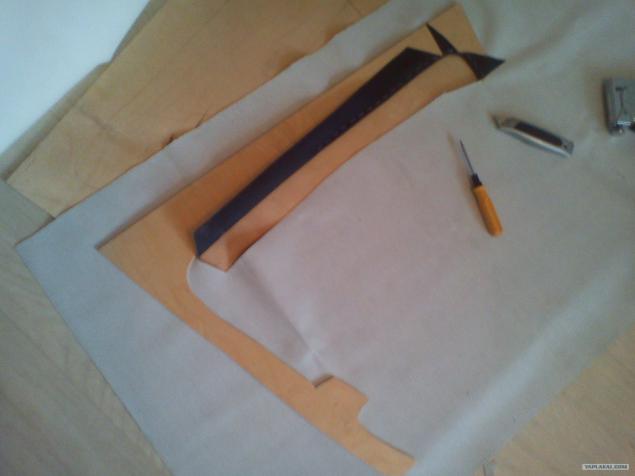
eventually left bottom margin, which drew lower Circuits and podiums, and of course before that flashed
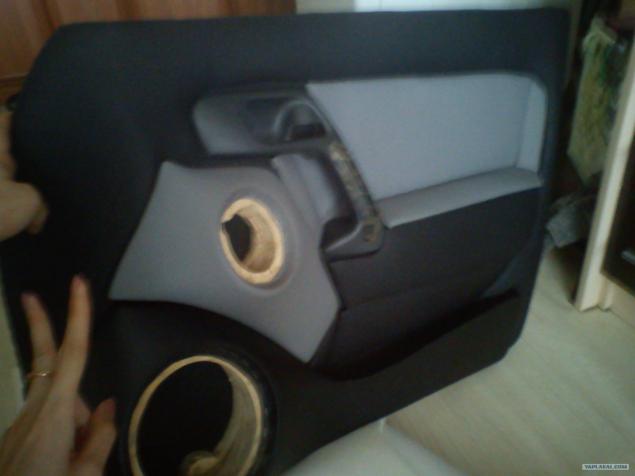
result
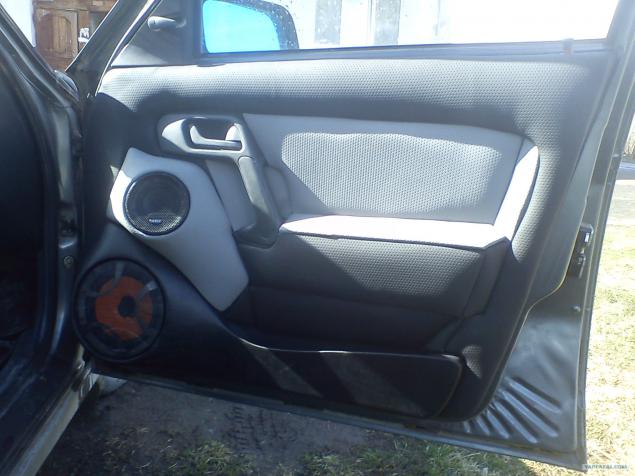
Installation
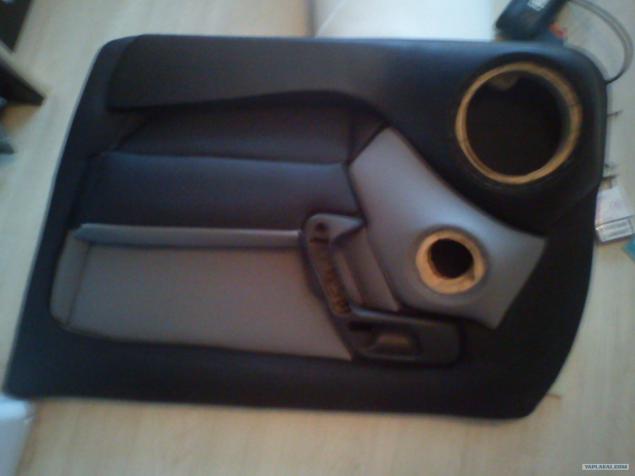
More photos
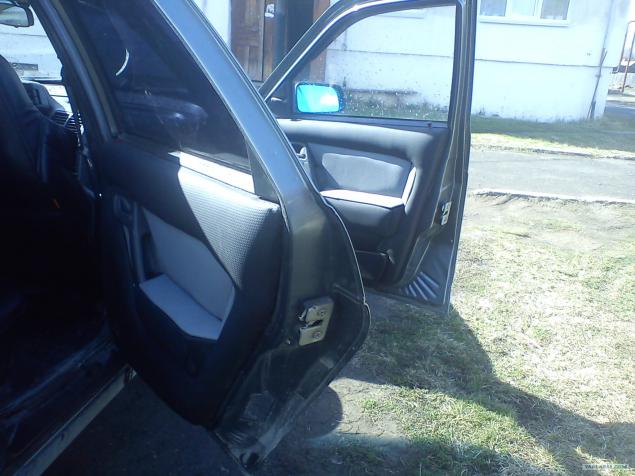
I have left the door
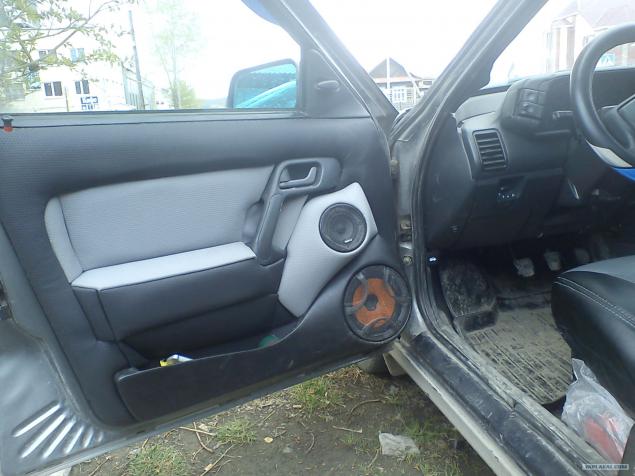
this image is familiar to you
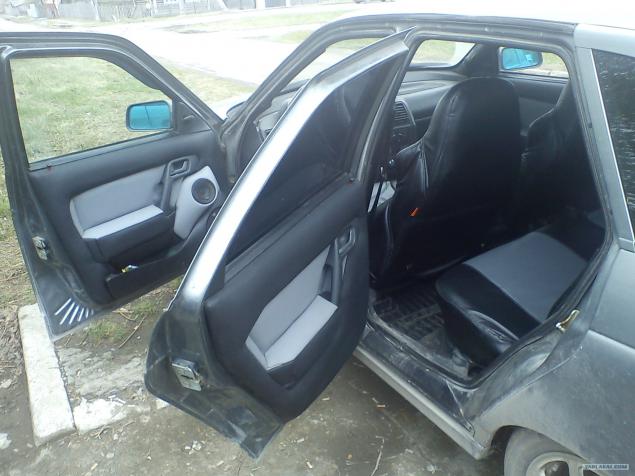
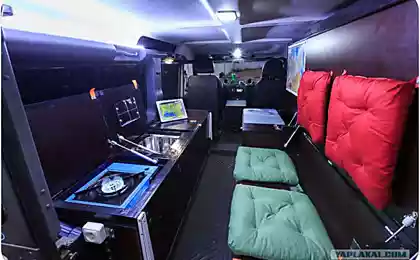
Well, the photo of the interior
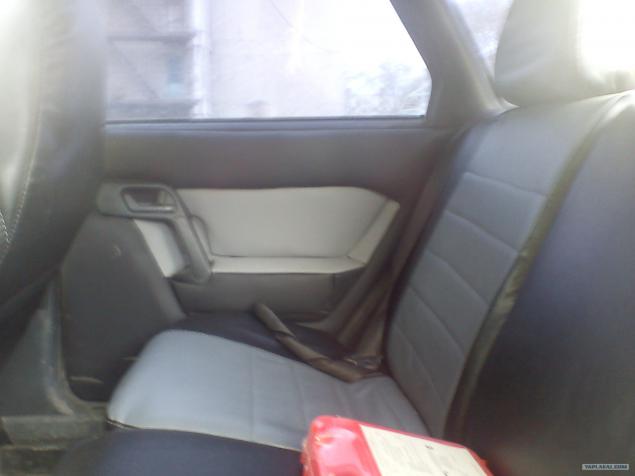
covers on the seats ... not sewed myself, I buy ... and leatherette picked it under the covers
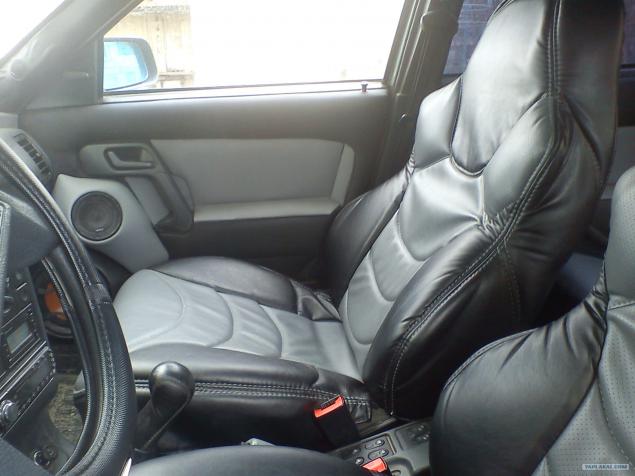
that's all you can kick
Source:
There are photos and a short description of the process.
Pervonahov please do not break , the end will tell

So, in the beginning of the materials and tools that I need.
Materials:
- Automobile leatherette 3 PM black and gray-shirts perforation - 350r. per meter (140 * 100) ... eventually left about half gray, black all gone, except for scraps. a total of nearly 2,000 rubles.
- Plywood 4mm - about 400 rubles a sheet of 1, 5 * 1, 5 meters
- Two rolls parolona 1m * 2m * 1 cm - 140 rubles.
- Different length screws, washers, drill 1, 9mm, staples staple gun - the price will not say, because fines.
- Scotch masking wide, about 2, 5 reel - 50 rubles. roll.
Tools:
- E. Jigsaw (taken from his father)
- Drill (my personal)
- Staple gun (taken from a friend)
- File semicircular (purchased) - 50 rubles.
- Others screwdriver, scissors, paper knife was all neatly Remove door trim. I started from the back, they are not so pathetic and potrenerovatsya possible.
And we start to paste masking tape. At first I thought it better to tape lay plastic wrap, but then this idea has disappeared since work with it was uncomfortable).

dvlshe continued without film

close up ... all for the quality of the photo I'm sorry, filmed on the phone

then starts to look like a marker or approximate curve patterns ... in short stencils))

be sure to take into account the handle

More

Well, as finished cut out

on all portable plywood ...
A little retreat)) I first took up el.lobzik and the first workpiece had a wide margin, and then of course regretted ... since many had to work with a file

all moved, begin to cut)

More

all have cut begin to customize the details of the place ... I used the file, someone with an accuracy better than me friendly, easier to

the hand clutching the handle

Here

All parts fit ... about)

swift start to the details ... of colors depends on your imagination and the availability of materials))
paralon cut out details on the size, with a margin of leatherette and stseplerom brings beauty

parolon)))) As you may have noticed, I do it all at home. Garage is not, and I live in a hostel, ie among all the living room, kitchen, bedroom ... all in one room)

reverse side

Black Circuits

clearly

before wrapped with detalek suffered already finished parts on the plywood templates for the second door

Darky drill around the perimeter of the small drill 1, 9mm

More

do pad under the handle

Rear Vidocq

try on

parts are mounted on screws

More

mounting method

try to make a straight and angular hand between the parts, or else have to insert pieces of imitation leather as I did

We cut out a large chunk of a stapler and sealed inside only

More

paralon decided to use two layers, one the size of plywood, the second more about how to trim ... we put a big bottom, smaller on top of previously been screwing all items to trim

all neatly laid

and from the top, pulling begin to flash (for this drilled hole) ... I sewed, stitch 1 back on top, two on the bottom forward and then one step back again, and so on

vizulno

the process is not easy, you need to constantly monitor and tighten that there were no creases. At first I was helping my other half, then I decided not to torture and used paper holder. Yet it may very well bring to suicide is that the hole is not visible, all random
but then I got used to and everything went faster.

Here and ready the door ... but you have to make three more

insert missing two triangles

We make a hole with a knife in a cross button for closing the door and inserted back plastmassku

rear view

seam

the second door and comparison)

and all over again

Holder to help me)

triangles

and finally fitting the door ... wiped with a wet cloth, so it looks

Further the front door, I have there a double podium, so it took less scotch

Well then so clear

snapping parts

More

More

Cushioning and sadim to place

obtyanuli upper small podium

here the main part is not closed, it was necessary to think of it as a place to do

eventually left bottom margin, which drew lower Circuits and podiums, and of course before that flashed

result

Installation

More photos

I have left the door

this image is familiar to you

Well, the photo of the interior

covers on the seats ... not sewed myself, I buy ... and leatherette picked it under the covers

that's all you can kick

Source:
