588
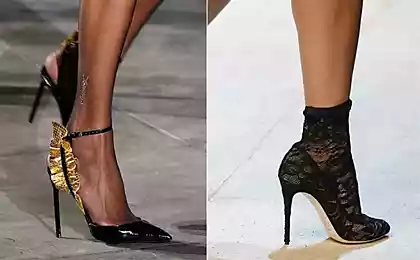
Shoes with their own hands
Will be 46 photos.
via Dima Nazarov
I do not shoemaker
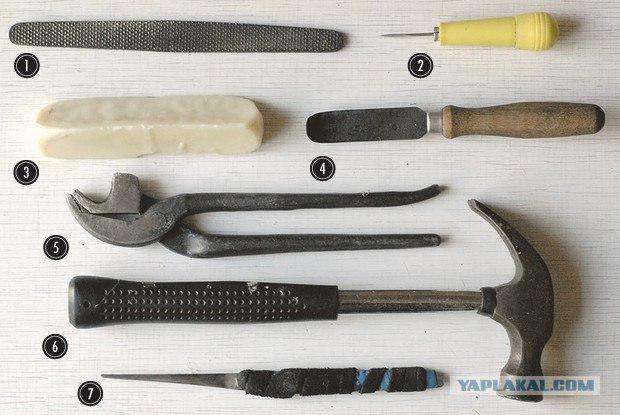
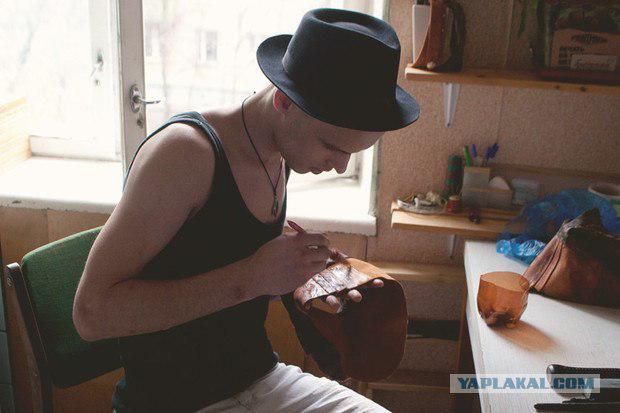
Handyman Kim Maligin

1. Files 2. Shiloh 3. Beeswax tokmach 4. 5. 6. Protracted pliers Hammer 7. boot knife
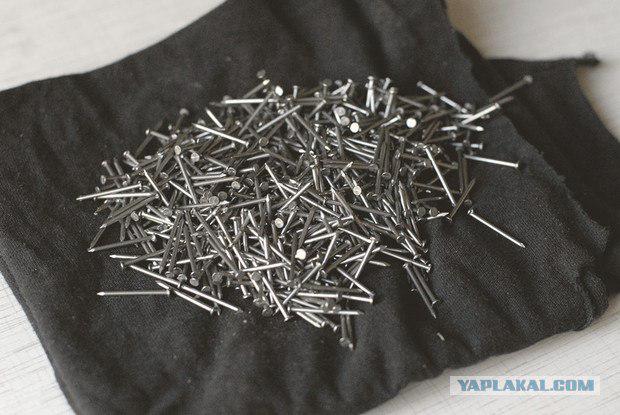
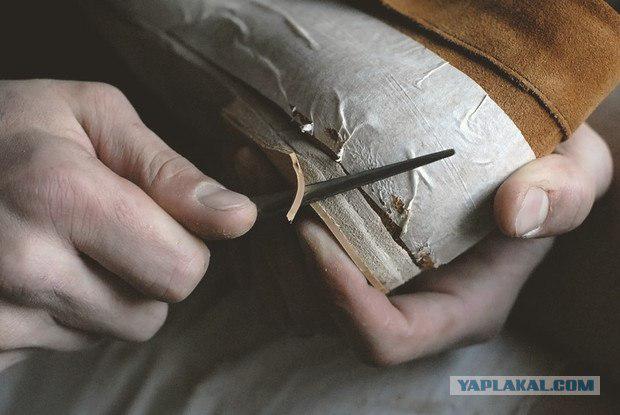
Nails for tightening the shoe upper to a shoe
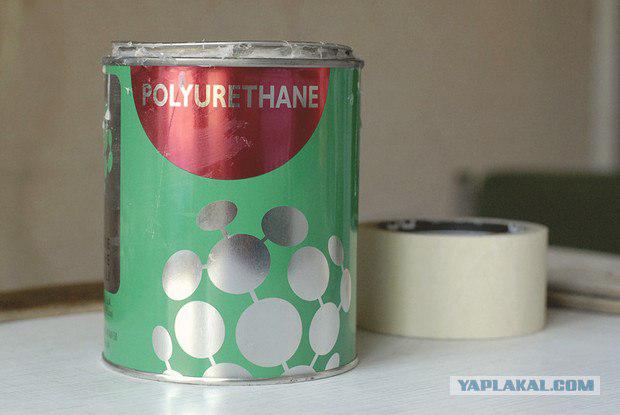
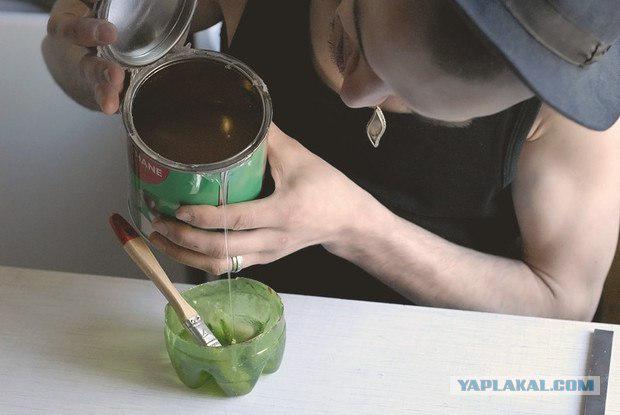
Polyurethane glue "desmokol" duct tape
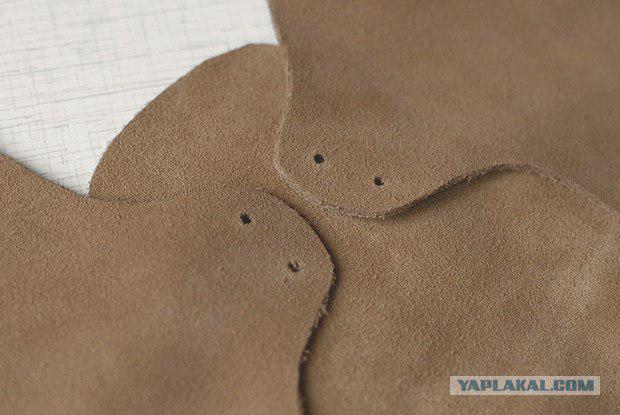
Harvesting of suede uppers shoes
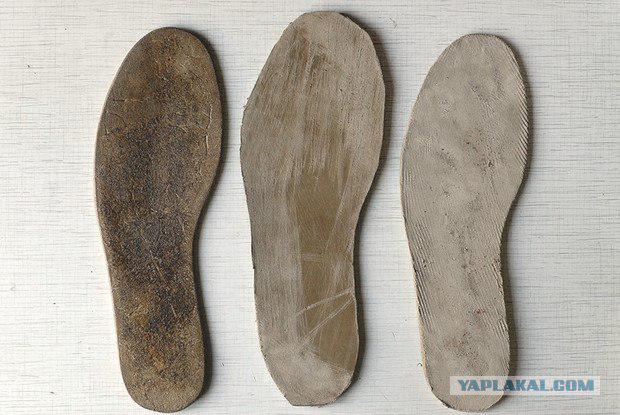
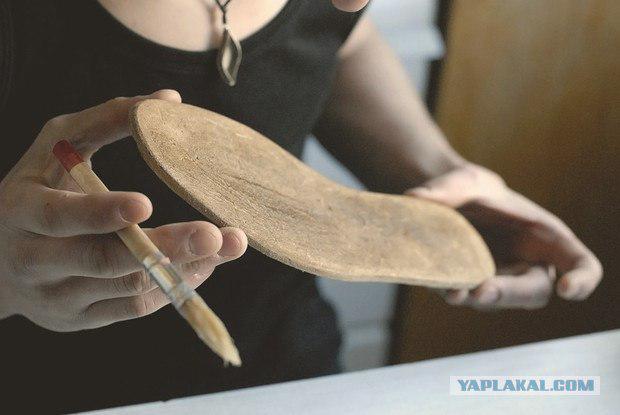
Billets soles "Cheprak" (the most dense part of the skins of cows)
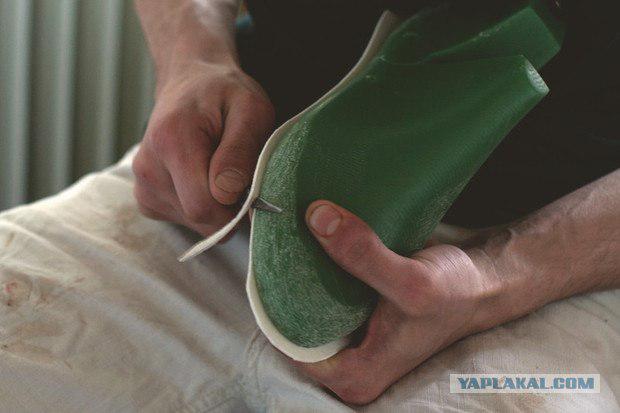
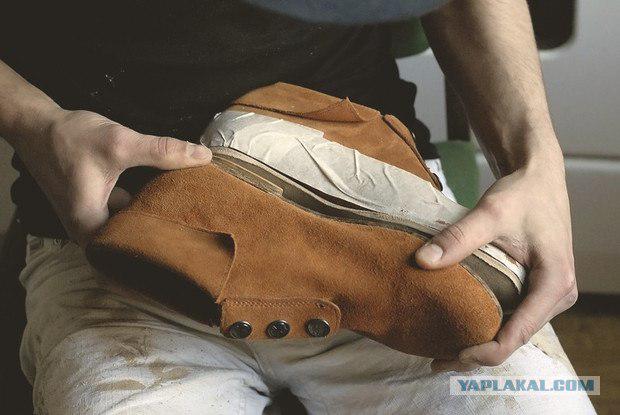
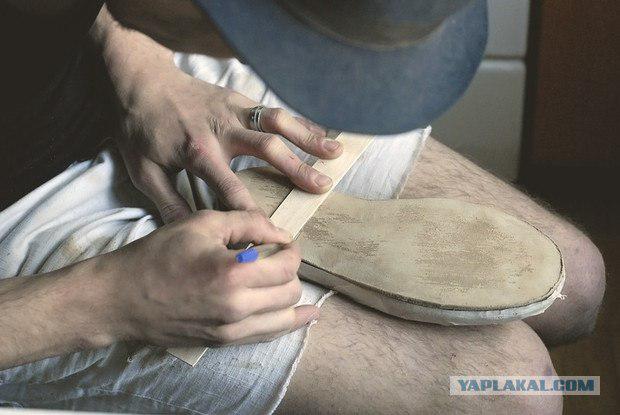
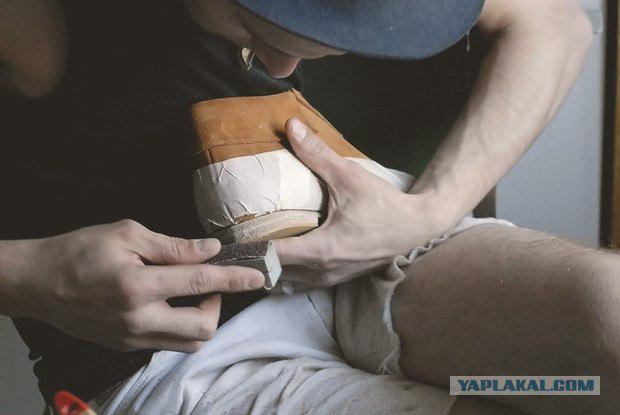
The first and most important stage - the production of shoe upper patterns. For this shoe paste adhesive tape and paint it on the desired silhouette. Silhouette cut out, removed from the pad and transferred to the skin.
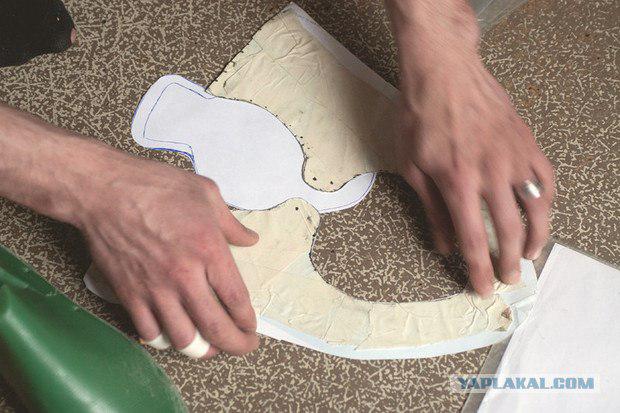
Pads I buy in specialized shops for shoemakers, but then changes its shape to fit the desired size.
8 ...
9 ...
10 ...

11 ...
12 ...
13 ...
14 ...
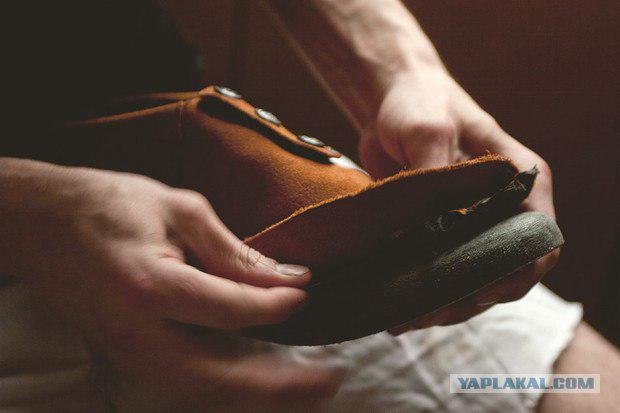
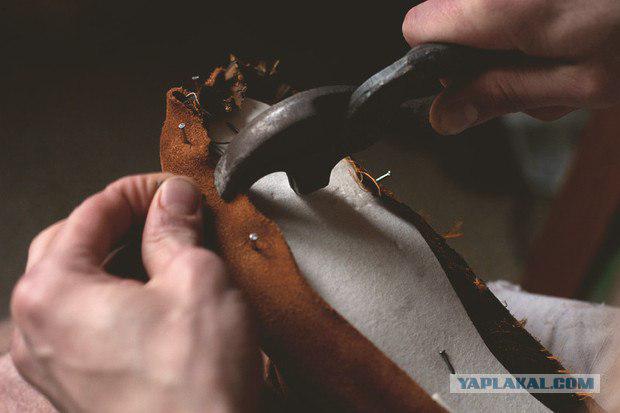
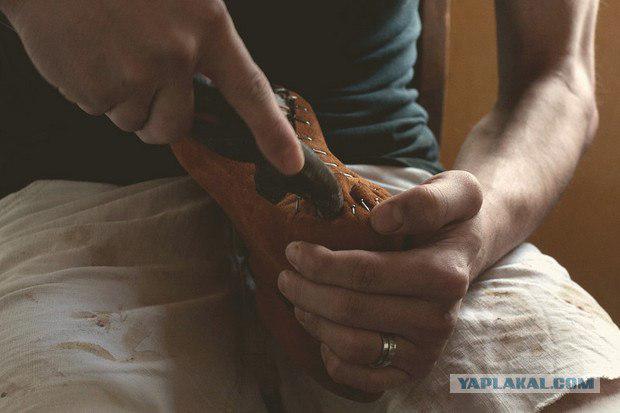
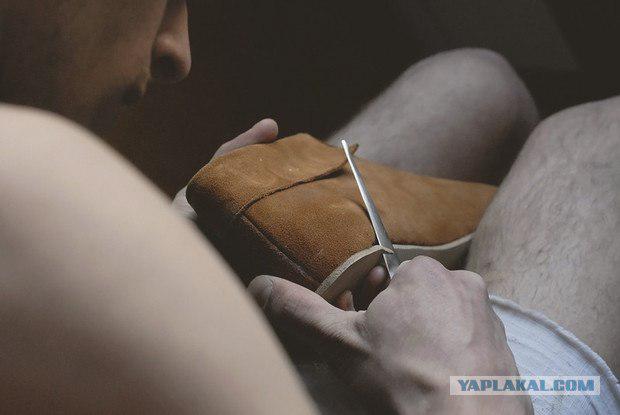
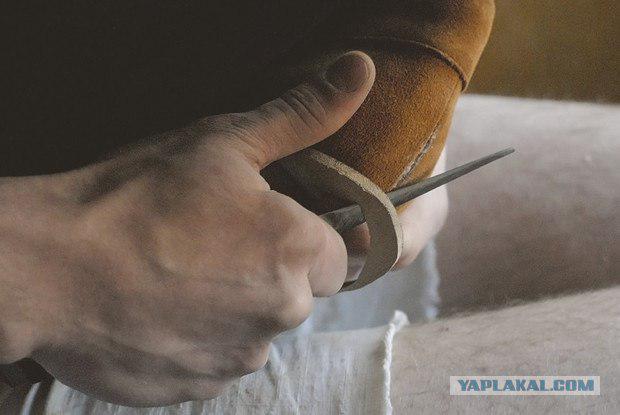
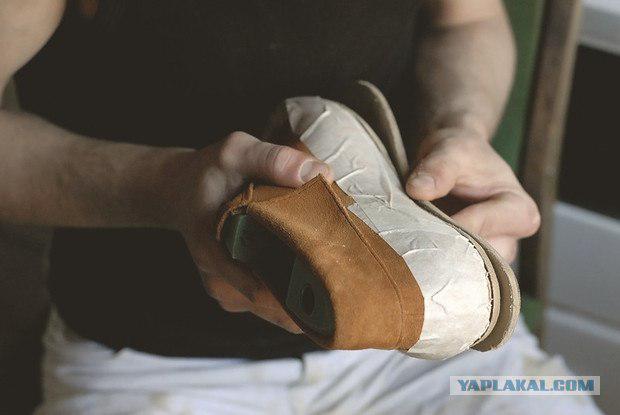
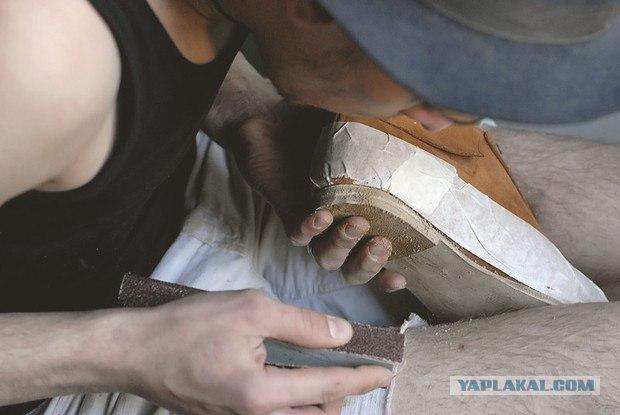
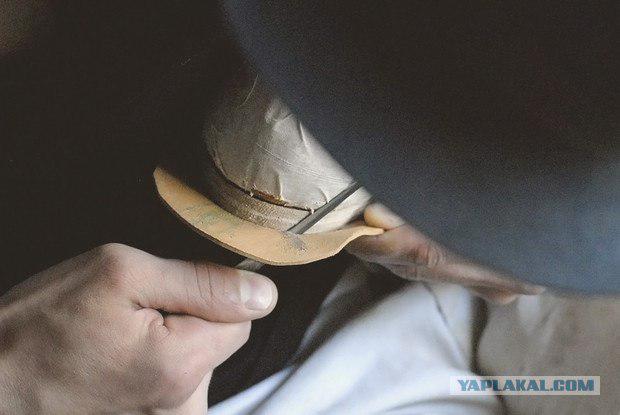
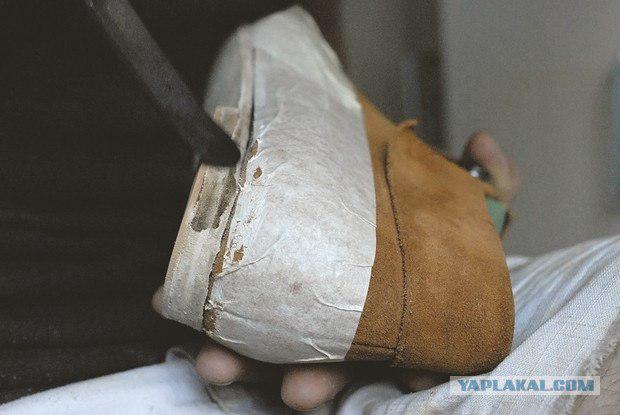
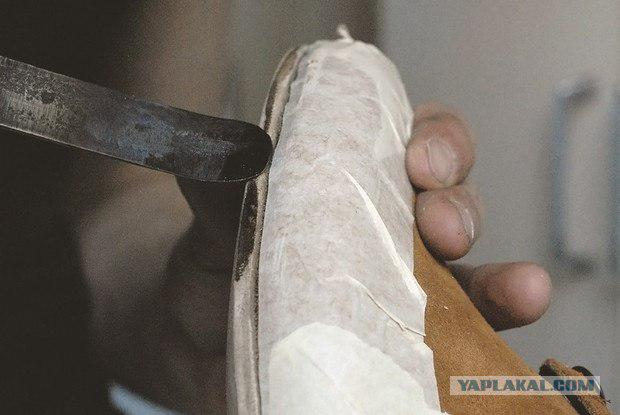
The top is glued to the sole, you can now cut the excess suede, pull the nails and glue decorative welt of kozhkartona.
16 ...
17 ...
18 ...
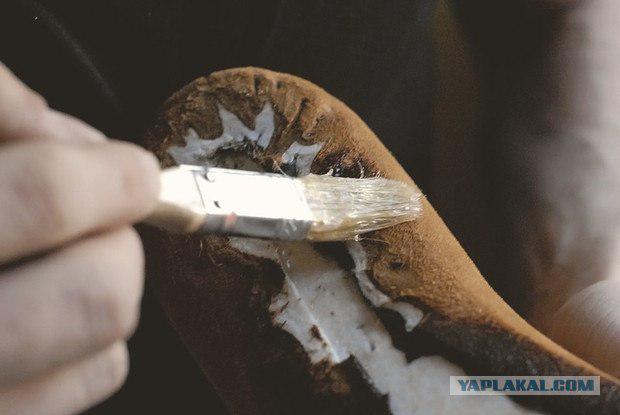
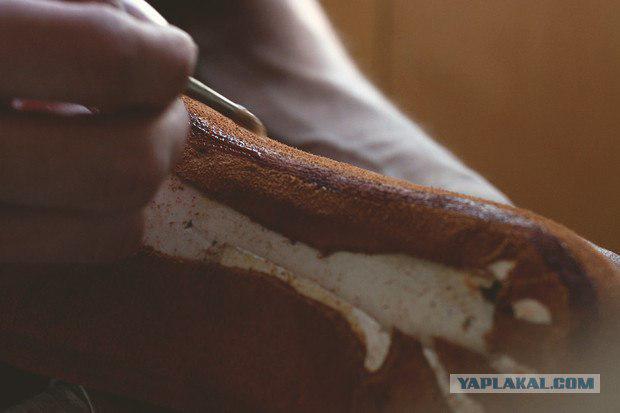
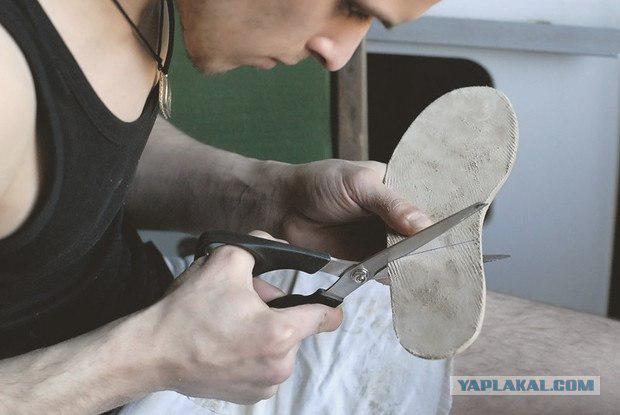
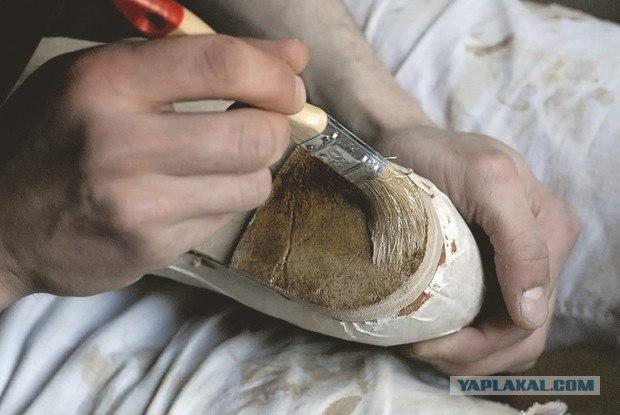
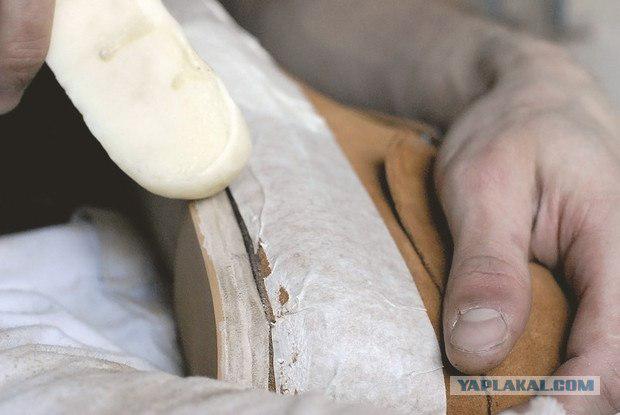
Now prikleevaem outer layer of the sole. It is very dense and thick skin - saddle, larger than the blank - it is better then trim excess
20 ...
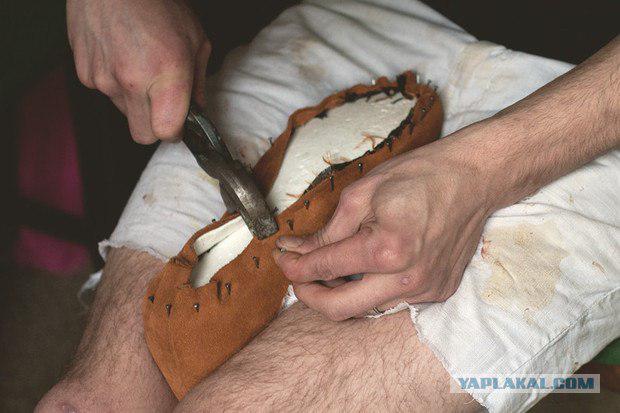
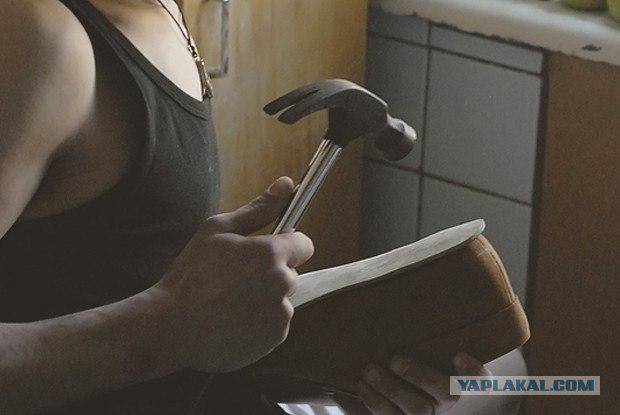
Soles and the workpiece firmly to each other and repel the hammer for tighter coupling
22 ...
23 ...
24 ...
25 ...
26 ...

27 ...
To Heel we use the same skin as for the sole
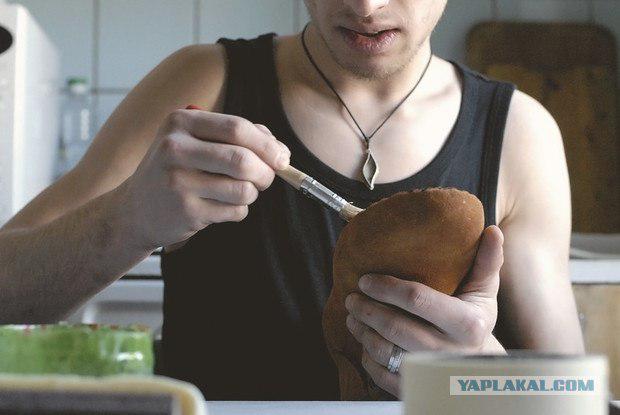
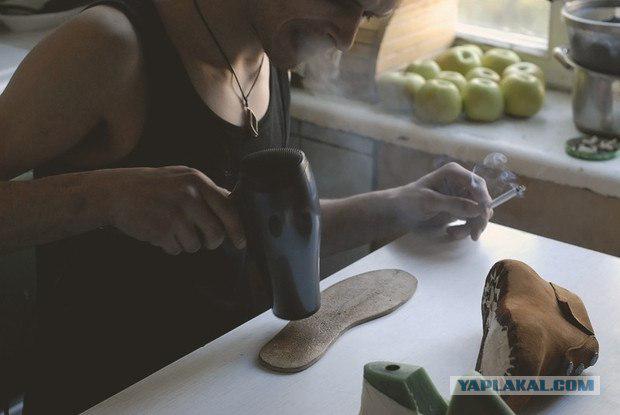
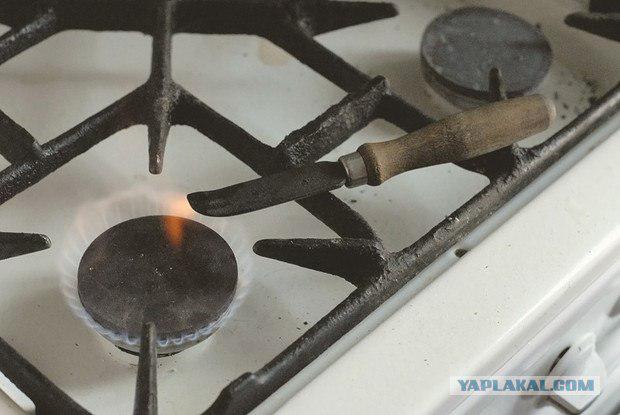
Pasting the exact same technique - desmokol applied to both surfaces in two layers, after which the film is an adhesive foam is activated by heating
30 ...
31 ...
32 ...
33 ...
34 ...
35 ...
36 ...
37 ...
38 ...

39 ...
40 ...
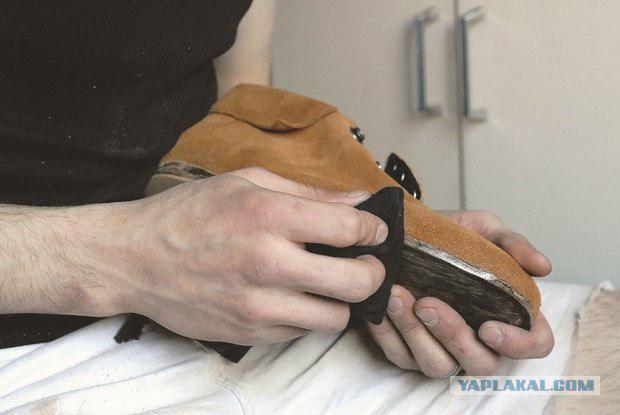
On welt soles I put a layer of beeswax, and then vzharivayu heated to the desired temperature tokmach (special tool for polishing the surface of the lateral heel and sole)
42 ...

43 ...
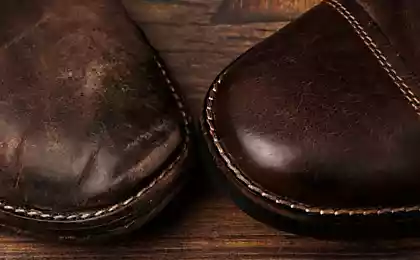
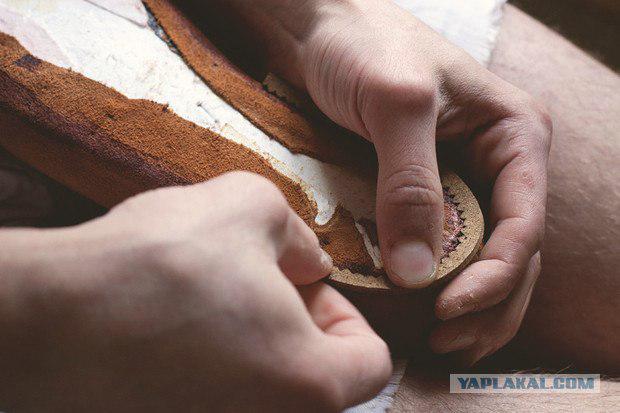
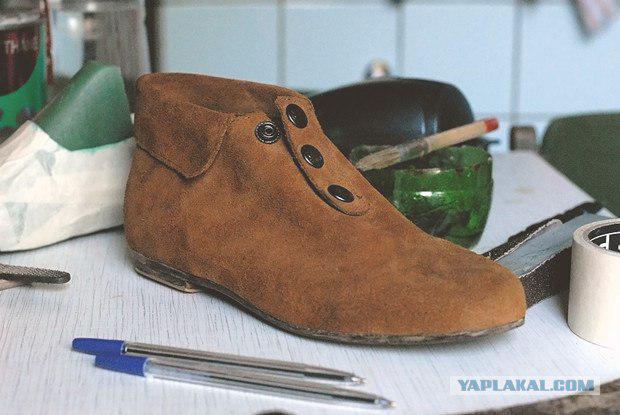
Now thoroughly polish the side surface of the sole normal tissue removing izlizhki wax. The shoe is ready.
45 ...

Breaking me!
Source:
via Dima Nazarov
I do not shoemaker
Handyman Kim Maligin

1. Files 2. Shiloh 3. Beeswax tokmach 4. 5. 6. Protracted pliers Hammer 7. boot knife

Nails for tightening the shoe upper to a shoe

Polyurethane glue "desmokol" duct tape

Harvesting of suede uppers shoes

Billets soles "Cheprak" (the most dense part of the skins of cows)

The first and most important stage - the production of shoe upper patterns. For this shoe paste adhesive tape and paint it on the desired silhouette. Silhouette cut out, removed from the pad and transferred to the skin.

Pads I buy in specialized shops for shoemakers, but then changes its shape to fit the desired size.

8 ...

9 ...

10 ...

11 ...

12 ...

13 ...

14 ...

The top is glued to the sole, you can now cut the excess suede, pull the nails and glue decorative welt of kozhkartona.

16 ...

17 ...

18 ...

Now prikleevaem outer layer of the sole. It is very dense and thick skin - saddle, larger than the blank - it is better then trim excess

20 ...

Soles and the workpiece firmly to each other and repel the hammer for tighter coupling

22 ...

23 ...

24 ...

25 ...

26 ...

27 ...

To Heel we use the same skin as for the sole

Pasting the exact same technique - desmokol applied to both surfaces in two layers, after which the film is an adhesive foam is activated by heating

30 ...

31 ...

32 ...

33 ...

34 ...

35 ...

36 ...

37 ...

38 ...

39 ...

40 ...

On welt soles I put a layer of beeswax, and then vzharivayu heated to the desired temperature tokmach (special tool for polishing the surface of the lateral heel and sole)

42 ...

43 ...

Now thoroughly polish the side surface of the sole normal tissue removing izlizhki wax. The shoe is ready.

45 ...

Breaking me!

Source: