642
Padding of chairs
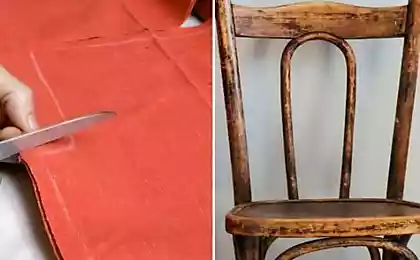
To make repairs in an apartment is almost ready, only one bathroom and it is necessary to make the workplace. Buy for a chair or a chair, I did not. He took an old chair from their parents. I can not say that he was killed in the state, but also new and can not be called (although it has a restoration someone did). Most importantly, he did not fit into our room.
Will be 23 photos.
Actually that's it:
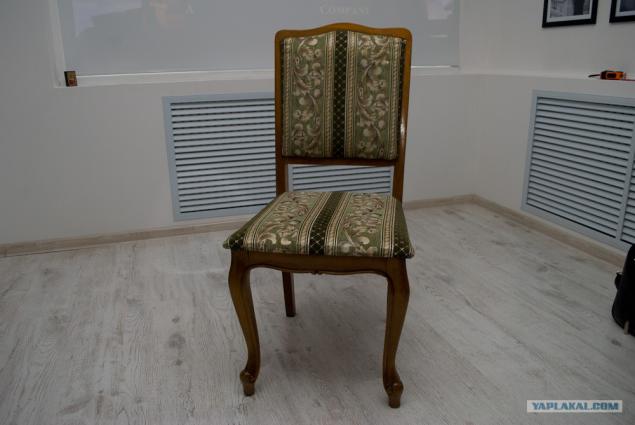
The first thing shot back. It was nailed through the material through nails without hats
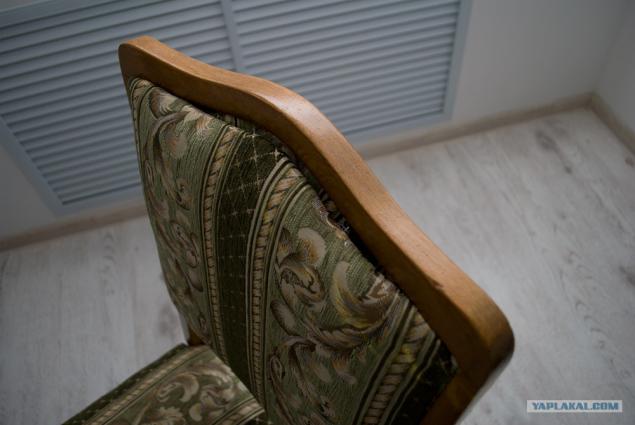
03

He withdrew sidushku and upholstery from the back side
04
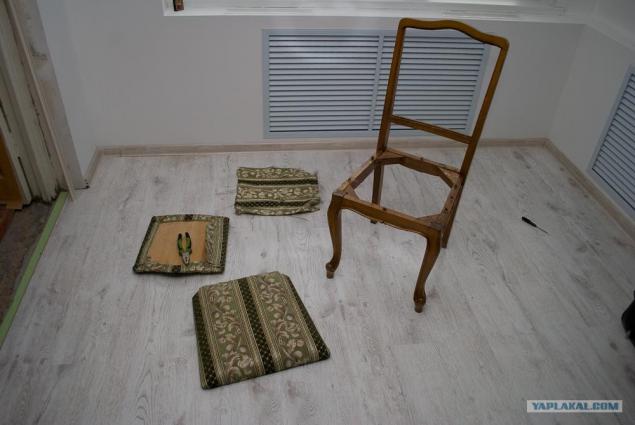
Disassembled loose connections
05
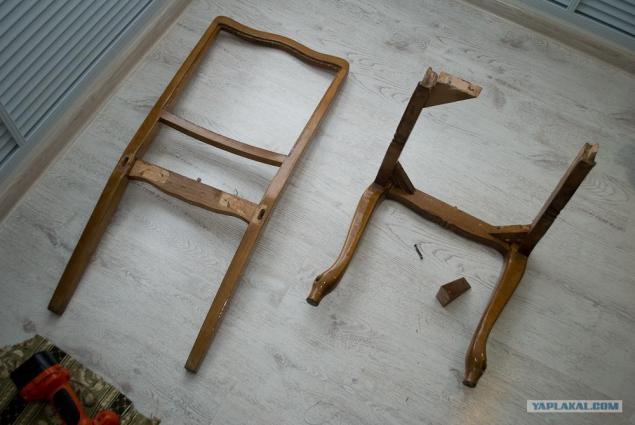
He launched a nail polish remover. Use special means to dissolve the paint and varnish
06

07

After a bit walked sandpaper and glue carpentry glue chair back
08

and painted
09

The paint used for facades (for better durability)
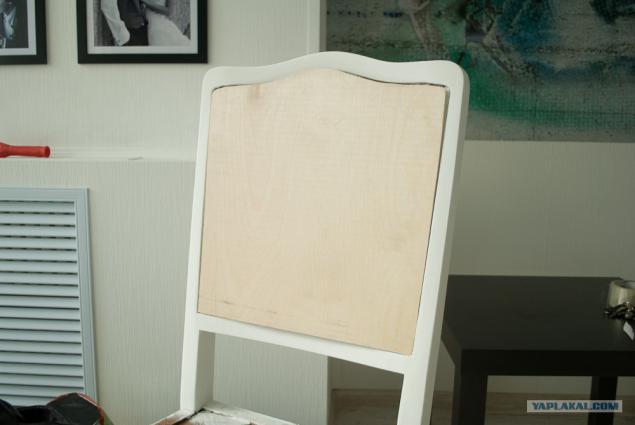
Since old sidushka and back were in poor condition (plywood ssohlas and stratified) has decided to replace them with new ones. Cut out as plywood
10
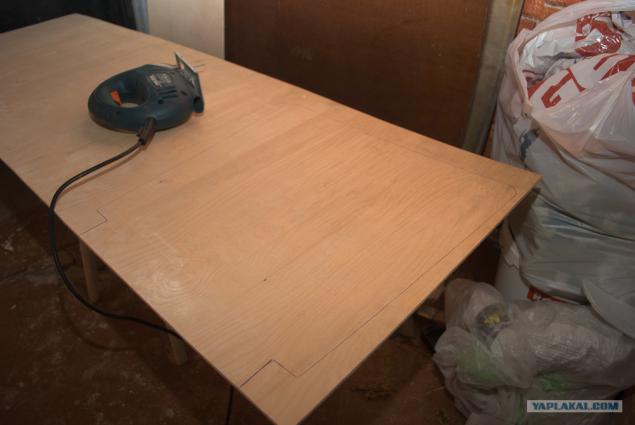
11
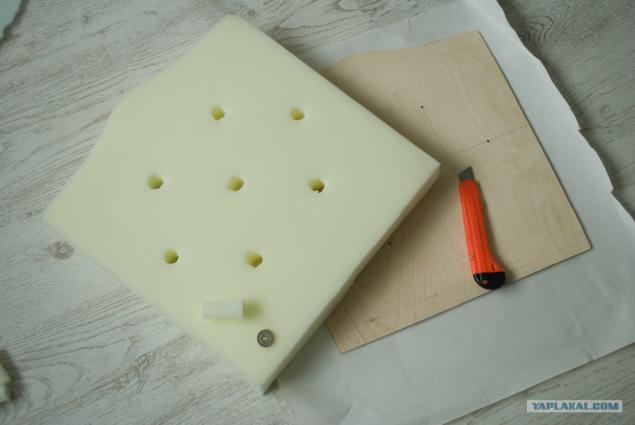
5cm thick foam took
12

13

The choice of material for the waist stopped on white eco-leather
14

The back wanted to do with a deep sink marks. For this plywood spaced drill holes and cut a hole in the padded
15

16
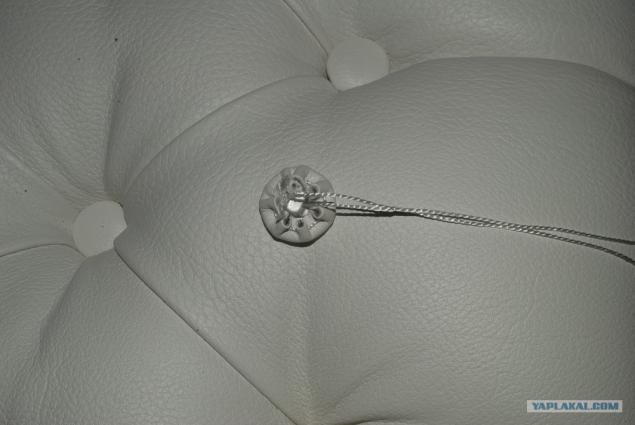
eco-leather as I did the layout and sew threads for utjazhki
17

Well, actually fitted a back (picture she had not yet secured in the chair)
18

The necessary buttons in the shop did not find, took a simple, plastic and pasted the same material
19
Secure the back of the chair. By the way I forgot to photograph separately sidushku. It also already have fitted and fastened along the two decided to make a joint (which can be seen in this photo
20

Next foam
21

And leatherette
22

Staples still closed decorative cord
And from the front of the chair back around, too, is likely to glue the same cord.
Well, actually here is the result:
23

Source:
Will be 23 photos.
Actually that's it:

The first thing shot back. It was nailed through the material through nails without hats

03

He withdrew sidushku and upholstery from the back side
04

Disassembled loose connections
05

He launched a nail polish remover. Use special means to dissolve the paint and varnish
06

07

After a bit walked sandpaper and glue carpentry glue chair back
08

and painted
09

The paint used for facades (for better durability)
Since old sidushka and back were in poor condition (plywood ssohlas and stratified) has decided to replace them with new ones. Cut out as plywood
10

11

5cm thick foam took
12

13

The choice of material for the waist stopped on white eco-leather
14

The back wanted to do with a deep sink marks. For this plywood spaced drill holes and cut a hole in the padded
15

16

eco-leather as I did the layout and sew threads for utjazhki
17

Well, actually fitted a back (picture she had not yet secured in the chair)
18

The necessary buttons in the shop did not find, took a simple, plastic and pasted the same material
19

Secure the back of the chair. By the way I forgot to photograph separately sidushku. It also already have fitted and fastened along the two decided to make a joint (which can be seen in this photo
20

Next foam
21

And leatherette
22

Staples still closed decorative cord
And from the front of the chair back around, too, is likely to glue the same cord.
Well, actually here is the result:
23

Source:


