804
Airbrush. how it's done.
Here, a detailed description of the process of creating a drawing on a car.
Will be 38 photos.
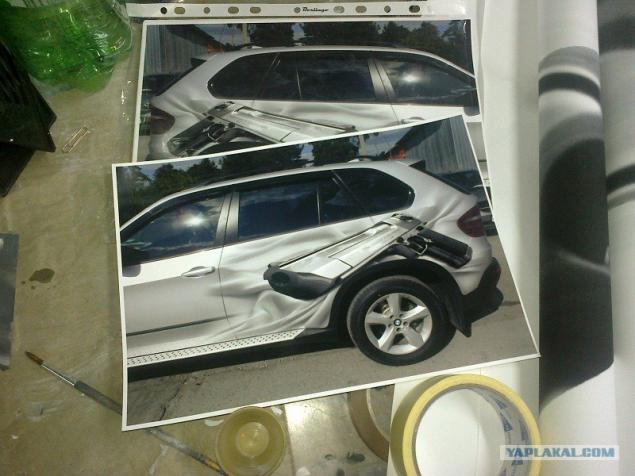
To start drawing itself, and its dimensions are negotiated with the client, in Photoshop image is superimposed on the car to be visually assessed. otfotoshoplenaya pictured above photo of the machine, it is the end result will look exactly live. Topic of course not new, but the client chose a design by finding it on Ineta.
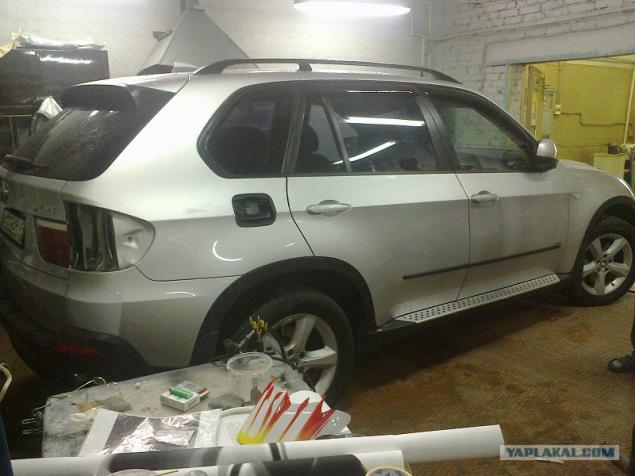
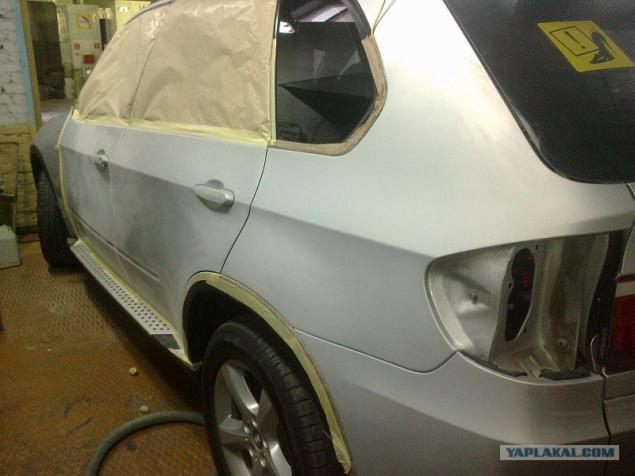
Before you start, you want to prepare the surface for printing car. taking off the surface to create adhesion to the paint and then a protective layer of lacquer. Simply put, the paint has not fallen off afterwards.
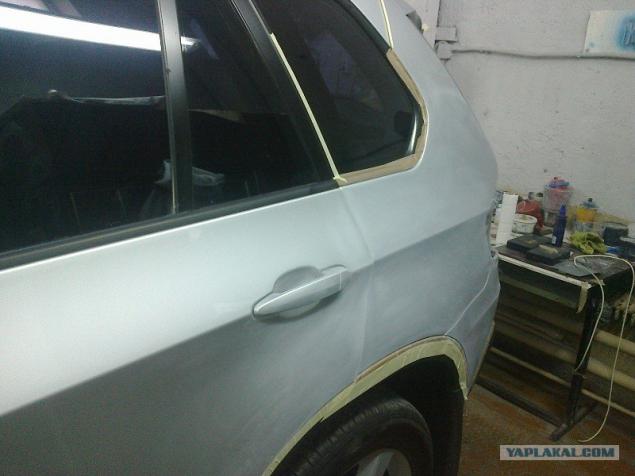
understand the inner skin to remove the rubber gasket under the door handles, they would have prevented the further lacquering. also removed all exterior moldings.
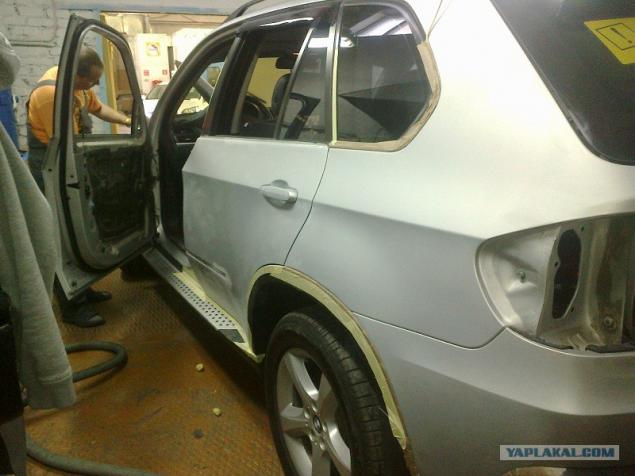
the rest of the body is not to be taped over ukryvochnym drawing material.
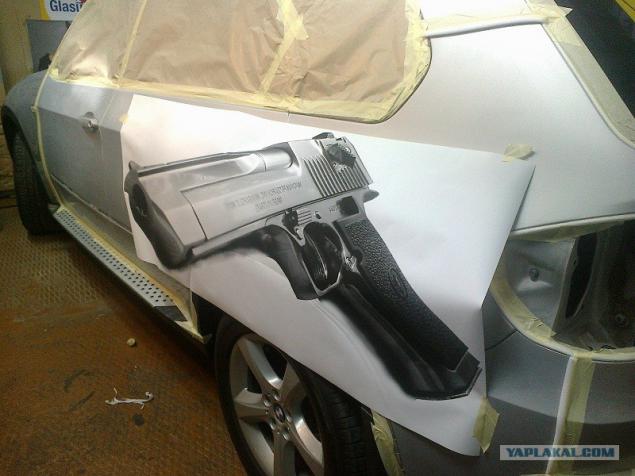
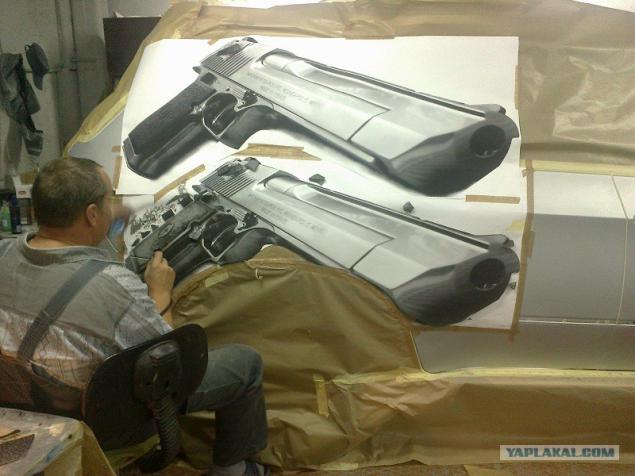
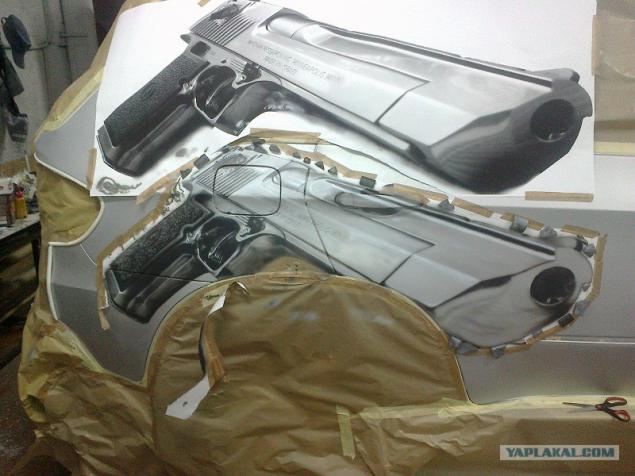
Printing in print layout here is a 1: 1 it helps to place a figure on the cars. He also will serve as a stencil. mainly aerografisty draw by hand, without stencils, but since there are a lot of long lines, without any how.
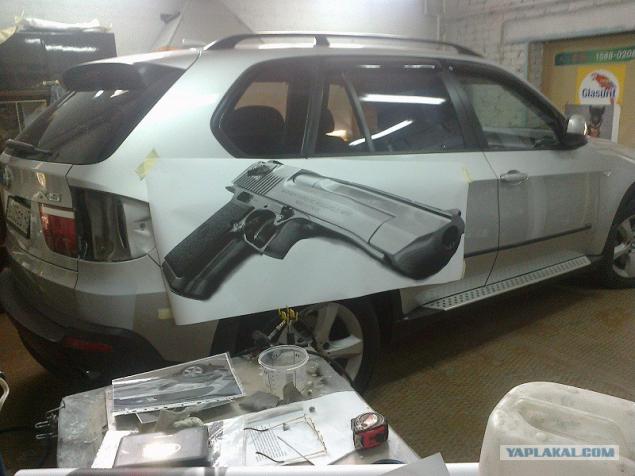
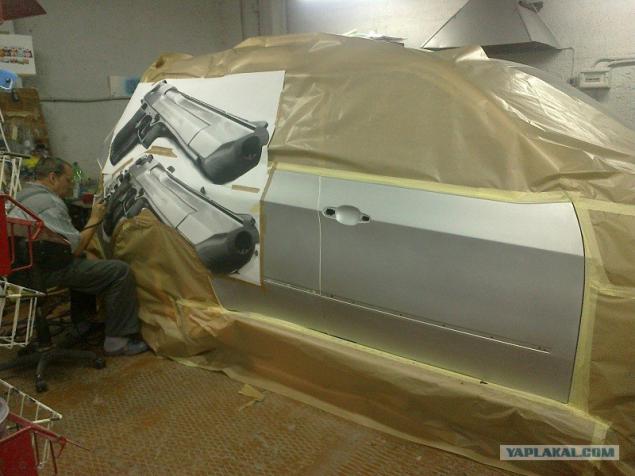
the view from the other side
Work went
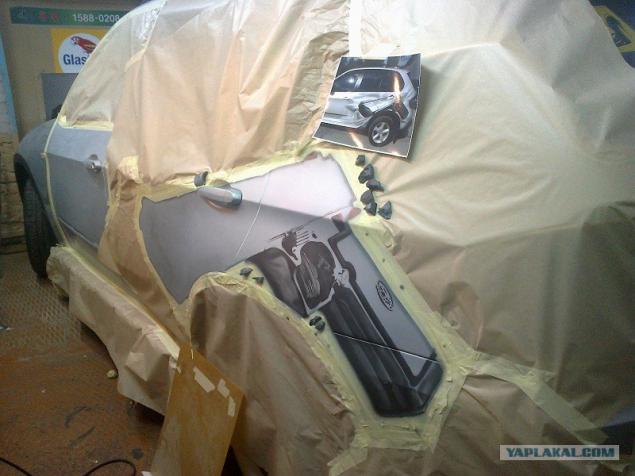
study of small details. photo on the work of artist Andrew aerografist Radygin. it works the way I was lecturing
forum2/topic565976.html?hl=
forum11/topic582691.html?hl=
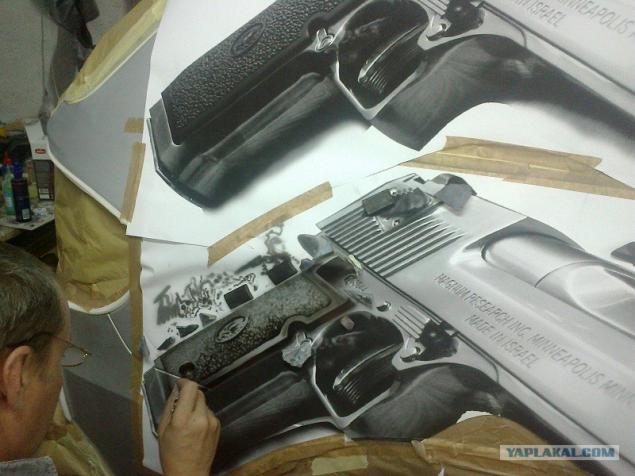
close
away)))
pistol grip over
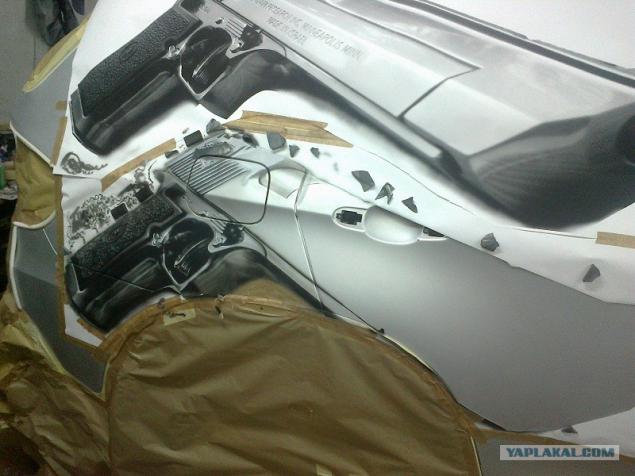
the contours are outlined, without the kind of stencil.
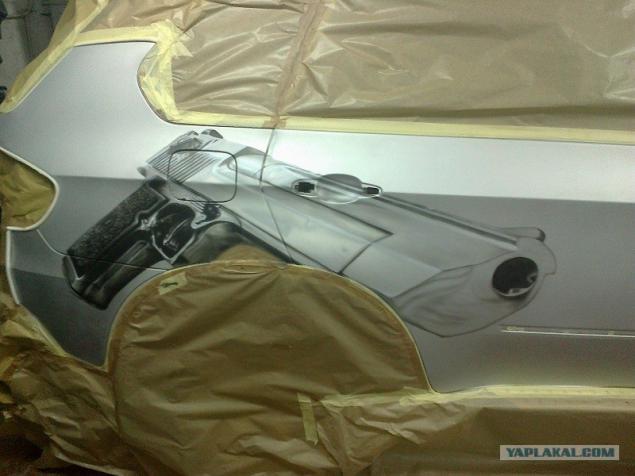
Now the background is applied by hand to protect the image of the gun opyla, it is sealed in the same stencil. It is mounted on the machine it is quite easy on the magnets.
15
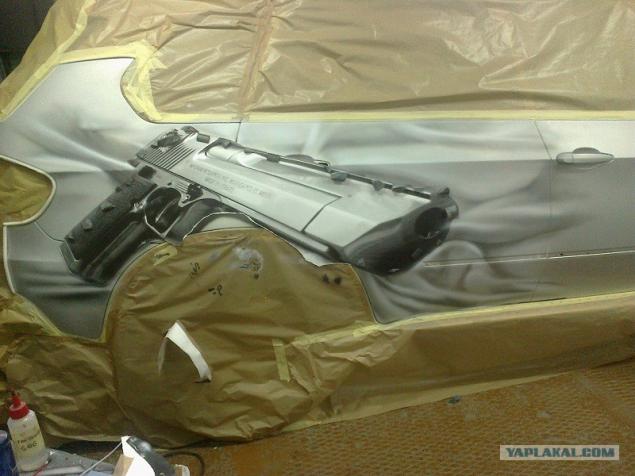
Background ready. where a stencil and drawing where a cursory difficult to determine whether viewed
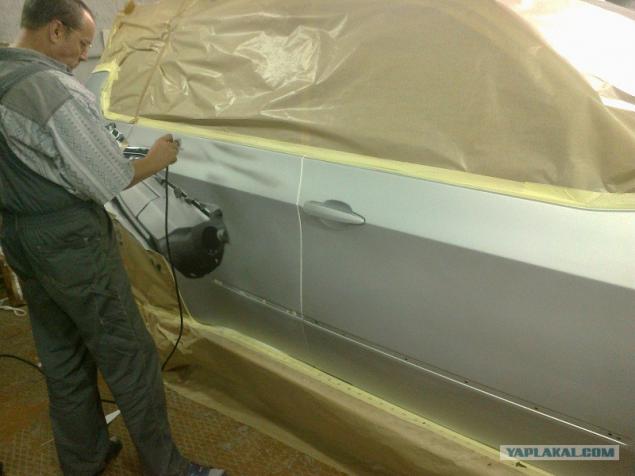
tool for the job - airbrushes
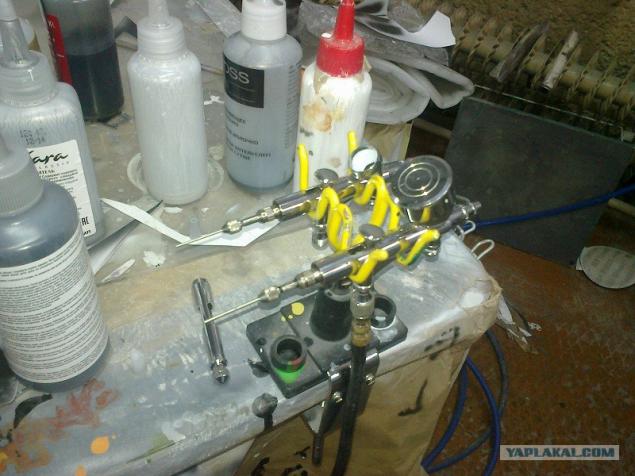
space where the artist works a little to appreciate the drawing machine periodically rolling out in boxing more.
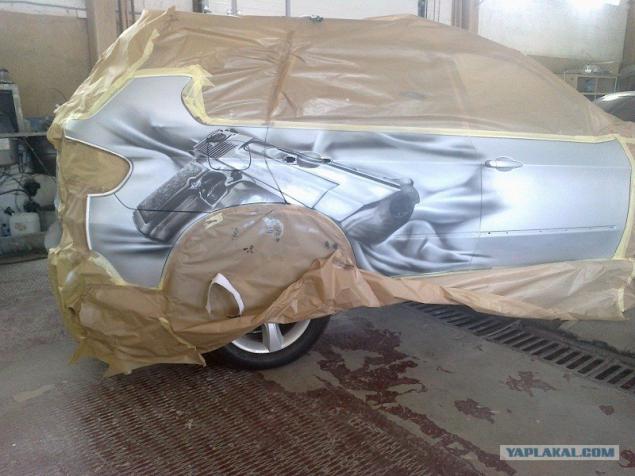
19
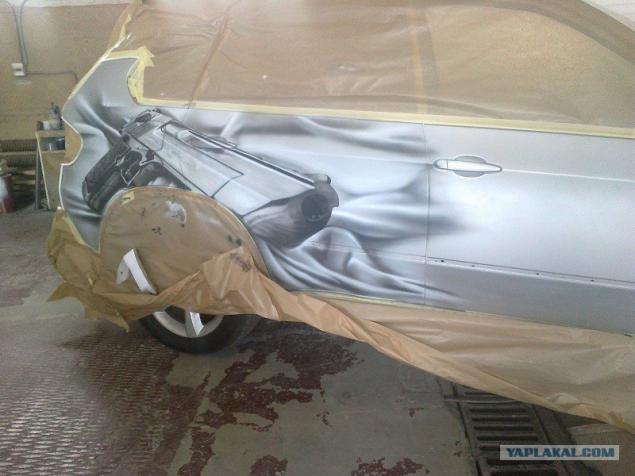
lastly, it was decided to put even Gunsmoke. in this artist's work is completed, then comes my turn. I tear off all the old ukryvki, paint brushes, rollers and driven into a newly ukleivayu.
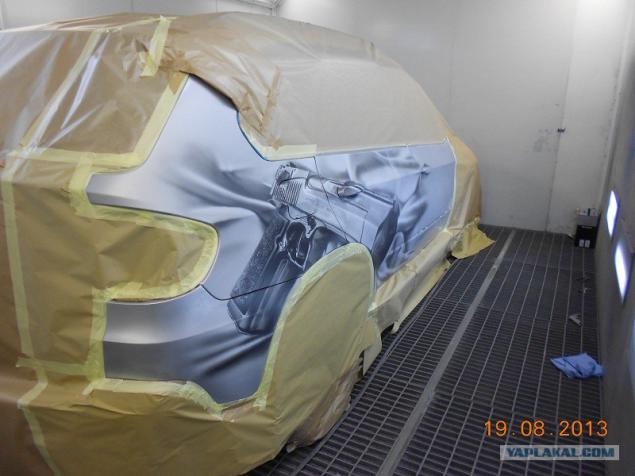
21
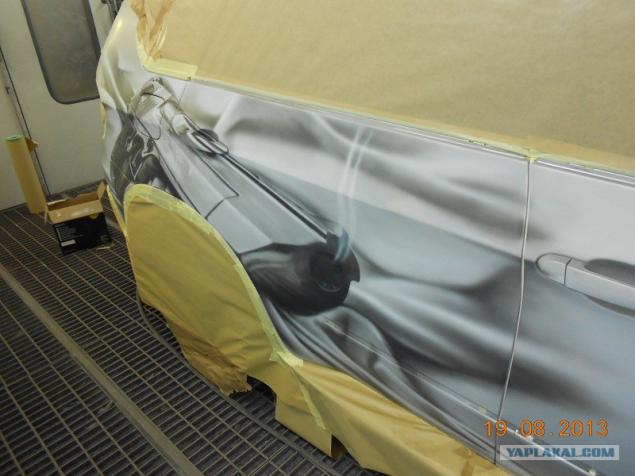
the whole thing pour paint in 2, 5 layer
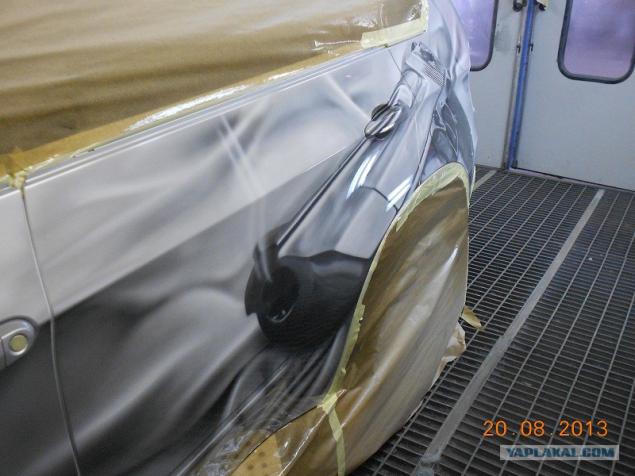
regular cars varnished in 1, 5 layer, but this is not so simple. The fact is that the airbrushing picture, but still used stencils drawing becomes a higher and this is evident in the varnish. so is an additional layer.
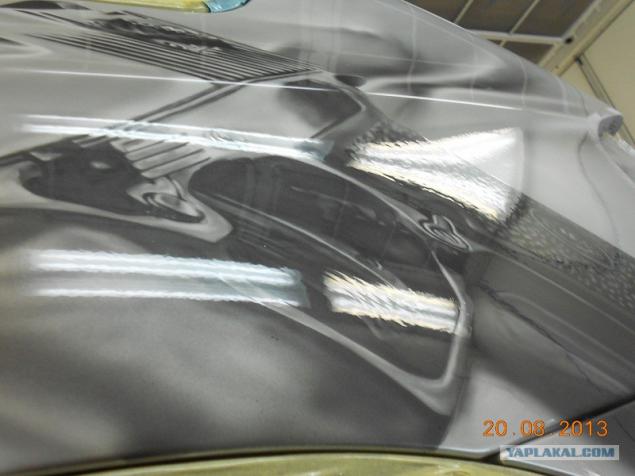
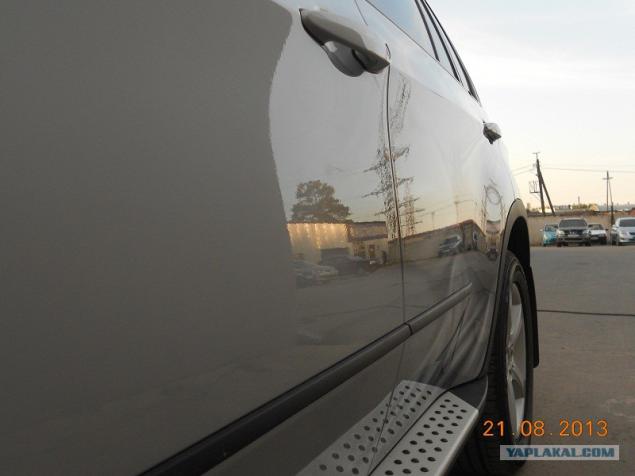
here even more clearly see. reflection of light on the varnish.
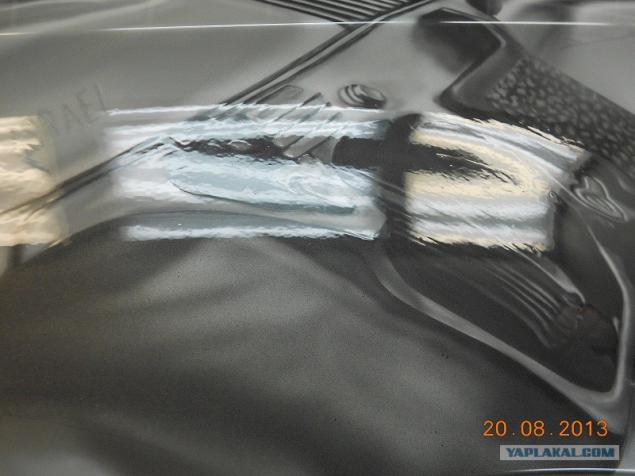
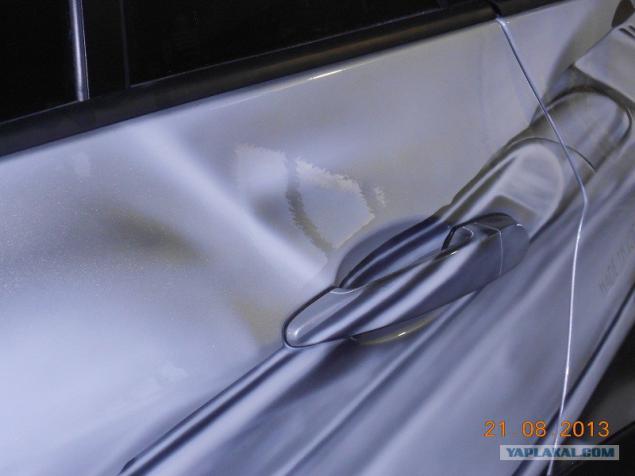
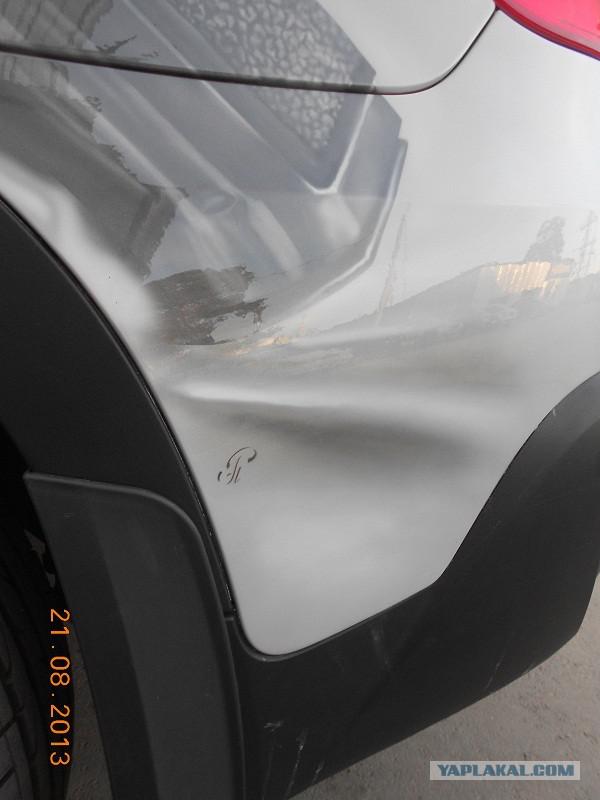
Pour the first time did not work, so the paint dried and vyshkurivaetsya to smooth state. here Legontsy walked sandpaper and sfotkal For clarity, all these borders.
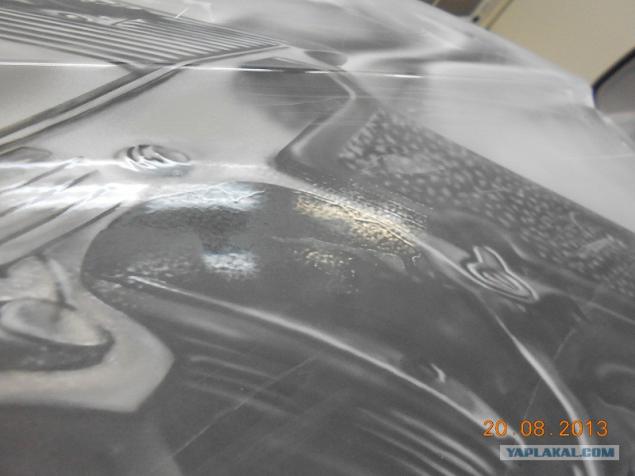
nail demolished to perfectly smooth state
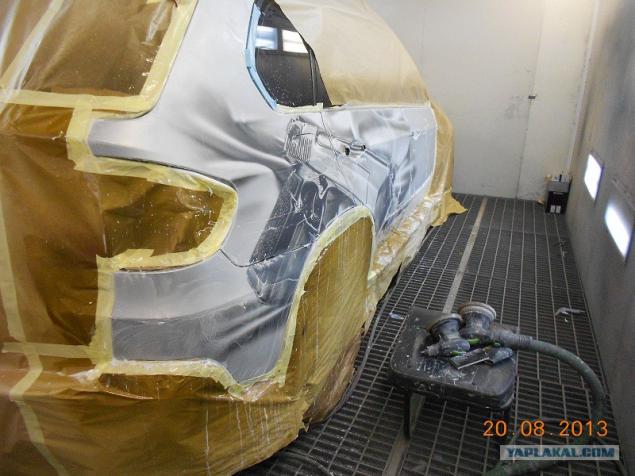
painters today I will throw rotten tomatoes perhaps, for the fact that the chamber is arranged immediately say - this is one of the latest paint layers, then wash the camera and change all the filter.
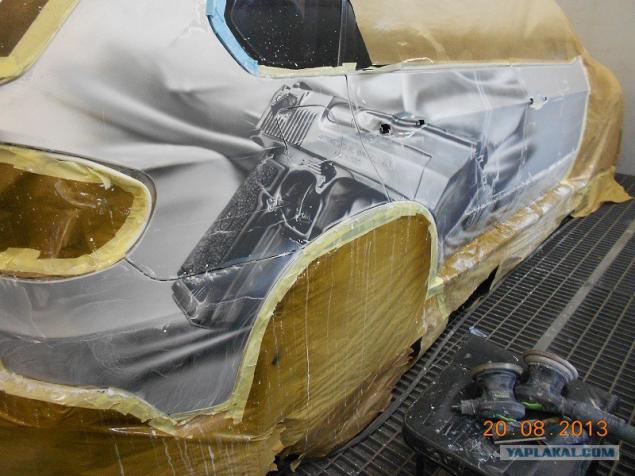
then the machine again and glue on a flat surface fly another 1, 5 layers of lacquer. The car is already outside the chamber.
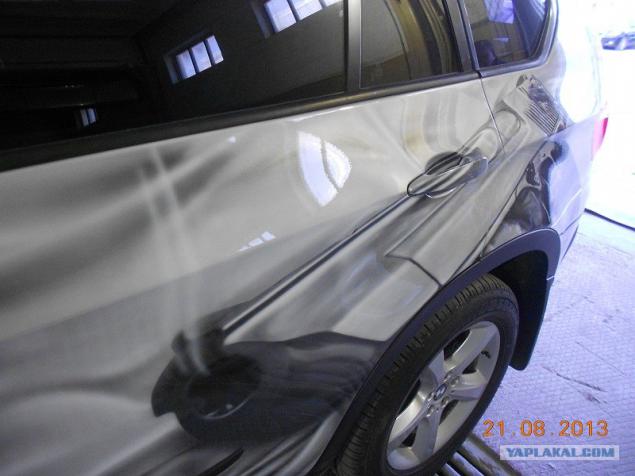
close
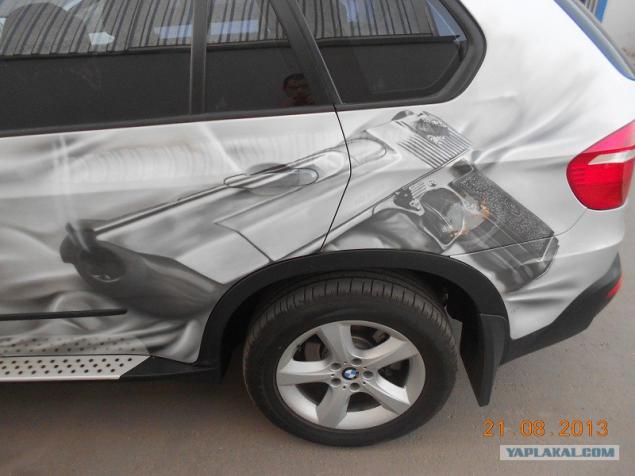
all shiny))))
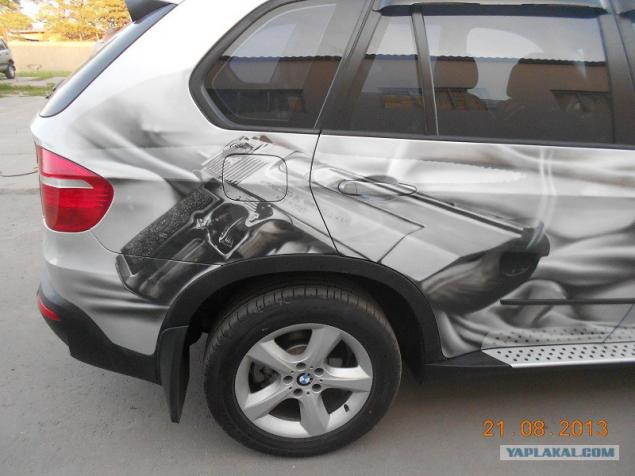
Chet distracted from drawing
32
33
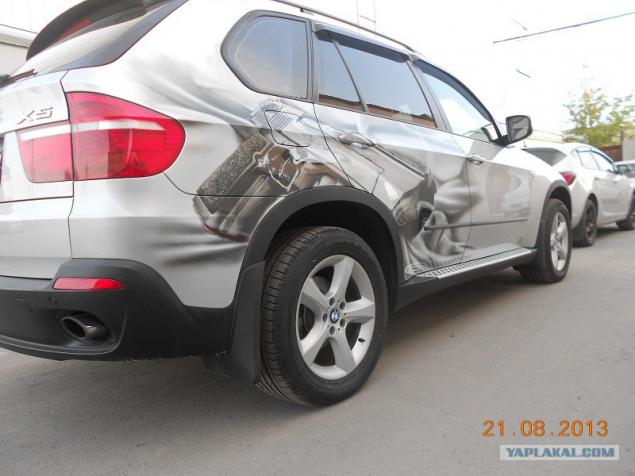
34
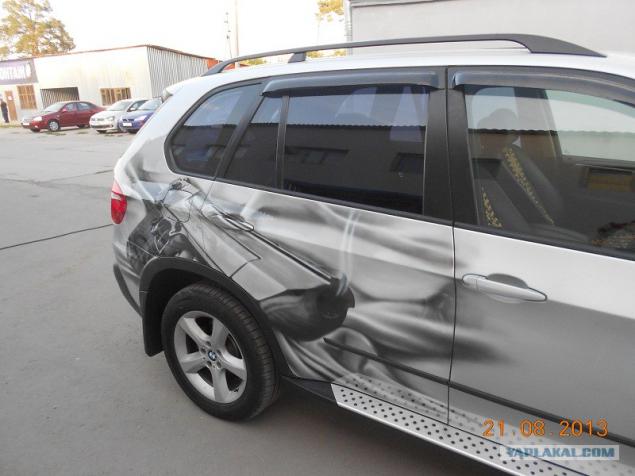
bukovki with pistika closer
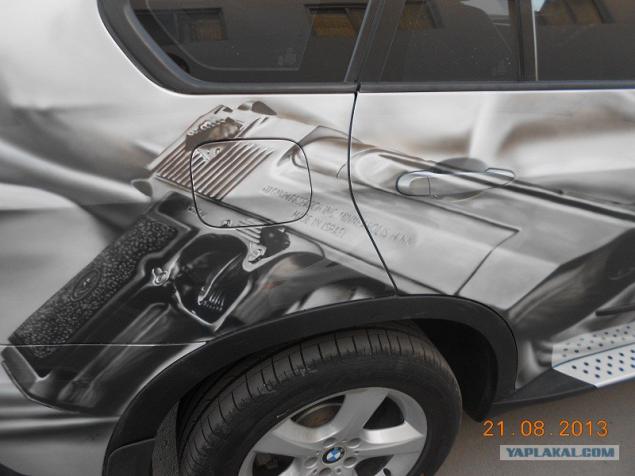
painting artist
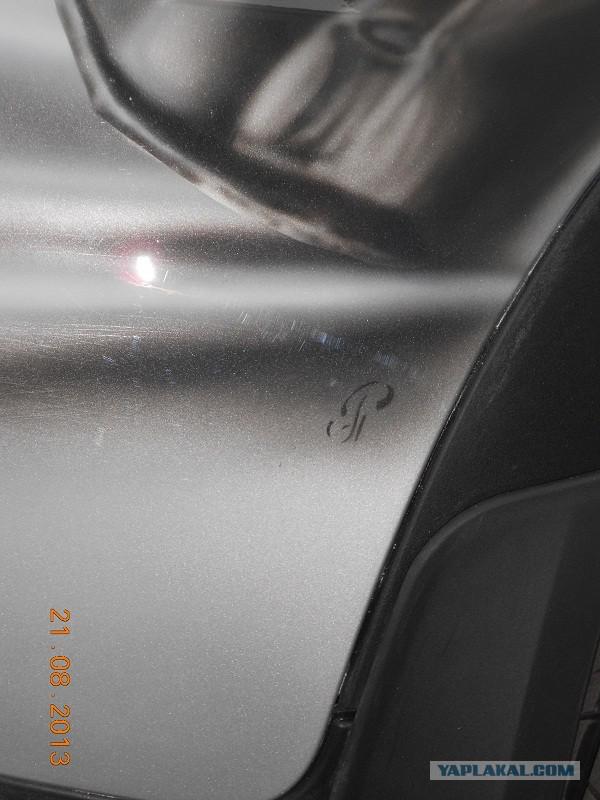
she's on the other side
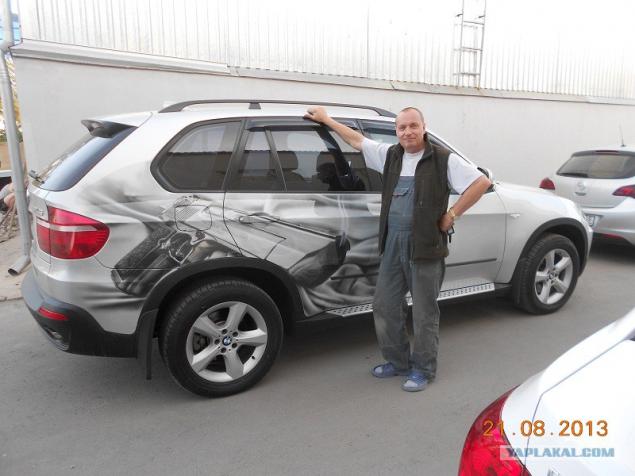
But he himself
I have all
Source:
Will be 38 photos.

To start drawing itself, and its dimensions are negotiated with the client, in Photoshop image is superimposed on the car to be visually assessed. otfotoshoplenaya pictured above photo of the machine, it is the end result will look exactly live. Topic of course not new, but the client chose a design by finding it on Ineta.

Before you start, you want to prepare the surface for printing car. taking off the surface to create adhesion to the paint and then a protective layer of lacquer. Simply put, the paint has not fallen off afterwards.

understand the inner skin to remove the rubber gasket under the door handles, they would have prevented the further lacquering. also removed all exterior moldings.

the rest of the body is not to be taped over ukryvochnym drawing material.

Printing in print layout here is a 1: 1 it helps to place a figure on the cars. He also will serve as a stencil. mainly aerografisty draw by hand, without stencils, but since there are a lot of long lines, without any how.

the view from the other side

Work went

study of small details. photo on the work of artist Andrew aerografist Radygin. it works the way I was lecturing
forum2/topic565976.html?hl=
forum11/topic582691.html?hl=

close

away)))

pistol grip over

the contours are outlined, without the kind of stencil.

Now the background is applied by hand to protect the image of the gun opyla, it is sealed in the same stencil. It is mounted on the machine it is quite easy on the magnets.

15

Background ready. where a stencil and drawing where a cursory difficult to determine whether viewed

tool for the job - airbrushes

space where the artist works a little to appreciate the drawing machine periodically rolling out in boxing more.

19

lastly, it was decided to put even Gunsmoke. in this artist's work is completed, then comes my turn. I tear off all the old ukryvki, paint brushes, rollers and driven into a newly ukleivayu.

21

the whole thing pour paint in 2, 5 layer

regular cars varnished in 1, 5 layer, but this is not so simple. The fact is that the airbrushing picture, but still used stencils drawing becomes a higher and this is evident in the varnish. so is an additional layer.

here even more clearly see. reflection of light on the varnish.

Pour the first time did not work, so the paint dried and vyshkurivaetsya to smooth state. here Legontsy walked sandpaper and sfotkal For clarity, all these borders.

nail demolished to perfectly smooth state

painters today I will throw rotten tomatoes perhaps, for the fact that the chamber is arranged immediately say - this is one of the latest paint layers, then wash the camera and change all the filter.

then the machine again and glue on a flat surface fly another 1, 5 layers of lacquer. The car is already outside the chamber.

close

all shiny))))

Chet distracted from drawing

32

33

34

bukovki with pistika closer

painting artist

she's on the other side

But he himself
I have all

Source:


