581
Restoration Camera Fuji
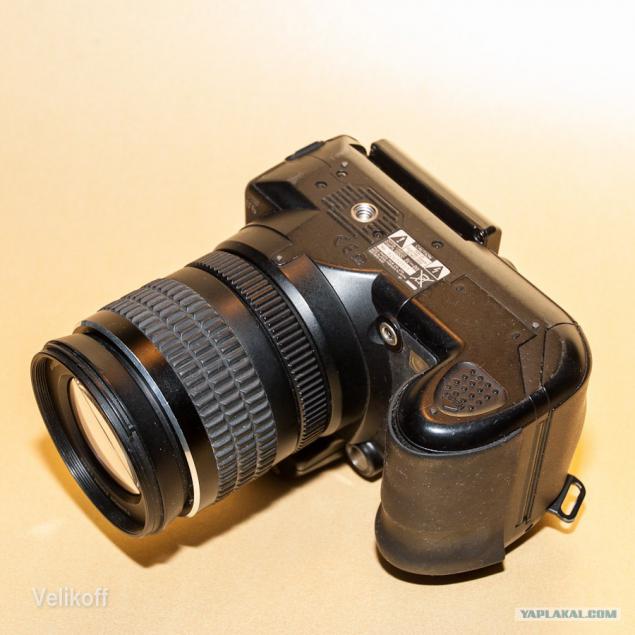
So, this short story about a Japanese camera-psevdozerkalku. I restored by implanting a foreign implant-brackets.
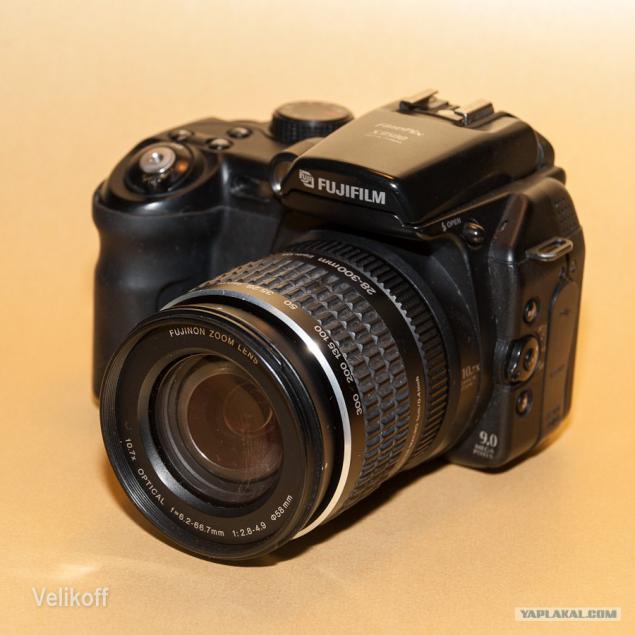
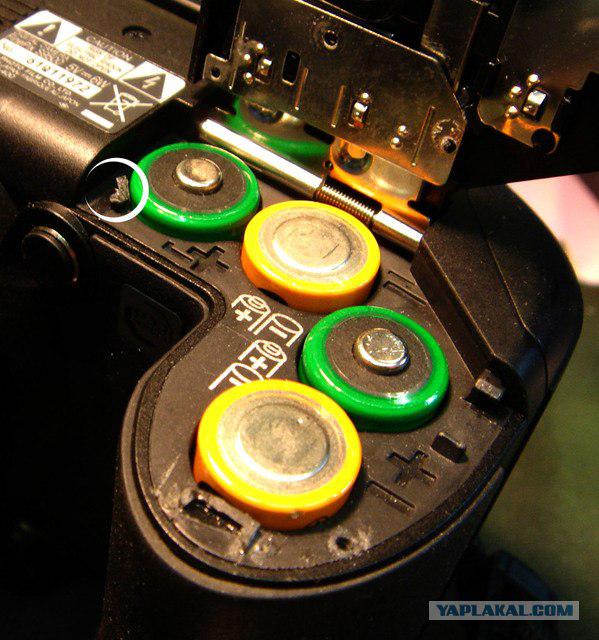
He was in the children's little hands, then the unit has lost over pins that hold the battery cover in the normal position.
The circle is outlined in an additional pin, it must also be restored.
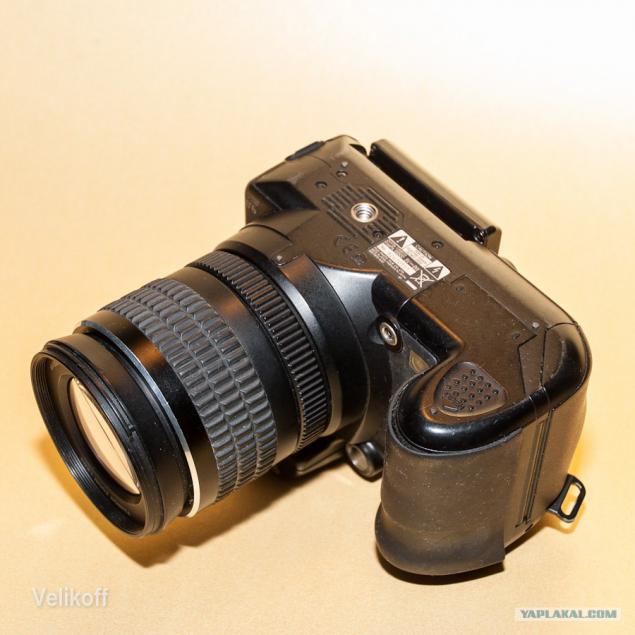
Here the visible cover is in the closed position:
Getting to disassemble the unit, with the removal of the top panel. Do not forget that all wires and cables are thin, flexing \ severing at least one will be hard to restore it, on the rhythm breathe deeply and calmly, do not hurry.
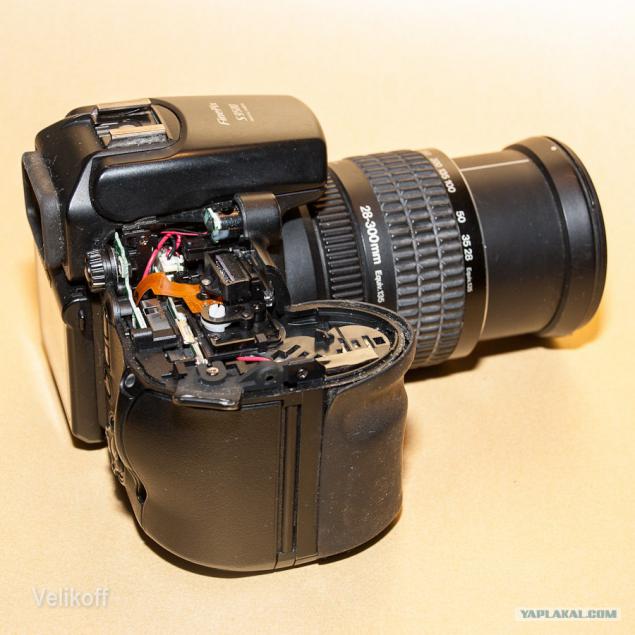
The panel with the mode dial and release button is separated from the body
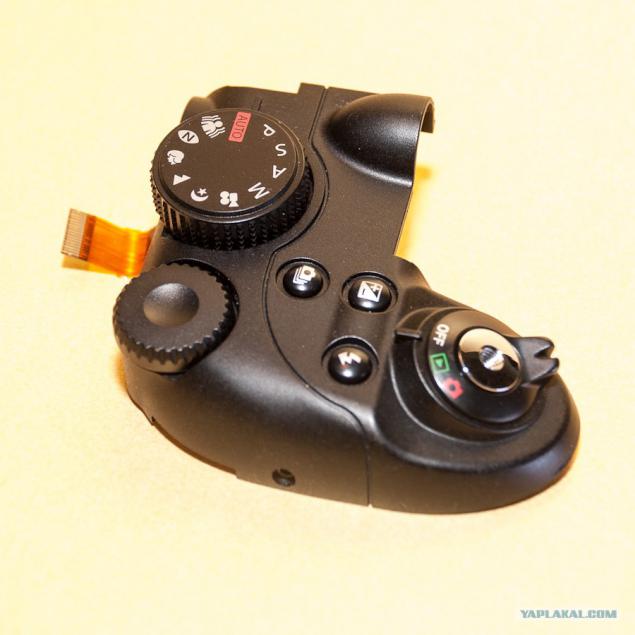
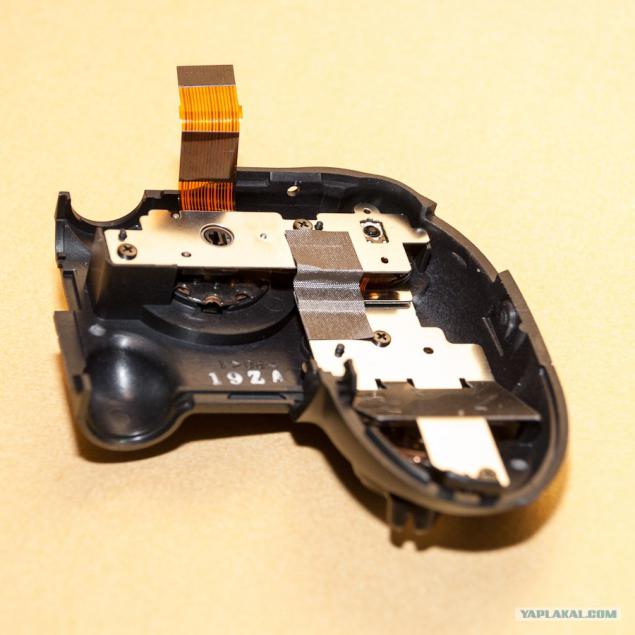
The bottom view shows that there is nothing supernatural:
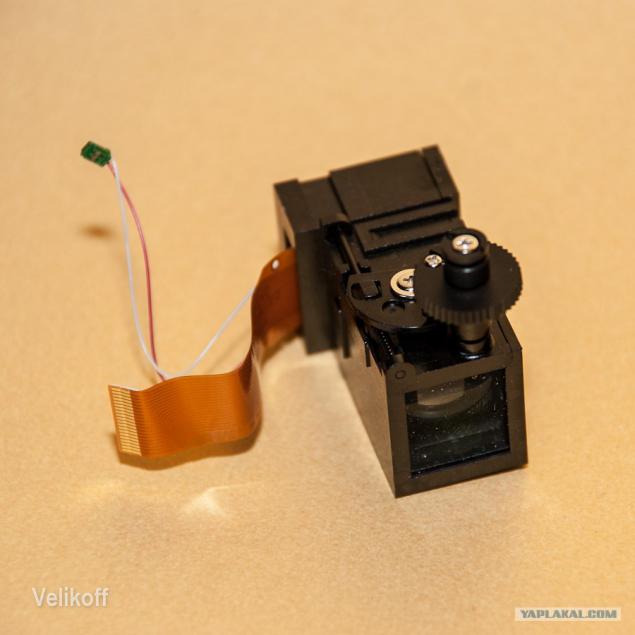
Unlike DSLRs, there is an electronic viewfinder, and inside the box is maaalenky displeychike LCD and lens for selection adjustments for diopter dial you see is the focus of the lens with respect to LCD display:
Break of the knee to separate the front part of the rear portion of the inner see:
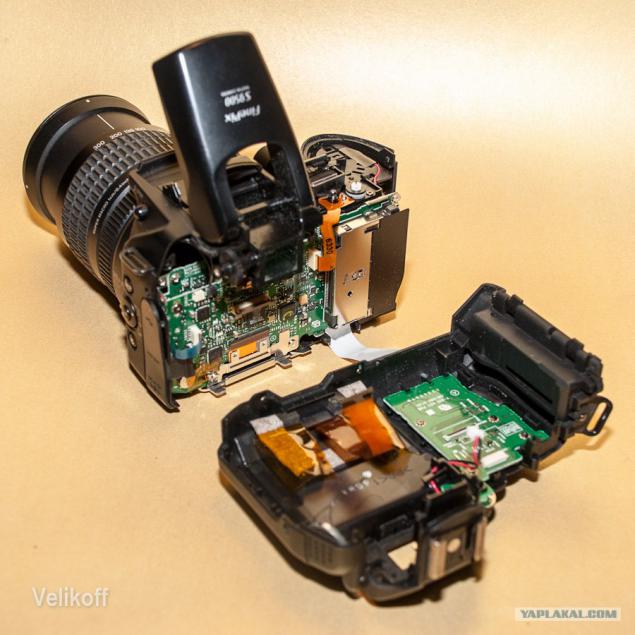
The front part of the block and the lens matrix to remove the battery compartment
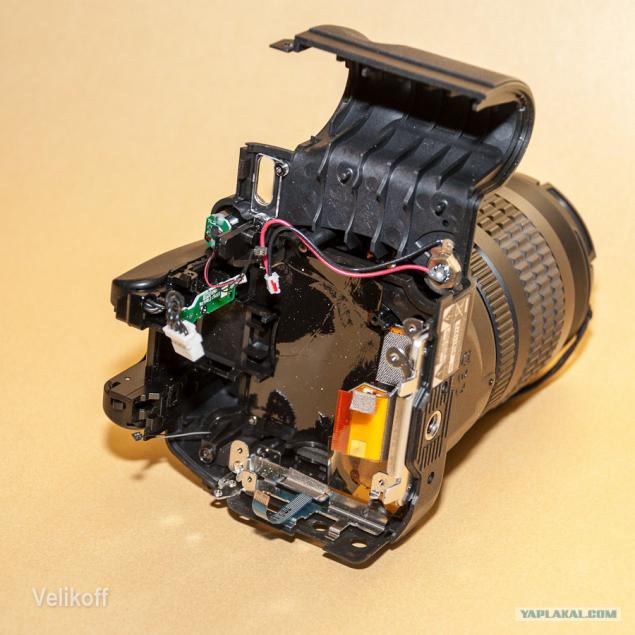
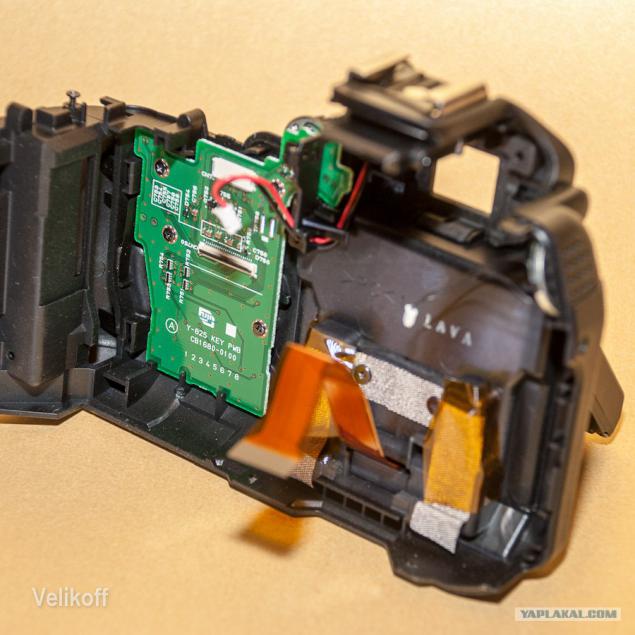
The back of the inside of the, visible plumes display, connectors and buttons:
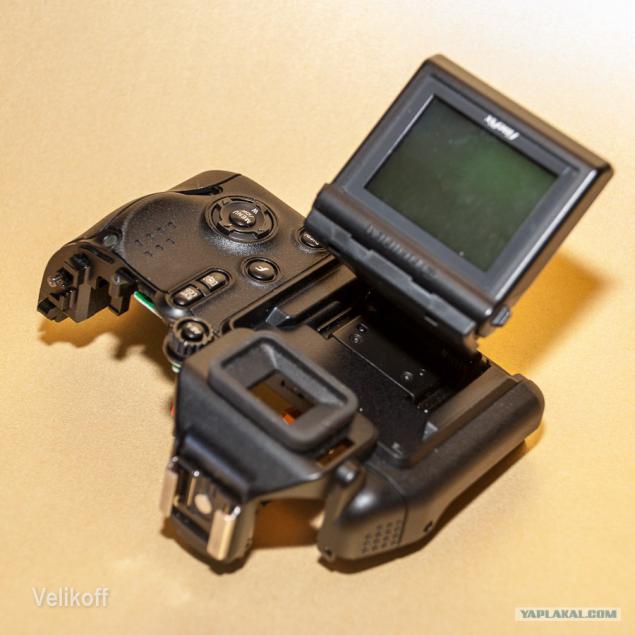
The display at this camera extends, tilts, but does not turn:
Though psevdozerkalka, and the two main boards!
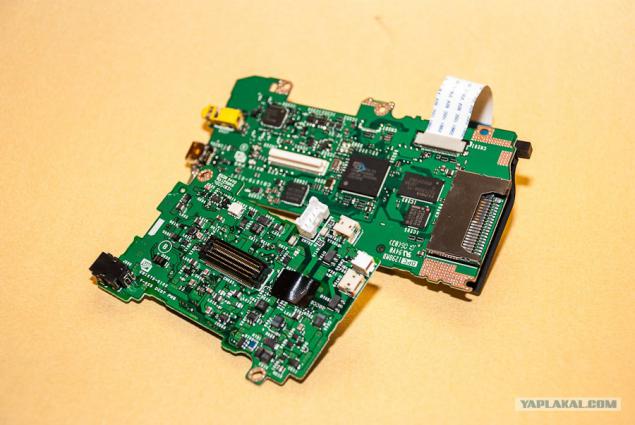
On one of the two boards have electrolytic capacitor
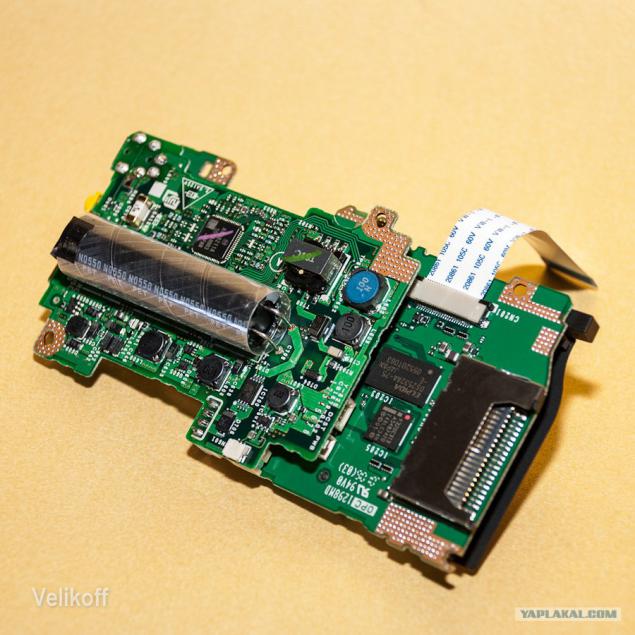
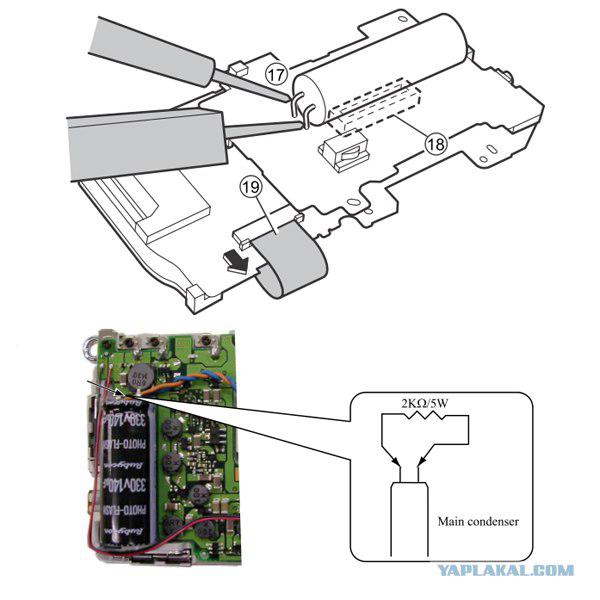
It is forbidden to touch him! To enable the touch, the Japanese recommended to do so:
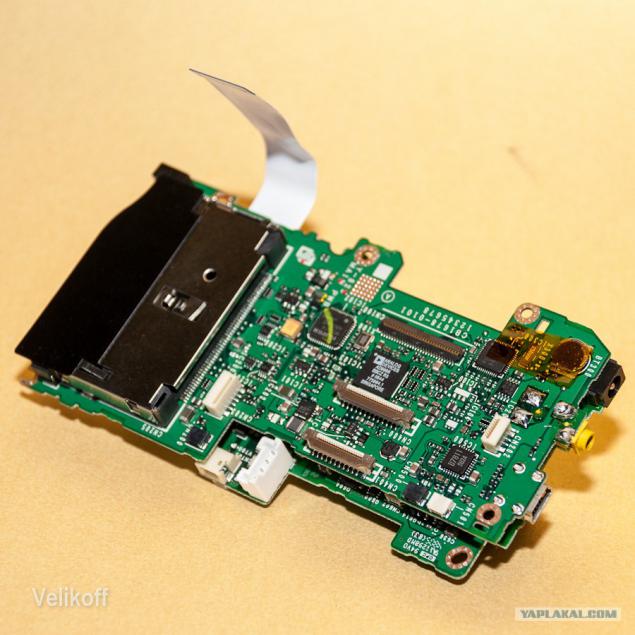
The second board is visible on the left jack of CF-cards and exotic xD-Picture Cards:
Having admired the beauty of electronics assemblies, go to the restoration itself, that the battery compartment itself, which should be treated:
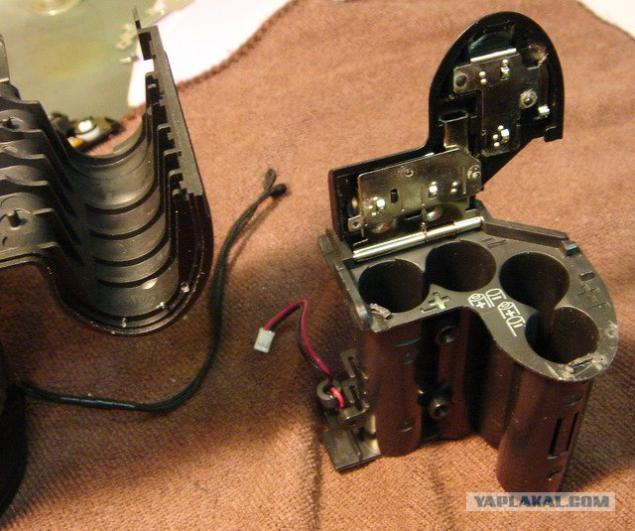
Take a 14mm bracket, with which attach the upholstery on the furniture, arches his arms growing from the shoulders three-dimensional figure, the likeness is this: I tried to paper clips and thin spring, but the metal was either too thick or is not allowed to bend, this furniture skoby- the most it!
Where previously the plastic pins, drilled holes, slightly smaller than the thickness of the wire staples, paste and fold, it is best to 89 °, then smear epoxy so that its volume was the fact that will hold a large area of the bent ends of the bracket. The basic idea of an epoxy adhesive, no glue and create a dense mass that holds the metal on plastic.
And in fact the result of the work, with dried epoxy:
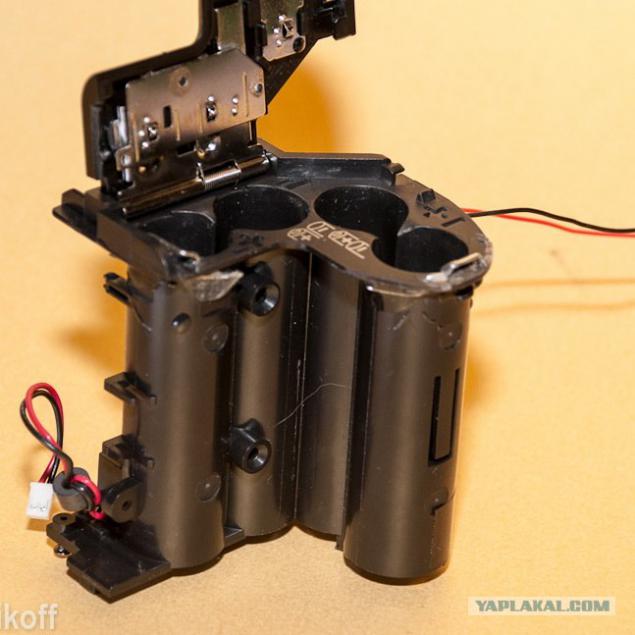
The process requires accuracy plastic breaks easily
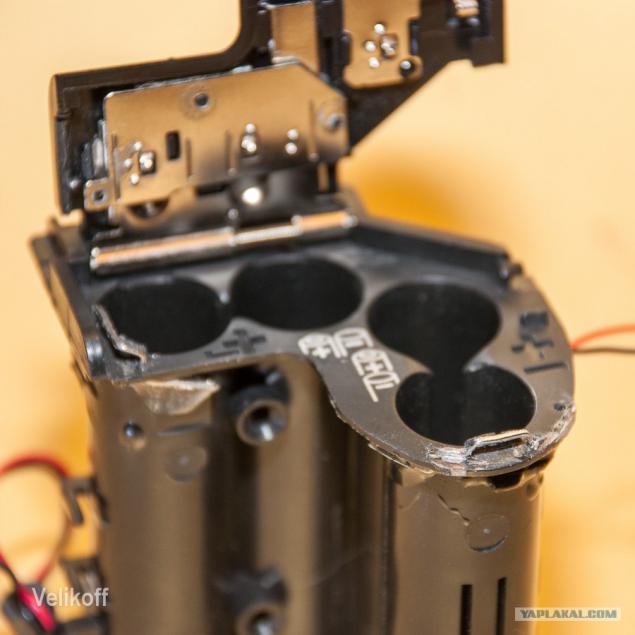
It is seen as a withered epoxy adhesive
Posted in [mergetime] 1356277740 [/ mergetime]
Since the Japanese have not provided space for the repaired battery compartment, using a Dremel, we are processing plastic and customize it so that fell as it should, without strain.
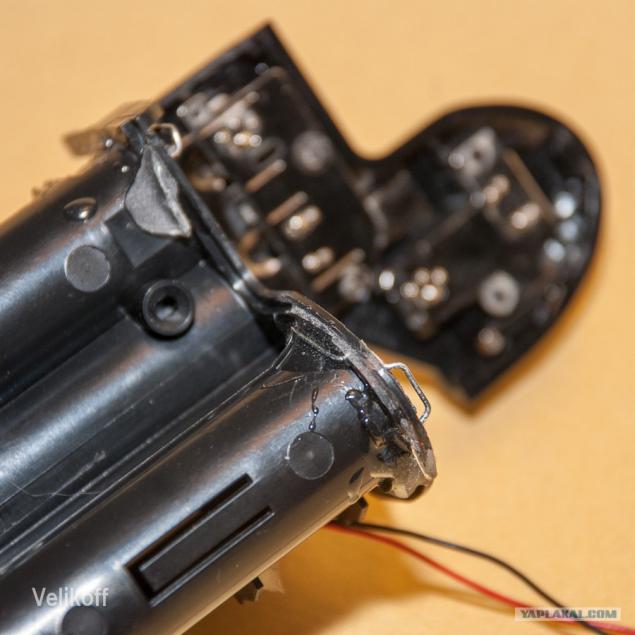
Actually closed device looks exactly the same as that of the conveyor:
Posted in [mergetime] 1356277784 [/ mergetime]
Thank you for attention!
Source:

He was in the children's little hands, then the unit has lost over pins that hold the battery cover in the normal position.
The circle is outlined in an additional pin, it must also be restored.

Here the visible cover is in the closed position:

Getting to disassemble the unit, with the removal of the top panel. Do not forget that all wires and cables are thin, flexing \ severing at least one will be hard to restore it, on the rhythm breathe deeply and calmly, do not hurry.

The panel with the mode dial and release button is separated from the body

The bottom view shows that there is nothing supernatural:

Unlike DSLRs, there is an electronic viewfinder, and inside the box is maaalenky displeychike LCD and lens for selection adjustments for diopter dial you see is the focus of the lens with respect to LCD display:

Break of the knee to separate the front part of the rear portion of the inner see:

The front part of the block and the lens matrix to remove the battery compartment

The back of the inside of the, visible plumes display, connectors and buttons:

The display at this camera extends, tilts, but does not turn:

Though psevdozerkalka, and the two main boards!

On one of the two boards have electrolytic capacitor

It is forbidden to touch him! To enable the touch, the Japanese recommended to do so:

The second board is visible on the left jack of CF-cards and exotic xD-Picture Cards:

Having admired the beauty of electronics assemblies, go to the restoration itself, that the battery compartment itself, which should be treated:

Take a 14mm bracket, with which attach the upholstery on the furniture, arches his arms growing from the shoulders three-dimensional figure, the likeness is this: I tried to paper clips and thin spring, but the metal was either too thick or is not allowed to bend, this furniture skoby- the most it!
Where previously the plastic pins, drilled holes, slightly smaller than the thickness of the wire staples, paste and fold, it is best to 89 °, then smear epoxy so that its volume was the fact that will hold a large area of the bent ends of the bracket. The basic idea of an epoxy adhesive, no glue and create a dense mass that holds the metal on plastic.
And in fact the result of the work, with dried epoxy:

The process requires accuracy plastic breaks easily

It is seen as a withered epoxy adhesive
Posted in [mergetime] 1356277740 [/ mergetime]
Since the Japanese have not provided space for the repaired battery compartment, using a Dremel, we are processing plastic and customize it so that fell as it should, without strain.

Actually closed device looks exactly the same as that of the conveyor:
Posted in [mergetime] 1356277784 [/ mergetime]
Thank you for attention!

Source:
