870
Private monitor only for you (23 photos)
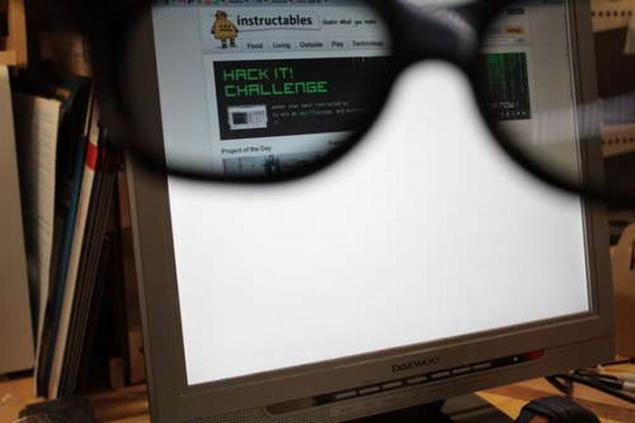
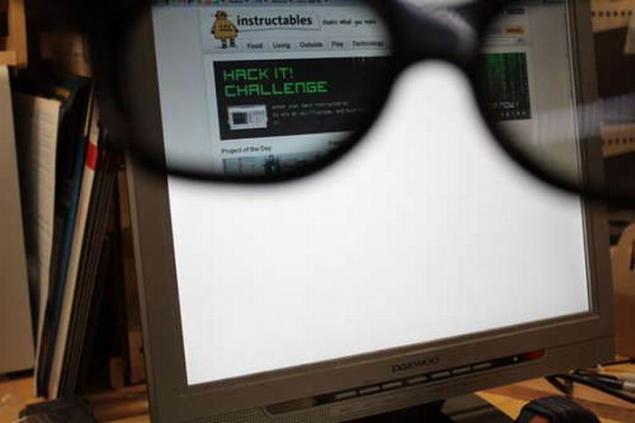
You can finally do something with my old LCD monitor that you have lying around in the garage. Turn it into a spy monitor! All around it will look like a white screen, but not for you because you will have a special "magic" glasses.
All you need - a pair of old glasses, paper knife and paint thinner.
That's what I used:
Of course this LCD monitor
disposable 3D glasses from the cinema (old sunglasses should be fine)
the solvent (or analogue)
paper cutter
Screwdriver
paper towels
superglue
Step 1. Take the monitor.
Find an old monitor that you are willing to sacrifice.
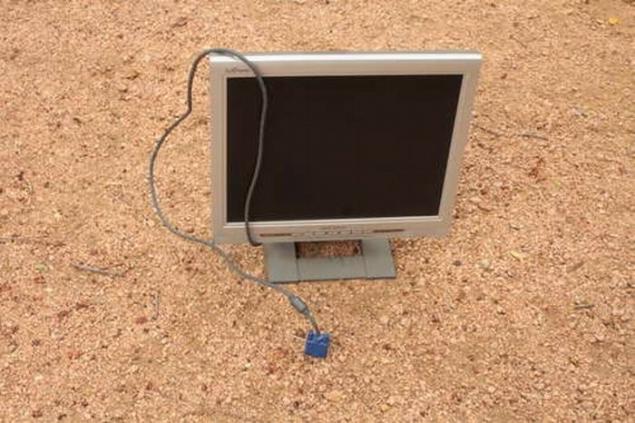
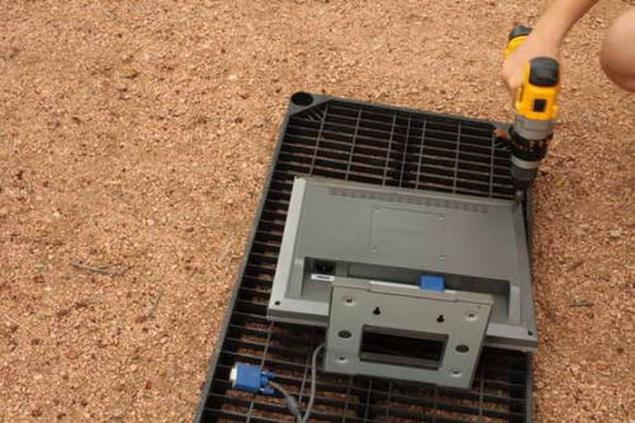
Remove the plastic frame by unscrewing all the screws on the reverse side.
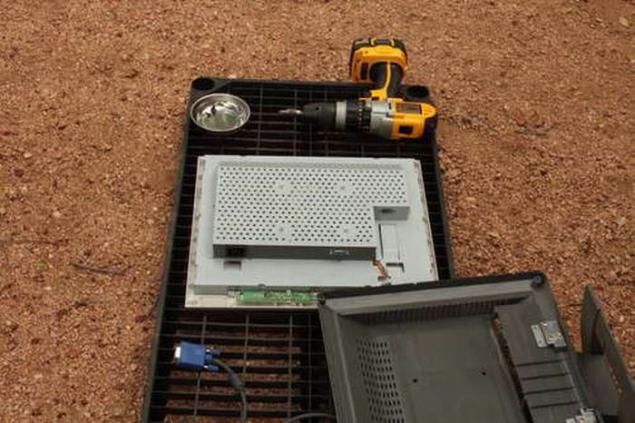
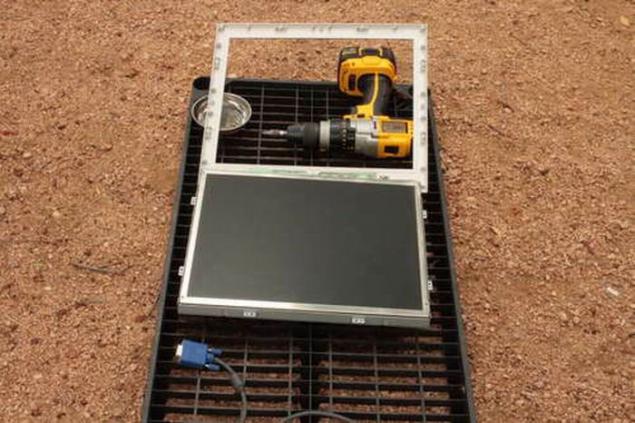
Step 2: Cut the polarizing film.
Most LCD monitors is on the glass cover of the two films: the polarization filtering of light that you do not need to see, and a matte anti-glare film. Anti-glare we do not need, and polarization we use in our glasses.
It's time to take a knife and cut the film at the very edge of the screen. Do not be afraid to press, the metal will not scratch the glass if there is no ralichnyh crumbs and dust.
* Council of the comments: Not all monitors coverage of the two films pasted on some they are simply superimposed and if you remove the protective metal edge of the matrix, they can be simply removed without cutting.
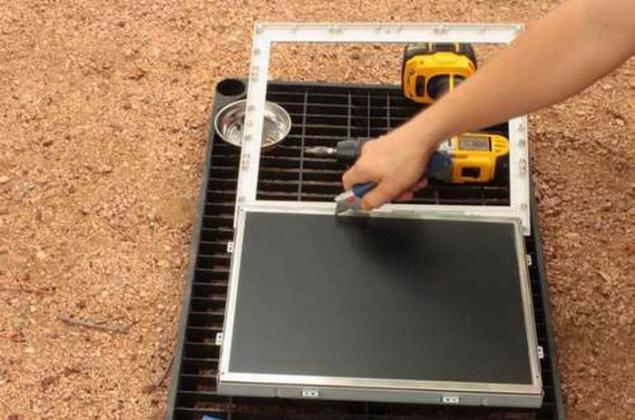
Then pulls film from the screen. Do not forget to save polarizing film, just remember its orientation.
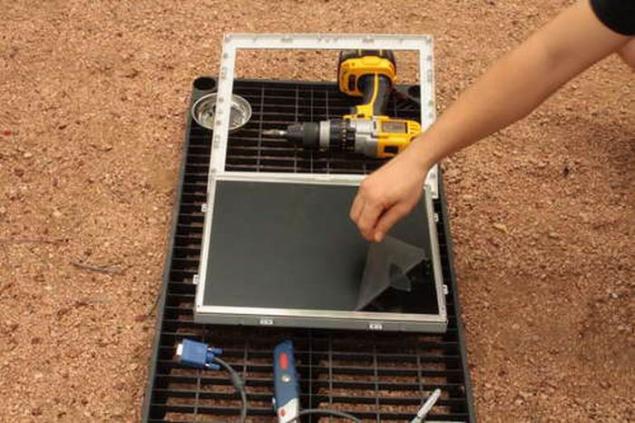
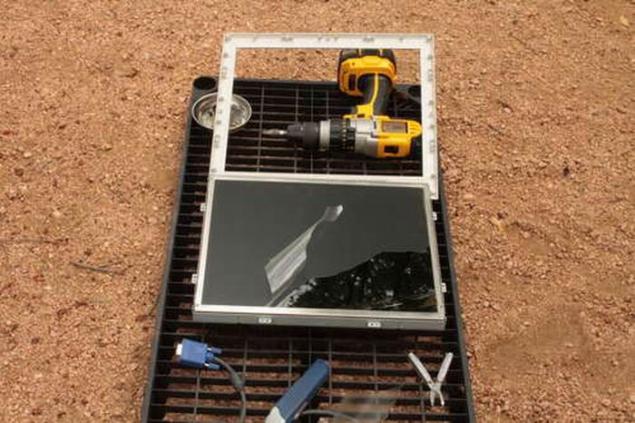
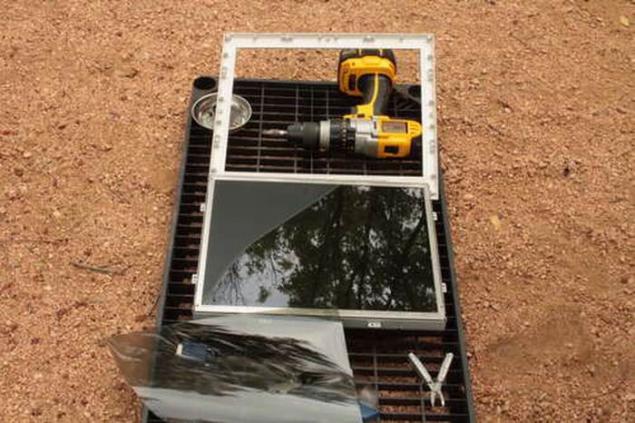
Step 3: Clean the screen from the adhesive.
After you have removed the film is likely to remain on the screen glue, go to the dirty work.
Clean of adhesive with a solvent, and paper towels.
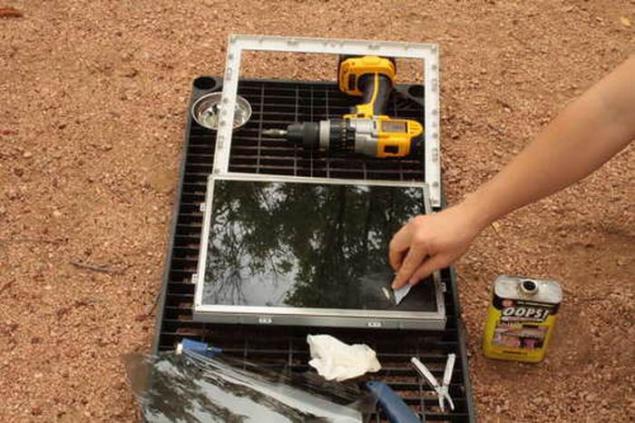
I found that if you cover the screen with paper towels soaked in solvent and allow them to lie down, it will be easier to remove the glue. Just remover can use any piece of plastic or wood, just scraping glue from the screen.
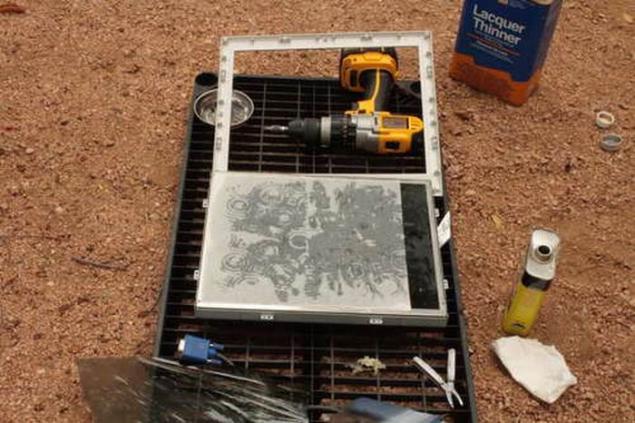
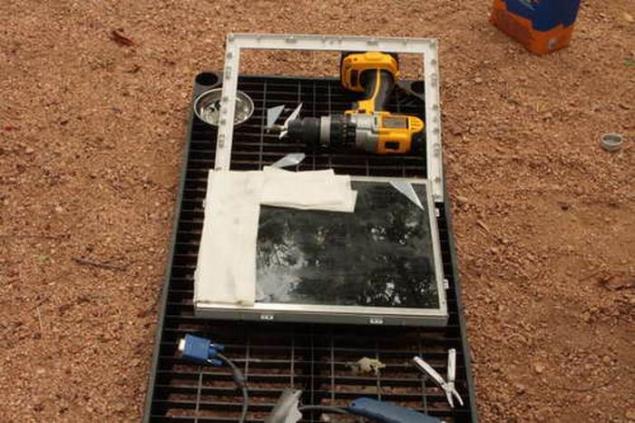
Be careful, be careful, whatever the solvent does not enter the plastic frame.
Step 4. Work on your monitor is completed.
After you clean off all the glue, you can collect the monitor. Even before you make points, you can test the monitor with the polarizing film!
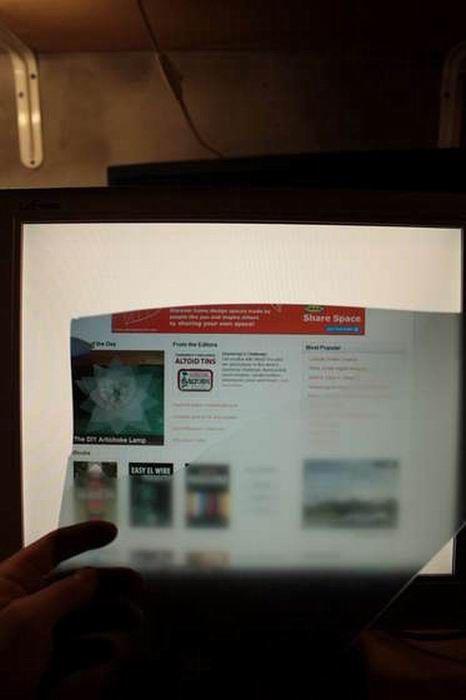
Step 5. Remove the old lens.
To create a score, I used disposable 3D glasses from the cinema, but you can use other lyuby.
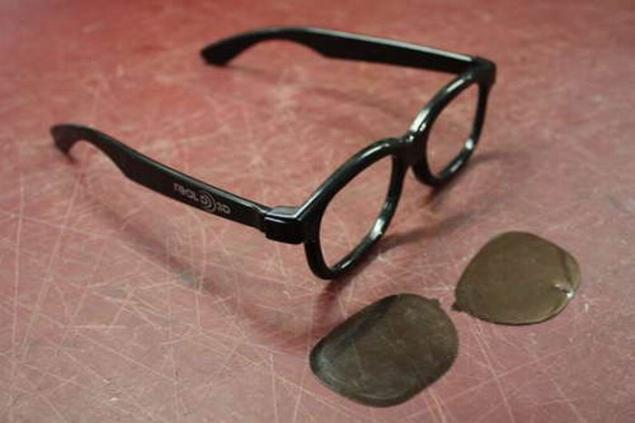
Squeeze a glass or disassemble points if possible.
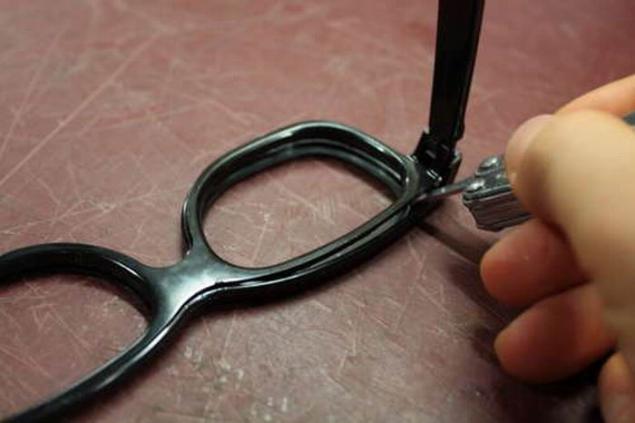
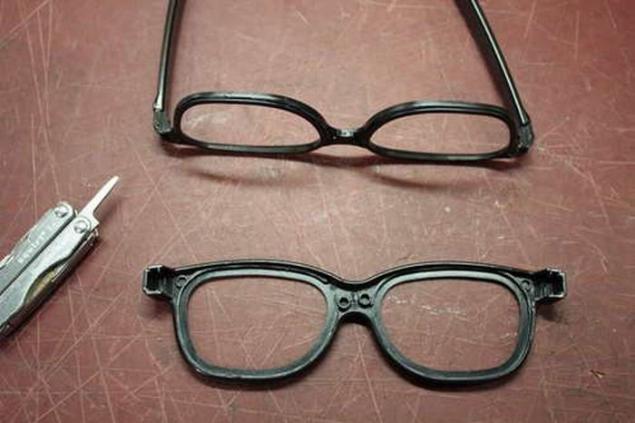
Step 6. We scan, tracing the border, cut.
If you plan to use a CNC machine or laser cutting, scan and get the image of the contours of elements (trace boundaries).
* The author is engaged in this activity for the order, so here and there so strange to most of the proposals
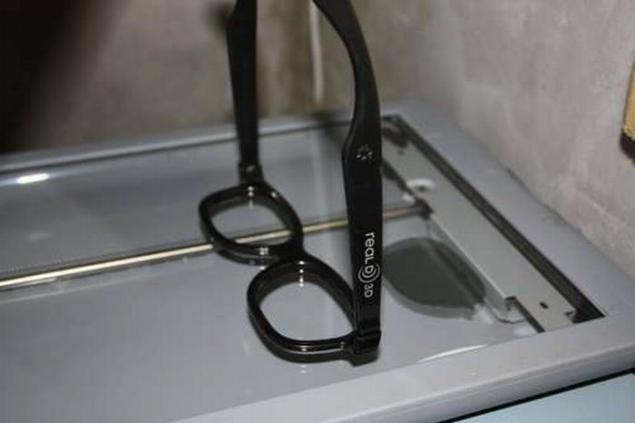
I scanned the windows, you can use them as a model for their location. Remember that it is important polarizing film orientation. Parties also have the meanings (front / rear).
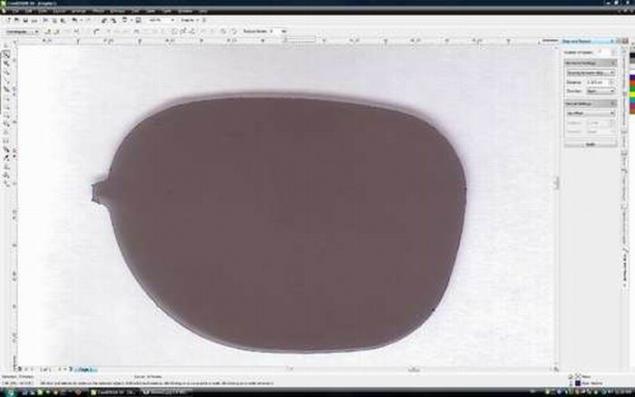
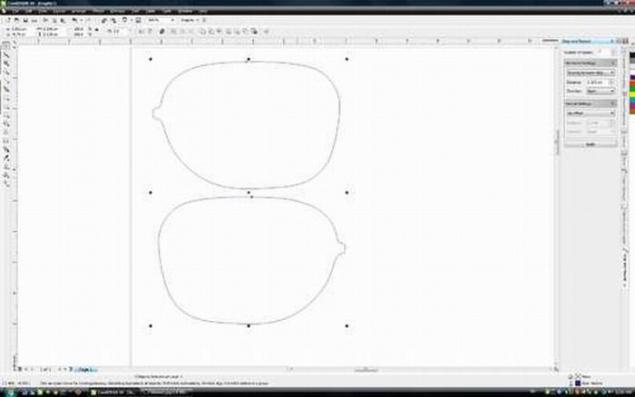
As for cutting lenses, you can still use the same knife for paper.
Step 7. Collect points and enjoy!
You can collect points, you are ready for that a little have fun!
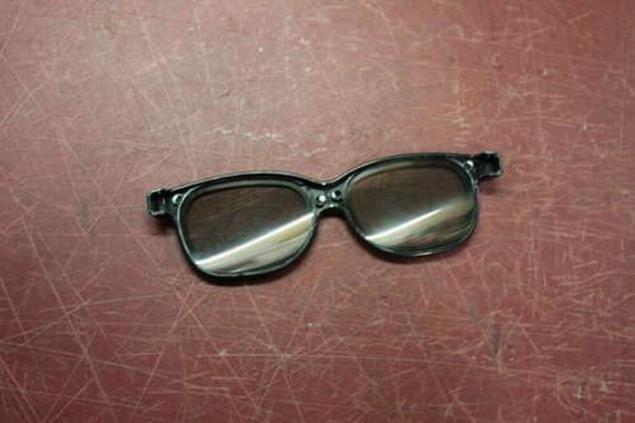
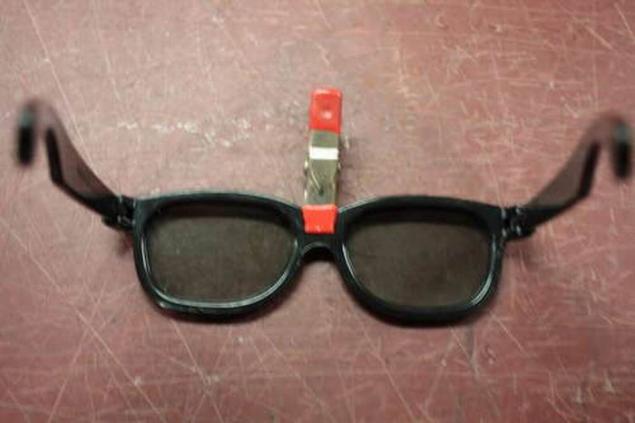
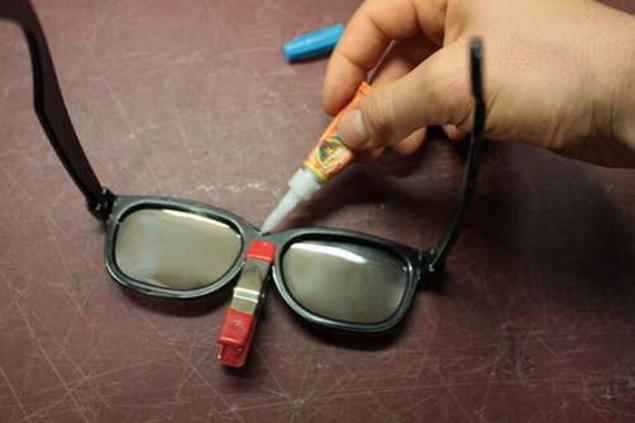
People may think that you are mad, staring at the white monitor, sitting in sunglasses!
But I think it makes the venture even more fun!