845
Pro-quality hardcover book with leather cover
Greetings, cat!
Seen as something Habré article to create a normal binding to the printed book - loved it, wanted to do but did not have time, save articles to favorites ... And more recently, on Yap, was a post about a quality hardcover book with a leather cover, but other technologies (Help me find?) ...
Vydalit I have a free weekend, and since I goschu parents in a country house, all the tools at hand, and most importantly - have time and desire! Artwork for printing long to find it was not necessary - through short Torture]: -} very nice lady (whom he met shortly before his departure to his parents) were clarified its preferences in the literature, and books, which wants to read soon ...
Easy to love, a lot of coffee and tea, and flavor Moment "Crystal» ...
About 50-55 photos
For a start made to adapt to it was easier to work with a stack of sheets.
Based on the A5 (148 x 210mm) to saw a couple of more or less flat boards and drilled by tightening the bolts (M10h100 x 2), large washers are required, the board will crack ...
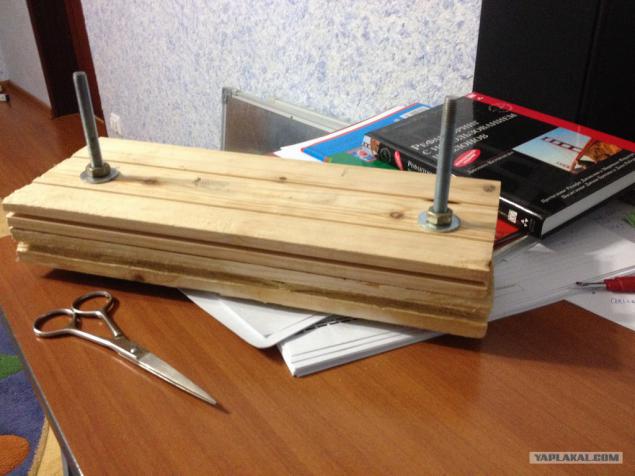
The book's title is not shown to prematurely could not sleep :) But not difficult to guess)
First you need to prepare the layout. I was lucky and I found a book in the normal MS Word format with the structure of the document and footnotes could only choose the size and font of the text to make titulnik and table of contents.
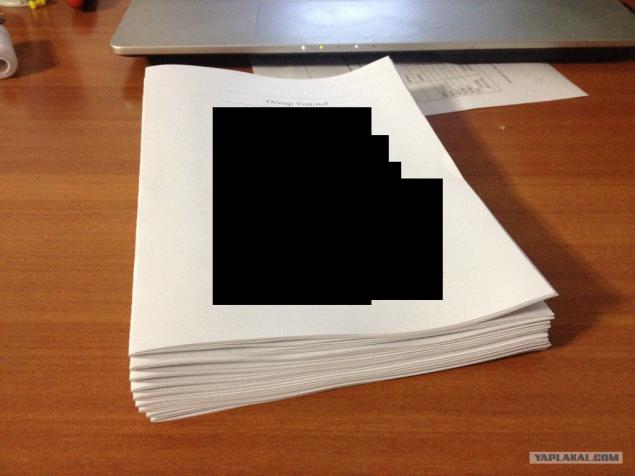
Print 9 notebooks to 8 sheets (32 pages in a notebook). These notebooks can be done easily in the Acrobat Reader to print mode broschury.
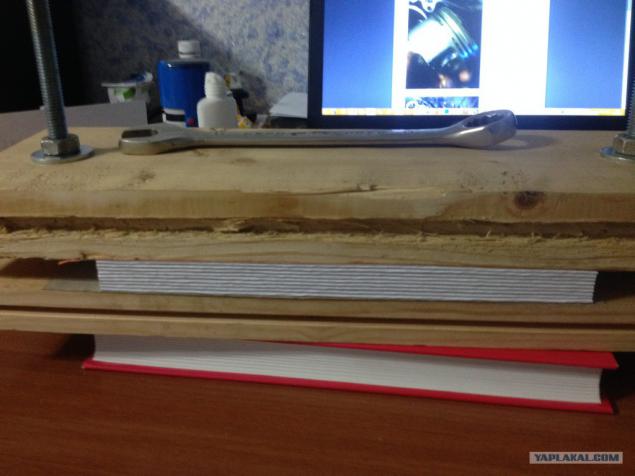
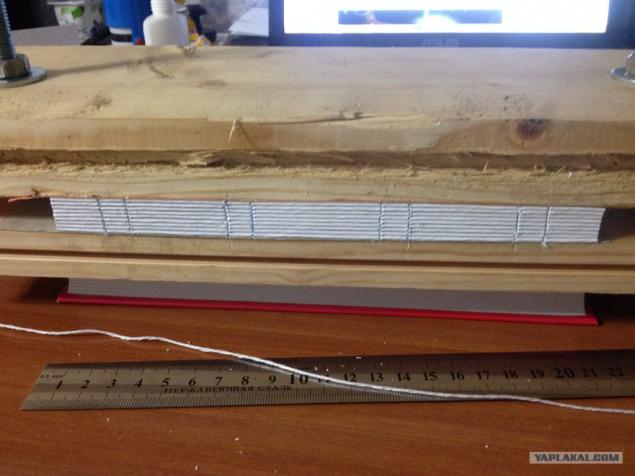
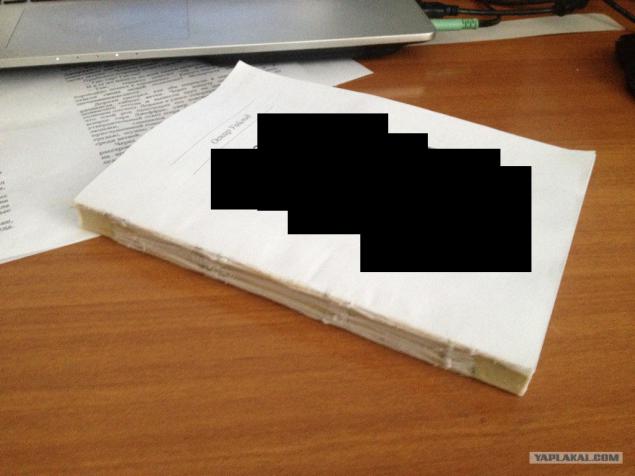
Especially to describe the first technology will not, you can see the link. Will be some photos of the process and the result, which is not much. But by design - the first draft version of the second - finishing.
4 ...
5 ...
6 ...
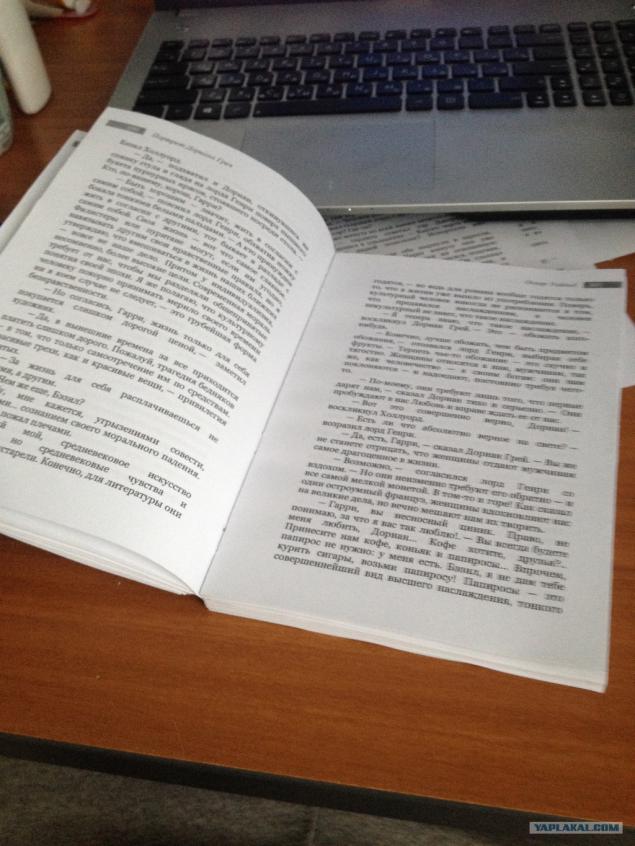
The biggest disadvantage of the first method is that you need to trim the edges. At home, make a smooth cut is very difficult, especially if the number of pages exceeds 150-200 ... Is it possible to cut one or two notebooks, instead of the entire book, but it's not really improve results.
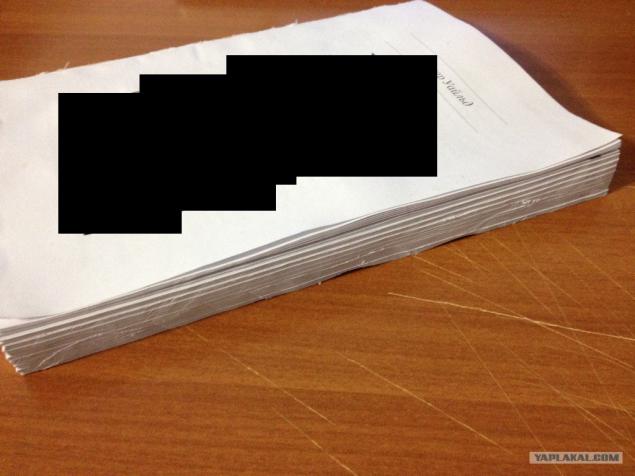
So imagine the result, do not become a cover.
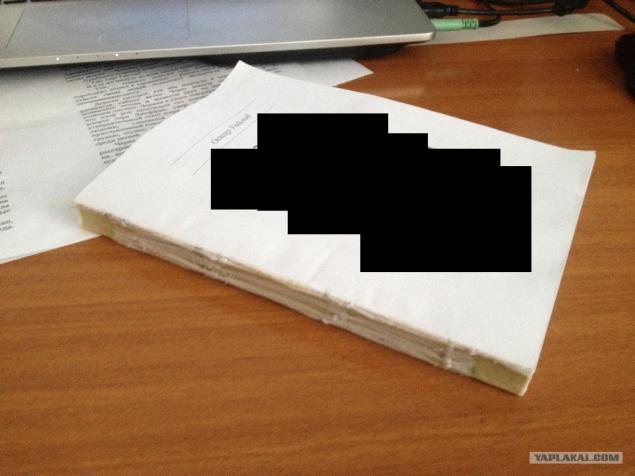
In the first experiment, it was decided to change the technology and print directly on the A5 format. We get rid of this problem with jagged edges and will not need to flash notebooks.
The main thing - very accurately assemble and align the stack of sheets, for this additional 2 sawed plank just below the sheet size: 145h210mm 3 mm allowance from the gutter:
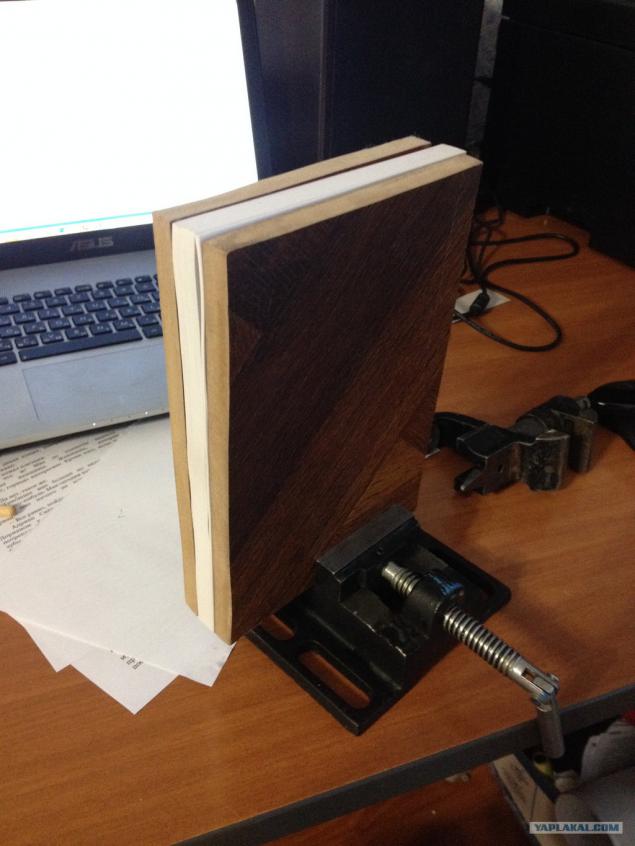
10 ...
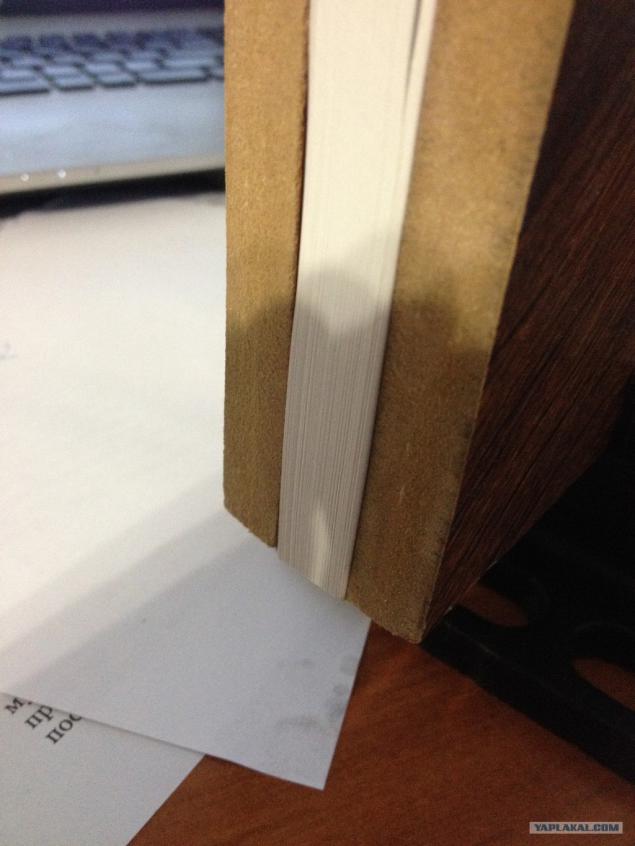
Aligns the pile of printed pages and stifle:
12 ...
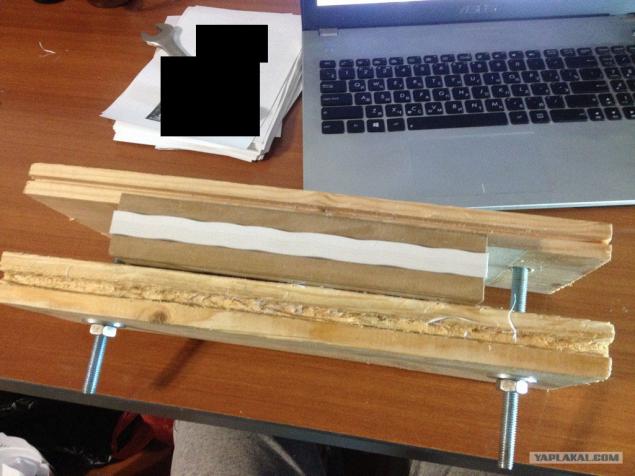
Make an incision from the end, about 1.5-2mm depth, so better grab the sheets with adhesive and will not fall out when reading. In the clamped state of sizing in several layers of "moments", waiting for each layer minutes 5. Glue grasped very quickly, very happy, unlike PVA :) The process itself is not filmed, dirty hands ...
Just sticking with the ends of the pieces of fabric, I do not know what they are called)
13 ...
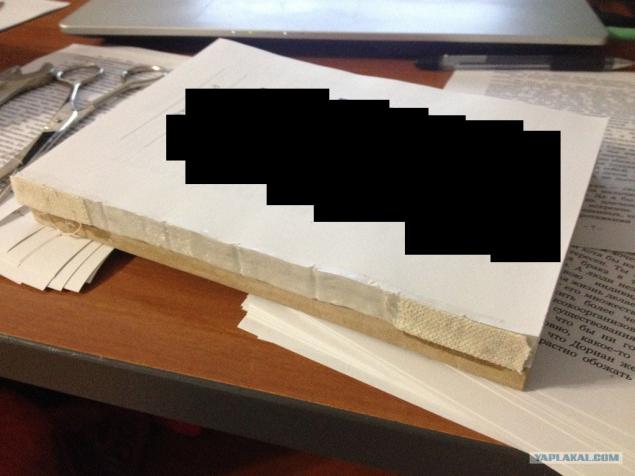
Glue extreme page of the book block, it will be attached to the flyleaf. I made them from the drawing paper, the density approached at the time)
14 ...
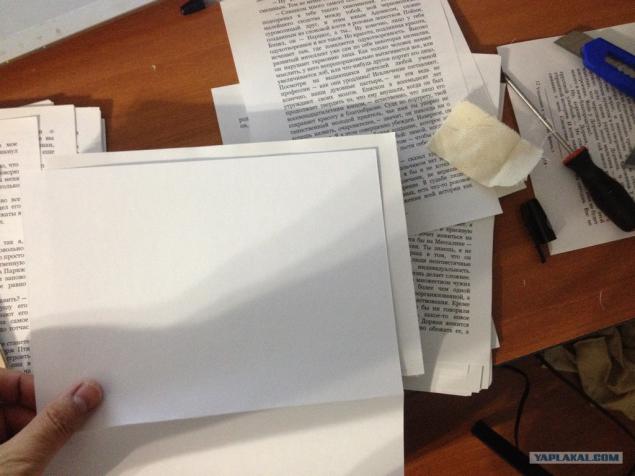
15 ...
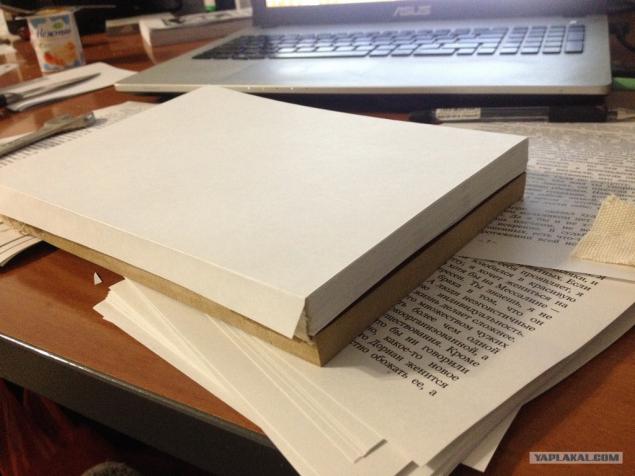
16 ...
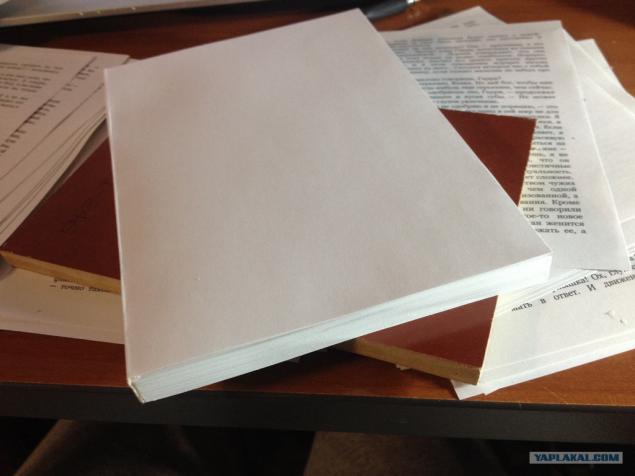
With the book block is almost finished, go back to it later ... do cover.
I asked to borrow a pair of thick cardboard boxes in the office supply store :) glued together 2 pieces (clip here from the boards came in very handy), we obtain excellent dense workpiece:
17
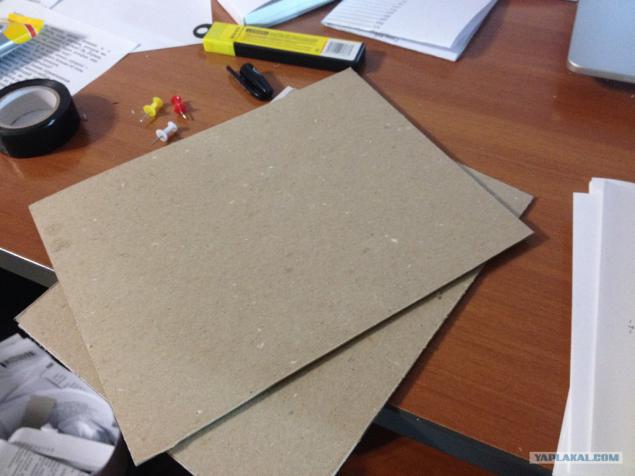
Mark up, cut, sticking ...
18
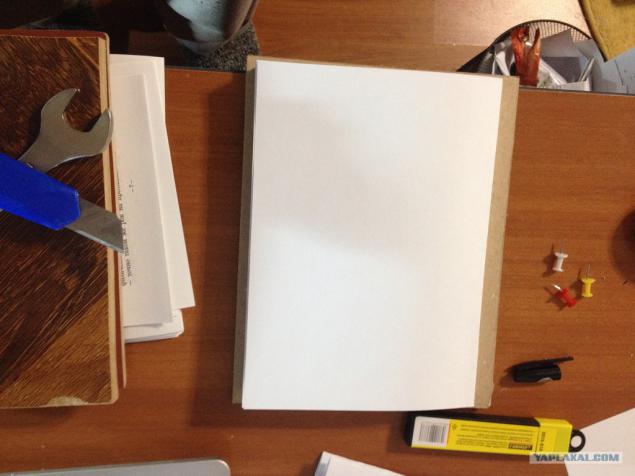
19
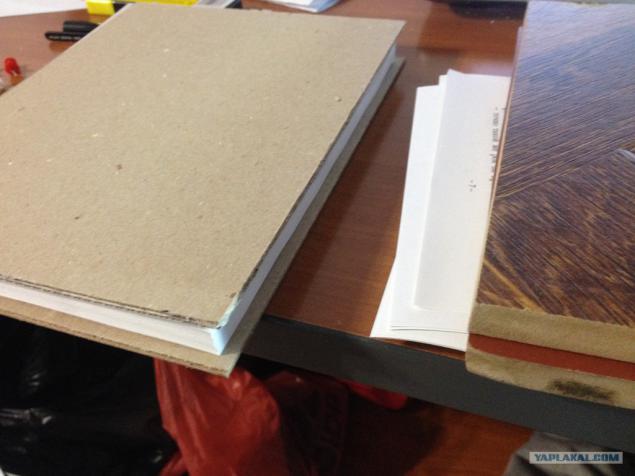
20 ...
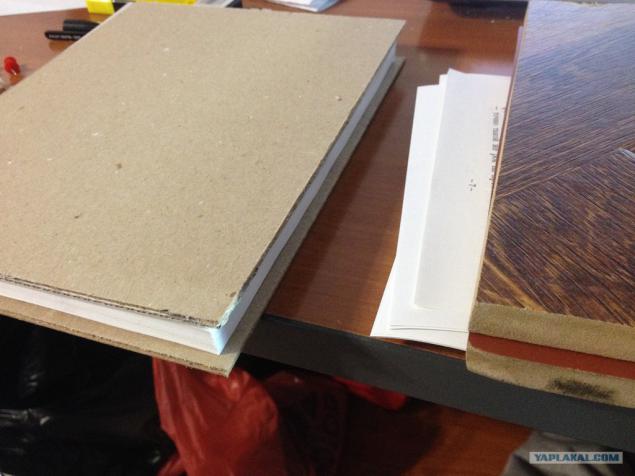
21 ...
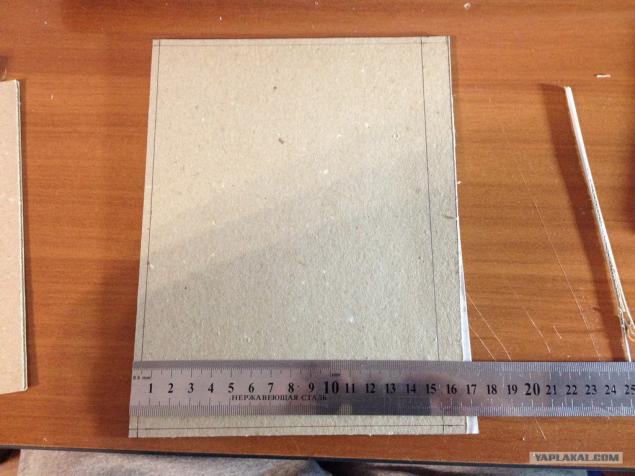
Cut a strip thickness of the book block from the same cardboard, 235 pages turned 15mm:
22
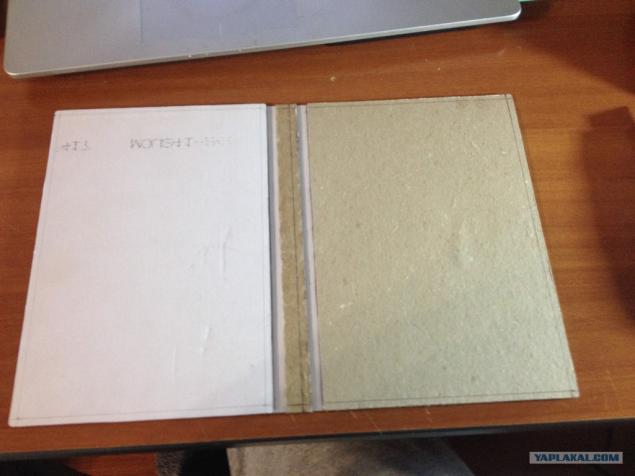
Whatman again went into play:
23
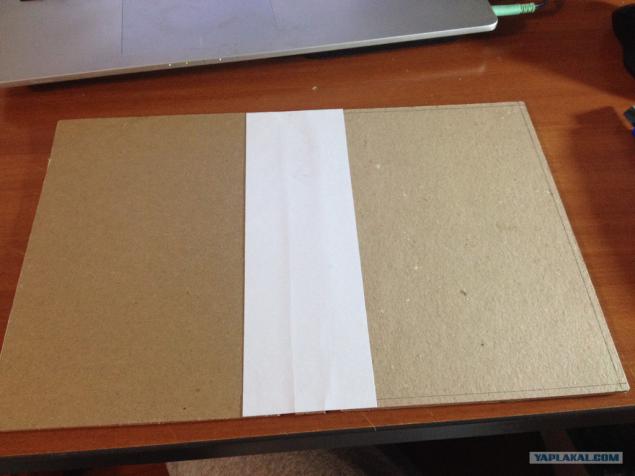
24
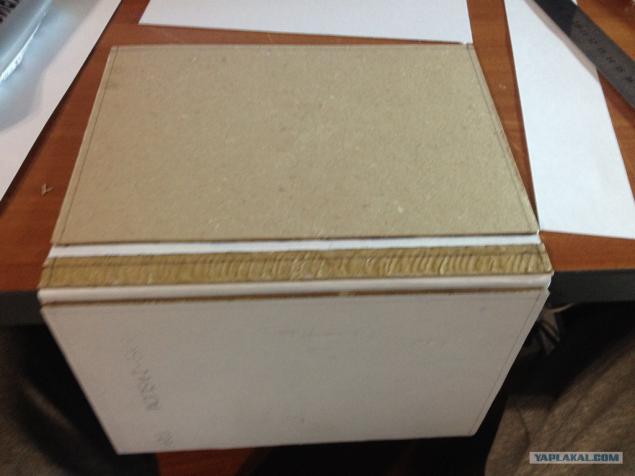
Sizing the outer side, bending drawing paper - you need to book normally opened:
25
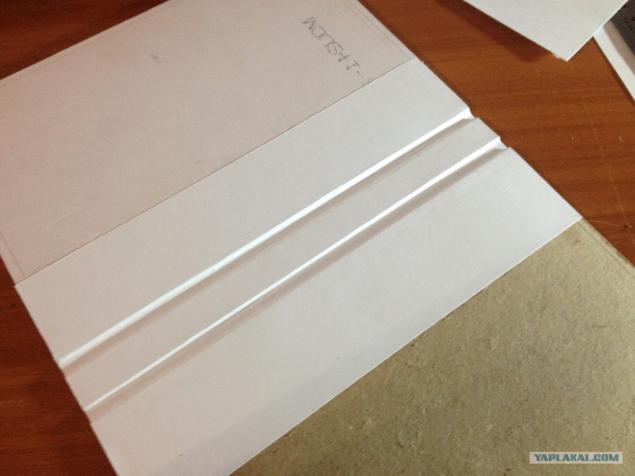
26
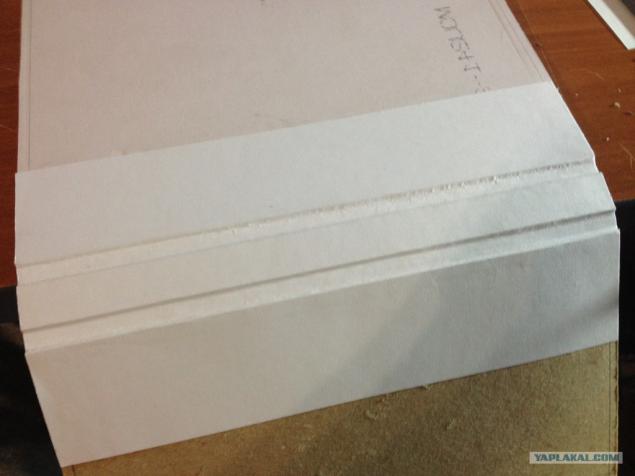
27
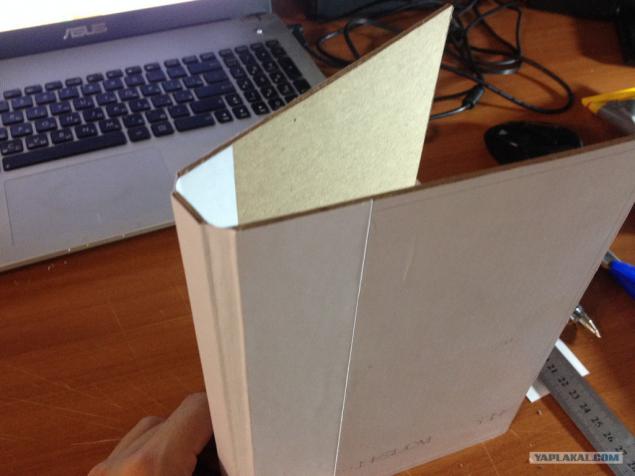
Try on ...
28
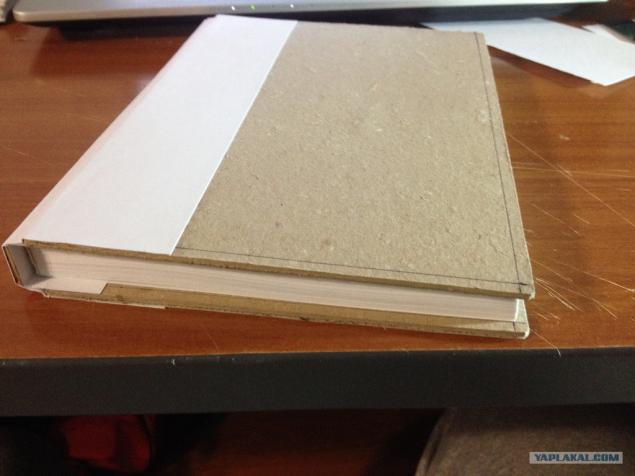
29
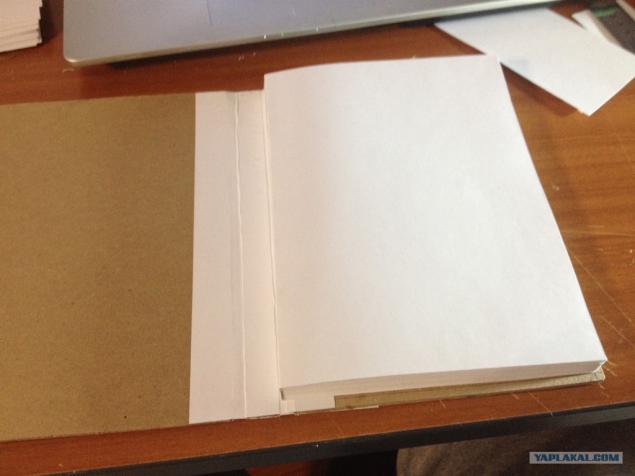
Go back to the book block. Glue a strip of fabric along the entire length of binding (forgot sfotkat) and the top strip of Whatman:
30
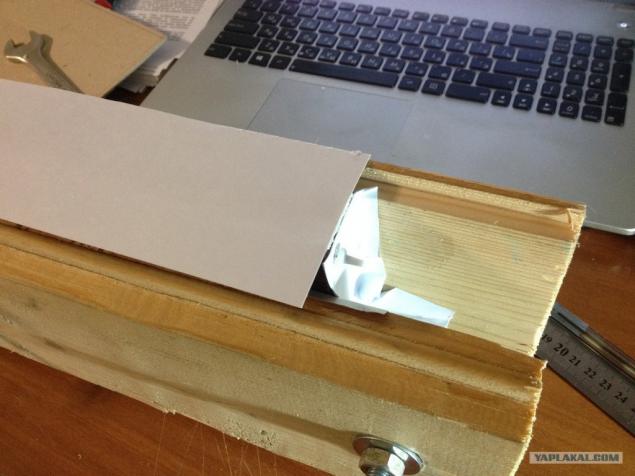
Prune unnecessary
31
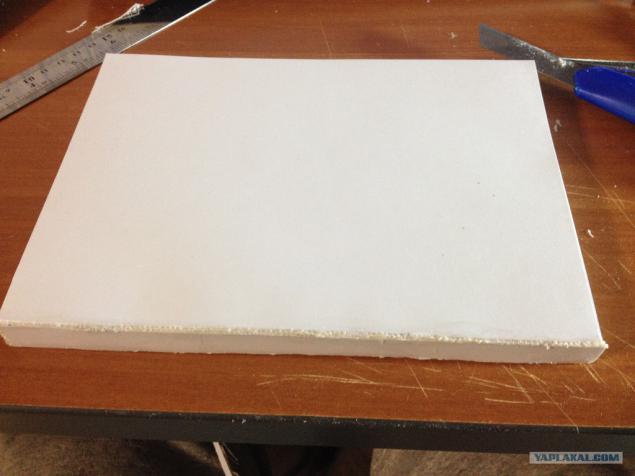
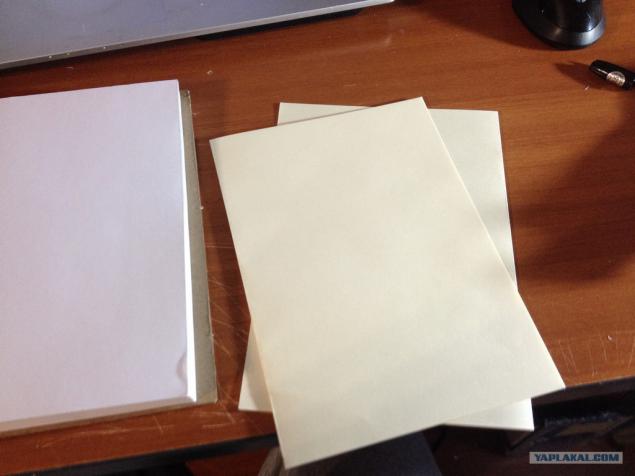
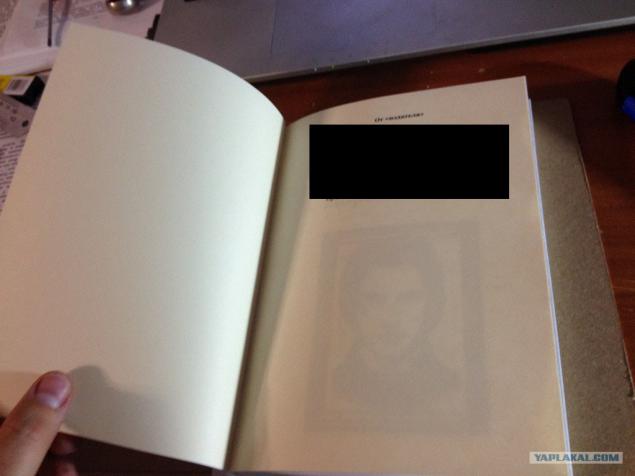
I decided to add another pair of beige sheets in the block with the personal wishes of the girl) used by ordinary colored paper A4.
32
33
34
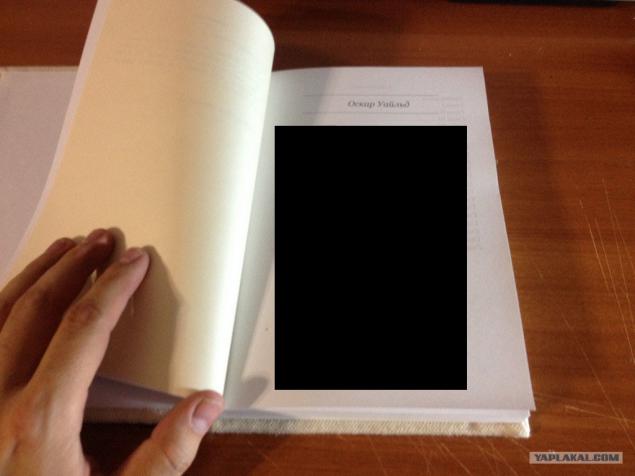
We return again to the cover. Ennobling appearance. I decided to use the same fabric (HB dense with a rough texture, but soft to the touch), and that the binding ... Pre tissue need to be ironed properly.
35
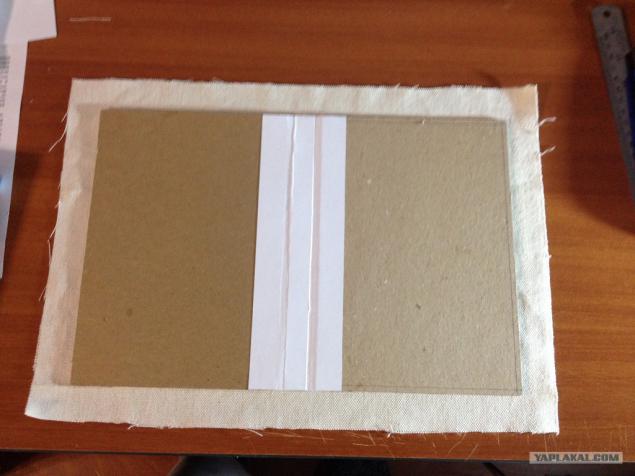
Sticking ... :)
36
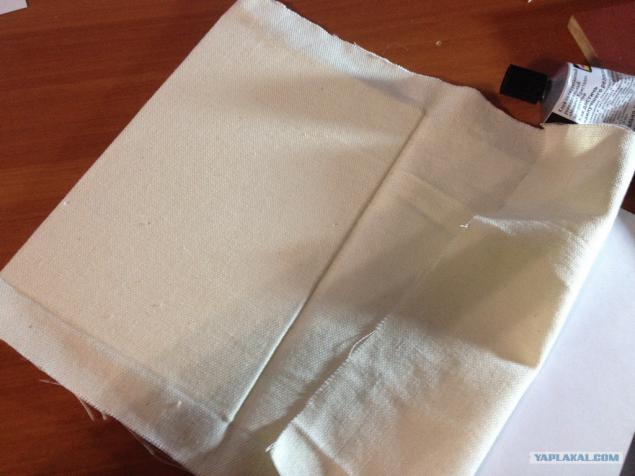
Pasting corners missed, but the bottom line is clear ... To get a better grasp and for smooth bends again use the "press»)
37
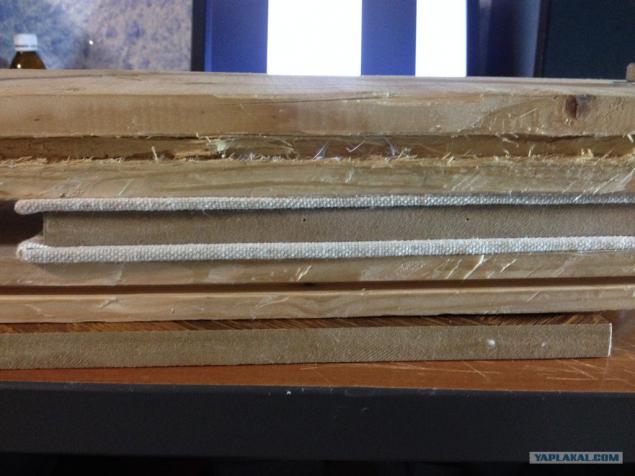
From Whatman do bookend, sizing and again presses the good press ...
38
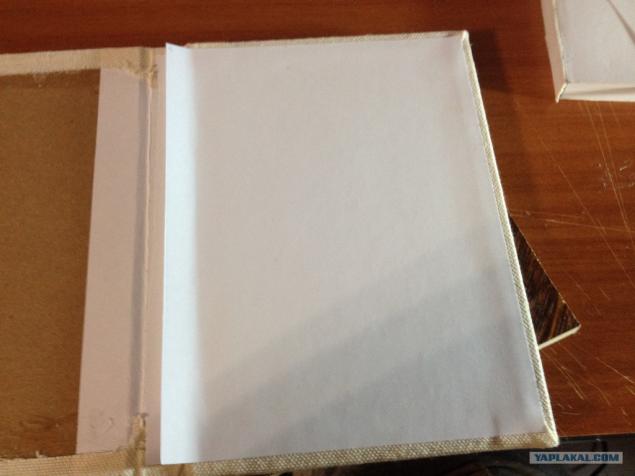
Gently bends the edge of the flyleaf, smear glue drawing paper and the edge of the book block, sticking:
39
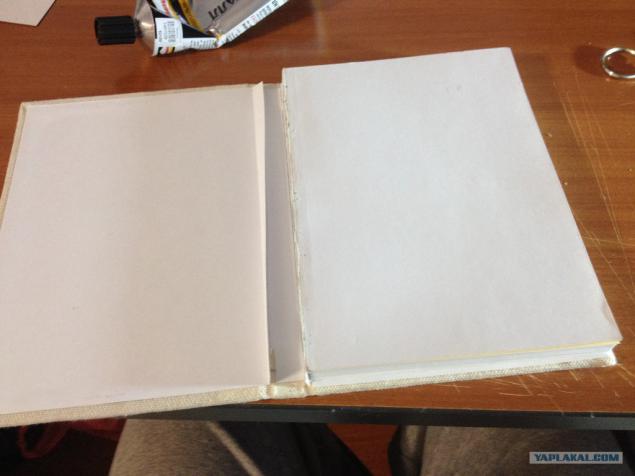
Sticking a second side, and again under the press
40
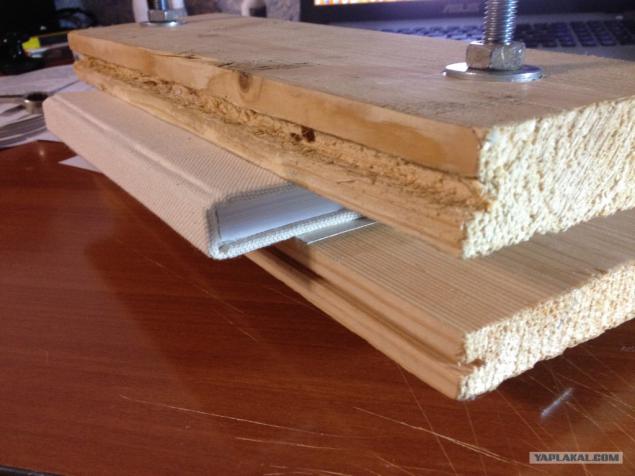
41
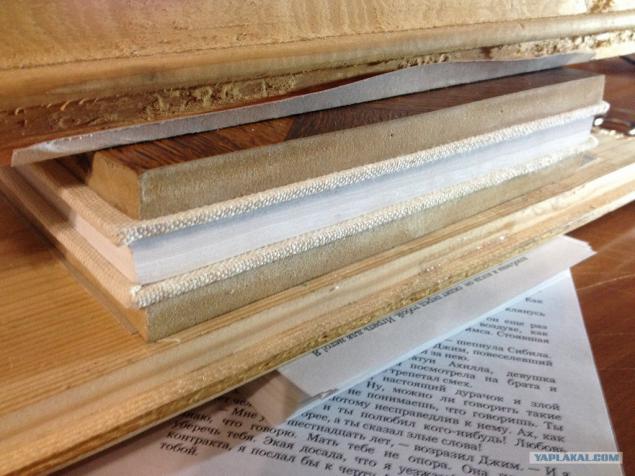
In principle, everything is ready ... Leave for a while until the glue dries completely ...
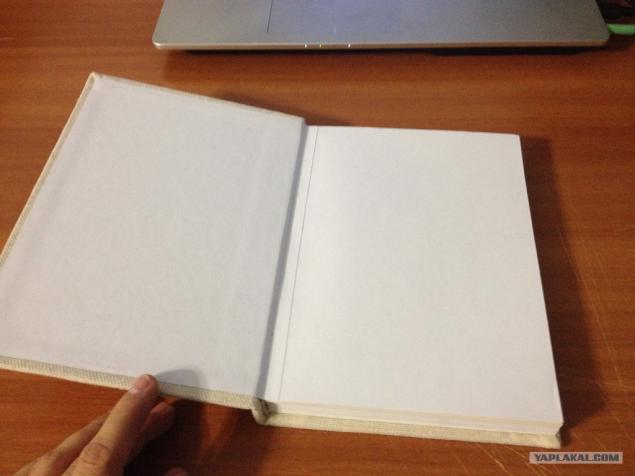
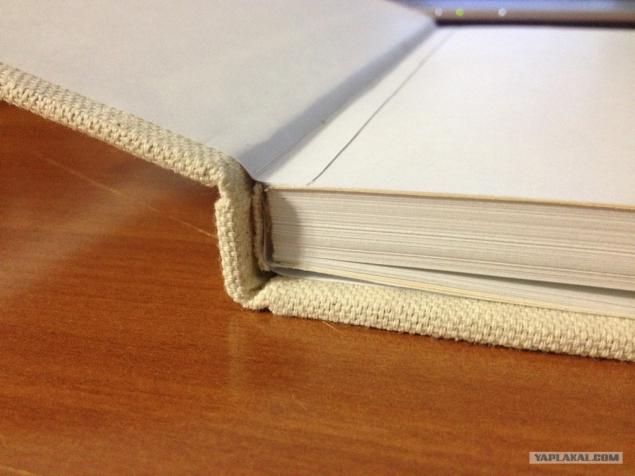
Below pictures of the final result
42
42
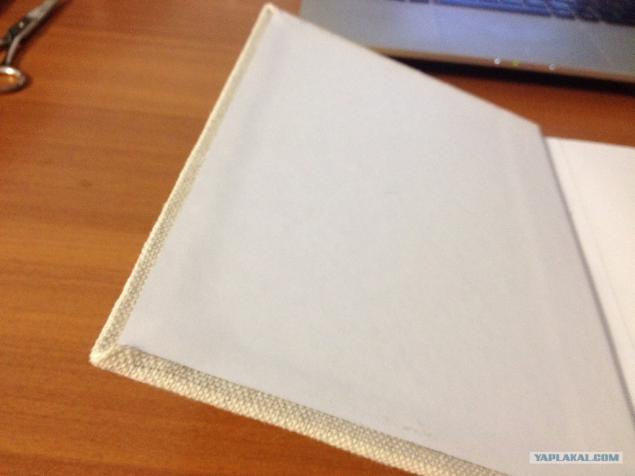
It was possible and accurately)
43
44
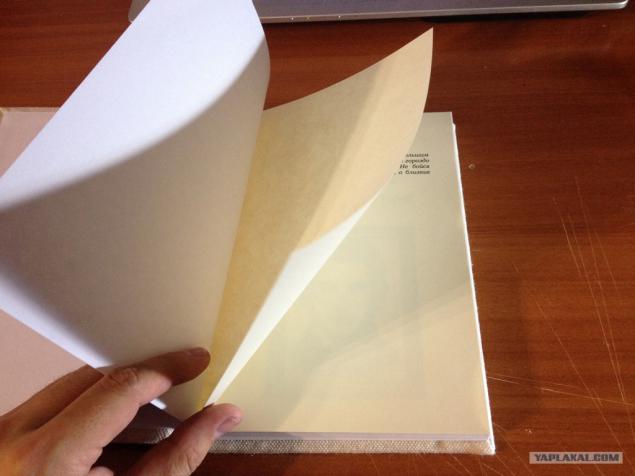
45
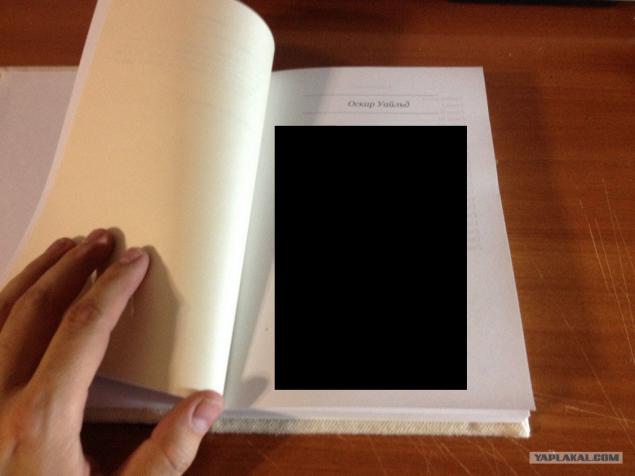
46
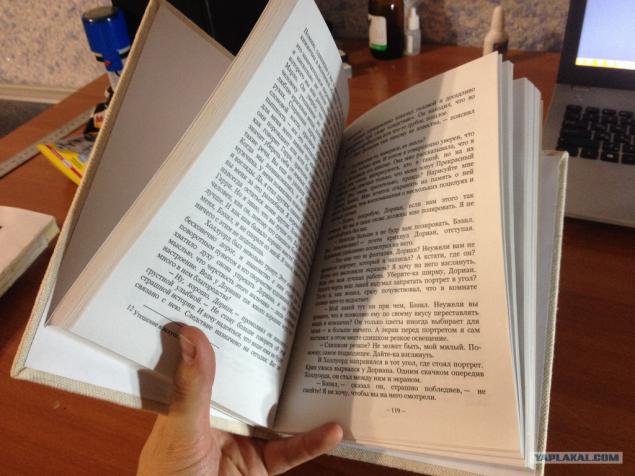
47
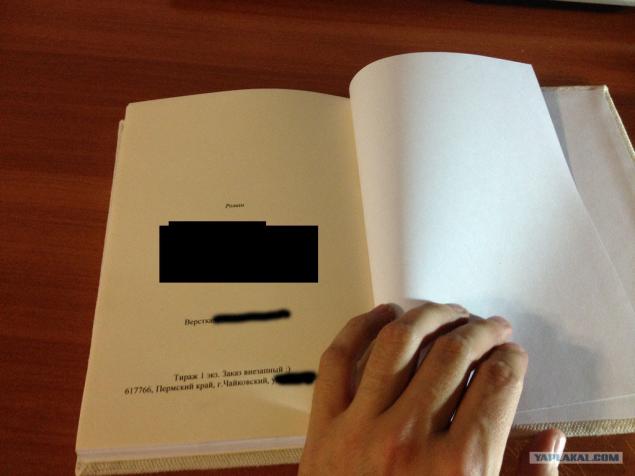
48
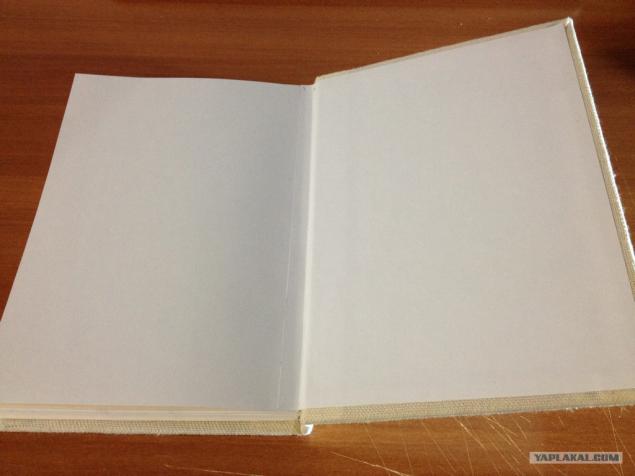
49
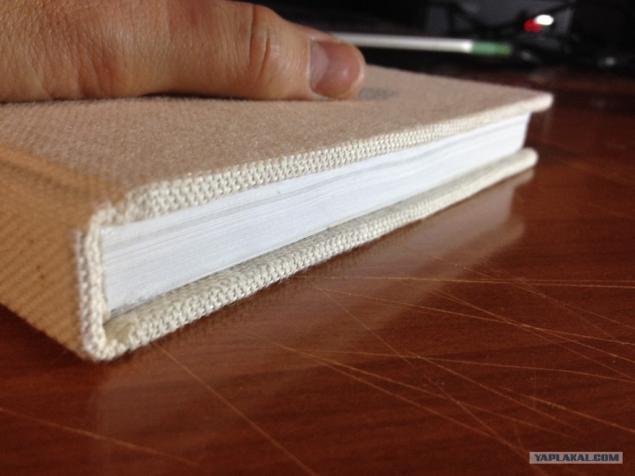
50
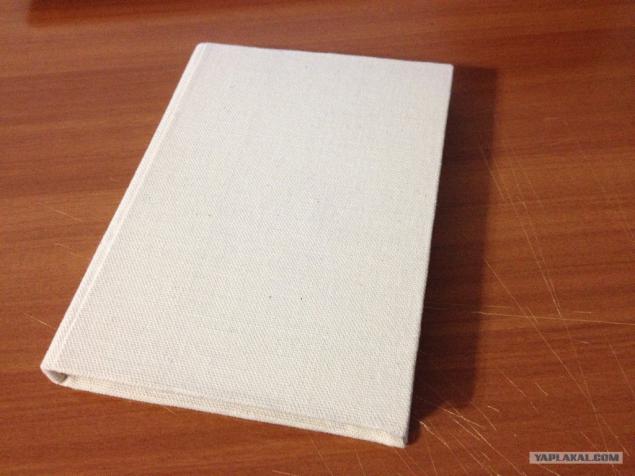
I have everything ...
Who knew - not palite office, a gift is not yet Zadar :)
Traditionally, Pets Lost)
Seen as something Habré article to create a normal binding to the printed book - loved it, wanted to do but did not have time, save articles to favorites ... And more recently, on Yap, was a post about a quality hardcover book with a leather cover, but other technologies (Help me find?) ...
Vydalit I have a free weekend, and since I goschu parents in a country house, all the tools at hand, and most importantly - have time and desire! Artwork for printing long to find it was not necessary - through short Torture]: -} very nice lady (whom he met shortly before his departure to his parents) were clarified its preferences in the literature, and books, which wants to read soon ...
Easy to love, a lot of coffee and tea, and flavor Moment "Crystal» ...
About 50-55 photos
For a start made to adapt to it was easier to work with a stack of sheets.
Based on the A5 (148 x 210mm) to saw a couple of more or less flat boards and drilled by tightening the bolts (M10h100 x 2), large washers are required, the board will crack ...

The book's title is not shown to prematurely could not sleep :) But not difficult to guess)
First you need to prepare the layout. I was lucky and I found a book in the normal MS Word format with the structure of the document and footnotes could only choose the size and font of the text to make titulnik and table of contents.
Print 9 notebooks to 8 sheets (32 pages in a notebook). These notebooks can be done easily in the Acrobat Reader to print mode broschury.

Especially to describe the first technology will not, you can see the link. Will be some photos of the process and the result, which is not much. But by design - the first draft version of the second - finishing.

4 ...

5 ...

6 ...

The biggest disadvantage of the first method is that you need to trim the edges. At home, make a smooth cut is very difficult, especially if the number of pages exceeds 150-200 ... Is it possible to cut one or two notebooks, instead of the entire book, but it's not really improve results.

So imagine the result, do not become a cover.

In the first experiment, it was decided to change the technology and print directly on the A5 format. We get rid of this problem with jagged edges and will not need to flash notebooks.
The main thing - very accurately assemble and align the stack of sheets, for this additional 2 sawed plank just below the sheet size: 145h210mm 3 mm allowance from the gutter:

10 ...

Aligns the pile of printed pages and stifle:
12 ...

Make an incision from the end, about 1.5-2mm depth, so better grab the sheets with adhesive and will not fall out when reading. In the clamped state of sizing in several layers of "moments", waiting for each layer minutes 5. Glue grasped very quickly, very happy, unlike PVA :) The process itself is not filmed, dirty hands ...
Just sticking with the ends of the pieces of fabric, I do not know what they are called)
13 ...

Glue extreme page of the book block, it will be attached to the flyleaf. I made them from the drawing paper, the density approached at the time)
14 ...

15 ...

16 ...

With the book block is almost finished, go back to it later ... do cover.
I asked to borrow a pair of thick cardboard boxes in the office supply store :) glued together 2 pieces (clip here from the boards came in very handy), we obtain excellent dense workpiece:
17

Mark up, cut, sticking ...
18

19

20 ...

21 ...

Cut a strip thickness of the book block from the same cardboard, 235 pages turned 15mm:
22

Whatman again went into play:
23

24

Sizing the outer side, bending drawing paper - you need to book normally opened:
25

26

27

Try on ...
28

29

Go back to the book block. Glue a strip of fabric along the entire length of binding (forgot sfotkat) and the top strip of Whatman:
30

Prune unnecessary
31

I decided to add another pair of beige sheets in the block with the personal wishes of the girl) used by ordinary colored paper A4.
32

33

34

We return again to the cover. Ennobling appearance. I decided to use the same fabric (HB dense with a rough texture, but soft to the touch), and that the binding ... Pre tissue need to be ironed properly.
35

Sticking ... :)
36

Pasting corners missed, but the bottom line is clear ... To get a better grasp and for smooth bends again use the "press»)
37

From Whatman do bookend, sizing and again presses the good press ...
38

Gently bends the edge of the flyleaf, smear glue drawing paper and the edge of the book block, sticking:
39

Sticking a second side, and again under the press
40

41

In principle, everything is ready ... Leave for a while until the glue dries completely ...
Below pictures of the final result
42

42

It was possible and accurately)
43

44

45

46

47

48

49

50

I have everything ...
Who knew - not palite office, a gift is not yet Zadar :)
Traditionally, Pets Lost)

