1791
Little house for koteyki
Wound up at our house cat. Well, as a cat ... cat until the larva.
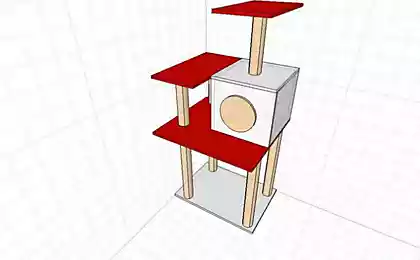
It was agreed: "Every koteyki must be your own house." Products Overview surrounding feline dog shops revealed exceedingly high prices for such buildings. Despite the fact that these buildings for the most part is nothing special is.
Therefore dared to pair with his wife push on legal holiday weekends and devote himself to building.
Was purchased:
Plywood sheet 12 mm 1525h1525mm 690
Bruce 50h50h3000 2pcs x 280
Carpeting 6 m2 (left, would be enough five) 1400
Fabrics 2 m2 (left on the pillow for the cat, they are in the photo is not) 450
Knife blade construction + 56
Bits for w / vёrta 40
Basketball rings for a hammock 217
Corners Furniture 50x50 100 pieces, many left pieces 20-30 500
sisal rope 10mm x 17m, screws 1717
Jig Jig 72
Staples 158
PVA 0, 5l 50
TOTAL: 5630 rubles
21 Photo
Photo 1. The band sawing 500mm from the whole leaf. Sawing it into three parts. Little mistake at partitioning, more on that later.
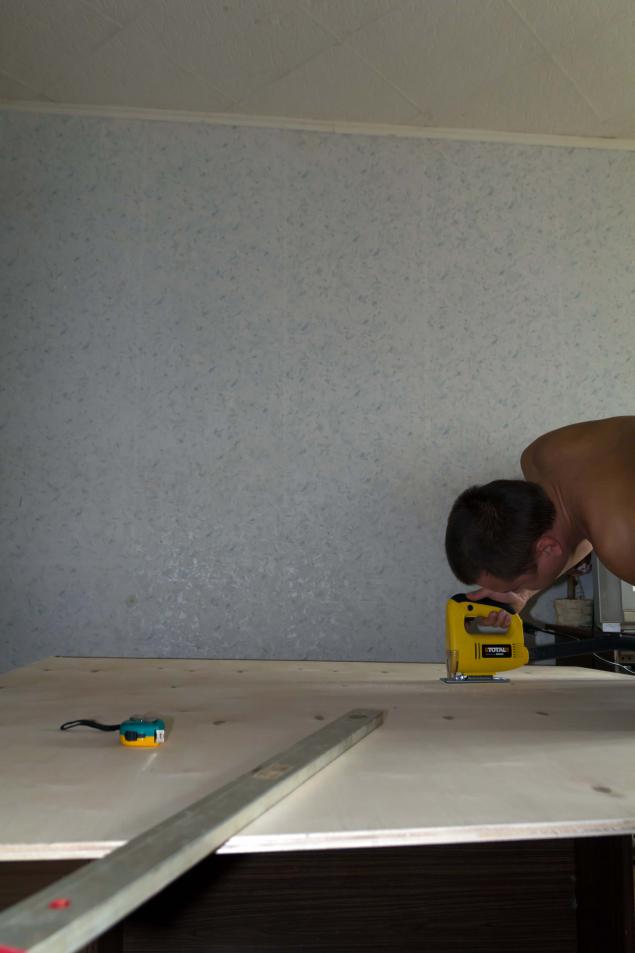
In the process of construction were used tools: screwdriver, jigsaw, mechanical stapler, hammer, screwdriver, pencil, glue gun, line-level 1m, roulette, square. There have also been put into the case some Freestuff materials (pipe - a small core of the cable reel material - pressboard, the wall thickness of 8mm).
Photo 2. Mark up the mount under the support. Total pillars 4 from the first floor to the second floor, three beams (2, 1, 5 meter and 1-foot), the fourth support - the above-mentioned core of the coil, the outer diameter 102 mm, height 510 mm). Kotka vigilantly monitors the quality of the work.
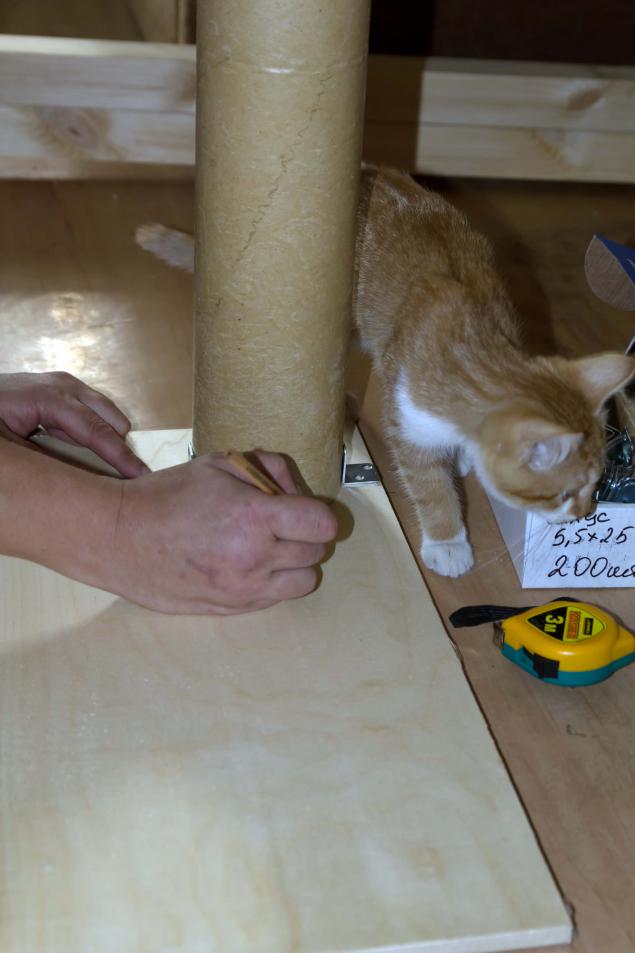
Photo 3. Verification of material organoleptic tasting ... so to speak ...
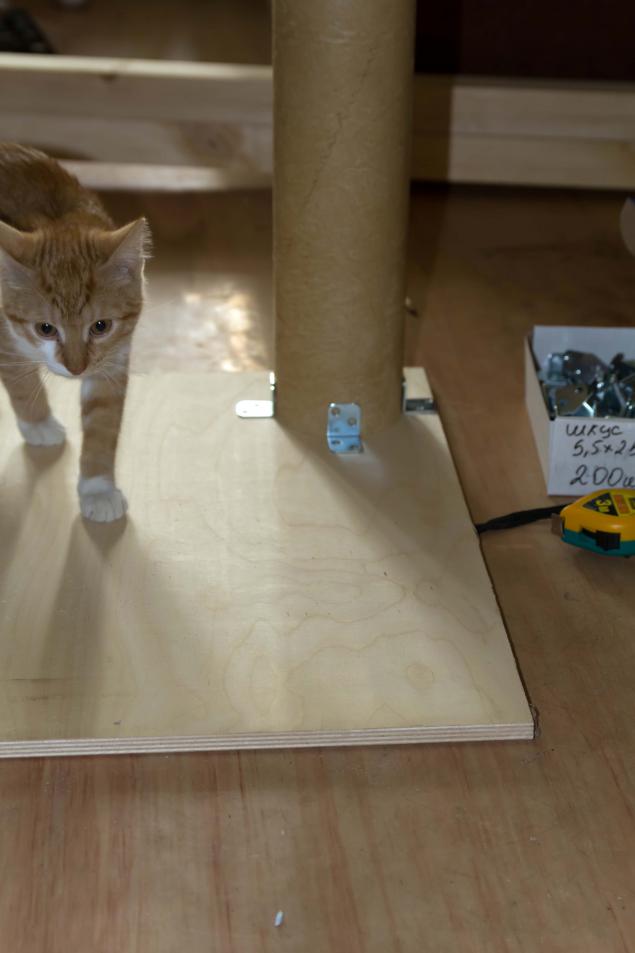
Photo 4. Carefully fasten the supports under the corners and screws.
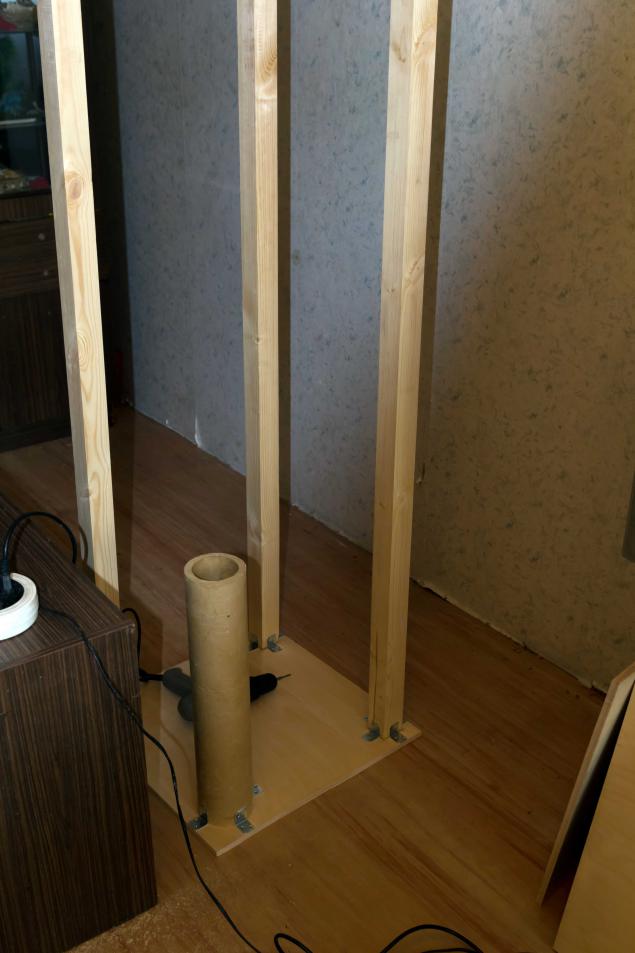
Photo 5. At a height of 510 mm from the base of each of timber mark up the height of the second level and put on the first floor floor trim ...
![]()
Photo 6. ... and the wrong trim vtorogo.privorachivaem corners, screwed the floor of the second floor. All holes in it, 3 square and one round in the center (hatch) cut jigsaw, forgive me neighbors.
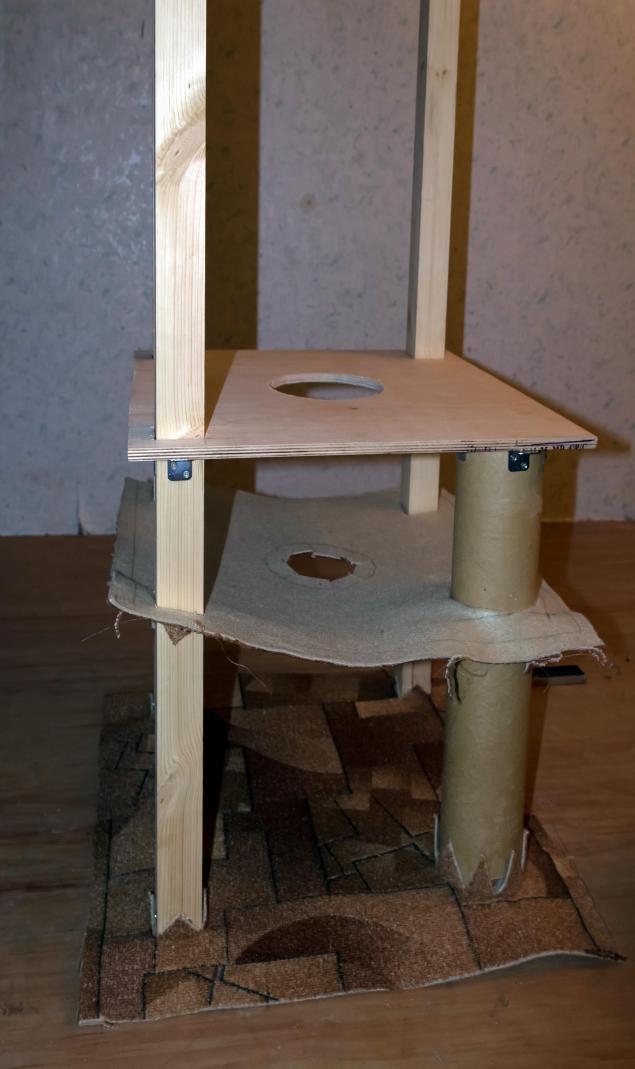
7. Photo and coated both floors. The holes in the carpeting cut crosswise and 8-10 square radius of the circular, the petals do not need to trim! It is necessary to bend them as shown in the photo.
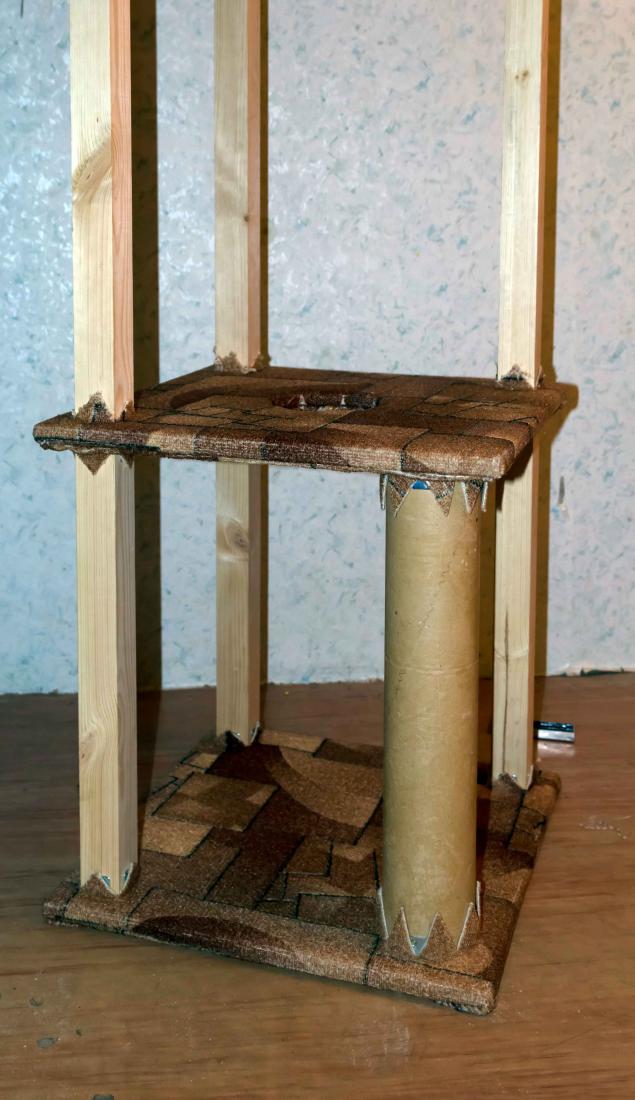
Photo 8. Angle bad, not particularly noticeable that the third floor of our nearest corner truncated. Later here will lead ladder. The third floor did not want to sit on the seat outright, since getting narrower first two (my mistake when marking). Expand a little square holes and rammed down.
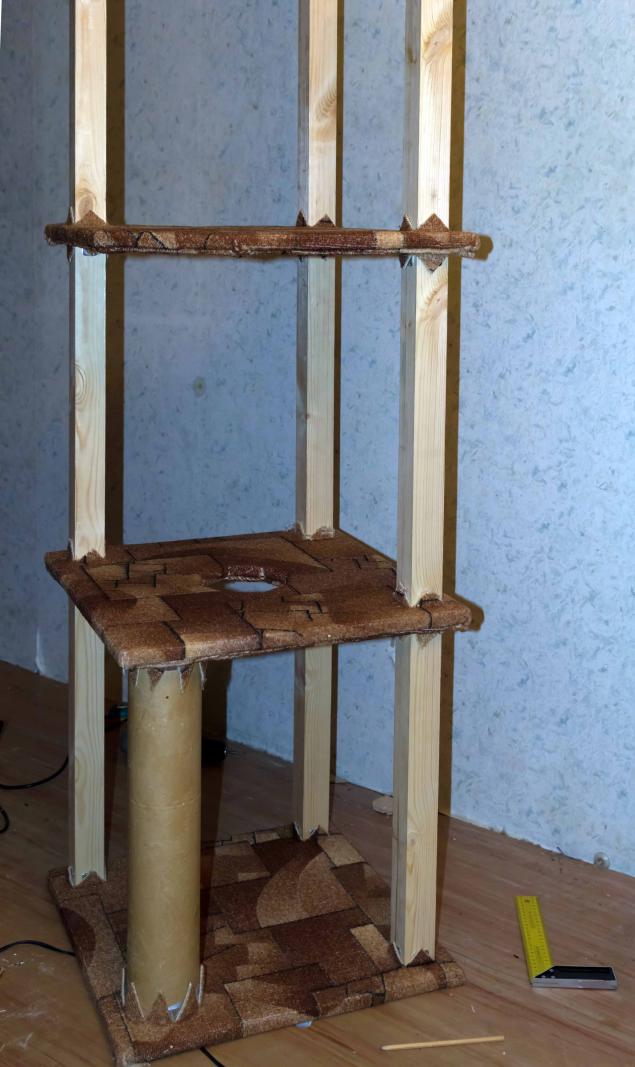
Photo 9. This photo shows the beveled corner and has erected a house. It was decided to finish the house on the first day of construction, not to delay the housewarming
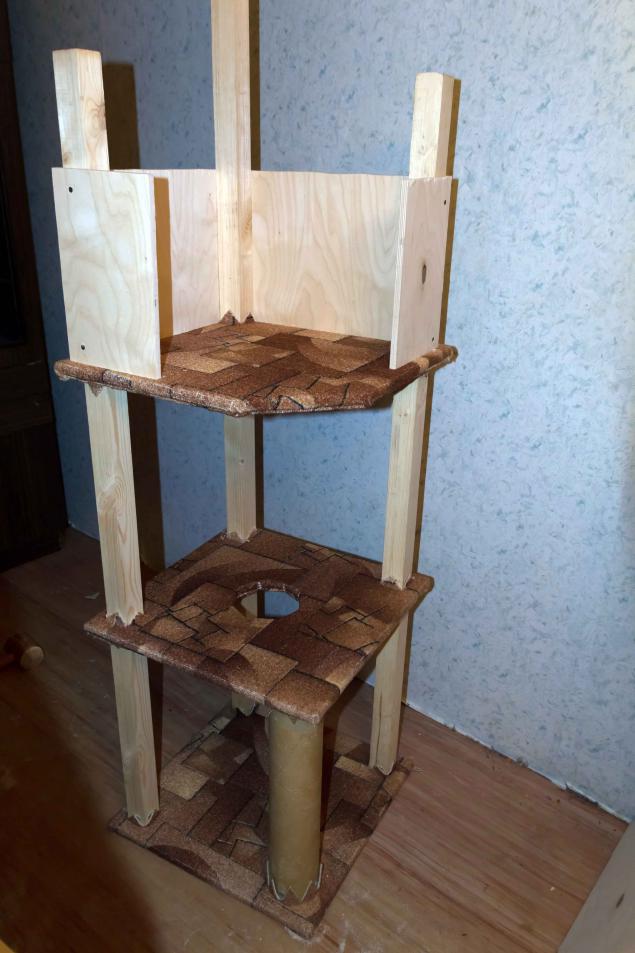
Photo 10. Photo plating process at home already do, hurry. The house was lined with stripe inside and out, front wall and the cover trimmed separately, the front wall is attached to the four corners of the side, the movable lid is raised to the level of audit and sunbed tubes. On this later.
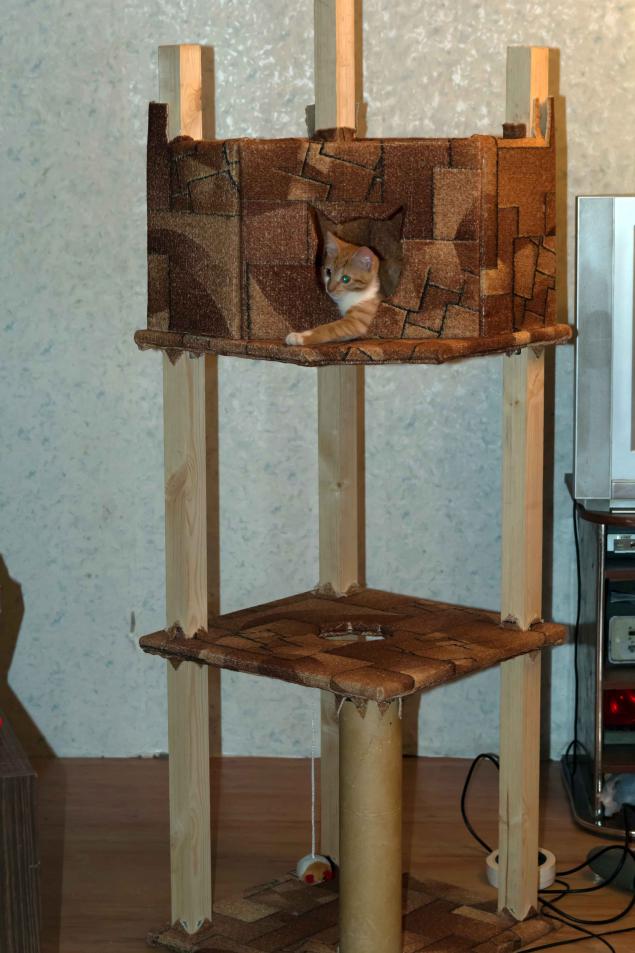
Photo 11. Test.
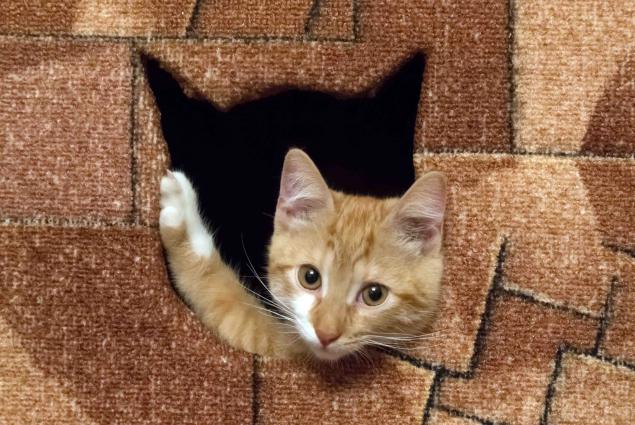
Photo 12. Cat, as always, the more tired all
![]()
Photo 13. The second day. Sisal is wound on a round pole, greased with white glue, all other supports were covered with the same carpet with the help of the same stapler, the glory of his inventor. The first day I released more than 1,000 staples, so that on the second day, each press of the stapler was given a wild pain in her hands, that I wanted to give up. But the cat is not allowed.
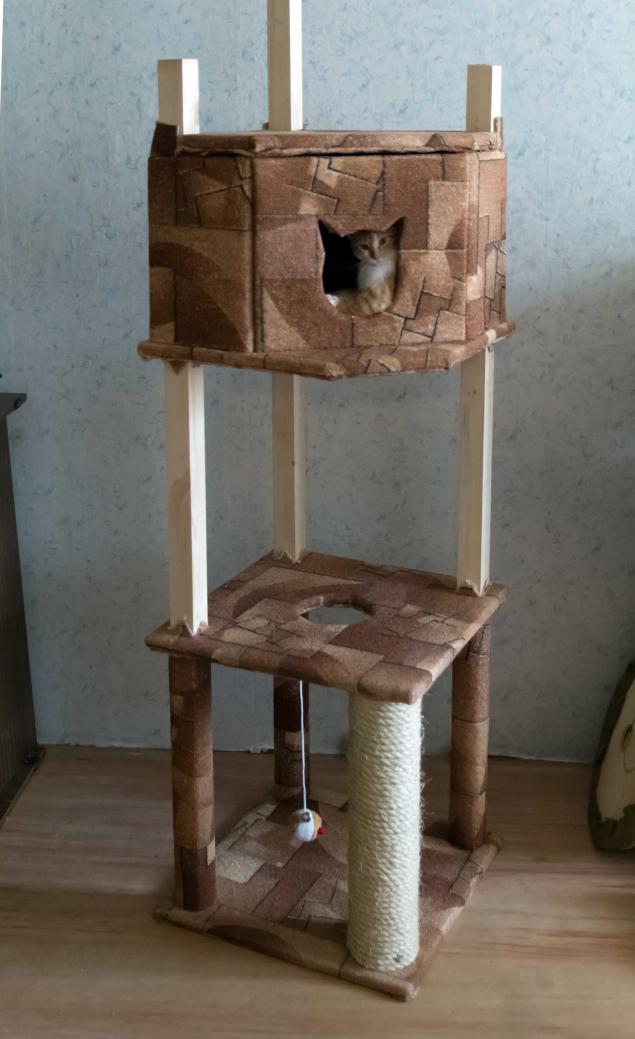
Photo 14. Ladder cut from the same plywood, carefully trimmed jute and sisal twine my wife.
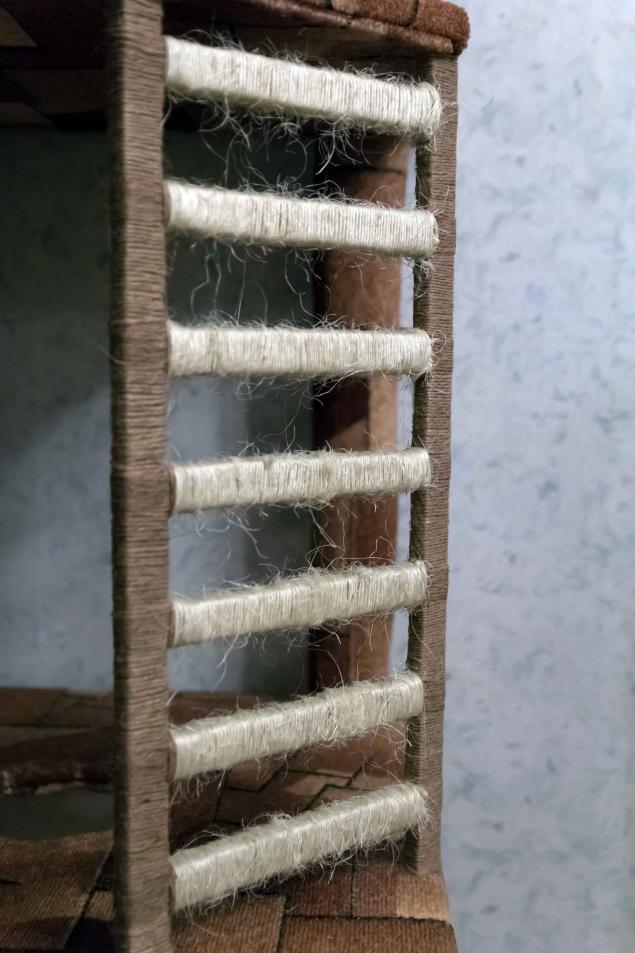
Photo 15. Sisal closeup
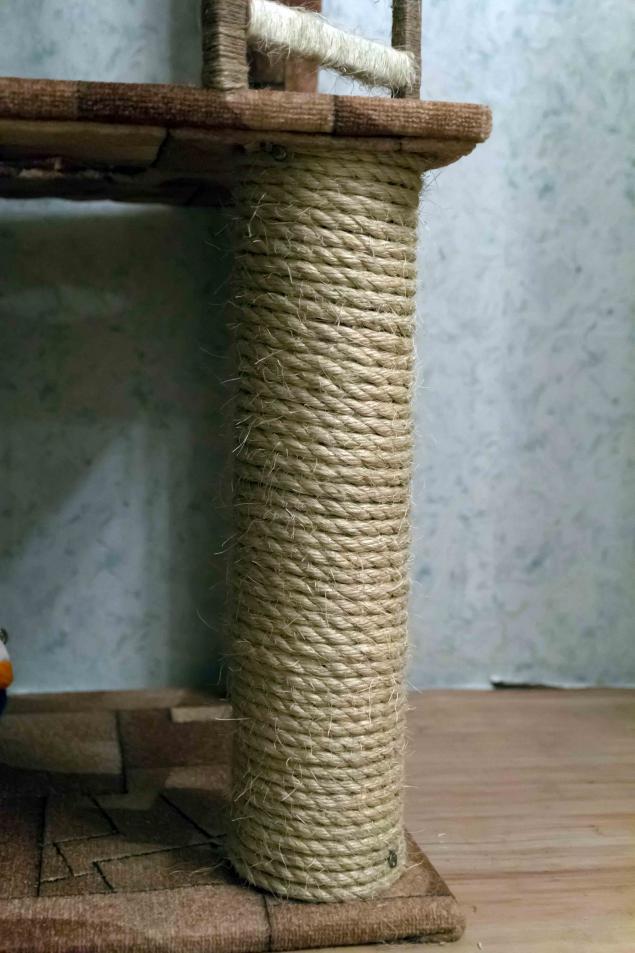
Photo 16. In the house immediately started up the mouse on joy koteyke))
![]()
Photo 17. Making. Rack carved out of the corner of plywood. Fit into the corner of a circle and drank a kind of "drop" .vsё sheathed in place on top of fixture.
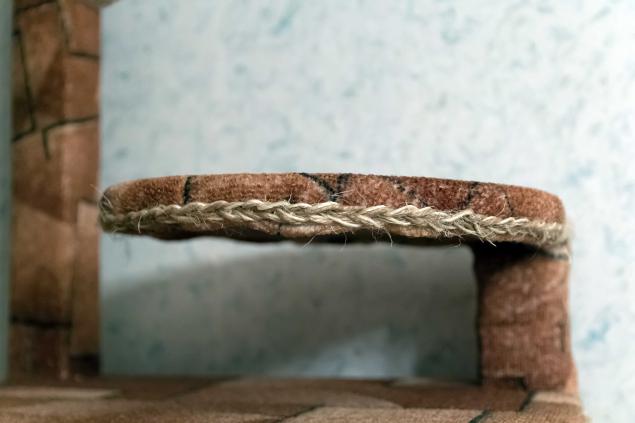
Photo 18. Tube. The inner surface is lined with upholstery fabric sewn into the sleeve. Outside is the same carpet.
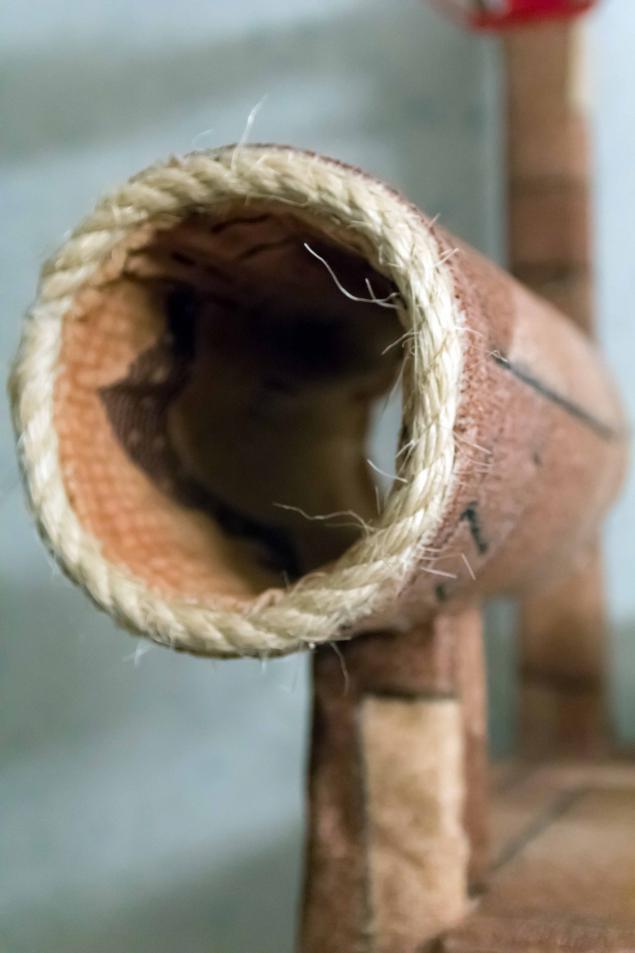
Photo 19. Upstairs hammock that CAT immediately took a fancy to a command post. All work with fabric and decorative trim made my wife, thanks to her great.
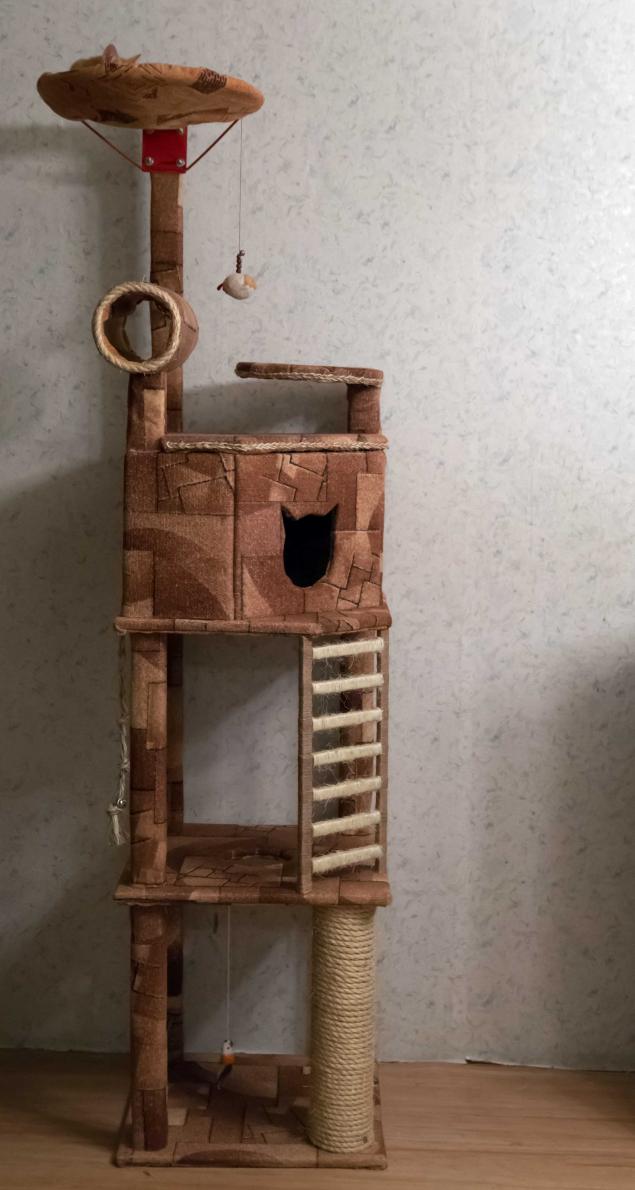
Photo 20. At the post.
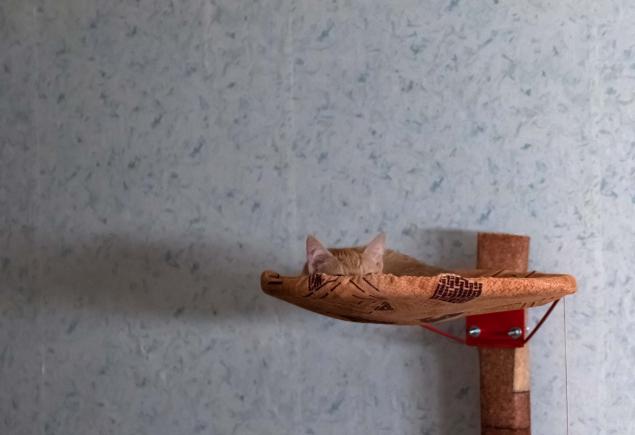
Photo 21. All good! I have all, thank you for your attention, you can kick.
![]()
It was agreed: "Every koteyki must be your own house." Products Overview surrounding feline dog shops revealed exceedingly high prices for such buildings. Despite the fact that these buildings for the most part is nothing special is.
Therefore dared to pair with his wife push on legal holiday weekends and devote himself to building.
Was purchased:
Plywood sheet 12 mm 1525h1525mm 690
Bruce 50h50h3000 2pcs x 280
Carpeting 6 m2 (left, would be enough five) 1400
Fabrics 2 m2 (left on the pillow for the cat, they are in the photo is not) 450
Knife blade construction + 56
Bits for w / vёrta 40
Basketball rings for a hammock 217
Corners Furniture 50x50 100 pieces, many left pieces 20-30 500
sisal rope 10mm x 17m, screws 1717
Jig Jig 72
Staples 158
PVA 0, 5l 50
TOTAL: 5630 rubles
21 Photo
Photo 1. The band sawing 500mm from the whole leaf. Sawing it into three parts. Little mistake at partitioning, more on that later.

In the process of construction were used tools: screwdriver, jigsaw, mechanical stapler, hammer, screwdriver, pencil, glue gun, line-level 1m, roulette, square. There have also been put into the case some Freestuff materials (pipe - a small core of the cable reel material - pressboard, the wall thickness of 8mm).
Photo 2. Mark up the mount under the support. Total pillars 4 from the first floor to the second floor, three beams (2, 1, 5 meter and 1-foot), the fourth support - the above-mentioned core of the coil, the outer diameter 102 mm, height 510 mm). Kotka vigilantly monitors the quality of the work.

Photo 3. Verification of material organoleptic tasting ... so to speak ...

Photo 4. Carefully fasten the supports under the corners and screws.

Photo 5. At a height of 510 mm from the base of each of timber mark up the height of the second level and put on the first floor floor trim ...
Photo 6. ... and the wrong trim vtorogo.privorachivaem corners, screwed the floor of the second floor. All holes in it, 3 square and one round in the center (hatch) cut jigsaw, forgive me neighbors.

7. Photo and coated both floors. The holes in the carpeting cut crosswise and 8-10 square radius of the circular, the petals do not need to trim! It is necessary to bend them as shown in the photo.

Photo 8. Angle bad, not particularly noticeable that the third floor of our nearest corner truncated. Later here will lead ladder. The third floor did not want to sit on the seat outright, since getting narrower first two (my mistake when marking). Expand a little square holes and rammed down.

Photo 9. This photo shows the beveled corner and has erected a house. It was decided to finish the house on the first day of construction, not to delay the housewarming

Photo 10. Photo plating process at home already do, hurry. The house was lined with stripe inside and out, front wall and the cover trimmed separately, the front wall is attached to the four corners of the side, the movable lid is raised to the level of audit and sunbed tubes. On this later.

Photo 11. Test.

Photo 12. Cat, as always, the more tired all
Photo 13. The second day. Sisal is wound on a round pole, greased with white glue, all other supports were covered with the same carpet with the help of the same stapler, the glory of his inventor. The first day I released more than 1,000 staples, so that on the second day, each press of the stapler was given a wild pain in her hands, that I wanted to give up. But the cat is not allowed.

Photo 14. Ladder cut from the same plywood, carefully trimmed jute and sisal twine my wife.

Photo 15. Sisal closeup

Photo 16. In the house immediately started up the mouse on joy koteyke))
Photo 17. Making. Rack carved out of the corner of plywood. Fit into the corner of a circle and drank a kind of "drop" .vsё sheathed in place on top of fixture.

Photo 18. Tube. The inner surface is lined with upholstery fabric sewn into the sleeve. Outside is the same carpet.

Photo 19. Upstairs hammock that CAT immediately took a fancy to a command post. All work with fabric and decorative trim made my wife, thanks to her great.

Photo 20. At the post.

Photo 21. All good! I have all, thank you for your attention, you can kick.
