1159
Travel Jaguar - the creation of electric camp
One day, I suddenly caught fire !, acquisition marching electric version, not to be tethered to a power outlet, is no match for gravity.
Shops options were discarded due to inferiority and the presence of their absence.
Guitars made by my friend from Lugansk, a chisel and a hammer mastered it in public, because trauma, this bind me and a great result.
Further, kamenty to the pics, it. Do not break, a lot of pictures.
Photos are pulled from VK
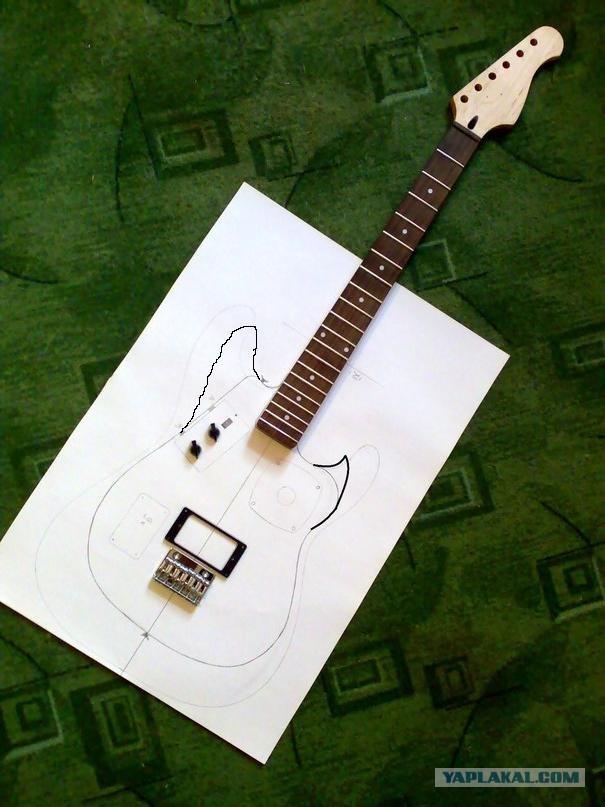
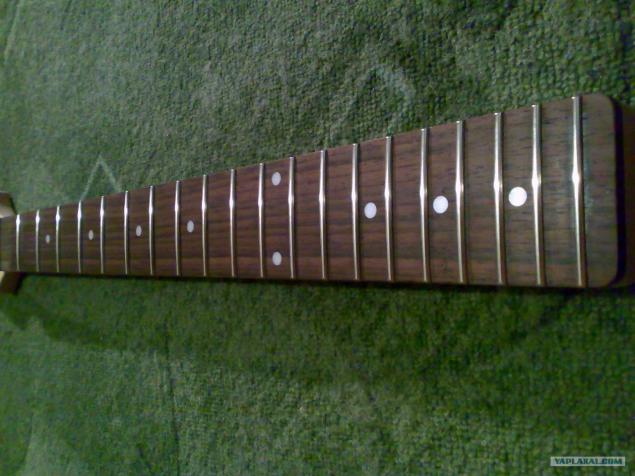
The basis of the tool - the neck of a broken PhilPro. Not a bad neck, by the way.

Someone before me had tried on this basis to do something))).
As a result, the neck slightly shortened - 20 frets.

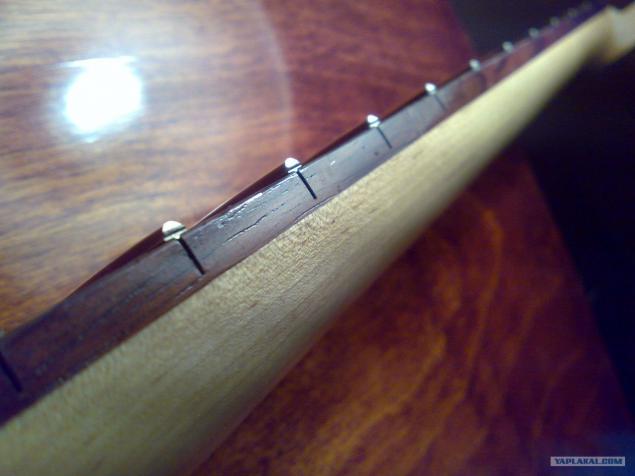
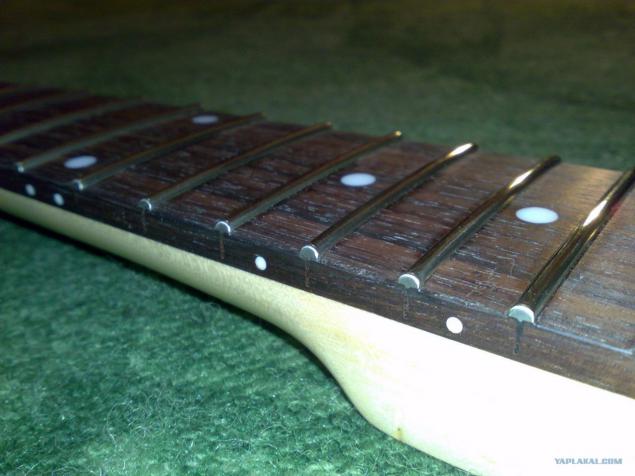
Older frets extracted pad abraded.

Inserted SINTOMS 3, 0.
£ 6
7 f

8 p
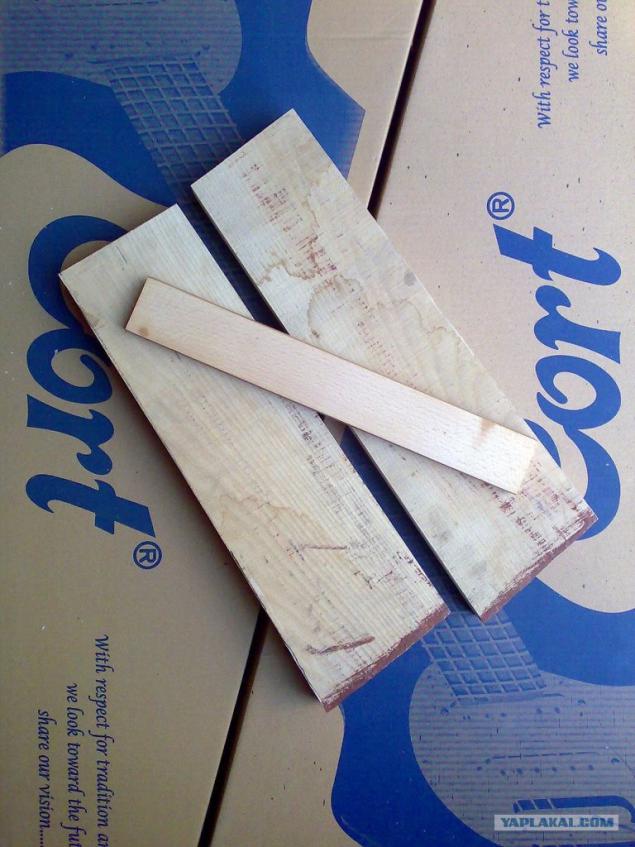
The basis for the deck - white ash.

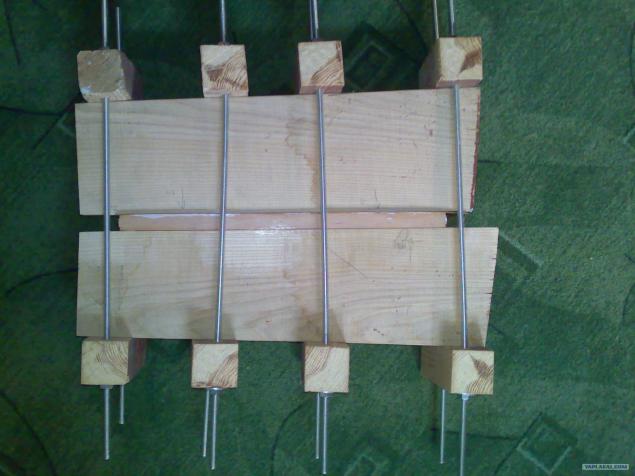
Width ash boards do not allow whole deck. In the end - board disbanded in the middle, rolled and glued through beech bar with 0, 5 mm nut sizing.
Gluing
After gluing the two displayed both planes.
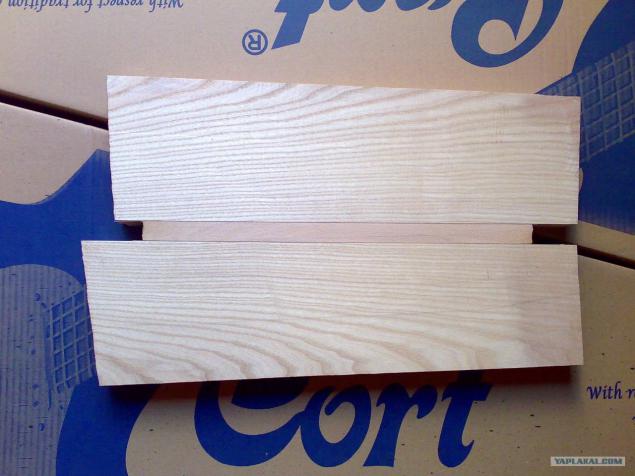
After gluing the two displayed both planes.
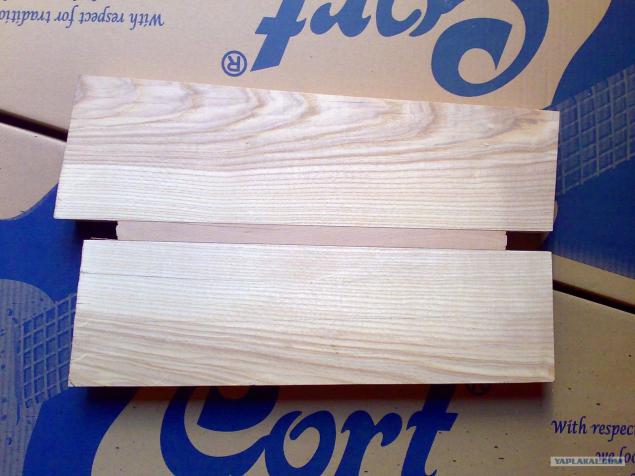
Beech-Nut sizing.
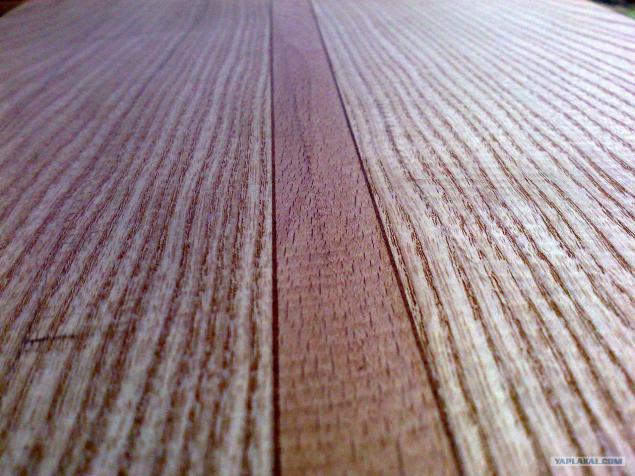
Stages milling cavities.
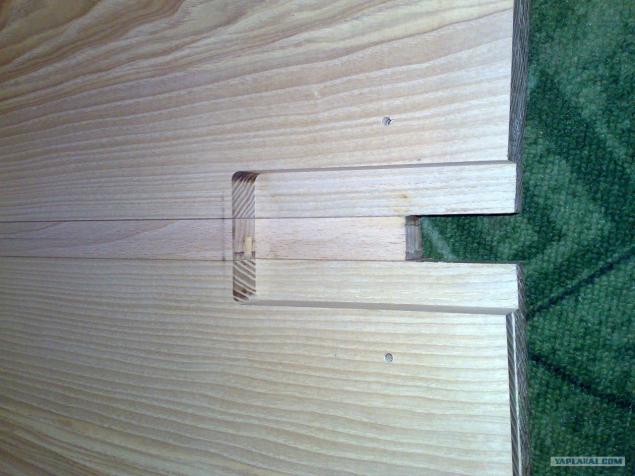
Stages milling cavities.
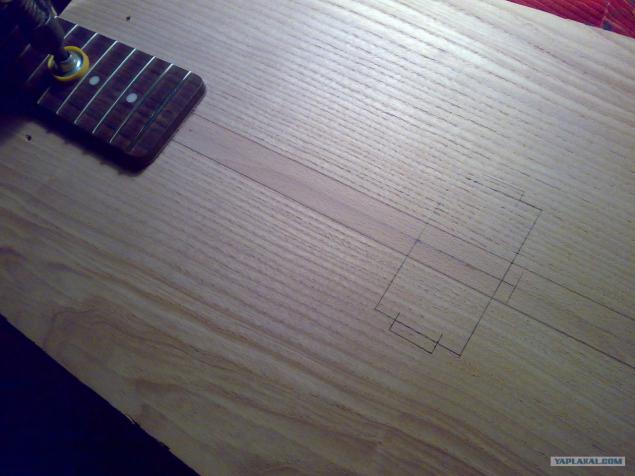
Stages milling cavities - a box for 9v batteries.

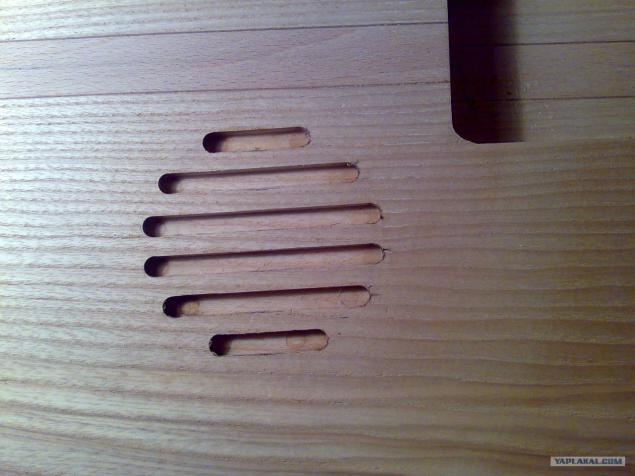
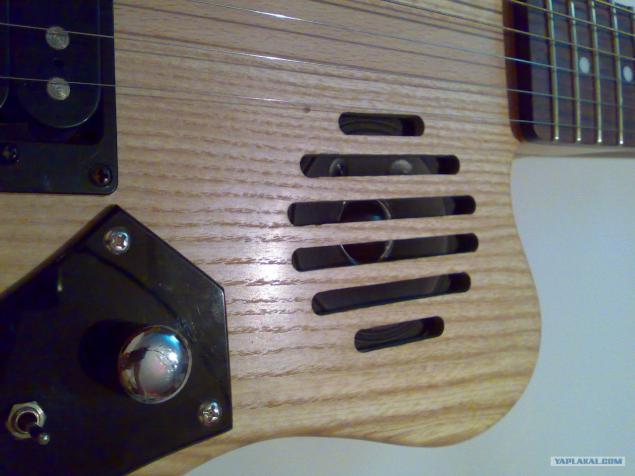
Stages milling cavities - decorative grille speaker.
Stages milling cavities - the cavity under the humbucker.
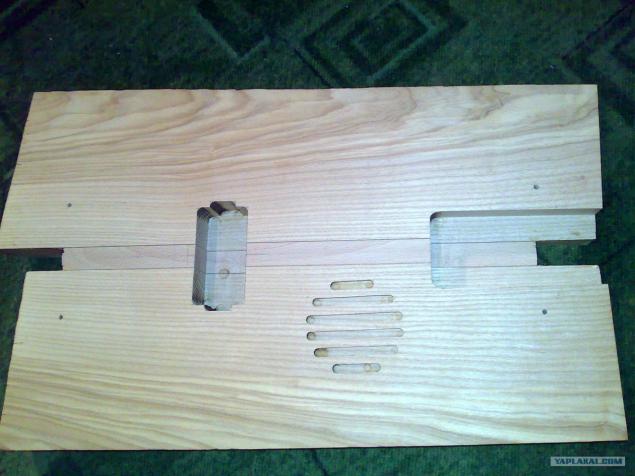
Stages milling cavities - a deepening of the control panel of the amplifier. Processed outer contours.
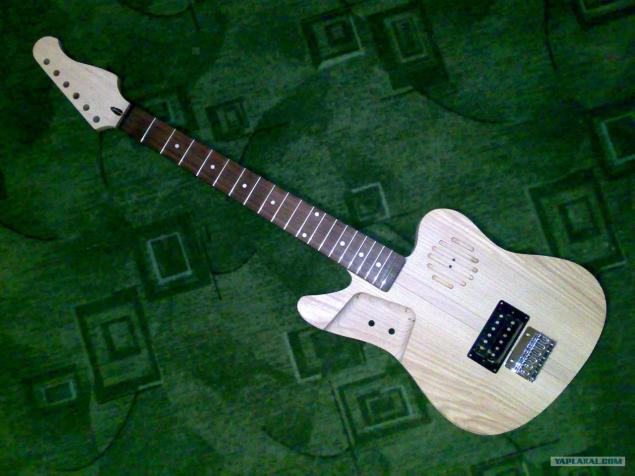
Rounded corners.
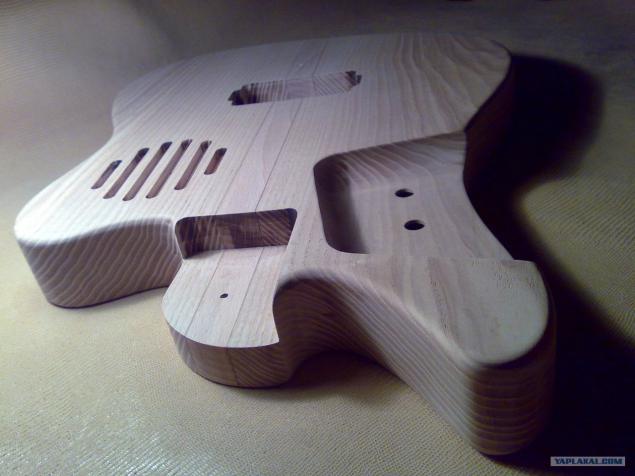
Stages milling cavities - the cavity under the charge amplifier.
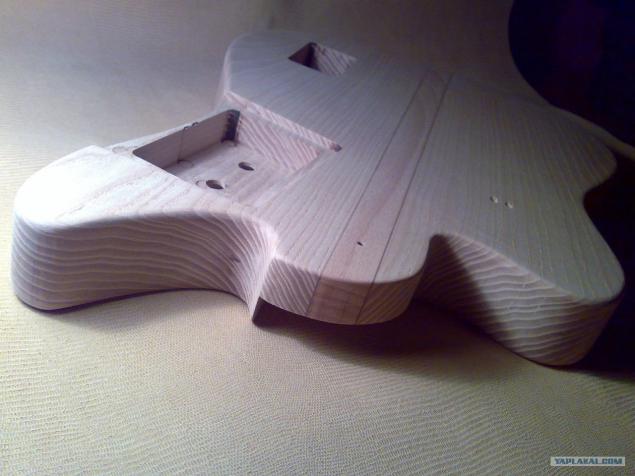
Stages milling cavities - the cavity under the scheme a standard guitar.
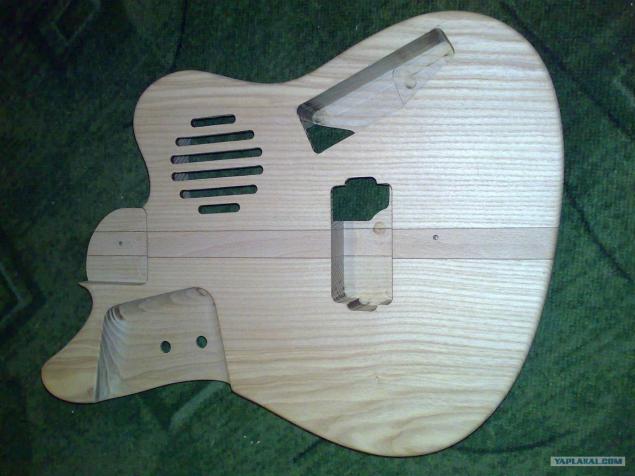
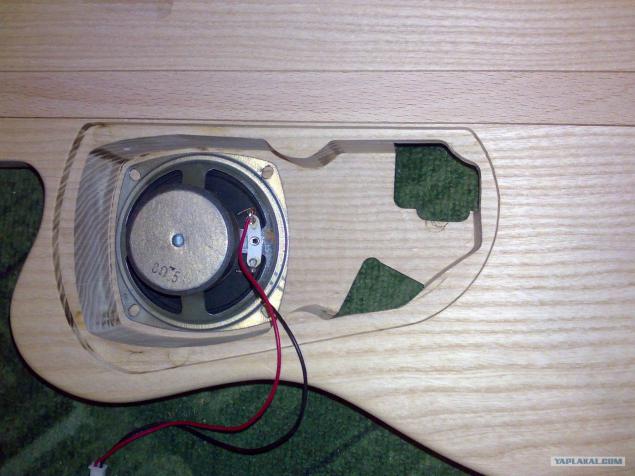
Stages milling cavities - the cavity under the speaker. It does more and communicating with the cavity of the sensor electronics and specifically to ensure the necessary internal volume of the sound to the correct speakers.
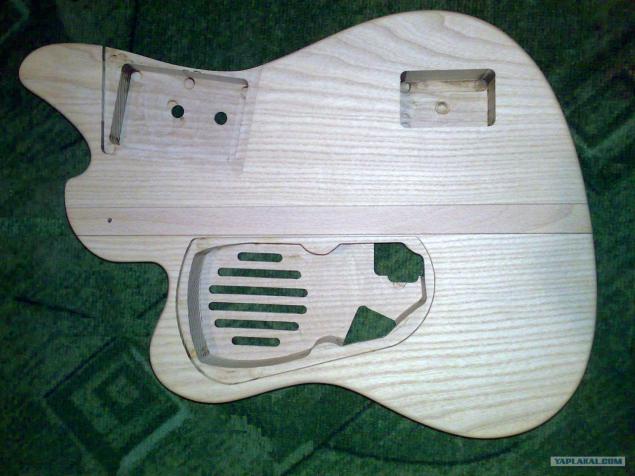
Fitting the speaker. The speaker is from a small combo BB Blaster Micro Amplifier BMB-1
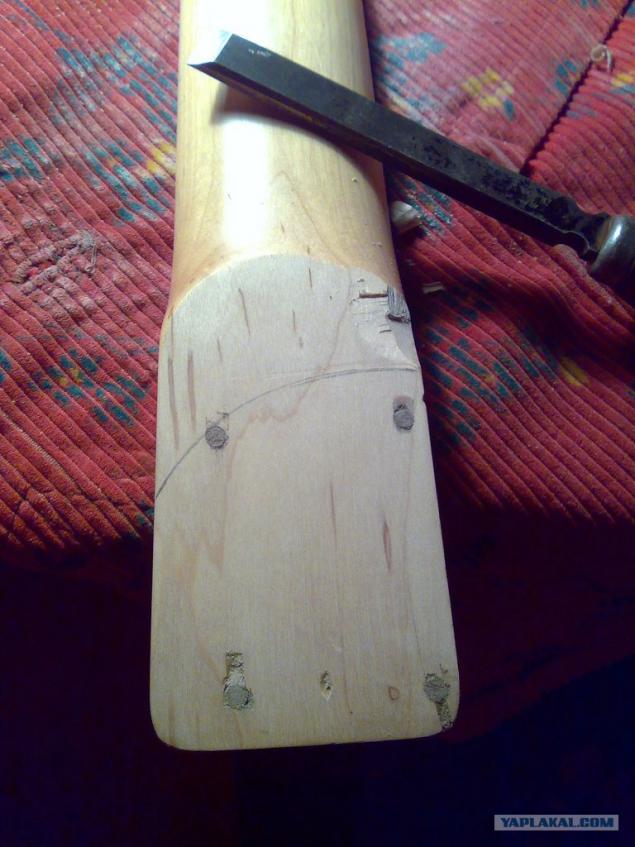
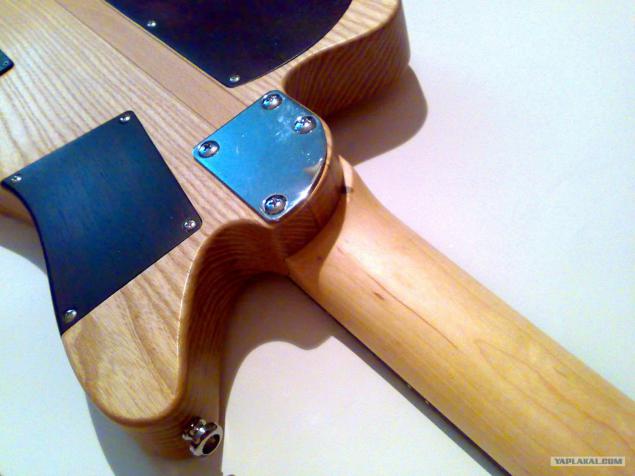
Processing neck heel.
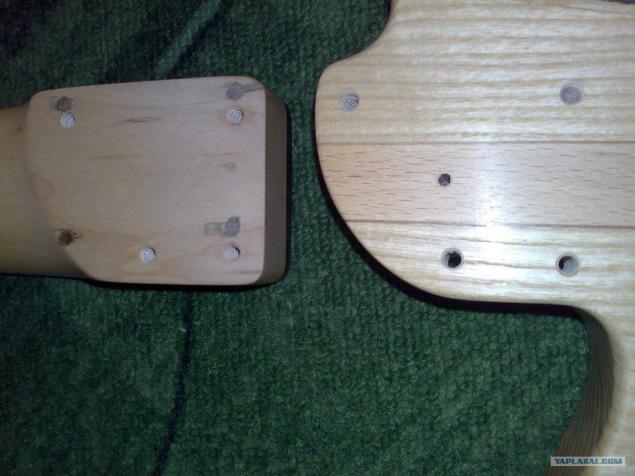
Marking and drilling attachment neck.
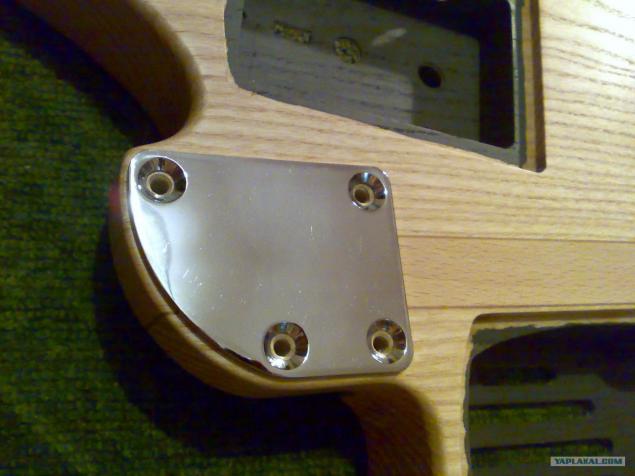
Dean and neck are covered with matt clear lacquer.
Screening of graphite.
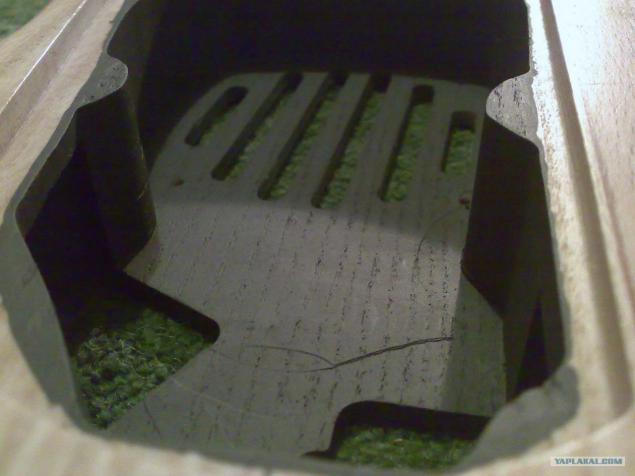
Screening of graphite.
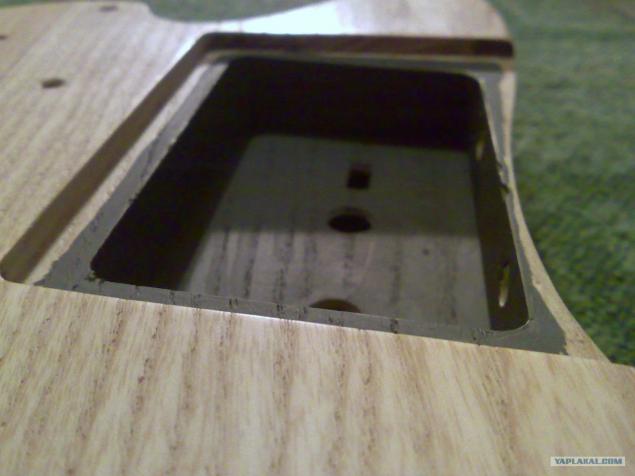
Screening of graphite.
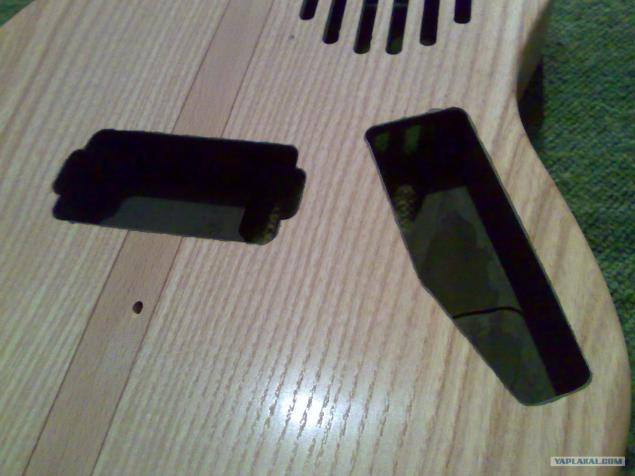
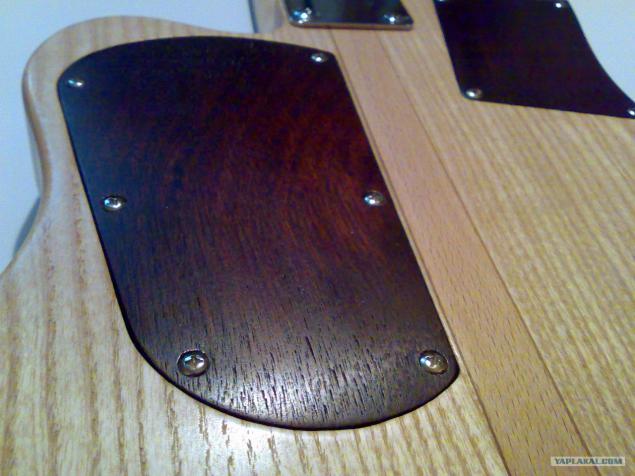
Covers cavities made of laminated mahogany. Transparent matt varnished.
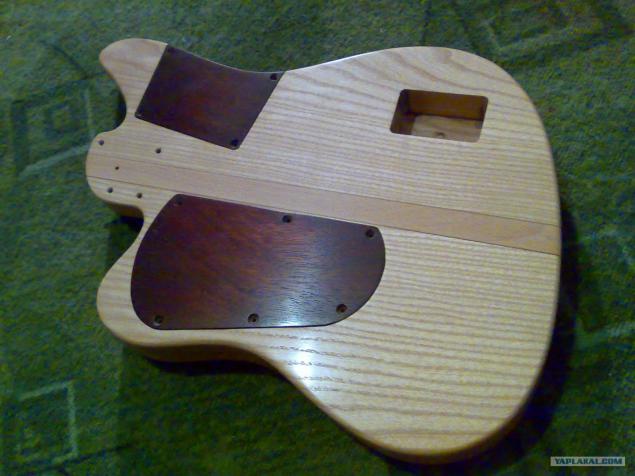
The panel circuitry.

Power switch with 9v battery adapter to switch sound from the built-in amplifier to the external interface, the adapter output socket 6 mm jack, volume control for the output to an external amplifier.
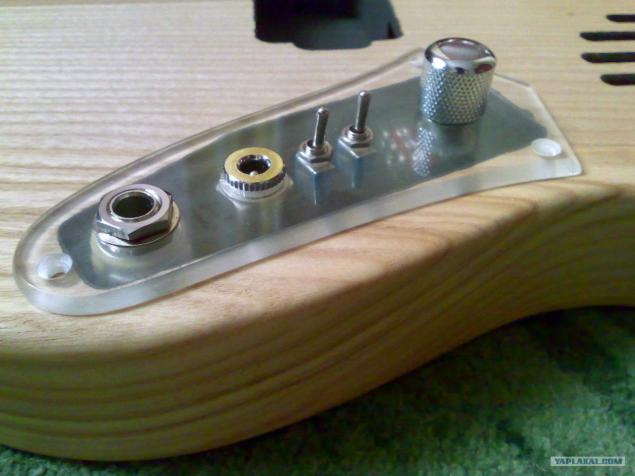
The panel is colored in black and covered with graphite.
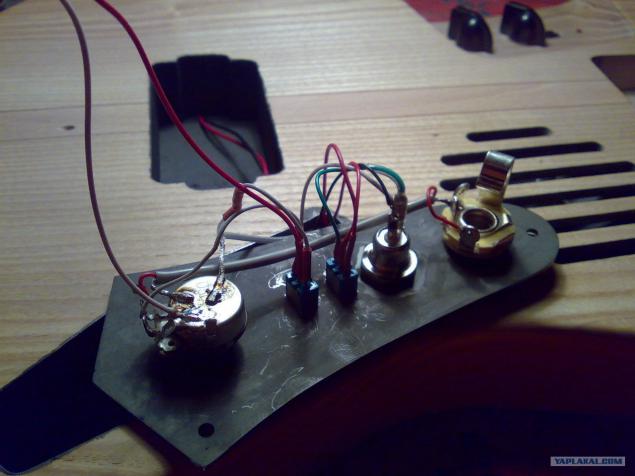
Caps cavities are also covered with graphite inside.
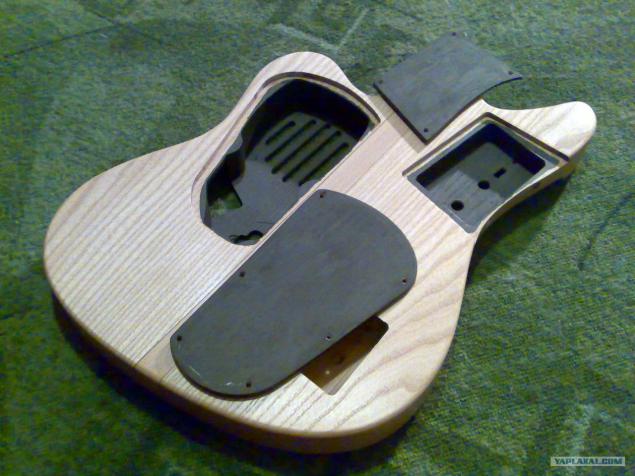
Mounted amplifier board. Power from a small combo BB Blaster Micro Amplifier.
Transplantation from Chinese - O_o Ukrainian

The tool is assembled and rebuilt.
Mirror, in case of falling into the hands of women.
Cover TONE
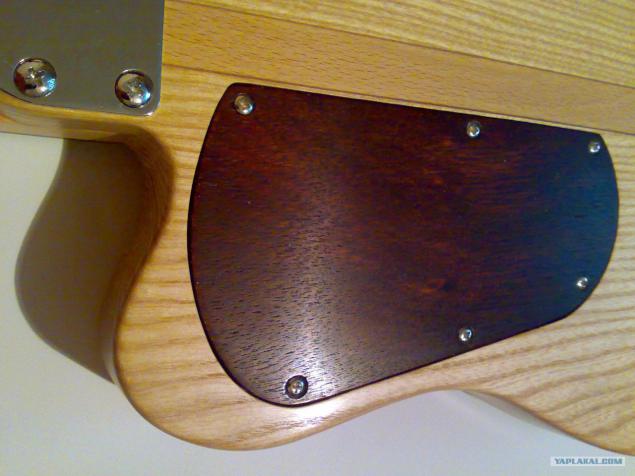
Cover combo
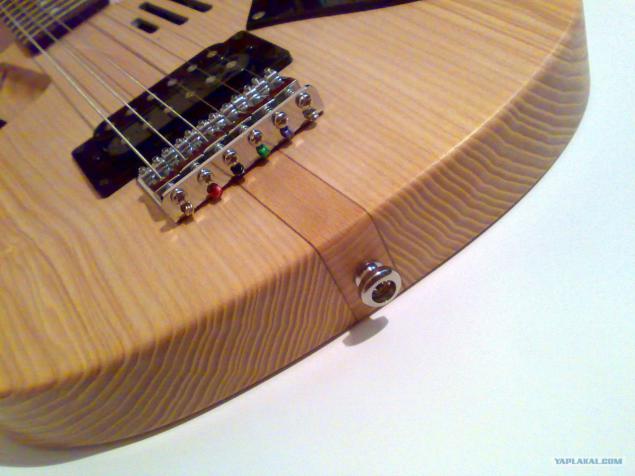
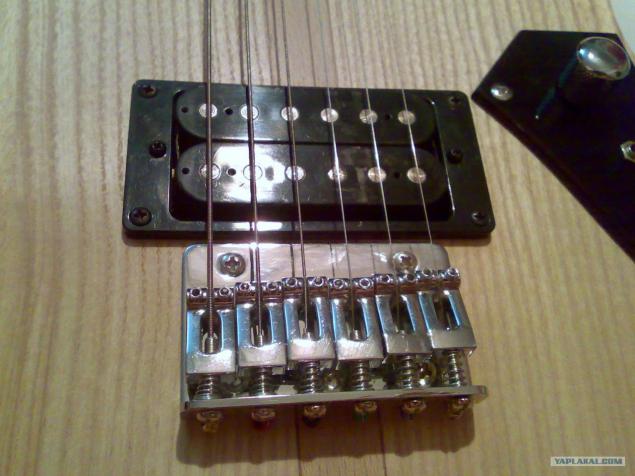
Bridge. Simplest.
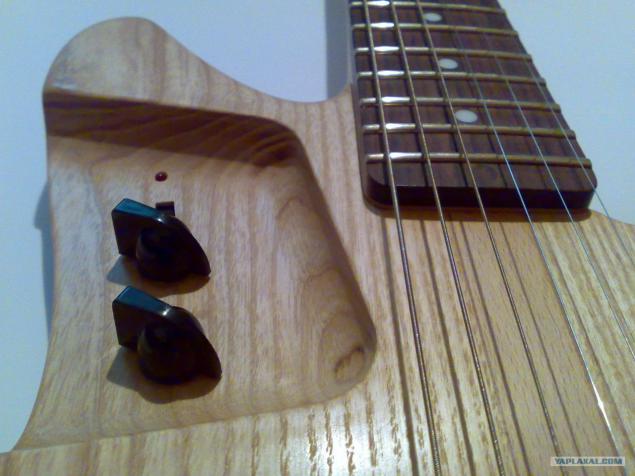
Manage combo. Volume, tone and overdrive.
Lattice dynamics
9V battery

Cover board amp
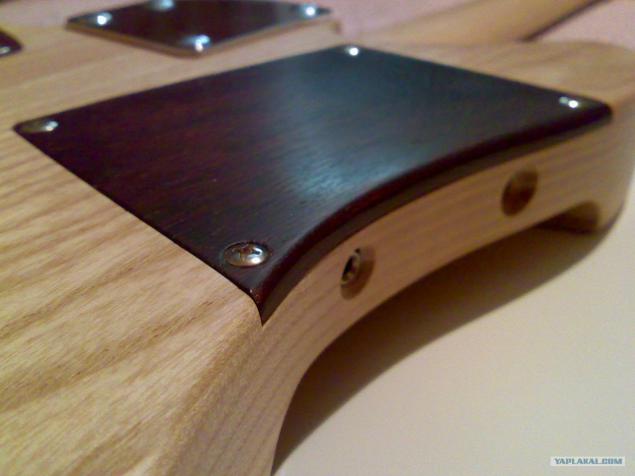
From the bridge, you can see the layers of wood.
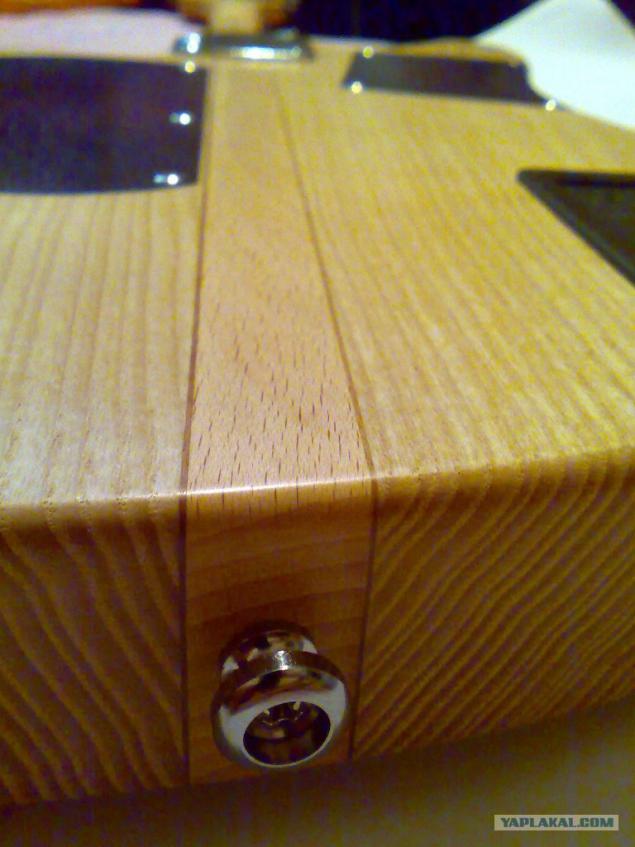
Luck, but it retained the texture of wood.
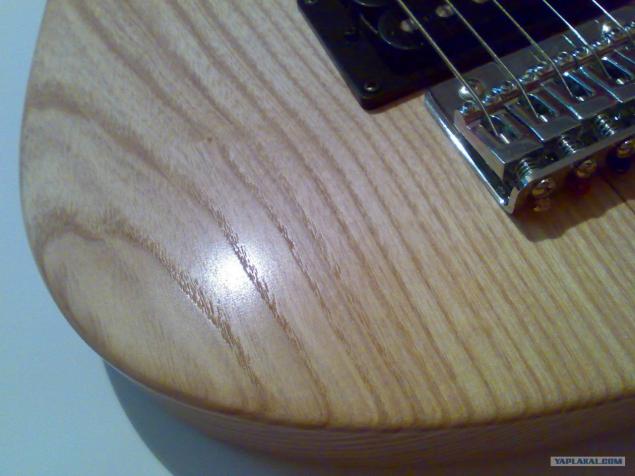
The rear surface of the deck entirely
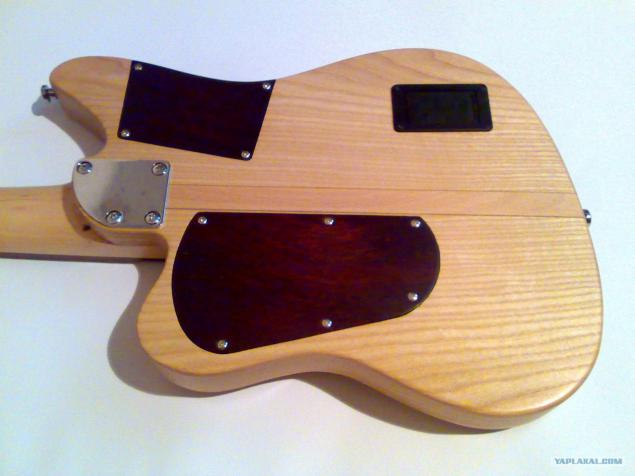
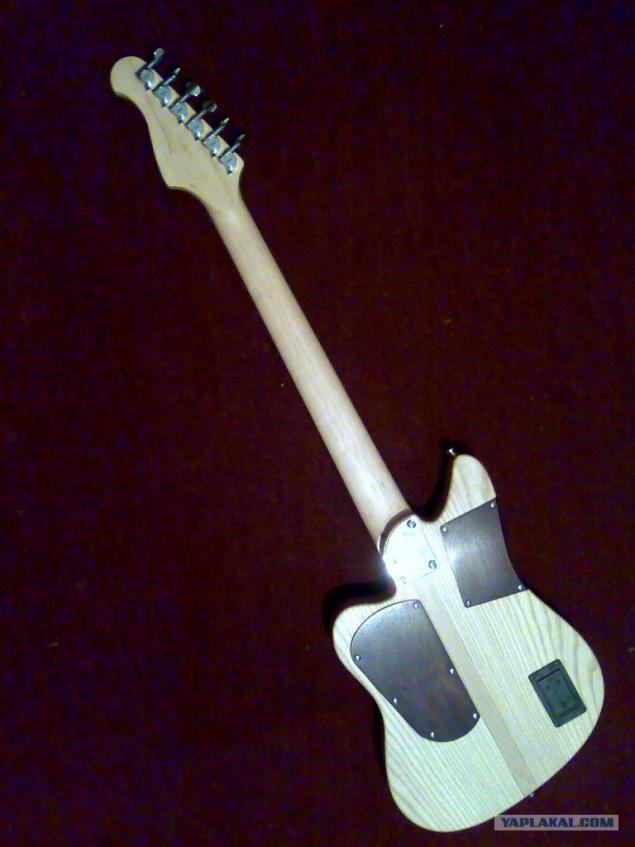
Guitar back
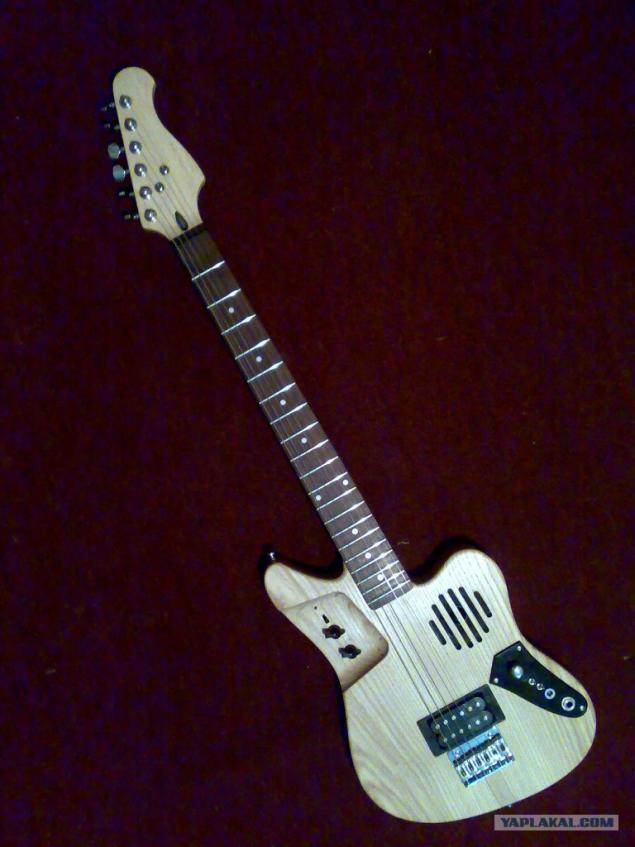
Guitar face
Posted in [mergetime] 1367758603 [/ mergetime]
That's all. You can ask questions. Since This is the first, self-made, the decision - had to solve a number of technical issues - wiring diagrams, guitar shape, arrangement of components.
If someone decide to do yourself - I try to answer why so.
Source:
Shops options were discarded due to inferiority and the presence of their absence.
Guitars made by my friend from Lugansk, a chisel and a hammer mastered it in public, because trauma, this bind me and a great result.
Further, kamenty to the pics, it. Do not break, a lot of pictures.
Photos are pulled from VK

The basis of the tool - the neck of a broken PhilPro. Not a bad neck, by the way.

Someone before me had tried on this basis to do something))).
As a result, the neck slightly shortened - 20 frets.

Older frets extracted pad abraded.

Inserted SINTOMS 3, 0.

£ 6

7 f

8 p

The basis for the deck - white ash.

Width ash boards do not allow whole deck. In the end - board disbanded in the middle, rolled and glued through beech bar with 0, 5 mm nut sizing.

Gluing

After gluing the two displayed both planes.

After gluing the two displayed both planes.

Beech-Nut sizing.

Stages milling cavities.

Stages milling cavities.

Stages milling cavities - a box for 9v batteries.

Stages milling cavities - decorative grille speaker.

Stages milling cavities - the cavity under the humbucker.

Stages milling cavities - a deepening of the control panel of the amplifier. Processed outer contours.

Rounded corners.

Stages milling cavities - the cavity under the charge amplifier.

Stages milling cavities - the cavity under the scheme a standard guitar.

Stages milling cavities - the cavity under the speaker. It does more and communicating with the cavity of the sensor electronics and specifically to ensure the necessary internal volume of the sound to the correct speakers.

Fitting the speaker. The speaker is from a small combo BB Blaster Micro Amplifier BMB-1

Processing neck heel.

Marking and drilling attachment neck.

Dean and neck are covered with matt clear lacquer.

Screening of graphite.

Screening of graphite.

Screening of graphite.

Covers cavities made of laminated mahogany. Transparent matt varnished.

The panel circuitry.

Power switch with 9v battery adapter to switch sound from the built-in amplifier to the external interface, the adapter output socket 6 mm jack, volume control for the output to an external amplifier.

The panel is colored in black and covered with graphite.

Caps cavities are also covered with graphite inside.

Mounted amplifier board. Power from a small combo BB Blaster Micro Amplifier.
Transplantation from Chinese - O_o Ukrainian

The tool is assembled and rebuilt.

Mirror, in case of falling into the hands of women.

Cover TONE

Cover combo

Bridge. Simplest.

Manage combo. Volume, tone and overdrive.

Lattice dynamics

9V battery

Cover board amp

From the bridge, you can see the layers of wood.

Luck, but it retained the texture of wood.

The rear surface of the deck entirely

Guitar back

Guitar face
Posted in [mergetime] 1367758603 [/ mergetime]
That's all. You can ask questions. Since This is the first, self-made, the decision - had to solve a number of technical issues - wiring diagrams, guitar shape, arrangement of components.
If someone decide to do yourself - I try to answer why so.

Source:

