1721
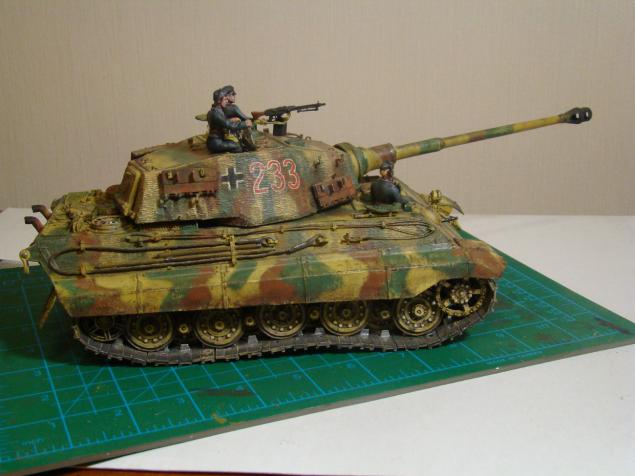
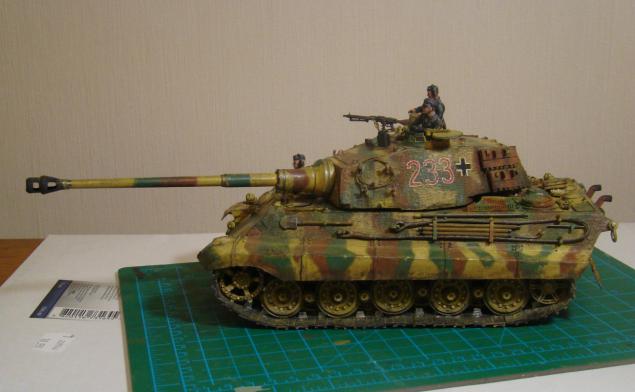
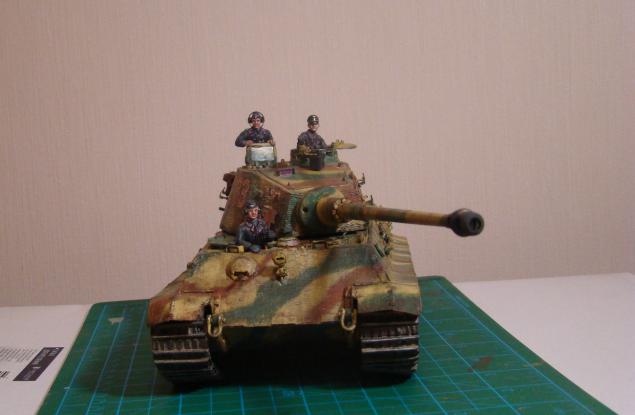
German heavy tank Tiger II (paper model)
Hello colleagues. That started the construction of the tank TIGER 2, which is the pinnacle of German tank of the time.
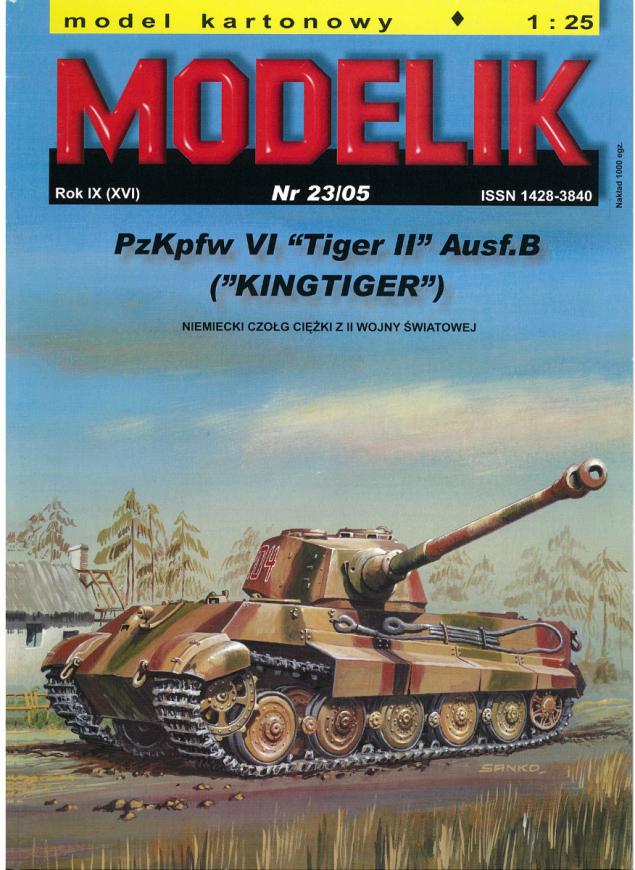
For a basis took a scan log MODELIK №23 / 2005
The author is not me! Taken from the network.
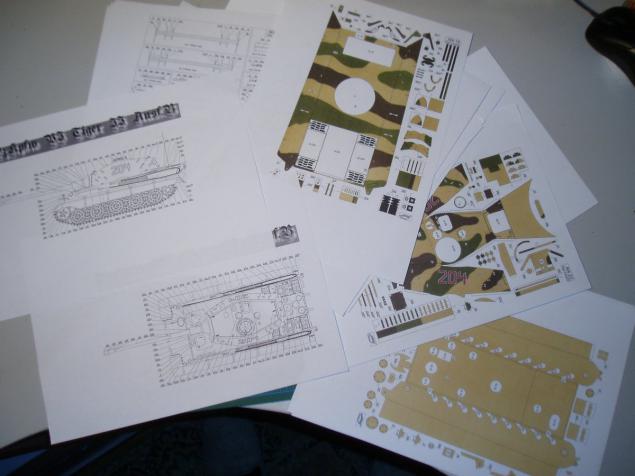
When printing patterns are reduced to 35-to-scale.
Patterns for cardboard printed on ofiske, the rest - on Whatman paper
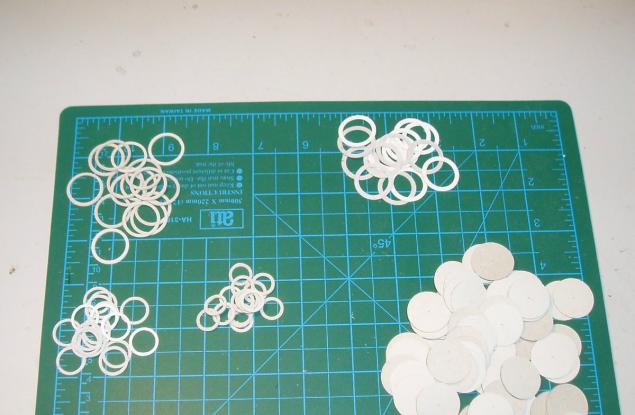
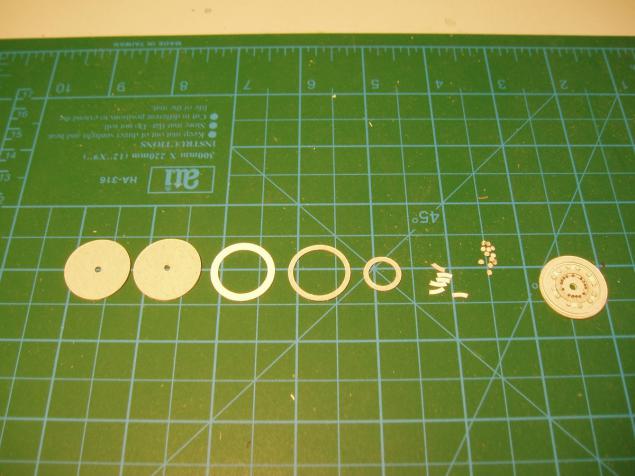
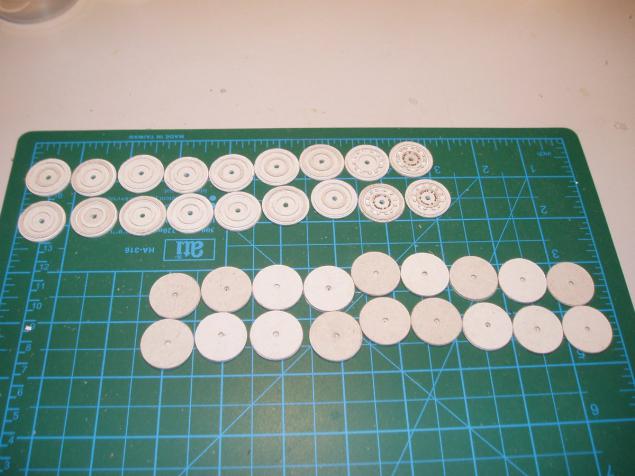
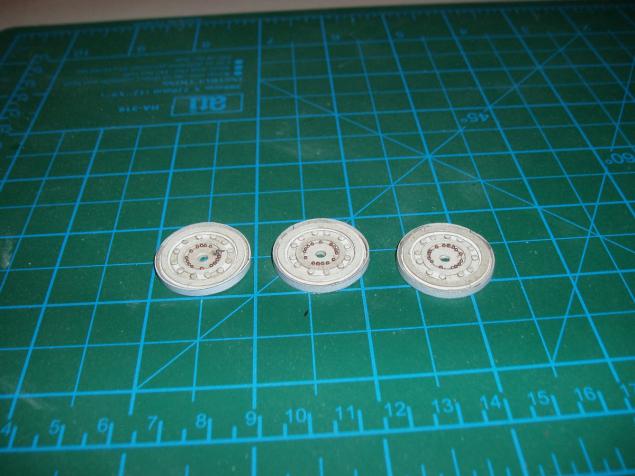
The assembly began with the rollers. Used cardboard 1 and 0, 5 mm, bulonki
...
...
...
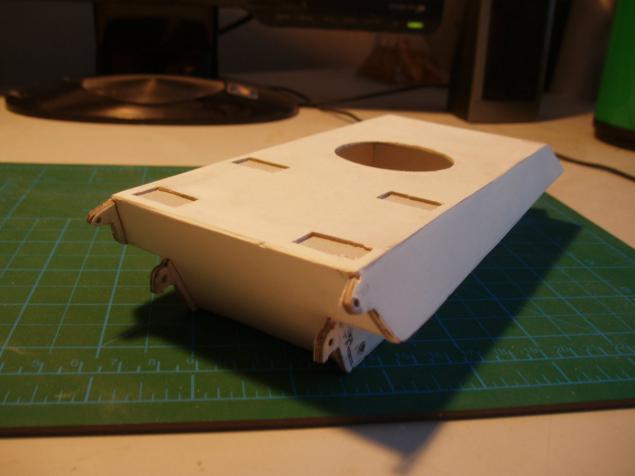
From cardboard 1, 5 mm glued body of the tank. Plastered with a mixture of PVA and building and finishing putty vyshkuril (model will be painted)
...
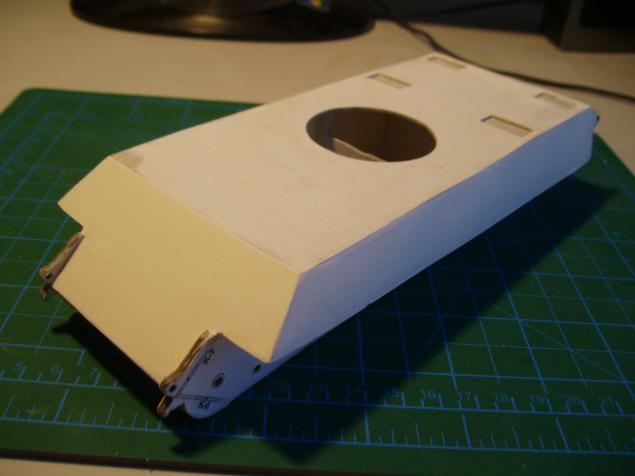
He started to do upper body armor plates, made opening hatches
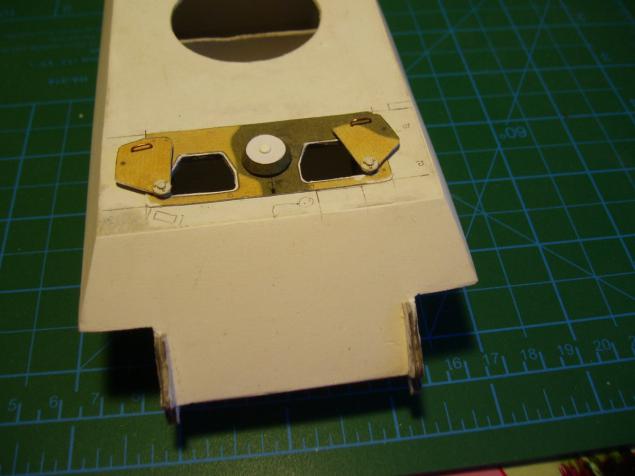
Gluing the engine compartment lid. Finalize the grating, bolts and hinges
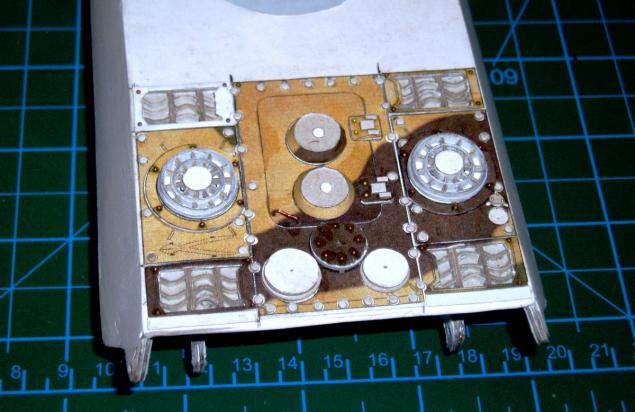
The case began to grow into the details
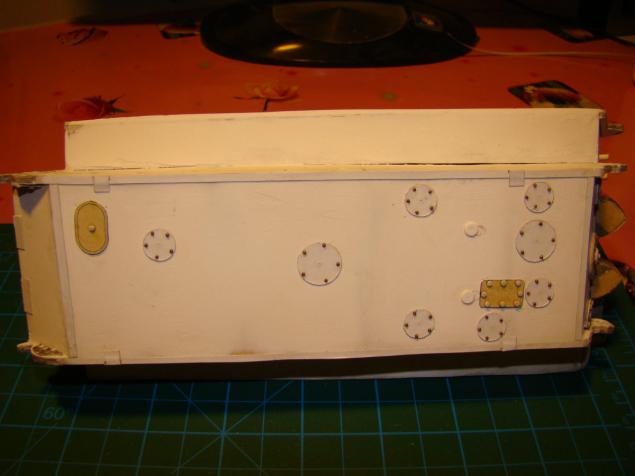
...
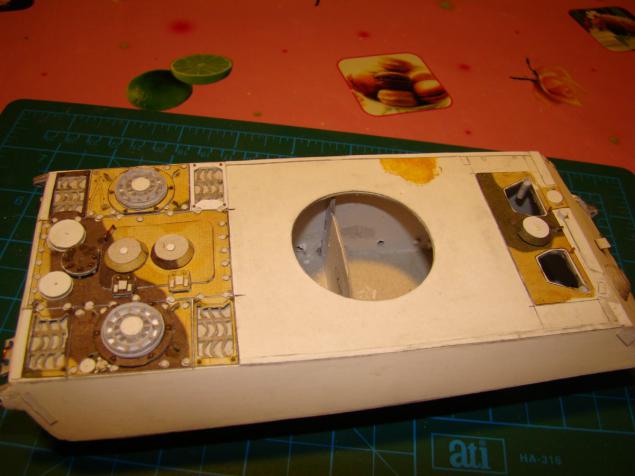
...
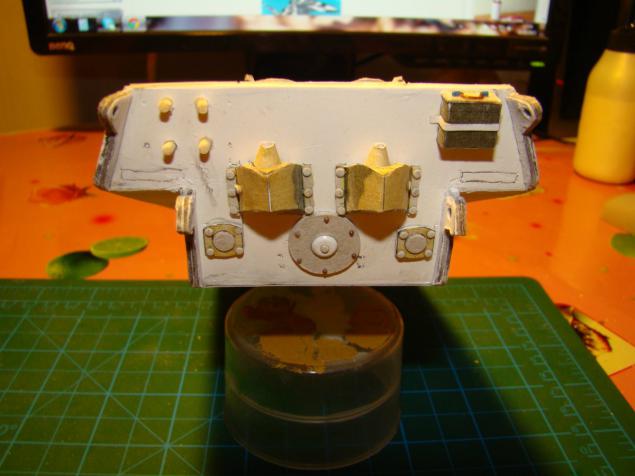
Developer showed jamb. Right rocker rollers sent back (right) and the left should be directed forward
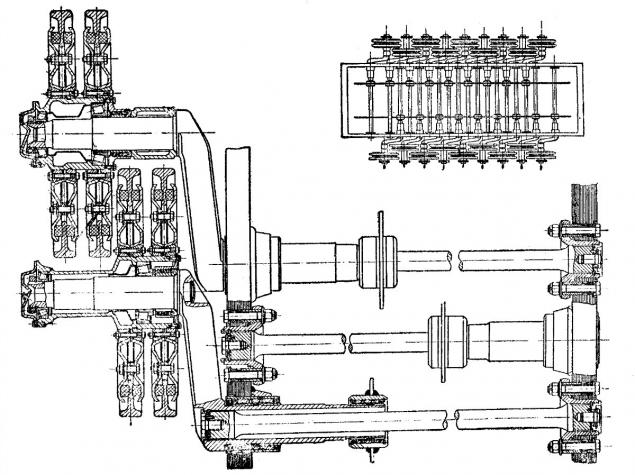
...
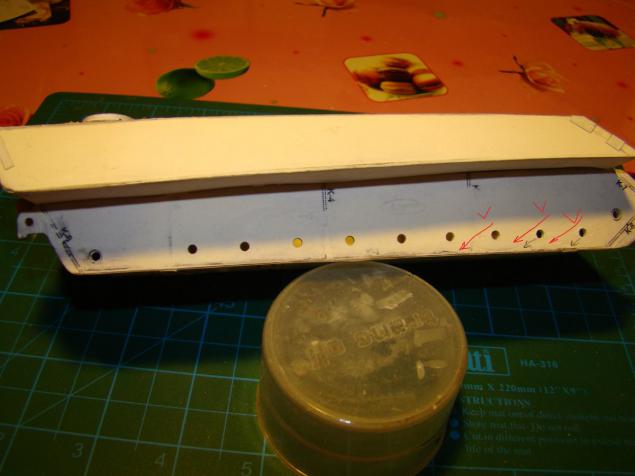
...
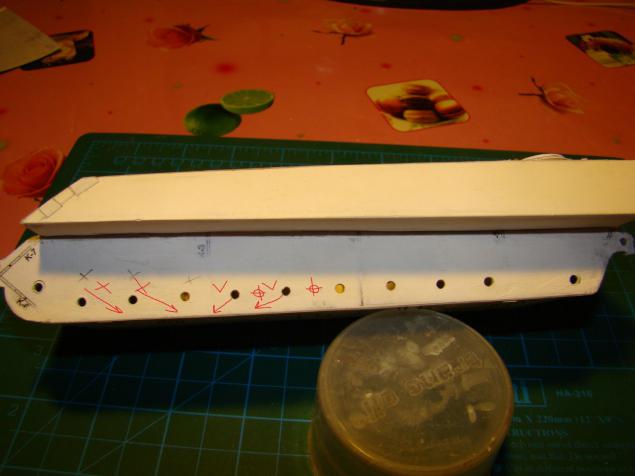
will have to interrupt the holes in the board.
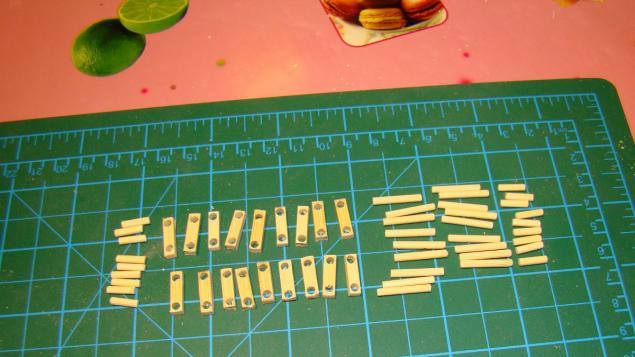
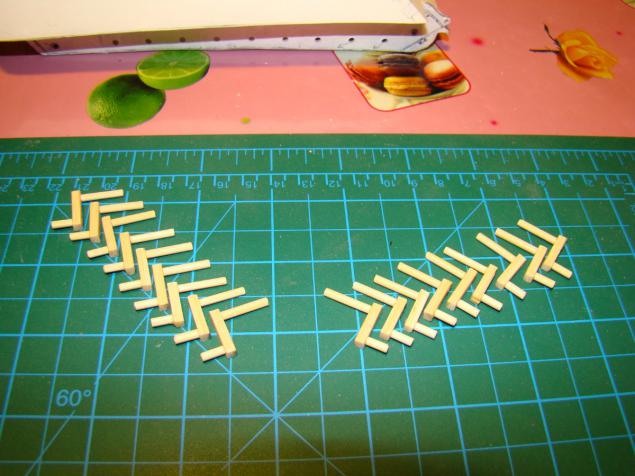
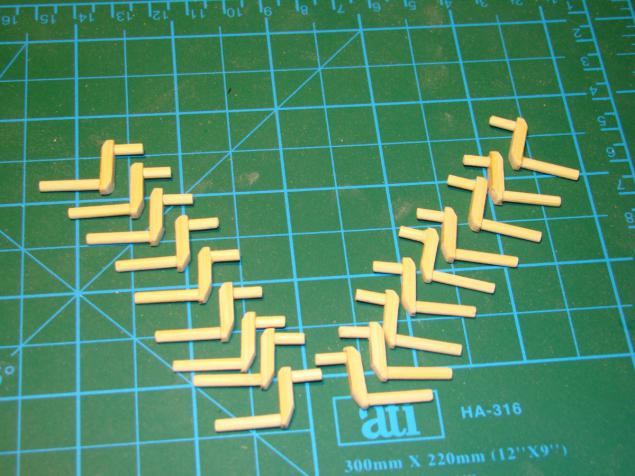
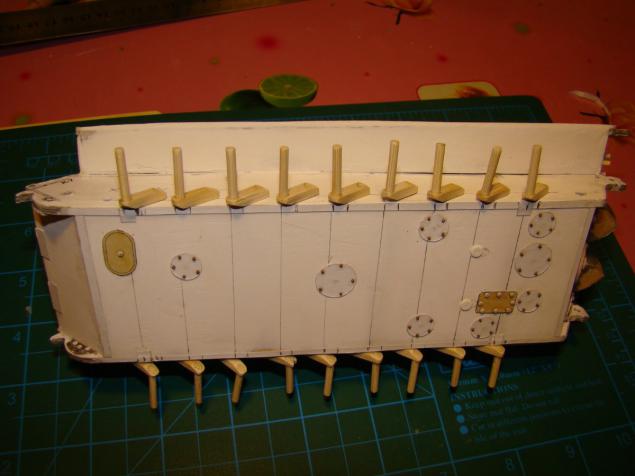
I did balancers. I decided to glue them from bamboo for reliability.
...
...
...
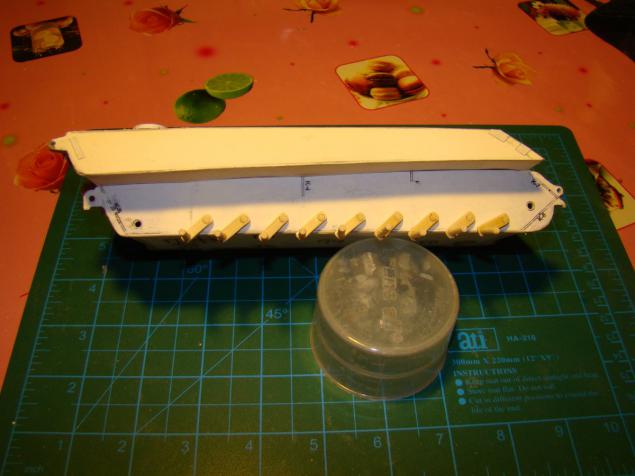
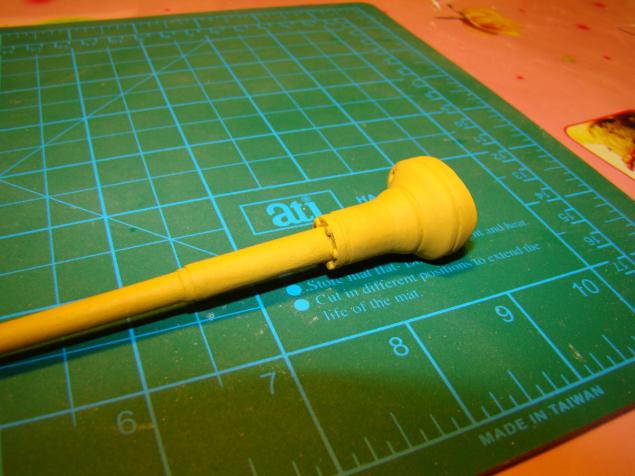
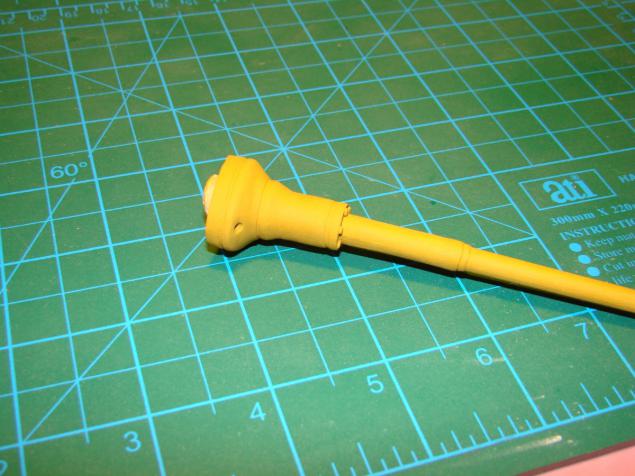
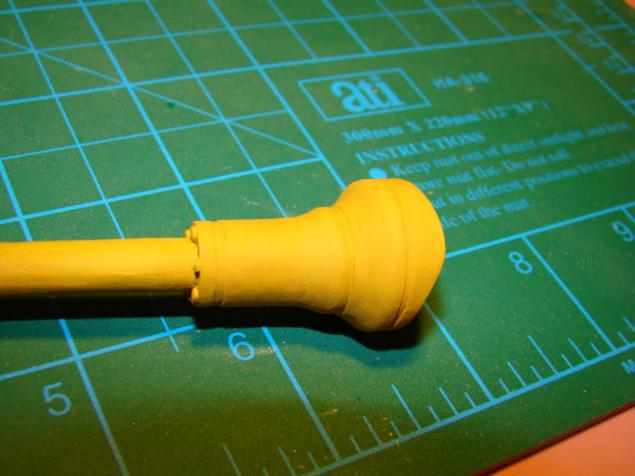
He collected guns. On the mask is also fixed jamb. Mask developer circular in cross-section, as in the original - an oval with the tide at gunpoint.
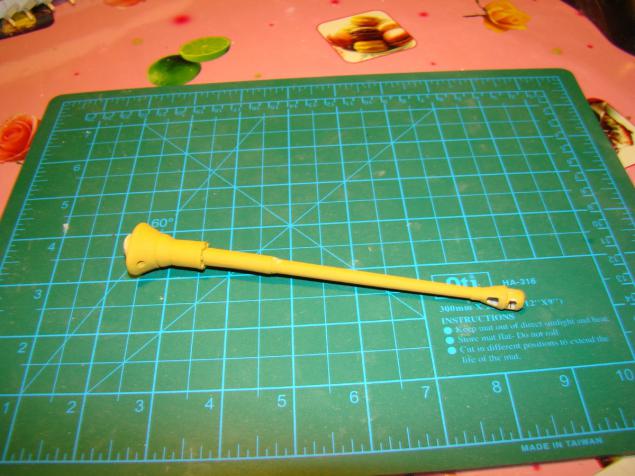
...
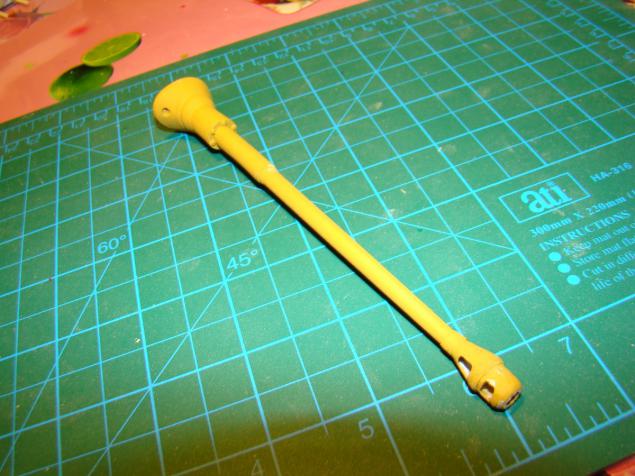
photos of the prototype having imposed
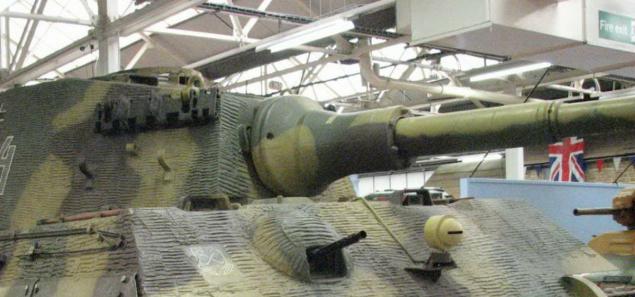
...
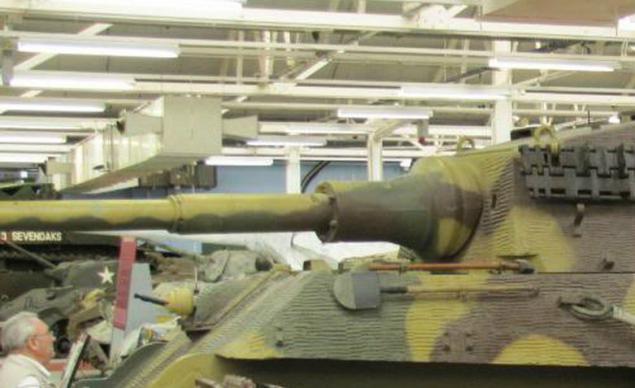
this is gradually born
...
...
...
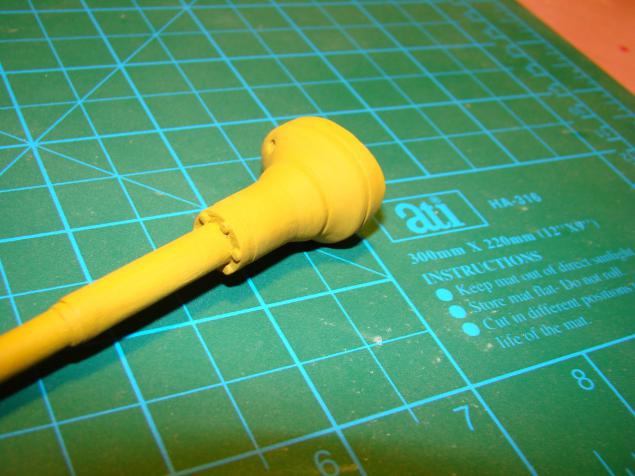
Balancers rearranged a little blood (hooray!) - Add one hole
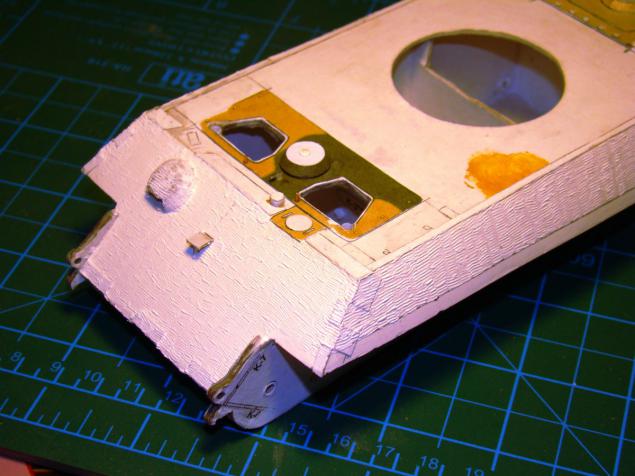
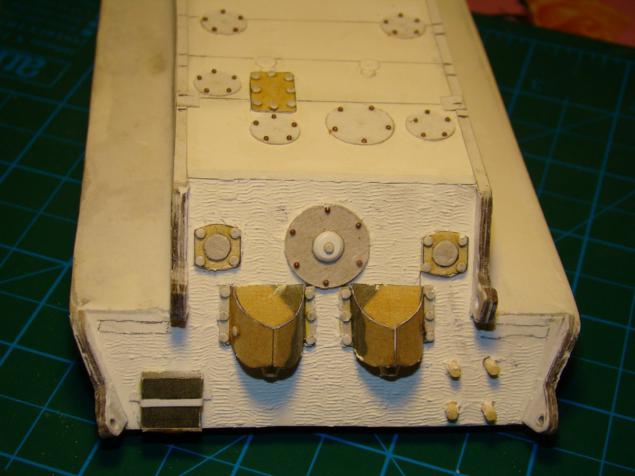
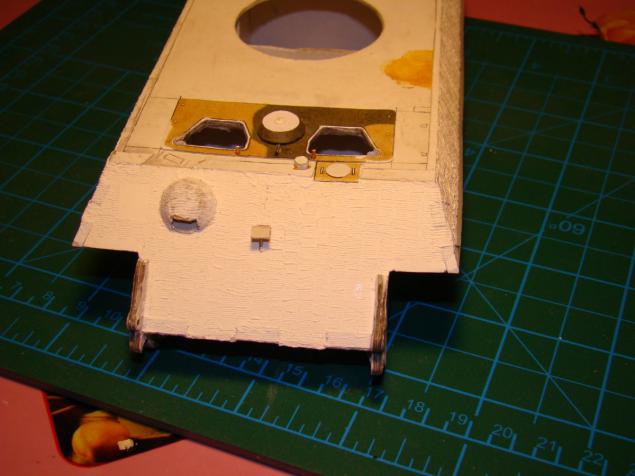
Apply Zimmer desire to eat, but the model can lose the appearance and contours, coupled with camouflage. I tried to do imtatsiyu tsimmeritom on a piece of cardboard its putty - came out pretty good. I will be a smooth, uncoated, although ...
Still dare! Zimmer!
...
...
...
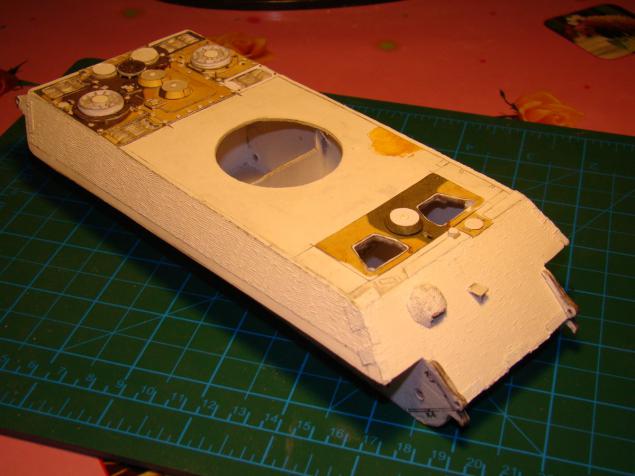
Continuation of
Glued wings and fine detailing
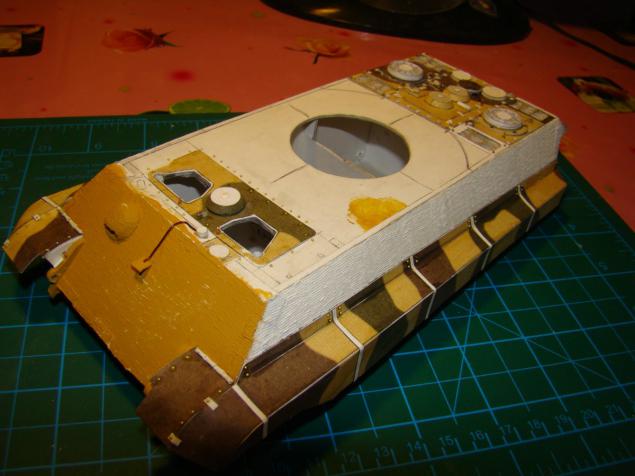
...
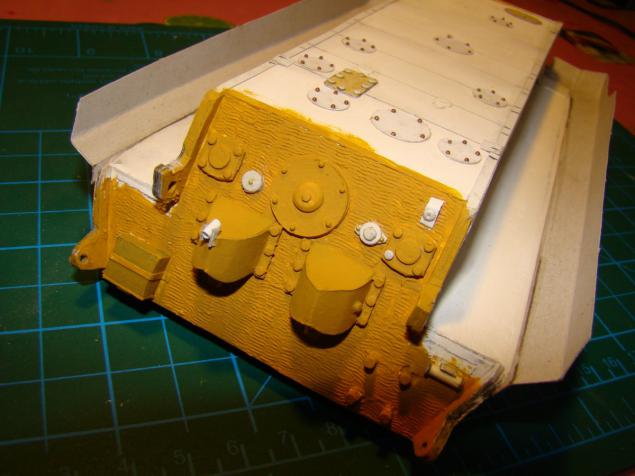
...
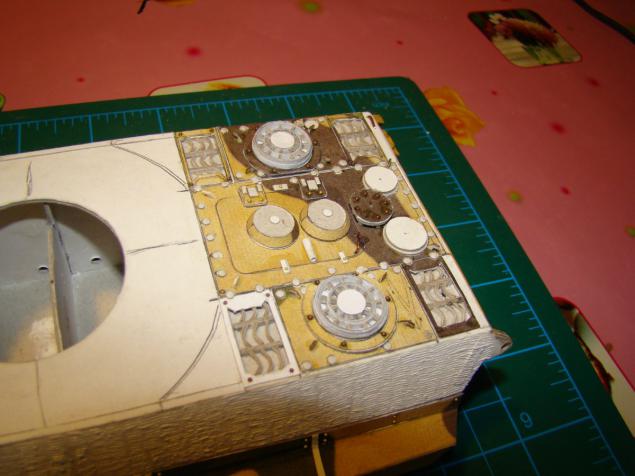
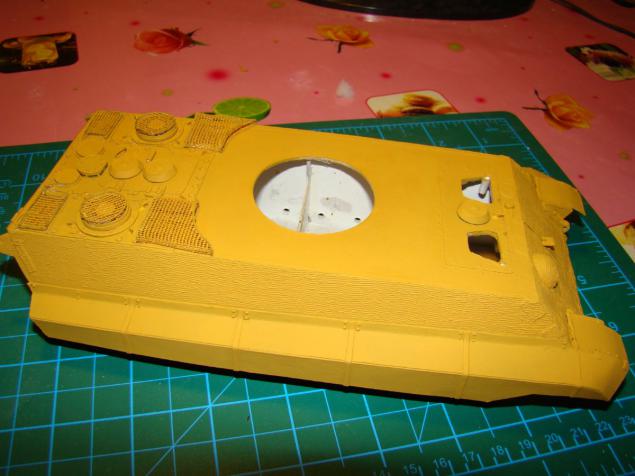
Did mesh grilles MTO
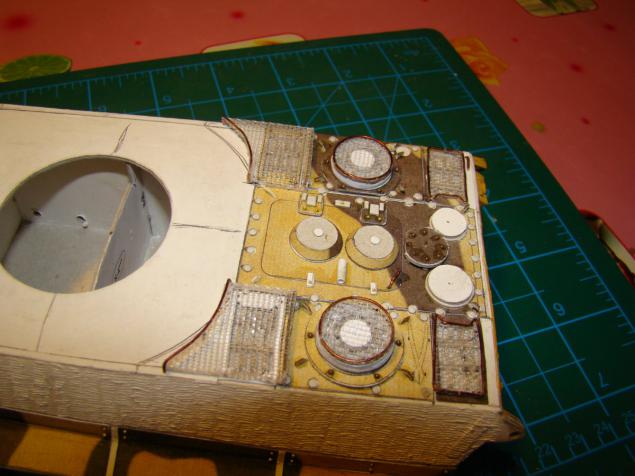
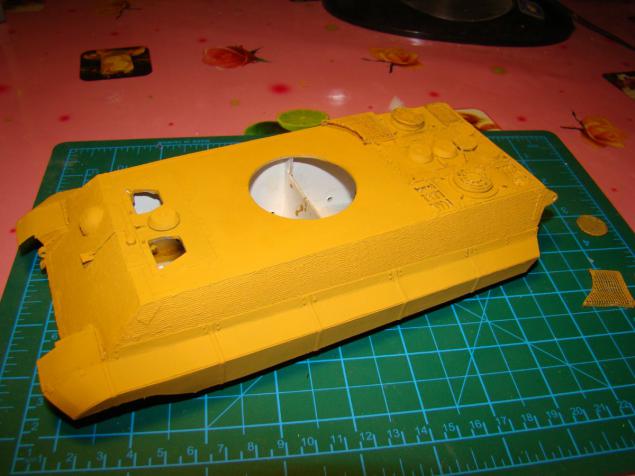
Painted body in the "base»
...
...
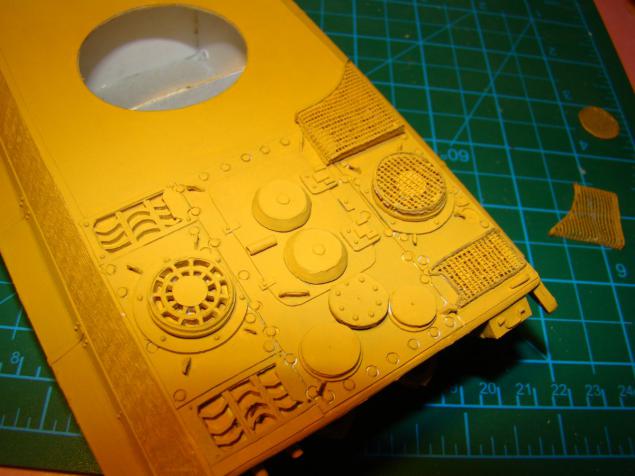
Work continues on the sly.
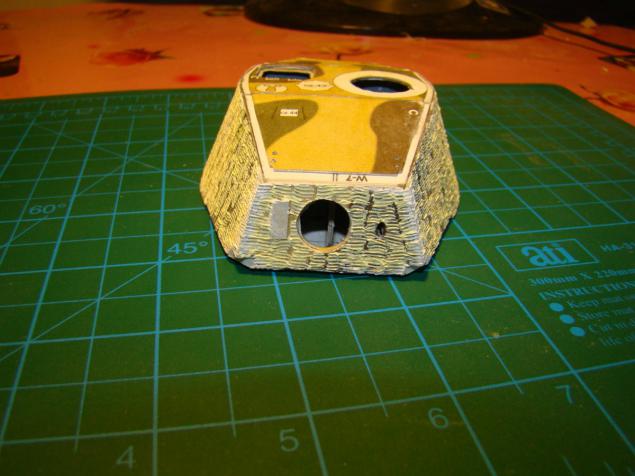
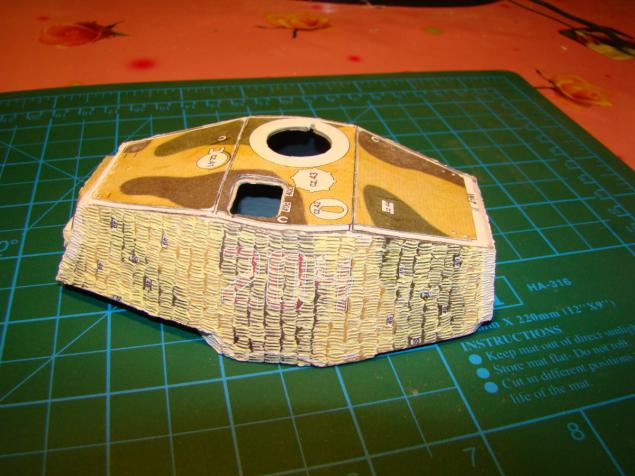
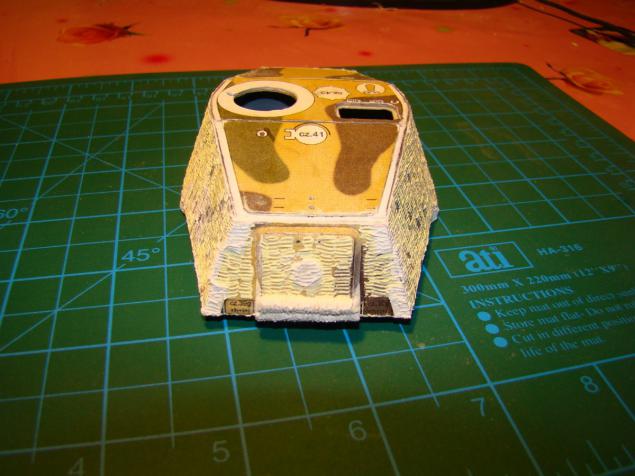
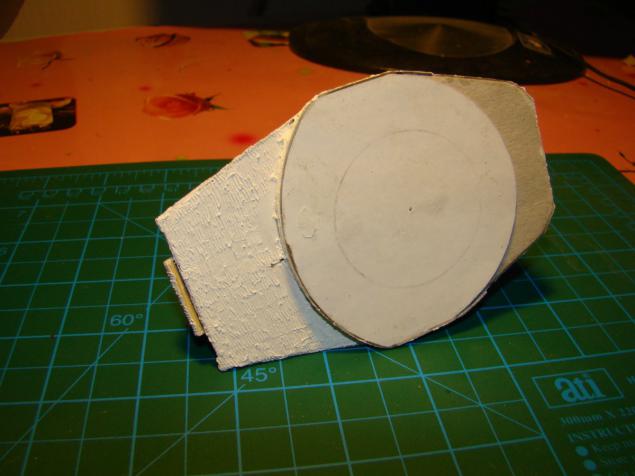
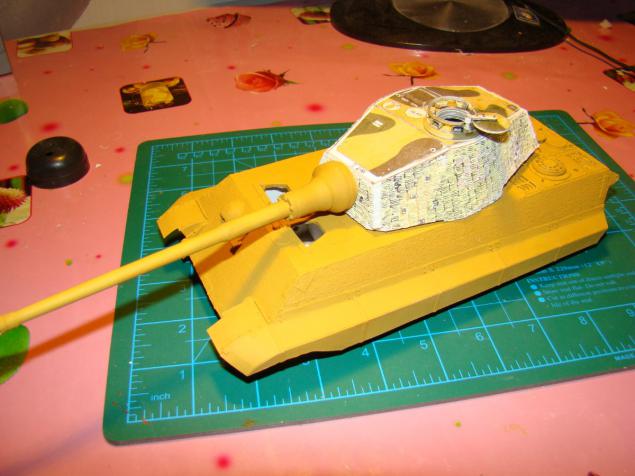
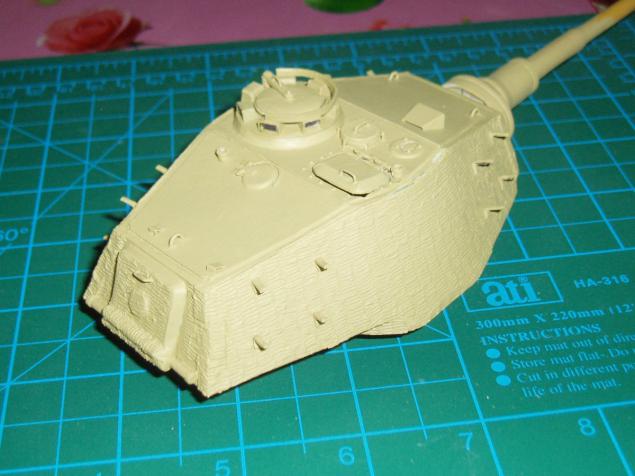
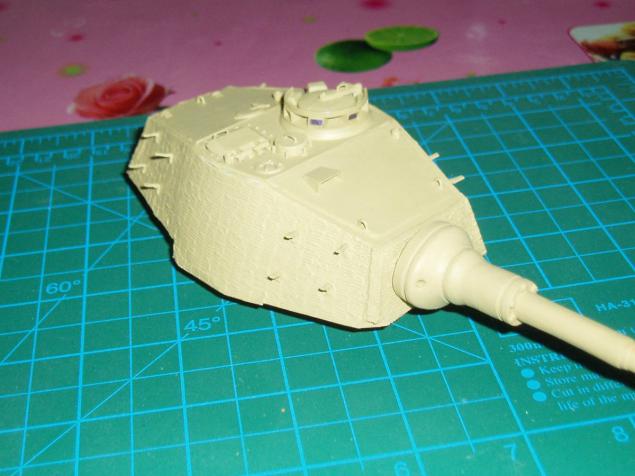
Gluing tower and struck Zimmer
...
...
...
...
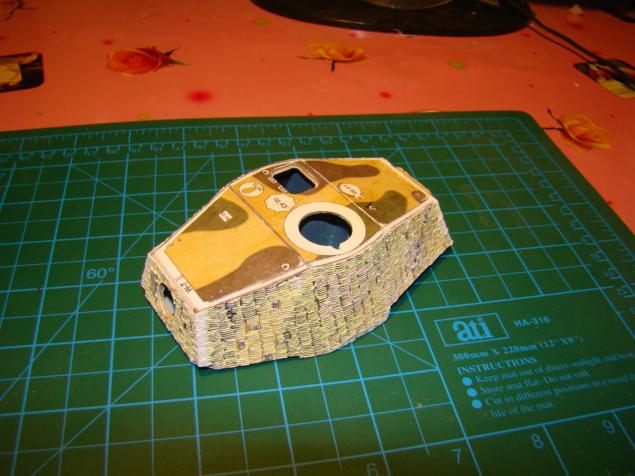
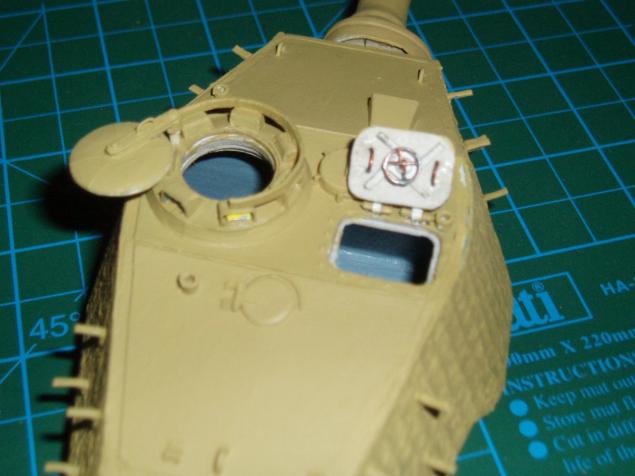
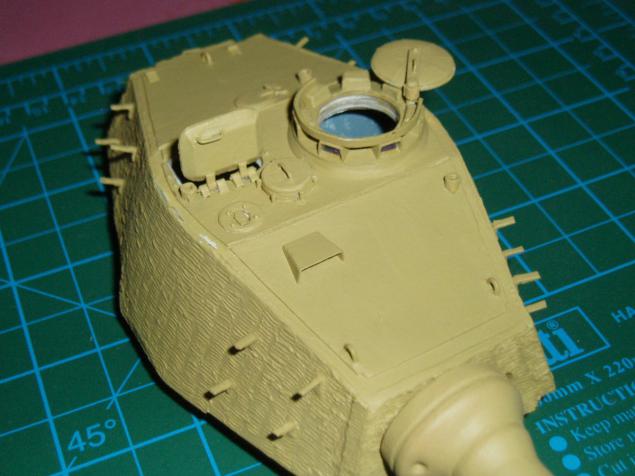
I did hatches and tried together
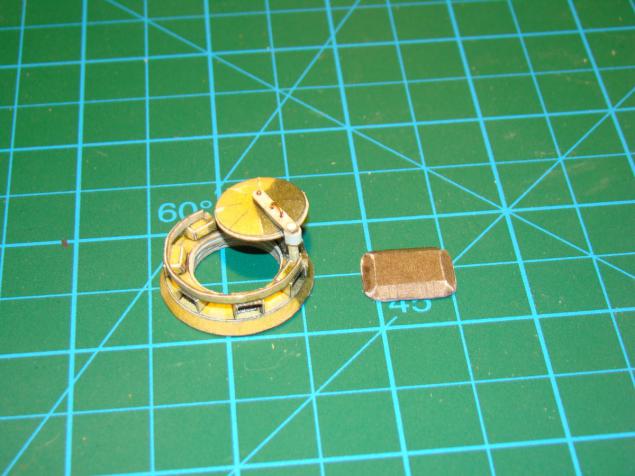
...
...
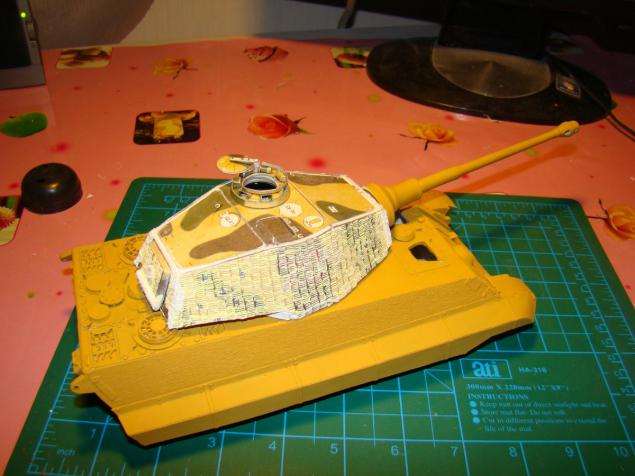
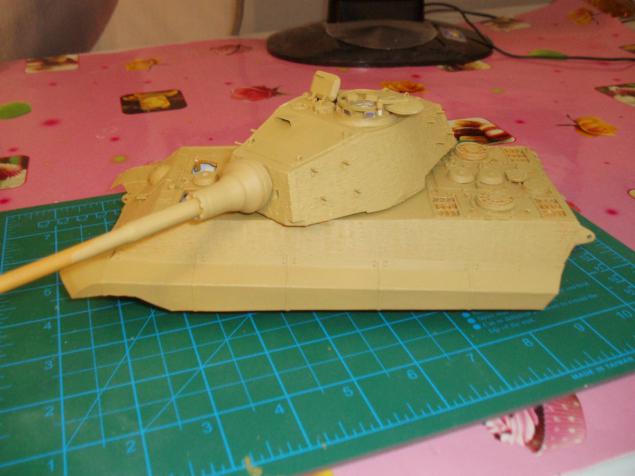
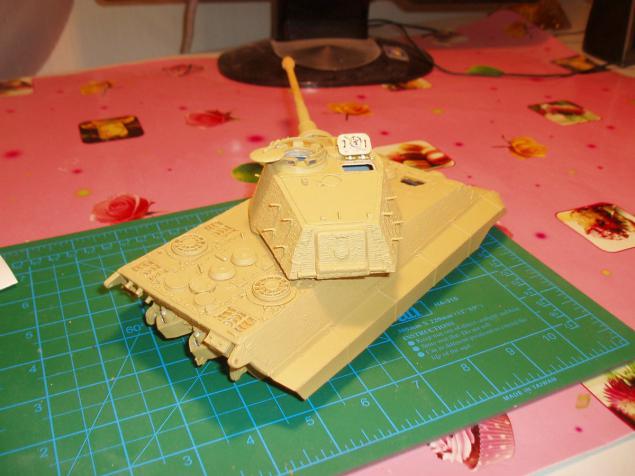
Found that the base paint color different from RAL 7028. Produced color correction and repainting housing
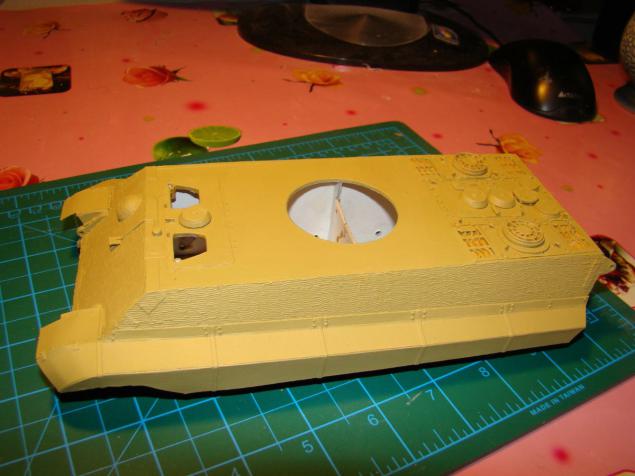
...
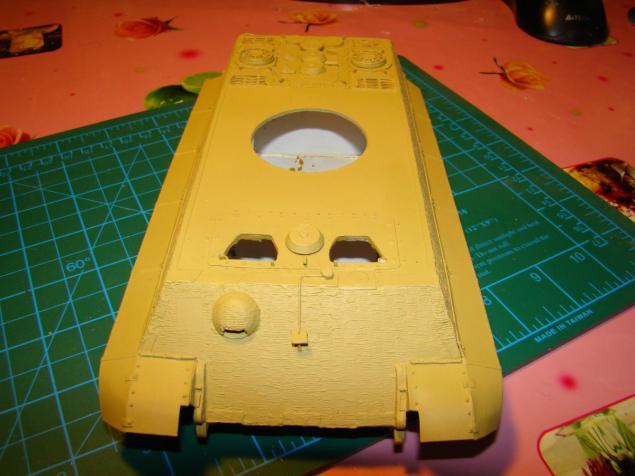
Paste optics and completed tower
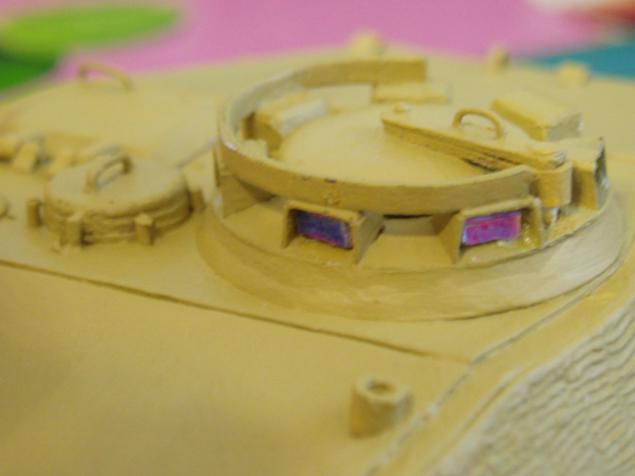
...
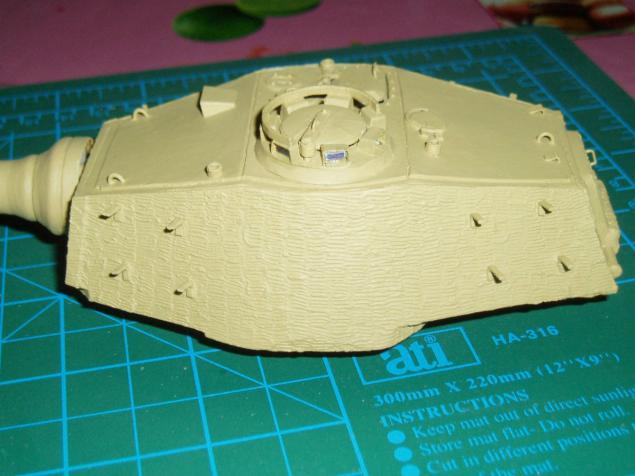
...
...
...
...
Examples to the body
...
...
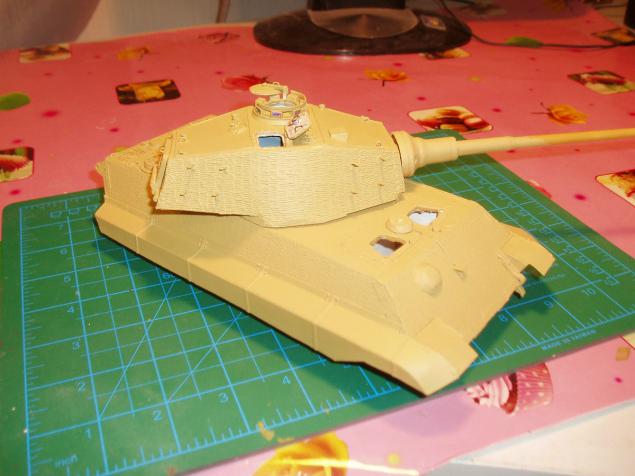
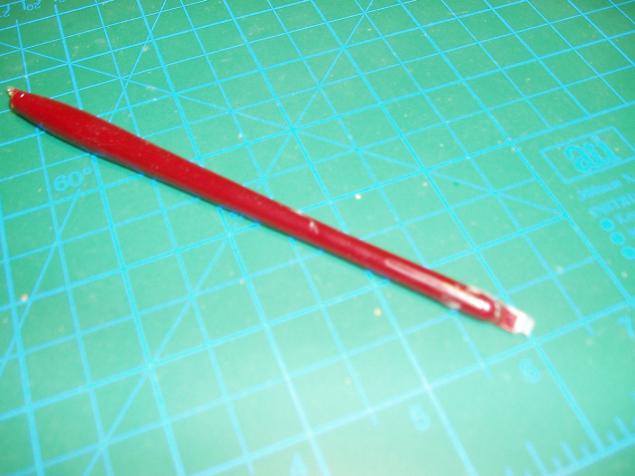
Zimmer gets in here this tool
...
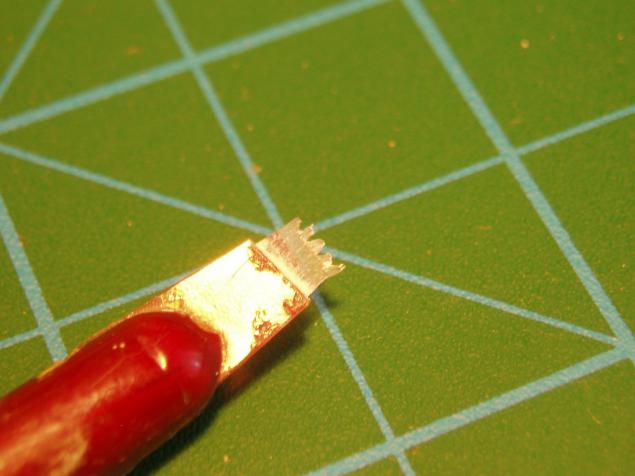
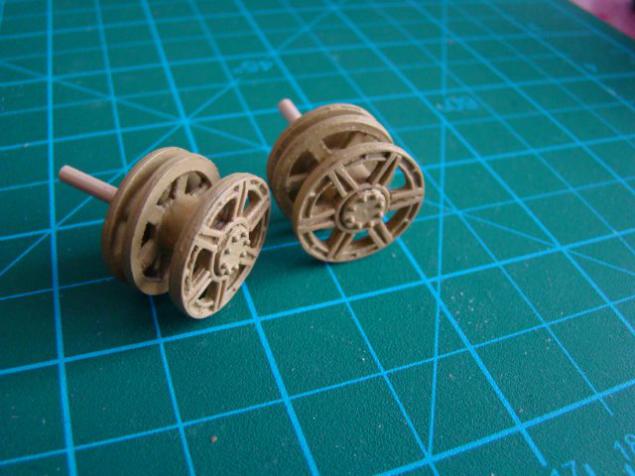
Glued and painted rollers and idlers. The design had to seriously modify sloths, so like the original
...
...
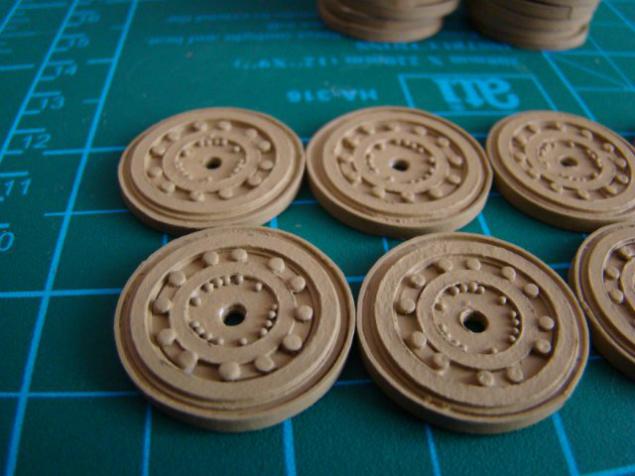
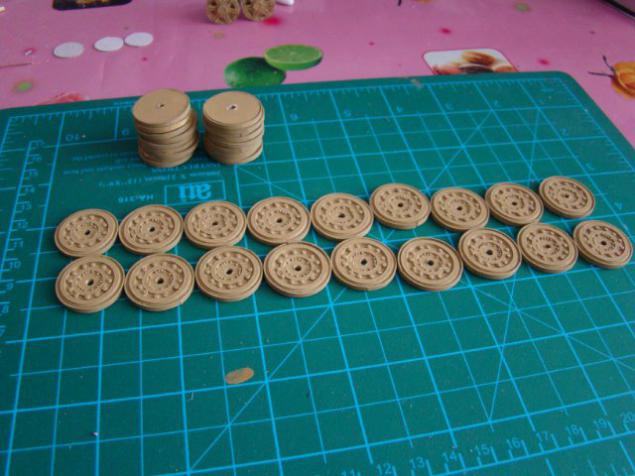
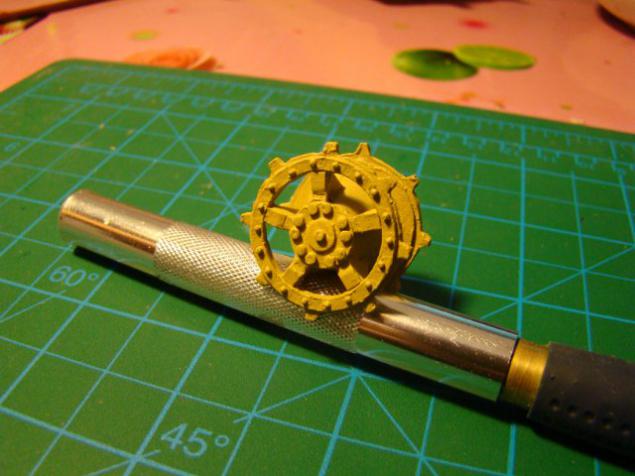
COMBINE drive wheel
...
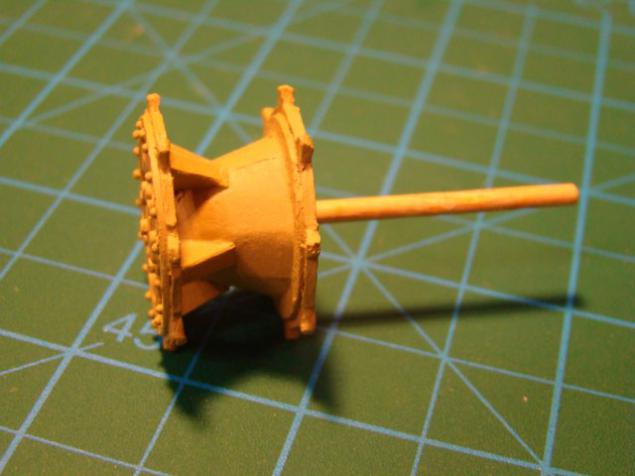
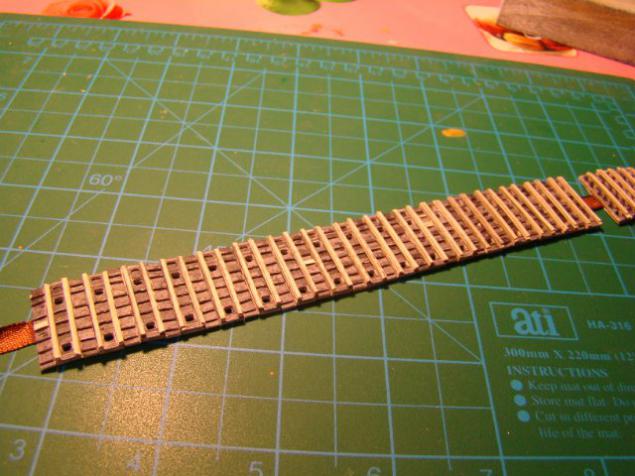
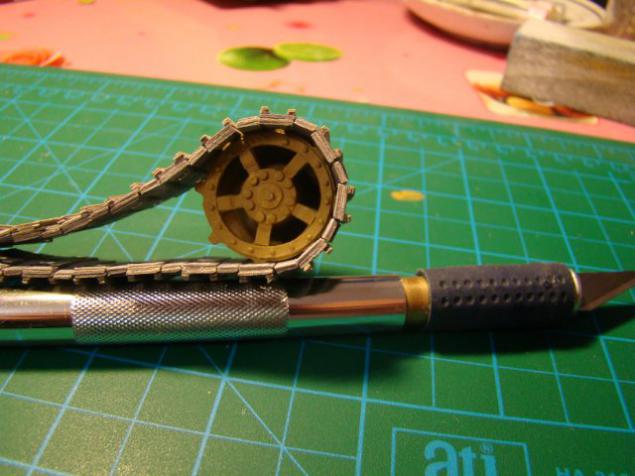
Sobral segment of the track and figured the wheel
...
...
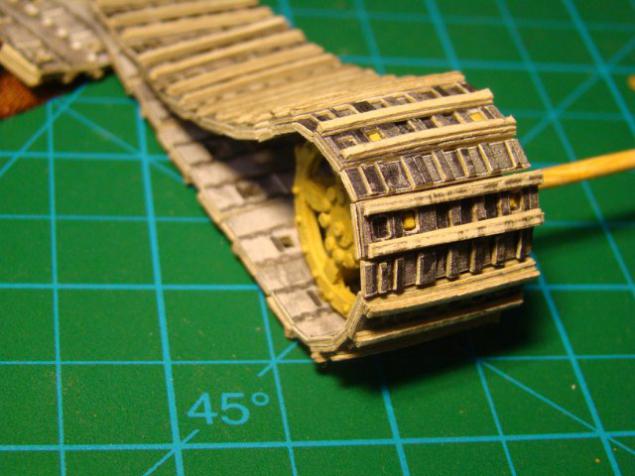
Primed and glued caterpillar (hooray!)
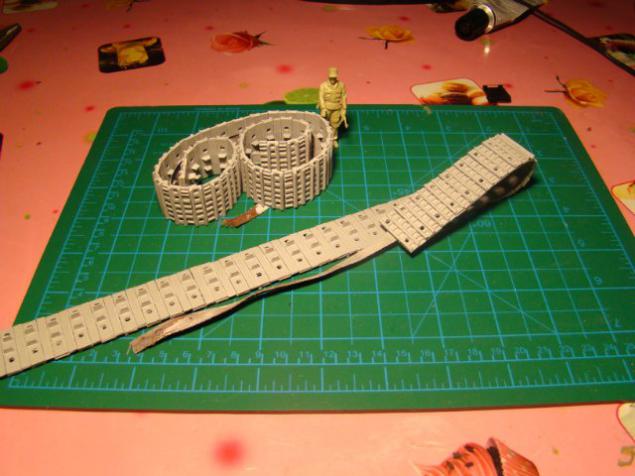
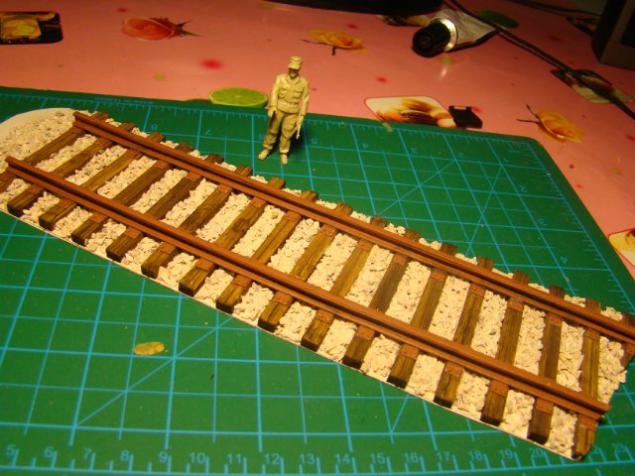
I began to prepare dioramku ...
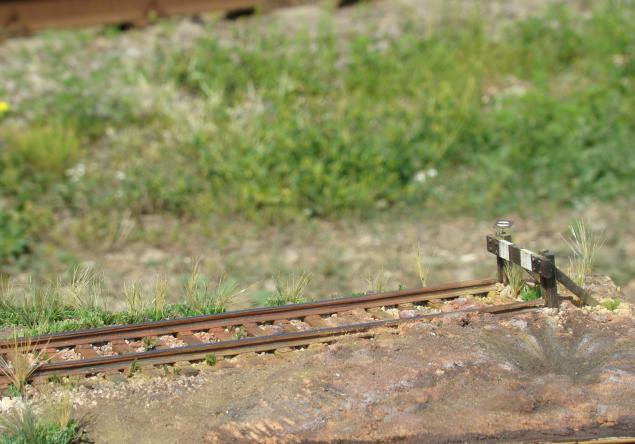
To start shpazhek of bamboo, cardboard and stones collected for the aquarium section w d path (on the idea)
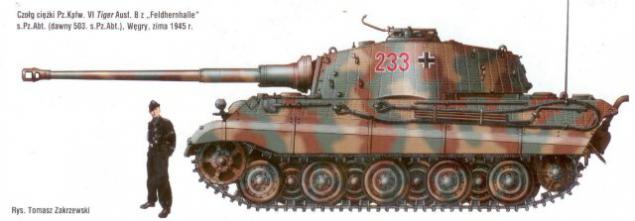
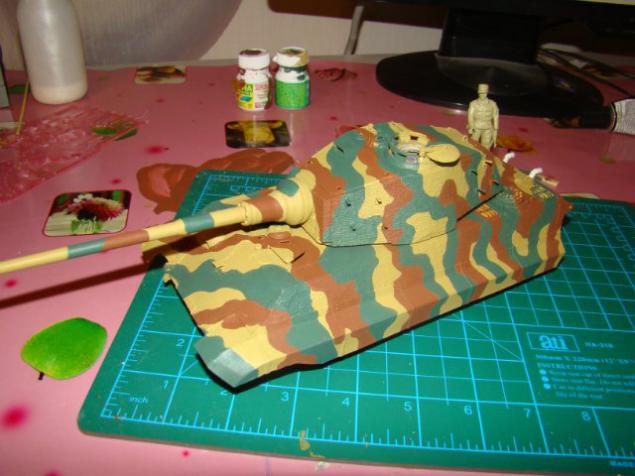
Paid a camouflage pattern. The basis of this option took
...
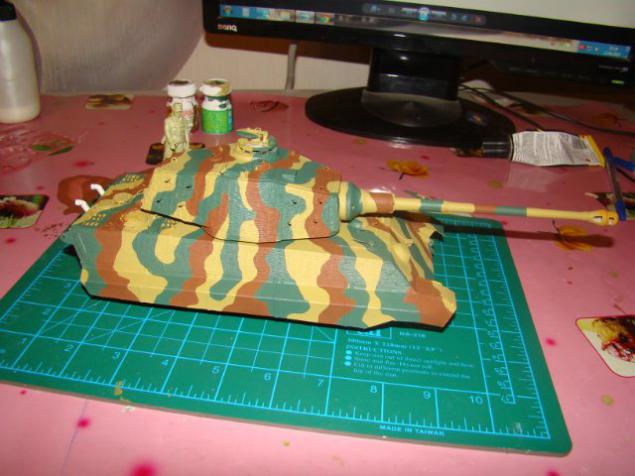
...
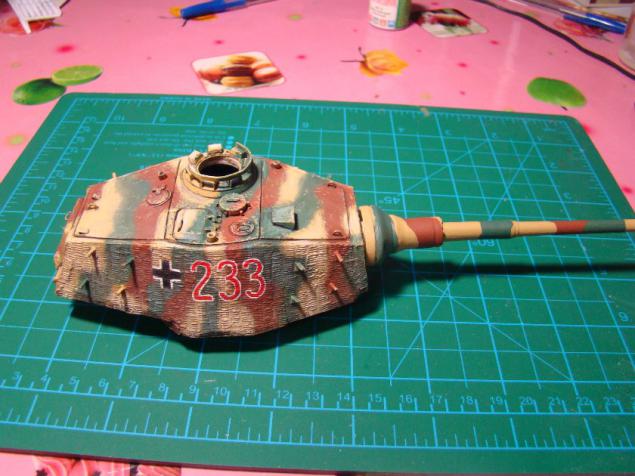
Did tinted tower
...
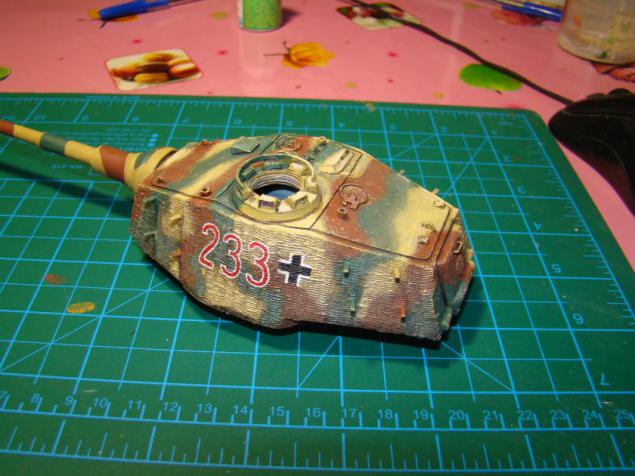
Color and potoniroval body and harp
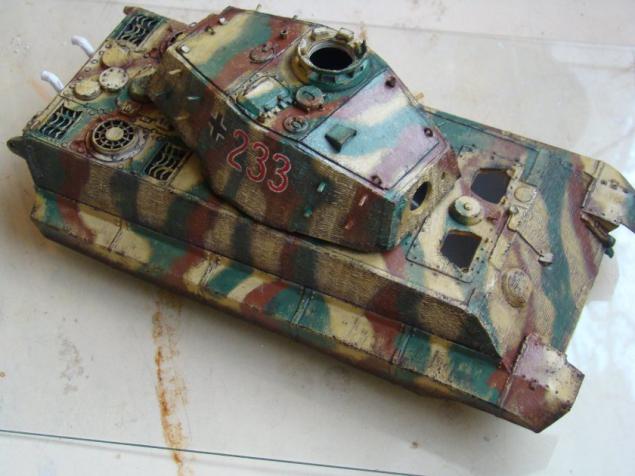
...
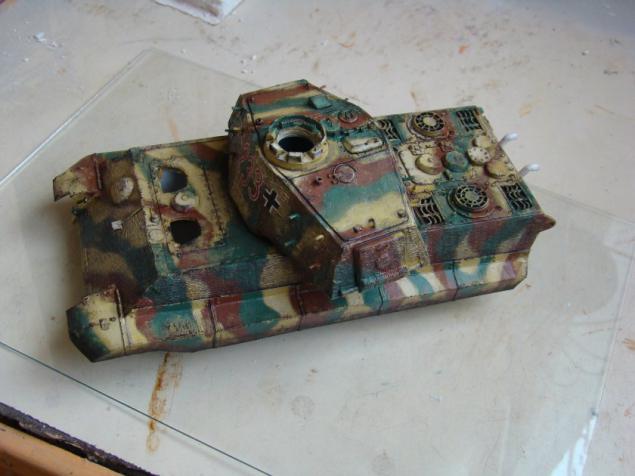
...
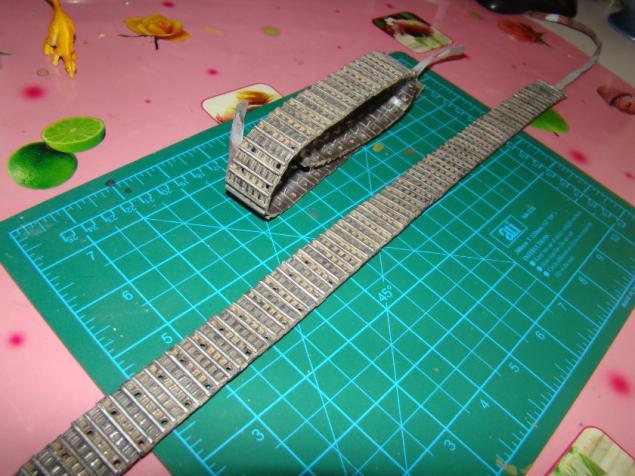
glued
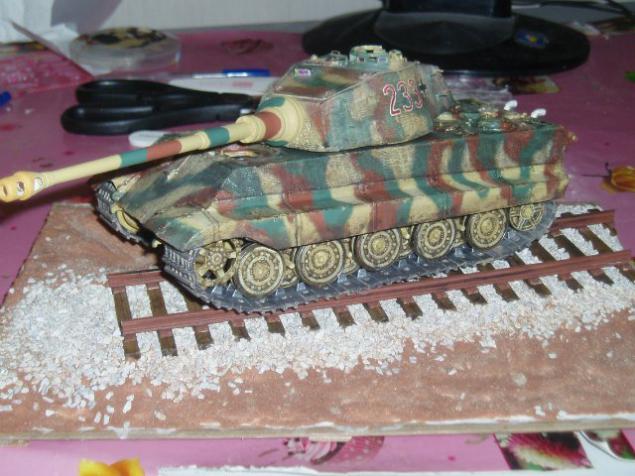
...
...
...
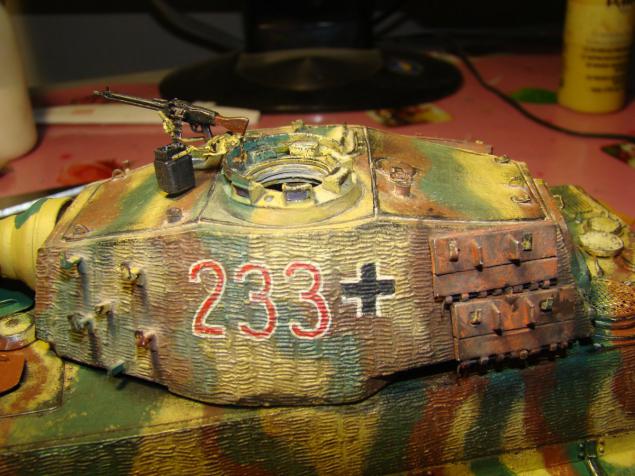
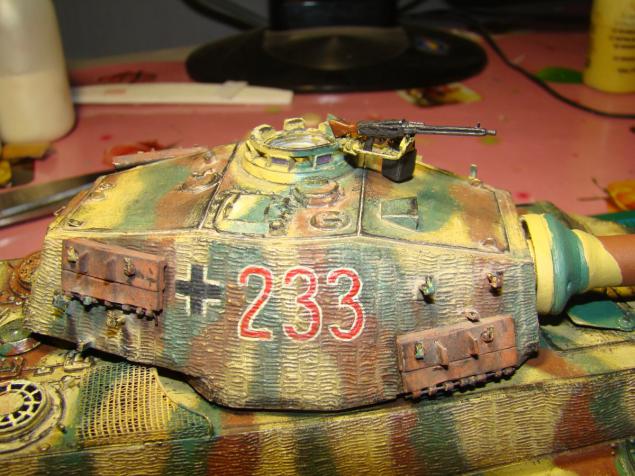
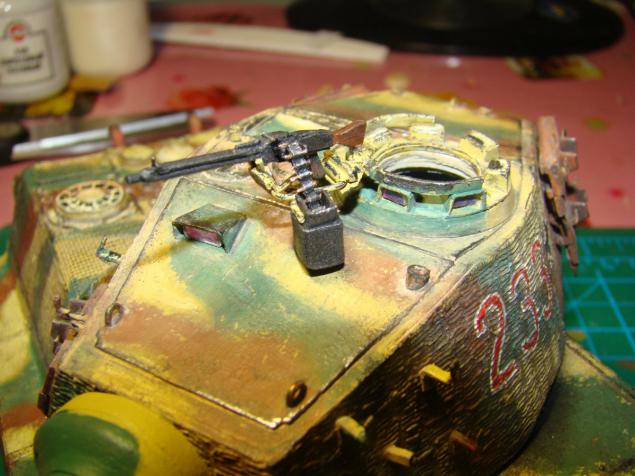
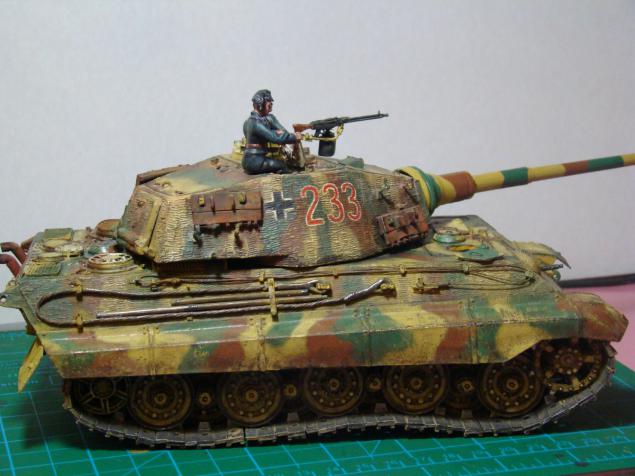
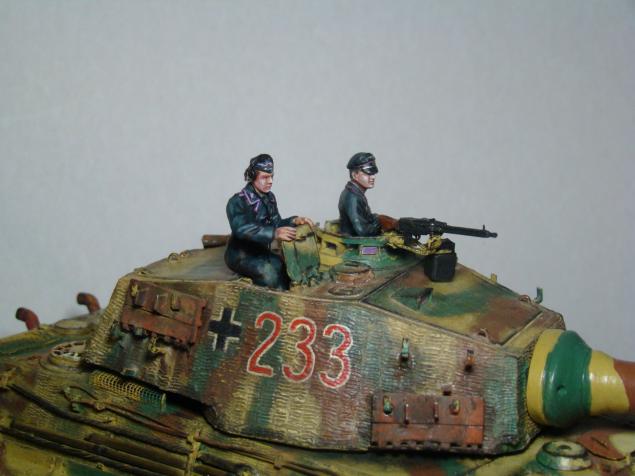
The tower began to "grow into" parts. Manufactured and installed a machine gun (of bamboo toothpicks, cardboard and wire). Hung spare truck. Few ottoniroval pastels and pigments.
...
...
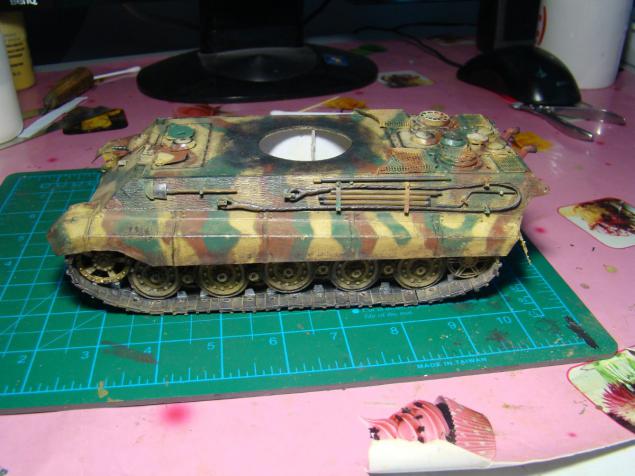
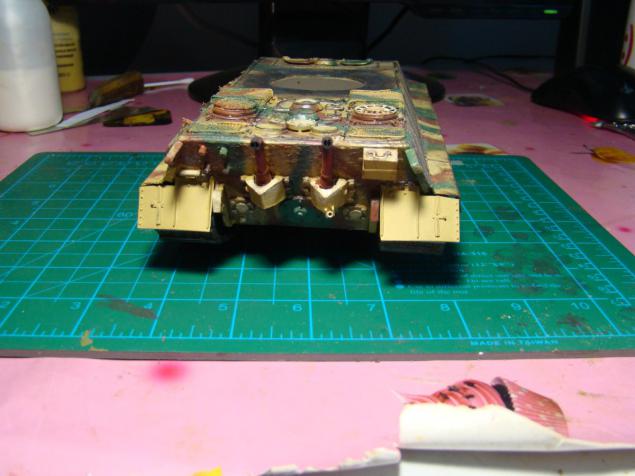
Small things began to stick to the body of the tank, rear wings pasted
...
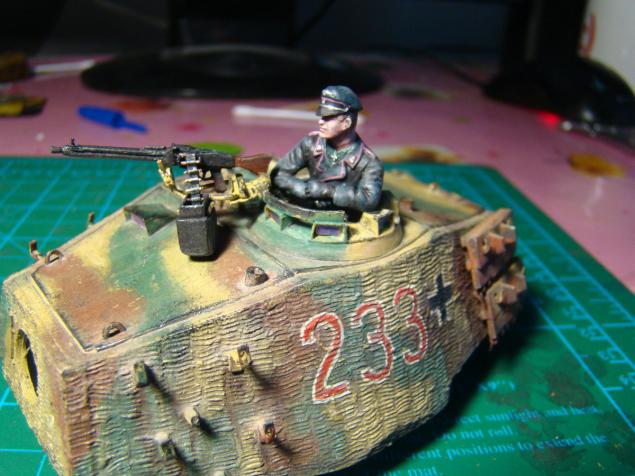
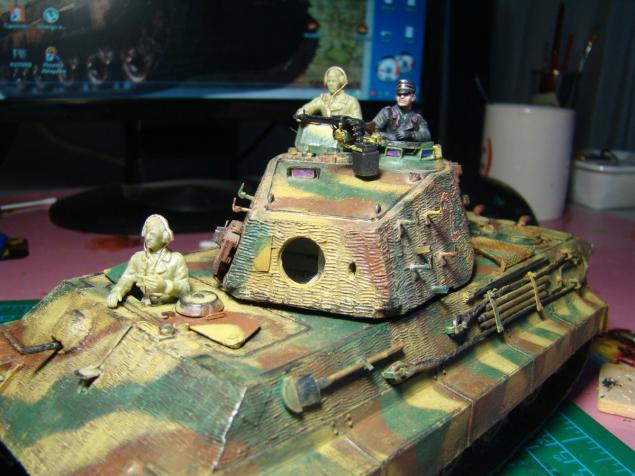
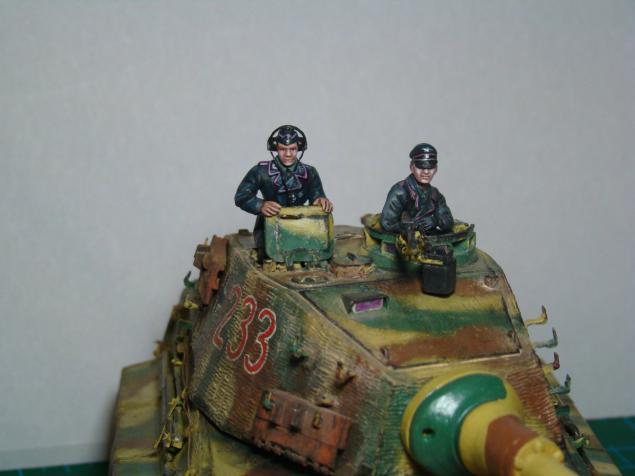
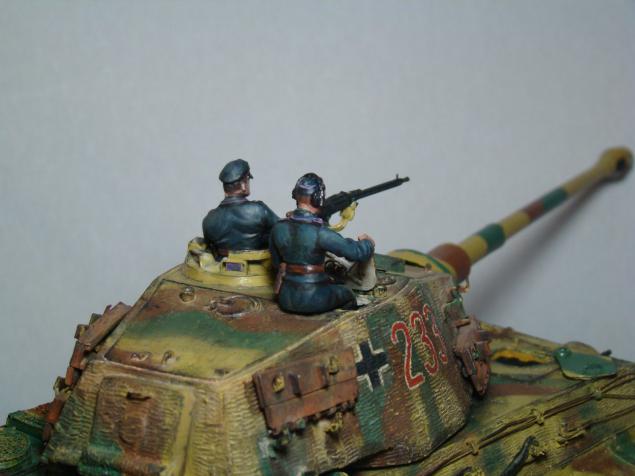
He began slowly to collect figurines crew
...
Two figures 1 and 3 had to redo much.
In the first picture of their initial posture
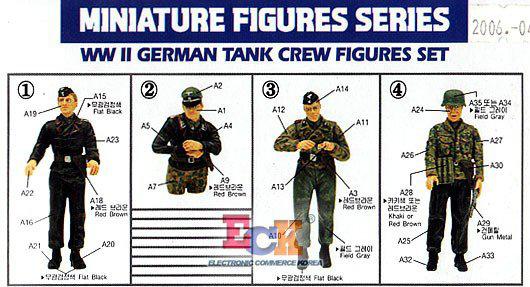
In figure 1 position changed hands and added a pair of binoculars. 2 figurines completely changed attitude on the sit-and changed the position of his hands. On the two figures added bow headphones and Provo
...
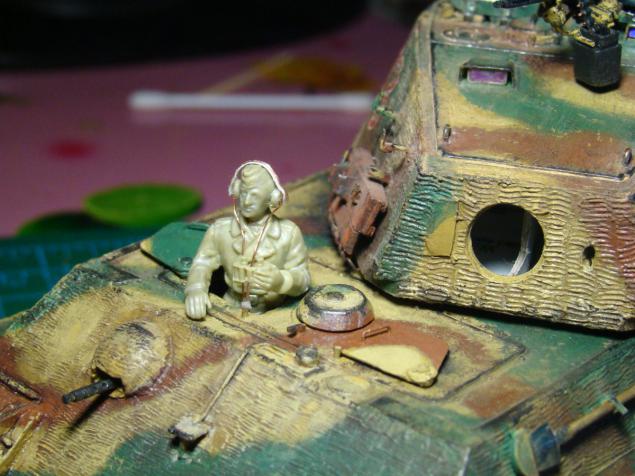
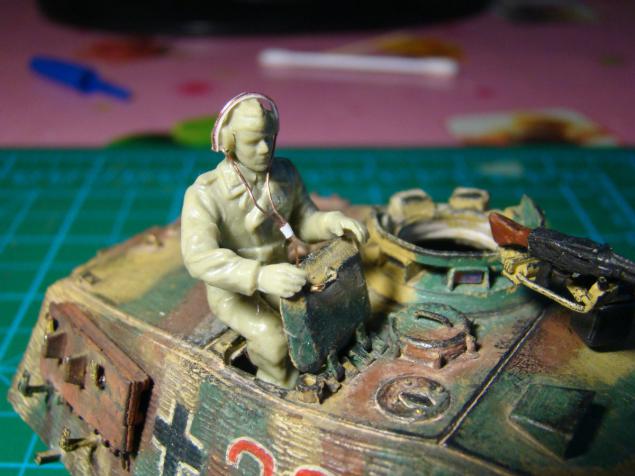
He painted the second tanker, and put him in the armor. Glued and potoniroval weighed on the left side. Thin wire imitated "whitecaps" cable attachment and Bannik.
...
...
...
...
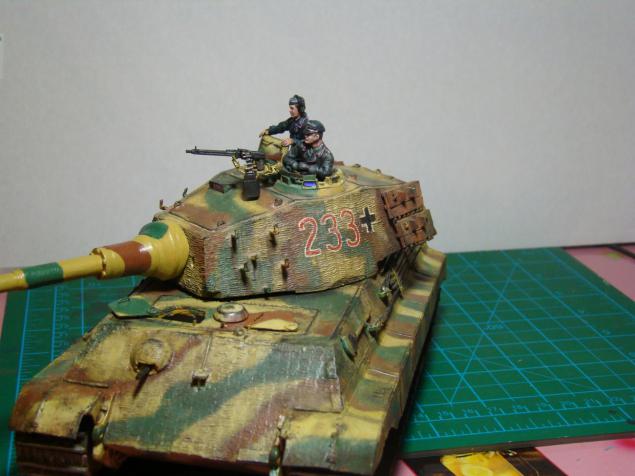
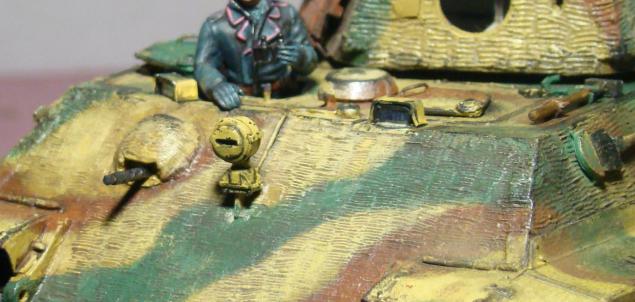
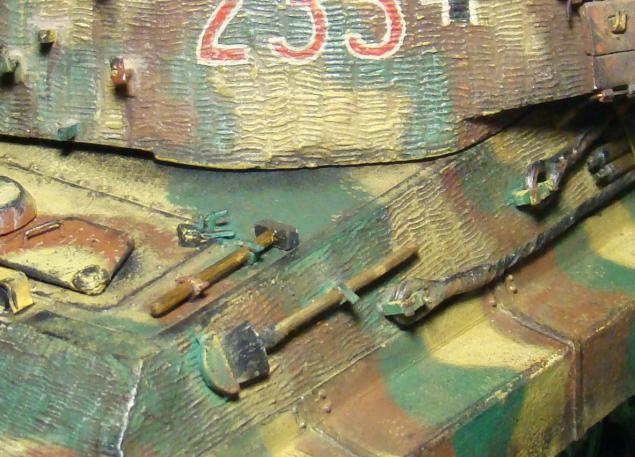
Assembling extends (slowly). Glued and installed lamp, colored arrow-radio operator, made tools and began to strengthen their armor. Glued mounting hooks and latches on the top hatches broneliste driver and radio operator, found periscopes. I will gradually move to the stern.
...
...
...
...
...
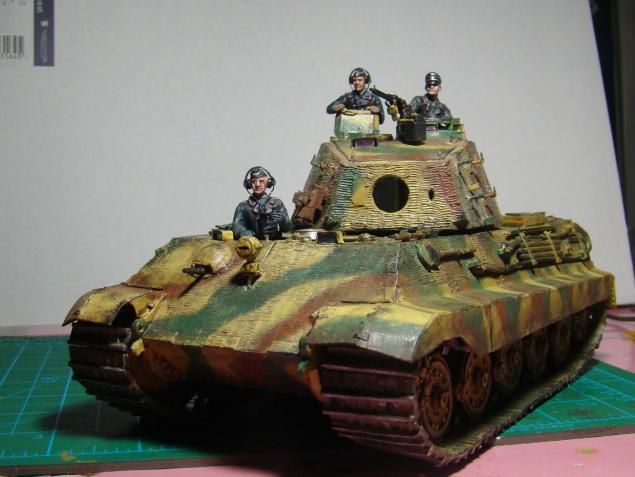
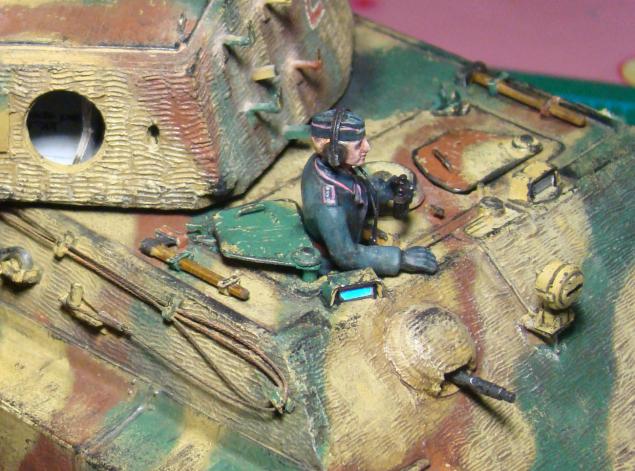
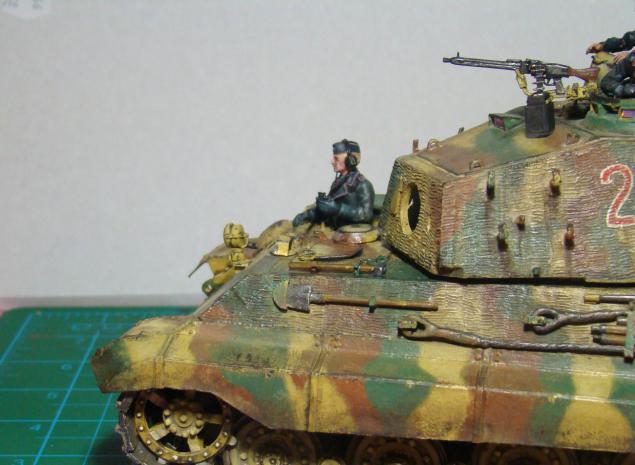
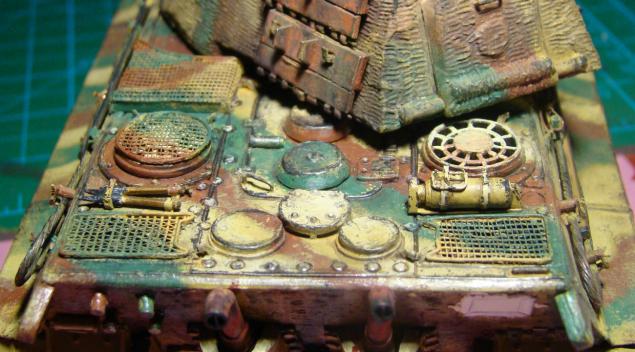
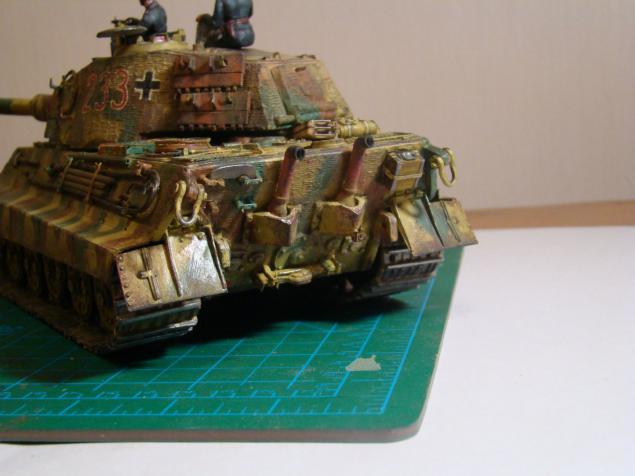
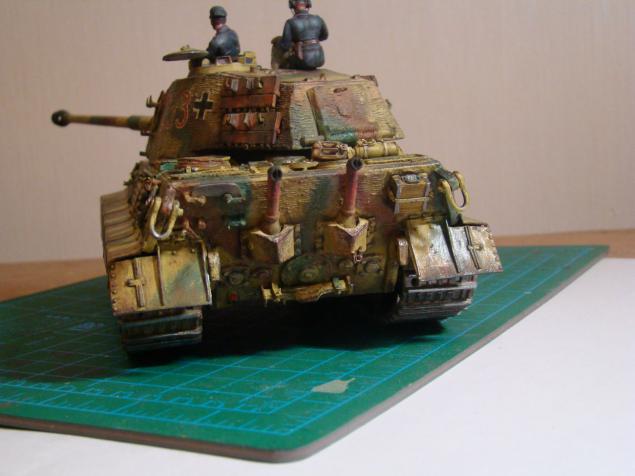
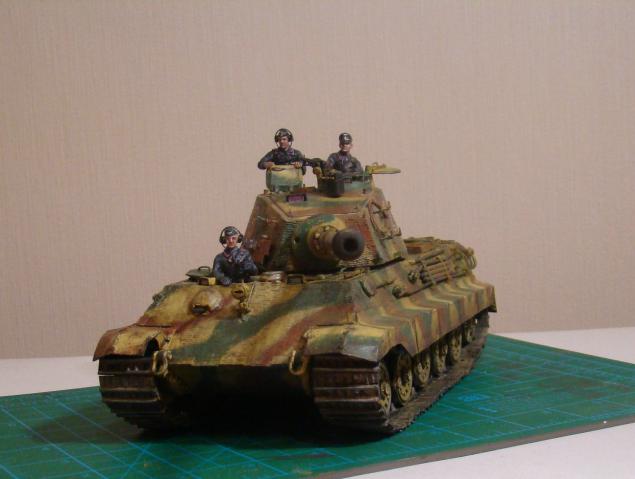
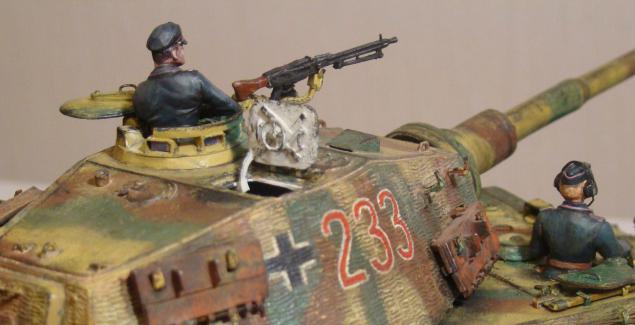
Ottoniroval and stuck the barrel guns, small things hung on the stern of the tank, said the cable on the tower made detailing the inside of the hatch cover, set the cover com towers added to the canister lid MO, stuck a machine gun bipod on the tower, set towing loops.
...
...
...
...
...
...
...
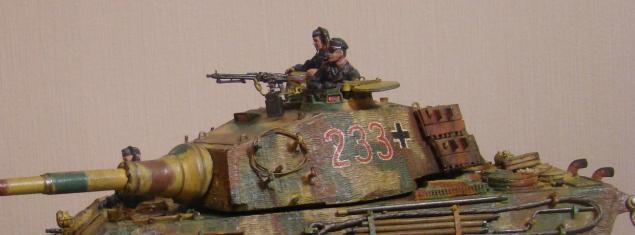
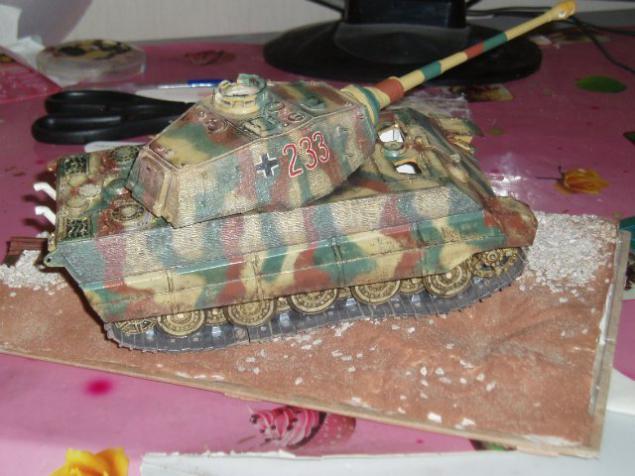
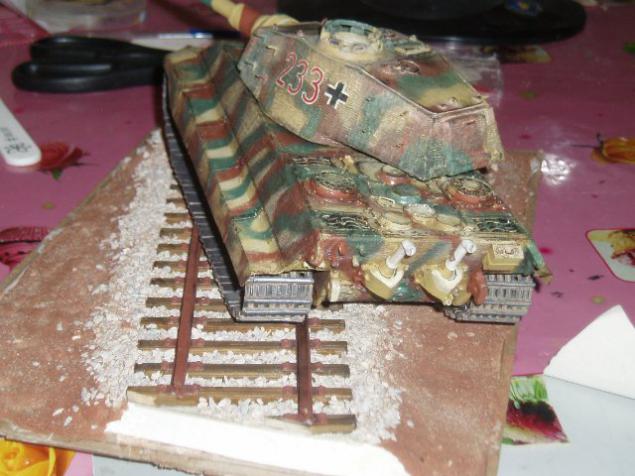
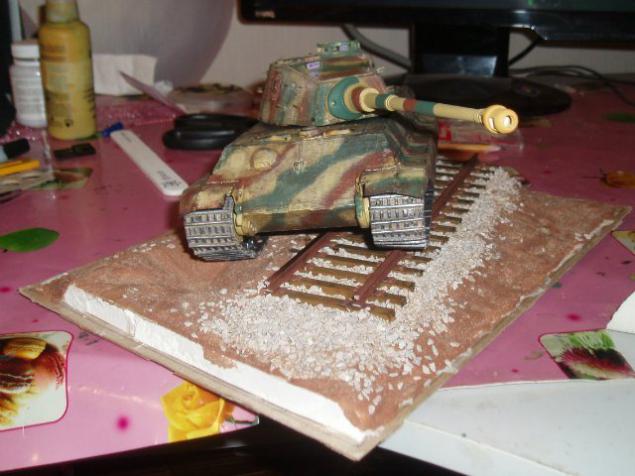
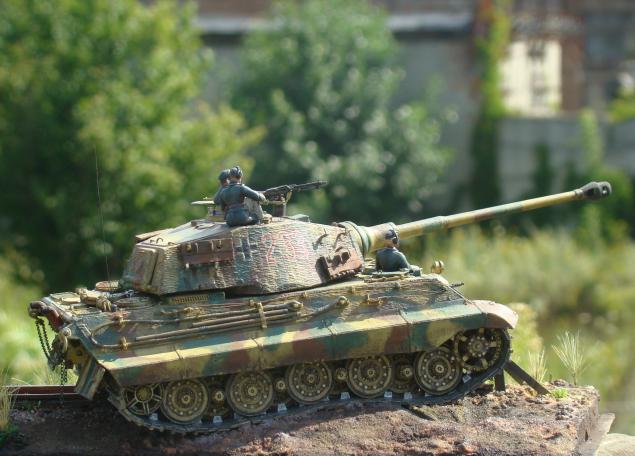
Diaramku finish and held a photo session.
via
ps. All the guys posted. You can kick.
pss. UV tired spread.
Source:
For a basis took a scan log MODELIK №23 / 2005
The author is not me! Taken from the network.

When printing patterns are reduced to 35-to-scale.
Patterns for cardboard printed on ofiske, the rest - on Whatman paper

The assembly began with the rollers. Used cardboard 1 and 0, 5 mm, bulonki

...

...

...

From cardboard 1, 5 mm glued body of the tank. Plastered with a mixture of PVA and building and finishing putty vyshkuril (model will be painted)

...

He started to do upper body armor plates, made opening hatches

Gluing the engine compartment lid. Finalize the grating, bolts and hinges

The case began to grow into the details

...

...

Developer showed jamb. Right rocker rollers sent back (right) and the left should be directed forward

...

...

will have to interrupt the holes in the board.
I did balancers. I decided to glue them from bamboo for reliability.

...

...

...

He collected guns. On the mask is also fixed jamb. Mask developer circular in cross-section, as in the original - an oval with the tide at gunpoint.

...

photos of the prototype having imposed

...

this is gradually born

...

...

...

Balancers rearranged a little blood (hooray!) - Add one hole

Apply Zimmer desire to eat, but the model can lose the appearance and contours, coupled with camouflage. I tried to do imtatsiyu tsimmeritom on a piece of cardboard its putty - came out pretty good. I will be a smooth, uncoated, although ...
Still dare! Zimmer!

...

...

...

Continuation of
Glued wings and fine detailing

...

...

Did mesh grilles MTO

Painted body in the "base»

...

...

Work continues on the sly.
Gluing tower and struck Zimmer

...

...

...

...

I did hatches and tried together

...

...

Found that the base paint color different from RAL 7028. Produced color correction and repainting housing

...

Paste optics and completed tower

...

...

...

...

...

Examples to the body

...

...

Zimmer gets in here this tool

...

Glued and painted rollers and idlers. The design had to seriously modify sloths, so like the original

...

...

COMBINE drive wheel

...

Sobral segment of the track and figured the wheel

...

...

Primed and glued caterpillar (hooray!)

I began to prepare dioramku ...
To start shpazhek of bamboo, cardboard and stones collected for the aquarium section w d path (on the idea)

Paid a camouflage pattern. The basis of this option took

...

...

Did tinted tower

...

Color and potoniroval body and harp

...

...

glued

...

...

...

The tower began to "grow into" parts. Manufactured and installed a machine gun (of bamboo toothpicks, cardboard and wire). Hung spare truck. Few ottoniroval pastels and pigments.

...

...

Small things began to stick to the body of the tank, rear wings pasted

...

He began slowly to collect figurines crew

...

Two figures 1 and 3 had to redo much.
In the first picture of their initial posture

In figure 1 position changed hands and added a pair of binoculars. 2 figurines completely changed attitude on the sit-and changed the position of his hands. On the two figures added bow headphones and Provo

...

He painted the second tanker, and put him in the armor. Glued and potoniroval weighed on the left side. Thin wire imitated "whitecaps" cable attachment and Bannik.

...

...

...

...

Assembling extends (slowly). Glued and installed lamp, colored arrow-radio operator, made tools and began to strengthen their armor. Glued mounting hooks and latches on the top hatches broneliste driver and radio operator, found periscopes. I will gradually move to the stern.

...

...

...

...

...

Ottoniroval and stuck the barrel guns, small things hung on the stern of the tank, said the cable on the tower made detailing the inside of the hatch cover, set the cover com towers added to the canister lid MO, stuck a machine gun bipod on the tower, set towing loops.

...

...

...

...

...

...

...

Diaramku finish and held a photo session.

via
ps. All the guys posted. You can kick.
pss. UV tired spread.

Source:
