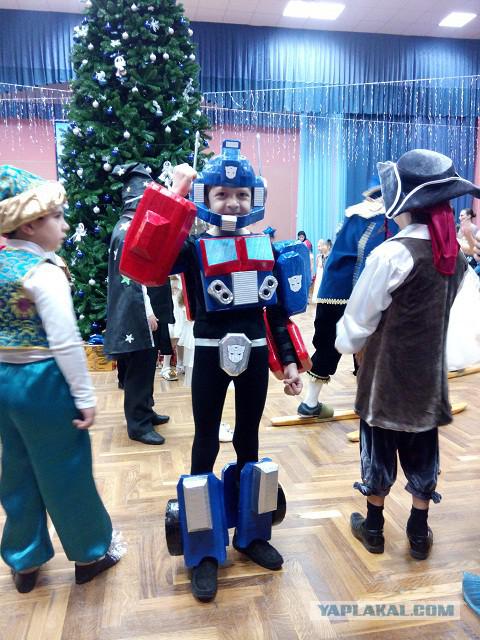
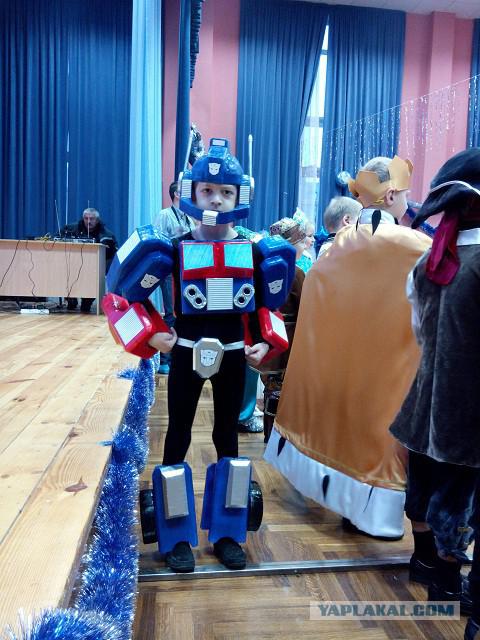
998
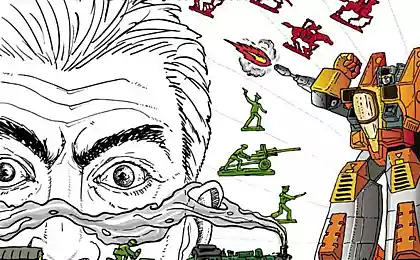
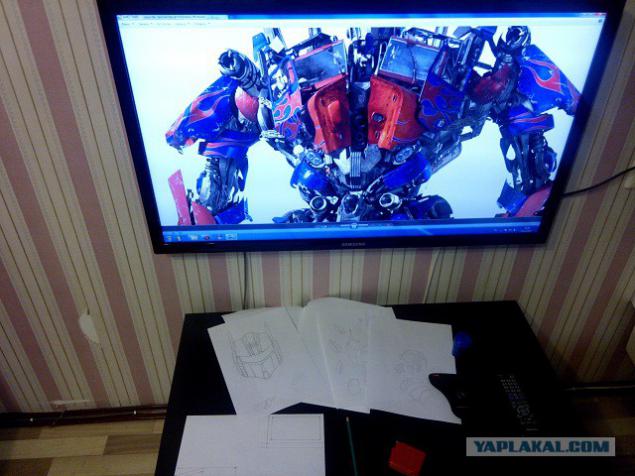
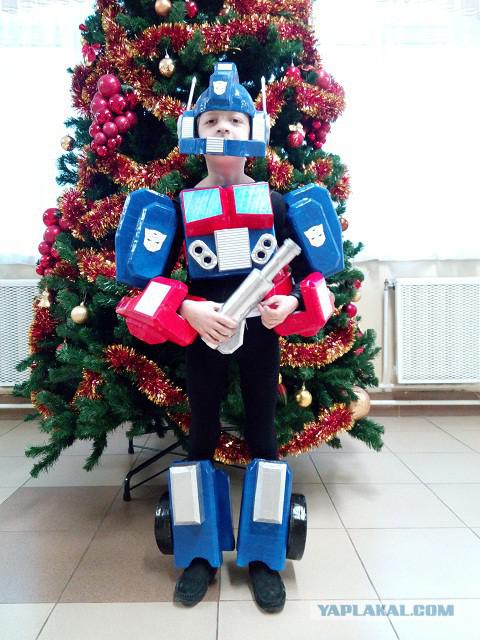
Transformer costume on Christmas tree
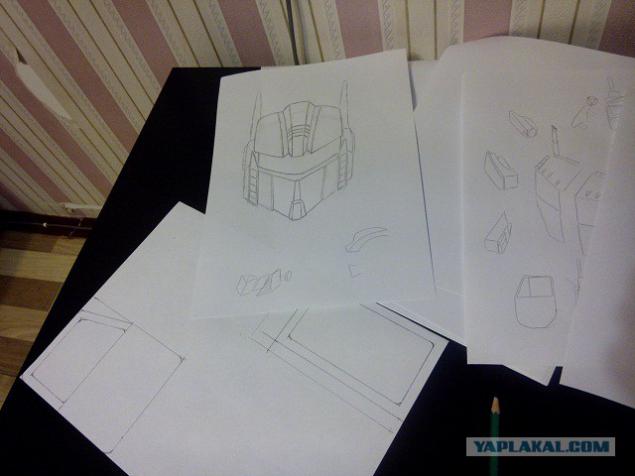
Asked me once son to make him a suit of a superhero. Long did not think - Optimus quite suitable hero. And like his son, and looks quite decent. And here can be very useful Christmas tree at the school emerged. In general decided! In the new year will be the son of Optimus!
50 photos will be.

2. Replica nobody was going to do. Firstly, too difficult, and secondly, a lot of small details that will definitely cut off friends in the first few minutes. It's boys, he was so ...
3. In this appearance of the robot had much to approximate the sake of practicality.
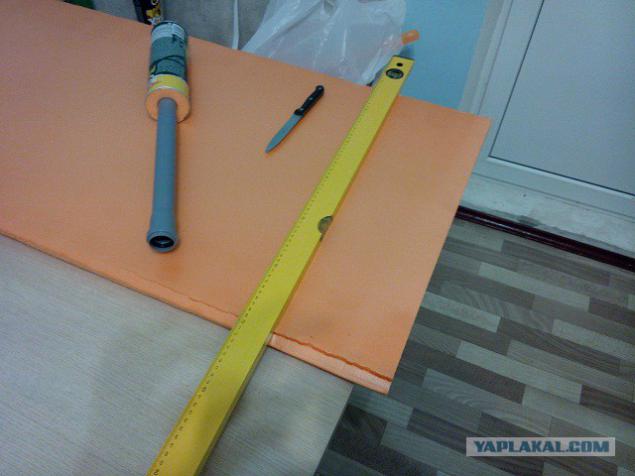
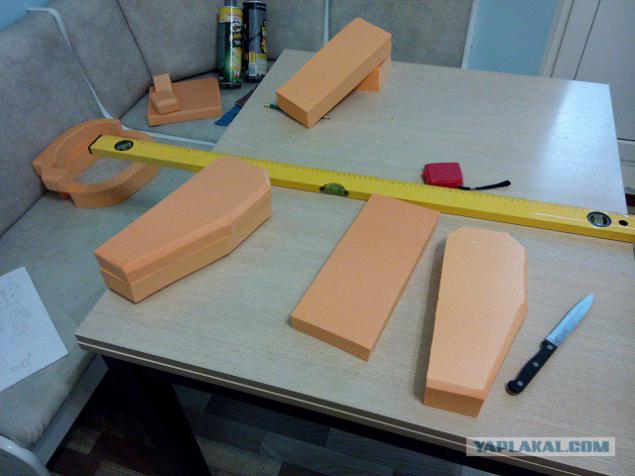
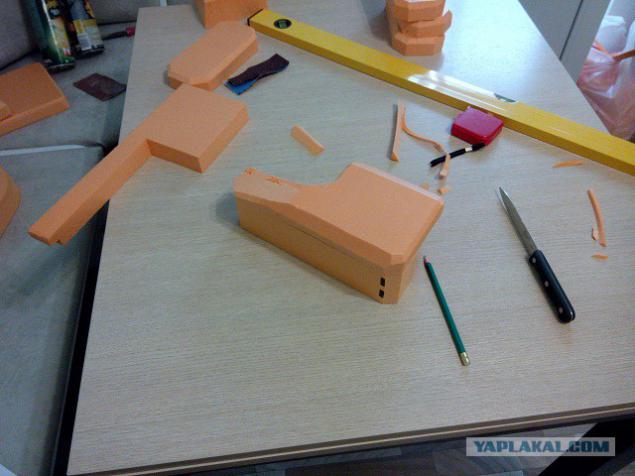
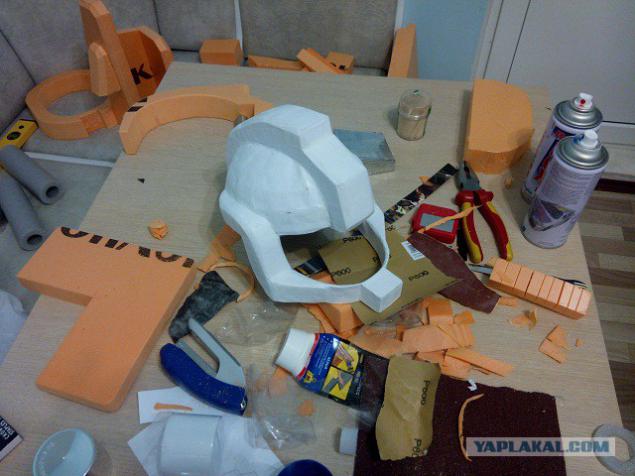
4. As the main material has been selected penoplex. Very light and quite durable material. He was well handled knife and simple at the same time the process of working with him is not dusty.
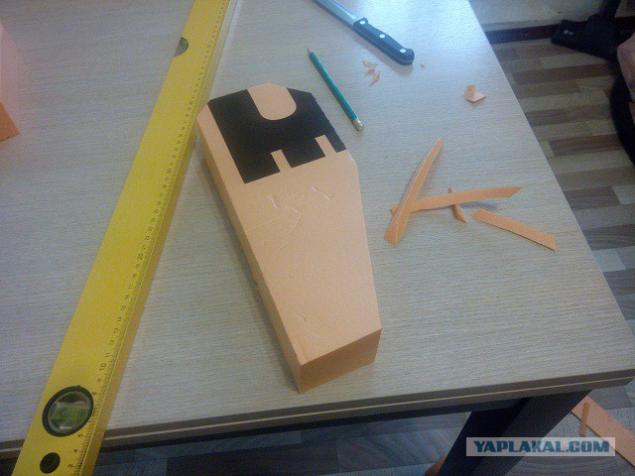
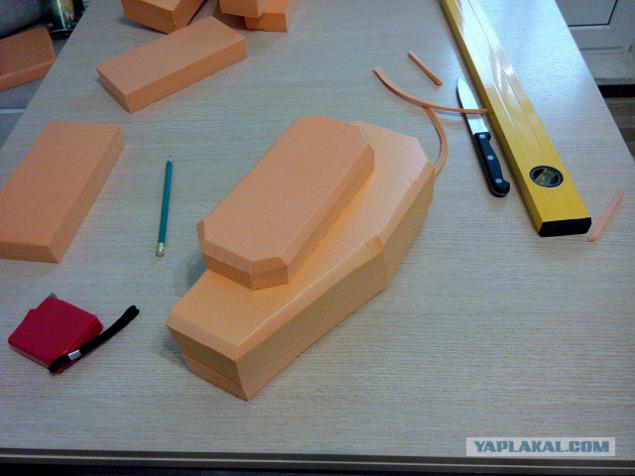
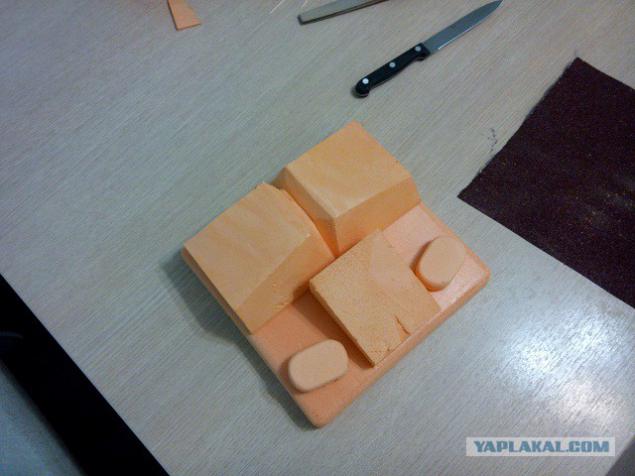
5. Make a hand. Knife easily and simply cut out parts of Penoplex.
6.
7.
8.
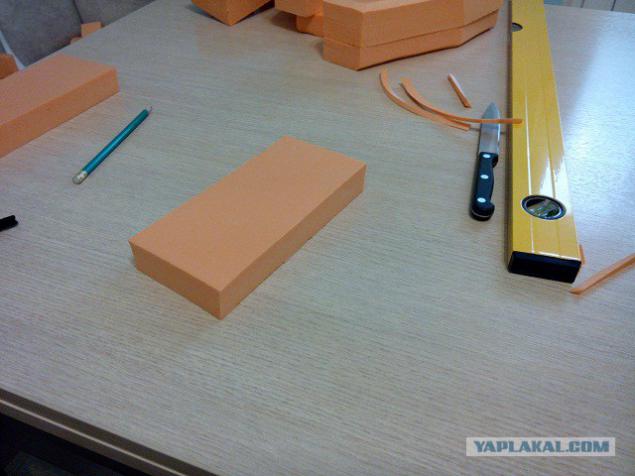
9.
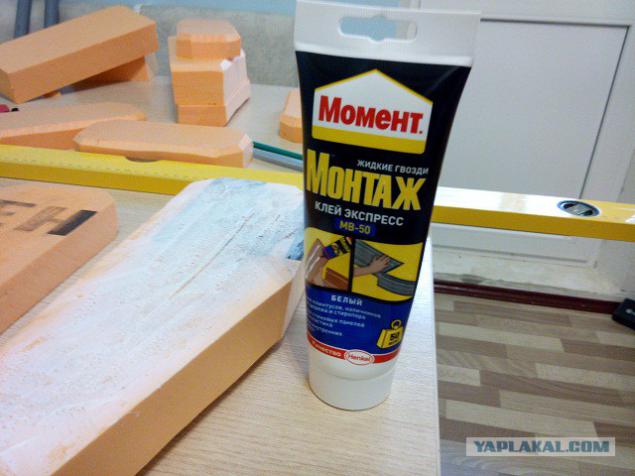
10. For the bonding surfaces must be well sanded, what would have been the glue that hold for.
11. Use a glue here.
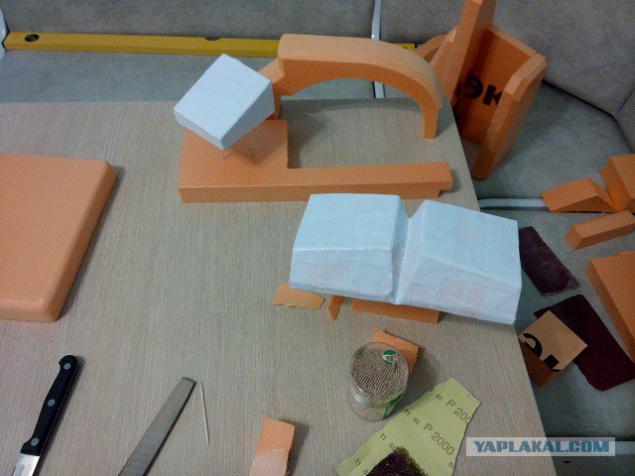
12. So it turns out the upper part of the arm.
13. And now and both sides are ready.
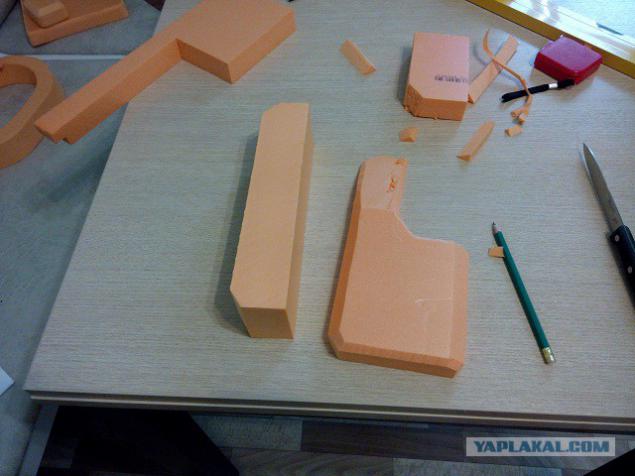
14. Make the lower part of the arm.
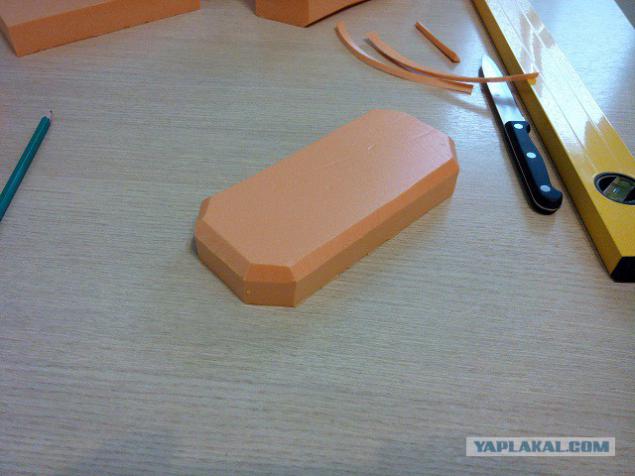
15.
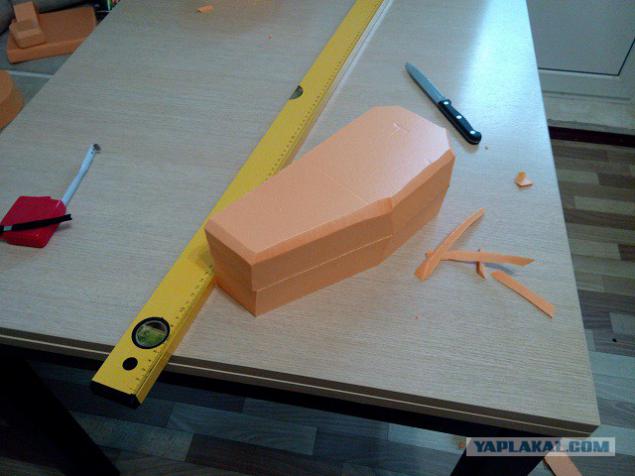
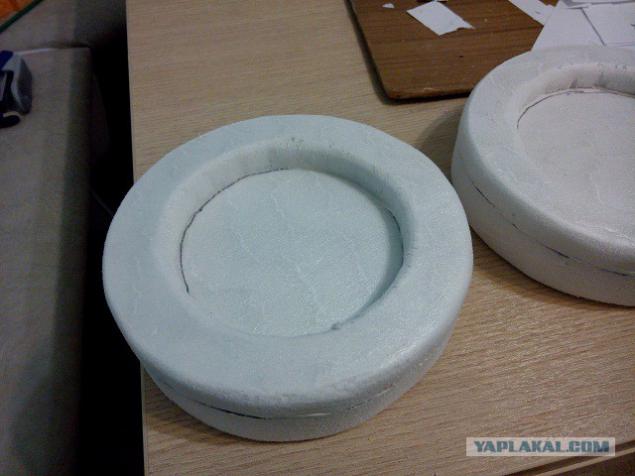
16.
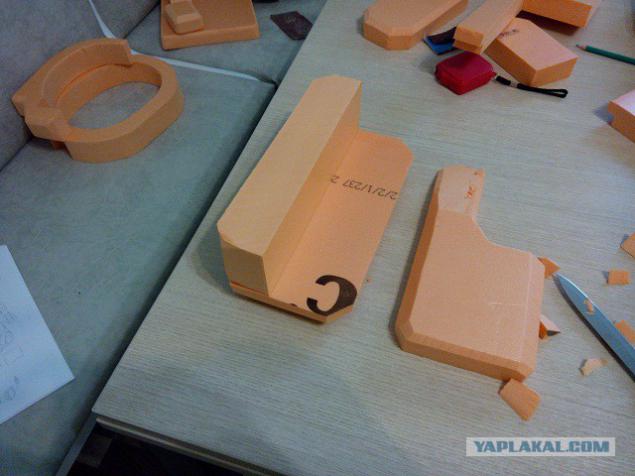
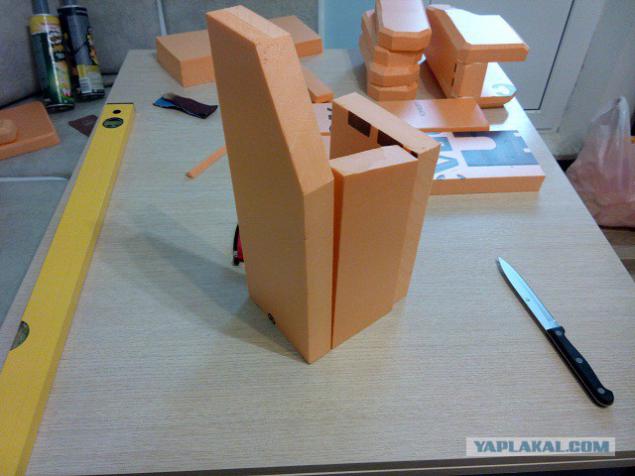
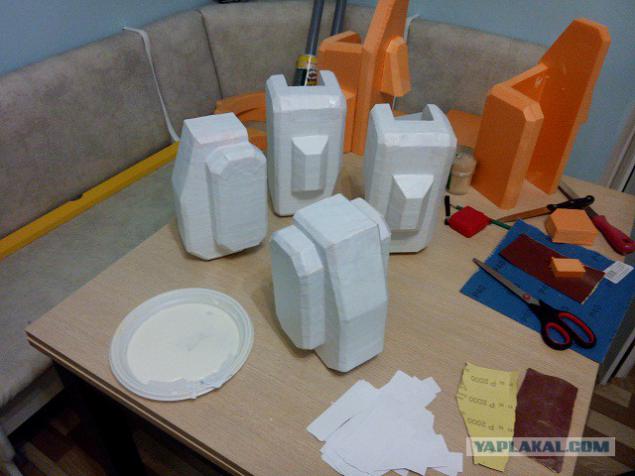
17. The result was such detail here.

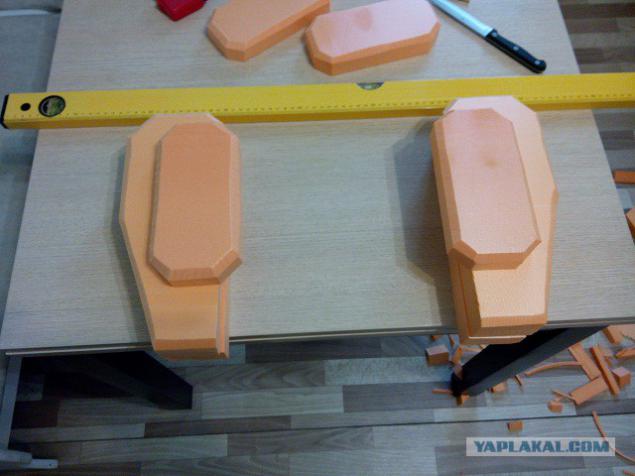
18. Leg.
19.
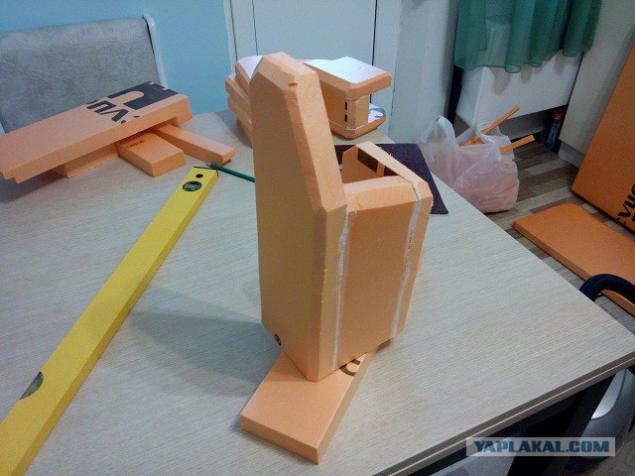
20. The result had been here a set of "armor."

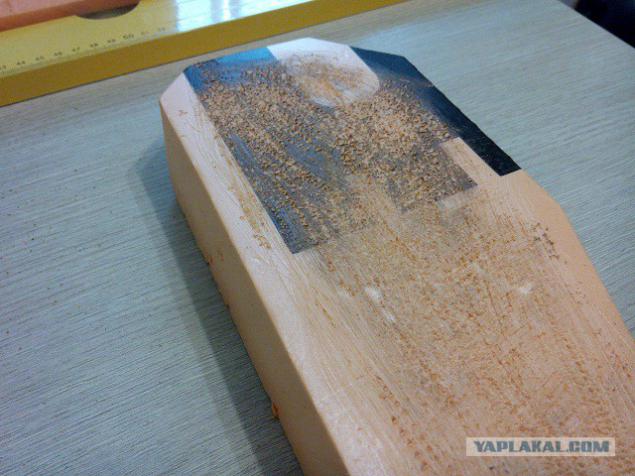
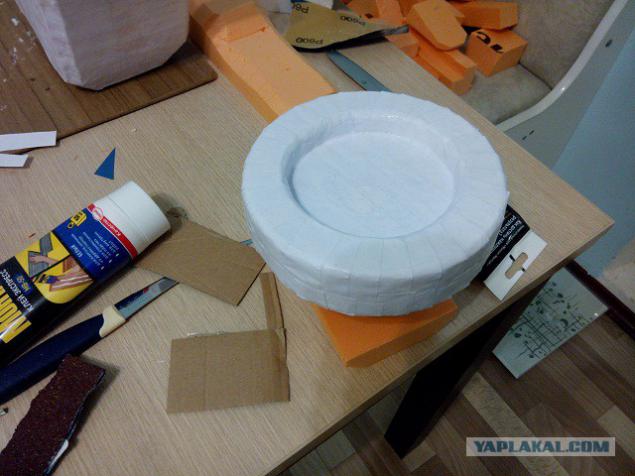
21. Now the saddest moment. Penoplex very moody stuff. It just will not be painted. Paint it corrodes. Can be covered with a water-based primer, but I have this on hand was not. That's why I decided to paste over all the details of the paper with PVA. In principle, it would be good with epoxy and fiberglass, but there was no time to mess around for so long. In the end - it's just a costume for the new year, rather than combat robot.
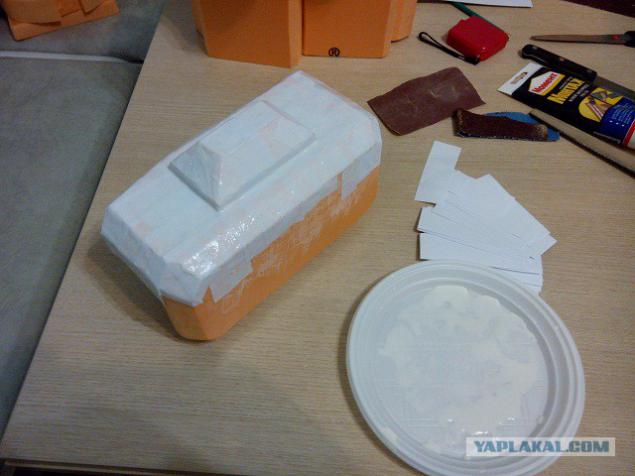
22. Here's what happened after pasting.
23. Make a "cabin".
24. Just papered and details of the cabin.
25.

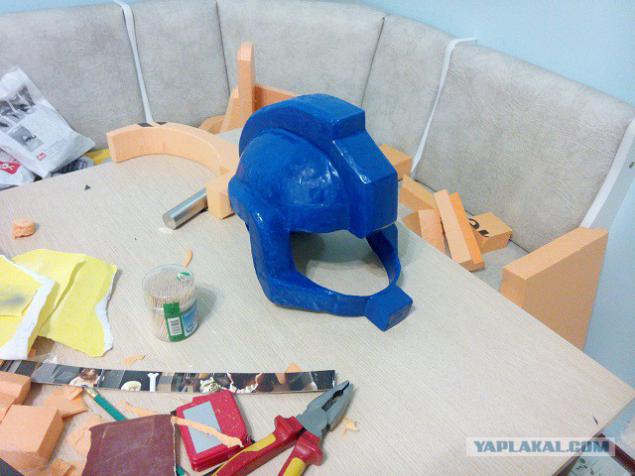
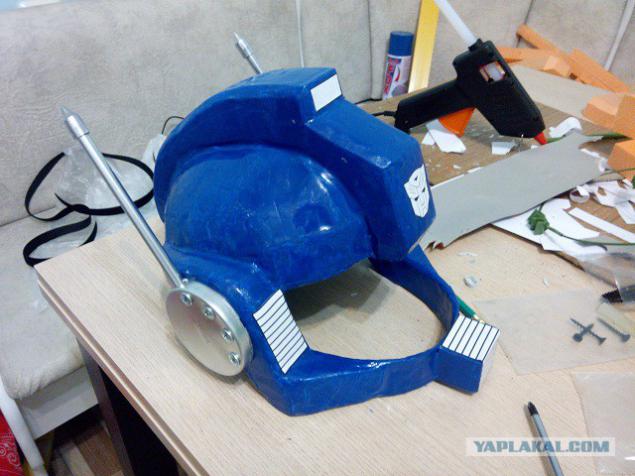
26. Now helmet. The hardest thing was to figure out how to take your measurements with his son's head. After all, the helmet must be worn easily and thus sit firmly. Solved the problem simply. Cut into strips of cardboard and made a mock of them right on the head of the child. Very easy and very accurate way is.
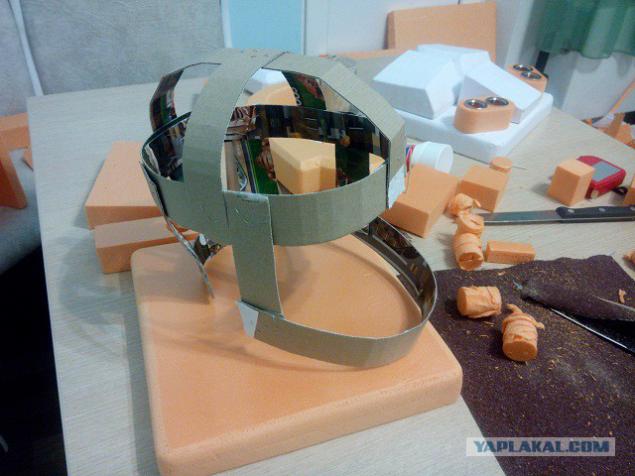
27. reinforces the helmet for structural strength. Cardboard countersigned conventional stapler.
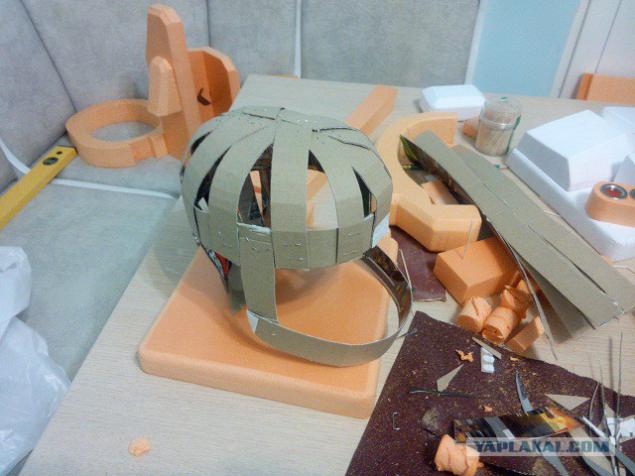
28. Adding Penoplex.
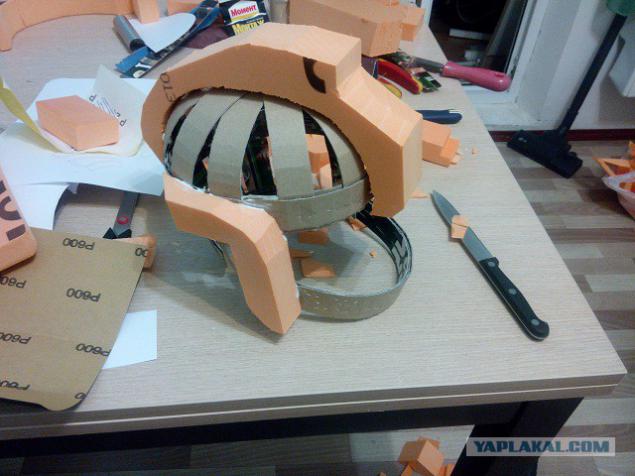
29. We clean, rounded and ennoble.
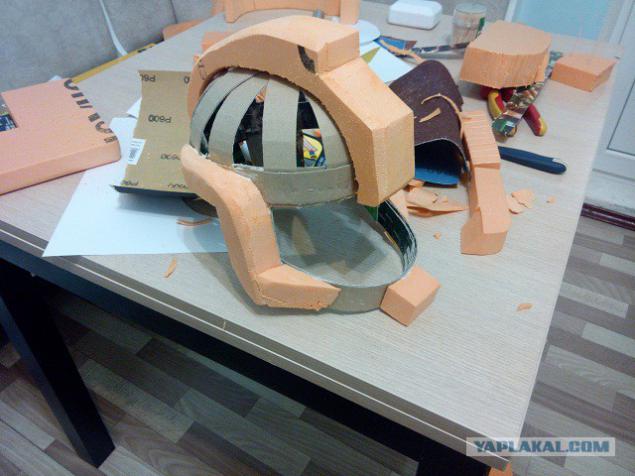
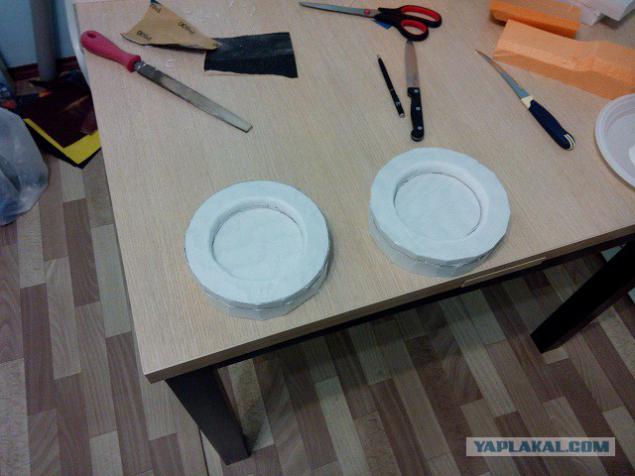
30. And just like all the other parts are pasted over with paper.
31. This spin.
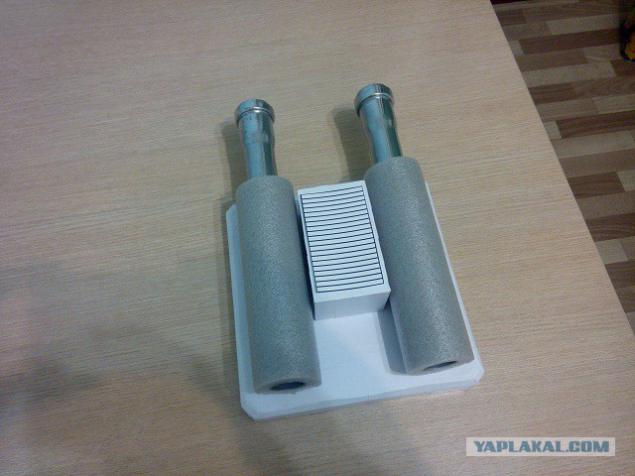
32. Making the wheel.
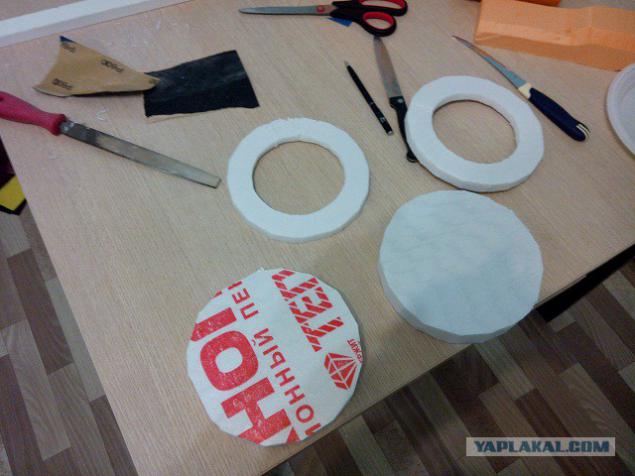
33.
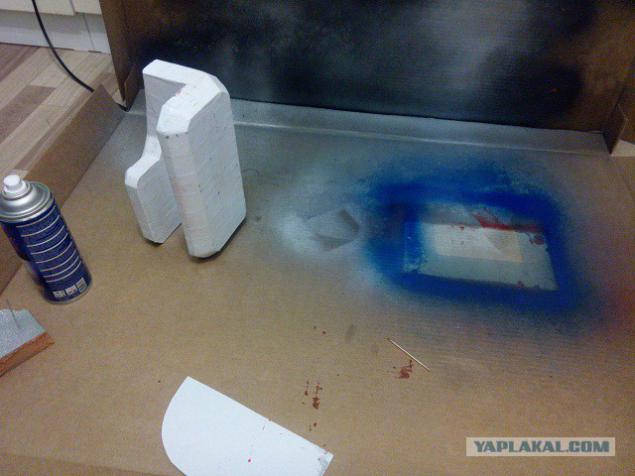
34. We clean ...
35. papered.
36. Paint. Used acrylic paint in aerosol spray. Dries quickly, allowing you to apply multiple layers without waiting for the complete drying.
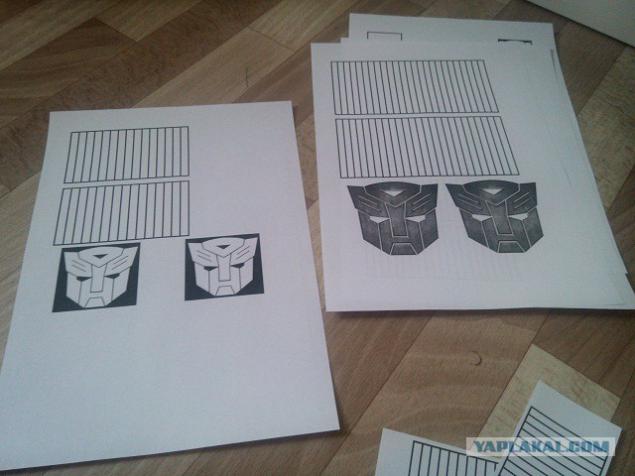
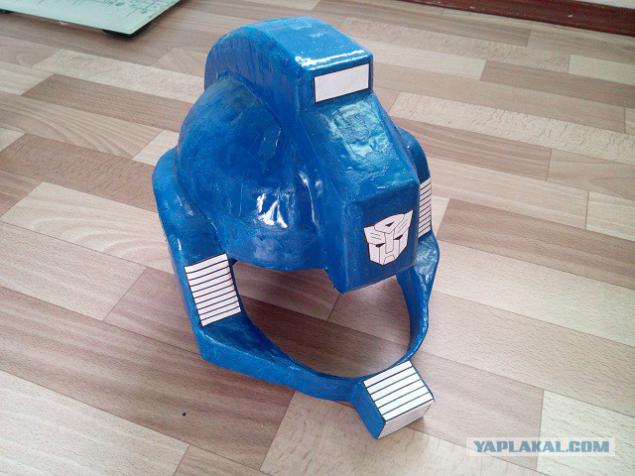
37.
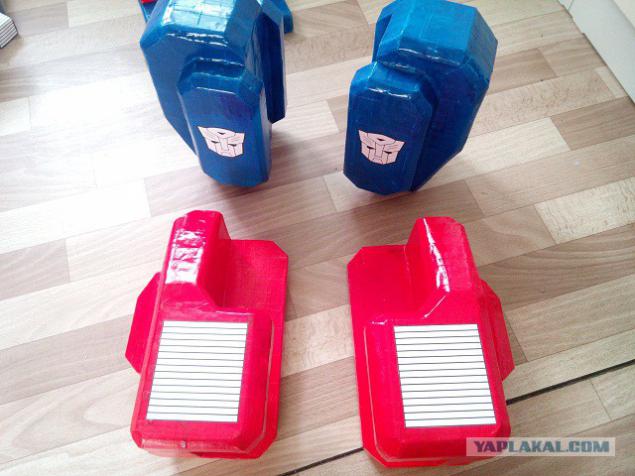
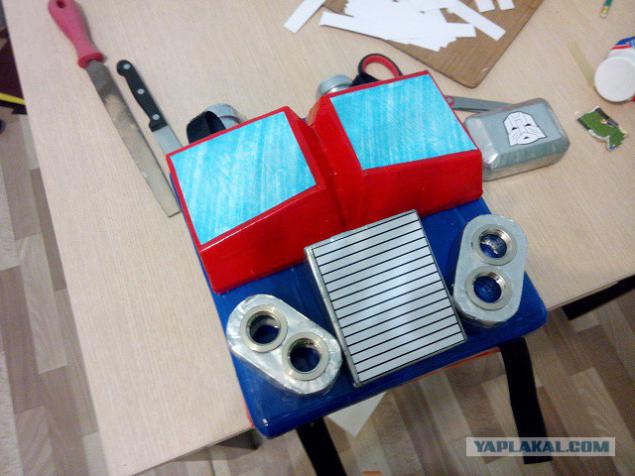
38.
39. print to the printer sorts logos and other crap.
40. and paste it all on our "armor."
41.
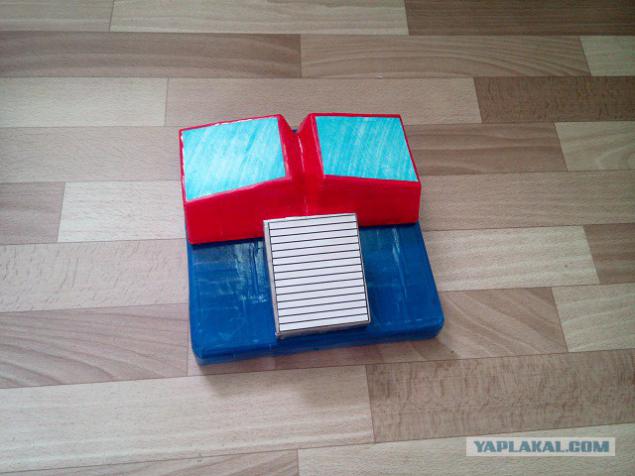
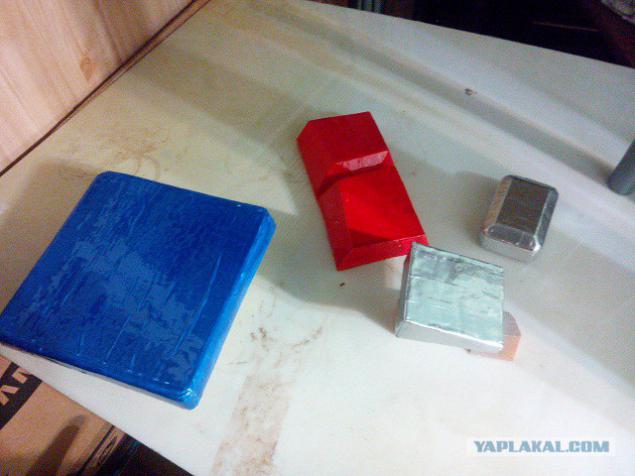
42.
43.
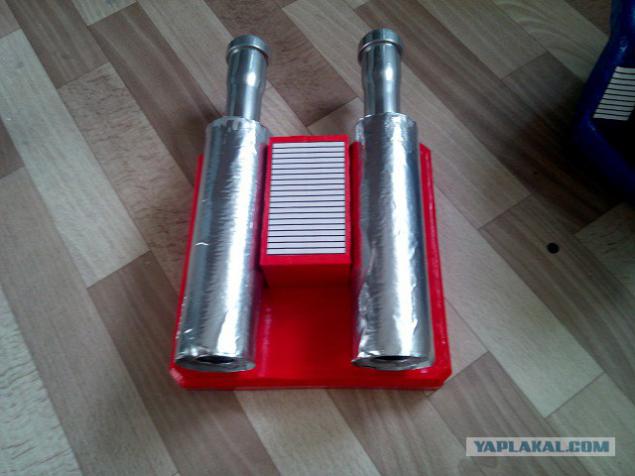
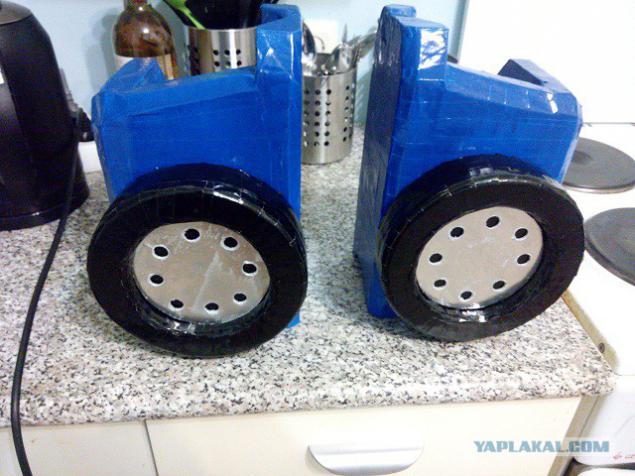
44. Adding decorative details such as headlights.
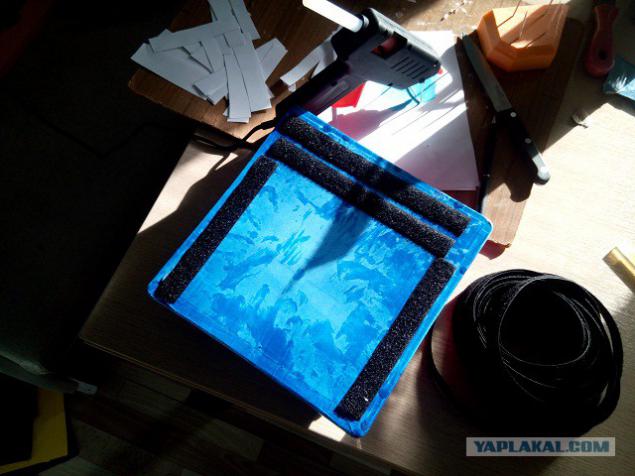
45. Antennas on the helmet.
46. Chrome wheels.
47. All of this harness is attached with Velcro, planted on the hot melt adhesive.
48. As a result, the Christmas tree was a natural son of a highlight.
49. I liked both children and teachers, and parents.
50. But the main thing - like my son! He did not want to shoot him!
As a result, I can say that the costume of a material to be very light and strong. One would confuse the account over a flat surface, use a putty. But I did not do that. Time is running out, afraid not enough. Believe me, when the "transformer" in motion - it looks ten times better than in the pictures. I have everything. All fathers and sons HAPPY! Well, mothers with daughters of course!
Source:
50 photos will be.

2. Replica nobody was going to do. Firstly, too difficult, and secondly, a lot of small details that will definitely cut off friends in the first few minutes. It's boys, he was so ...

3. In this appearance of the robot had much to approximate the sake of practicality.

4. As the main material has been selected penoplex. Very light and quite durable material. He was well handled knife and simple at the same time the process of working with him is not dusty.

5. Make a hand. Knife easily and simply cut out parts of Penoplex.

6.

7.

8.

9.

10. For the bonding surfaces must be well sanded, what would have been the glue that hold for.

11. Use a glue here.

12. So it turns out the upper part of the arm.

13. And now and both sides are ready.

14. Make the lower part of the arm.

15.

16.

17. The result was such detail here.

18. Leg.

19.

20. The result had been here a set of "armor."

21. Now the saddest moment. Penoplex very moody stuff. It just will not be painted. Paint it corrodes. Can be covered with a water-based primer, but I have this on hand was not. That's why I decided to paste over all the details of the paper with PVA. In principle, it would be good with epoxy and fiberglass, but there was no time to mess around for so long. In the end - it's just a costume for the new year, rather than combat robot.

22. Here's what happened after pasting.

23. Make a "cabin".

24. Just papered and details of the cabin.

25.

26. Now helmet. The hardest thing was to figure out how to take your measurements with his son's head. After all, the helmet must be worn easily and thus sit firmly. Solved the problem simply. Cut into strips of cardboard and made a mock of them right on the head of the child. Very easy and very accurate way is.

27. reinforces the helmet for structural strength. Cardboard countersigned conventional stapler.

28. Adding Penoplex.

29. We clean, rounded and ennoble.

30. And just like all the other parts are pasted over with paper.

31. This spin.

32. Making the wheel.

33.

34. We clean ...

35. papered.

36. Paint. Used acrylic paint in aerosol spray. Dries quickly, allowing you to apply multiple layers without waiting for the complete drying.

37.

38.

39. print to the printer sorts logos and other crap.

40. and paste it all on our "armor."

41.

42.

43.

44. Adding decorative details such as headlights.

45. Antennas on the helmet.

46. Chrome wheels.

47. All of this harness is attached with Velcro, planted on the hot melt adhesive.

48. As a result, the Christmas tree was a natural son of a highlight.

49. I liked both children and teachers, and parents.

50. But the main thing - like my son! He did not want to shoot him!
As a result, I can say that the costume of a material to be very light and strong. One would confuse the account over a flat surface, use a putty. But I did not do that. Time is running out, afraid not enough. Believe me, when the "transformer" in motion - it looks ten times better than in the pictures. I have everything. All fathers and sons HAPPY! Well, mothers with daughters of course!

Source: