117
What can make of Pavloposad scarf seamstress
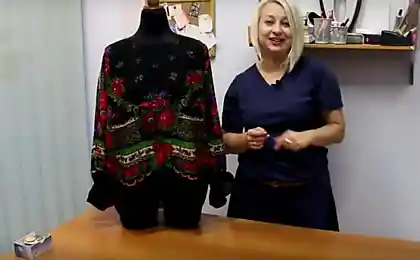
Pavloposad handkerchief - A real springboard for creativity! Many world designers, inspired by this element of clothing, created entire collections in the Russian style. They have an unforgettable color, brightness and originality. Today, our editorial staff will share with their favorite readers the secret of creating an elegant blouses.
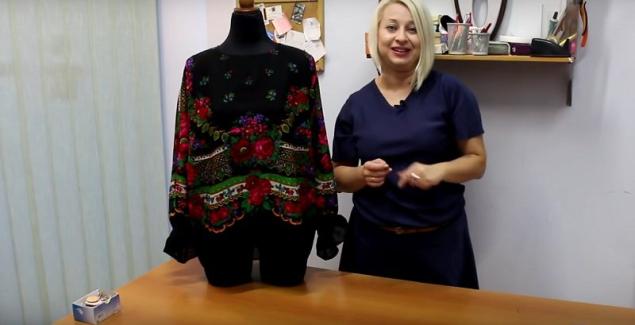
You'll need your own blouse.
Progress of work
See in this video how to properly cut out the sleeves and connect them to the base of the blouse.
about:blank
If you like this stylish idea for updating your wardrobe, share the article with your friends!

You'll need your own blouse.
- handkerchief
- thread
- sewer
- ribbon
- centimeter
- chalk
- lineage
- shears
Progress of work
- Bend the handkerchief in half and measure 70 centimeters in the fold. Also make a release of 1 cm and mark it on the fabric with tailor chalk. Spend chalk 2 horizontal strips: one along the line of admission and another one centimeter lower.
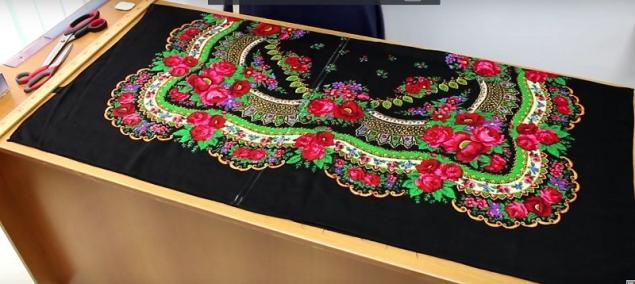
- On the line of admission, cut off part of the Pavloposad scarf.
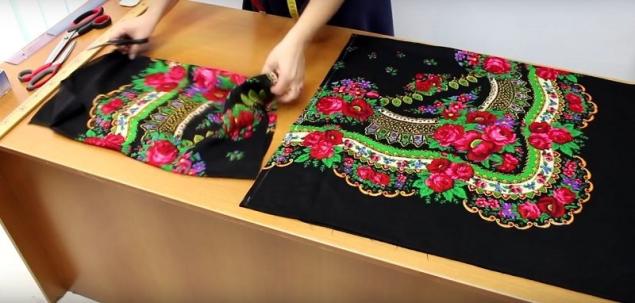
- To determine where the sleeve of the future blouse will be inserted, divide the width of the scarf in half. Make appropriate marks on the fabric and draw a horizontal line using chalk.
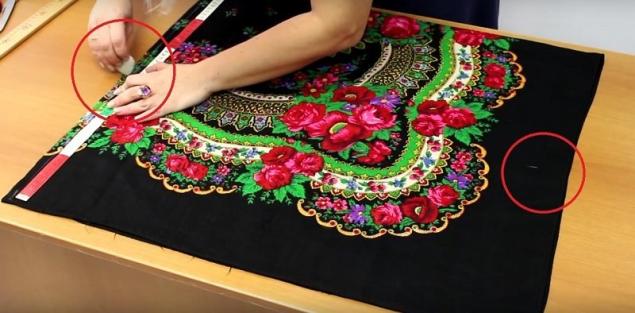
- To form the line of the opening, retreat down from the extreme point of 25 cm. Then divide this area into 3 equal parts and put the appropriate marks, as shown in the photo.
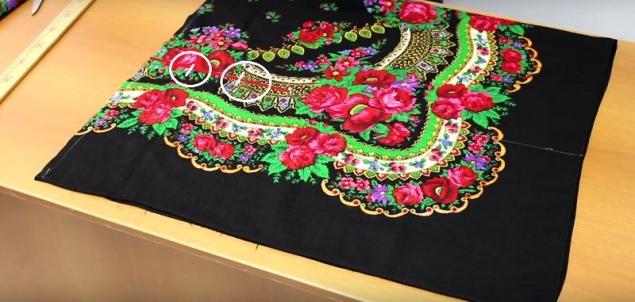
- To form the neck, it is enough to retreat from the bend down 7 cm and 12 cm to the left. Connect these points with a smooth line, do not forget to make a release of 0.5 cm.
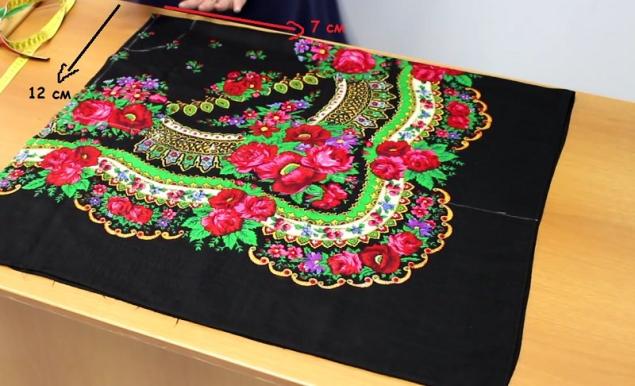
- Form a neckline on your back. To do this, move away from the opposite edge of the fabric 12 cm to the right and 3 cm down. Connect these points with a smooth line.
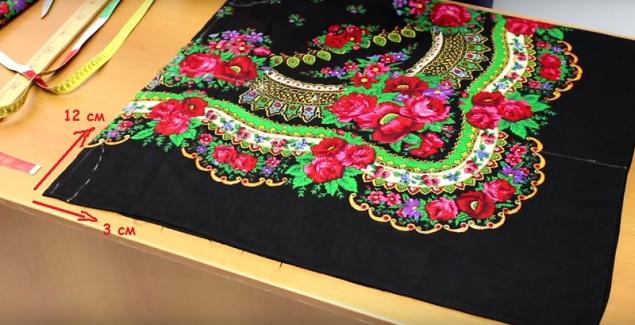
- Step 2 cm down from the place indicated in the photo, and make a mark on the fabric. Then connect the upper point of the neck on the back with this mark and the upper point of the neck of the shelf.
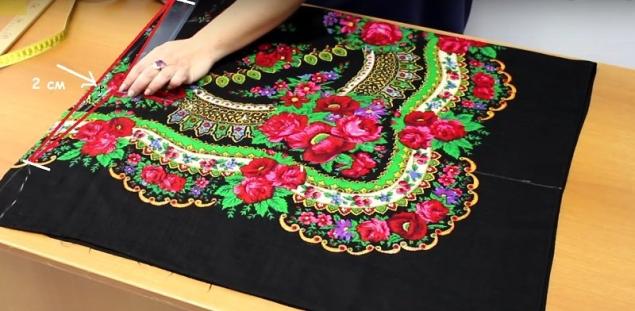
- Step 2 cm to the right and left of the points indicated in the photo. Then connect them with a smooth line.
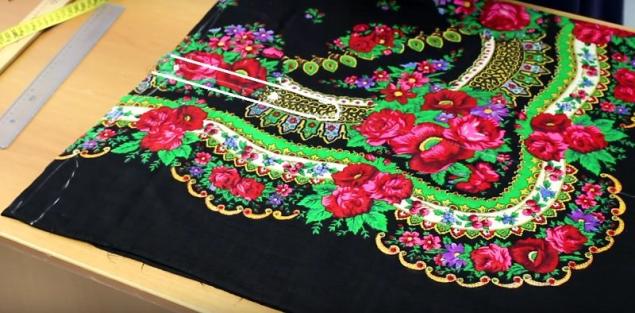
- There will be a stitch in the center of the back. To mark it on the fabric, step 1.5 cm away from the edge, which is opposite to the fold, and draw a horizontal line using chalk.
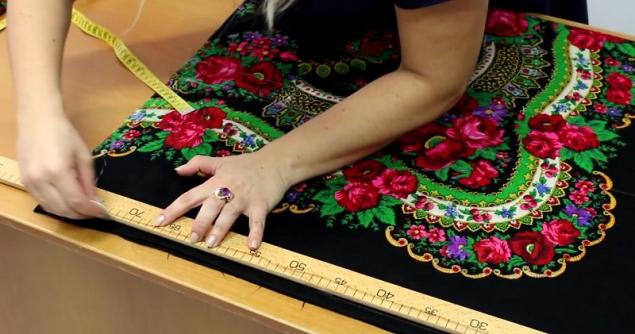
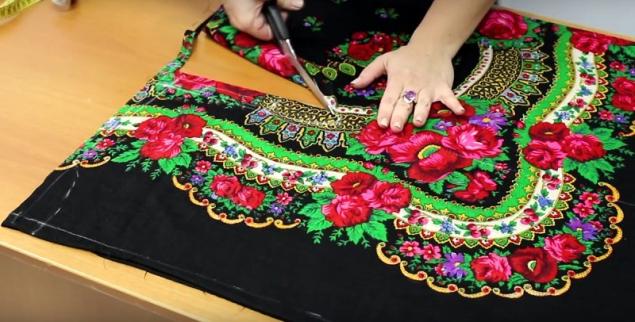
- Carefully cut the neck of the shelf, the shoulder seam, the opening and neck of the back. Don't forget to make a 1cm pass everywhere.
See in this video how to properly cut out the sleeves and connect them to the base of the blouse.
about:blank
If you like this stylish idea for updating your wardrobe, share the article with your friends!
The art of baking a duck with apples and oranges
Doctor Says “Don’t Eat These 13 Foods, They Steal Youth”


