801
Make a dressing room.
Hello! The last time there was a lot of interesting topics about the repairs in the apartment, the building of houses, furniture, etc. I was always interested to read them, see photos of the process.
I also decided to take a picture of the build process and put it here, maybe someone will be interested. Will be 54 photos. Finish will tell.
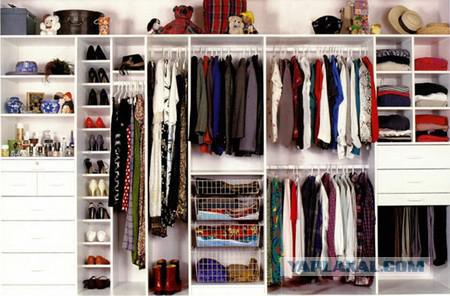
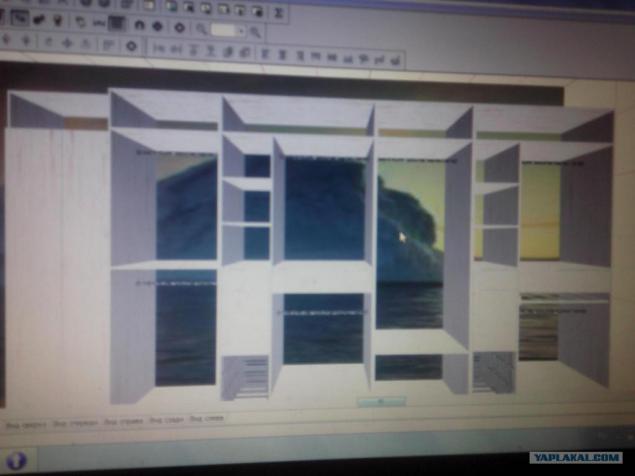
So nachnems. According to plan, we should be in a separate dressing room. Getting to the development model of the future dressing. We are using the program PRO100 to create furniture, and more. The size of the future dressing 4, 8m x 2, 55m.
Once the model was ready, the program was unloaded parts list with sizes. Ordered chipboard company EGGER, the white color was chosen. I ordered directly from the saw cut and edging.
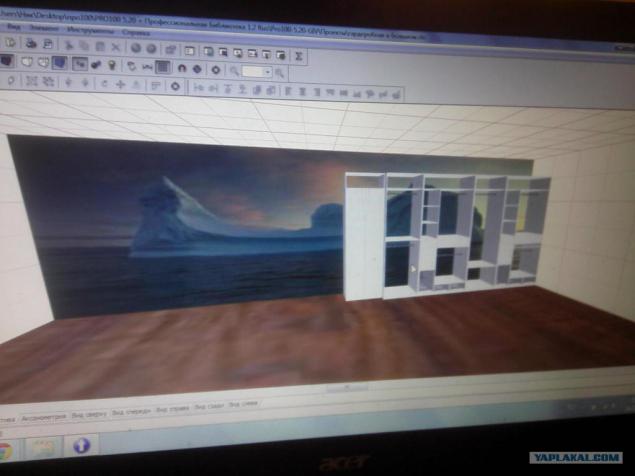
Photo 3
Putting one of the sections.
Photo4

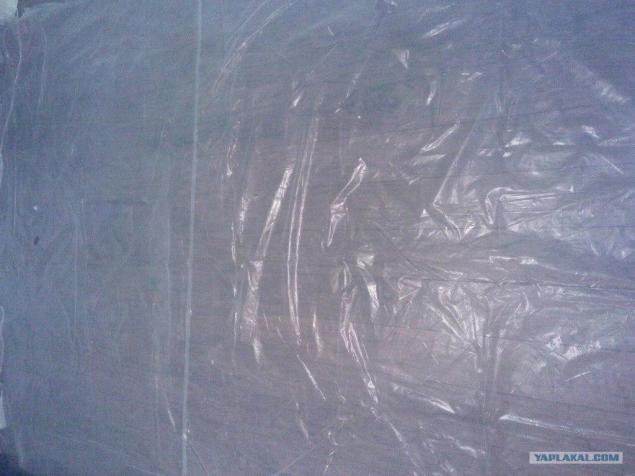
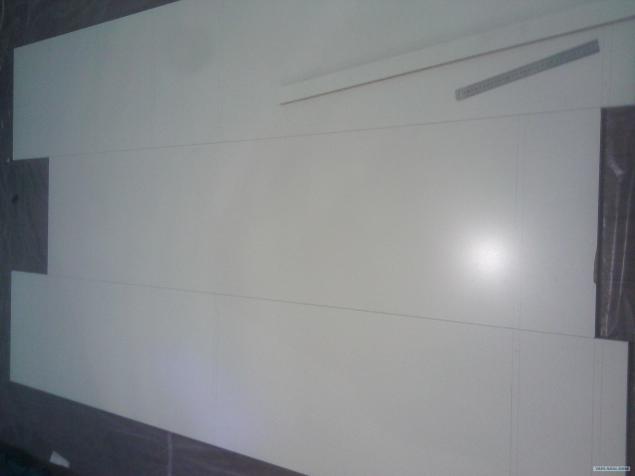
The floor was covered with a thick polyethylene. It will be assembled.
Photo5
We lay the panels to the floor and begin counting.
Photo 6
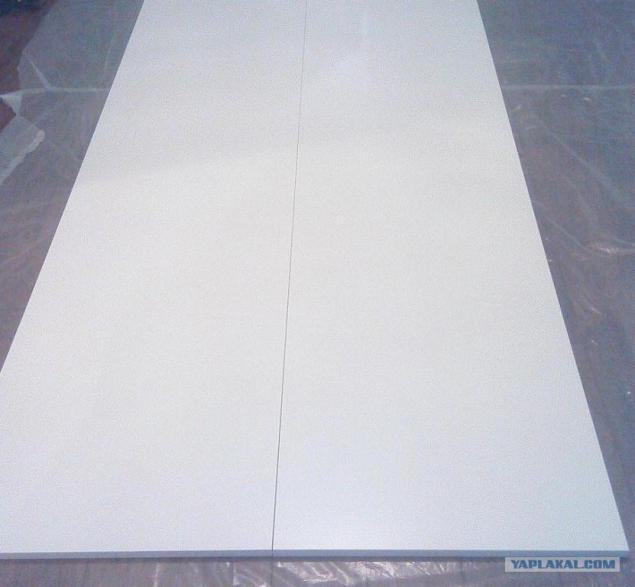
Photo 7
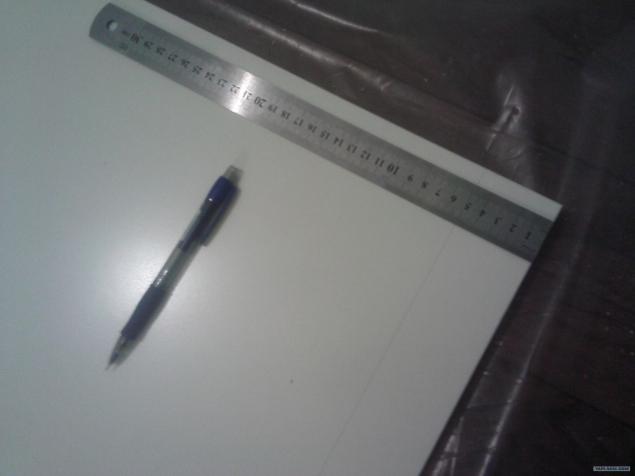
Photo 8
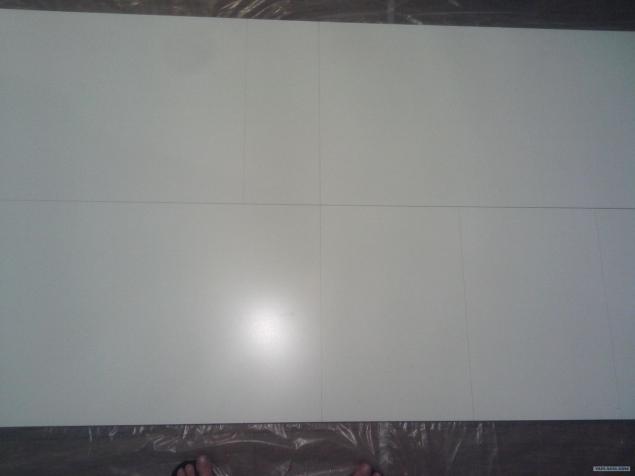
Photo 10
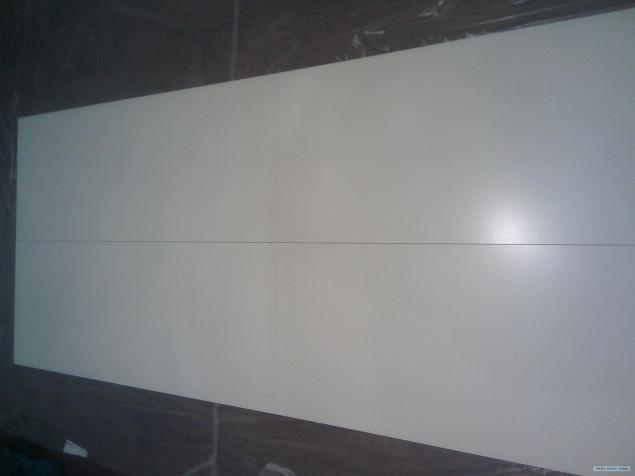
Photo 11
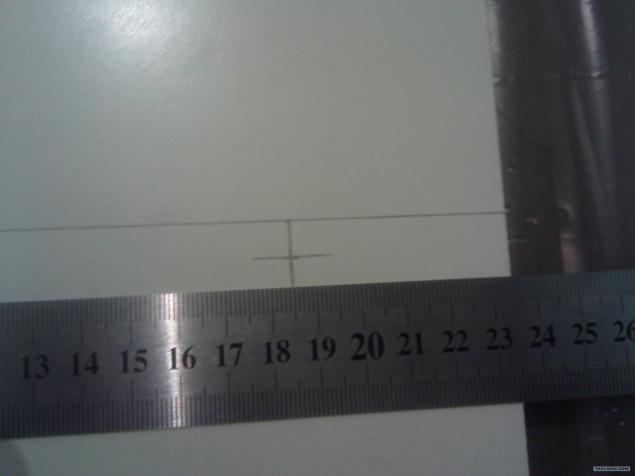
Making the markup for future openings ties.
Photo 9
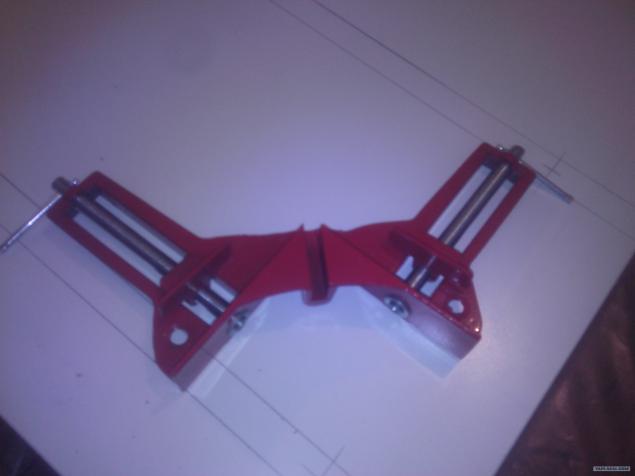
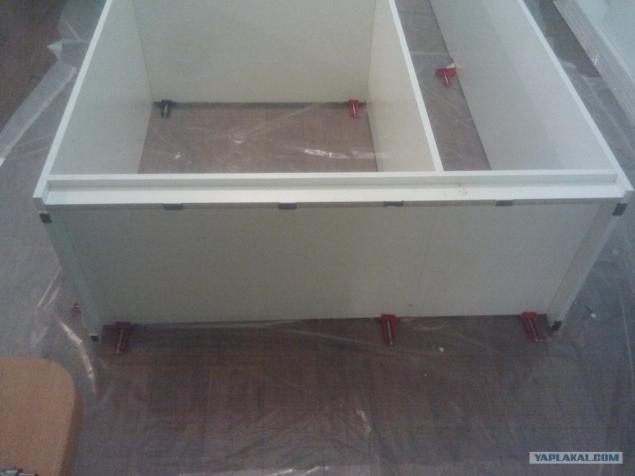
After marking all the holes, the size and location of the shelves, start the assembly. For the convenience of assembly and fixing using corner clamps.
Photo 12
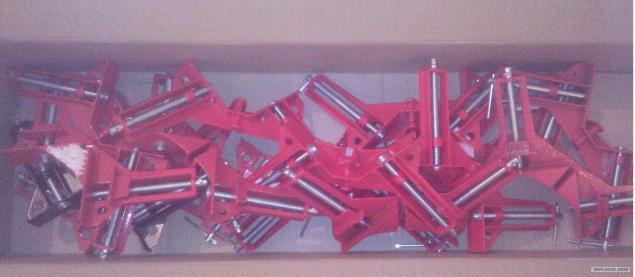
Photo 13
Thus, the assembly process went. Adding shelves, partitions.
Photos 14-20
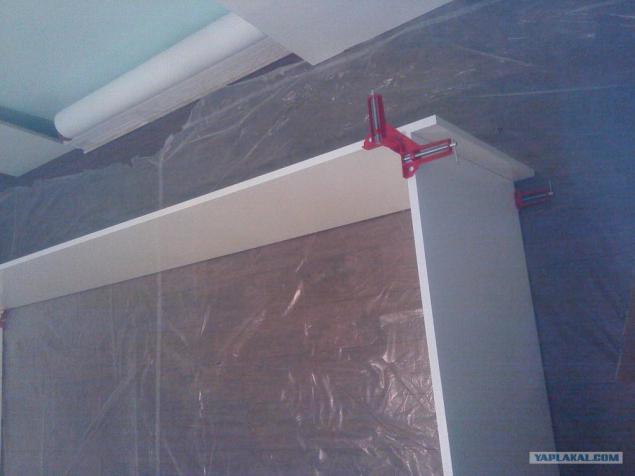
Photo 15
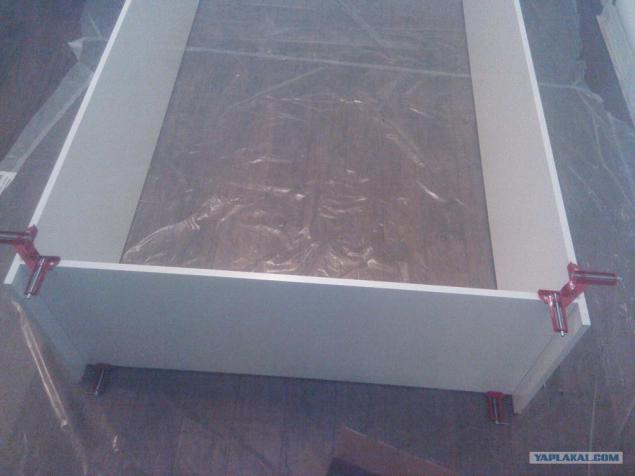
Photo 16
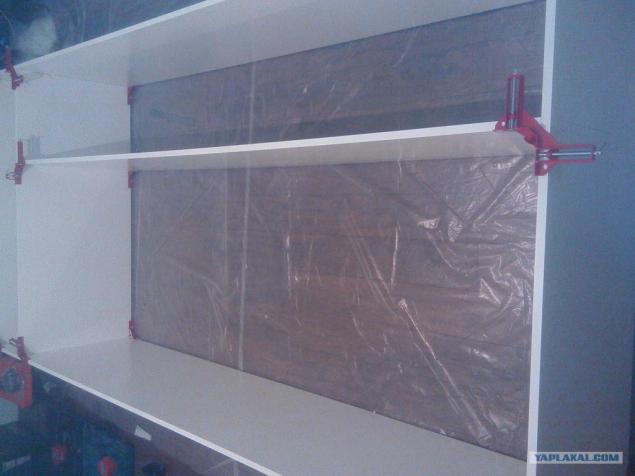
Photo 17
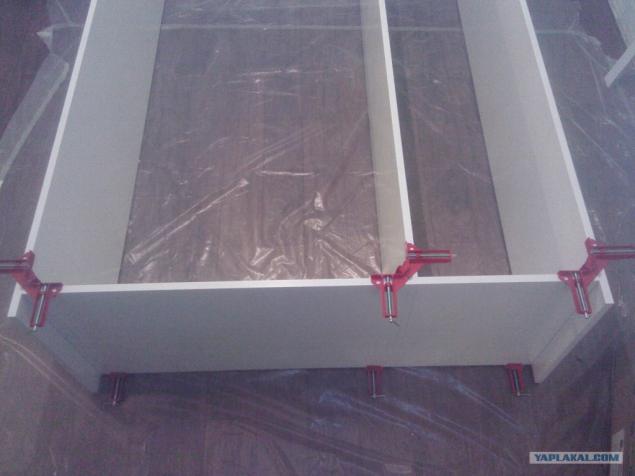
Photo 18
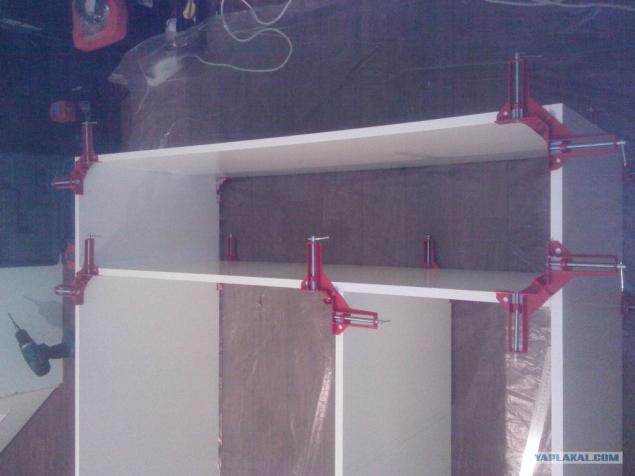
Photo 19
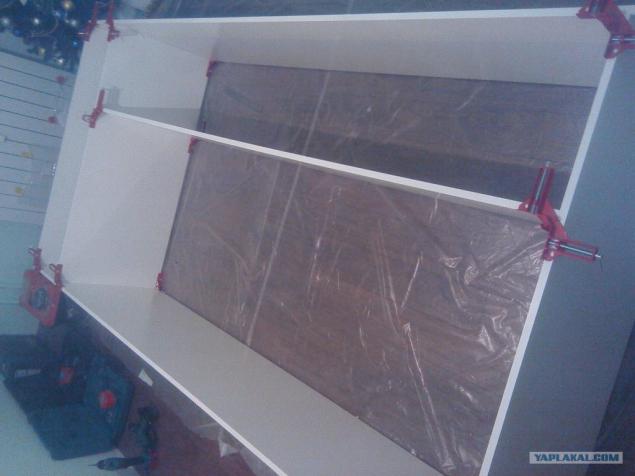
Photo 20

After installing all the elements begin drilling holes. For this we use a special drill nozzle for furniture bolts.
Photo 21
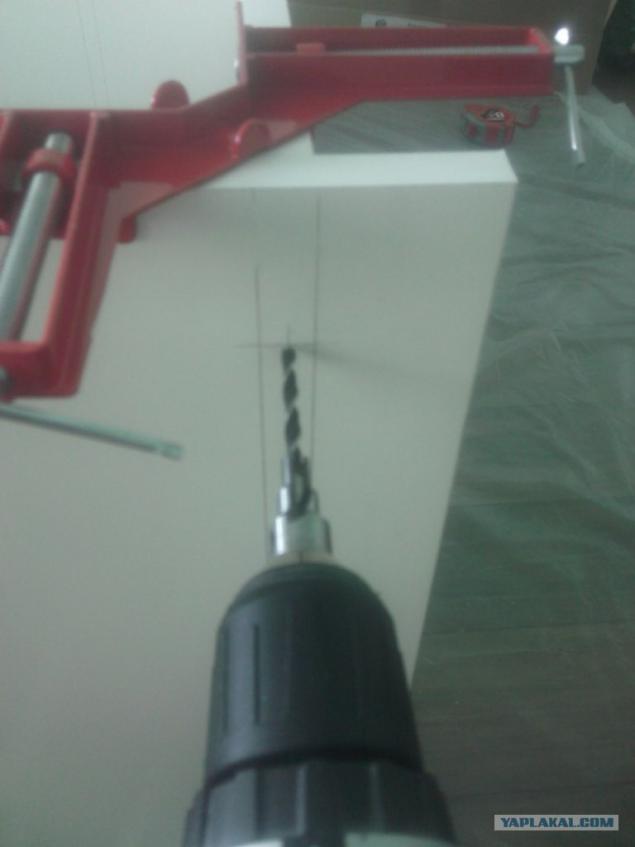
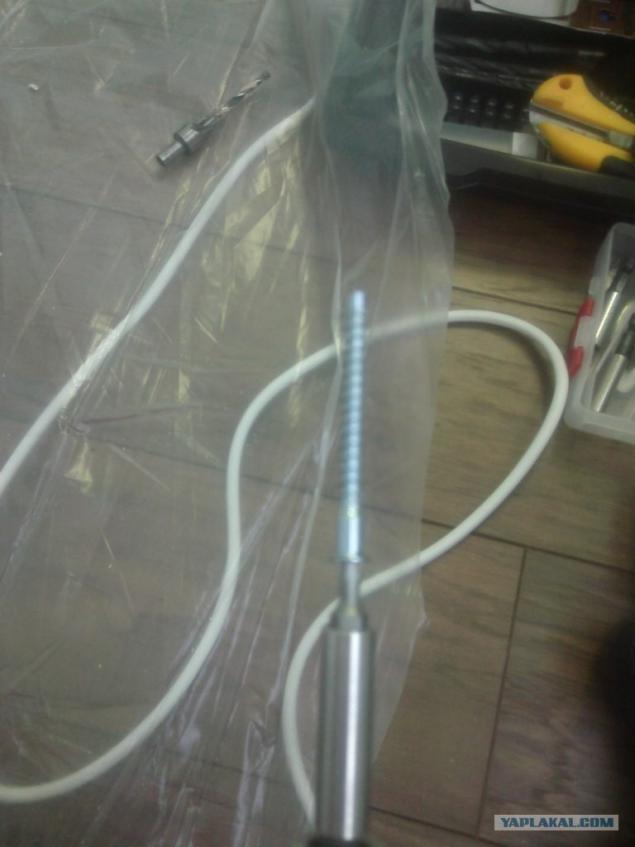
After the drill a conventional drill deeper.
Photo 22
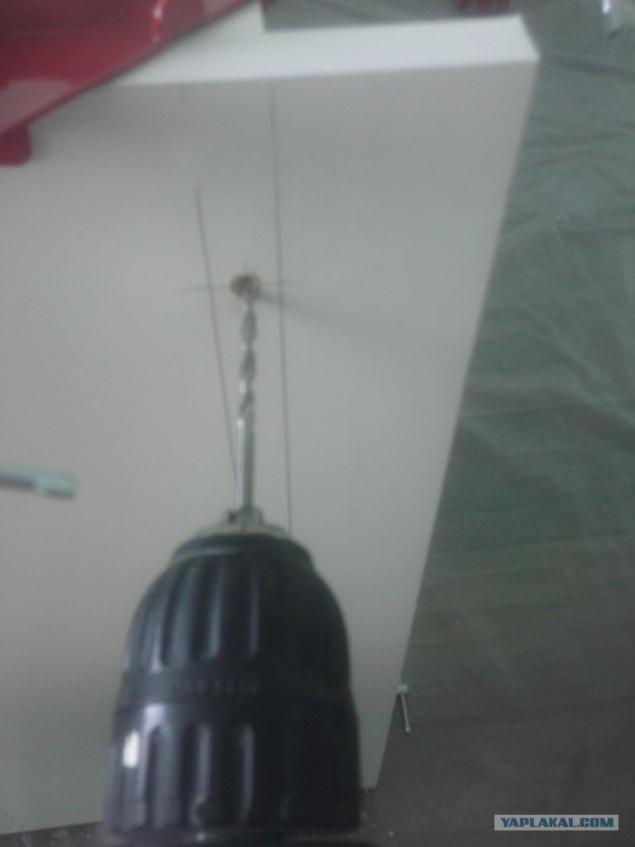
All holes are ready, you can wrap the furniture bolts, use a hex bit.
Photo 23
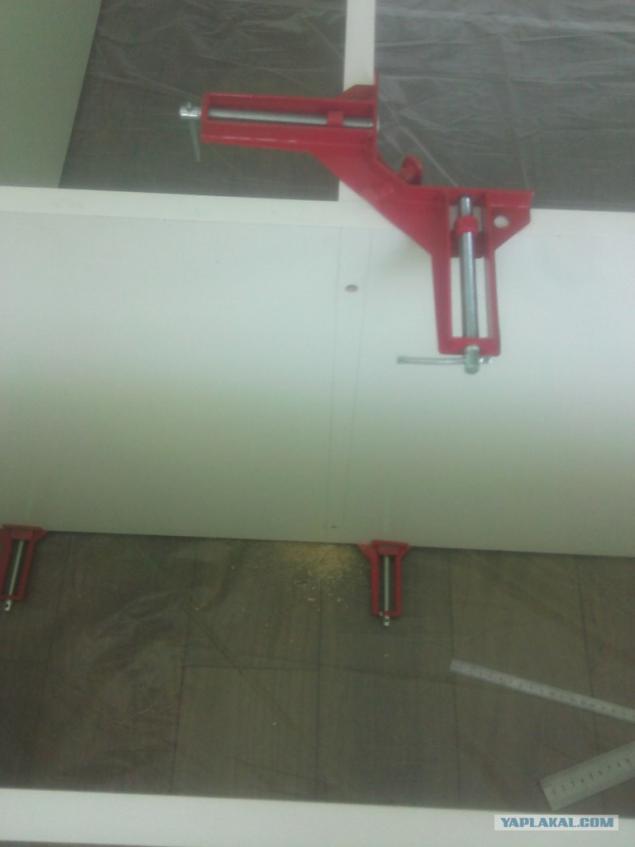
Photo 24
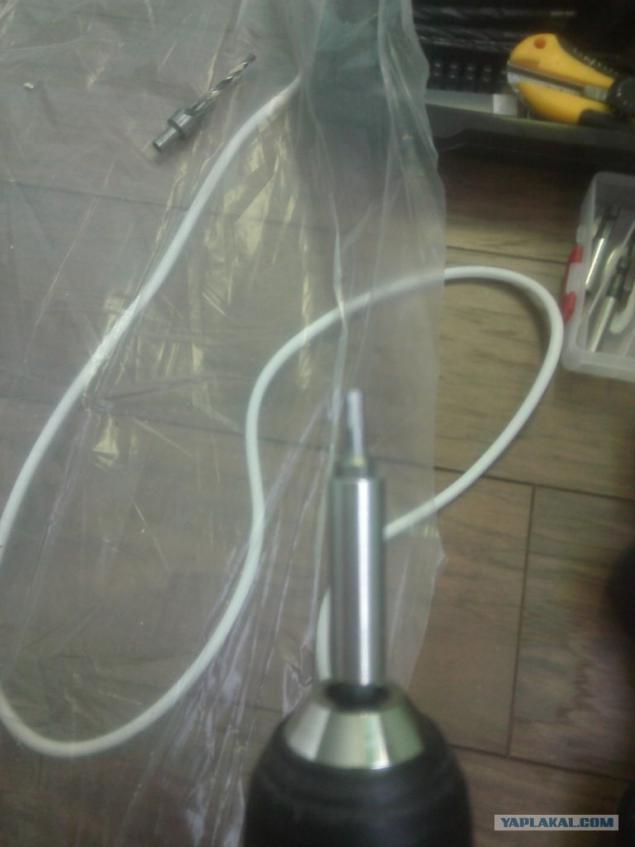
Photo 25
Install plastic feet. Take a drill bit at 1, 5-2 and drill holes for the screws. Next, set in a pre-marked locations and twists. Once the legs are already, cut specific adhesive fabric and glue on legs. This is done for further ease of movement already assembled cabinet.
Photo 26
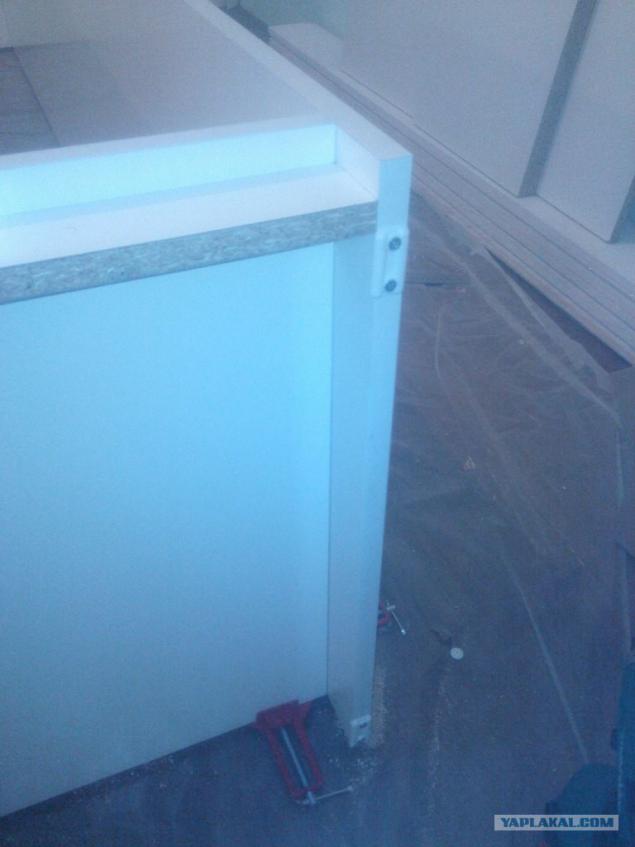
Photo 27
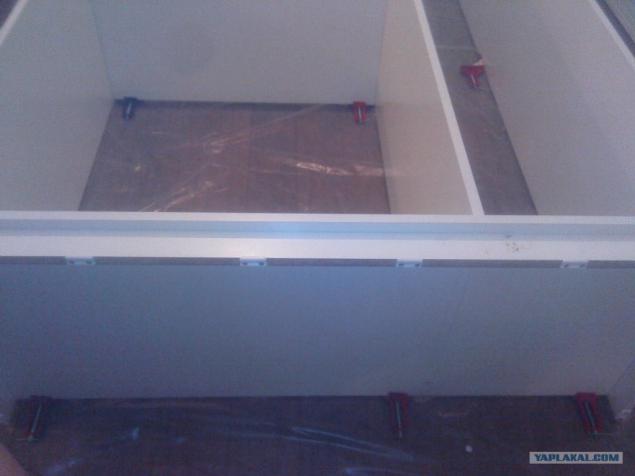
Photo 28
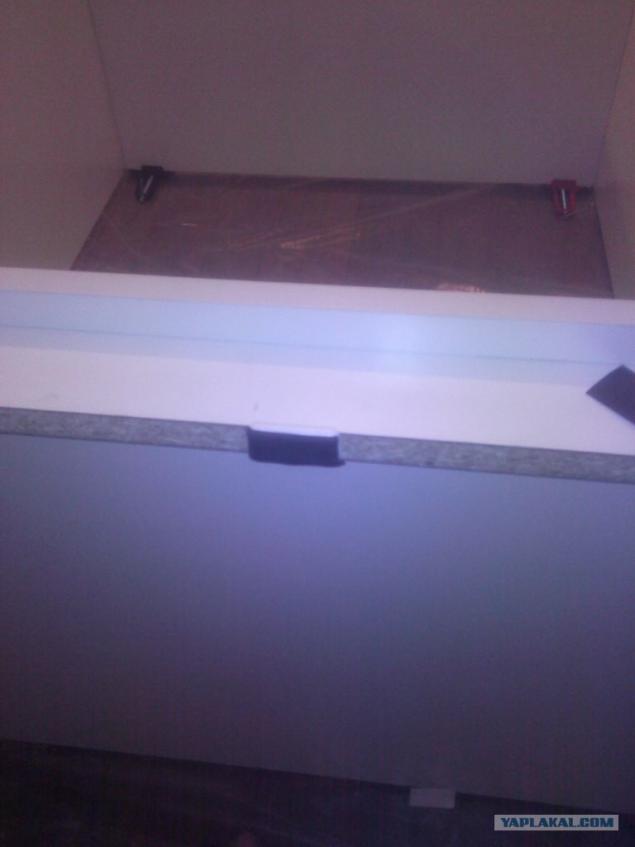
Photo 29
So, you're done! I start to understand what we have.
Photo 30
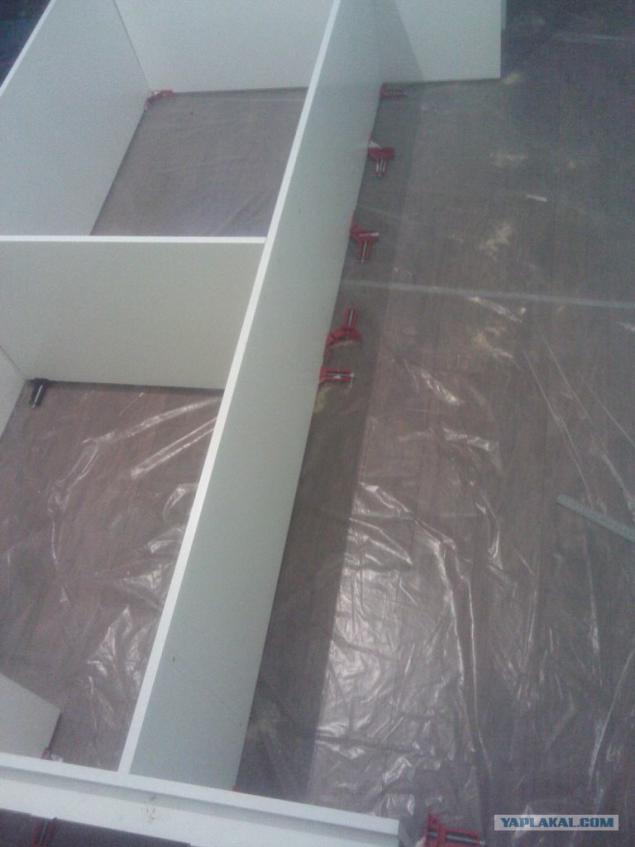
Photo 31

Doing this fall because the height of the section 2, 55m does not pass through the opening. Final assembly is carried out in the dressing room.
Photo 32
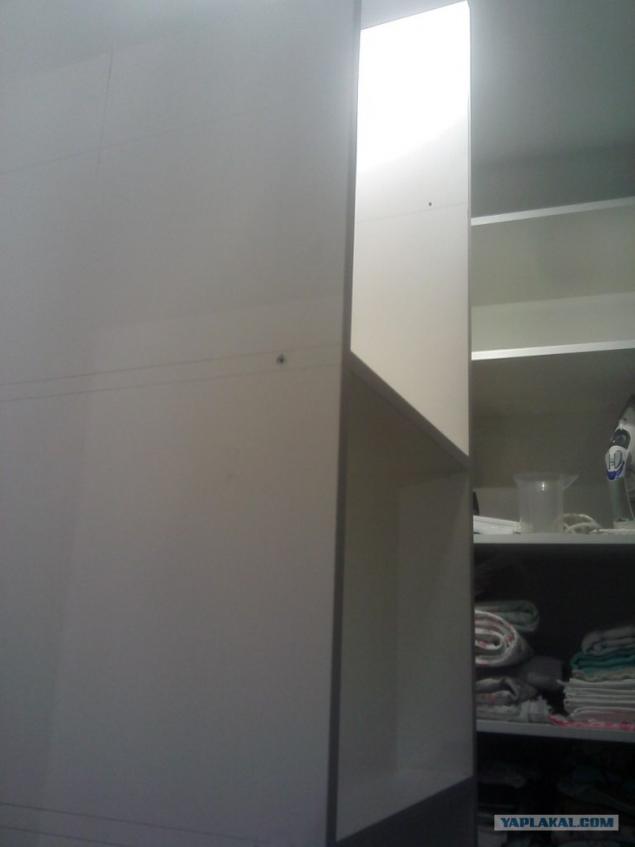
Photo 33
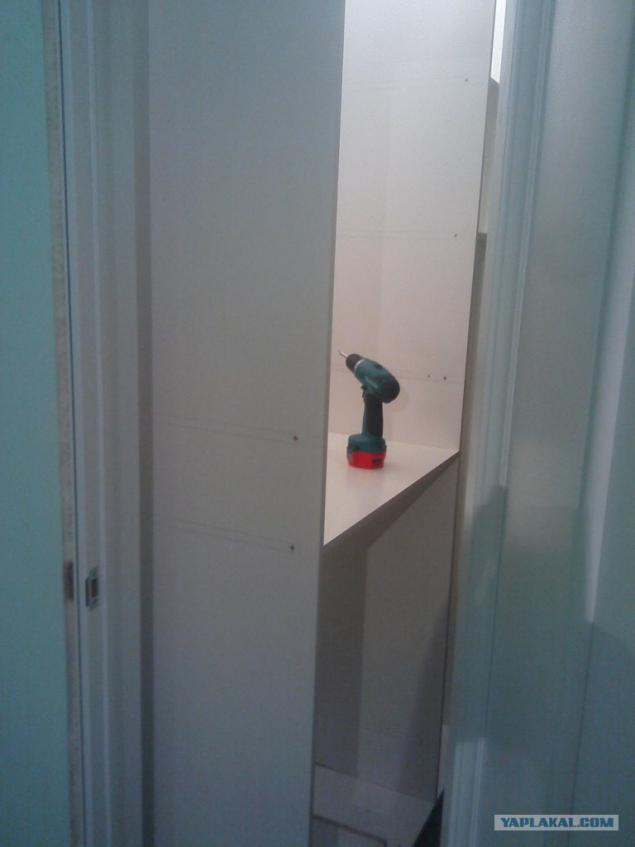
Photo 34
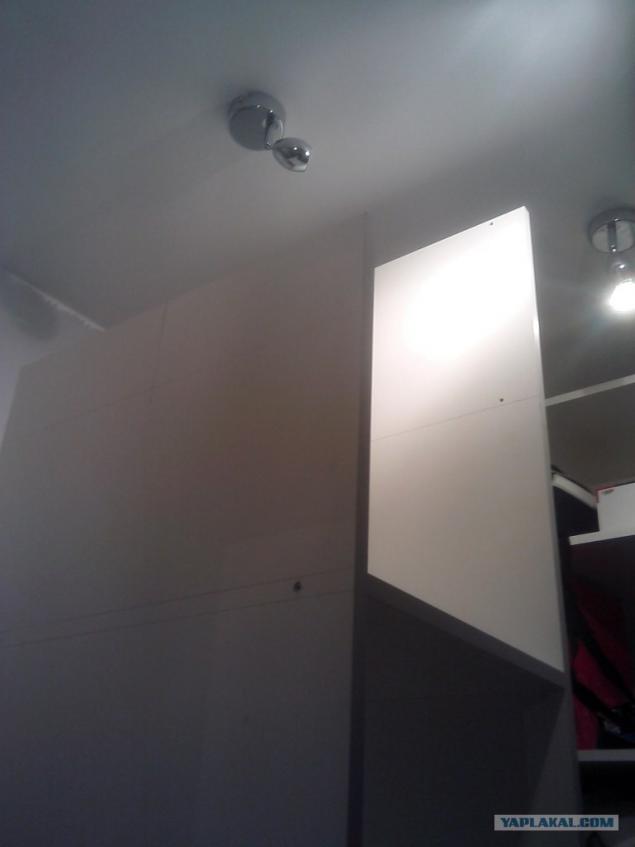
Photo 35
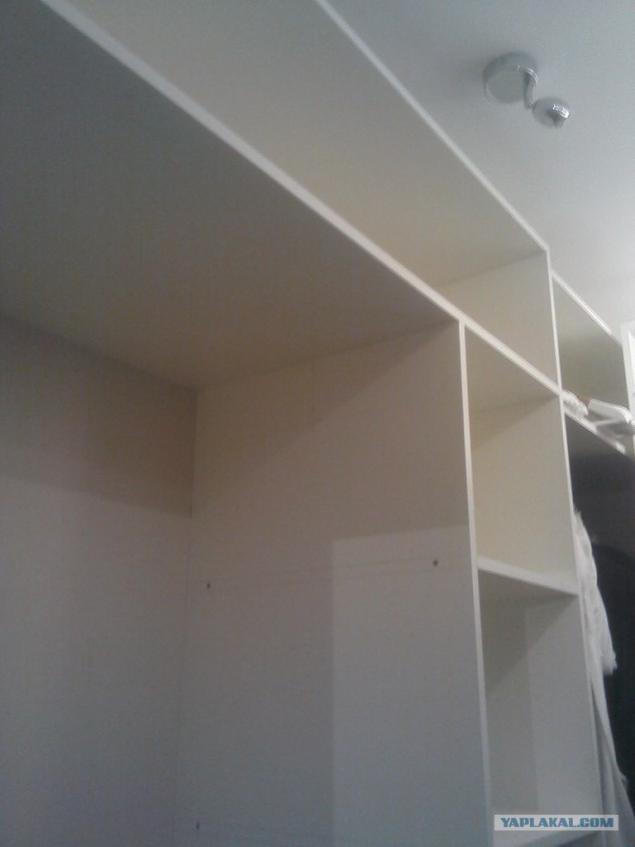
Photo 36
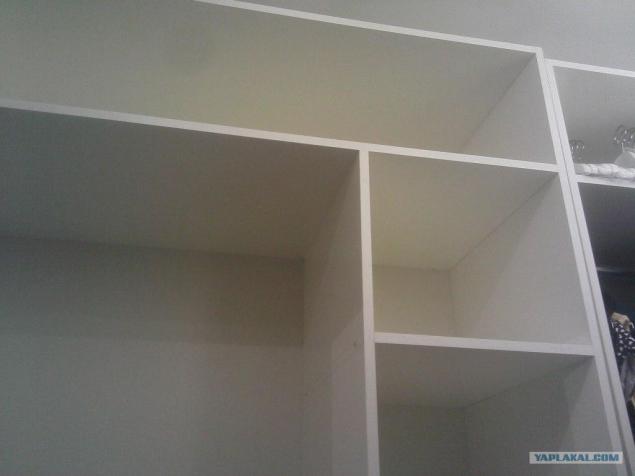
Photo 37
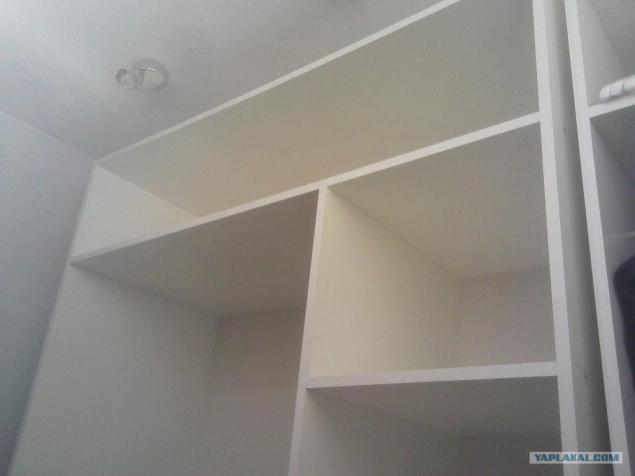
Photo 38

Photo 39
During final assembly, rear fasten LDVP small studs, while pre-mark the place where he is in contact with chipboard.
Photo 40

Photo 41
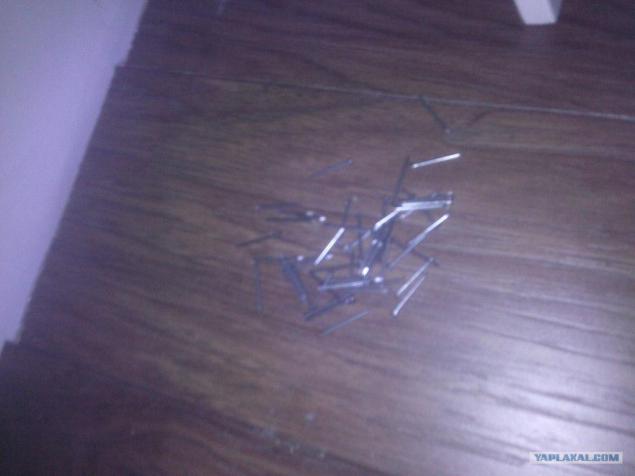
Photo 42
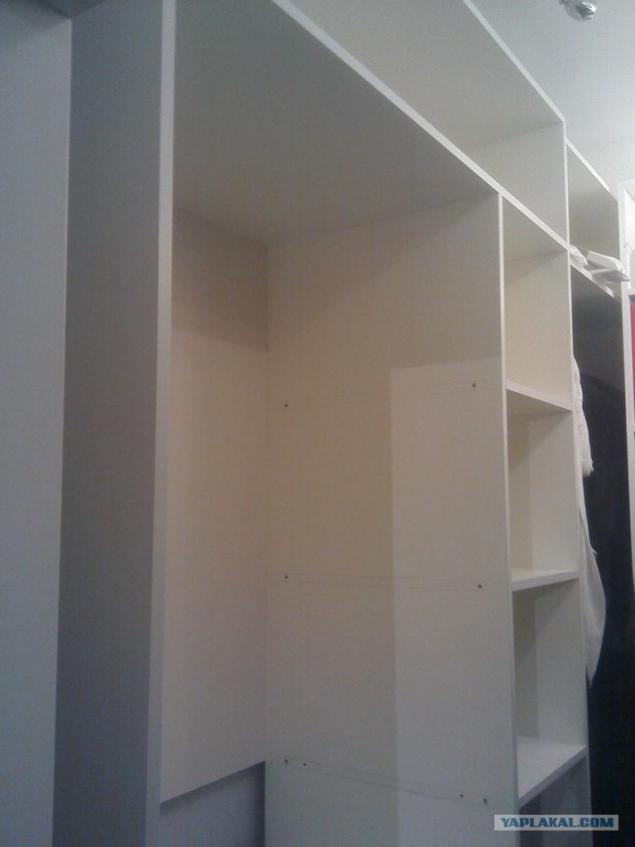
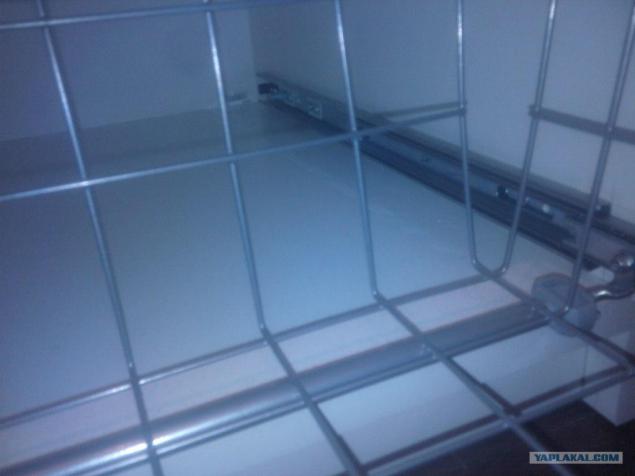
We begin filling the various sections of the necessary things. For example rod for hangers, hooks pants, withdrawable baskets, etc.
Photo 43
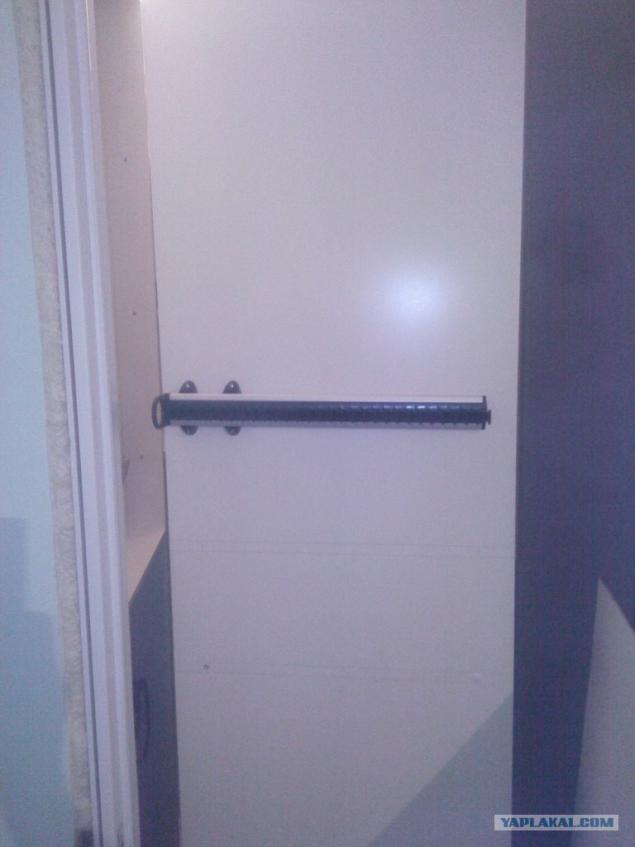
Photo 44
Photo 45
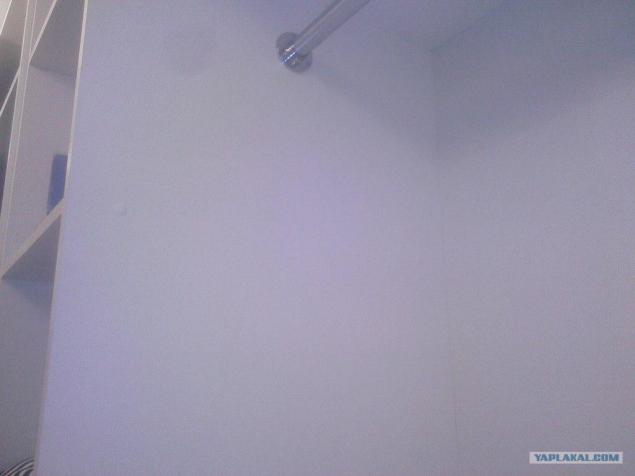
Photo 46
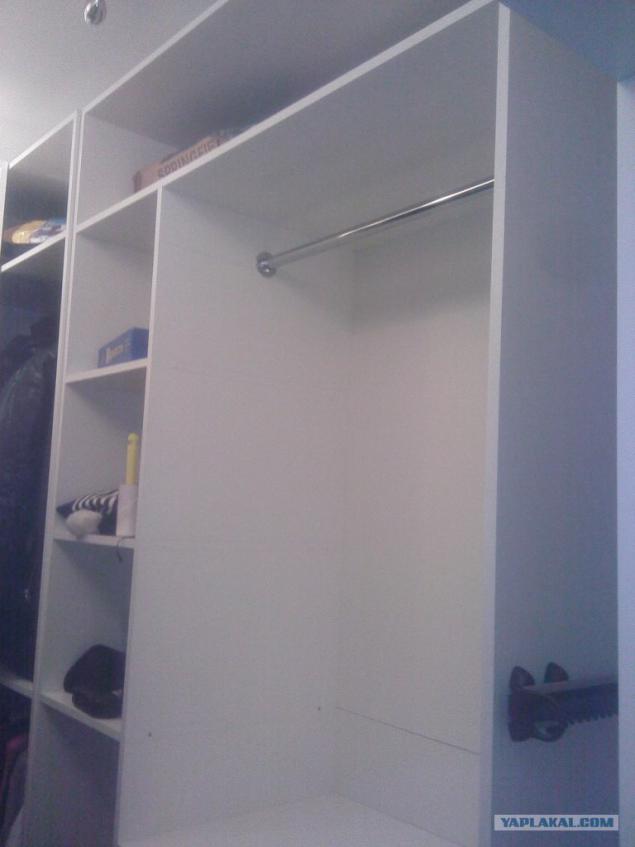
Photo 47
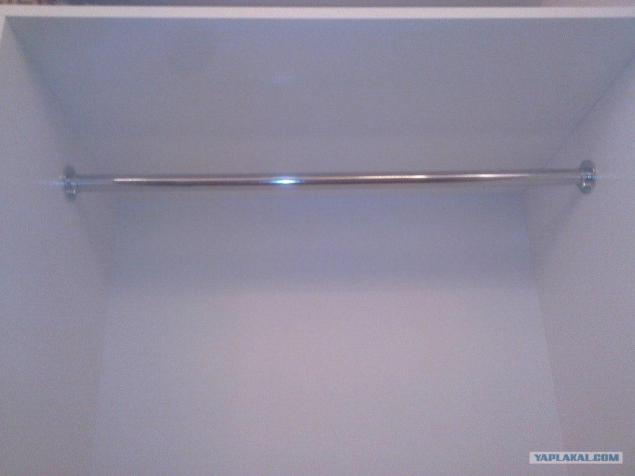
Photo 48
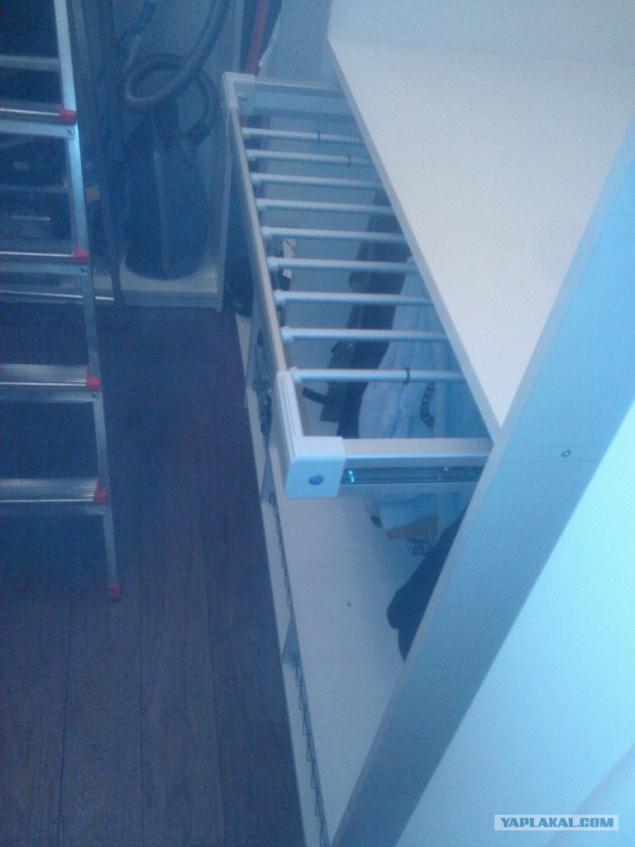
Photo 49
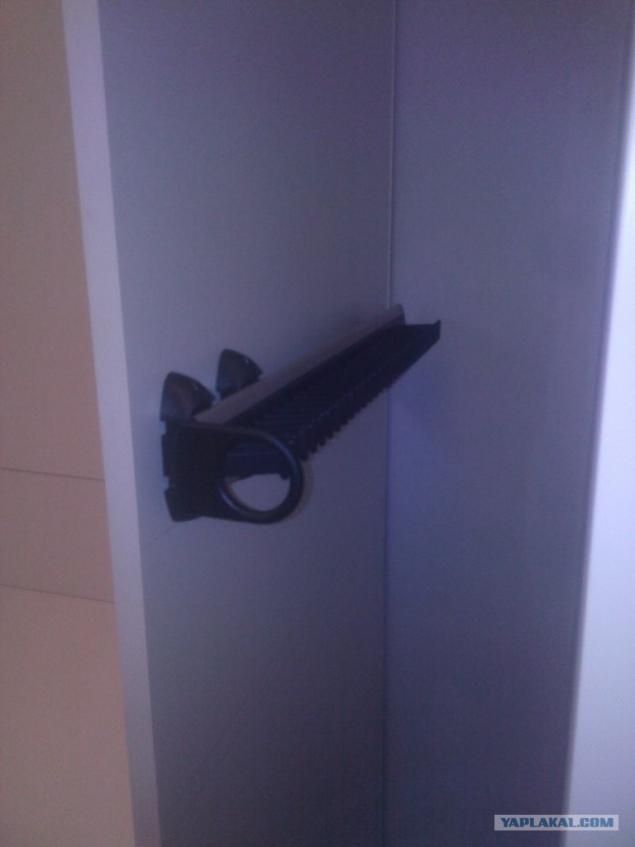
Photo 50
Photo 51
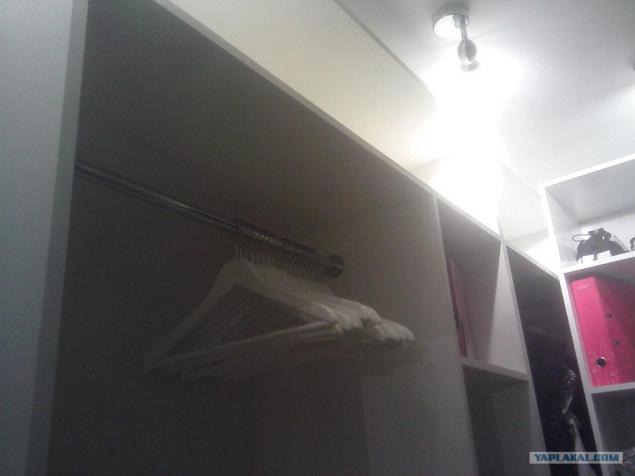
Photo 52
Photo 53
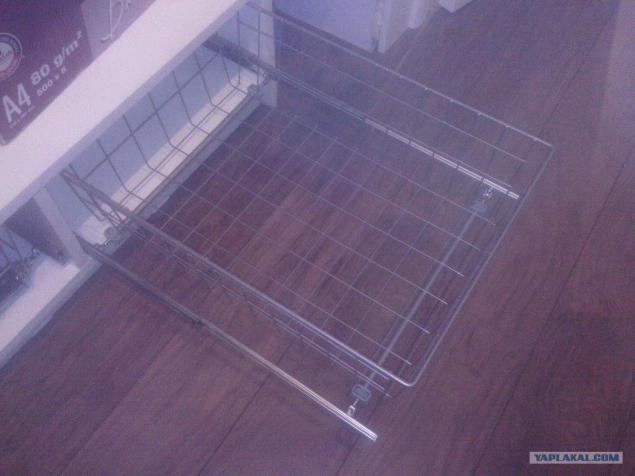
Photo 54
Posted in [mergetime] 1390308709 [/ mergetime]
That's all! Get 5 sections of different sizes 1200h2550mm 2 pcs., 2 pcs 800h2550mm, 1000h2550mm-1pc. Cost of this project next.
Chipboard cut + + = + shipping edging 18200rub.
Filling: Shopping withdrawable net 335h475h150 on ball guides 10 pcs. = 5460rub.
Holder tie retractable 1pc = 290rub.
Withdrawable rack pants module 764-844 mm 1 pc = 1700rub
Rods 5pcs = 1000rub.
Runners Ball 16 pc = 2544rub
Bolts, screws, plugs, etc. I do not remember, about another 1000rub.
I have everything!
Source:
I also decided to take a picture of the build process and put it here, maybe someone will be interested. Will be 54 photos. Finish will tell.

So nachnems. According to plan, we should be in a separate dressing room. Getting to the development model of the future dressing. We are using the program PRO100 to create furniture, and more. The size of the future dressing 4, 8m x 2, 55m.
Once the model was ready, the program was unloaded parts list with sizes. Ordered chipboard company EGGER, the white color was chosen. I ordered directly from the saw cut and edging.

Photo 3

Putting one of the sections.
Photo4

The floor was covered with a thick polyethylene. It will be assembled.
Photo5

We lay the panels to the floor and begin counting.
Photo 6

Photo 7

Photo 8

Photo 10

Photo 11

Making the markup for future openings ties.
Photo 9

After marking all the holes, the size and location of the shelves, start the assembly. For the convenience of assembly and fixing using corner clamps.
Photo 12

Photo 13

Thus, the assembly process went. Adding shelves, partitions.
Photos 14-20

Photo 15

Photo 16

Photo 17

Photo 18

Photo 19

Photo 20

After installing all the elements begin drilling holes. For this we use a special drill nozzle for furniture bolts.
Photo 21

After the drill a conventional drill deeper.
Photo 22

All holes are ready, you can wrap the furniture bolts, use a hex bit.
Photo 23

Photo 24

Photo 25

Install plastic feet. Take a drill bit at 1, 5-2 and drill holes for the screws. Next, set in a pre-marked locations and twists. Once the legs are already, cut specific adhesive fabric and glue on legs. This is done for further ease of movement already assembled cabinet.
Photo 26

Photo 27

Photo 28

Photo 29

So, you're done! I start to understand what we have.
Photo 30

Photo 31

Doing this fall because the height of the section 2, 55m does not pass through the opening. Final assembly is carried out in the dressing room.
Photo 32

Photo 33

Photo 34

Photo 35

Photo 36

Photo 37

Photo 38

Photo 39

During final assembly, rear fasten LDVP small studs, while pre-mark the place where he is in contact with chipboard.
Photo 40

Photo 41

Photo 42

We begin filling the various sections of the necessary things. For example rod for hangers, hooks pants, withdrawable baskets, etc.
Photo 43

Photo 44

Photo 45

Photo 46

Photo 47

Photo 48

Photo 49

Photo 50

Photo 51

Photo 52

Photo 53

Photo 54
Posted in [mergetime] 1390308709 [/ mergetime]
That's all! Get 5 sections of different sizes 1200h2550mm 2 pcs., 2 pcs 800h2550mm, 1000h2550mm-1pc. Cost of this project next.
Chipboard cut + + = + shipping edging 18200rub.
Filling: Shopping withdrawable net 335h475h150 on ball guides 10 pcs. = 5460rub.
Holder tie retractable 1pc = 290rub.
Withdrawable rack pants module 764-844 mm 1 pc = 1700rub
Rods 5pcs = 1000rub.
Runners Ball 16 pc = 2544rub
Bolts, screws, plugs, etc. I do not remember, about another 1000rub.
I have everything!

Source: