Жизнь — интересная!
Подписывайтесь на нашу группу в Telegram и Facebook, чтобы быть в сообществе единомышленников, находить вдохновение и не пропускать свежие и удивительные статьи с bashny.net.
779
0.2
2016-08-23
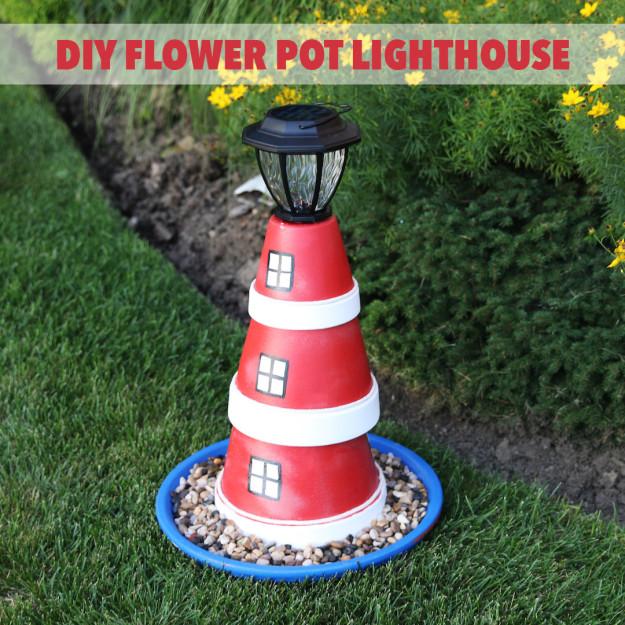
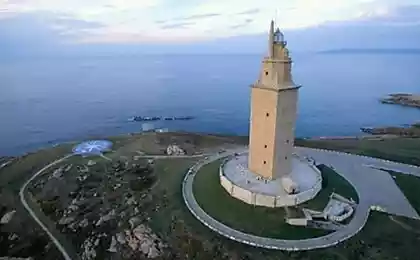
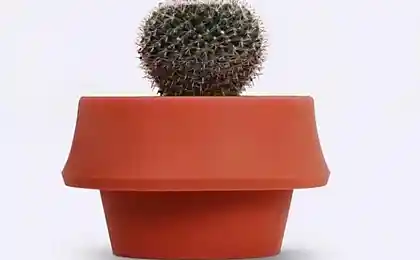
Flower Pot Lighthouse. This is sooooo cool. Цветочный горшок Маяк. Это тааак круто.
Видео www.facebook.com/bashny.net/videos/582981578561013/
Что вам нужно:
· Кисти для рисования
· Красный, белый, черный и голубой краской
· Супер клей
· Декоративная веревка
· Погода герметик спрей
· 15-дюймовый терракотовая блюдце
· 10-дюймовый терракотовая цветочный горшок
· 8-дюймовый терракотовая цветочный горшок
· 6-дюймовый терракотовая цветочный горшок
· На солнечных батареях фонарь сада
· Мелкие камешки
Инструкции:
1. Краска основание цветочные горшки красного цвета.
2. Краска ободе цветочные горшки белые.
3. Краска окно, примерно 1 квадратный дюйм, около половины дюйма от края горшка.
4. Клей декоративные веревки вокруг края обода горшка.
5. Краска блюдце синий.
6. После того как все высохнет, спрей с погодой герметик.
7. После того, как герметик высохнет, укладывать горшки от большего к меньшему в центре блюдца.
8. Приклейте фонарь к вершине.
9. Заполните оставшееся пространство на блюдце с галькой.
10. Поместите свой маяк в солнечном месте в вашем дворе или в саду и наслаждаться!
What you need:
· Paint brushes
· Red, white, black, and blue paint
· Super glue
· Decorative rope
· Spray weather sealant
· 15-inch terra-cotta saucer
· 10-inch terra-cotta flower pot
· 8-inch terra-cotta flower pot
· 6-inch terra-cotta flower pot
· Solar-powered garden lantern
· Small pebbles
Instructions:
1. Paint the base of the flower pots red.
2. Paint the rim of the flower pots white.
3. Paint a window, approximately 1 square inch, about half an inch from the rim of the pot.
4. Glue decorative rope around the edge of the pot’s rim.
5. Paint the saucer blue.
6. After everything has dried, spray with a weather sealant.
7. Once the sealant is dry, stack the pots from largest to smallest in the center of the saucer.
8. Glue the lantern to the top.
9. Fill the remaining space on the saucer with pebbles.
10. Place your lighthouse in a sunny spot in your yard or garden and enjoy!
Портал БАШНЯ. Копирование, Перепечатка возможна при указании активной ссылки на данную страницу.


Хитроумный землемер: головоломка из старинного журнала
Easy Chocolate Truffles 4 Ways. Легкие Шоколадные трюфели 4 способа