776
Installing alarm StarLine A94 CAN
All welcome.
Today I'll tell you how to put themselves last weekend alarm. I hope you enjoy. The process however is not described in great detail, as did one and I could not be distracted by every detail.
I chose a long time to set some alarm. Actually I need the alarm itself only for startup. The choice fell on the StarLine. At first, I was advised to put the model A91, and almost agreed to put it in the center of installation for 8000 rubles. But accidentally I found out that there are alarms to the CAN interface, which greatly simplifies installation.
Then I had the idea to put the alarm itself. He began to look with alarm CANom. He stopped on the model A94.
Having studied manuals, reviews and decided to buy it and put their own.
I went to the store, bought the alarm siren, immobilizer lineman, wires and other components.
It will be 30 pictures
A friend has kindly provided a garage.
Saturday, 12.00.
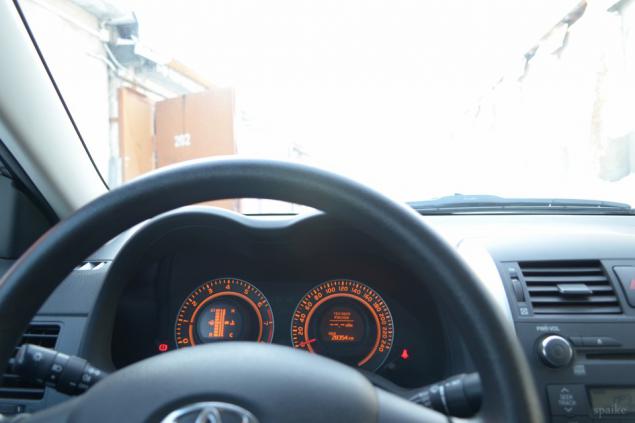
What is the Internet, but we continue.
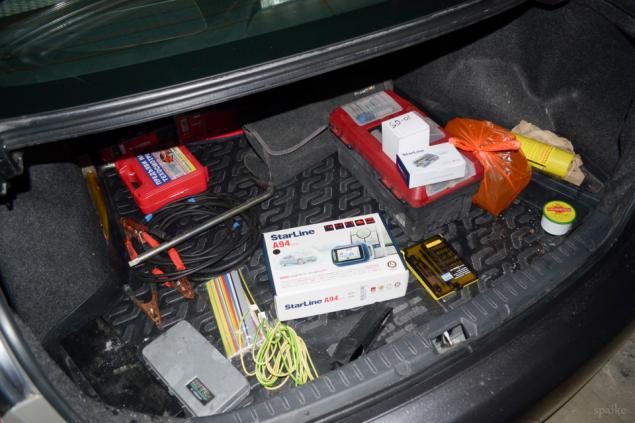
2. Preparation for the installation
3. I start to understand interior
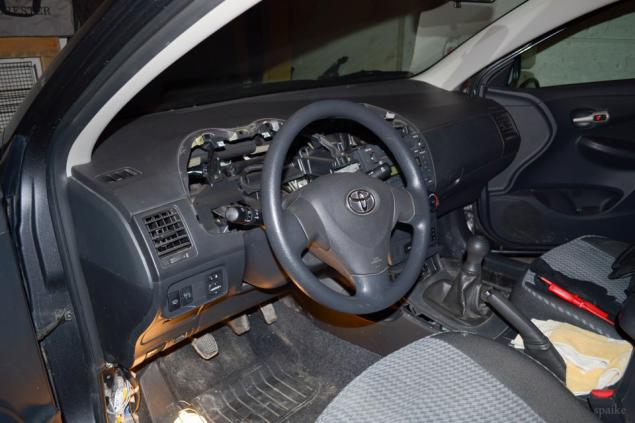
4. We had to unscrew all 4 bolts. The rest is held by snap
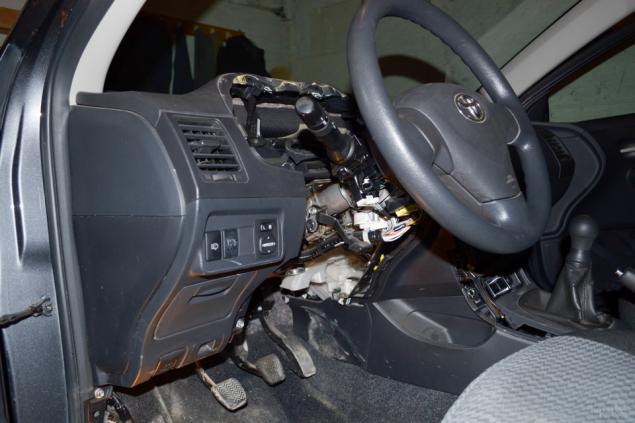
5. Getting soldered to the power part.
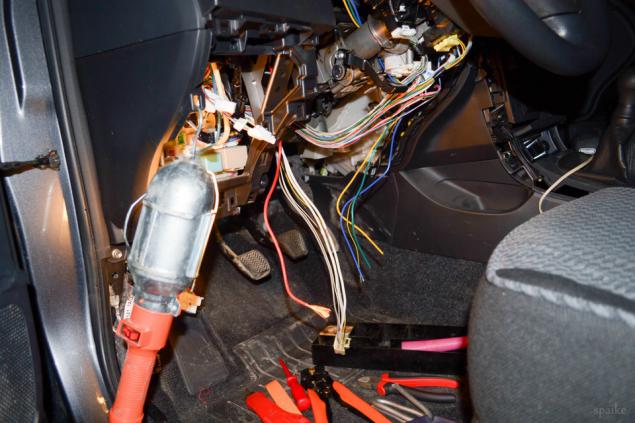
7. Strictly implement autostart. Power unit alarm hidden layer interior panel.
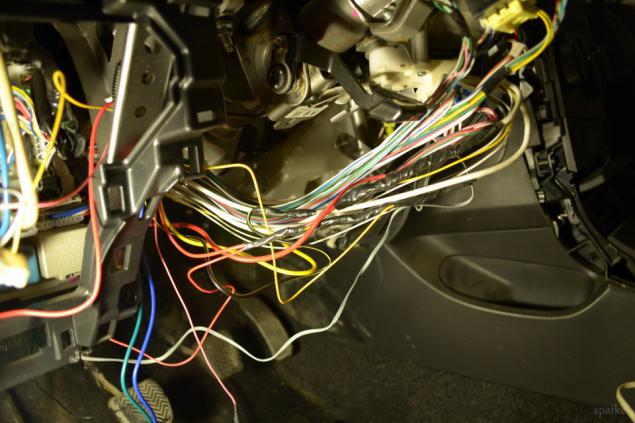
8. Simply plug
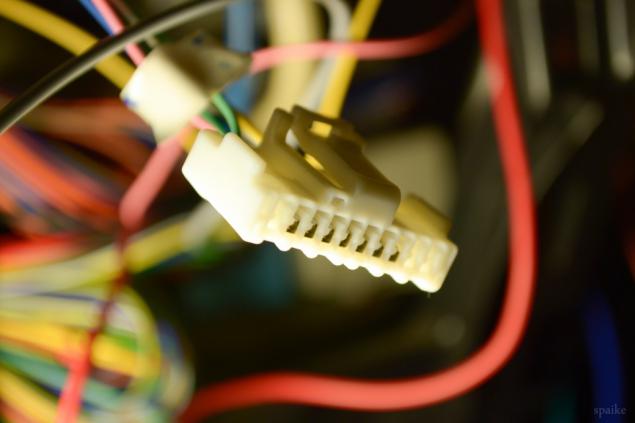
9. Wires, cables, wires. How then do not get confused?
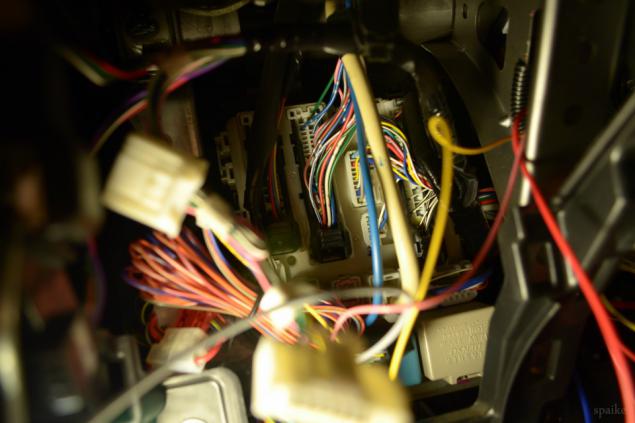
10. mimicking the clutch pedal is depressed. Implemented via relay contacts HP. The relay is controlled by the starter.
Ie when there is a start command, the relay and the machine thinks that the clutch is squeezed.
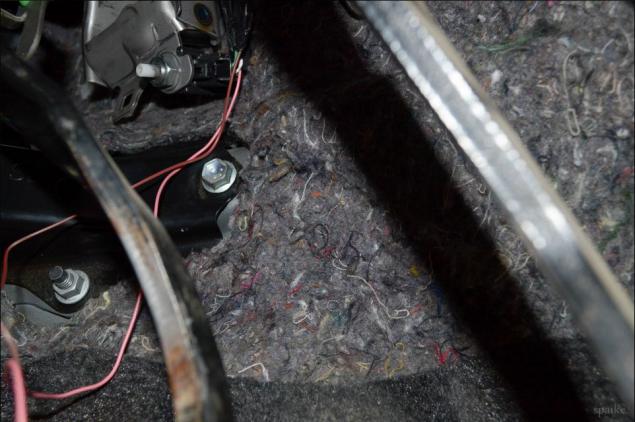
11. Worker immobilizer. With him there were problems.
The antenna, which comes supplied was weak. And immobilizer machines could not read the code from the key. I had to think what to do.
As a result, solder gap in regular antenna.
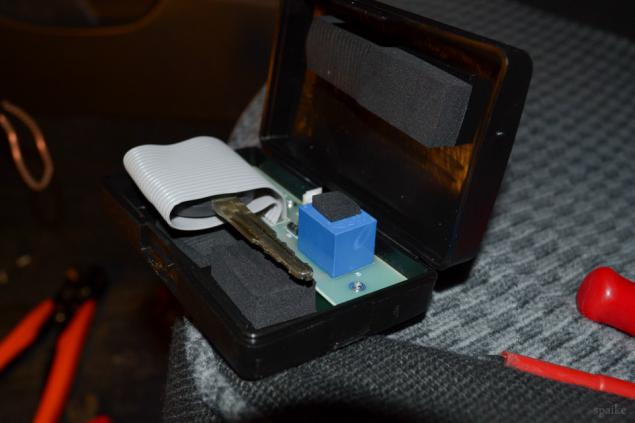
12. Begin slowly to collect and stack the wire.
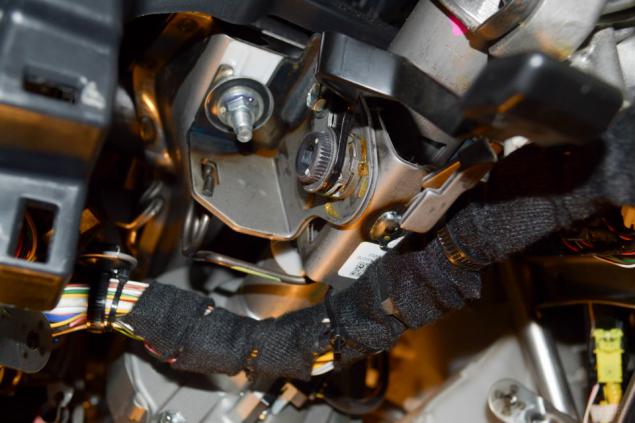
13.
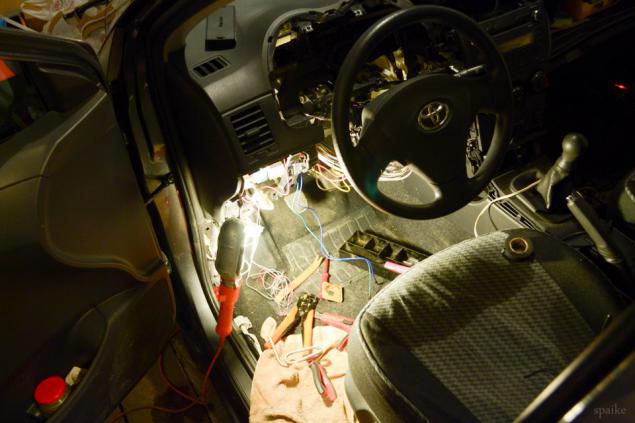
14.
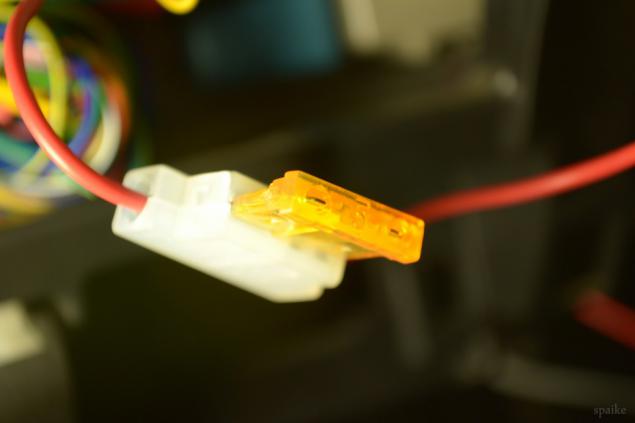
15. slowly begins to fall off the back
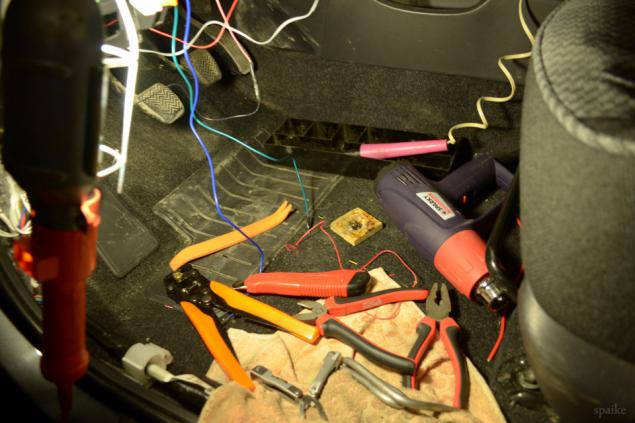
16. Again, what that wire ...
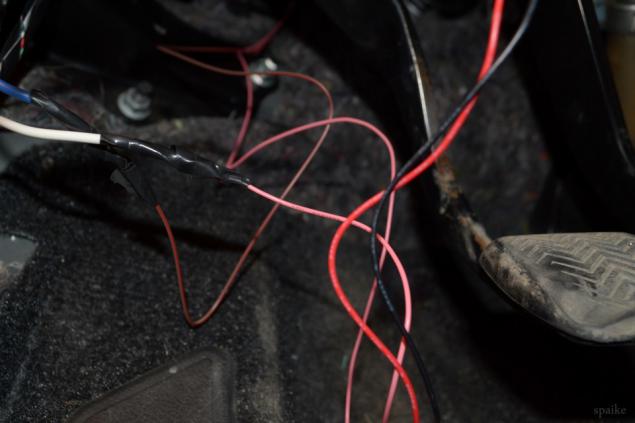
17.
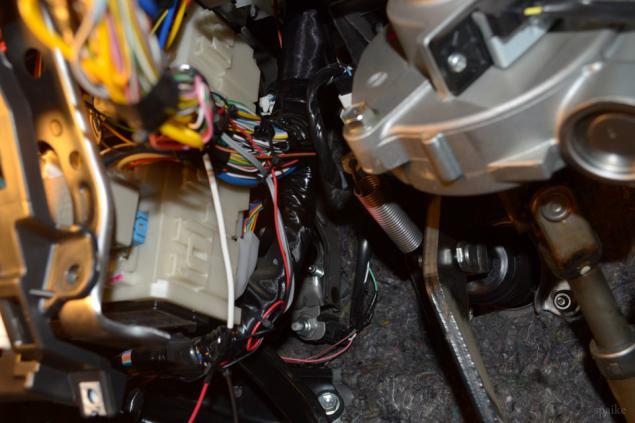
18. Begin slowly to collect interior
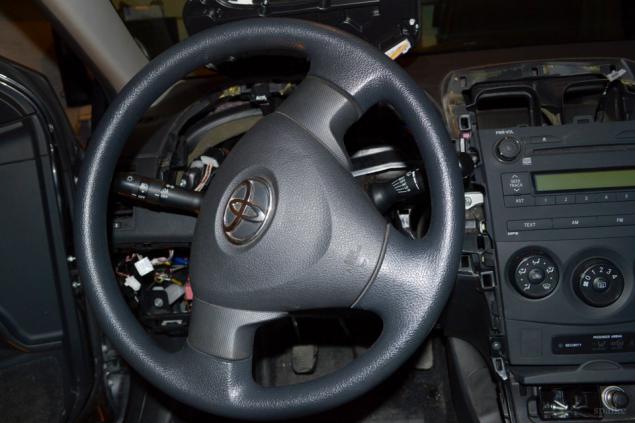
19. Collect even easier than dismantling. They know how the Japanese ...
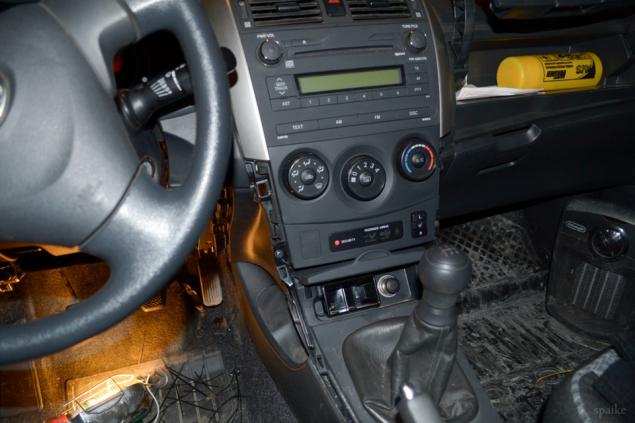
20. Well, like everything in the cabin, it is necessary to move under the hood.
The alarm unit will not say where to put)
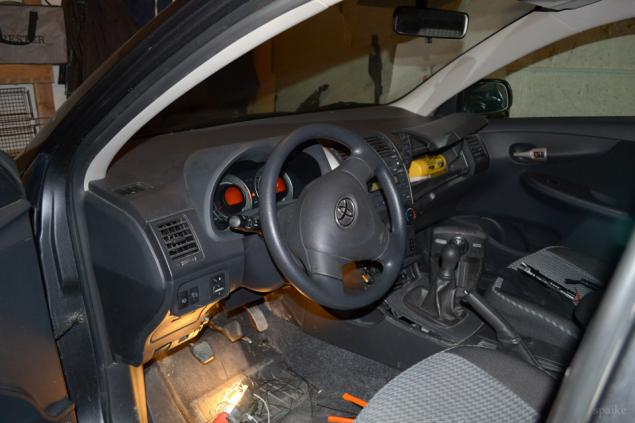
21. Payalnichek
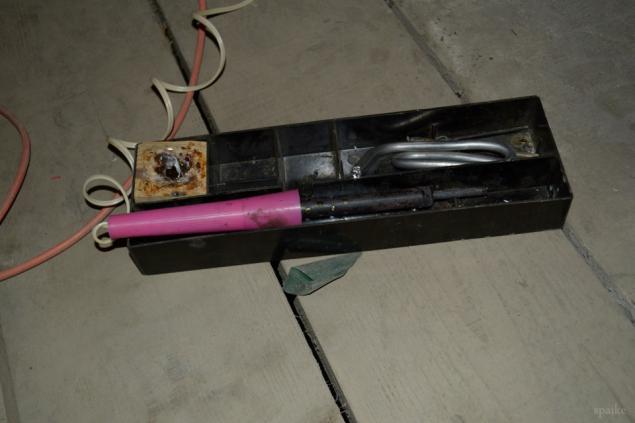
22. My crib
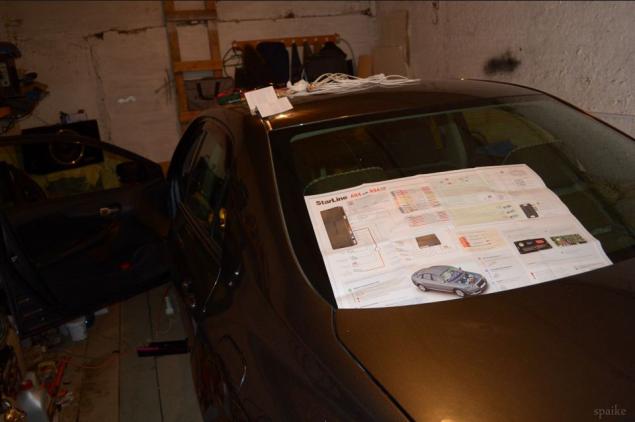
23. And my assistant
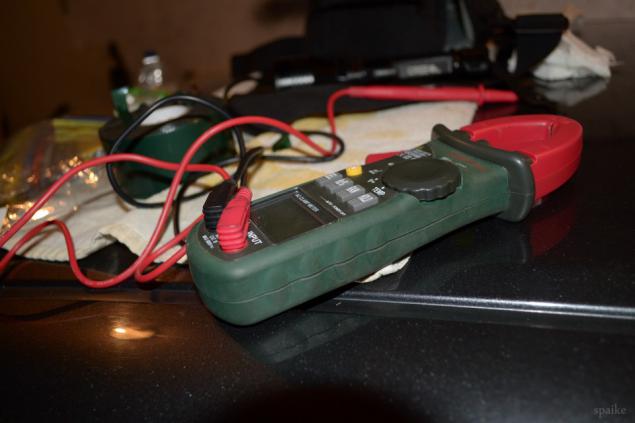
24. Print the trailer hood
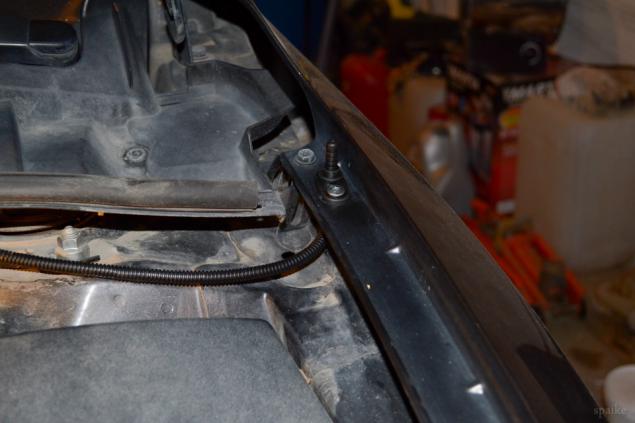
25. The temperature sensor motor
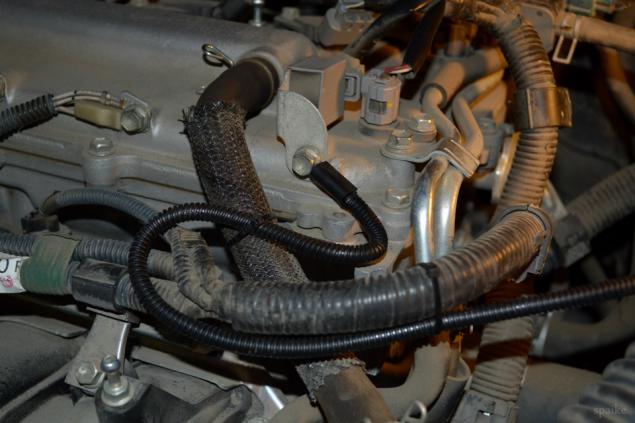
26. What would be more fun
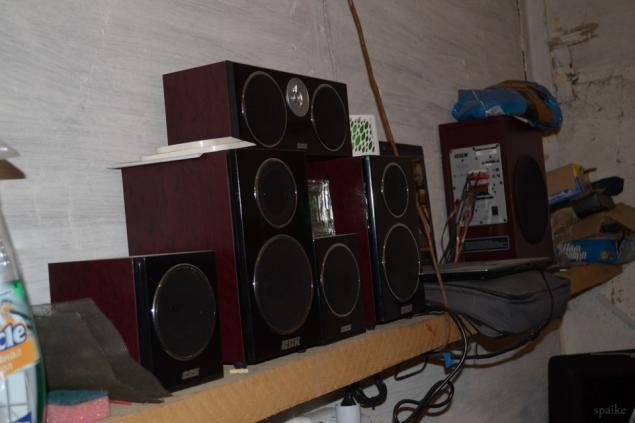
27. Siren
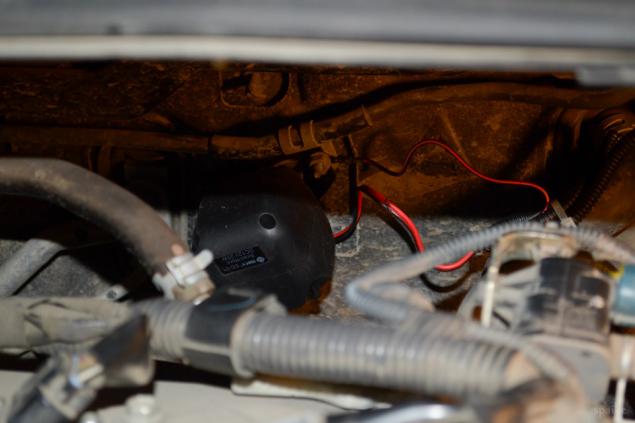
28. dirty something. In summer, it is necessary to wash.
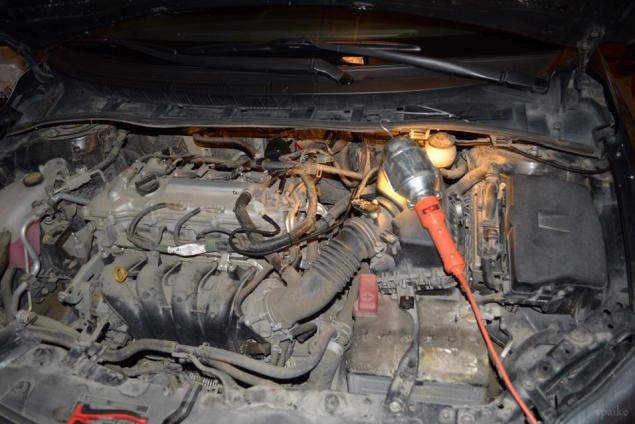
29. The penultimate. Well, sort of works!
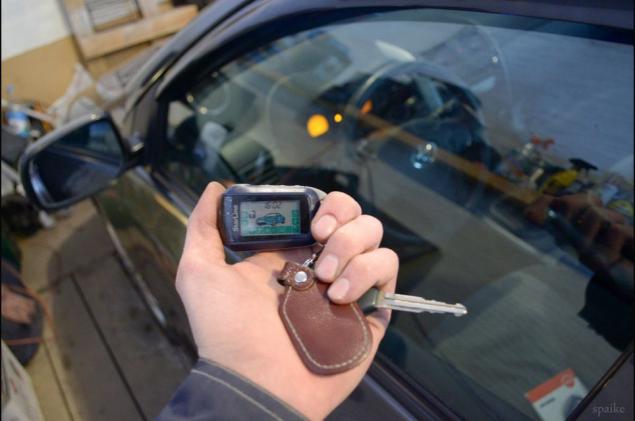
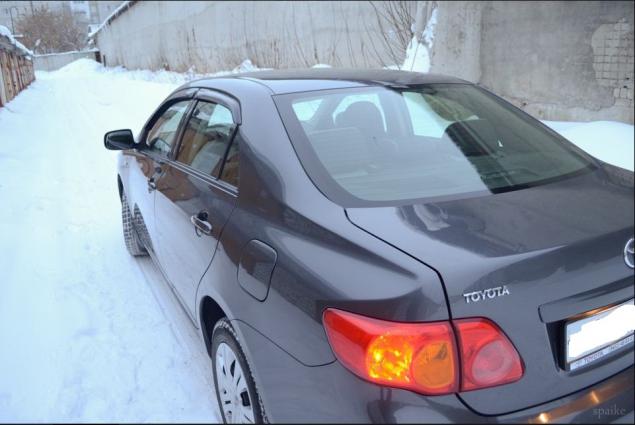
30. Total installation I spent two days. Cut, burned, he scratched all trades. Back hurts. But I'm happy because I did everything myself!
Price alarm 8110
Consumables took somewhere 600 rubles
Gain experience - priceless.
You can kick!
Source:
Today I'll tell you how to put themselves last weekend alarm. I hope you enjoy. The process however is not described in great detail, as did one and I could not be distracted by every detail.
I chose a long time to set some alarm. Actually I need the alarm itself only for startup. The choice fell on the StarLine. At first, I was advised to put the model A91, and almost agreed to put it in the center of installation for 8000 rubles. But accidentally I found out that there are alarms to the CAN interface, which greatly simplifies installation.
Then I had the idea to put the alarm itself. He began to look with alarm CANom. He stopped on the model A94.
Having studied manuals, reviews and decided to buy it and put their own.
I went to the store, bought the alarm siren, immobilizer lineman, wires and other components.
It will be 30 pictures
A friend has kindly provided a garage.
Saturday, 12.00.

What is the Internet, but we continue.
2. Preparation for the installation

3. I start to understand interior

4. We had to unscrew all 4 bolts. The rest is held by snap

5. Getting soldered to the power part.

7. Strictly implement autostart. Power unit alarm hidden layer interior panel.

8. Simply plug

9. Wires, cables, wires. How then do not get confused?

10. mimicking the clutch pedal is depressed. Implemented via relay contacts HP. The relay is controlled by the starter.
Ie when there is a start command, the relay and the machine thinks that the clutch is squeezed.

11. Worker immobilizer. With him there were problems.
The antenna, which comes supplied was weak. And immobilizer machines could not read the code from the key. I had to think what to do.
As a result, solder gap in regular antenna.

12. Begin slowly to collect and stack the wire.

13.

14.

15. slowly begins to fall off the back

16. Again, what that wire ...

17.

18. Begin slowly to collect interior

19. Collect even easier than dismantling. They know how the Japanese ...

20. Well, like everything in the cabin, it is necessary to move under the hood.
The alarm unit will not say where to put)

21. Payalnichek

22. My crib

23. And my assistant

24. Print the trailer hood

25. The temperature sensor motor

26. What would be more fun

27. Siren

28. dirty something. In summer, it is necessary to wash.

29. The penultimate. Well, sort of works!

30. Total installation I spent two days. Cut, burned, he scratched all trades. Back hurts. But I'm happy because I did everything myself!
Price alarm 8110
Consumables took somewhere 600 rubles
Gain experience - priceless.
You can kick!

Source:


