Restored order on the balcony
 Bashny.Net
The tale of how the system administrator on the balcony of the order suggests.
The idea came to "fix" to restore order, well, away we go ...
I make about 5-6 weeks, only on Saturdays and Sundays.
Will 49 ph I finish I will inform you.
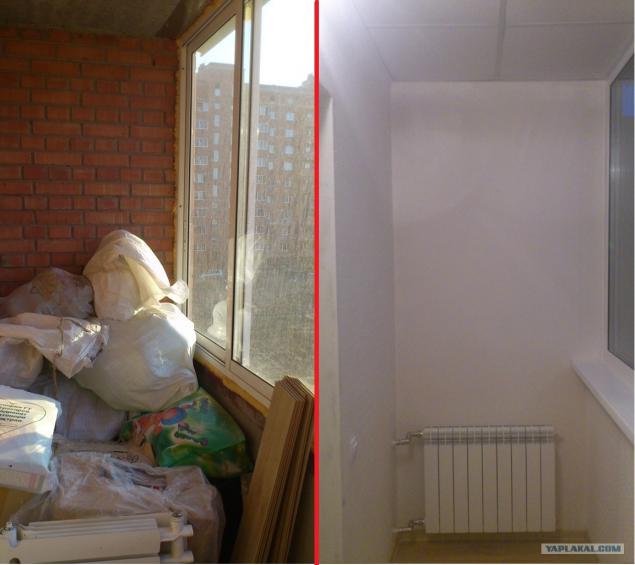
1.Vot such a mess was on the balcony ...
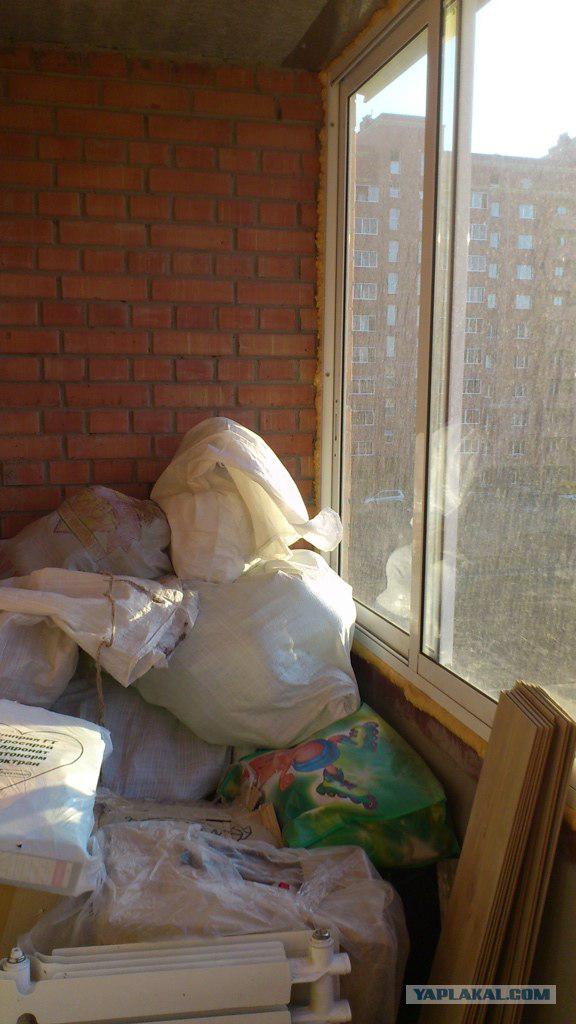
2. The other side of the mess
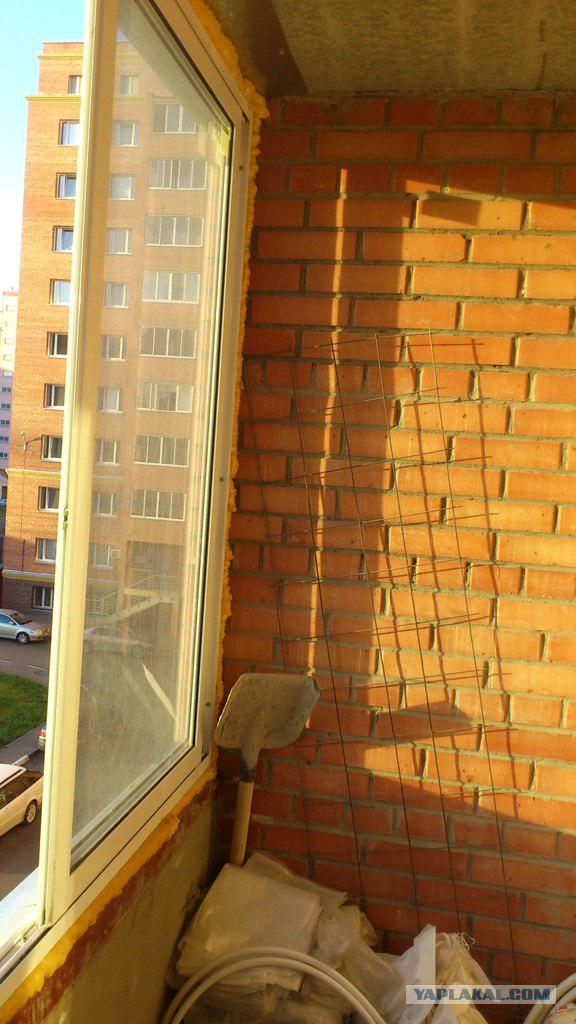
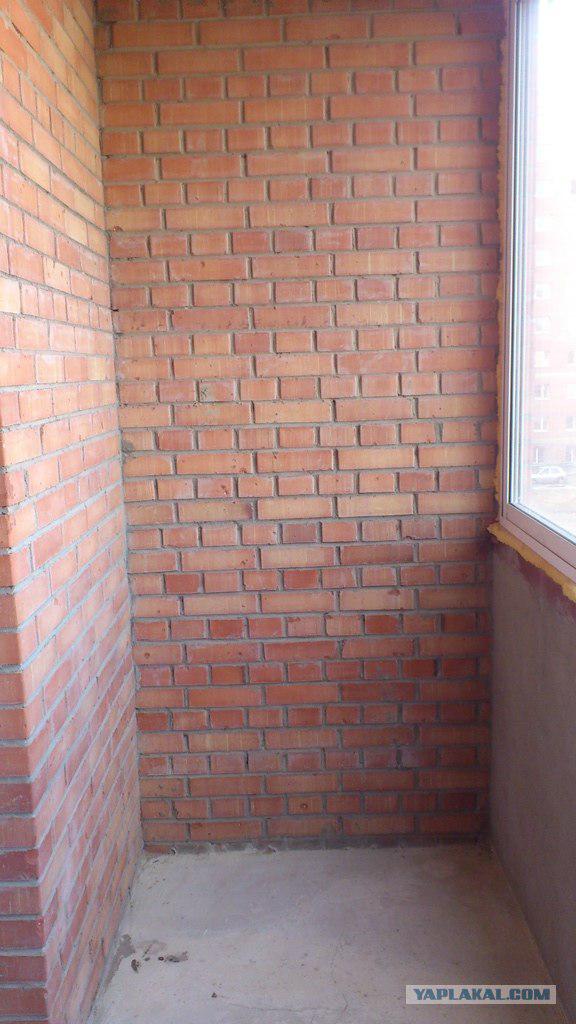
3. All take out ...
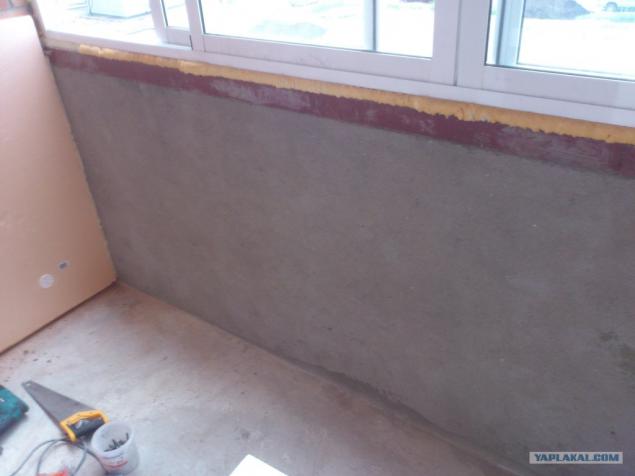
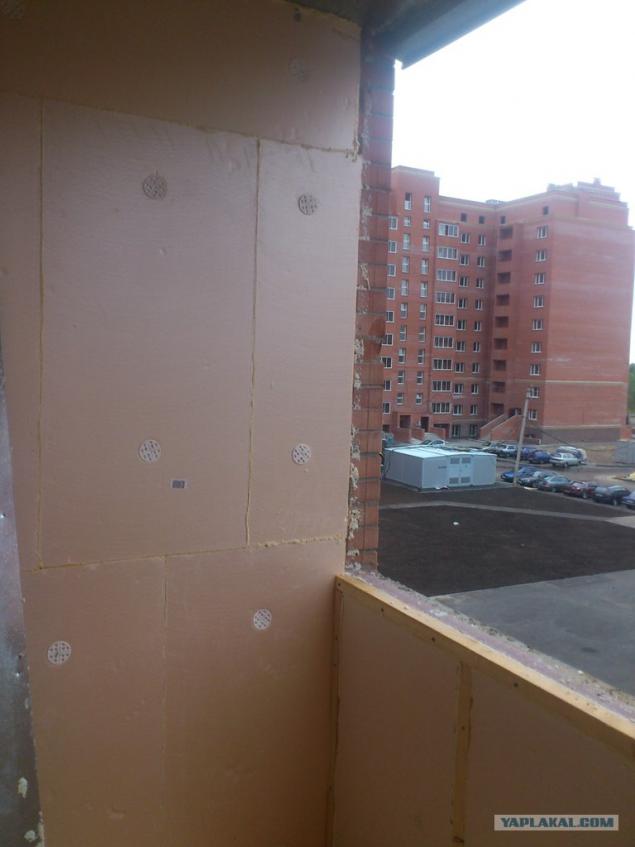
4. Purchase Penoplex 30mm and insulated walls, are mounted on 100mm "mushrooms» ...
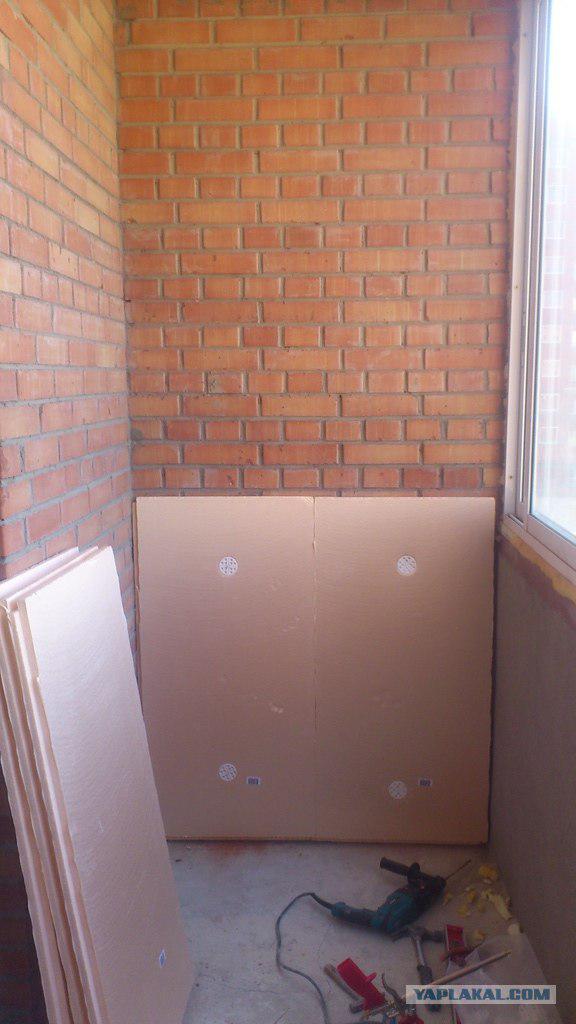
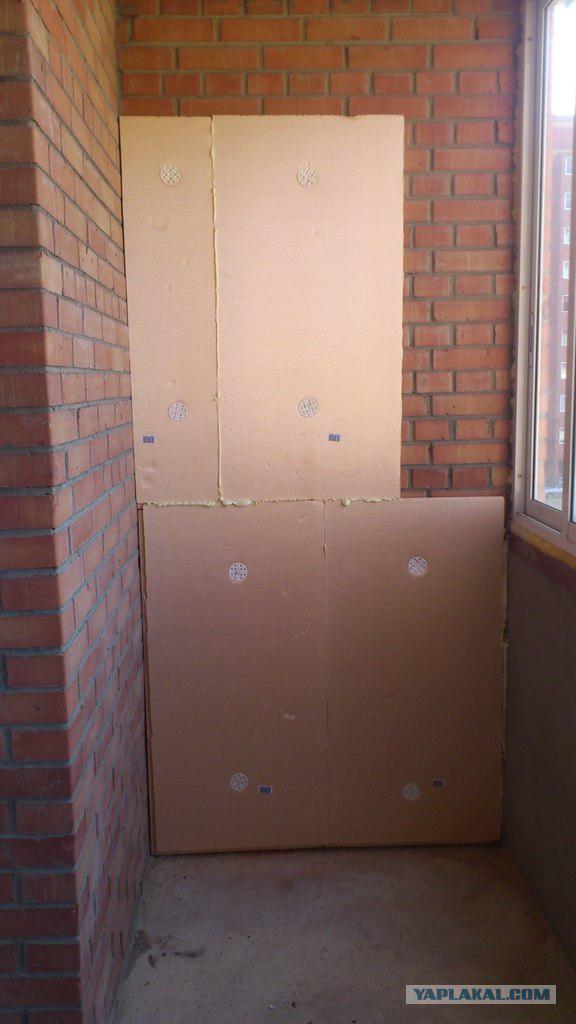
5. The process has started ... It seems to work.
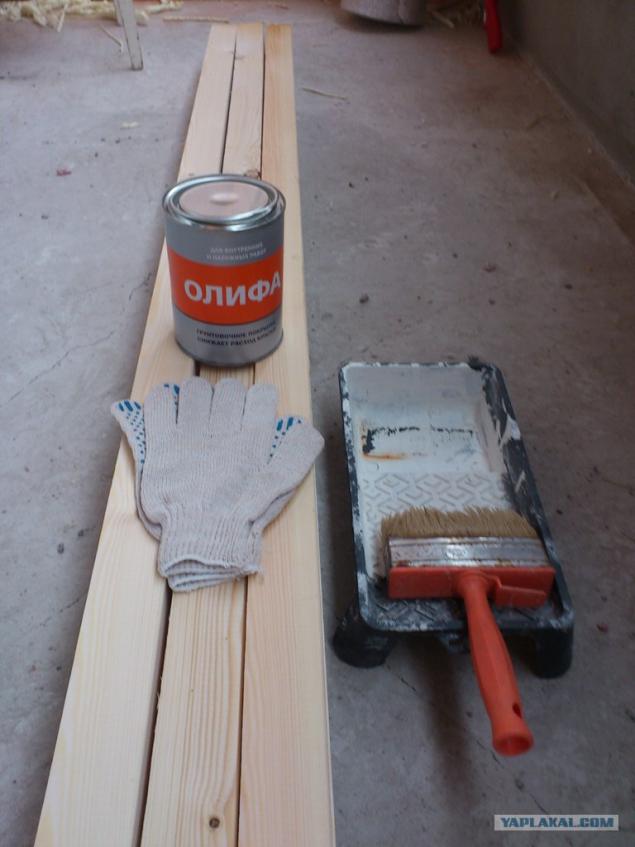
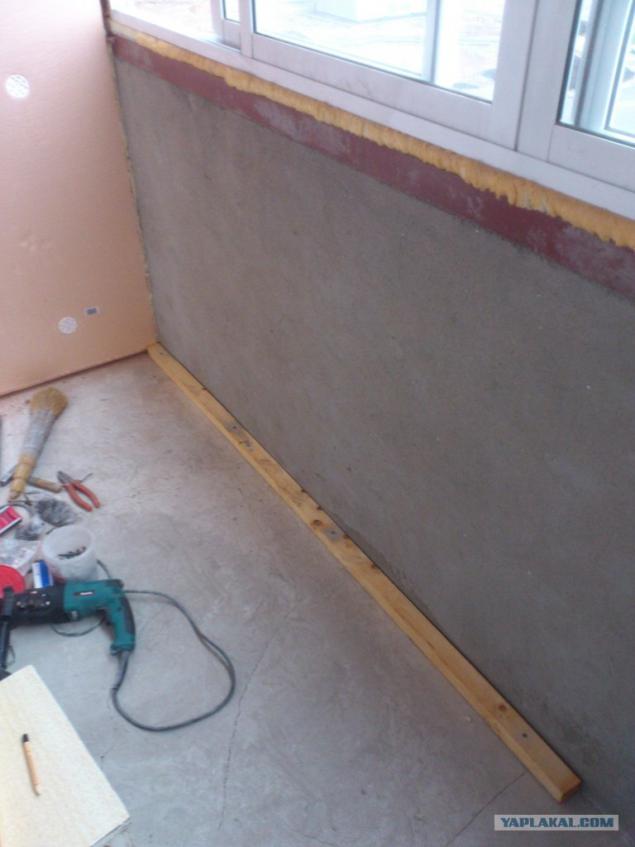
6. Purchase of beams 40 * 50 This will be our logs, but before installing will varnishes and leave for the night ...
7. found an old brush, smear it cant
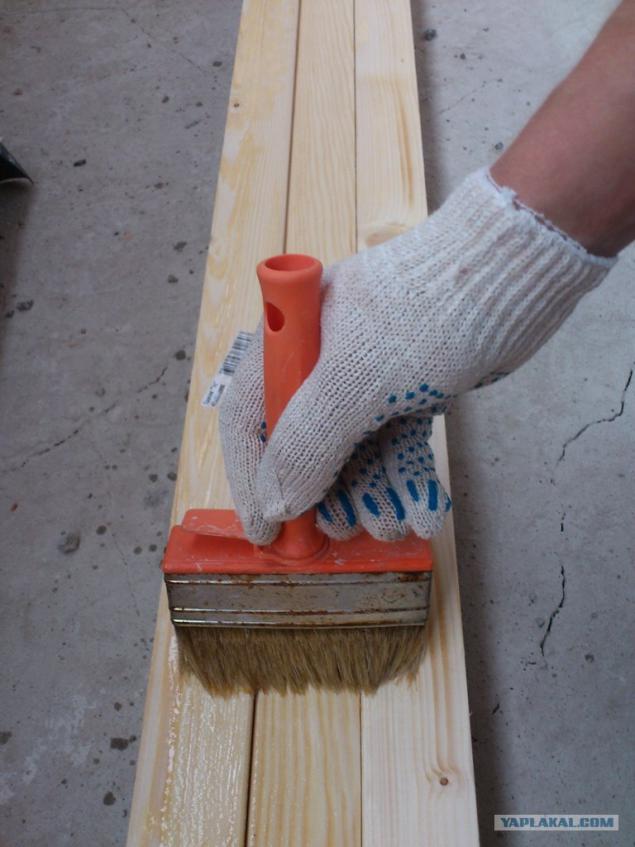
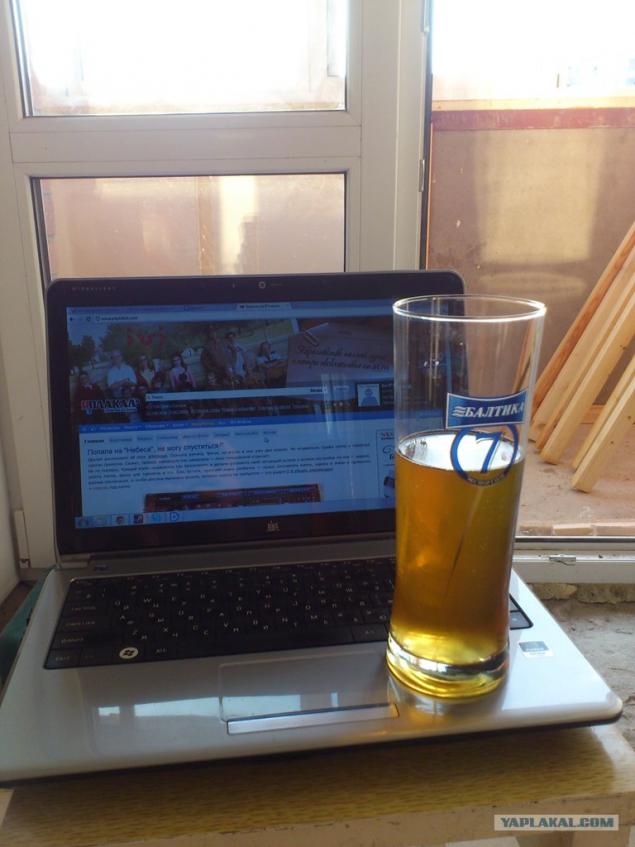
8. Bruce impregnated with linseed oil, a horrible stench in the balcony, so there is time to drink beer and read a favorite PL
9. We continue our activity.
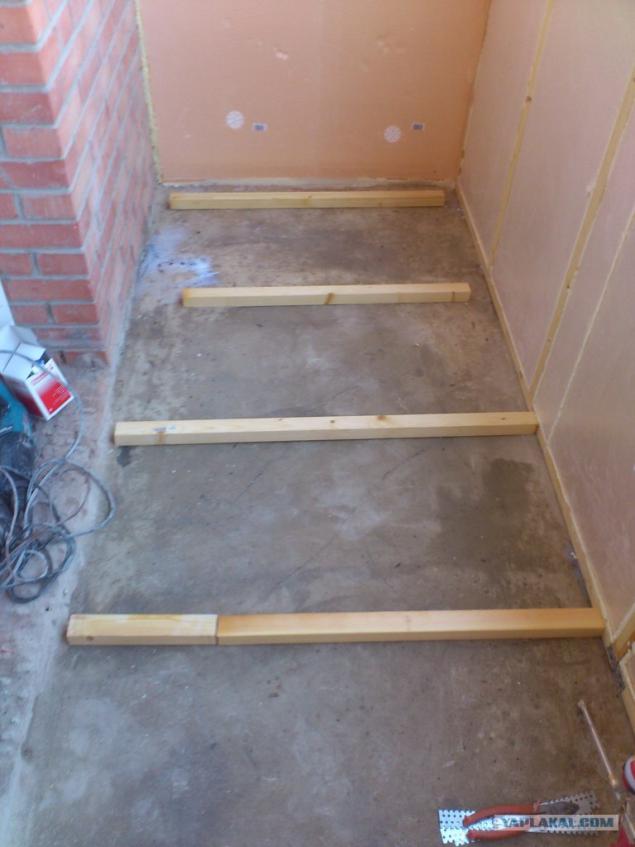
10. Fasten our 1st timber, well, "neither pen nor puha-»
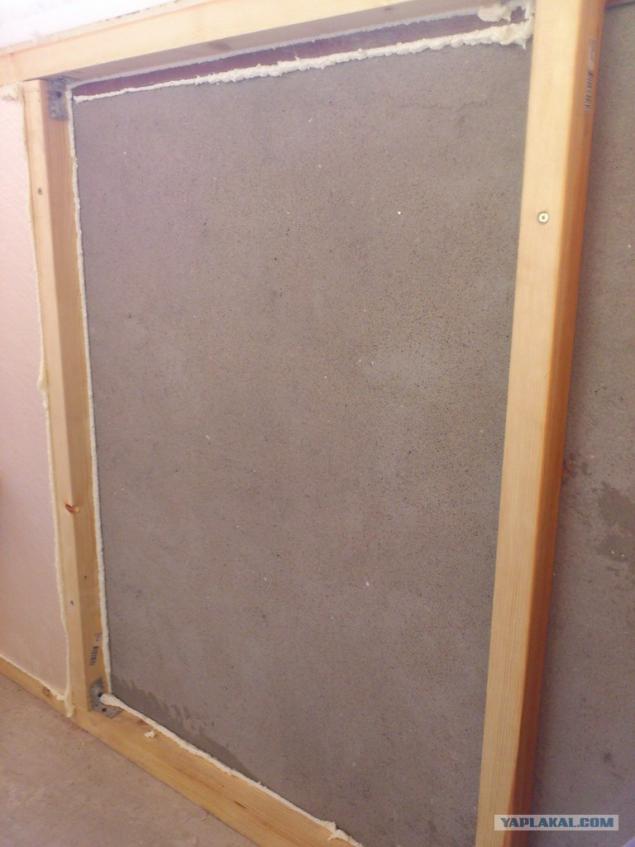
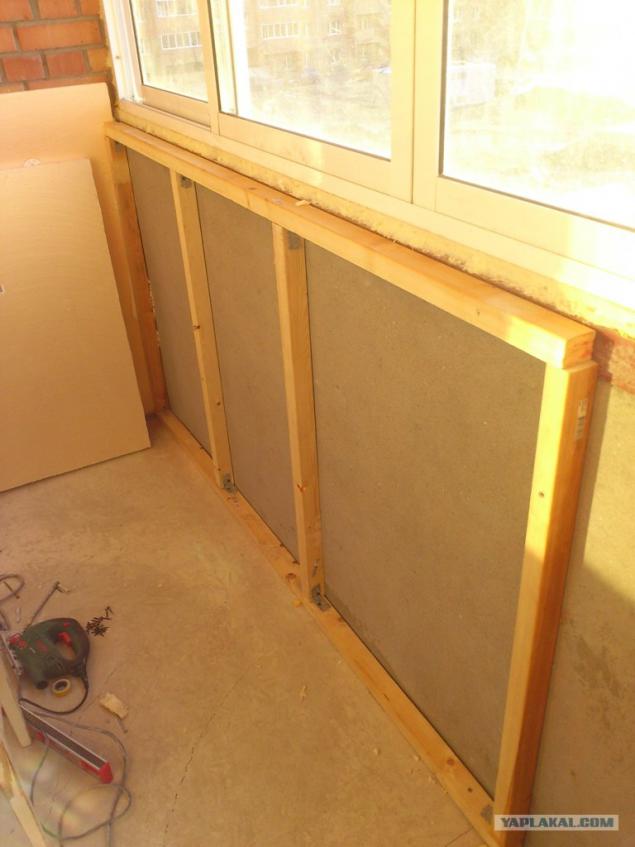
11. The frame forming slowly, took the usual hangers, cut with scissors (punched tape made of them bent in the corners)
12. The process ...
13. All good weekend :))) dabble at work
14. Try on a new piece of
15. Insert the cell penim

16. Our result
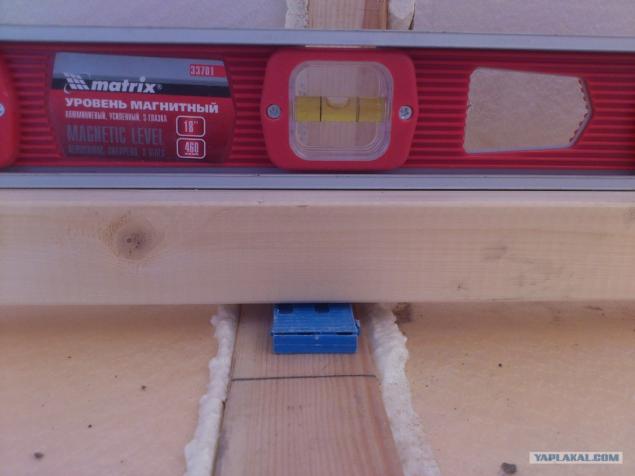
17. Turning to the floor joists are attached at a distance of 50 cm apart and 10 cm from the wall, they are placed close to the floor as much as possible, in terms of stand does not need ...
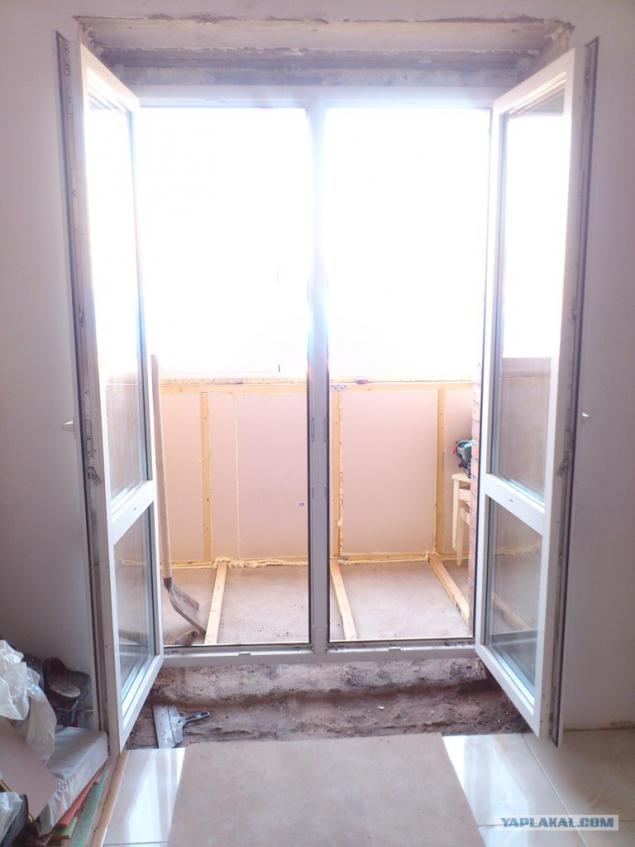
18. We can see light at the end of our journey ...
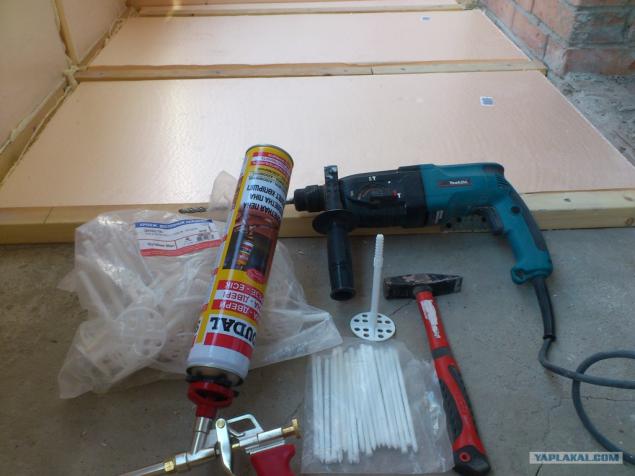
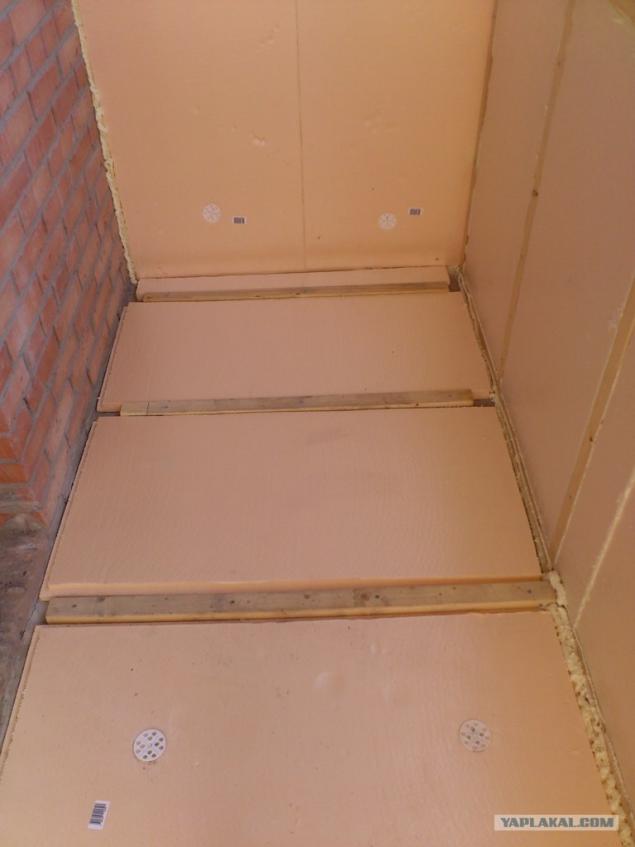
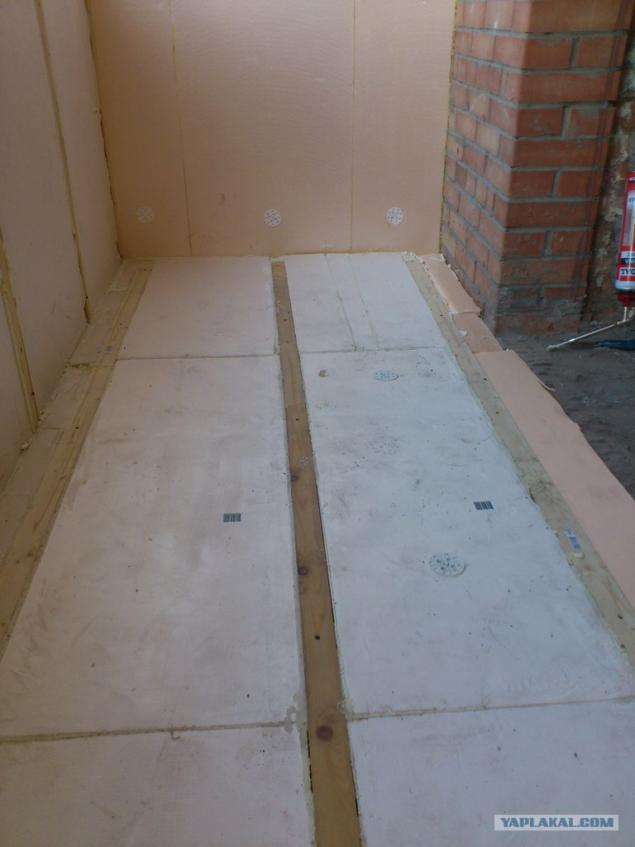
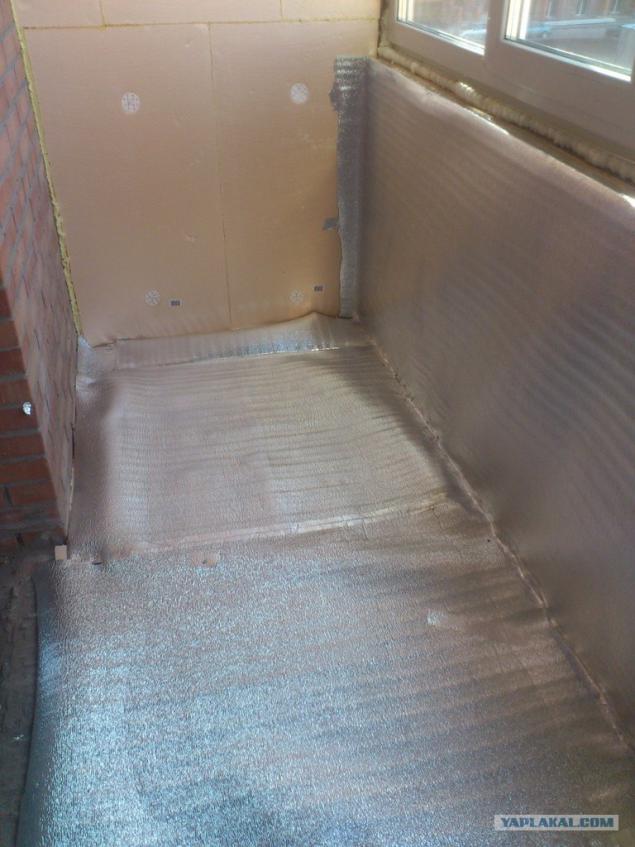
19. Take perfik, mushrooms and penoplex 50mm on the floor, put in a cell
20. It seems a good result, but we do not stop
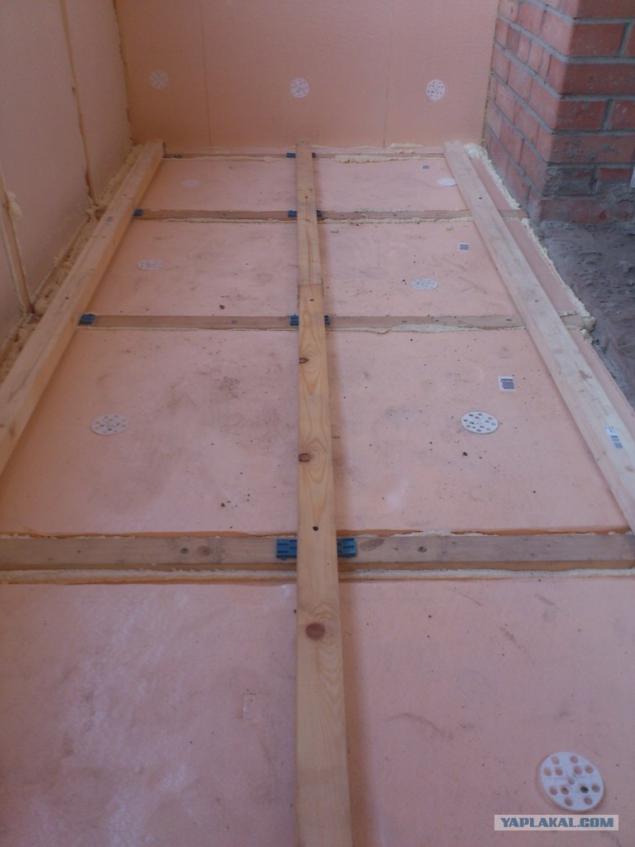
21. Now put the logs lengthwise in this case, 3m bar 40 * 50 by 10cm from the walls retreated, and the distance divided by sex, in the end get 3 logs. And here they are portrayed in terms of
22. Here they are longitudinal joists.
23. Disassemble the old balcony unit, and set on a forum :) I sold my behind 3000r.
24. Fill the cells in the second layer is 30 mm similarly
Penoplex
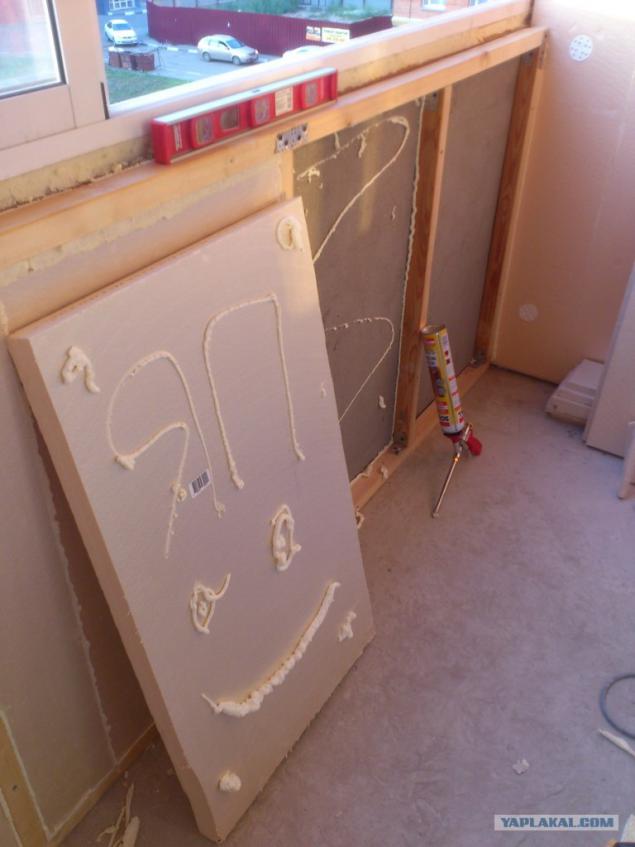
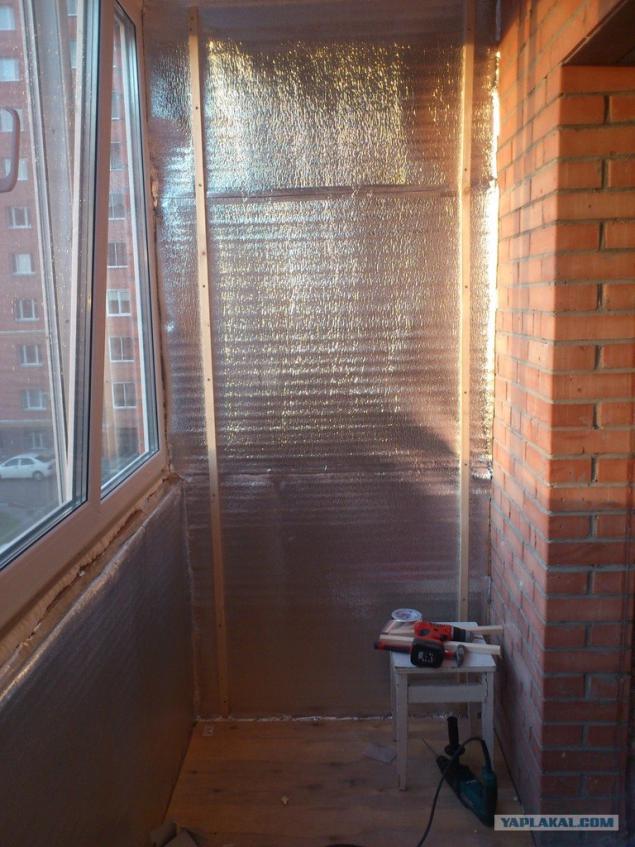
25. Buy a thermal insulation, and her skin-tight all around the perimeter :)
26. rake, 30 x 10 attached to the wall, will continue to sheathe the walls of the FCL
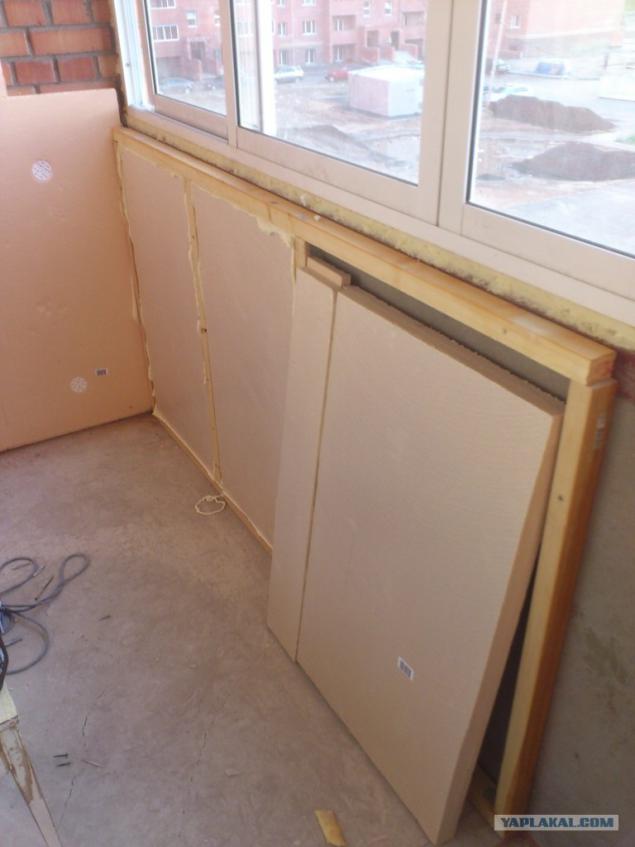
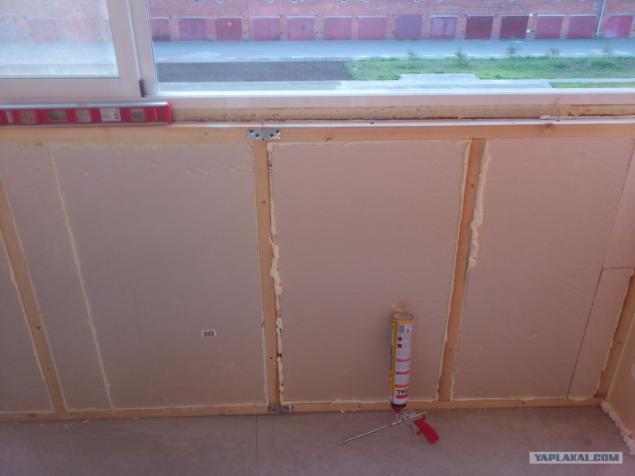
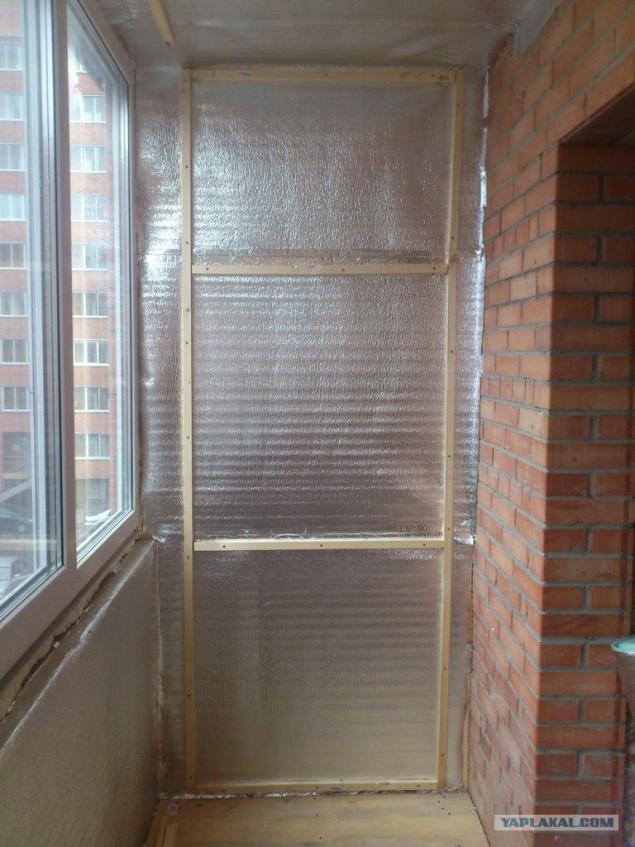
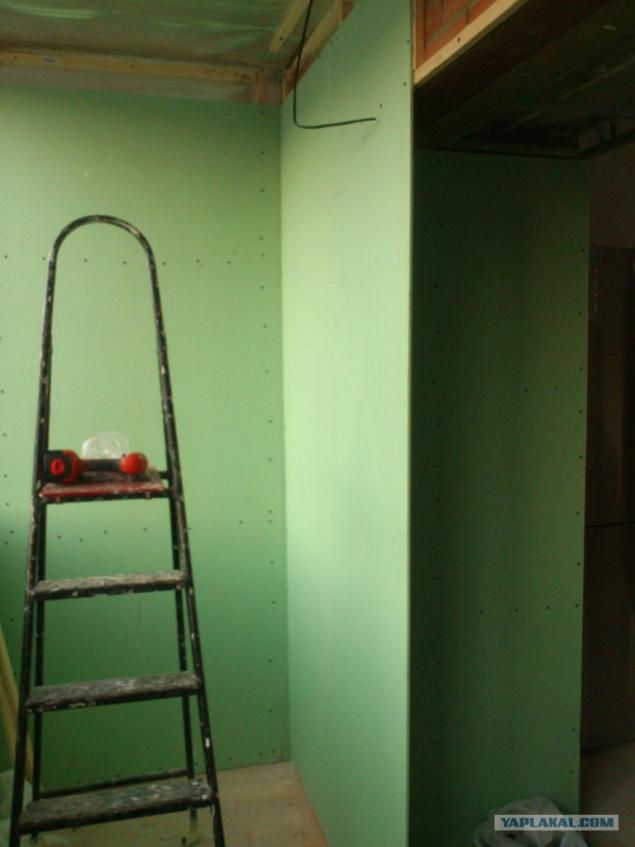
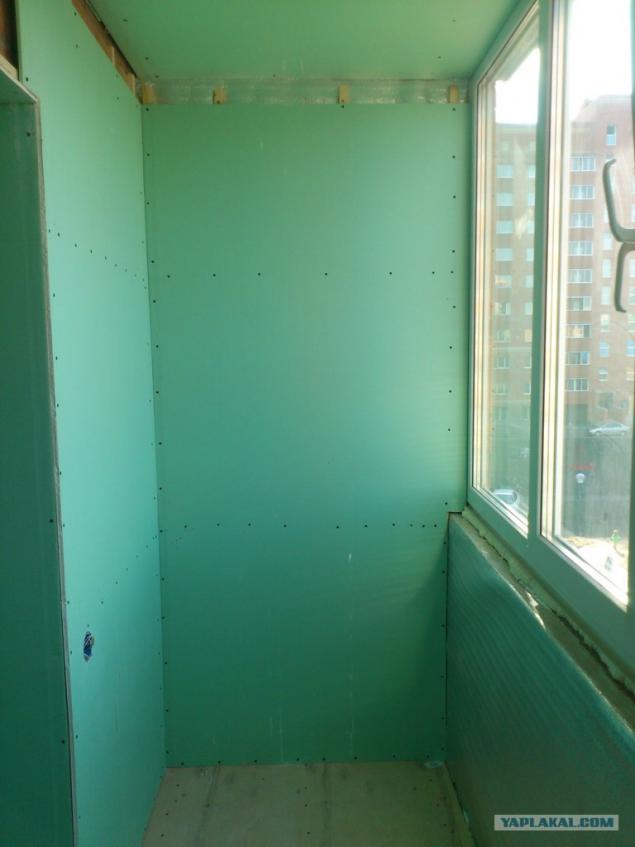
27. It appears to the wall cladding.
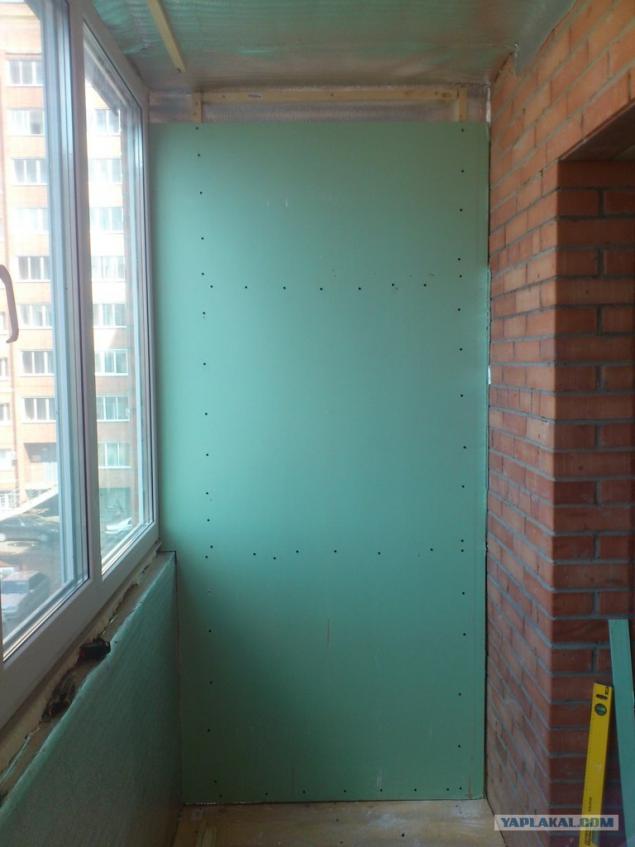
28. I was lucky, and the width of the wall 120 as the sheet GCR :)
29. Go to the opening, creating karsas cladding GCR.

30. That framework is almost ready
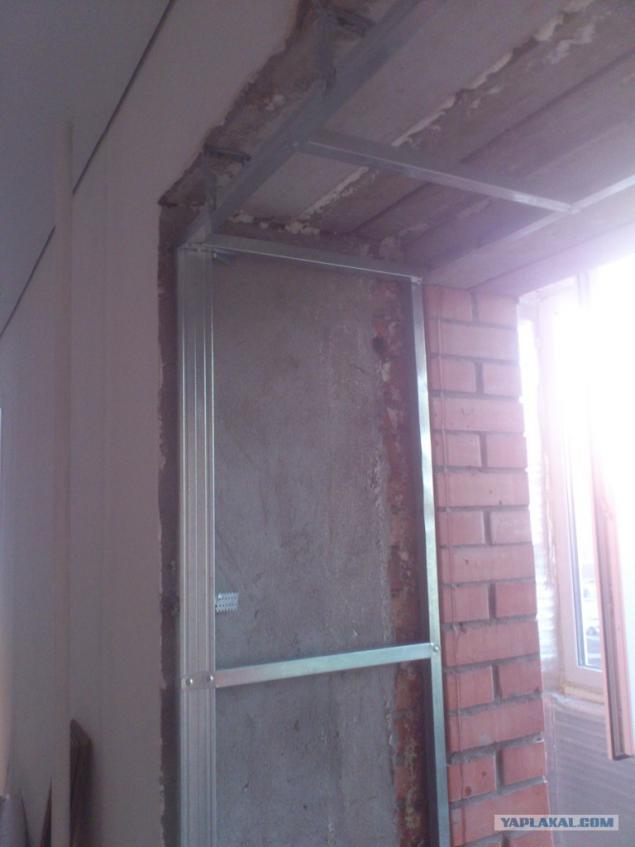
31. Voila, ready.
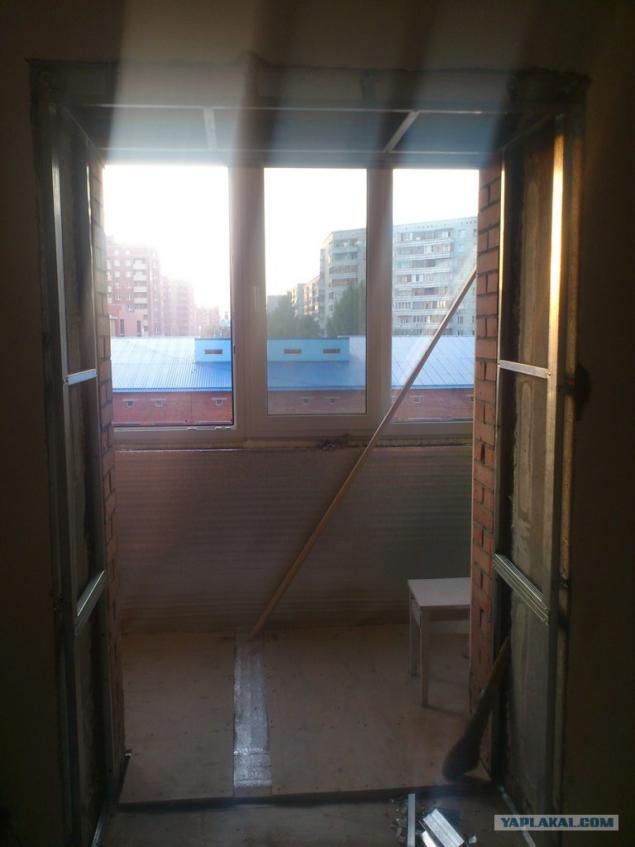
32. sheathe plasterboard on all as on the balcony could be wetter than the room the GCR waterproof.
33. Brought sill set.

34. More Fota
35. All finishkoy pass, handles mesh grind ...
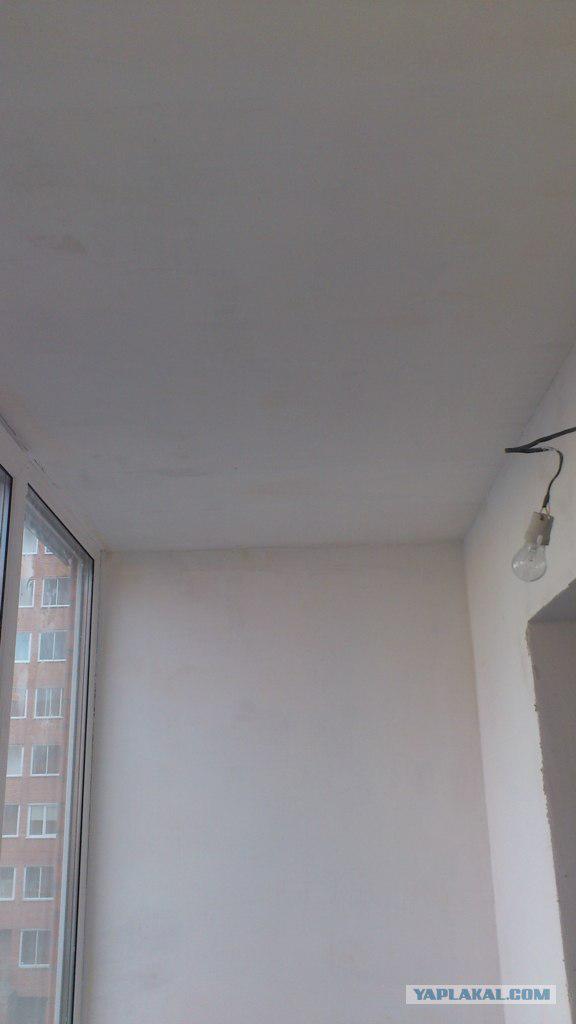
36. It is time for priming the walls ...
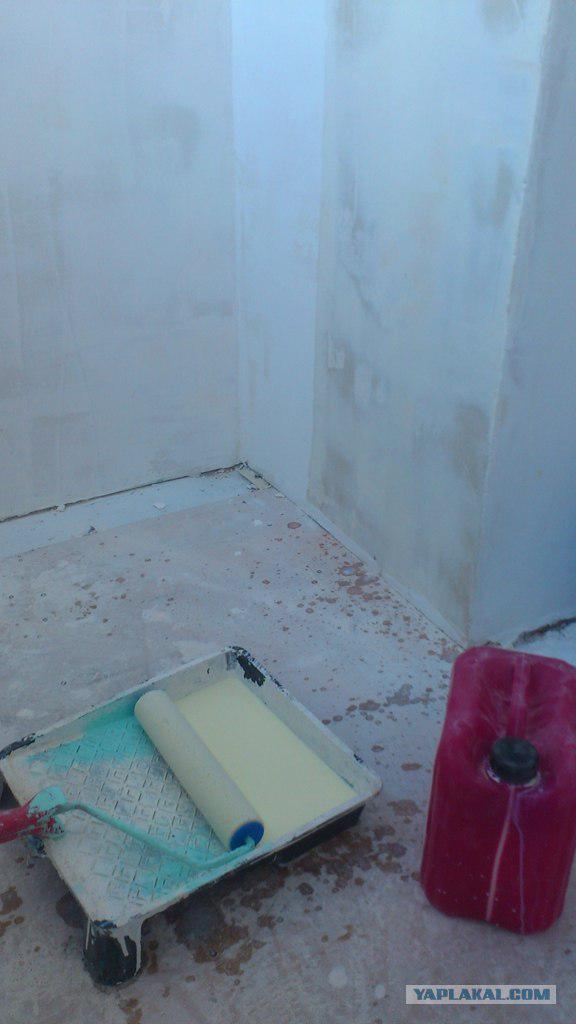
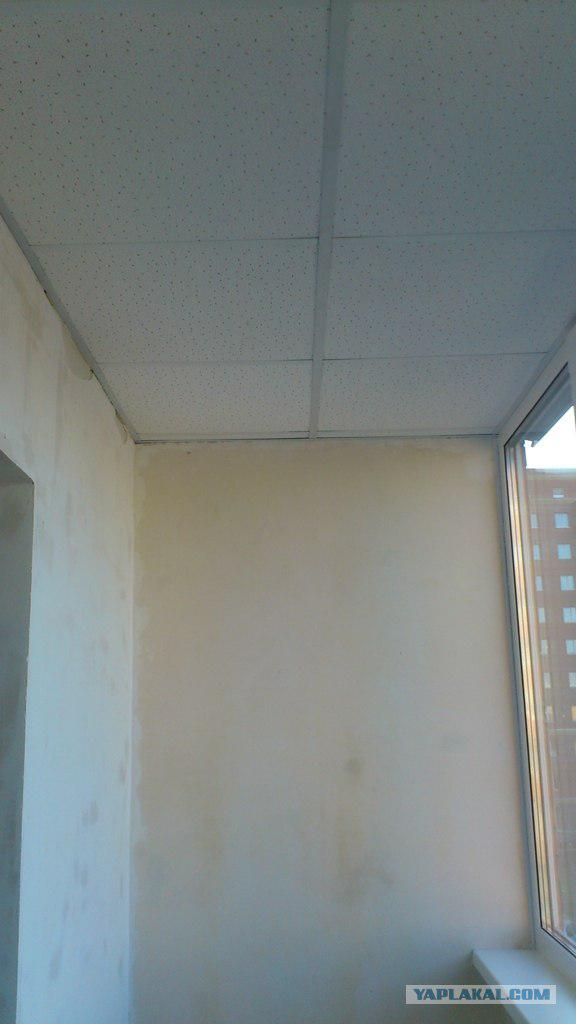
37. Only the attentive viewer noticed that the ceiling was made of plasterboard already assembled ... I had to make out very crooked gathered :))))
I decided to make a budget version of armstnonga :) Since ultafioletu resistant, moisture, heat.

38. This is our first socket, like normally falls
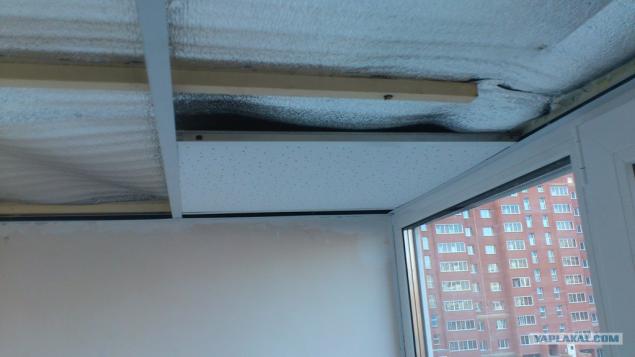
39. 6 pieces already have half ready
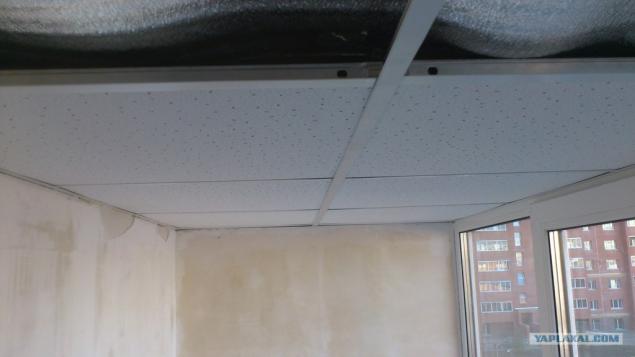
40. The ceiling is ready
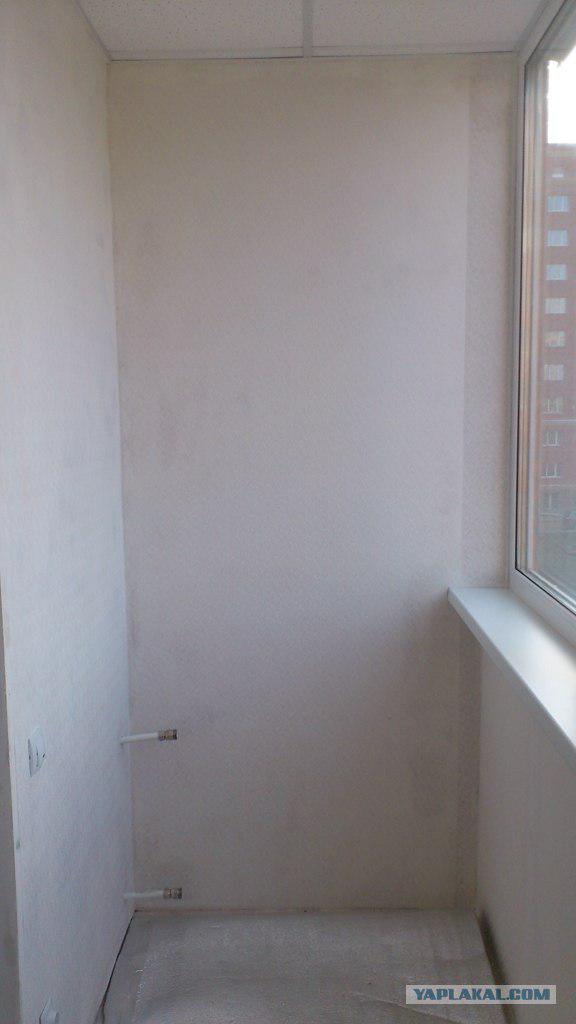
41. Brought pipe under the radiator
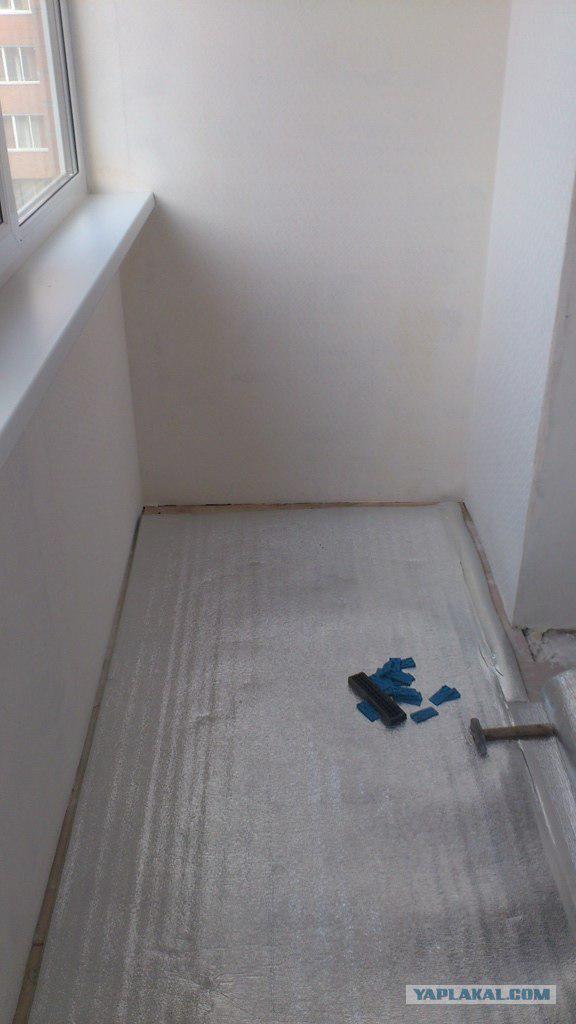
42. A piece of insulation use as a substrate for laminate
43. The fixture has found its place.

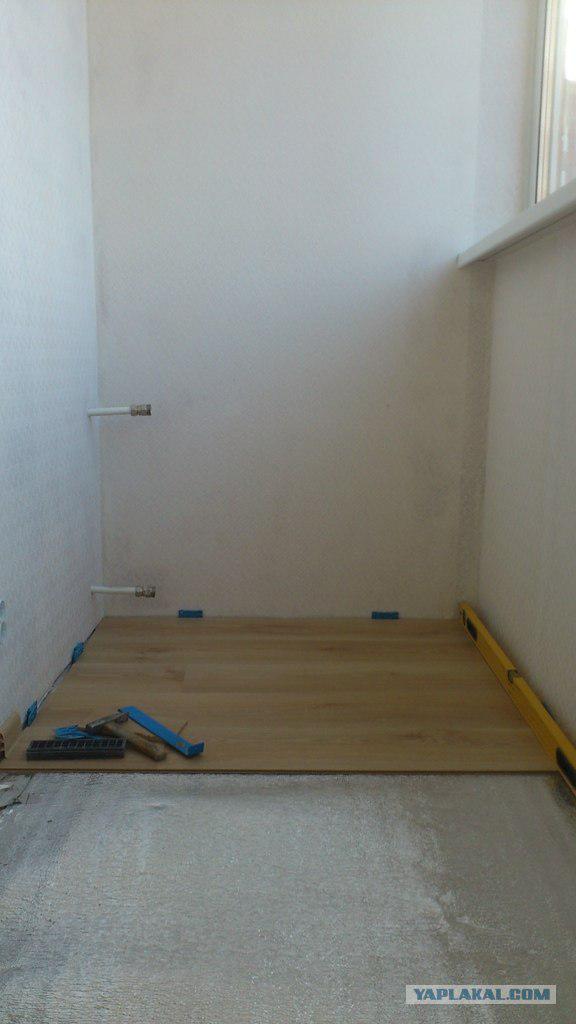
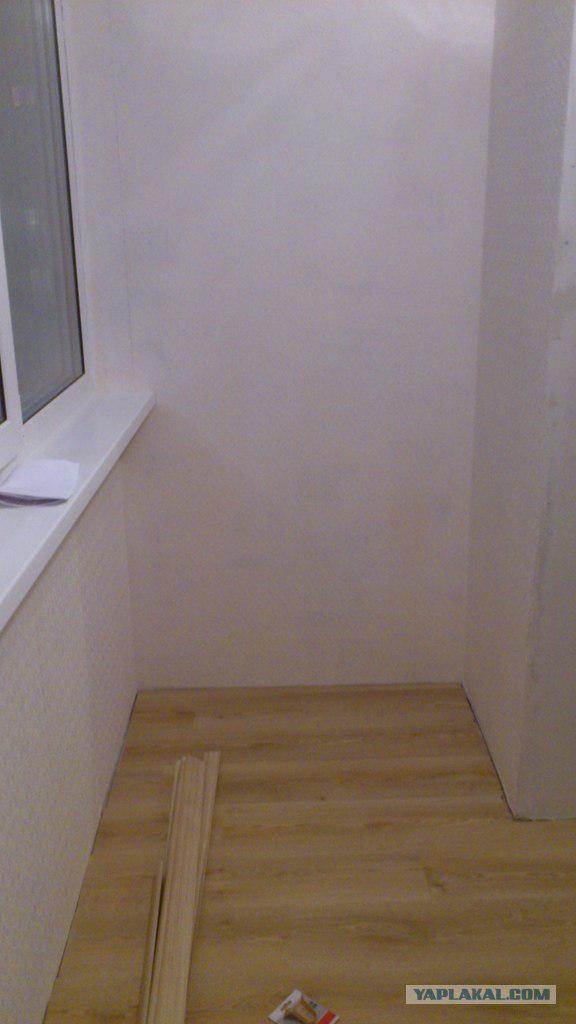
44. To begin to engage Lamit, laminate remained with the audience, began to spread ... obviously it was over, went to Leroy for another 1 box :)
45. It is time for the plinth
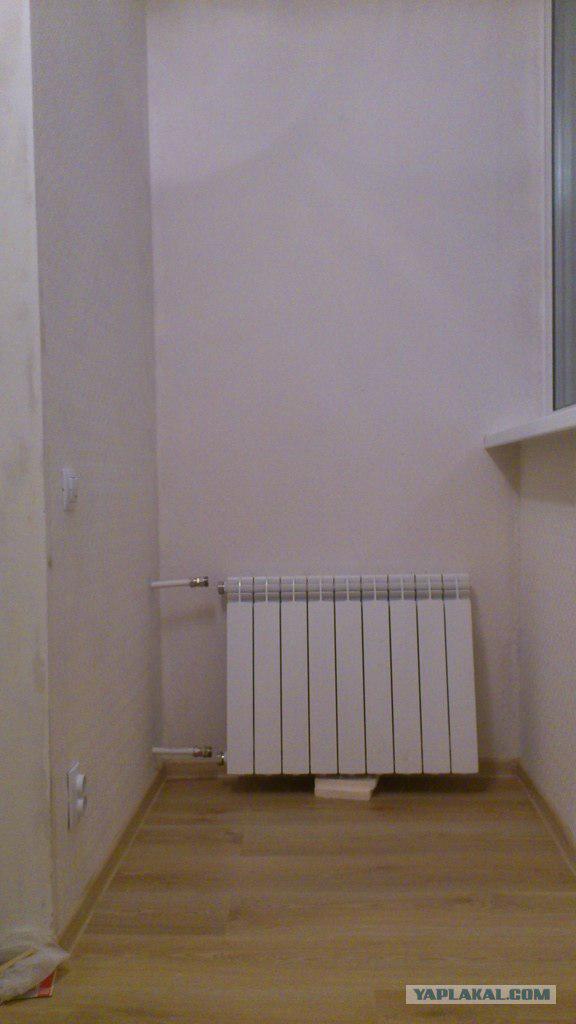
46. torsion radiator, replace the gaskets (lying on the balcony all winter radiator squeezed all gaskets, had to be replaced) try on.
Rosette and plinth are ready.
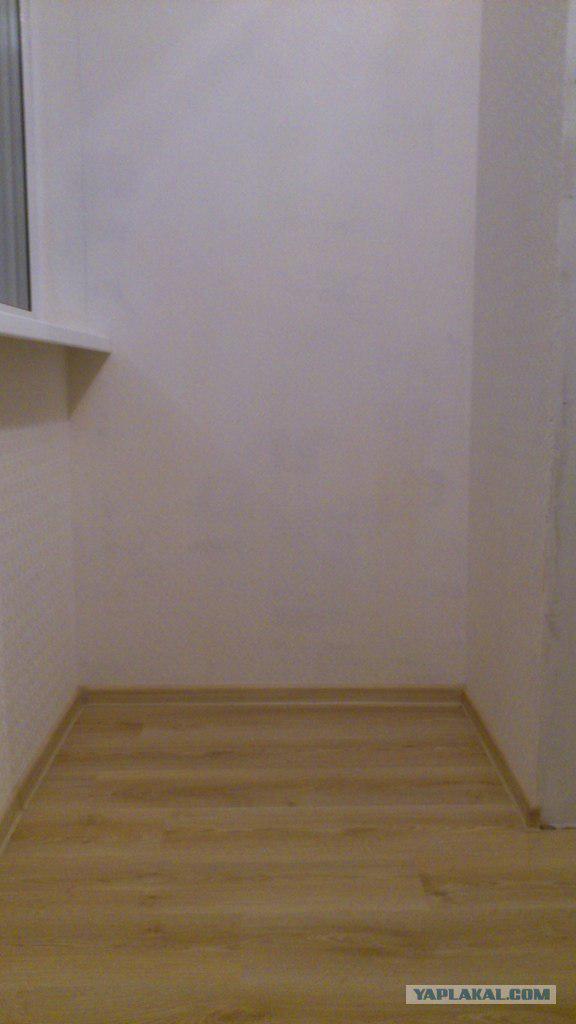
47. On the other hand Photo
48. We hang the radiator
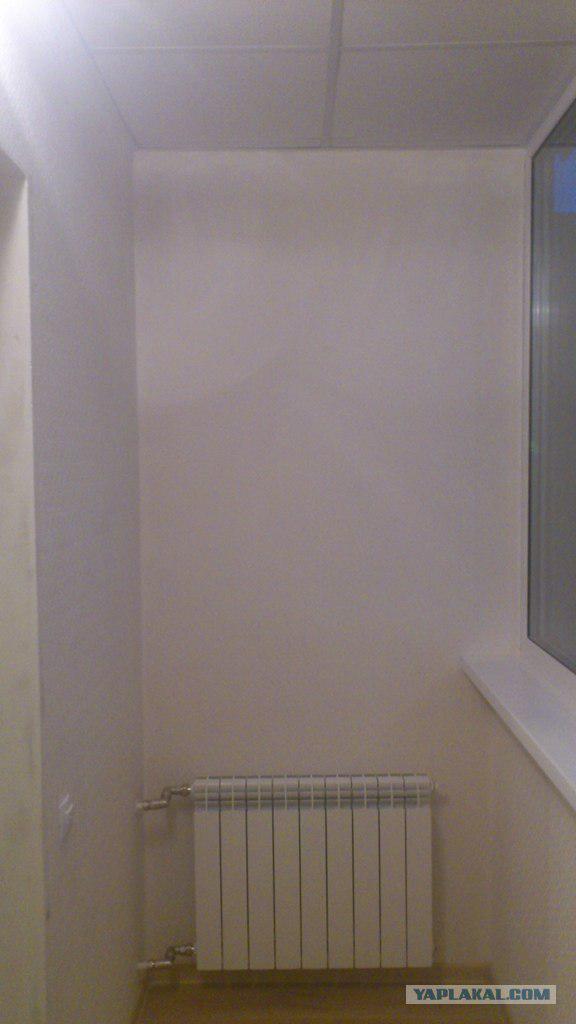
49. Lamp night :)
Posted in [mergetime] 1351446725 [/ mergetime]
Sorry, I miscalculated with fotami and their quality ... Total of 49.
Photographed at roulette ...
All your court :) I'm ready. All successful week
Miss the moment with pasting wallpaper, glued to a 106cm, there was no time and effort to photograph (the white wallpaper is now under painting), how to install a kitchen unit wall painted in the same color :) Balcony is not finished yet)

Source:
The idea came to "fix" to restore order, well, away we go ...
I make about 5-6 weeks, only on Saturdays and Sundays.
Will 49 ph I finish I will inform you.

1.Vot such a mess was on the balcony ...

2. The other side of the mess

3. All take out ...

4. Purchase Penoplex 30mm and insulated walls, are mounted on 100mm "mushrooms» ...

5. The process has started ... It seems to work.

6. Purchase of beams 40 * 50 This will be our logs, but before installing will varnishes and leave for the night ...

7. found an old brush, smear it cant

8. Bruce impregnated with linseed oil, a horrible stench in the balcony, so there is time to drink beer and read a favorite PL

9. We continue our activity.

10. Fasten our 1st timber, well, "neither pen nor puha-»

11. The frame forming slowly, took the usual hangers, cut with scissors (punched tape made of them bent in the corners)

12. The process ...

13. All good weekend :))) dabble at work

14. Try on a new piece of

15. Insert the cell penim

16. Our result

17. Turning to the floor joists are attached at a distance of 50 cm apart and 10 cm from the wall, they are placed close to the floor as much as possible, in terms of stand does not need ...

18. We can see light at the end of our journey ...

19. Take perfik, mushrooms and penoplex 50mm on the floor, put in a cell

20. It seems a good result, but we do not stop

21. Now put the logs lengthwise in this case, 3m bar 40 * 50 by 10cm from the walls retreated, and the distance divided by sex, in the end get 3 logs. And here they are portrayed in terms of

22. Here they are longitudinal joists.

23. Disassemble the old balcony unit, and set on a forum :) I sold my behind 3000r.

24. Fill the cells in the second layer is 30 mm similarly
Penoplex

25. Buy a thermal insulation, and her skin-tight all around the perimeter :)

26. rake, 30 x 10 attached to the wall, will continue to sheathe the walls of the FCL

27. It appears to the wall cladding.

28. I was lucky, and the width of the wall 120 as the sheet GCR :)

29. Go to the opening, creating karsas cladding GCR.

30. That framework is almost ready

31. Voila, ready.

32. sheathe plasterboard on all as on the balcony could be wetter than the room the GCR waterproof.

33. Brought sill set.

34. More Fota

35. All finishkoy pass, handles mesh grind ...

36. It is time for priming the walls ...

37. Only the attentive viewer noticed that the ceiling was made of plasterboard already assembled ... I had to make out very crooked gathered :))))
I decided to make a budget version of armstnonga :) Since ultafioletu resistant, moisture, heat.

38. This is our first socket, like normally falls

39. 6 pieces already have half ready

40. The ceiling is ready

41. Brought pipe under the radiator

42. A piece of insulation use as a substrate for laminate

43. The fixture has found its place.

44. To begin to engage Lamit, laminate remained with the audience, began to spread ... obviously it was over, went to Leroy for another 1 box :)

45. It is time for the plinth

46. torsion radiator, replace the gaskets (lying on the balcony all winter radiator squeezed all gaskets, had to be replaced) try on.
Rosette and plinth are ready.

47. On the other hand Photo

48. We hang the radiator

49. Lamp night :)
Posted in [mergetime] 1351446725 [/ mergetime]
Sorry, I miscalculated with fotami and their quality ... Total of 49.
Photographed at roulette ...
All your court :) I'm ready. All successful week
Miss the moment with pasting wallpaper, glued to a 106cm, there was no time and effort to photograph (the white wallpaper is now under painting), how to install a kitchen unit wall painted in the same color :) Balcony is not finished yet)

Source:
Tags
See also
Repair of children's long six months
Incredible story happened with prominent politicians.
Home PC.
Service Repair of digital technology
Single Father
Harlem unfavorable low-rise suburb of gangsters on the streets ...
To the Pacific Ocean on a motorbike - 2012
The first day after the revolution. Bishkek 2010.
Who blew DnieproGES?
Good and bad Canada. Findings after 7 months