1601
Leather Pouch for the torch with his own hands
1. There is here a handsome man, and he needed a cover. In general, for a long time thinking about it, from the date of purchase of a lantern, because manning covers, to say the least, not for long enough decent appearance. If someone will repeat this case, I recommend first to read everything to the end, and only then proceed to action, since in the end I had to redo something.
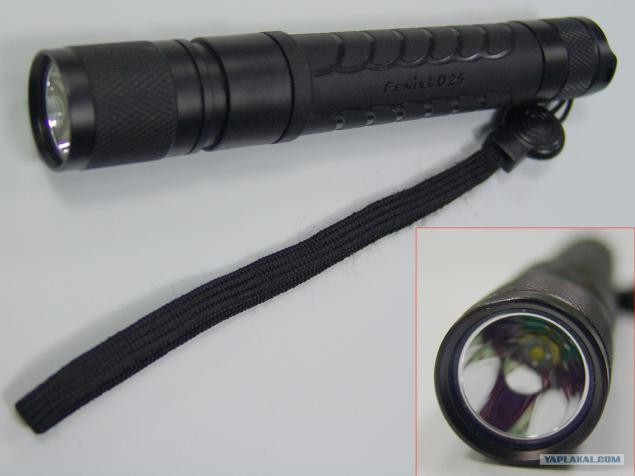
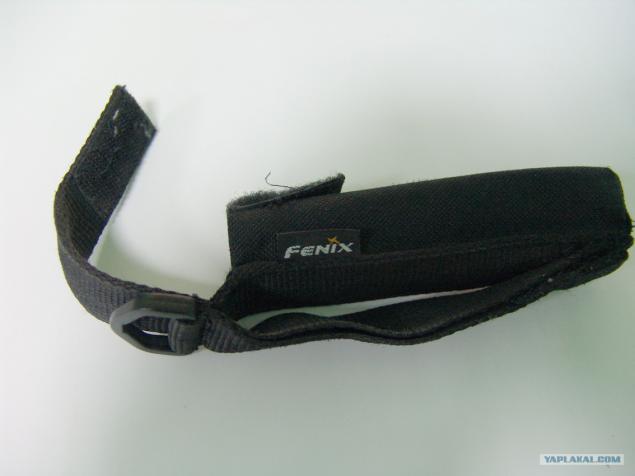
2. If a new staff case was still more or less, after four months of daily socks on his belt, he became pathetic.
3. For a long time to search the internet for the production of any information of such a cover, which I imagined would be acceptable, but in fact generally found only one video, which makes the shoemaker for his flashlight case, and even then, I did not like that option.
So, anyway, and will have to try to do. I have to say, from experience in this area there is nothing - no sewing experience is not, nor working with leather. Only one feeble effort was undertaken recently: as the training has replaced the zipper on his leather housekeeper. So I, at least, saw that it was not so hard, that his hope for a successful event. A friend, knowing about such attack, presented me with a piece of good skin. There, with a reserve that not one attempt is enough, so I have the chance of success.
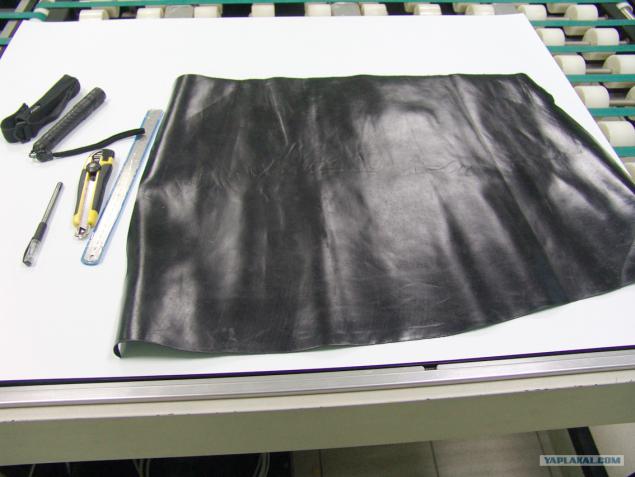
So, let's begin. From the tools and materials were used: a roll of skin, ruler, stationery knife, caliper, the glue "Moment" (monitors, printers, Karelians in this list will not be included). On the way, a list of tools added, because I fill the text in the manufacturing process and that there will need more - xs.
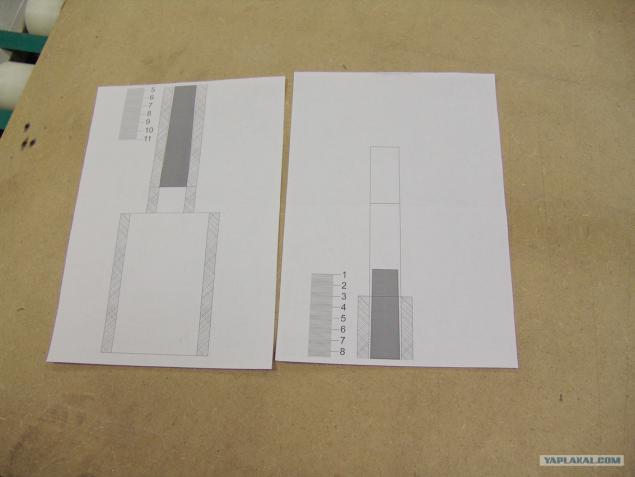
4. CorelDRAW paint what I think may be the pattern cover.
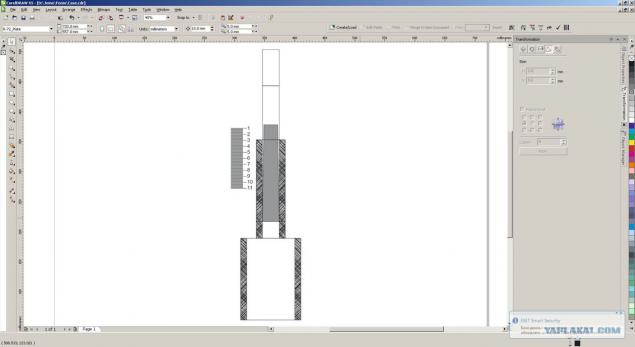
5. printed on two sheets of A4 in full size. The scale of the figures in order to understand where the boundary of the upper and lower halves, then to connect them.
6. Getting circle skillful hands and cut - glue, look ... There was a used double-sided tape (that came to hand, and to become the glue). In the photo he is yellow.
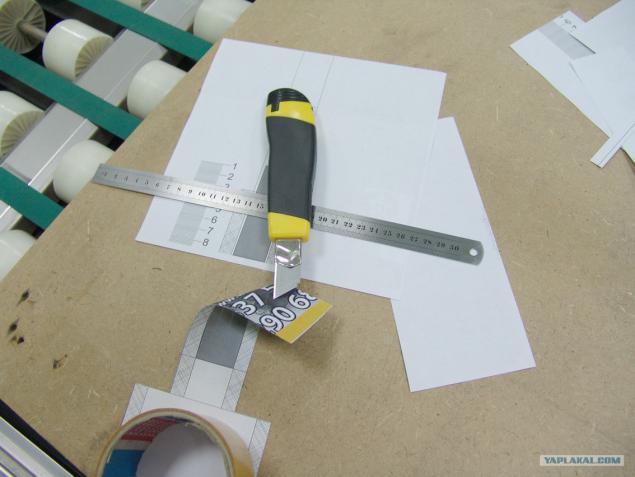
7. Here it is already preparing the first pattern.
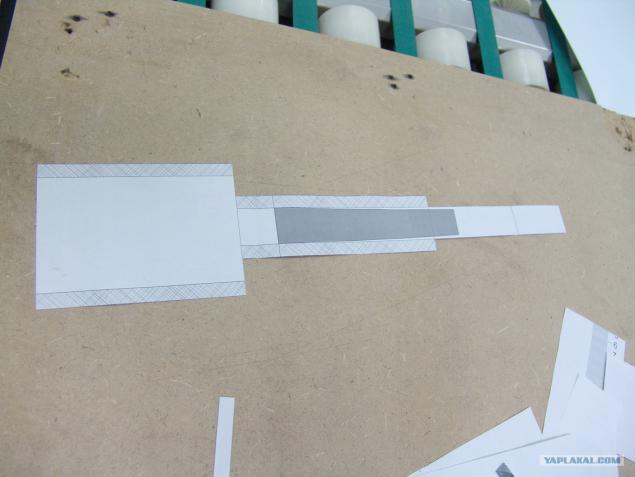
8. Next, collect in the form as it should be. Put into flashlight and horrified by what razmerchik nifiga not what it should be. But measured!
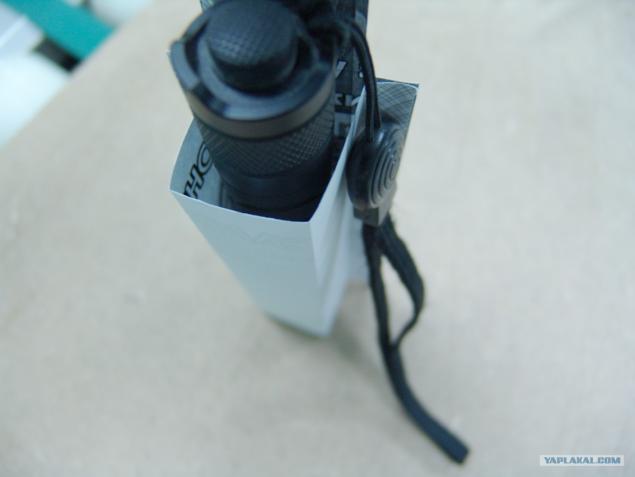
9. Even the size of the strap, and that's not like it!
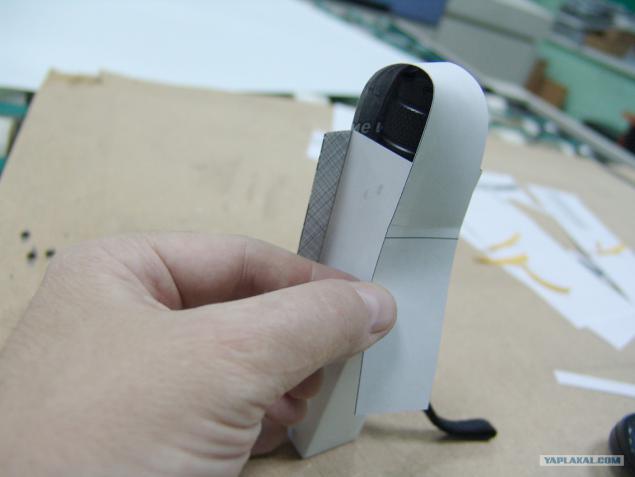
10. The adjustment has been made in drawing and over again.
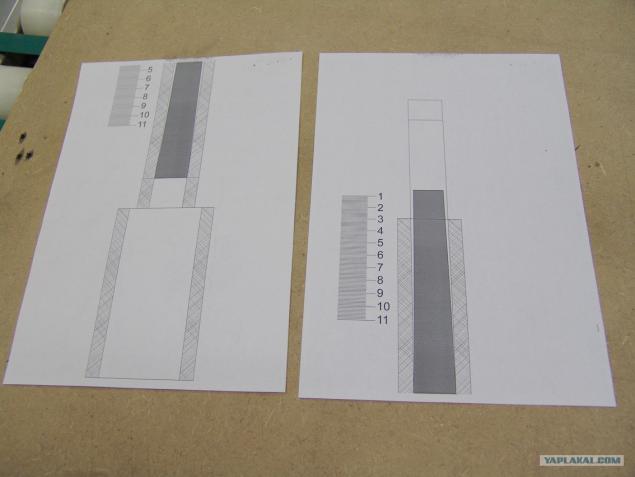
11. Well, that's something similar.
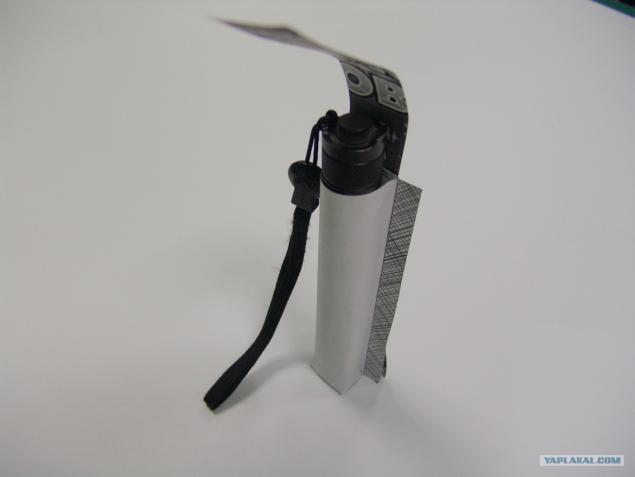
12. ...
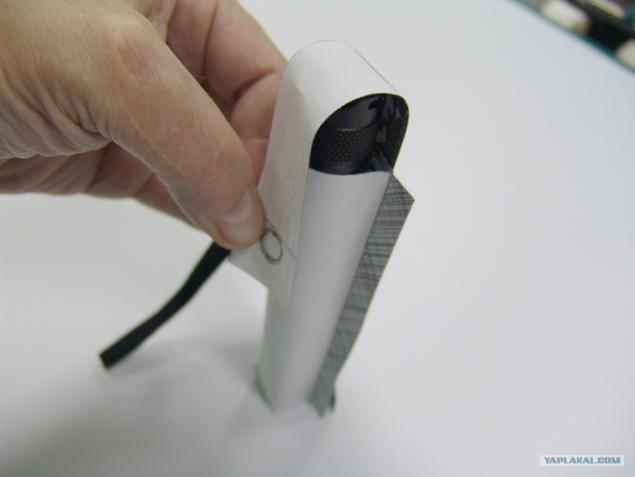
13. At the bottom of the most problematic place: do not want to leave a gap, and how to get rid of them - is not clear. There is a very questionable decision, but so, too, can not leave. Next will be a little different.
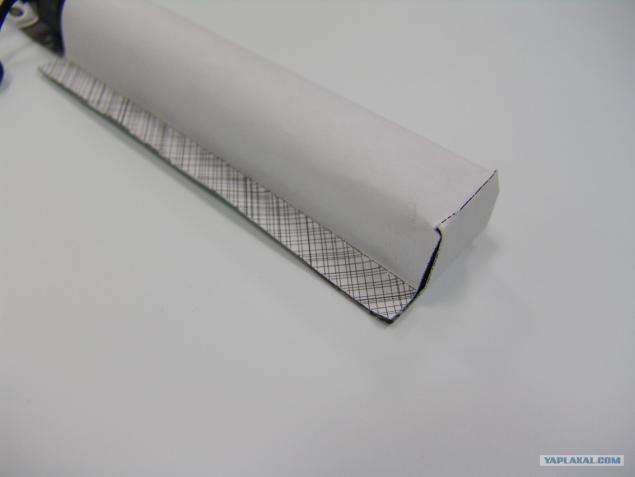
14. Let's try this way. Here the line already drawn on both sides, it's more convenient.
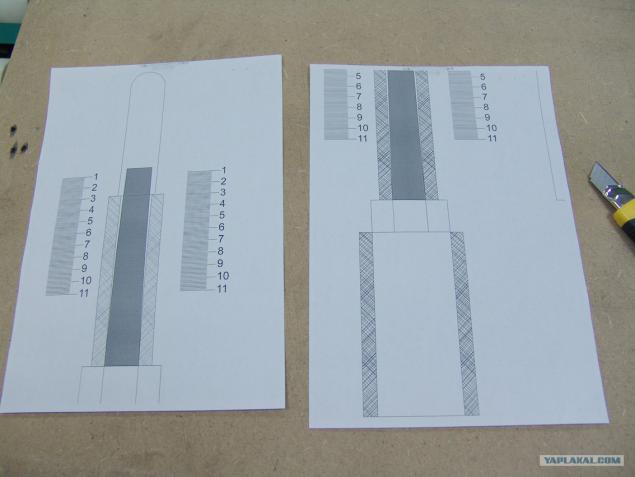
15. Again, ikebana.
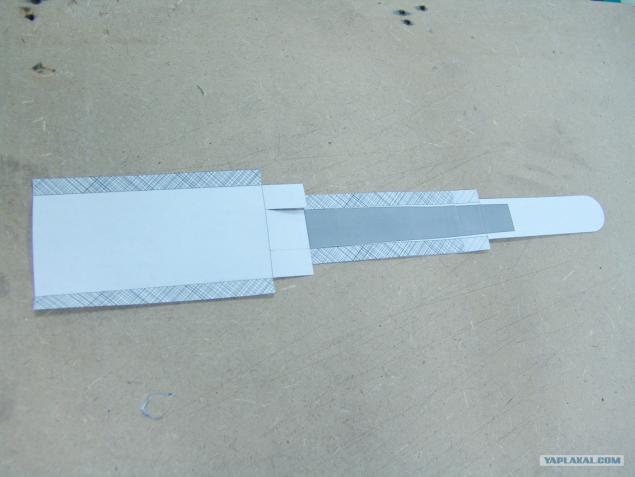
16. Well, something like that ...
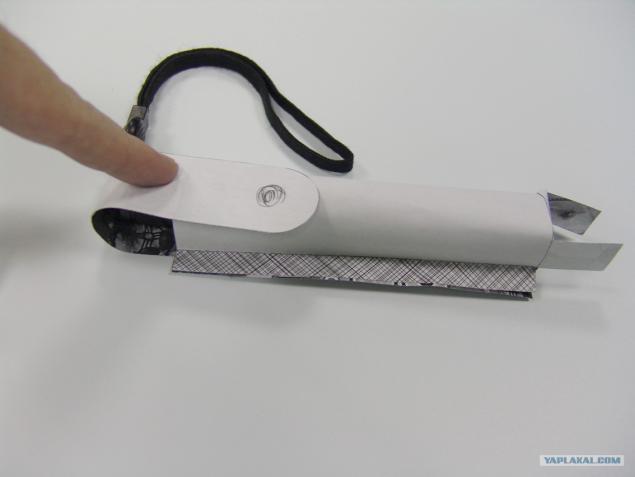
17. Last (probably) version of the drawing. Already with additional elements.
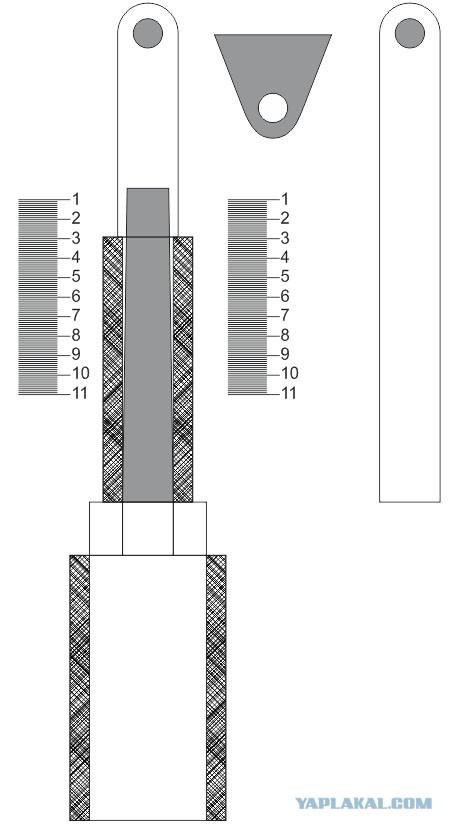
18. That is the same on paper. 1 - the main part 2 - pad to increase the rigidity of the first element 3 - pad for a future mate Button.
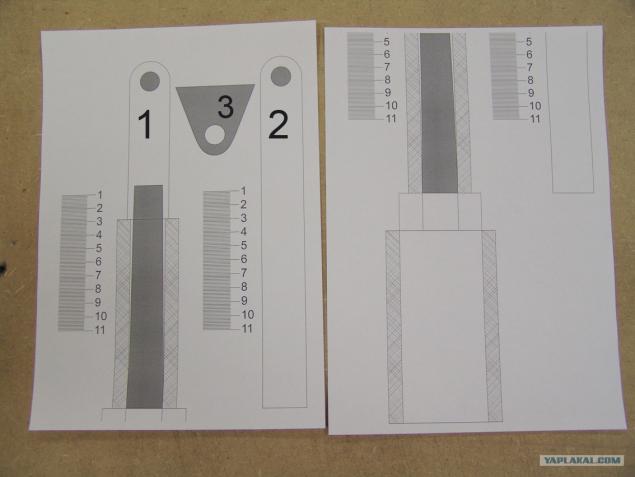
19. Well, almost ready ... Once again, I look at the Internet to understand how to fix the pattern on the skin ...
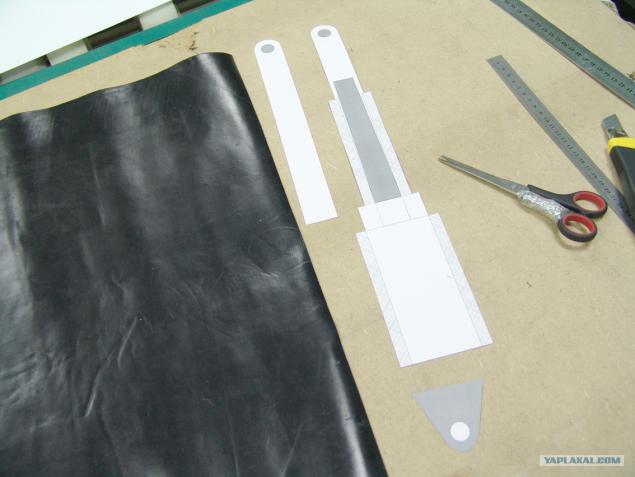
20. It is good that looked: almost stuck to the face ... is attached by the same two-way tape.
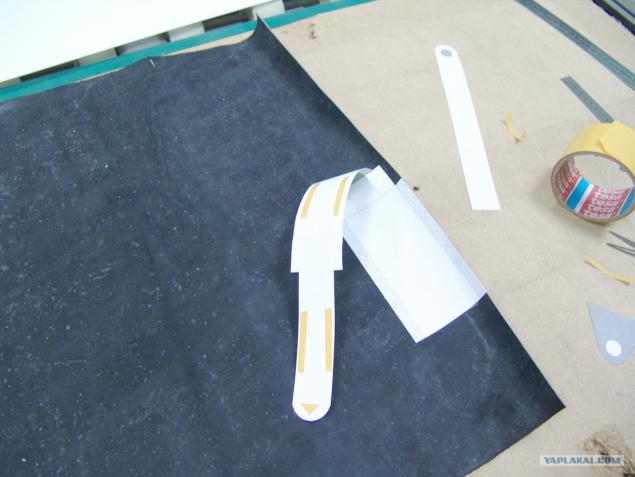
21. This is such a small portion of all occupied. Gee ... On petard seems
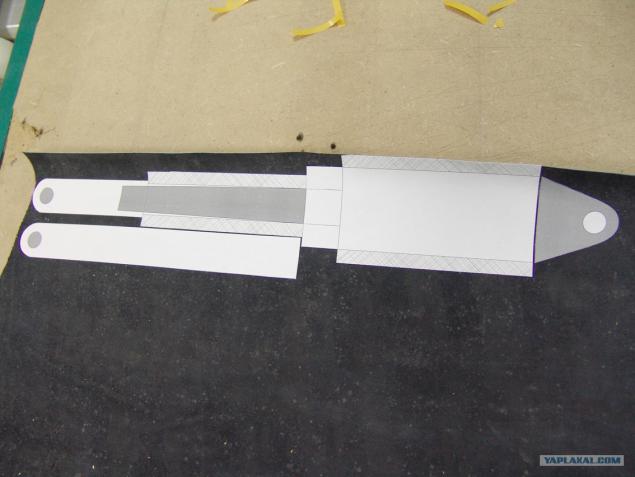
22. Now all the same, but cut into parts.
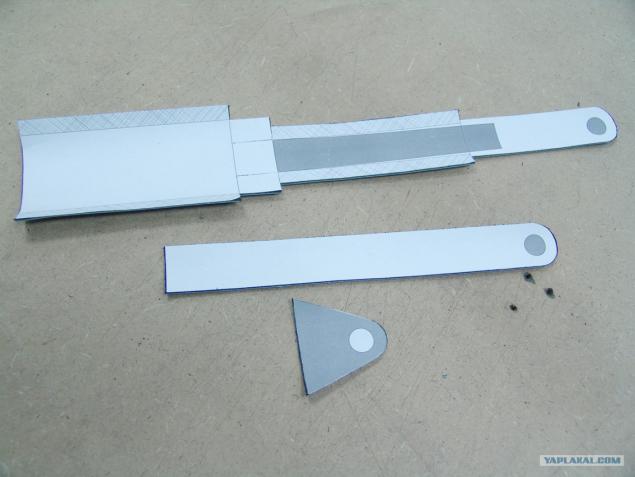
23. Paper torn and detached from the traces of adhesive tape he pulled together a small part of the fiber, but since it is in, and it will not be seen.
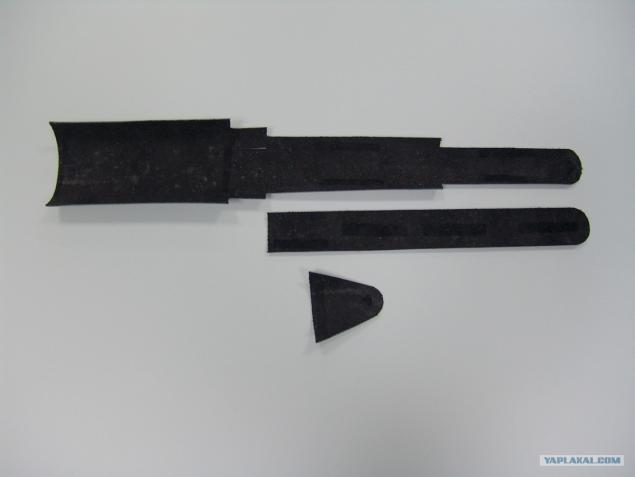
24. Here the front side.
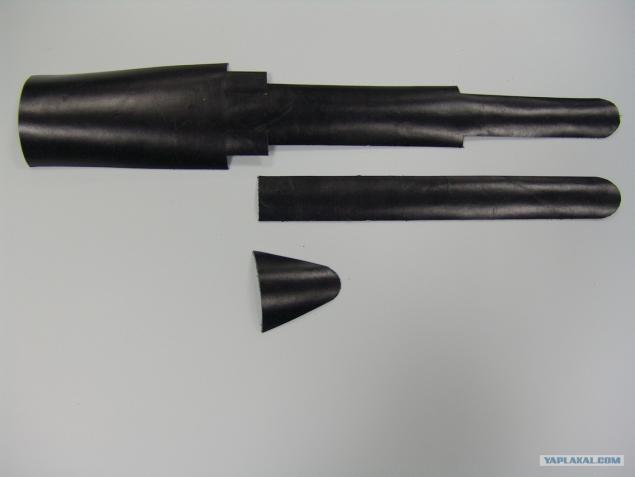
25. I have used here is a glue (again, it was the right hand).
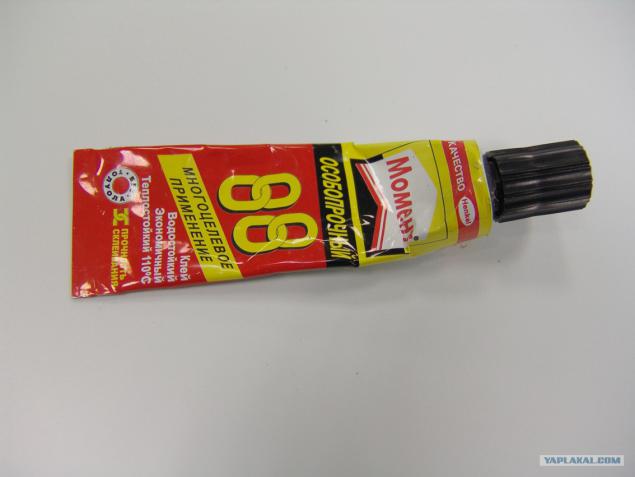
26. Namazyukali gave lie a few minutes ...
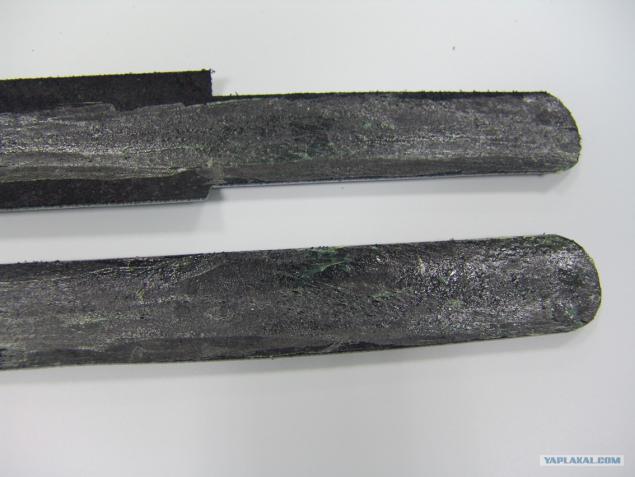
27. glued.
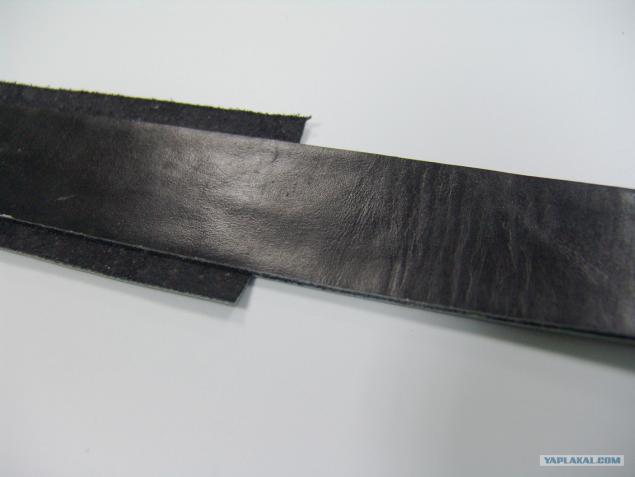
28. General view ...
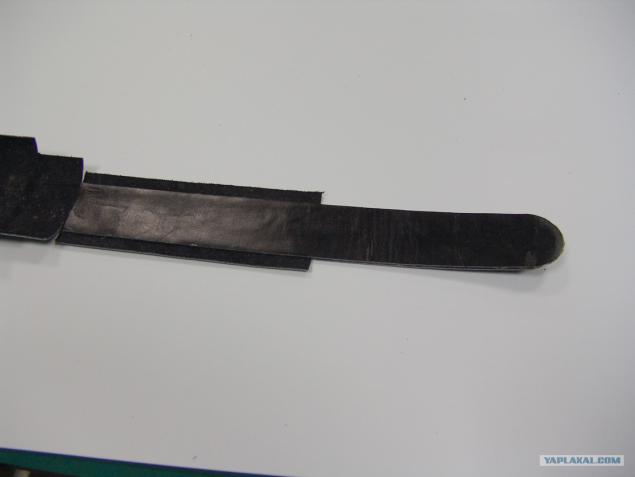
29. A little closer. And here it is clear that once again screwed up ... Well, later on, I hope to straighten.
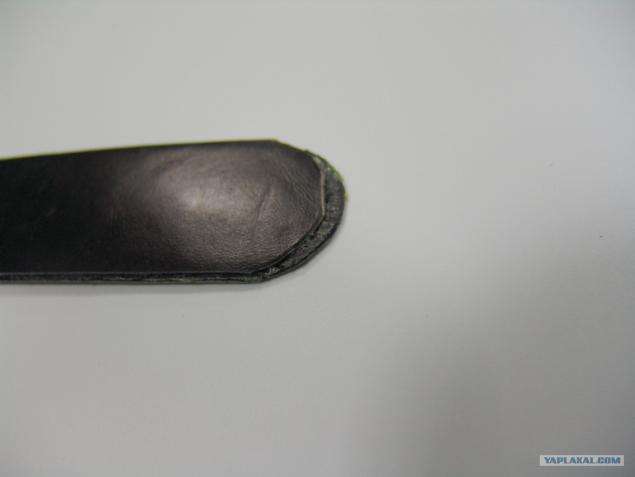
30. lags behind the crafts and gave it to dry. And while drying, I wanted to add here that's a buckle with native cover.
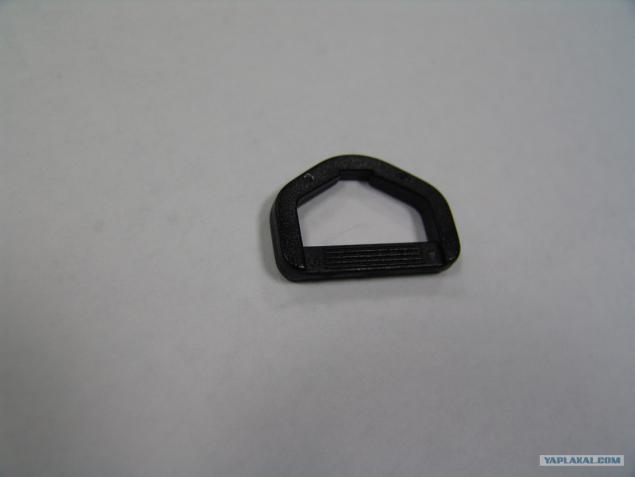
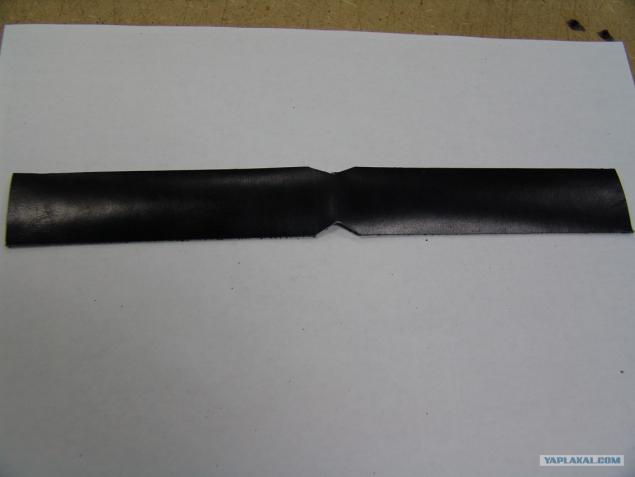
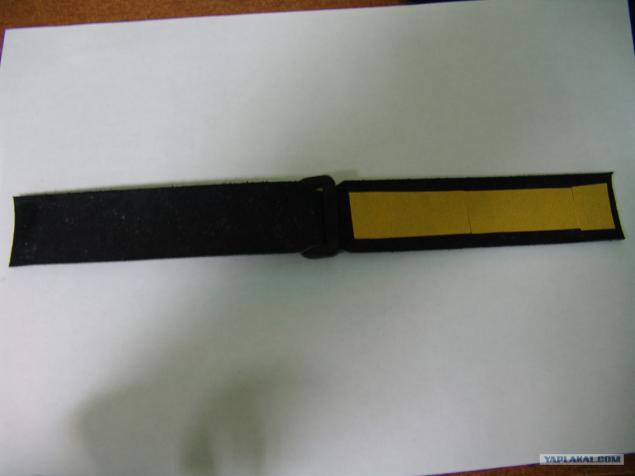
31. This buckle is attached to the element that still needs to ensure that it was possible to carry on the belt cover. Cut a rectangle of leather ...
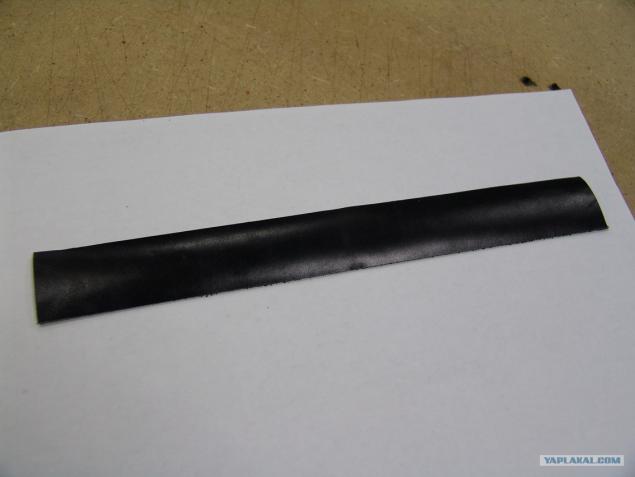
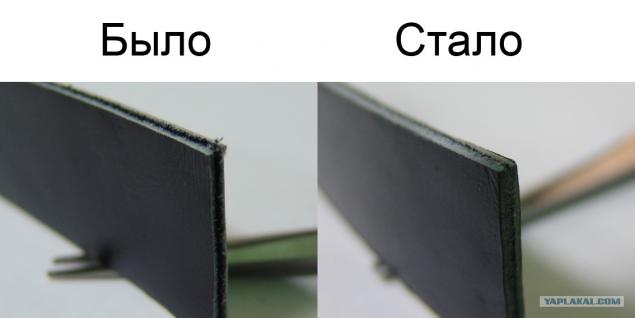
32. ... bend it in half and cut off in the middle of a bit to give it the same width as that of the buckle.
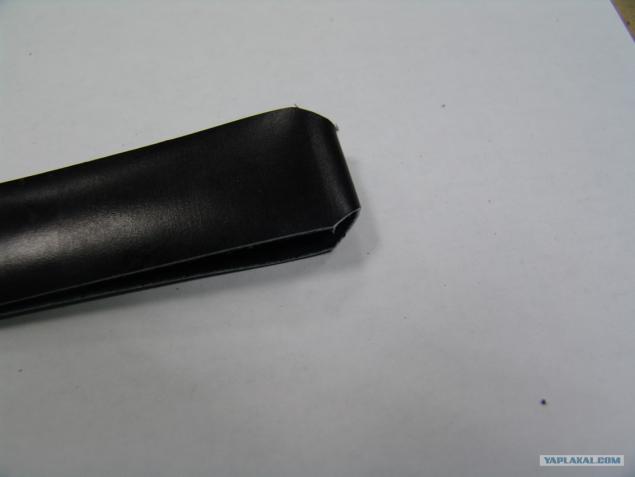
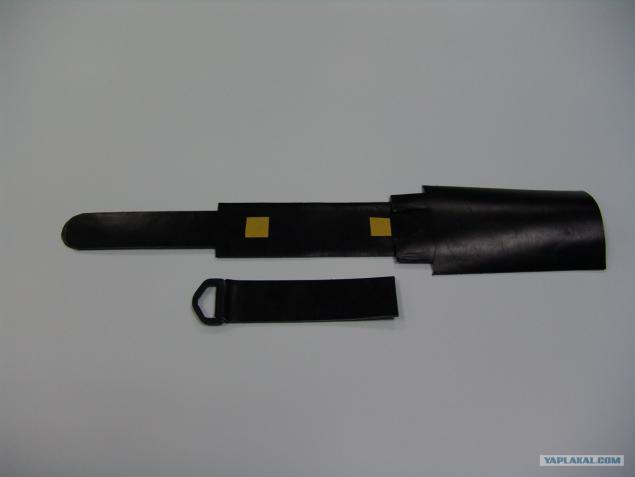
33. The expanded form it looks like this.
34. At some site about skin treatment read that supposedly work with the skin is not possible without glue. And as the glue perfectly valid double-sided tape. So now for the temporary fixation using his name. This photo hrenovenko turned out, sorry.
35. Combining the two halves can be seen that the edges are uneven. He wanted to treat the edges on elektrotochile. Here's what happened.
36. Again, use double-sided tape for tacking this design. Between the two squares of scotch just planned to pass through the lap belt.
37. foothold.
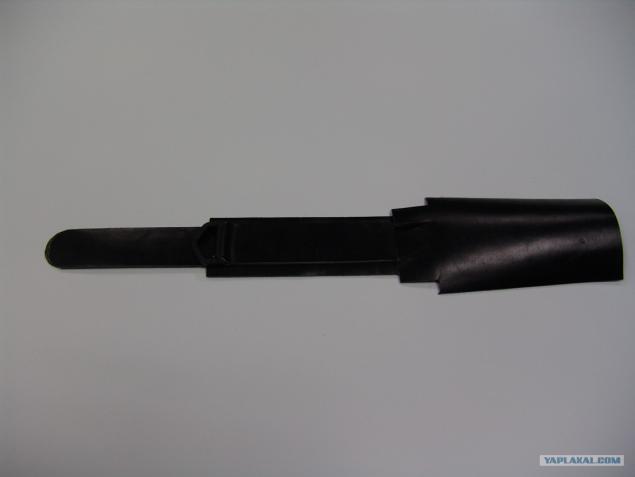
38. With horror, imagine how I would have to sew 4 layers of the skin, where each layer 1 to 3 mm.
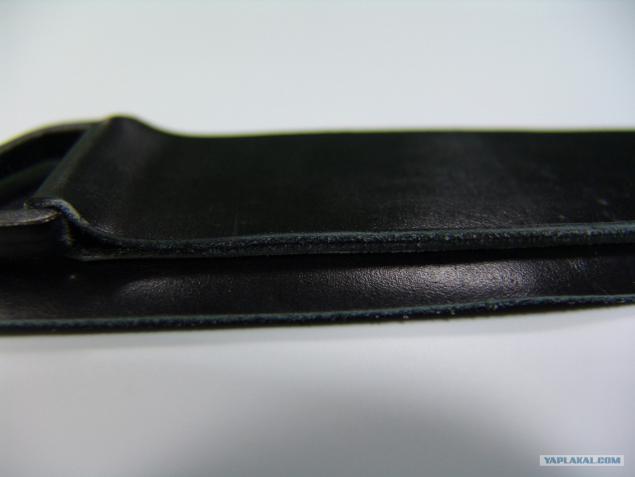
39. Well, yes, the eyes are afraid, but the hands are doing. Is applied to one side of the adhesive tape (pieces simply because the width of the roll, such as more convenient) ...
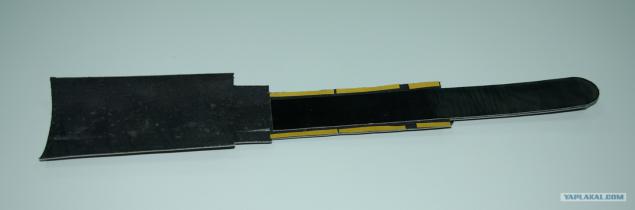
40. ... and connect to see, but do not stick together more.
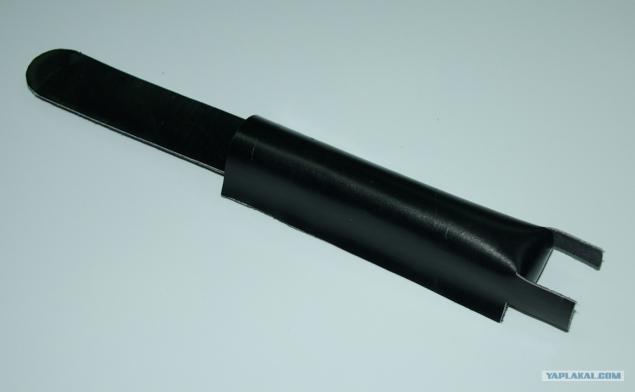
41. Next, we put adhesive tape on the bottom valve ...
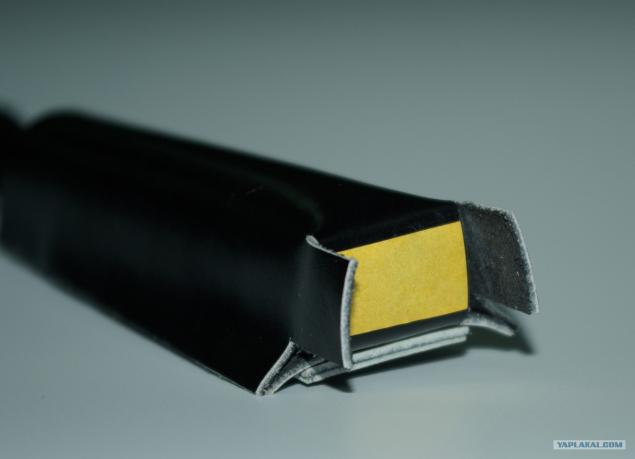
42. ... and in this case is glue.
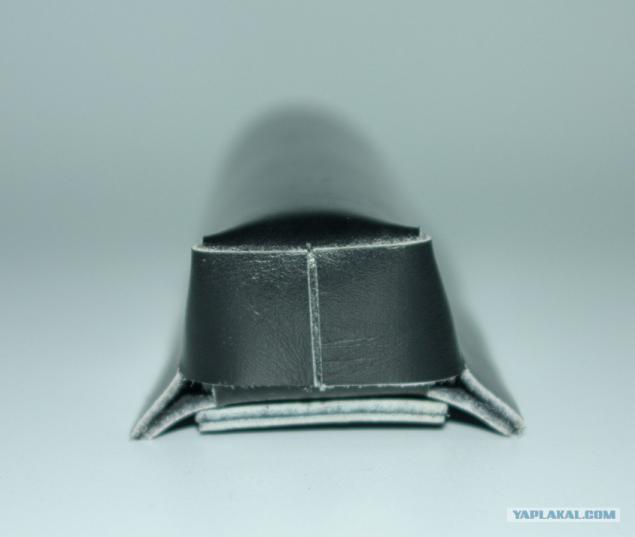
43. Next, we will use these tools here. More precisely, the needle should have been here shown two, since just two needles at the same time I sewed the whole thing. Explain the details will not be, it is on the Internet. Zhelezyaka in first place in this photo is suitable for cross-linking of the valve. It is close to the diameter of a flashlight, enough flat end and a hole in the heart is (and you can stretch and needle stick is also possible).
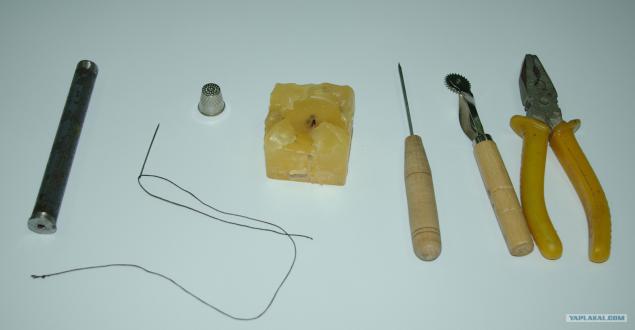
44. Before you sew, paid a markup that's one thing that has a wheel with spikes. Further, cross-linking the lower valve. It turned out, as you can see, Kriven'ko, and at first I was upset ...
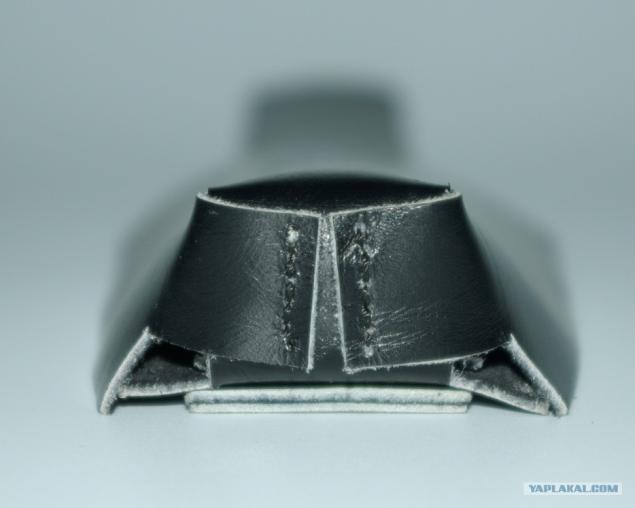
45. ... but if not then just move - everything falls into place. Should it be - xs. That's it.
46. Next, make the layout of the part, which will be under the belt. And then everything looks rovnenko yet ...
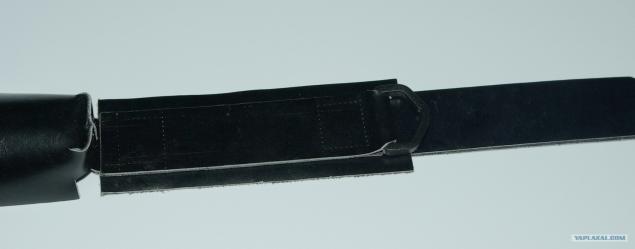
47. ... but as soon as we turn to the drill bit, it becomes not rovnenko. In order to pierce the skin layer 4, I had to take a power drill and drill 1 mm. Pre-drill-holes, but that was not enough: even a needle and constantly had to stick the wax, so it was easier to sew. In general I can say that the adhesive (at least currently, although tape) - is good, but the piercing needle, he severely hampered.
More I add that when using this prickly plater here it is not necessary to stick to each point of a needle. If you could change the situation, I'd passed through one. Now a little worried that the skin in these places is not perforated.
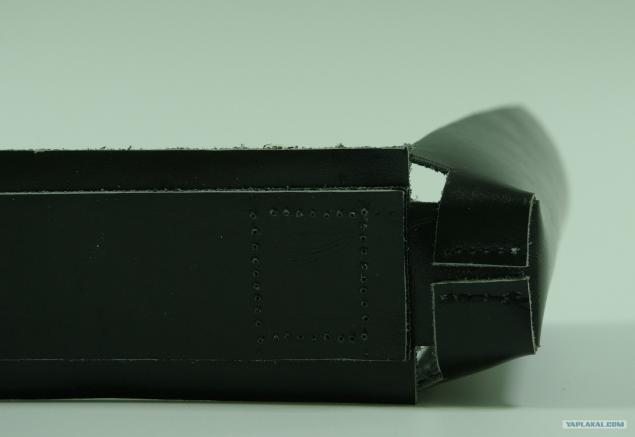
48. The seam in this place turned out like this.
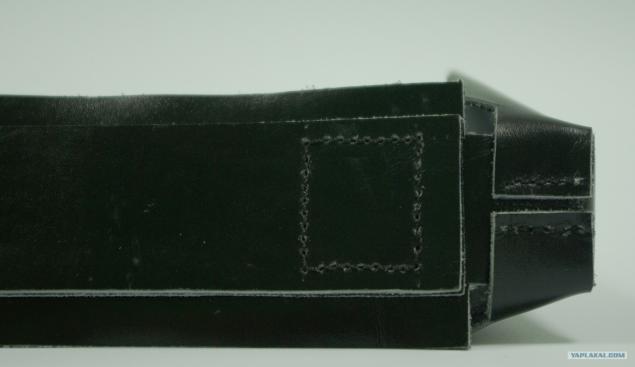
49. Next, prepare a patch. Here, too, no epic has not done. I never did not set any button, and then had to ... It all started with the fact that no template to put the buttons are not so simple. I had to look like improvised materials and forms, but this is not all. It turned out in the end, I joined the wrong parts of buttons at the end of this kind will rework. But while so.
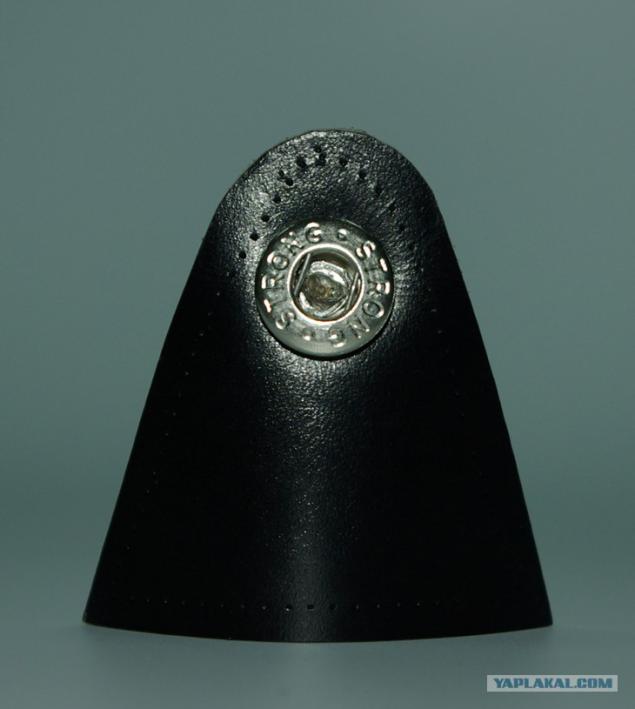
50. fix a leaky scotch and drill.
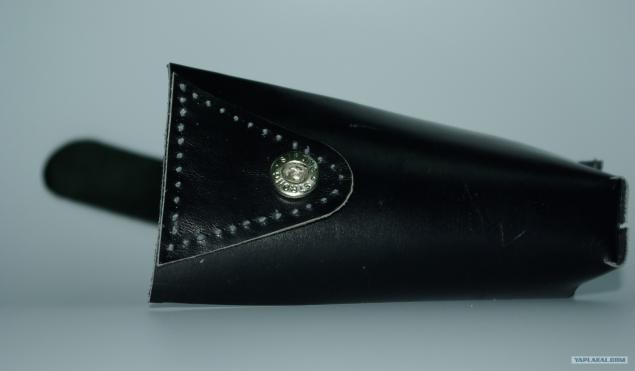
51. Sew.
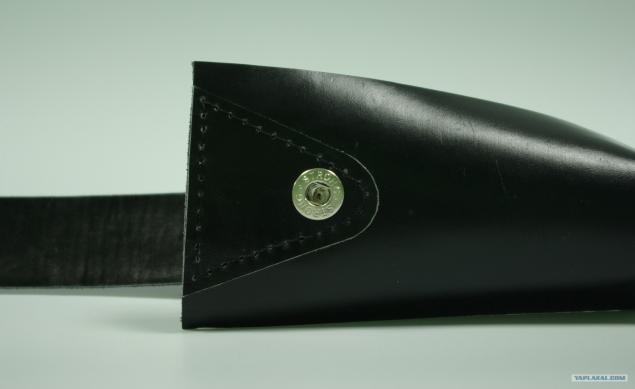
52. Next hammer rattles edge to be bent, to give a more angular shape at the stage of sewing (I think it will be easier). While looks.
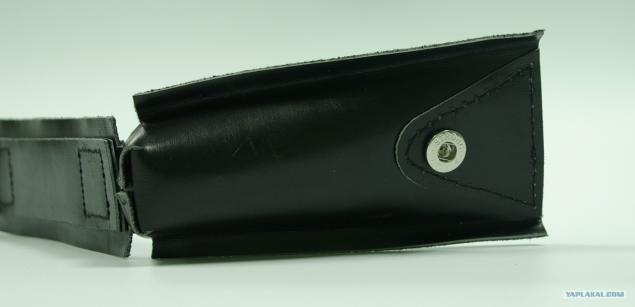
53. And so.
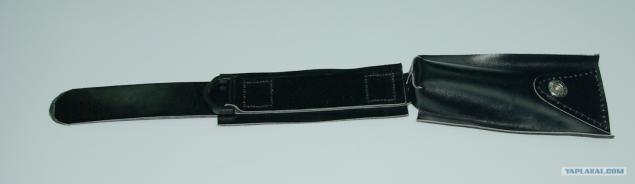
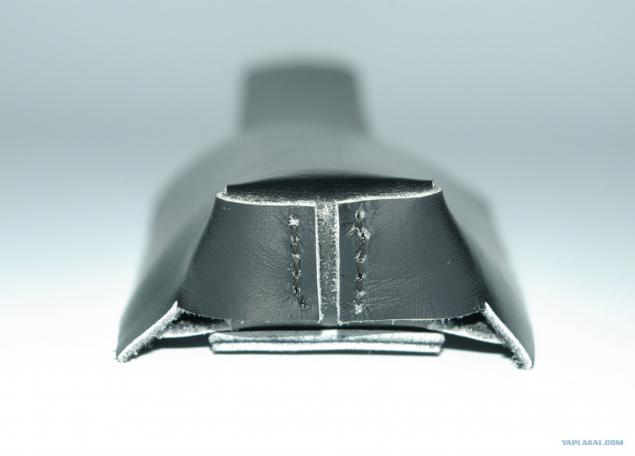
54. Next, connect the entire structure on the adhesive tape.
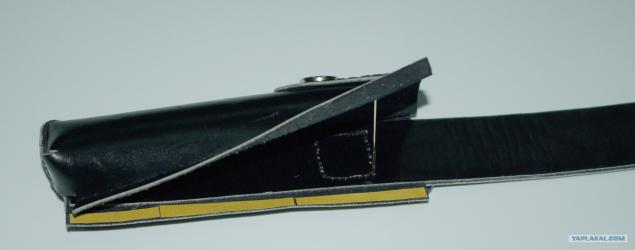
55. sew, pre-causing markup. However, because it folds nifiga not visible, but the trouble it has to endure. He illuminates the lantern, and something very crappy black thread on black leather in a place where light and small, and small wrinkles much glare. The appearance of such.
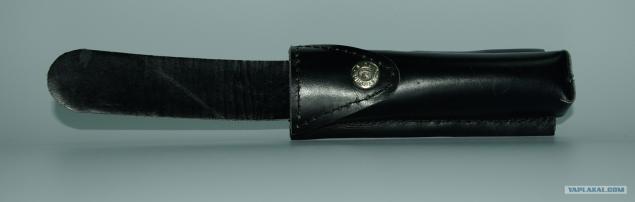
56. The first dive of the subject.
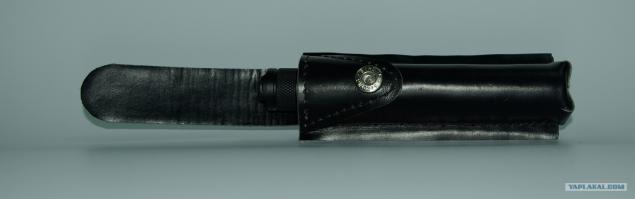
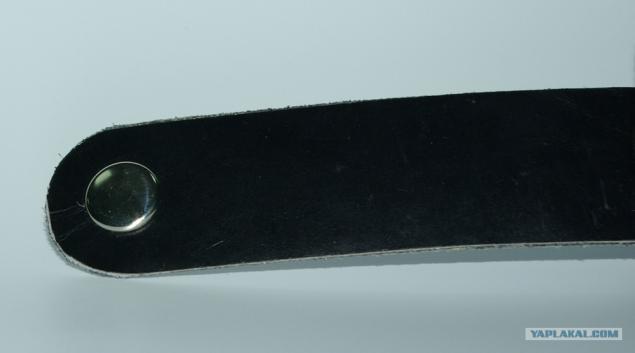
57. It is the same side.
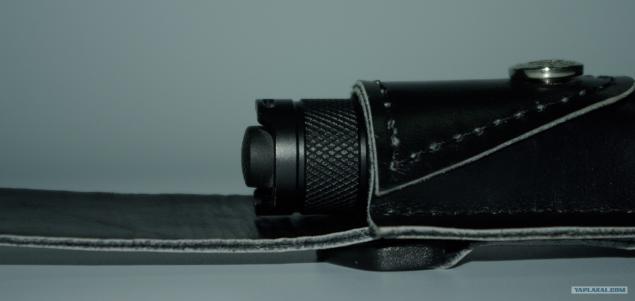
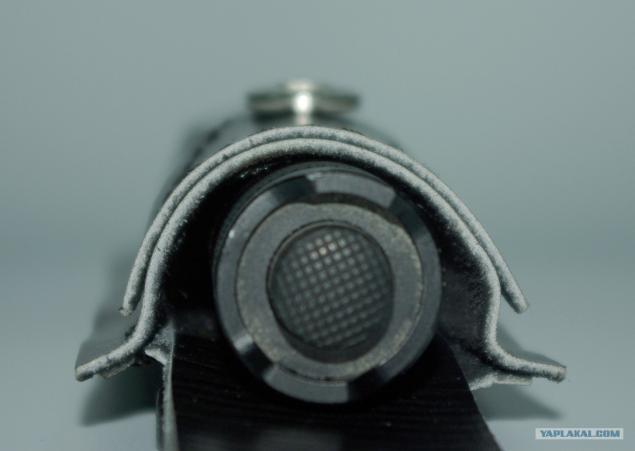
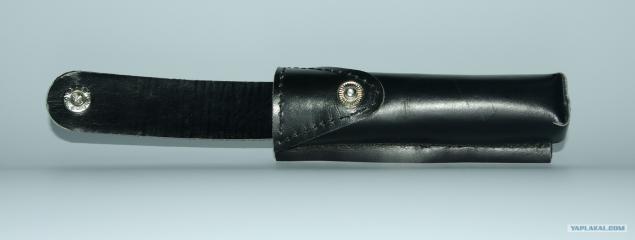
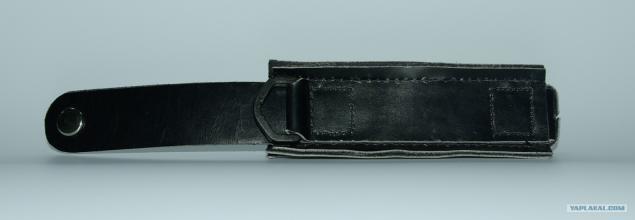
58. Do not Love Enough! .. And the best part is that the effort dive flashlight in case it turned out exactly as I wanted, and even if trying to shake the lamp out of the case, this will not happen.
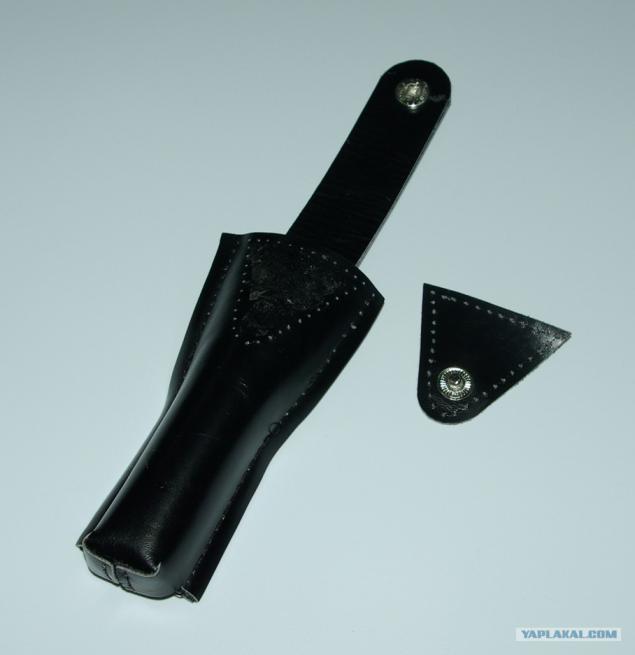
59. Further, it is understood that there was a garbage buttons ... Well, I bought 2 sets. That's handy ... Disassembled both sides to half, he took cover, redid the buttons ...
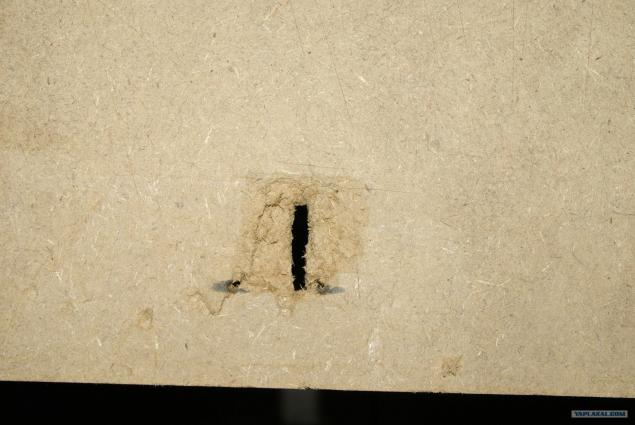
60. Next, took up the alignment of the upper strap.
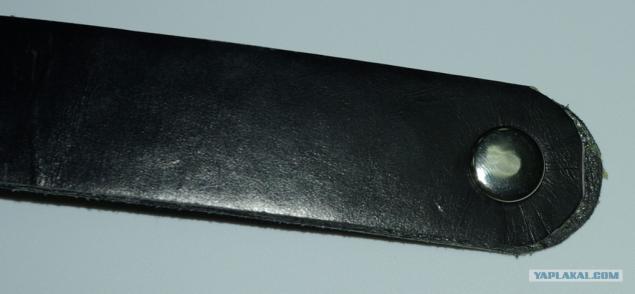
61. Cut off part of the knife, sanded part on elektrotochile. It so.
62. The new look front ...
63. ... and back.
64. In order to cut off the excess on the sides, had to build a simple device called a "hole in kragise."
65. We need it in order to drown here this buckle it.
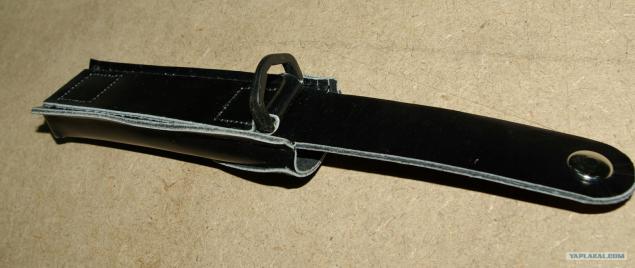
66. Cut off the excess on the sides. It seems that the curve, but it's because in those places the skin a little bent, and everything is smooth.
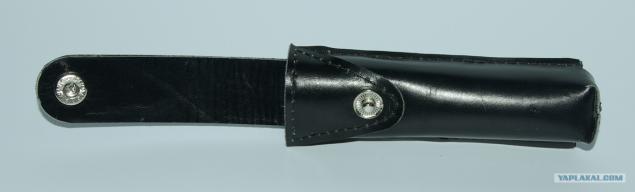
67. Once again, put the flashlight ...
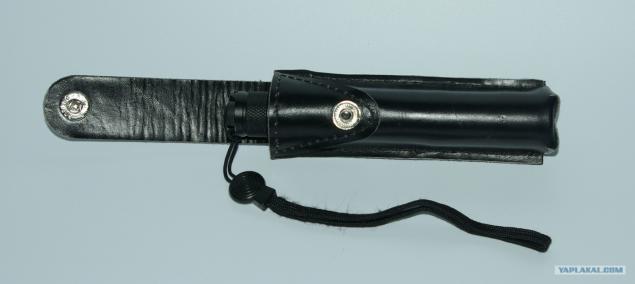
68. ... close the button ...
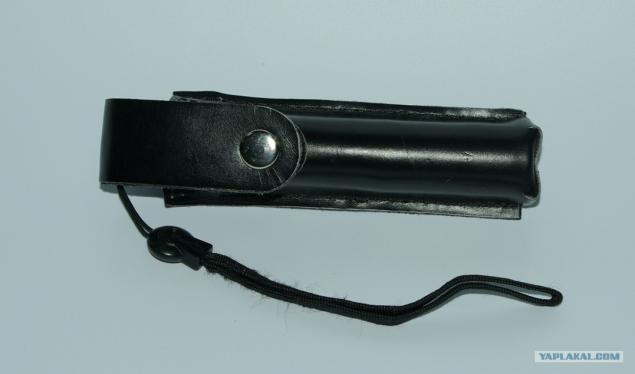
69. ... the same side.
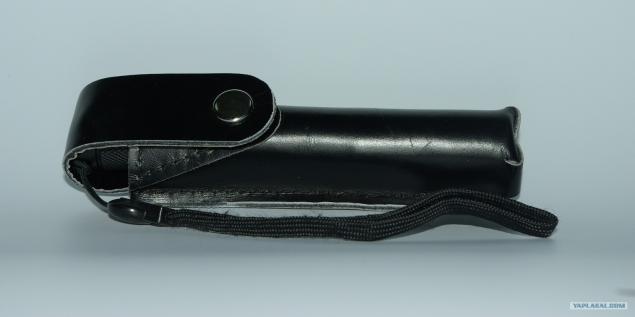
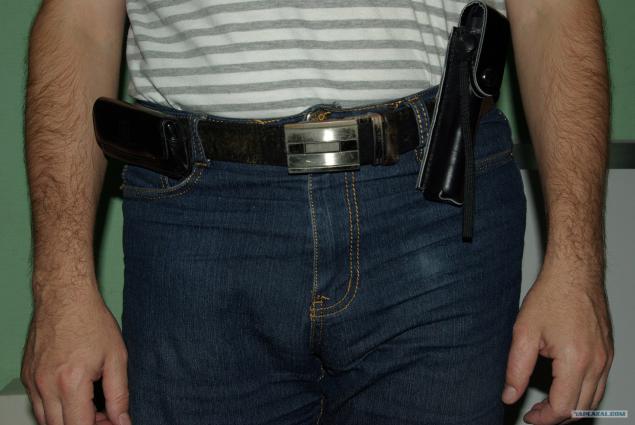
70. And, in fact, on the belt and on me. In conclusion, I would like to add that if I do still such case, try to make it so that hung a little lower and not poked in the ribs. But in general, I'm satisfied with my work. I hope my experience will be useful for the masses. All.
Source: ">