923
Boots from scratch
Zdarova all! As in a small workshop made a pair of women's insulated boots? Here it is: (a compilation does not break, there will be many photos, write like finish)
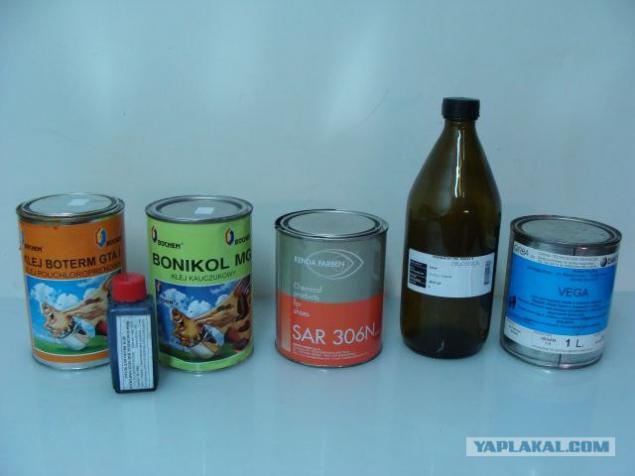
For the process I am using the following materials, tools and equipment:
-Raskhodniki: Leather, fur (in my case, natural bristle cloth) mezhpodklad, injection molding, tape, thread, 3 kinds of adhesives, ethyl acetate, paint section of the skin, nails protracted ready kit (+ suppinirovanaya insole outsole + heel, goes as a complement to the block), dressing for finishing.
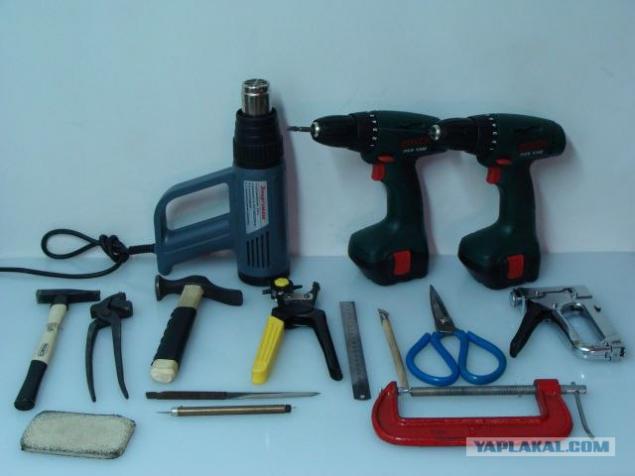
-Instrument: Shoes, cutting out the knife, knife work, hammer billet, shoemaker hammer, pliers tightening, hair dryer installation, ak.shurupovёrt, shears, punch, clamp with forms Lyapises heels gum to erase the traces of glue, steppler.
-Equipment: Sewing Kolinsky, household machine with walking foot (for seam "zig-zag") sbrusovochnaya machine, pneumatic press, with rules el.podogrevom (to form the shaft of the boot)
tool
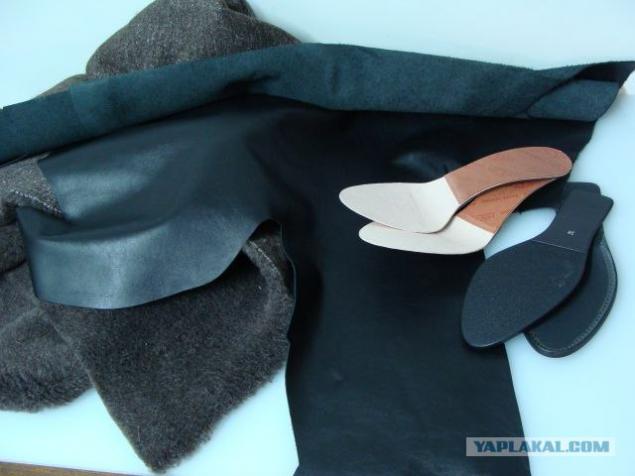
Leather, fur insole, outsole
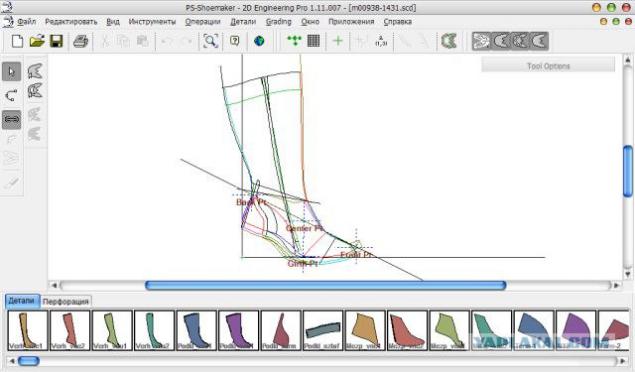
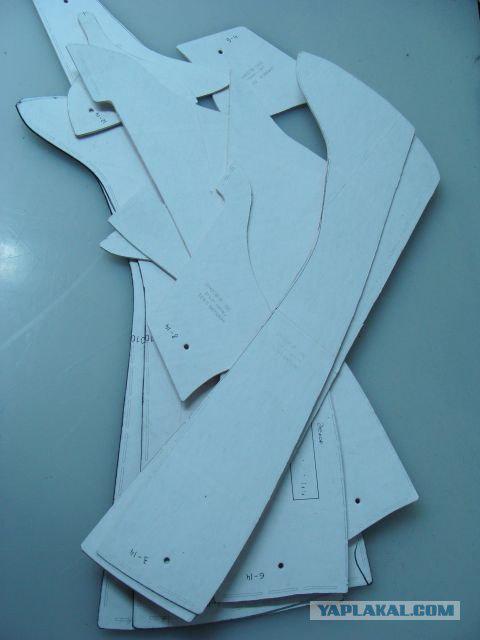
The process begins with the creation of footwear simulation. With the pads removed unfolding, driven into a computer and processed, then in the special program created model. We print out the details, paste (transfer) them on cardboard and cut
ready-made templates
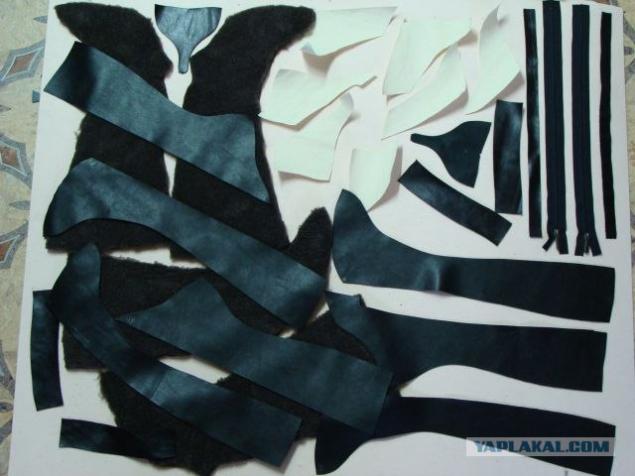
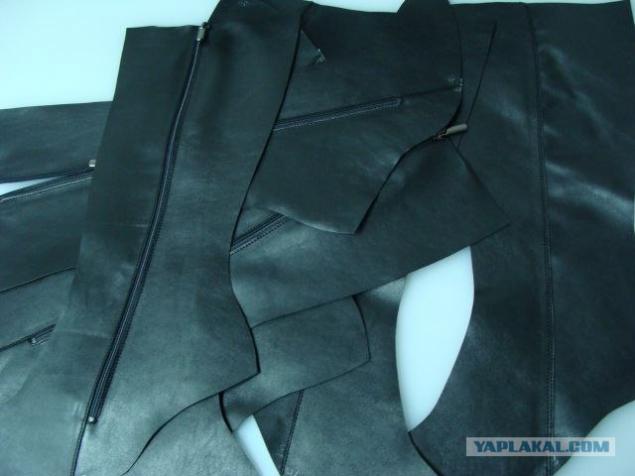
Next on the patterns to cut out all the details for future product
The next stage - the processing of cut parts (brussovka haircut fur markings on the valve installation, painting the visible ends of the upper parts)
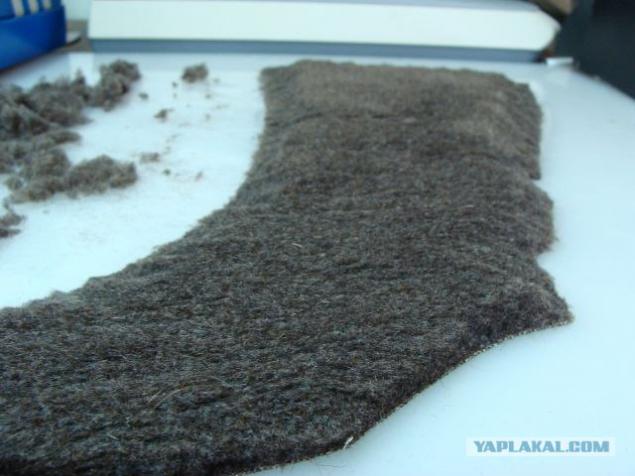
Brussovka
Brussovanaya detail
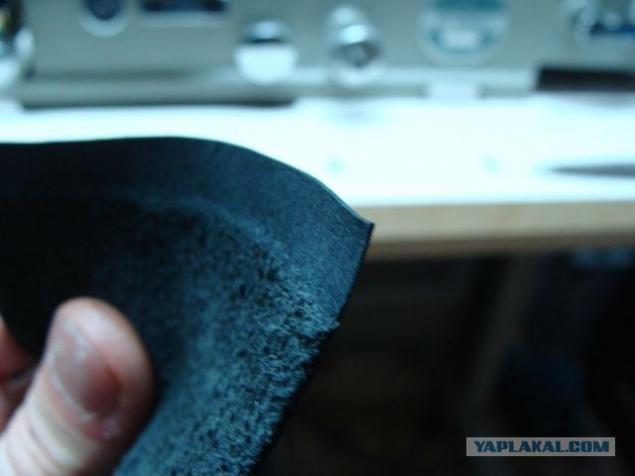
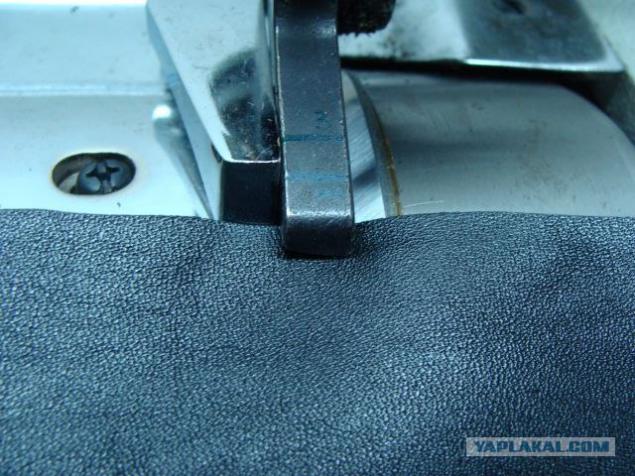
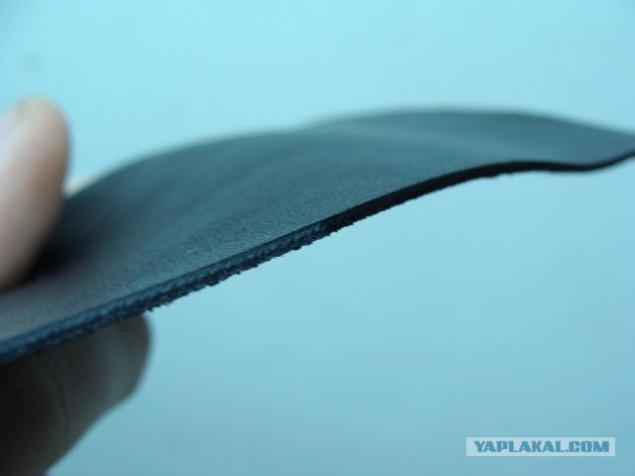
Paint the ends of visible skin
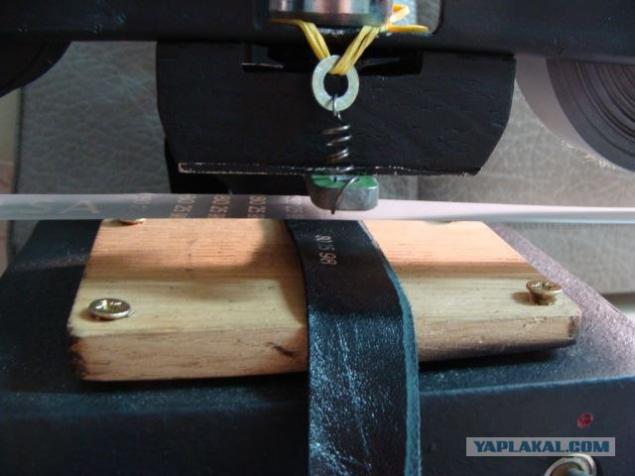
Installation of markings on the press plates for hot stamping (it is also in the list of hardware, forgot to write)
Further details of the top duplicated mezhpodkladom, all parts are coated with glue assembly, assembled and sewn. The sequence of cross-linking:
-Polovinki Polupary pootdelnosti (external, internal to the castle)
-Polovinki Among themselves on the toe edge, seal is broken and glued tape
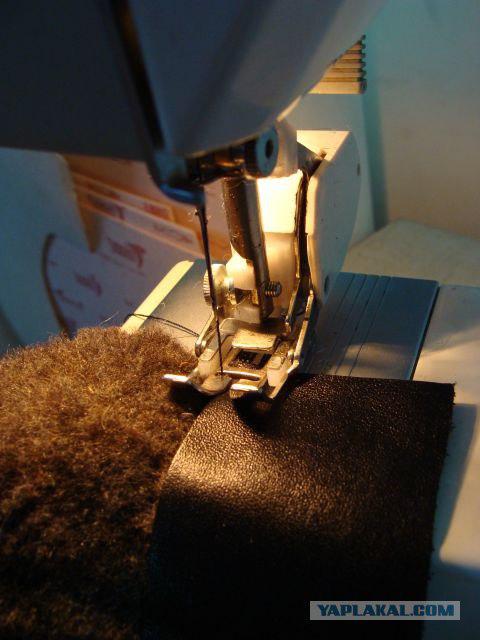
-Polovinki Fur pootdelnosti seam "zig-zag" sewn with shtafёrkami
-Polovinki Fur on the heel edge
-Shvom "Zig-zag" sutured back leather pocket
-Podklad Glued and stitched to the "top" around the castle
-Zamok Opens, cut and "we cut 'fur, the valve (not to climb to the castle)
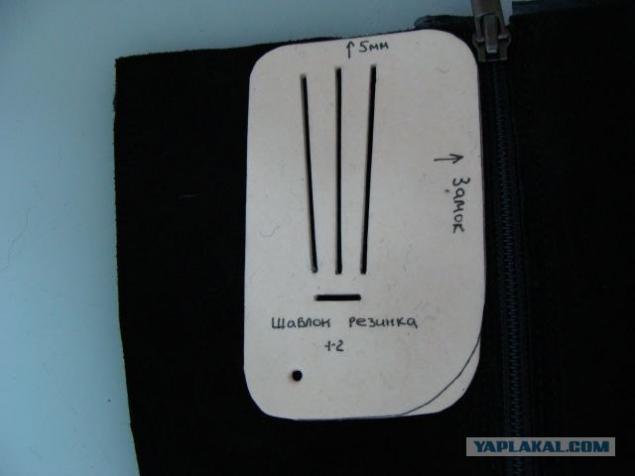
-Razmetka Place for gum, cutting, insert gum
-Verh Stitched on the heel edge (seam tape is broken and glued), lining on the front. Gut-wrenching.
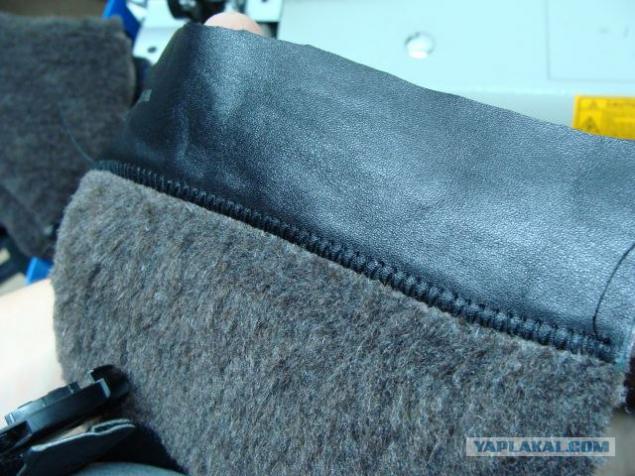
-Zagibka Top edge, pasting shtafёrki with the release of the edge of 5mm and firmware (firmware gum edge and one stitch). Trim protruding part shtafёrki.
-Making Decor (the strap around the lower leg) and sewing the workpiece
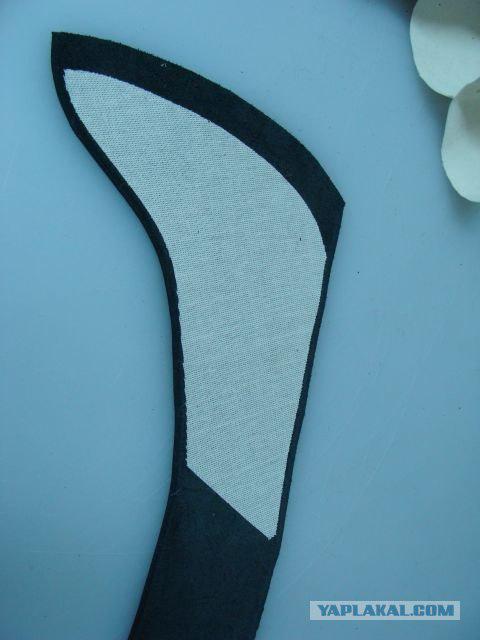
Details smeared with glue and prepared for assembly
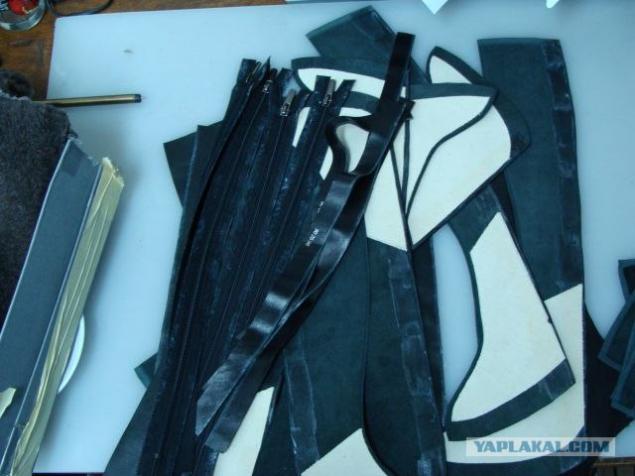
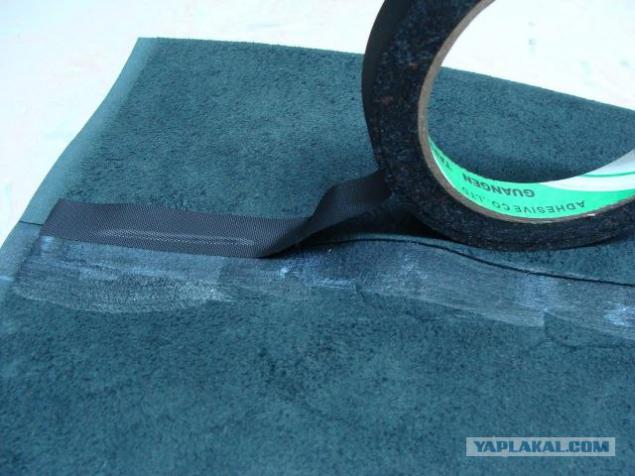
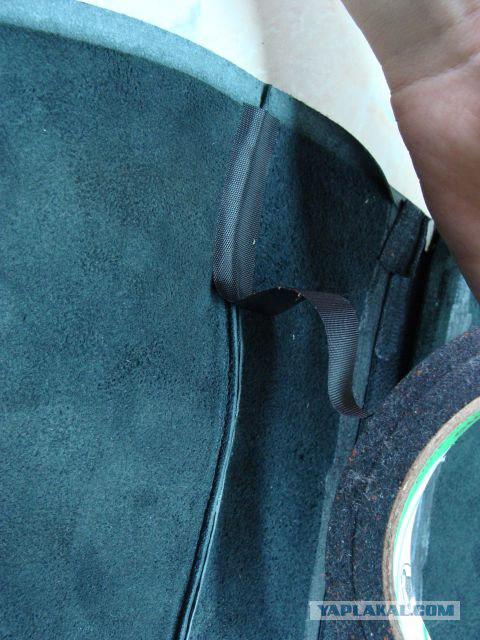
Joints and seams on the inside parts are glued tape for strengthening and stretching to prevent
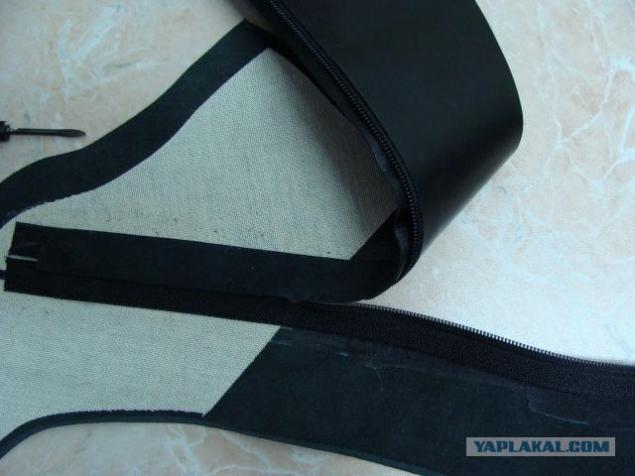
Detail of the castle and stuck valve
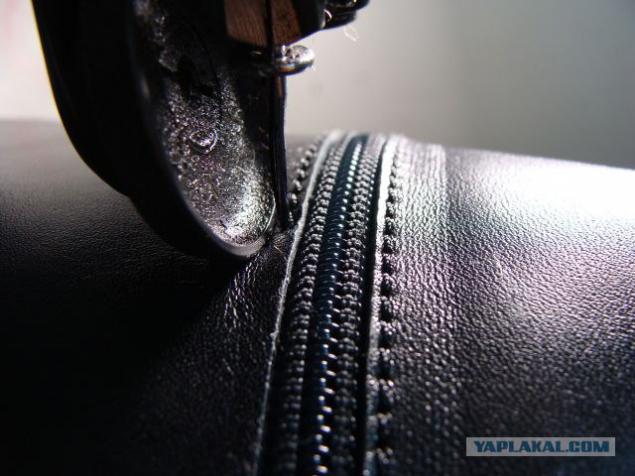
Firmware around the castle
top stitched detail (external and internal)
Stitching detail on the top front edge
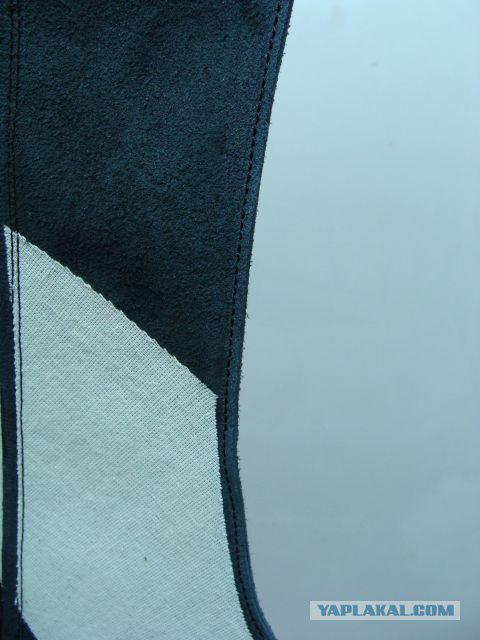
Broken front seam glued inside braid
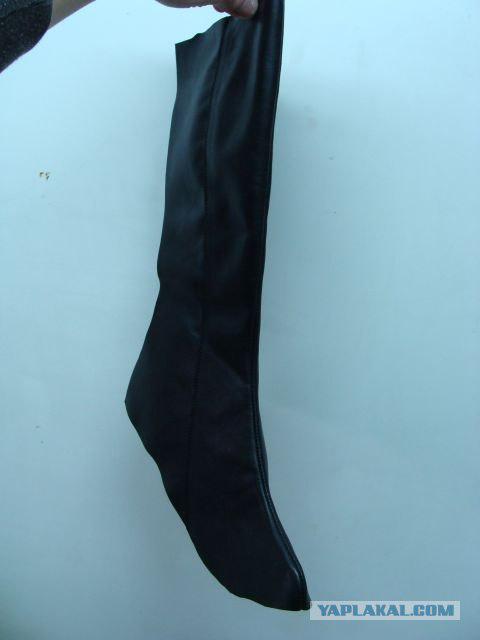
The appearance of the resulting preform
Adhering to the fur
shtafёrki
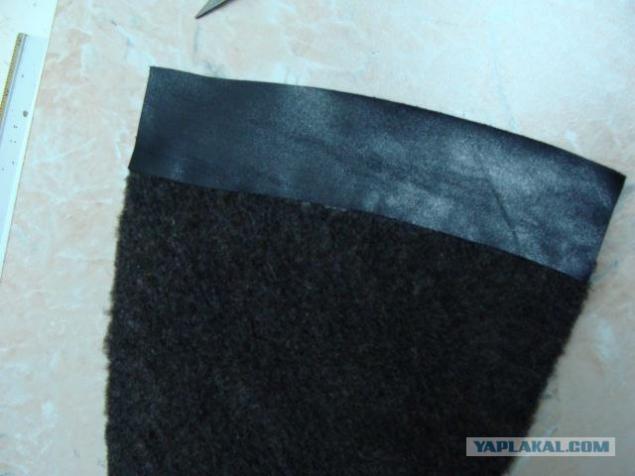
zig-zag firmware
appearance
Stitched on the back seam fur
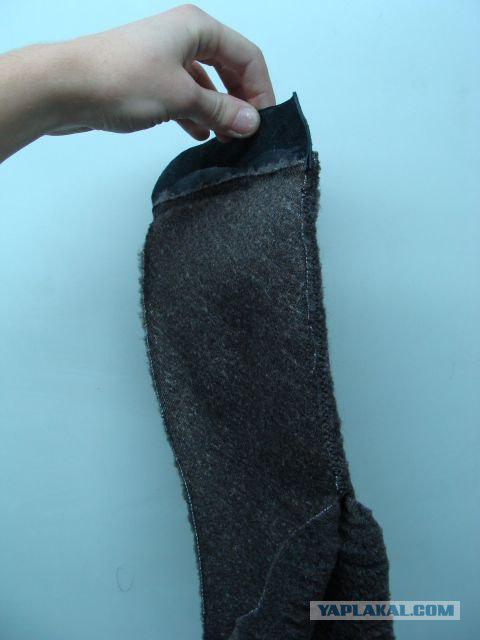
Built-leather pocket
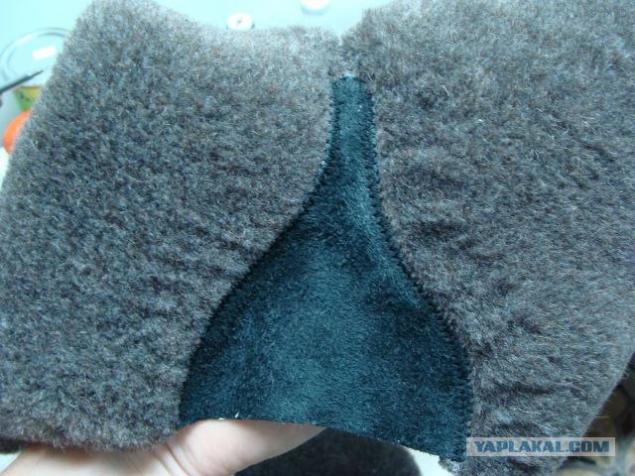
Gluing padding to the details of the top, around the castle
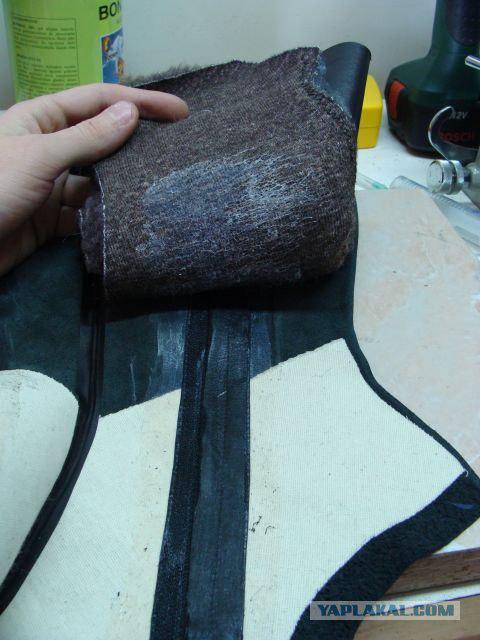
appearance
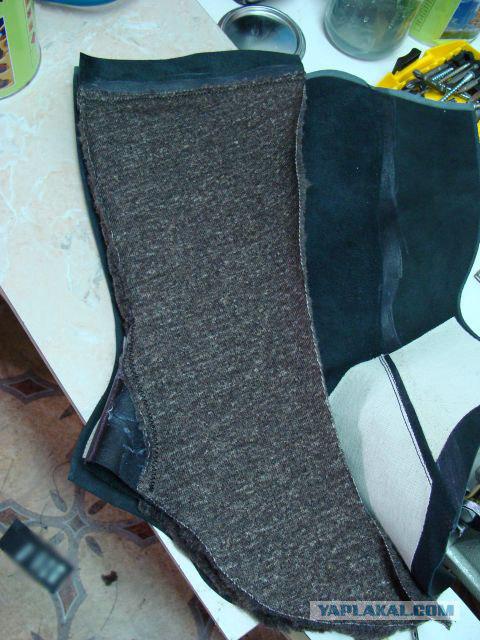
Sews second line around the castle top and lining, open the lock, cut fur, we cut (not to climb to the castle)
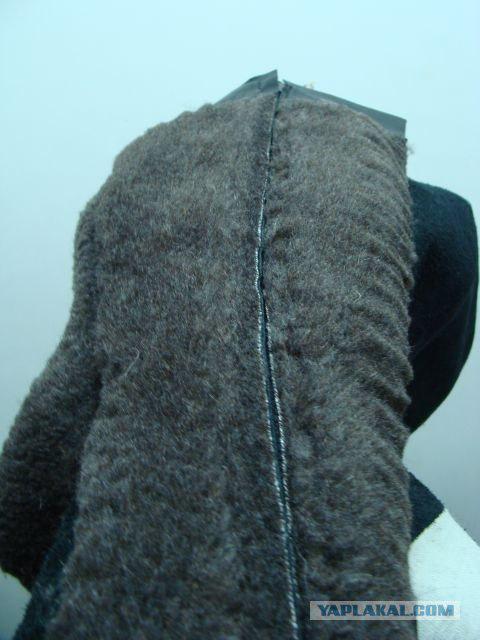
Marking gum pattern
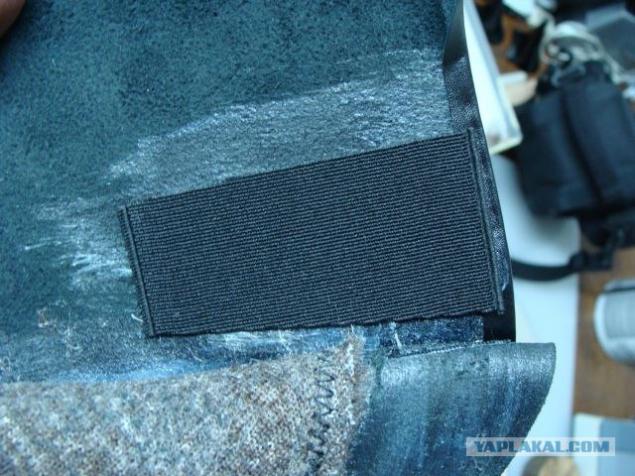
gum glued to the top of the inside parts
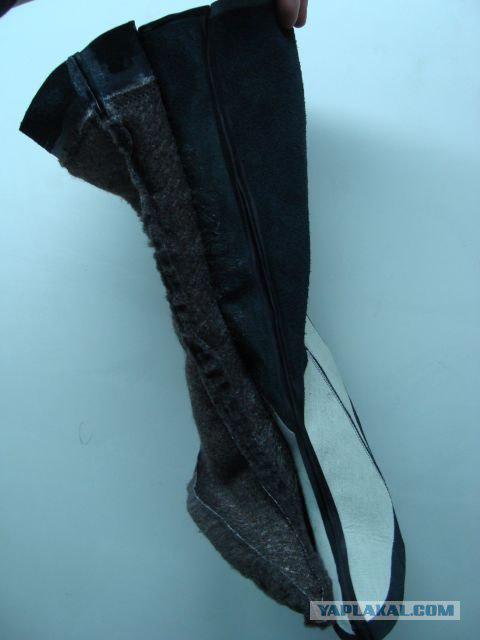
Lining stitched on the toe edge, the top item - at the rear. Rear upper seam is broken and glued tape
The blank is inverted, forming the upper edge, we coat all the glue and glue shtafёrku to detail top with an overlap in 5mm
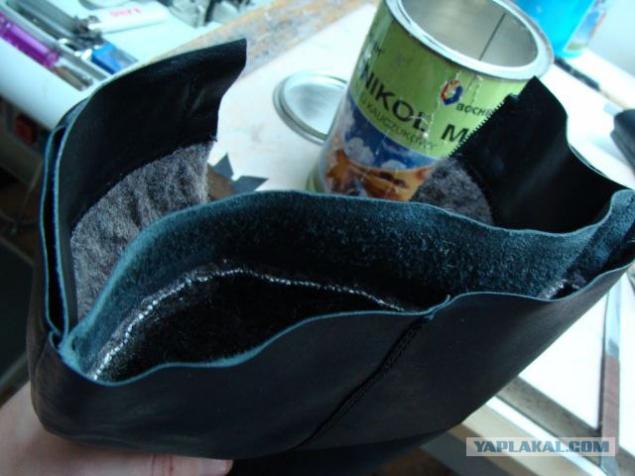
Sews the upper edge (with a stop in the gum) and cut the protruding shtafёrku
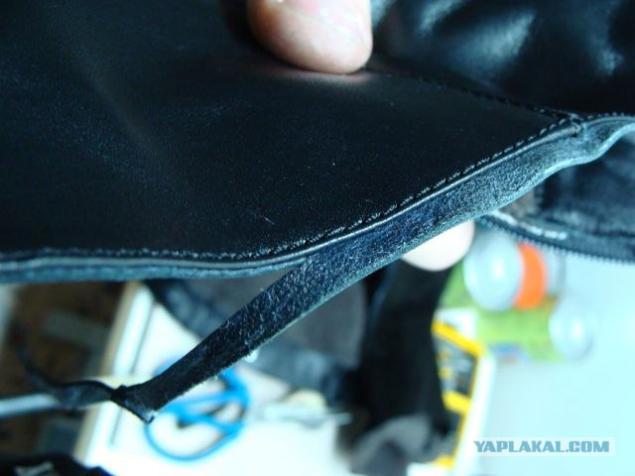
the upper edge
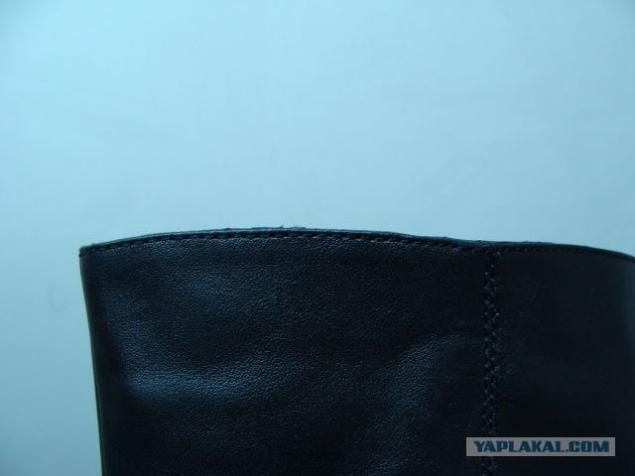
the appearance of the blank
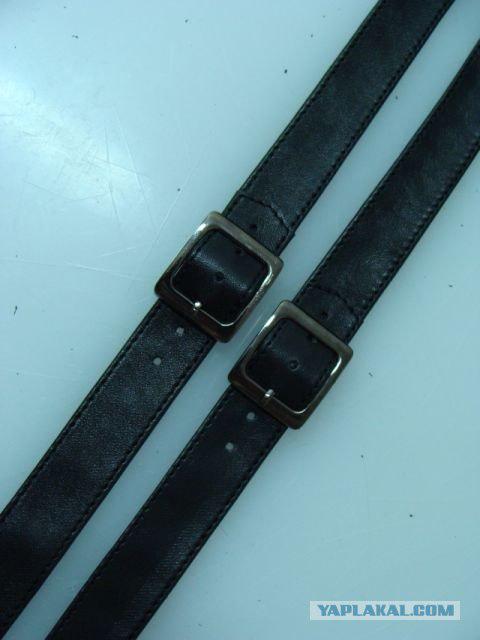
Cut straps
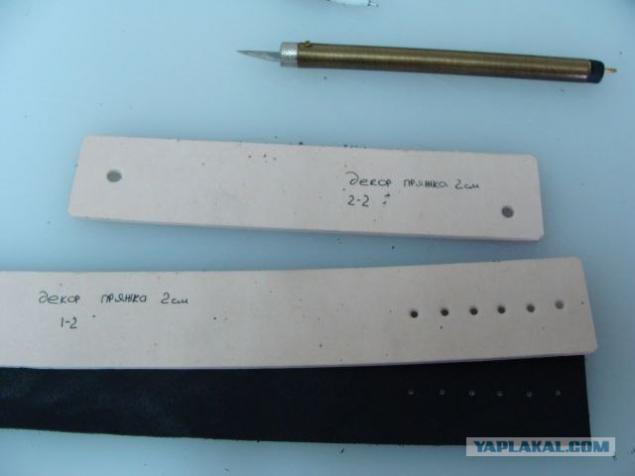
straps
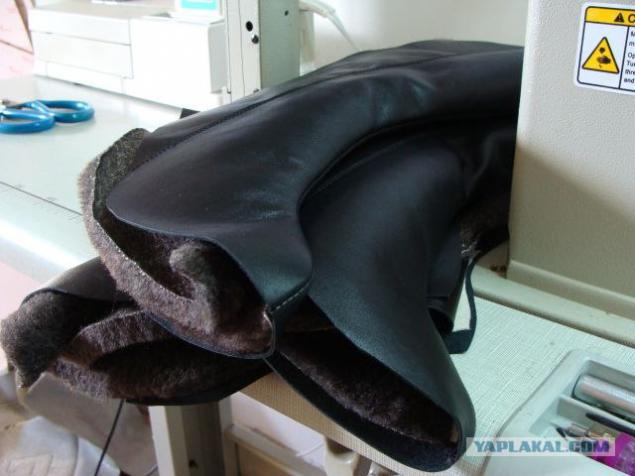
Billets rest
The next stage - to tighten the connector:
-From Thermoplastic pattern of cut backs and tough toe (backs of the material thickness of 2mm, 0.9mm toe)
-Suppinirovannaya Footbed (included) is attached to the block (nails, brackets), heel and toe dipped for softening up in ethyl acetate, dried for about 5 minutes. Top blank inside (in blocks) is greased with glue, insert heel and toe cap and tighten. More information about the tightness can be seen for example on youtube.
-After 24 hours (the longer the better, at least a week, you can keep the workpiece in the block) nails are removed, long edge heated (el.plitka \ mount hair dryer \ termoaktivator) and hanging around a cobbler's hammer.
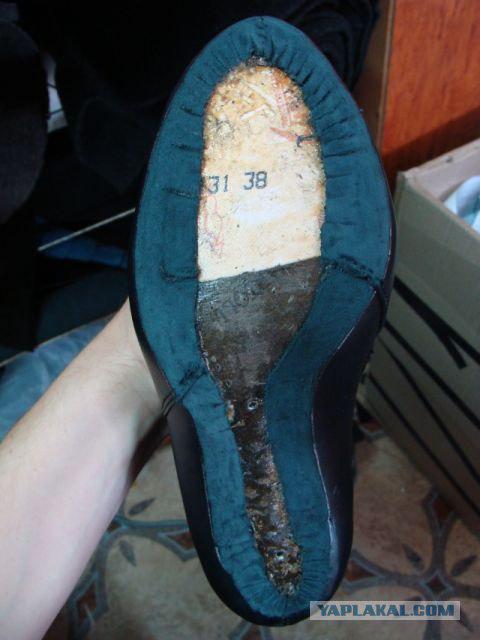
Then the workpiece is applied sole and circled (in order to know the boundary of the adhesive film). Long edge sanded (ruffles on special drum circle or with sandpaper) to the border circled column sole and greased with glue. Sole degreased with ethyl acetate and smeared with glue. After 20 minutes, the temperature will activate the adhesive on the workpiece and base carefully and connect them to the press for 5 minutes.
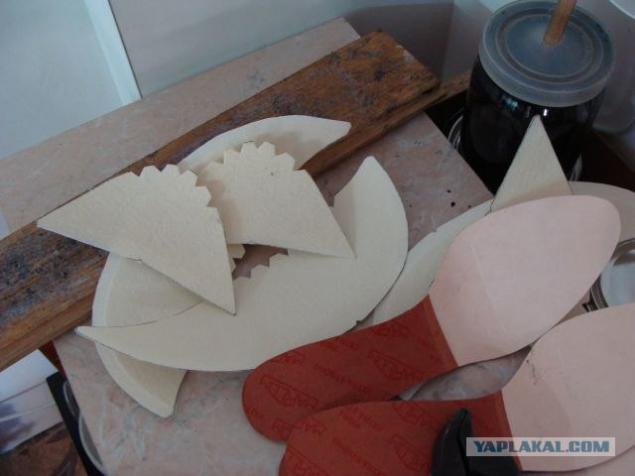
tightening
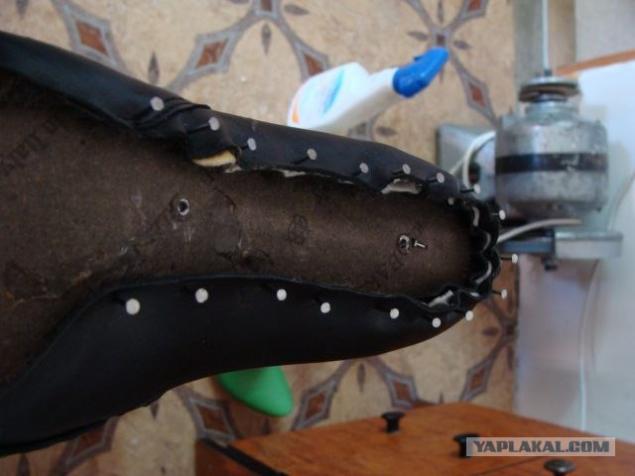
Harvesting, laced a shoe
Brushed long edge
gluing soles press
Glued sole
Heels smear glue. Molding place under the heel with a hair dryer (to preheat the face of the heel), clamp and "form-lapis." We take out a pad of blank
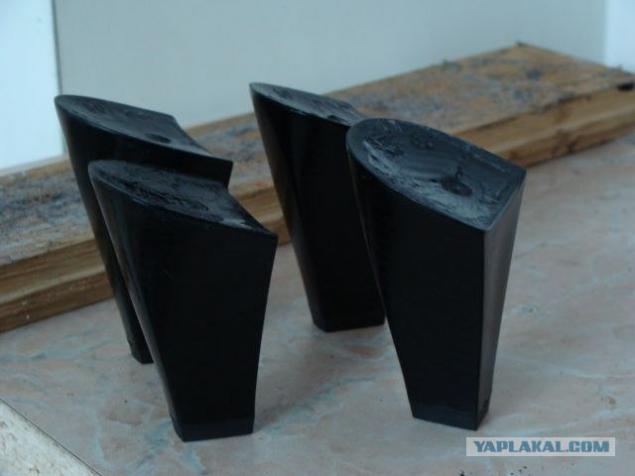
Shaping space under the heel
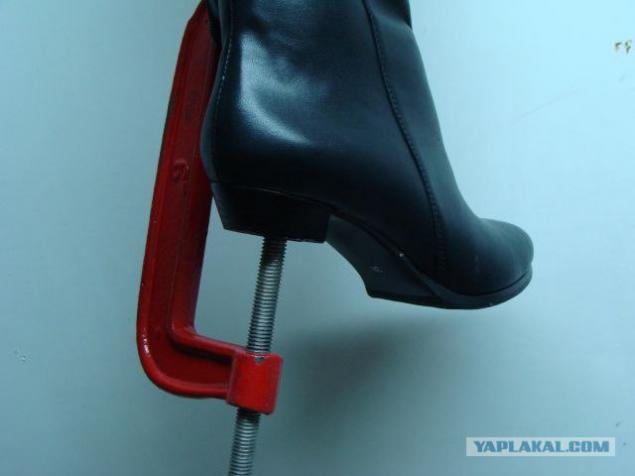
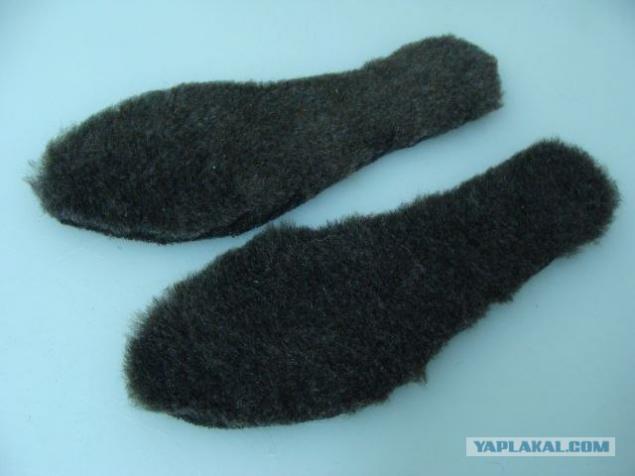
Then activate the glue on the heels and the workpiece and glue heel. From the inside, it is fixed by 3 screws and heel cushions. Cut and put the insole (insole of the shoe consists of cardboard and glued to his fur)
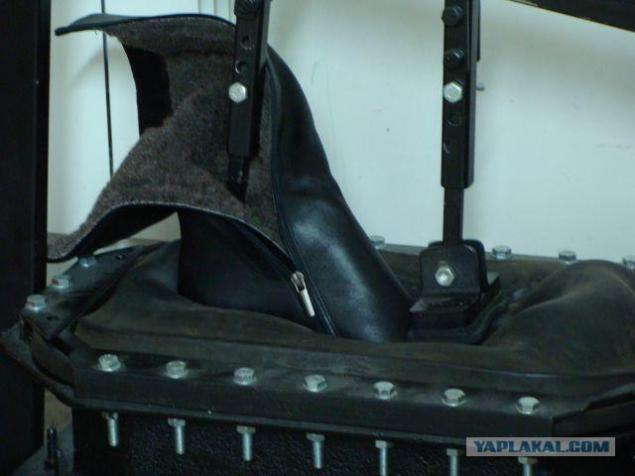
Further rules with el.podogrevom form a bootleg (get rid of unwanted wrinkles, stretch if needed and where necessary) general attach the final shape of the bootleg.
The final stage, finishing. At boot dressing is applied uniformly, a couple of minutes in the absorption and polishing lap.
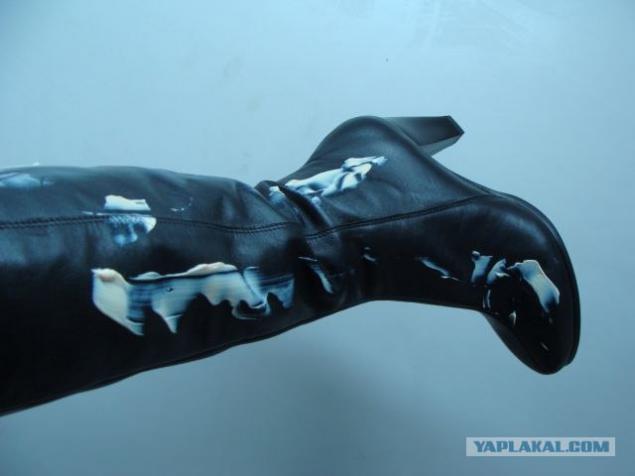
dressing
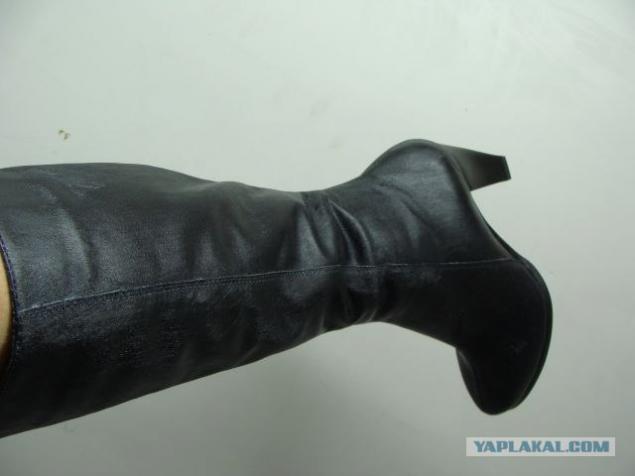
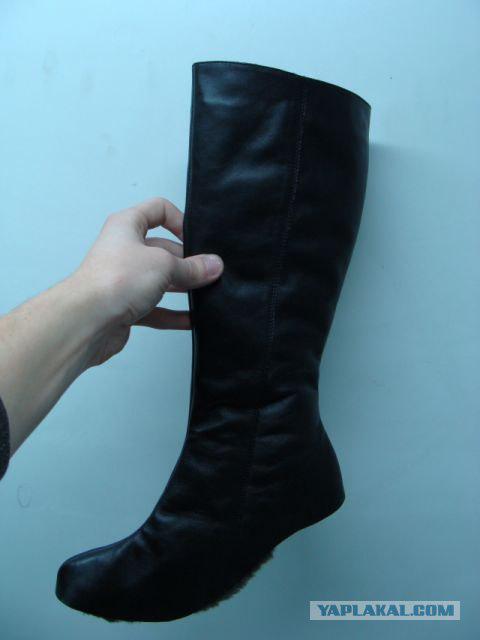
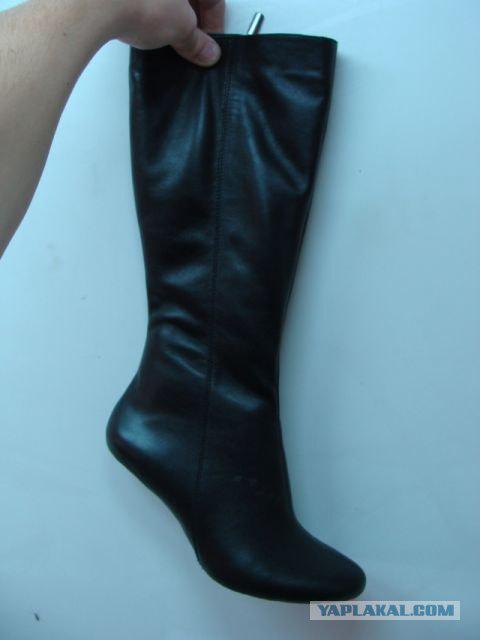
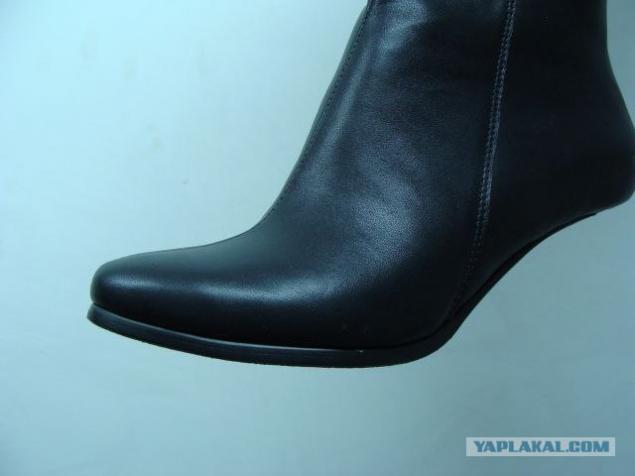
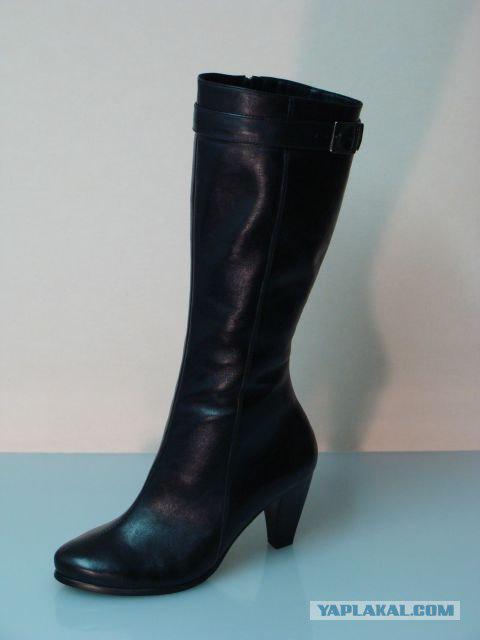
The finished product:
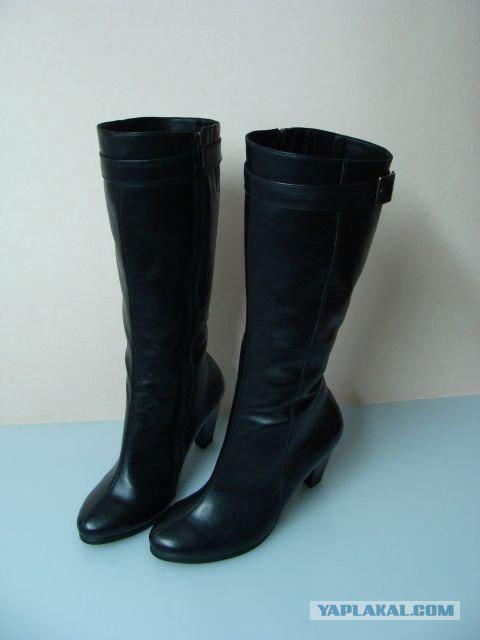
Ready izdelie2:
Source: ">