773
Baby changing table
Recently overtook our family a happy event - the birth of her second child, a girl. And in the process of shopping trips and purchases diaper-raspashonok-socks-caps wife caught the eye of this miracle - changing table. Naturally, my first reaction - "nafig necessary." The second - "nafig necessary for such a price." But time favorite ... and wanted me to come up with the idea to do it yourself. Small furniture of amateur experience had so gone.
1. Create a project with the size of the palm of swaddling, comfortable height and space in the room, where it was planned to put it.
Will be 27 photos and some text.
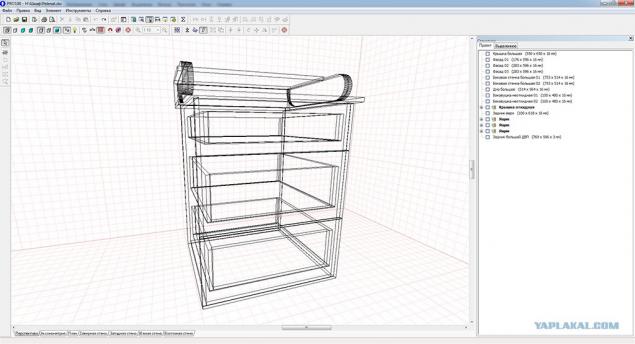
2. Detailing For companies involved saw cut chipboard, bought supplies, ordered facade. Color - "Nuts." The total cost of the order - 826grn (~ $ 100) - 395grn. Chipboard, 150grn. MDF, 93grn. MDF on the backdrop and 188grn. the remaining supplies. And this set of "DIY" home.
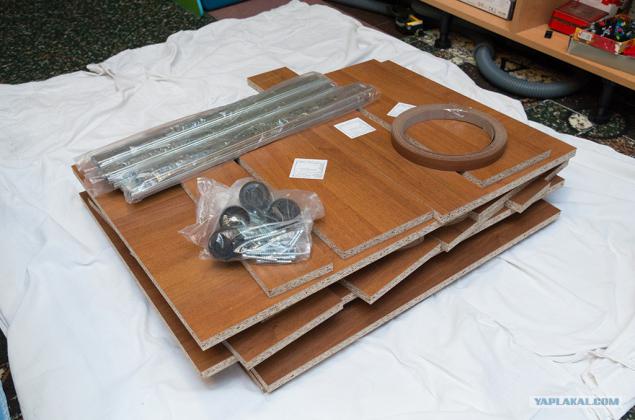
3. The edge of the paper was bought, so it was decided to glue yourself.
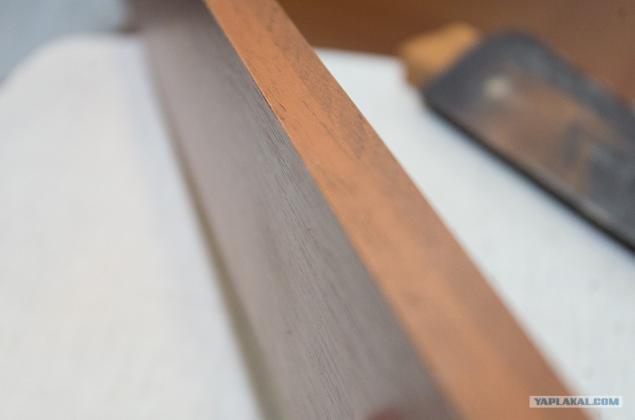
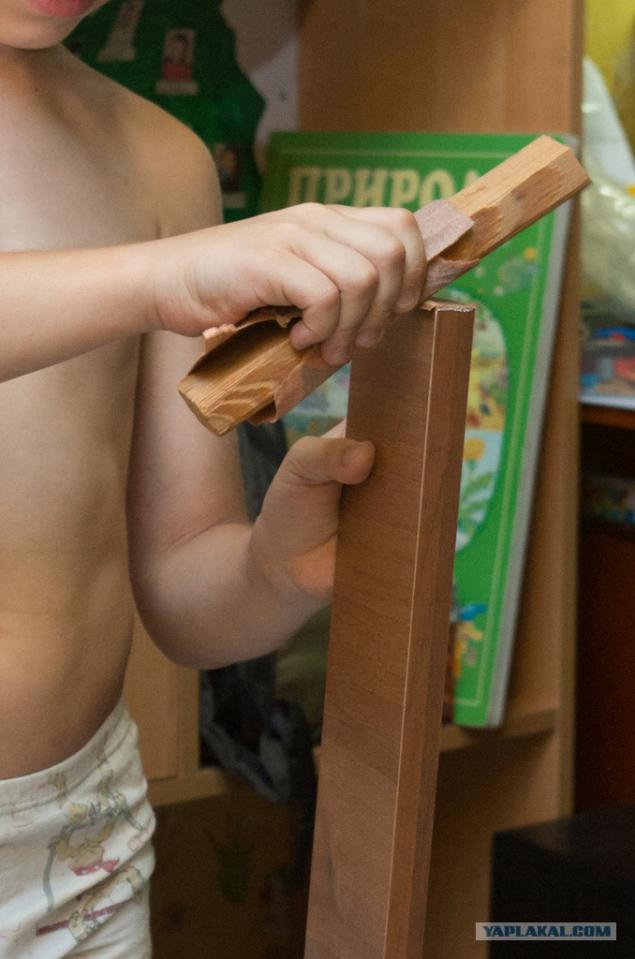
4. It's simple - iron, a sharp knife with a one-sided grinding, fine emery cloth. You can do without a knife, if there are problems with smooth cutting. Apply, Gray, trim, grind.
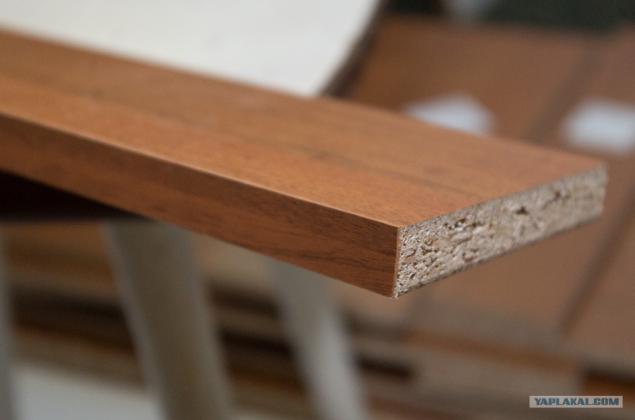
5. Yunyya assistant took an active part in this process, and trying to warm, and cut, and poshkurit. In general, the process is boring and monotonous. But "the young assistant" managed to make it a revival, not looking at putting a hot iron on my leg.
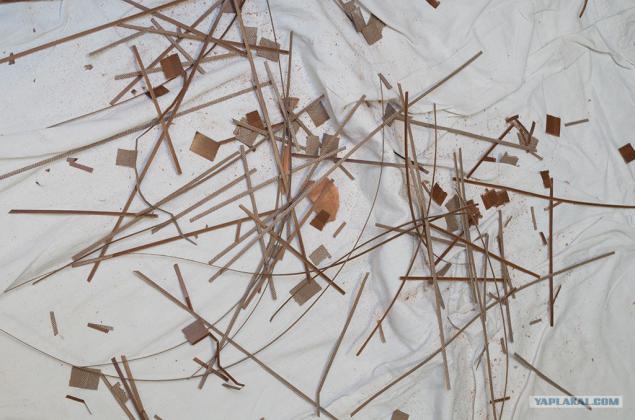
6. Pokleka completed. On the floor was a ekspressionizi. Perhaps interested in any gallery? ))
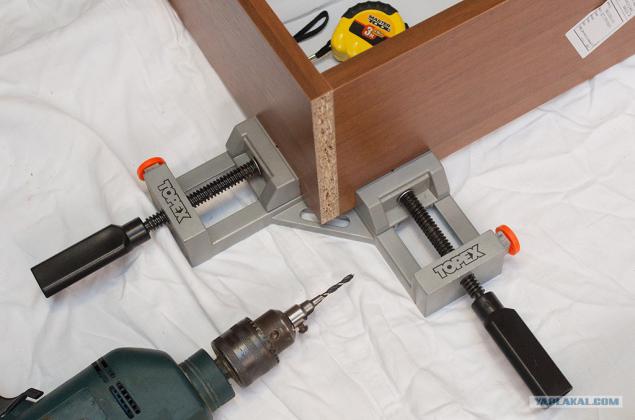
7. It is time to build. I used previously to mark up parts individually and then wrung zasverlival. At this time, for the sake of the experiment it was taken so that's a stray (Sanya, thank you!). It is very convenient to the small details. More details it is impossible to rigidly fix, so they drilled the old fashioned way - at first every mark out, drill and then twisted together.
8. The first went!
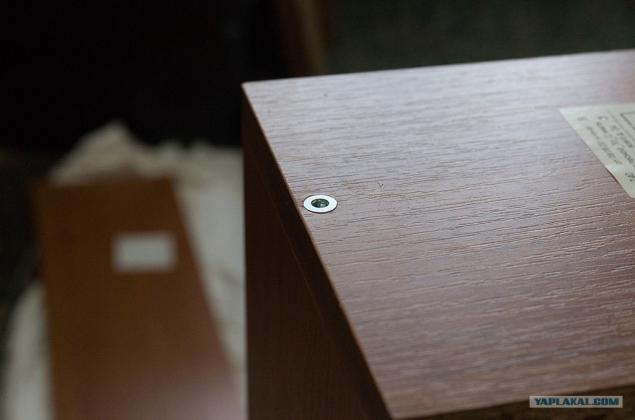
9. As a result of these manipulations we get nehiryh box.
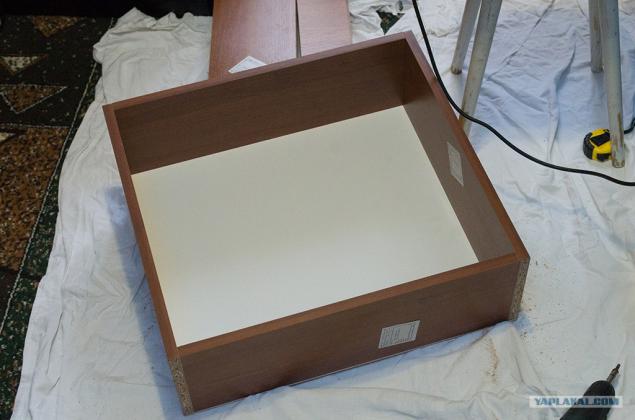
10. Repeat two more times and get three boxes.
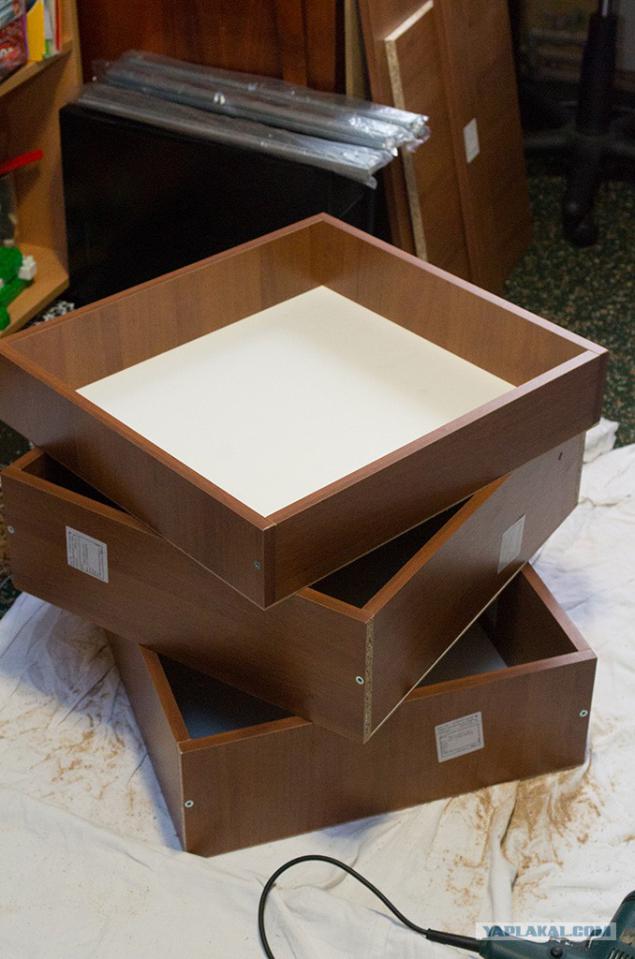
11. Mark up space on the side wall of the box for fixing the rails. It was bought full extension guides.
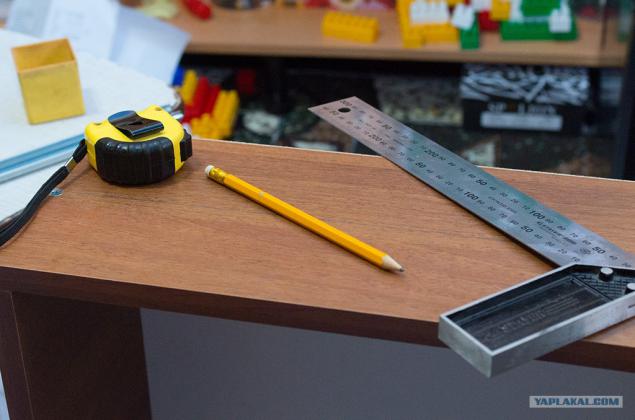
12. One is.
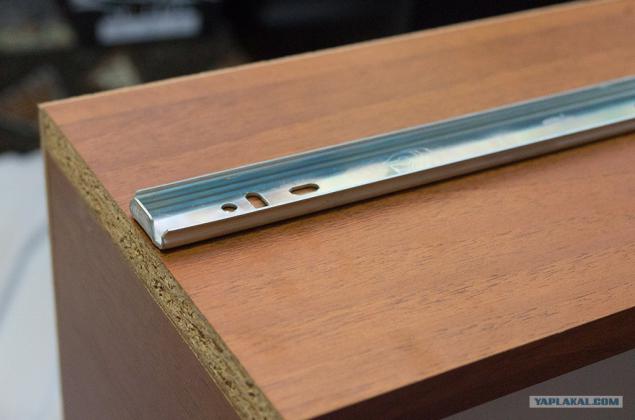
13. So you do not persist in tables inside, screwing guides fasten them to the pre-marked side walls to build cabinets. It is better to take your time and carefully check the calculations.
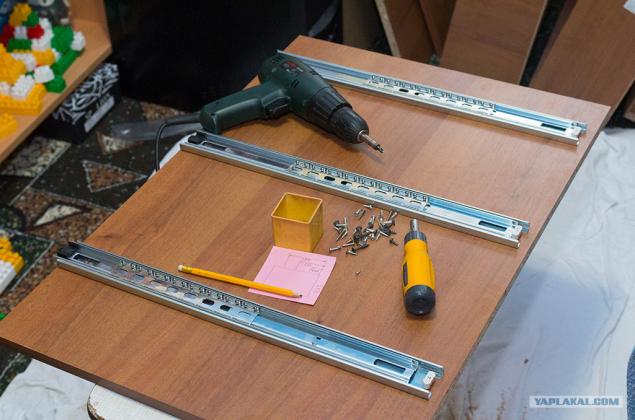
14. The time has come marking the turning parts. They need to drill holes for the tie, in which they will be rotated.
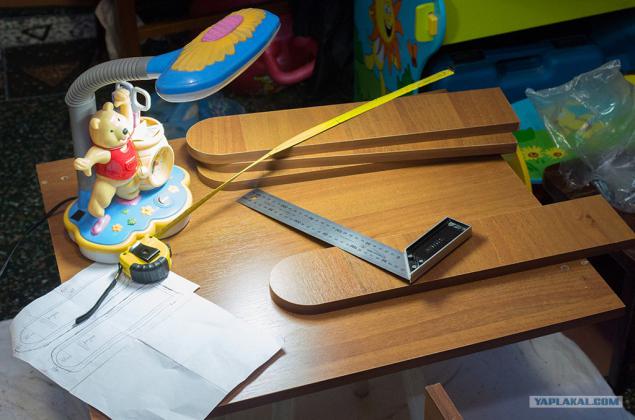
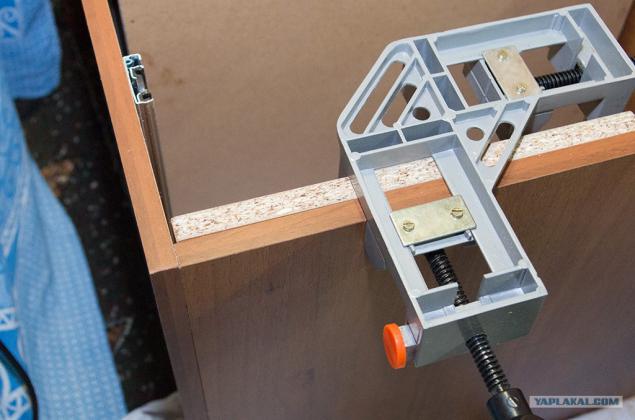
15. In order to accurately drill all the details, they pull together a clamp. Corner, in the absence of normal.
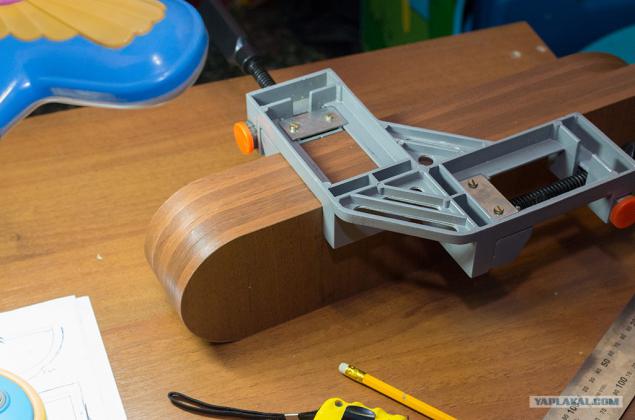
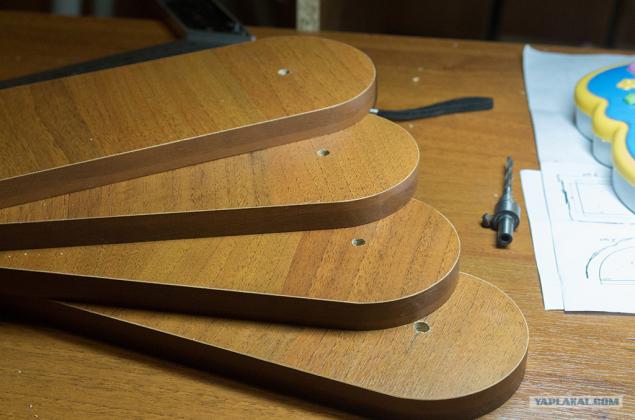
16. The drill, dosverlivaya last detail through. In order to get a smooth exit holes without jagged edges, you need to press tightly against the bottom sheet of chipboard yet. Therefore, I clamp the last detail, along with an unnecessary piece of chipboard and drill through. (Why did not immediately clamped five sheets? And not intermeddle)))
17. I collect cabinet.
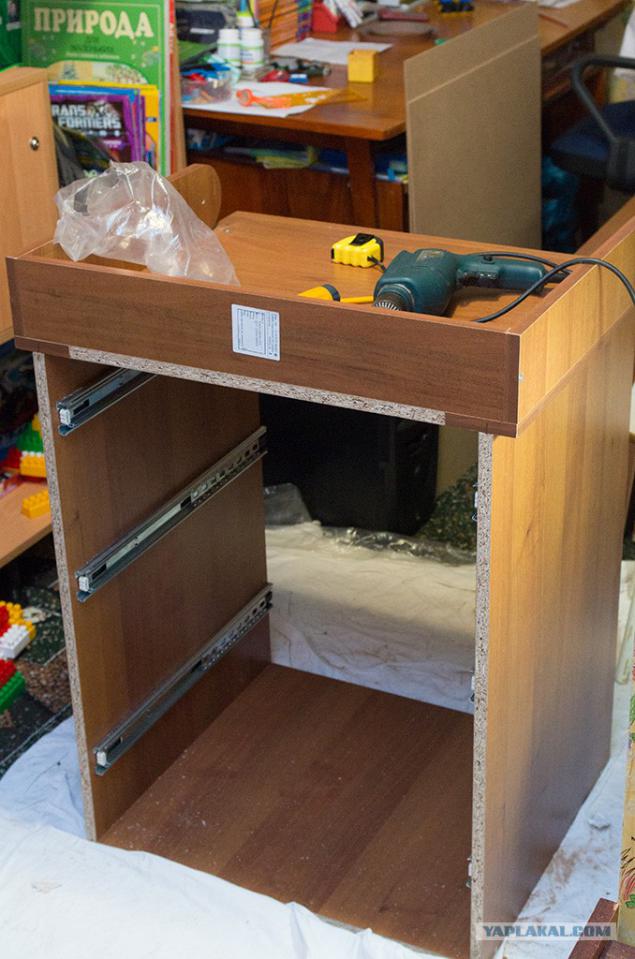
18. And then the surprise. The guys on the wrong sawing instead of 769mm and 796mm cut. Well, at least not vice versa)). First, like gently as possible hacksaw to saw off the excess. But hacksaw with large teeth, not for such fine details.
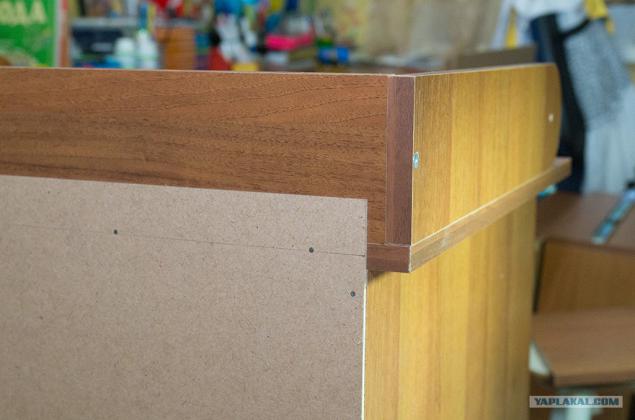
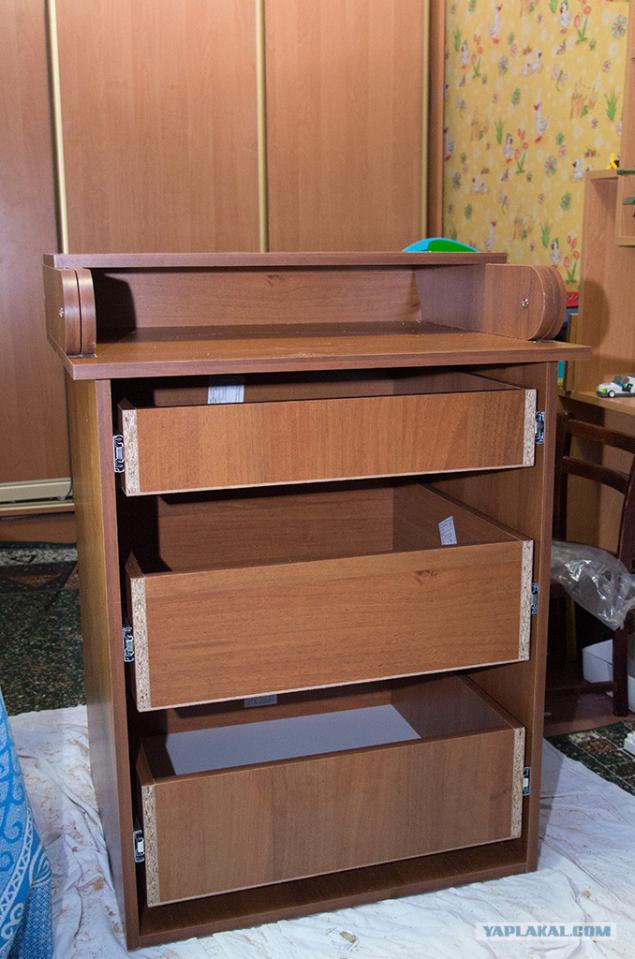
19. In the assembled cabinet inserted previously collected boxes. Wow, we come together!
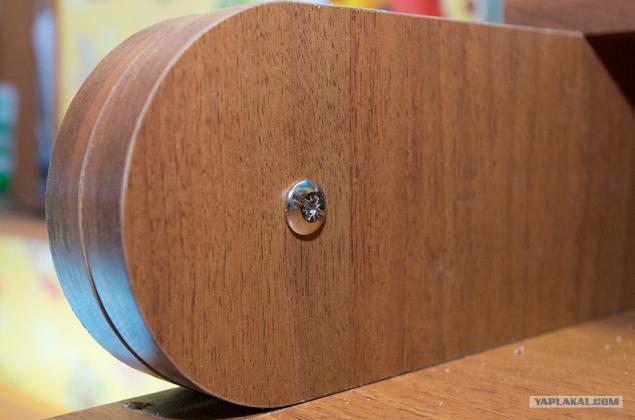
20. The rotating part going. Twisted tie between rotating parts axle washer wearing ties to items rubbing against each other.
21. Mark up the space for mounting the facades on the front wall of the box.
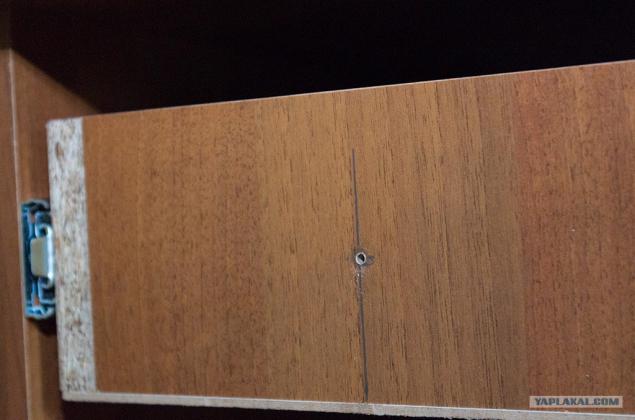
22. Inside a larger drill bit do sweat under the screw head.
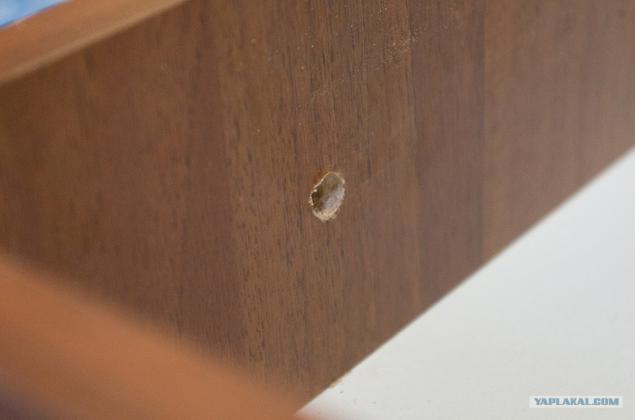
23. Now mount facades. In order not to fooling with calculations vymeryaniem millimeter gaps and so on., It was decided to pre-attach them to double sided tape, putting all the gaps and then attach the screws.
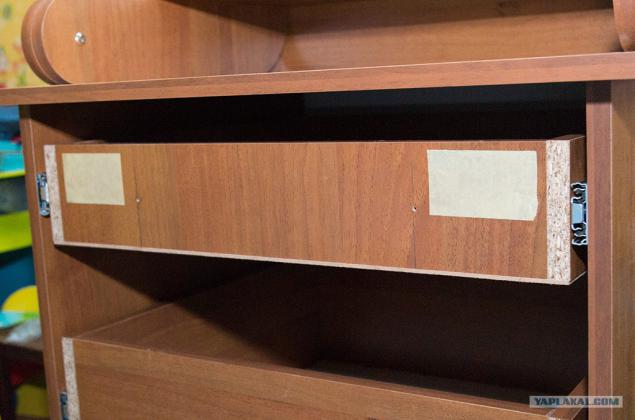
24. Repeat three times))
25. It remains to establish the legs. It's all on the proven scheme - 'mark, drill, set. To output the drill vomited material clamp attach a piece of chipboard.
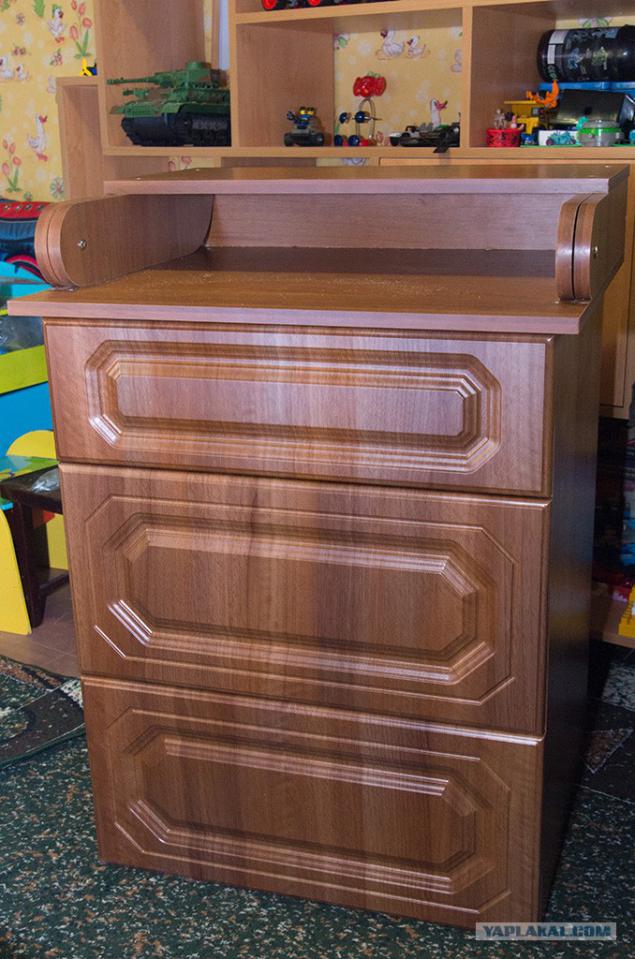
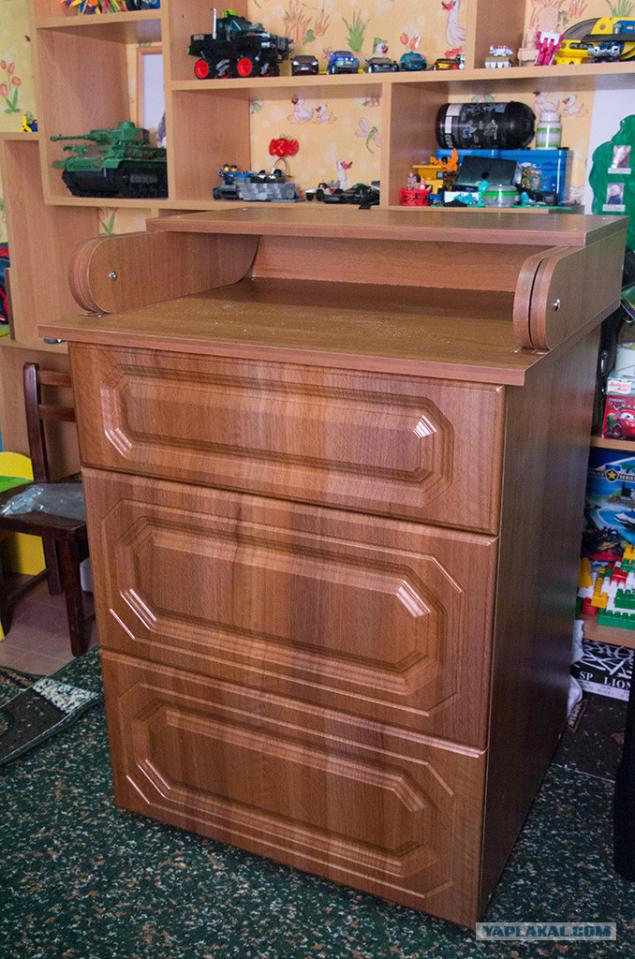
26. Done! It remains to fasten the handle. Their choice is committed to his wife, so when it's - I can not say.
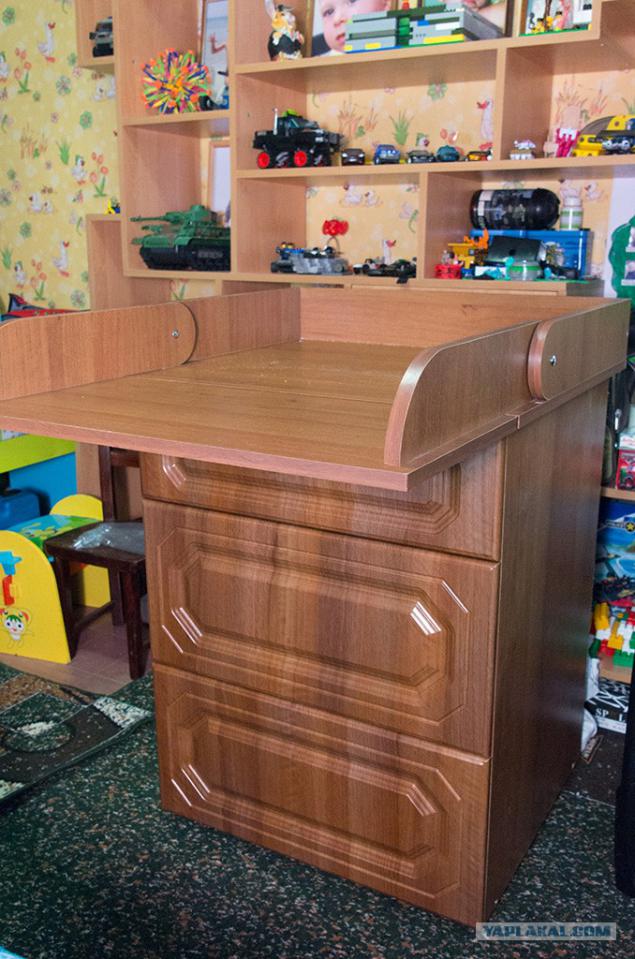
27. Finish with a folded top cover. I do everything possible to kick.
Source: ">