785
As I gash cabinet
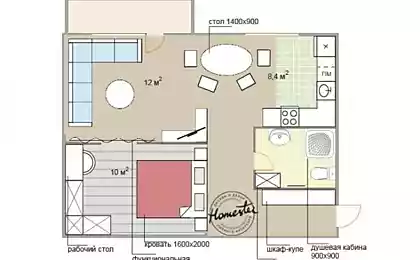
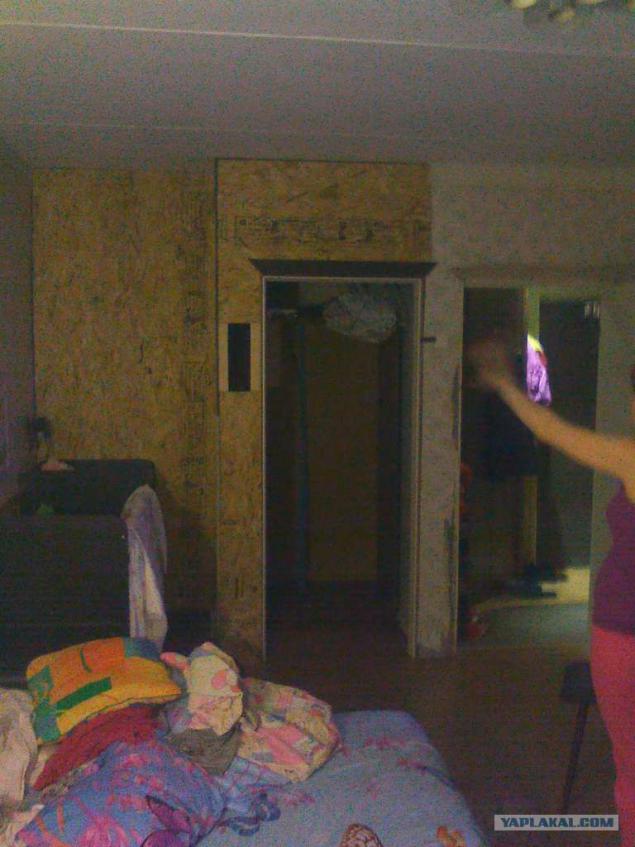
At the girlfriend had the idea to dismiss the cabinet in his odnushke, and in the niche where he lived to make wardrobe. considering the budget - it turned out that not a channel, so decided to make a case, looking at who will not say that it is a wardrobe.
and then, as they say it started ...
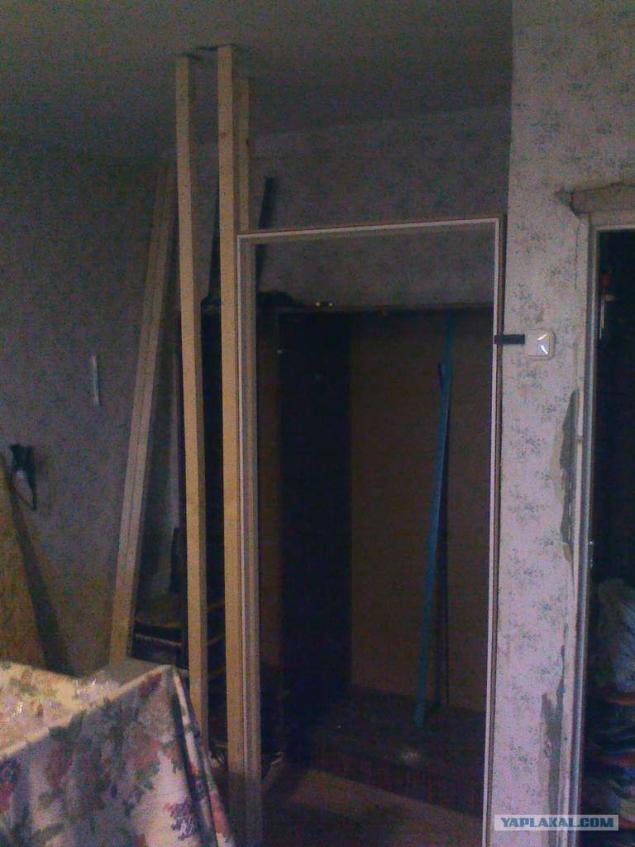
purchased lumber, OSB, door frame and a lot of any fasteners.
in the future design of living out his days old wardrobe
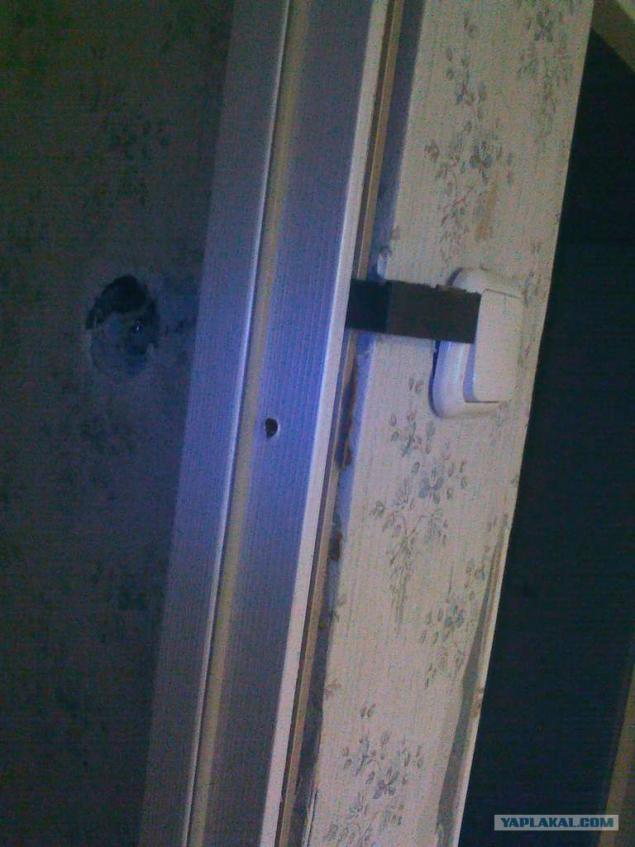
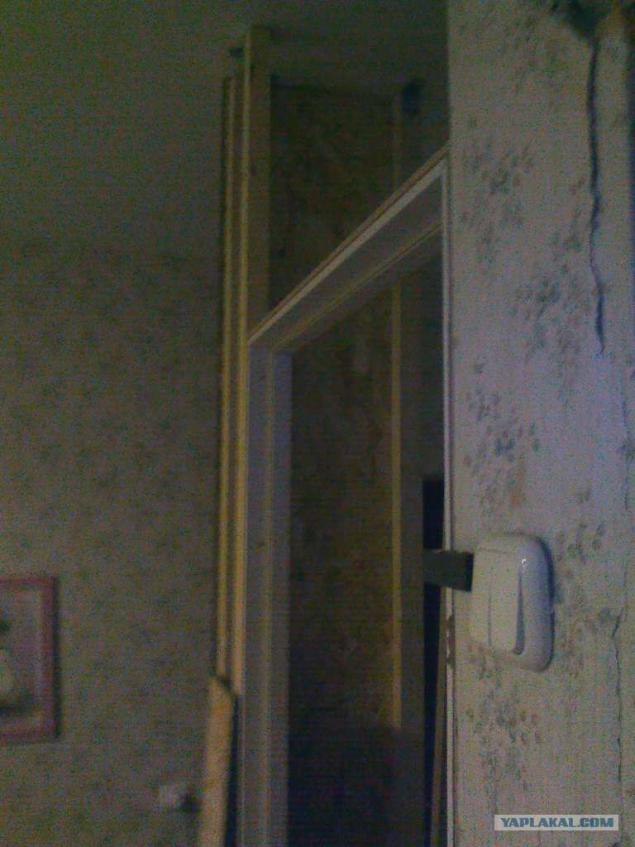
suffered switch estimated future casing
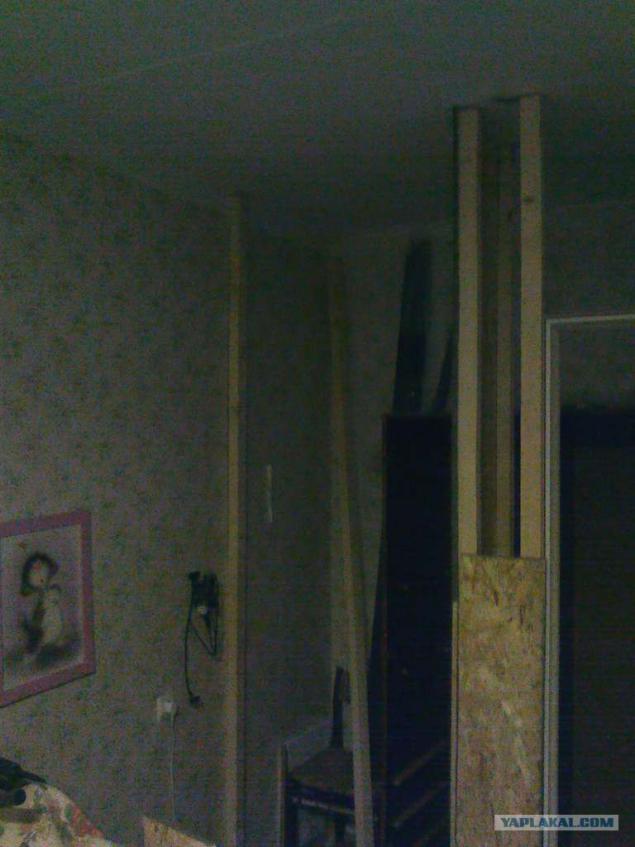
general plan about is becoming clear that intended. left at the wall niche is, there will be a cot, and then she will not need, fill it with shelves, will continue clearer

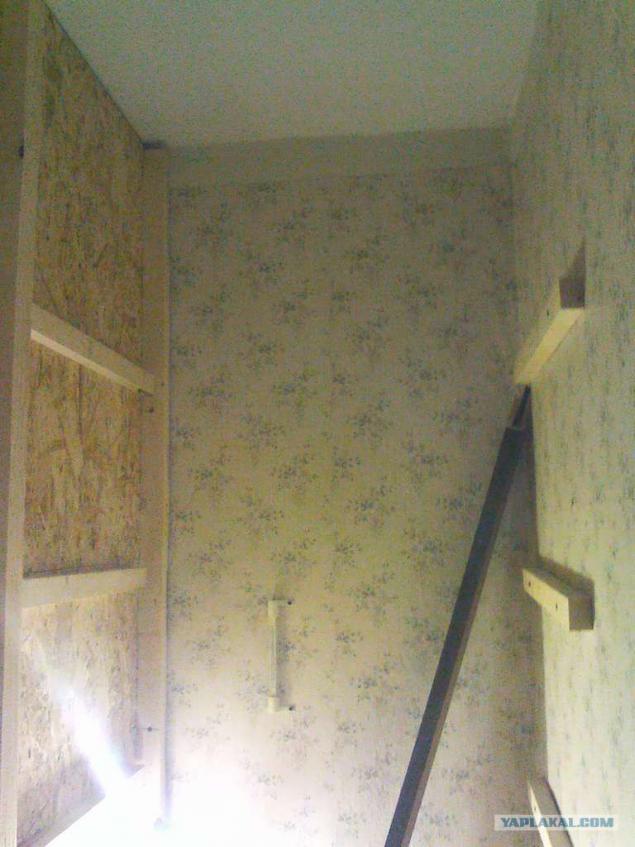
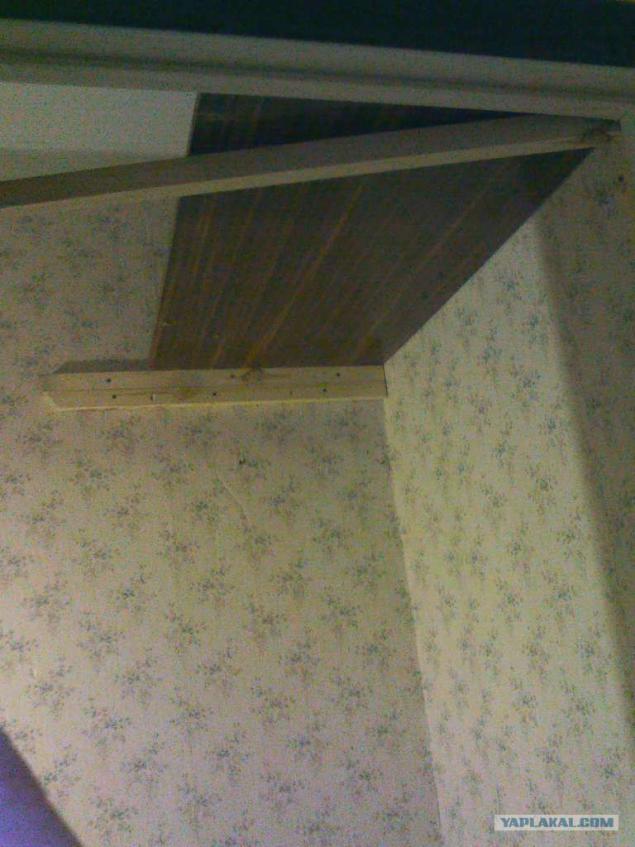
because the curved beams appeared to ahueniya I began immediately sew, OSB panel to pull it.
in general it has become more equal, so I decided to stick to this sequence and
sutured niche under the shelf and a crib, the one that left
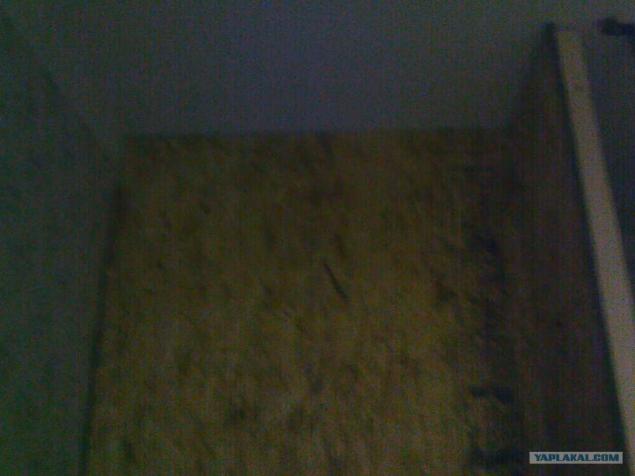
something already looms
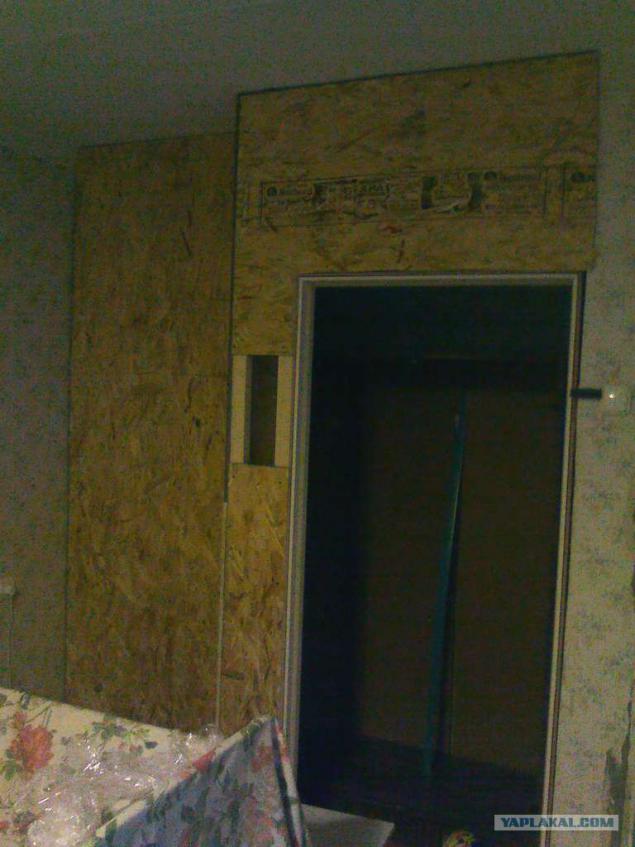
the hostess came back from a walk and ahuela, from what I have just a few hours it's had, I think this approach just cant deliver. (Drill at a low-cut nizya, --boitsya))
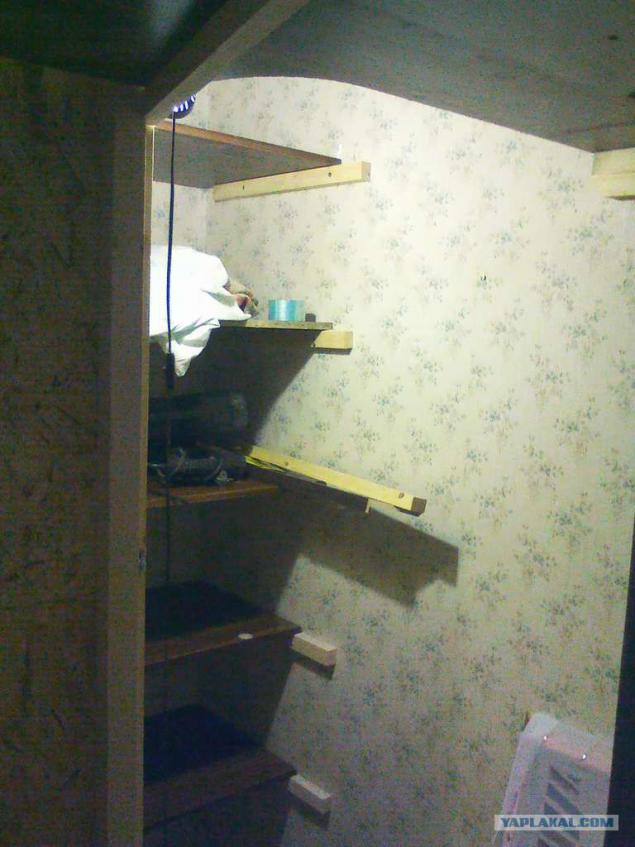
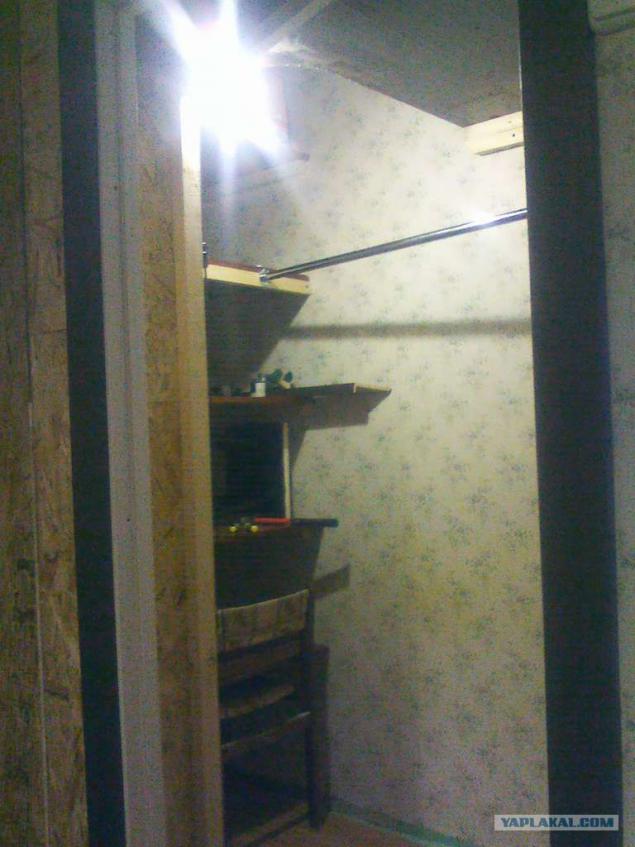
next set began to mount napravyashki shelves inside a cozy and smells like a tree)
fasteners under the mezzanine
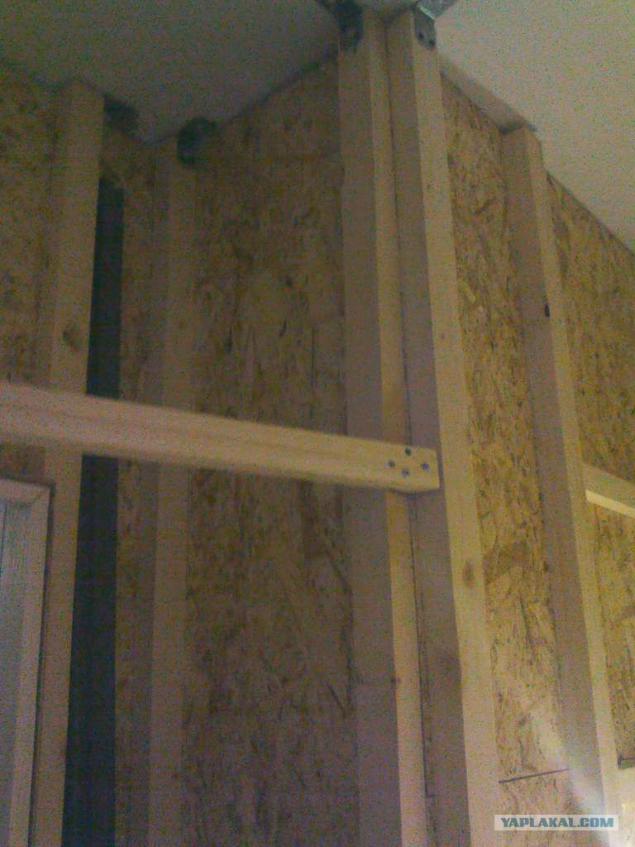
view from the outside))
Guess which of the shelves and mezzanine))
right, the more old furniture goes to the cause, the less wear to throw))
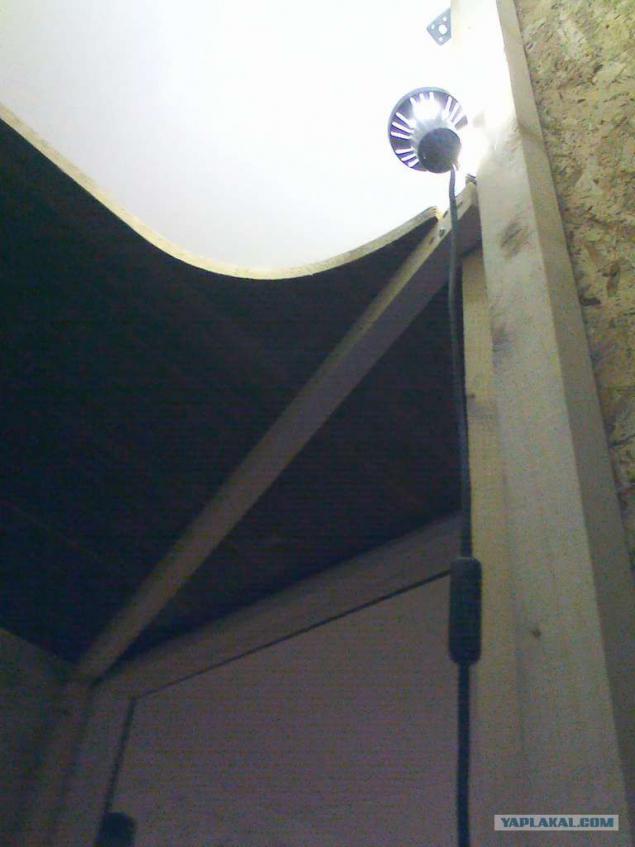
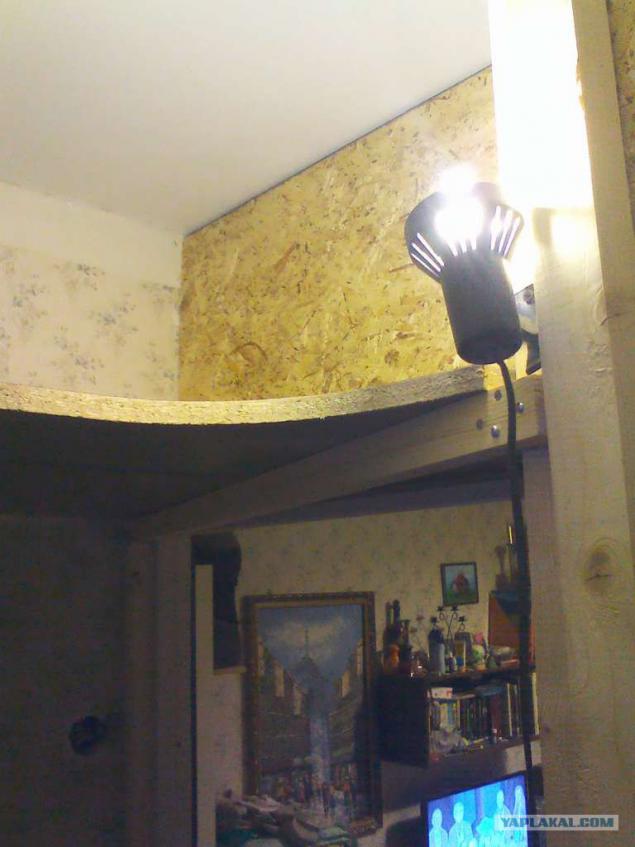
this lamp so caught, they decided to settle there and it
telly outside is a long nightstand, too, all of it later moved to supershkaf, and she also went to the parts
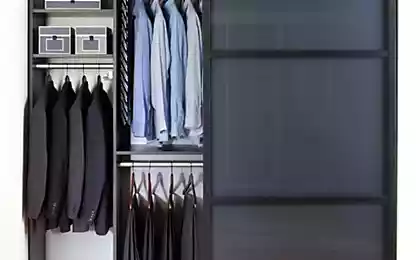
rod for clothes hangers
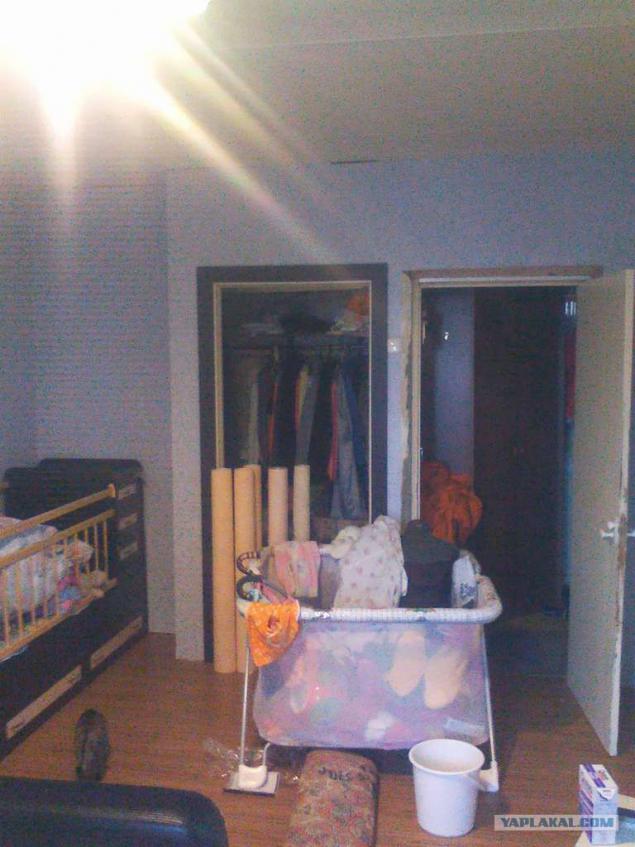
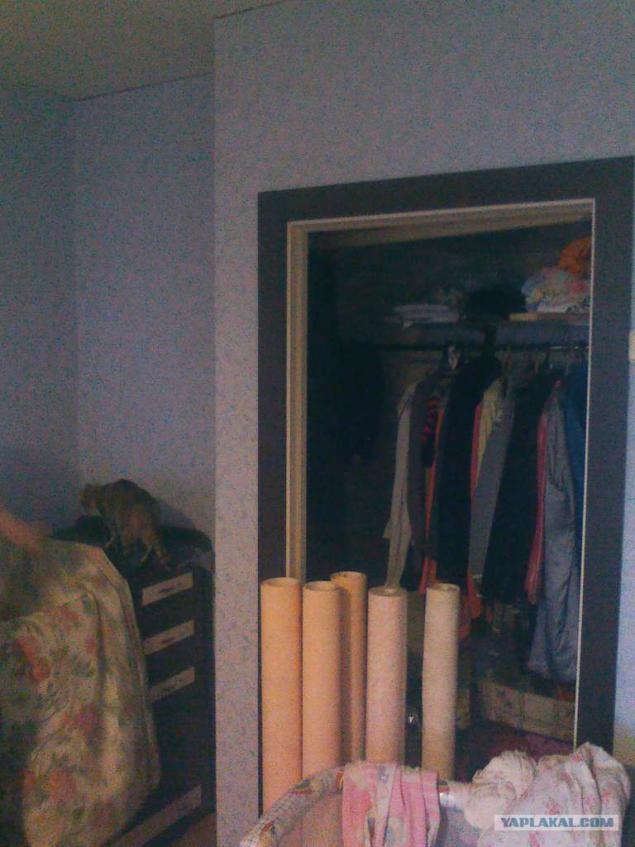
general view in daylight

Wallpaper sticking
attentiveness)
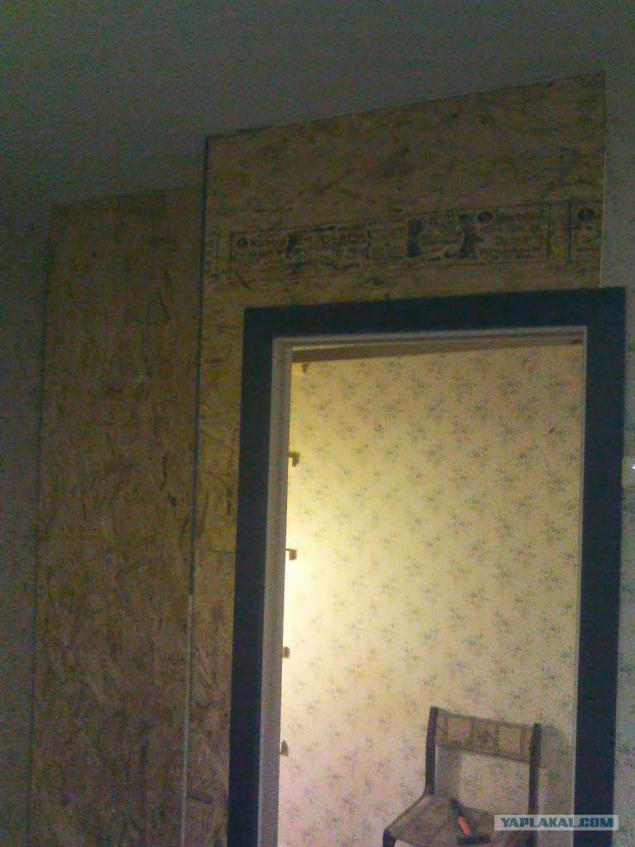
the second casing just brought to mind the Soviet door frame is a quiet horror. in general I did not like how it turned out, but decided that any better than it was
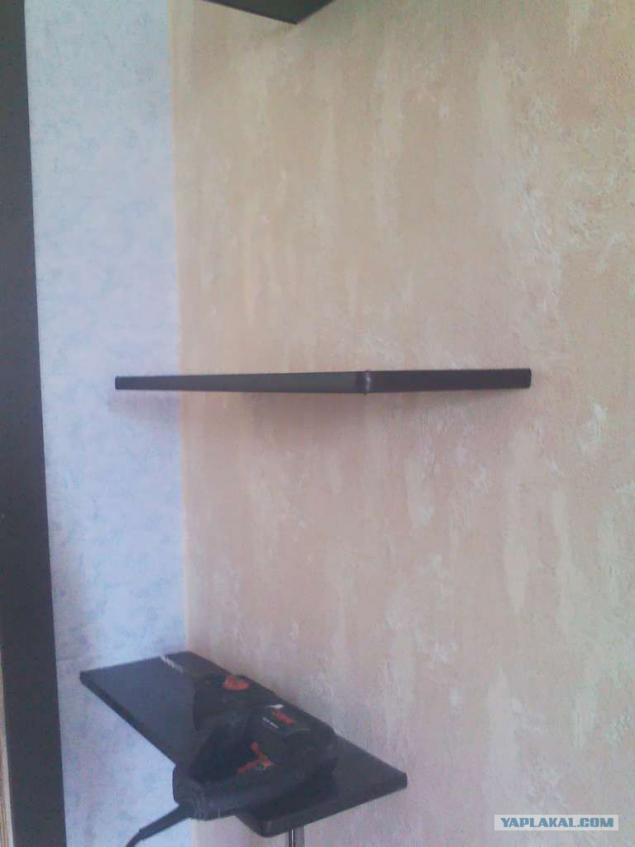
shelves, too samopal
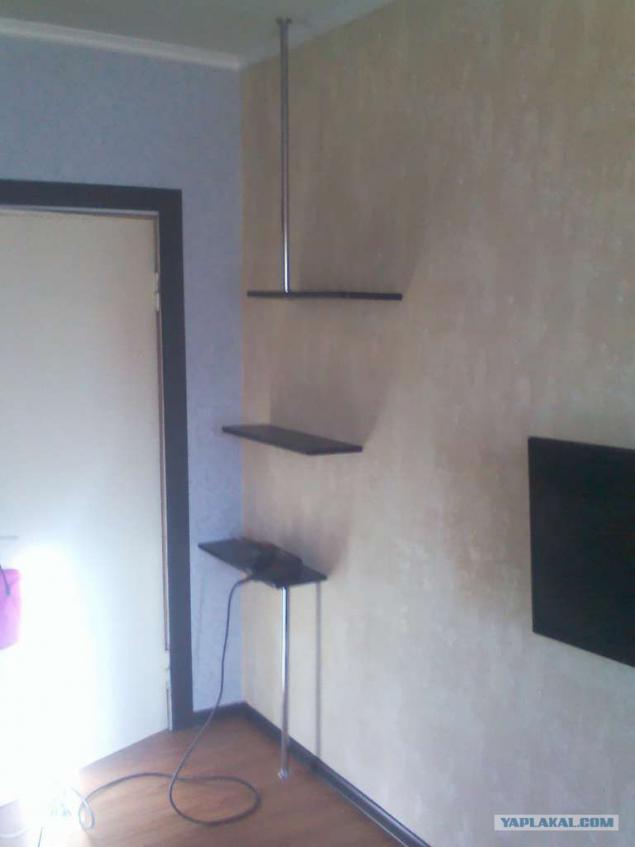
Telecom under the entire wall by the way, was crowded tables, because that despite umenshuvshuyusya area, space in the room was larger. it is to the previous photo. and it's just a middle shelf. long thought how to make hidden fasteners, drill 4 holes to the rear end, and put on the studs)
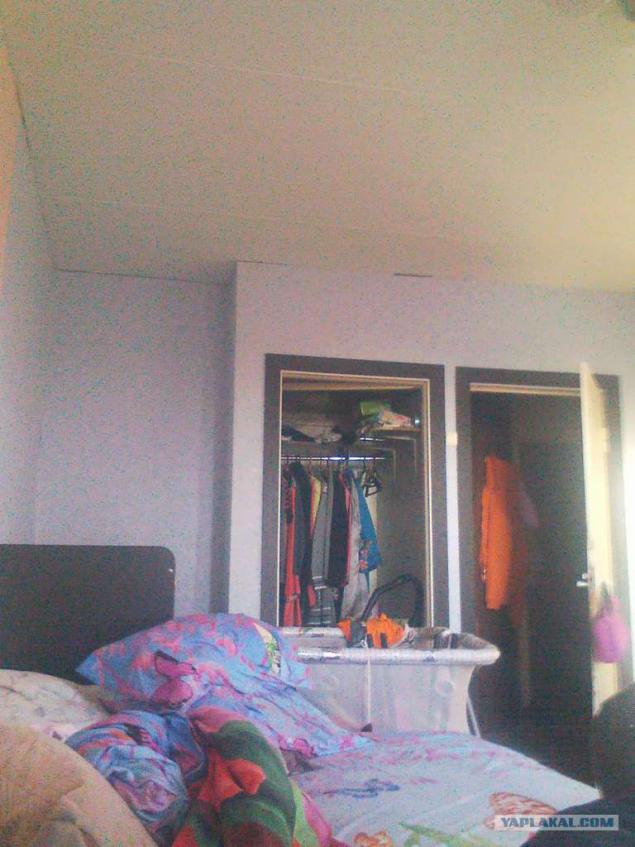
general view. Incidentally colorful wallpaper - not only course design - = - they just got for free, and only under the freebies come up with the theme of zoning))
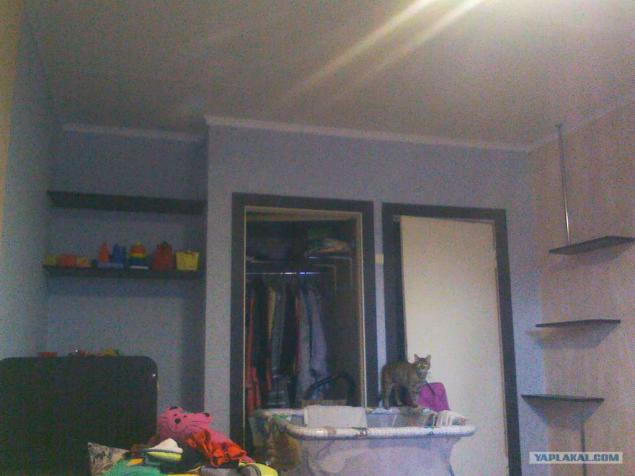
such as children of the blue, bright seating area and a work area peach
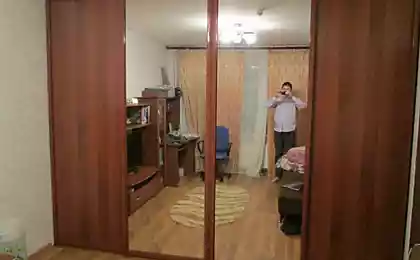
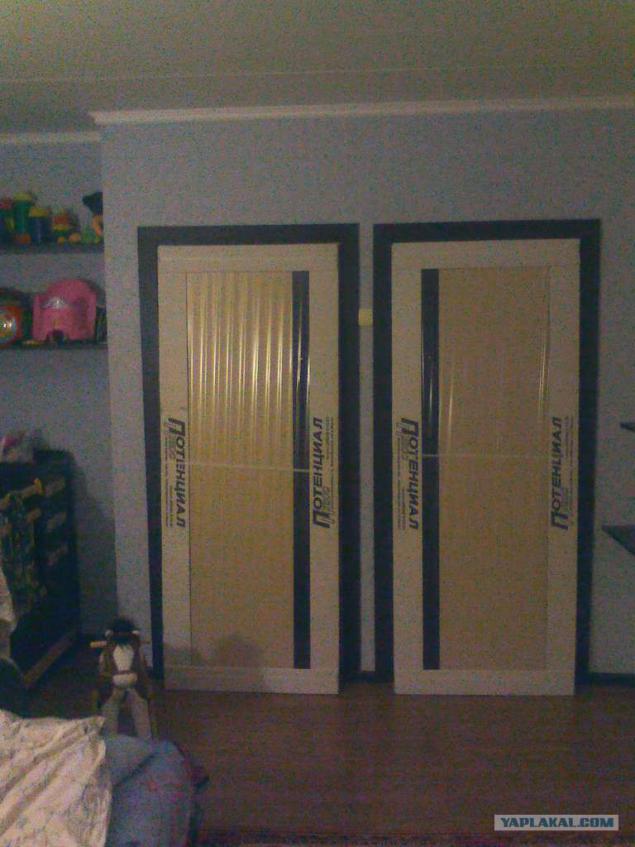
fitting doors where to put the glasses to each other or vice versa.
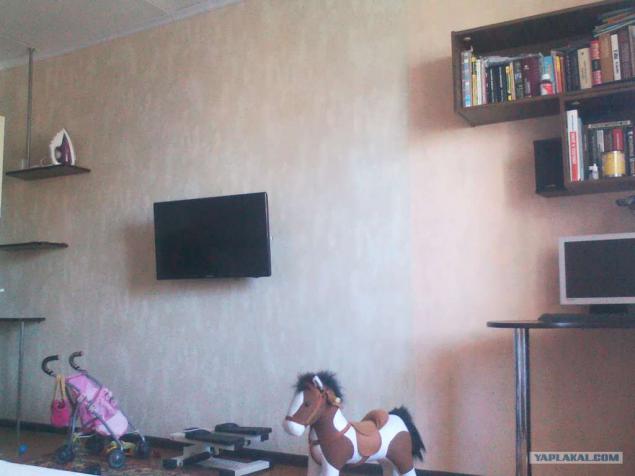
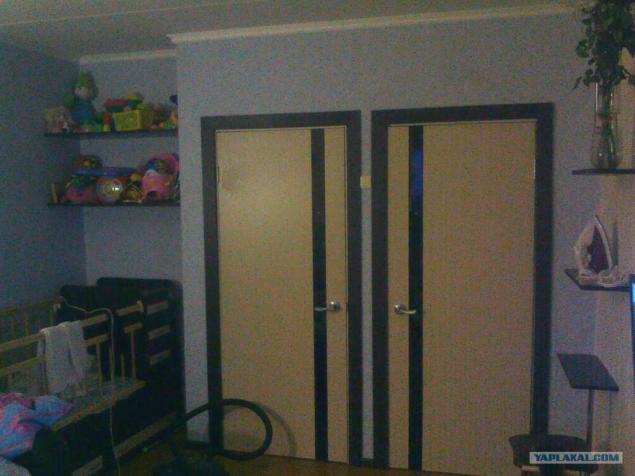
Well, and the final result. By the way, the door came at exactly half of the budget, and we waited for them six weeks, but the result is worth it, I think. turnkey project budget of about 16 000r. By the way, the door to the cabinet compartment requested 19 000.
I still can kick
and then, as they say it started ...

purchased lumber, OSB, door frame and a lot of any fasteners.
in the future design of living out his days old wardrobe
suffered switch estimated future casing

general plan about is becoming clear that intended. left at the wall niche is, there will be a cot, and then she will not need, fill it with shelves, will continue clearer

because the curved beams appeared to ahueniya I began immediately sew, OSB panel to pull it.

in general it has become more equal, so I decided to stick to this sequence and

sutured niche under the shelf and a crib, the one that left

something already looms

the hostess came back from a walk and ahuela, from what I have just a few hours it's had, I think this approach just cant deliver. (Drill at a low-cut nizya, --boitsya))

next set began to mount napravyashki shelves inside a cozy and smells like a tree)

fasteners under the mezzanine

view from the outside))

Guess which of the shelves and mezzanine))

right, the more old furniture goes to the cause, the less wear to throw))

this lamp so caught, they decided to settle there and it

telly outside is a long nightstand, too, all of it later moved to supershkaf, and she also went to the parts

rod for clothes hangers

general view in daylight

Wallpaper sticking

attentiveness)

the second casing just brought to mind the Soviet door frame is a quiet horror. in general I did not like how it turned out, but decided that any better than it was

shelves, too samopal

Telecom under the entire wall by the way, was crowded tables, because that despite umenshuvshuyusya area, space in the room was larger. it is to the previous photo. and it's just a middle shelf. long thought how to make hidden fasteners, drill 4 holes to the rear end, and put on the studs)

general view. Incidentally colorful wallpaper - not only course design - = - they just got for free, and only under the freebies come up with the theme of zoning))

such as children of the blue, bright seating area and a work area peach

fitting doors where to put the glasses to each other or vice versa.

Well, and the final result. By the way, the door came at exactly half of the budget, and we waited for them six weeks, but the result is worth it, I think. turnkey project budget of about 16 000r. By the way, the door to the cabinet compartment requested 19 000.
I still can kick