777
Fotofokus with the painting of light: Lightsaber
Light painting technique called Freezelight (from Eng. Frozen light) or the painting of light. In a completely dark room or a night on the street the camera is placed on a tripod. Set shutter speed is slow, usually from 30 seconds to several minutes, and in the field of view of the camera lights "drawn" objects or patterns. Instrument illumination, or "brush" can be anything from an ordinary flashlight to sparklers and fireworks. In our case, for the filming of BMW 123d. we have independently collected lightsaber.
24 photos via Ilya Varlamov, Dmitry and Sergei Prokofiev Chistoprudov

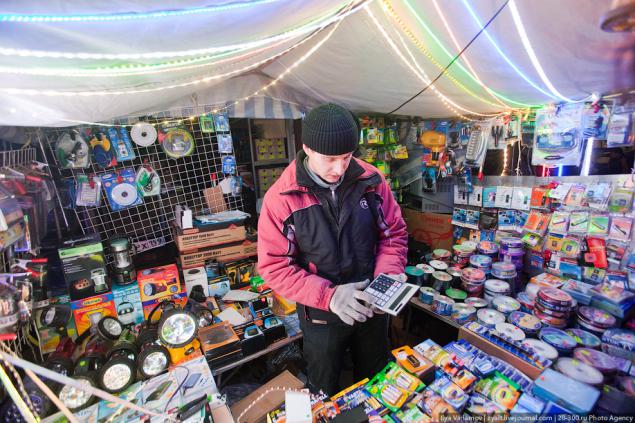
So, we decided to gather a lightsaber. First we went to the radio market Mitino for details lightsaber. From the very beginning he helped us Sergei Prokofiev, the author of a remarkable collection of articles about the same sword. Prices for accessories on the market vary widely, almost all the parts we bought in the open hangar, where they sell goods to cars.
To create a lightsaber we need:
- 12-volt lead battery
- Mediocre device battery
- LED tape tion 1m
- A bamboo stick
- Black tape
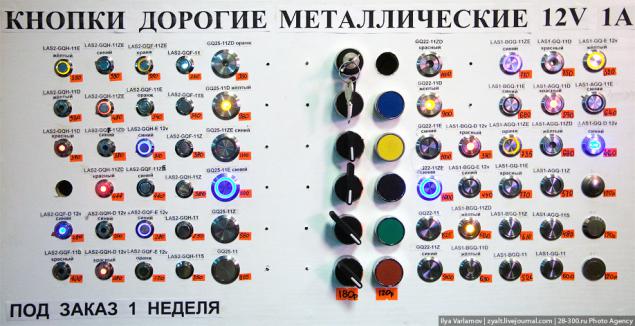
- Button
- A plastic box
- A transparent adhesive tape
- Wire
- Connectors ***
All of this you can easily buy in the market, the total value of our component was 2,000 rubles. Although you can buy only one button for 1000.
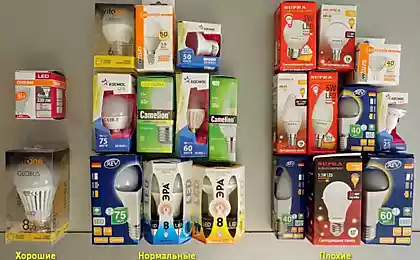
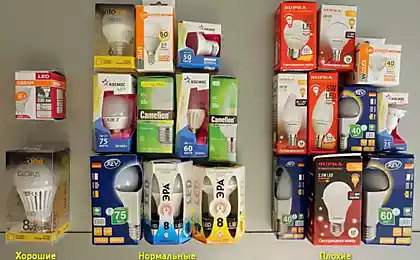
LED strips come in warm or cool white color and RGB (with the possibility of a remote control), they also differ in the frequency arrangement of LEDs on tape and brightness. We bought a RGB LED strip. It is more than one color, but offers more interesting effects. Through control may double up several modes of operation LEDs, the most interesting is the "rainbow."
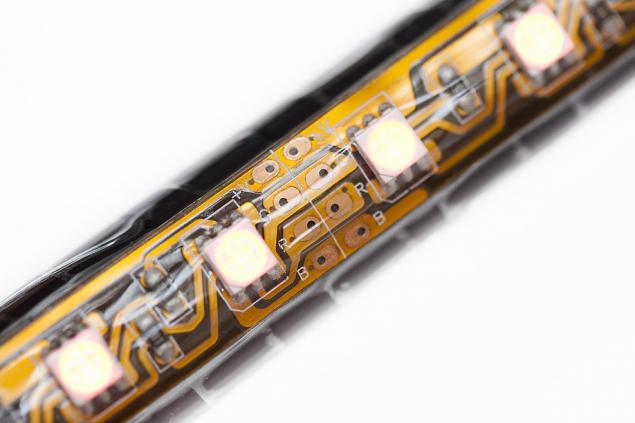
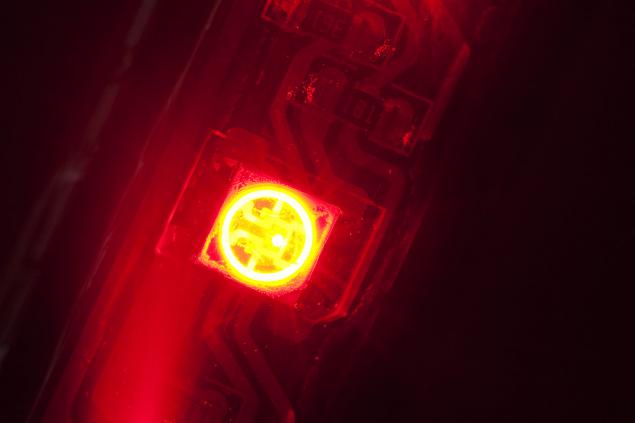
When you are planning to shoot with his lightsaber, it is important to remember how to construct RGB lights. Each point consists of three tiny LEDs: red, blue and green. When they burn at the same time, visually it turns white. Since LEDs can burn brighter or less to get a different color, they flicker, the eye is not noticeable, but in the picture you will have a dotted line of "pure" colors. If you have the need to get "even" custom light color, it is necessary to use tinted films which dress to the "white" sword.
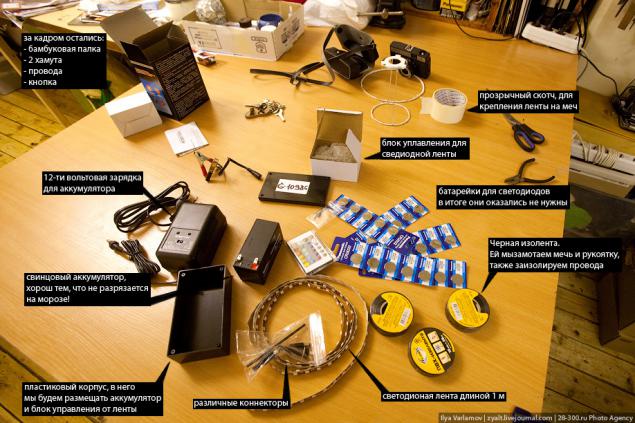
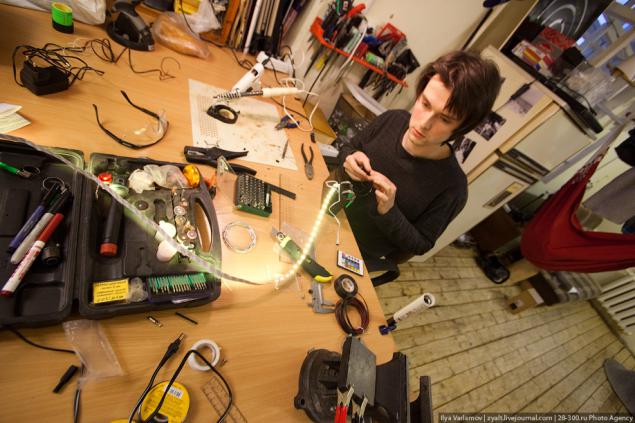
All of our purchase, we spread out on a table in the studio. As a basis for the sword, you can use a rigid plastic tube instead of metal clamps can be assembled carved connection.
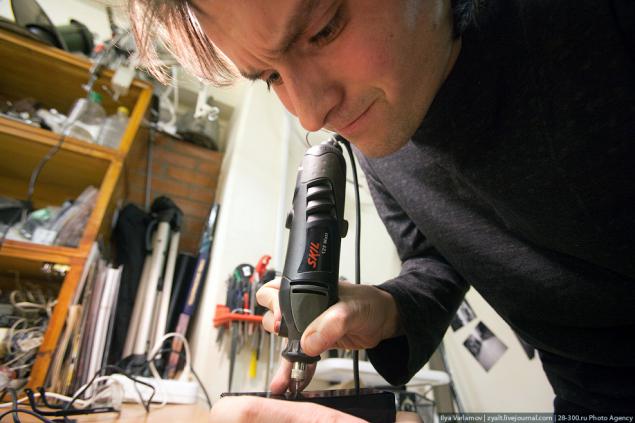
The first thing we cut from the ducts unnecessary protrusions.
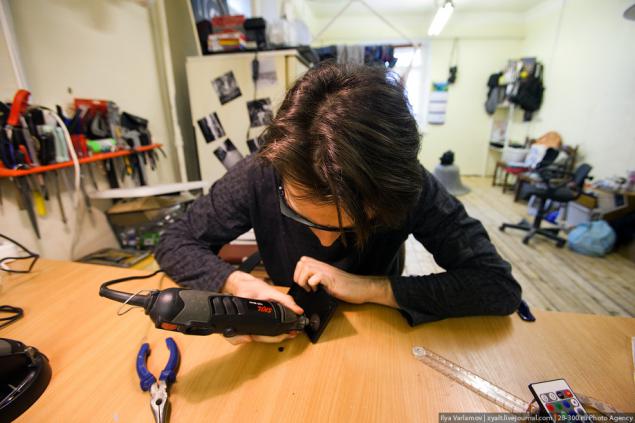
And cuts the necessary openings. One for ordinary device, the second for the production of wires to the sword itself.
Also cut through the slot for the metal clamps, we will strengthen the sword to block the battery.
Before you gather all the design, we tested it.
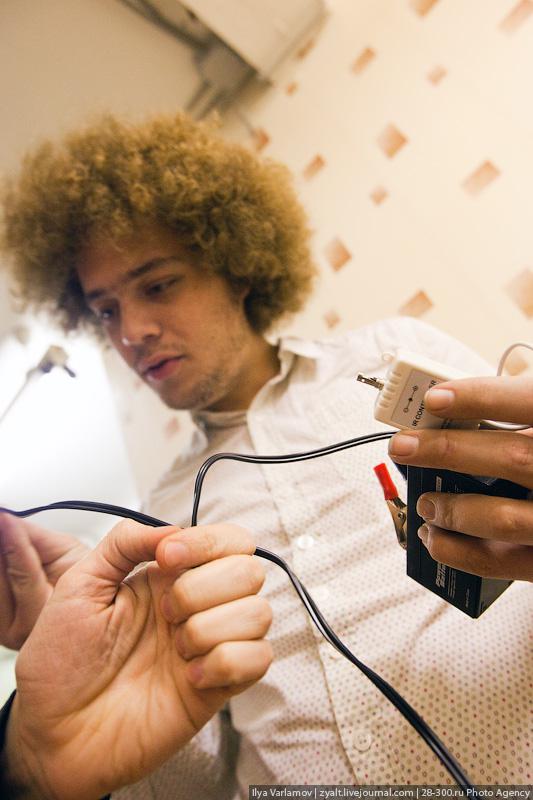
Hooray! Everything is working!
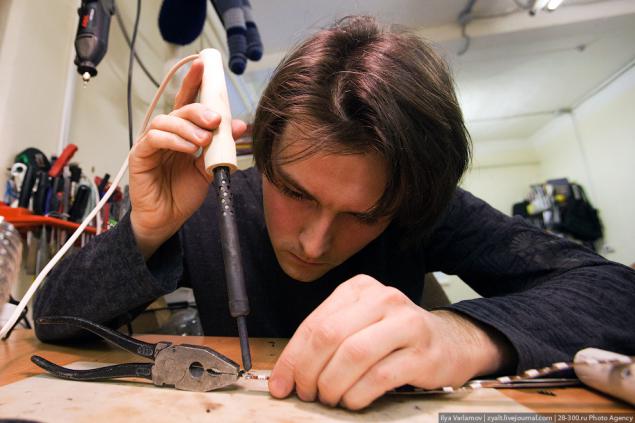
LED strip has 3 contacts. When the purchase on the market the tape and control the LEDs, see how it is connected, or ask the seller. Ribbon sold segments of 50 cm and cut with scissors. To connect the tape to the power supply, you need to solder it to the three-pin adapter.
Bamboo poles we wrapped with black electrical tape. If possible, it is necessary to make the entire sword was black, it will save you from unnecessary glare that may occur in the photo.

LED adhesive tape has a backdrop. First, we stuck it on his sword, and then tightly wrapped with transparent tape, it will protect it from moisture. If you plan to use the tape in addition to the sword, it is best not to stick it to the sword, and be limited to a transparent adhesive tape.
When you are ready and tested, firmly stick to attach the battery pack. Next solder the wires, then it is important to not confuse the polarity.
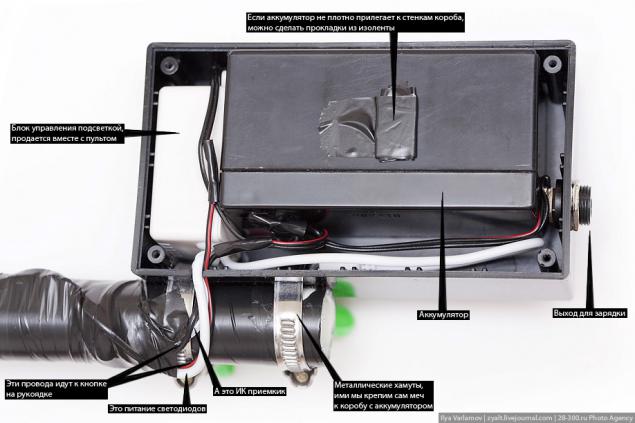
That's what we've got. We connected to the battery control unit LED illumination and an ordinary socket device. On one of the wires that go to the control panel backlight button, we connected, it can help to quickly turn on and off the backlight. Make sure the button is conveniently located on the handle.
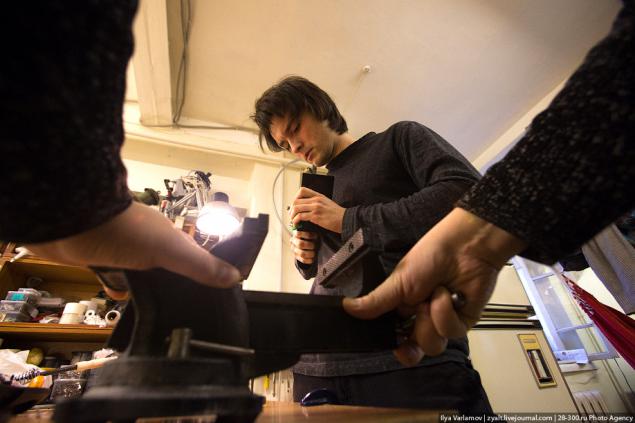
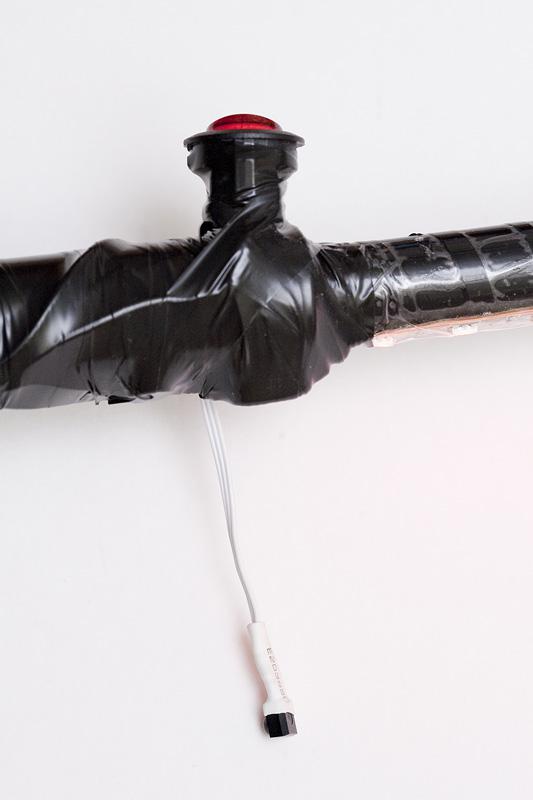
Once we all gathered, arm tightly wrapped with electrical tape. IR receiver we left free to allow it if necessary to move.
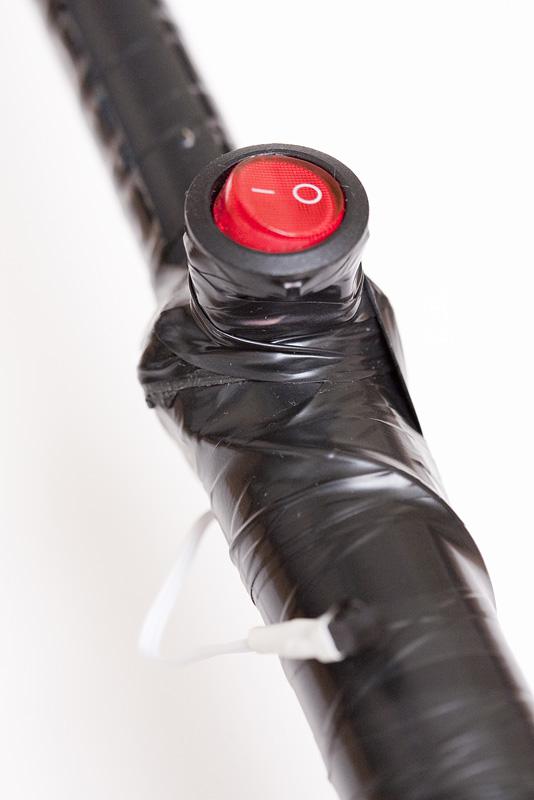
A conveniently located button.
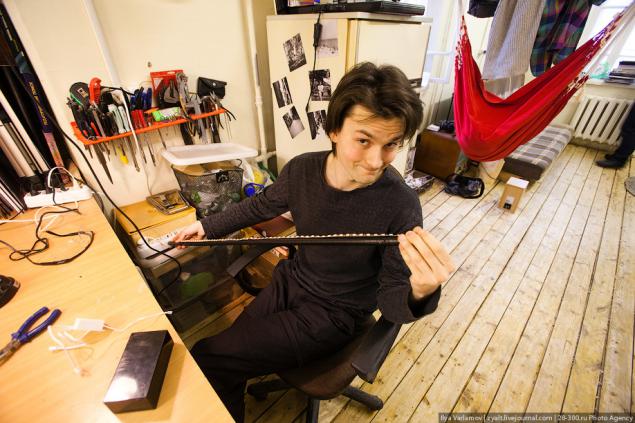
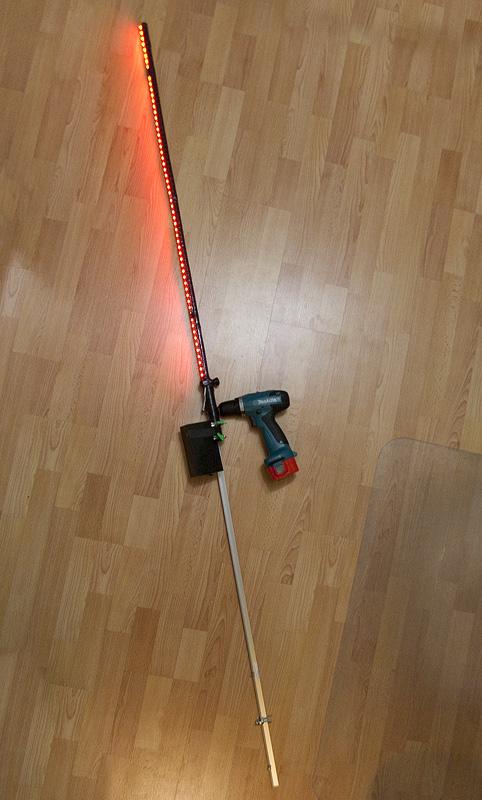
All our sword ready. With it, you can not just "paint" the tape parallel lines, but also to use it for multi-colored lights. In contrast to the lamp it gives a smooth multicolored light that perfectly useful when shooting portraits.
In our case, we get tough sword length of just over a meter. Due to the fact that the battery pack is quite heavy, the center of gravity design turned out on the handle, it allows you to comfortably rotate them to get an interesting figure in the photograph. As an alternative to bamboo sticks can be used flexible plastic or rubber rod, then you will have the light "sword", it is possible to get an interesting pattern. The design allows you to improvise and get a variety of "brush" for your photos.
No less scope for experimentation gives you a different technique of "painting." The simplest is a manual way. This allows you to tape a unique configuration, it all depends on your imagination. It is clearly seen that, due to flickering RGB LEDs, we get dotted trace of the sword.
But this was not enough to us, and we have collected on the basis of a simple screwdriver "brush" allows you to draw perfectly aligned circles. For this we need aluminum corner in which we make a hole and put the screwdriver back.
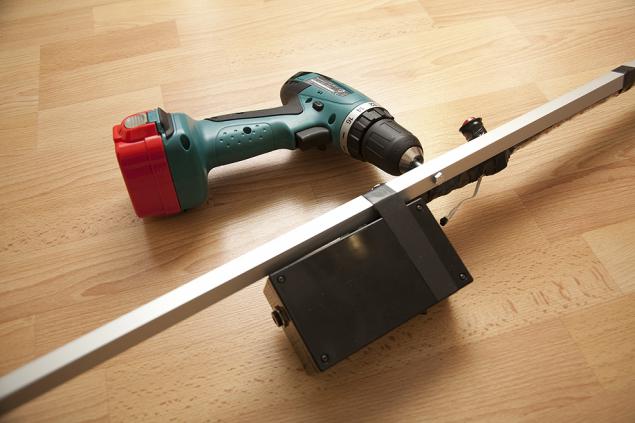
Next, using tape, we have attached our sword to the corner, here
important to do so that the center of gravity on the rotation axis smoothly.
And that's what came out of it. Most impressive is obtained when there is a reflection in the asphalt, it takes a couple of bottles of water.
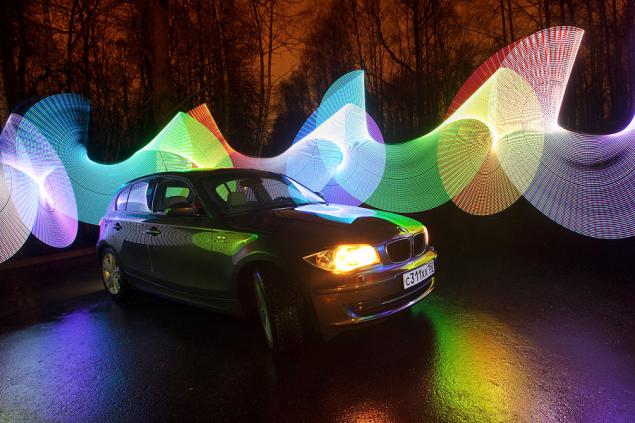
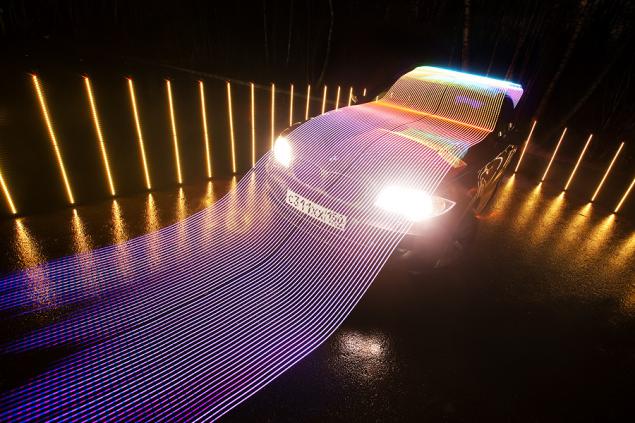
You can attach a sword on the rope and draw a circle of large radius, you can even throw it, after having strengthened structure, each technique will provide new and unique figure in the photograph. Frequently used several light sources. In our case, we additionally backlit LED flashlight car.
This combined method, when first we spent on the machine, and then made a "light bars", placing the sword vertically and including a few seconds.
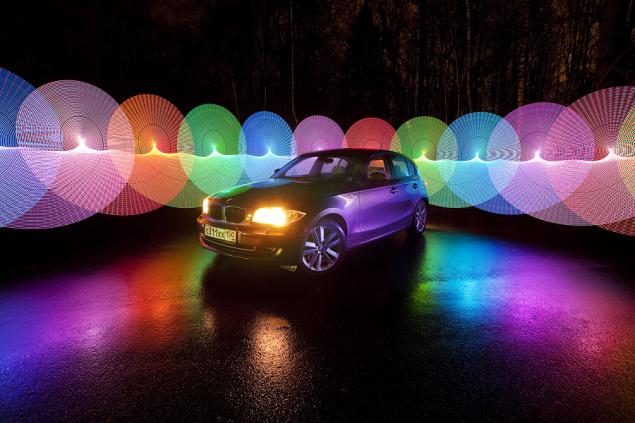
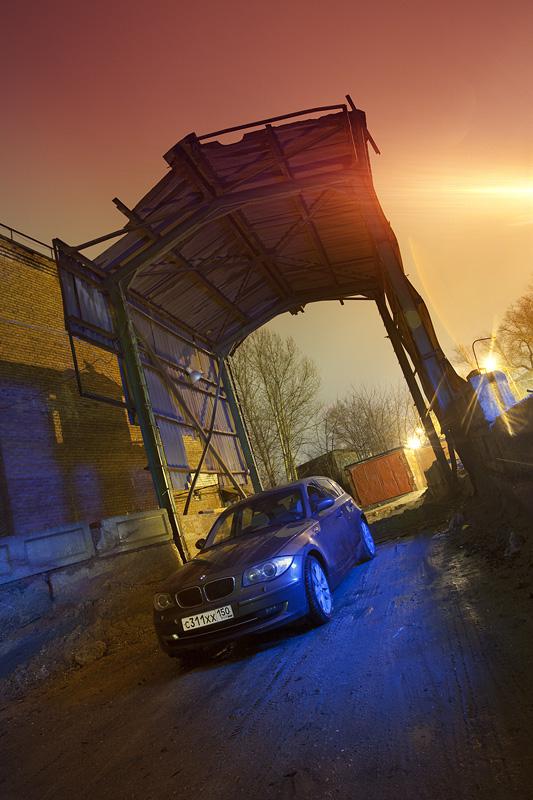
Here we used the sword for colored lighting. Exposure is about 2 minutes, during which time, moving behind the scenes with the sword, we will highlight the different colors of the car and arch to paint a little gray industrial landscape. The sight of passing PPSnikov interested, they were much napuganny happening, and heard that we have a sword, ordered not to move, raise your hands up, and so on. I had a long time to explain that we simply remove the car, unfortunately not all are able to understand that at 2am, you can simply remove the car in the industrial zone.
Source:
24 photos via Ilya Varlamov, Dmitry and Sergei Prokofiev Chistoprudov

So, we decided to gather a lightsaber. First we went to the radio market Mitino for details lightsaber. From the very beginning he helped us Sergei Prokofiev, the author of a remarkable collection of articles about the same sword. Prices for accessories on the market vary widely, almost all the parts we bought in the open hangar, where they sell goods to cars.

To create a lightsaber we need:
- 12-volt lead battery
- Mediocre device battery
- LED tape tion 1m
- A bamboo stick
- Black tape
- Button
- A plastic box
- A transparent adhesive tape
- Wire
- Connectors ***
All of this you can easily buy in the market, the total value of our component was 2,000 rubles. Although you can buy only one button for 1000.

LED strips come in warm or cool white color and RGB (with the possibility of a remote control), they also differ in the frequency arrangement of LEDs on tape and brightness. We bought a RGB LED strip. It is more than one color, but offers more interesting effects. Through control may double up several modes of operation LEDs, the most interesting is the "rainbow."

When you are planning to shoot with his lightsaber, it is important to remember how to construct RGB lights. Each point consists of three tiny LEDs: red, blue and green. When they burn at the same time, visually it turns white. Since LEDs can burn brighter or less to get a different color, they flicker, the eye is not noticeable, but in the picture you will have a dotted line of "pure" colors. If you have the need to get "even" custom light color, it is necessary to use tinted films which dress to the "white" sword.

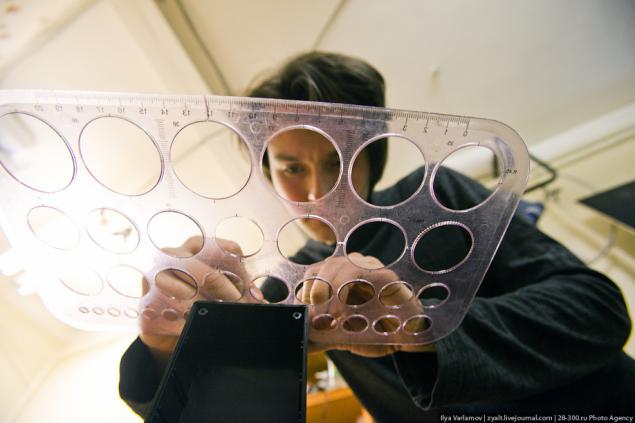
All of our purchase, we spread out on a table in the studio. As a basis for the sword, you can use a rigid plastic tube instead of metal clamps can be assembled carved connection.

The first thing we cut from the ducts unnecessary protrusions.

And cuts the necessary openings. One for ordinary device, the second for the production of wires to the sword itself.

Also cut through the slot for the metal clamps, we will strengthen the sword to block the battery.

Before you gather all the design, we tested it.

Hooray! Everything is working!

LED strip has 3 contacts. When the purchase on the market the tape and control the LEDs, see how it is connected, or ask the seller. Ribbon sold segments of 50 cm and cut with scissors. To connect the tape to the power supply, you need to solder it to the three-pin adapter.

Bamboo poles we wrapped with black electrical tape. If possible, it is necessary to make the entire sword was black, it will save you from unnecessary glare that may occur in the photo.

LED adhesive tape has a backdrop. First, we stuck it on his sword, and then tightly wrapped with transparent tape, it will protect it from moisture. If you plan to use the tape in addition to the sword, it is best not to stick it to the sword, and be limited to a transparent adhesive tape.

When you are ready and tested, firmly stick to attach the battery pack. Next solder the wires, then it is important to not confuse the polarity.

That's what we've got. We connected to the battery control unit LED illumination and an ordinary socket device. On one of the wires that go to the control panel backlight button, we connected, it can help to quickly turn on and off the backlight. Make sure the button is conveniently located on the handle.

Once we all gathered, arm tightly wrapped with electrical tape. IR receiver we left free to allow it if necessary to move.

A conveniently located button.

All our sword ready. With it, you can not just "paint" the tape parallel lines, but also to use it for multi-colored lights. In contrast to the lamp it gives a smooth multicolored light that perfectly useful when shooting portraits.
In our case, we get tough sword length of just over a meter. Due to the fact that the battery pack is quite heavy, the center of gravity design turned out on the handle, it allows you to comfortably rotate them to get an interesting figure in the photograph. As an alternative to bamboo sticks can be used flexible plastic or rubber rod, then you will have the light "sword", it is possible to get an interesting pattern. The design allows you to improvise and get a variety of "brush" for your photos.
No less scope for experimentation gives you a different technique of "painting." The simplest is a manual way. This allows you to tape a unique configuration, it all depends on your imagination. It is clearly seen that, due to flickering RGB LEDs, we get dotted trace of the sword.

But this was not enough to us, and we have collected on the basis of a simple screwdriver "brush" allows you to draw perfectly aligned circles. For this we need aluminum corner in which we make a hole and put the screwdriver back.

Next, using tape, we have attached our sword to the corner, here
important to do so that the center of gravity on the rotation axis smoothly.

And that's what came out of it. Most impressive is obtained when there is a reflection in the asphalt, it takes a couple of bottles of water.

You can attach a sword on the rope and draw a circle of large radius, you can even throw it, after having strengthened structure, each technique will provide new and unique figure in the photograph. Frequently used several light sources. In our case, we additionally backlit LED flashlight car.
This combined method, when first we spent on the machine, and then made a "light bars", placing the sword vertically and including a few seconds.

Here we used the sword for colored lighting. Exposure is about 2 minutes, during which time, moving behind the scenes with the sword, we will highlight the different colors of the car and arch to paint a little gray industrial landscape. The sight of passing PPSnikov interested, they were much napuganny happening, and heard that we have a sword, ordered not to move, raise your hands up, and so on. I had a long time to explain that we simply remove the car, unfortunately not all are able to understand that at 2am, you can simply remove the car in the industrial zone.

Source: