937
Rukozhopstva post from SVEN SPS-820
1. To begin, I unscrewed the back cover and took out all the electronics.
23 Photo Source
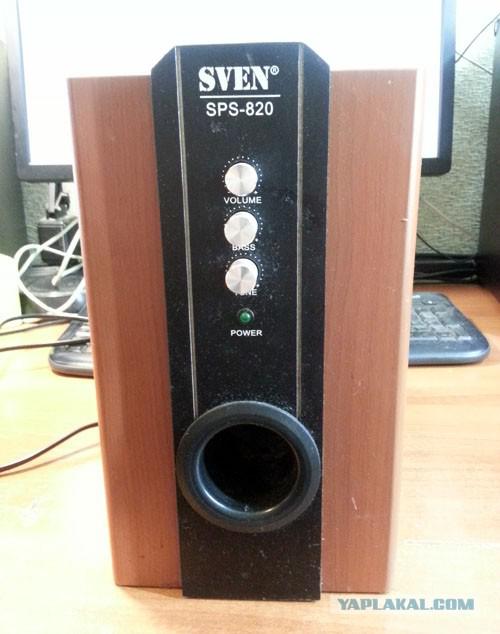
2.
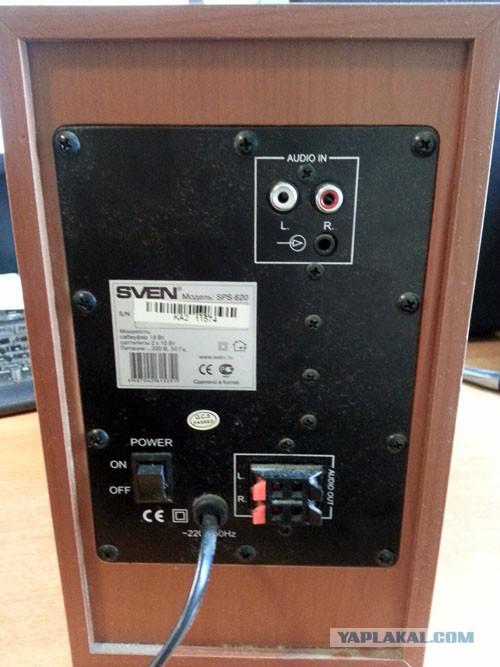
3.
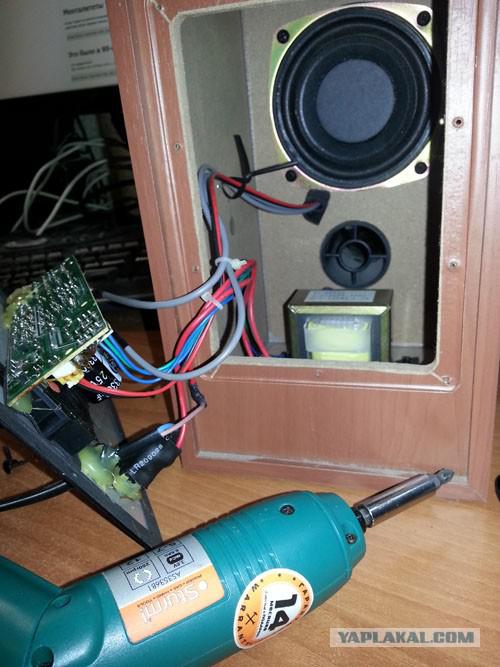
4. Pulled speaker.
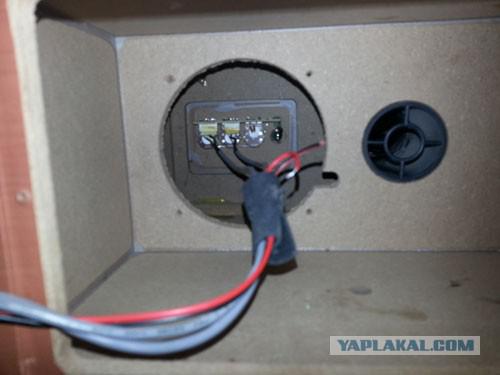
5. Adjustment buttons pristuknul outside a hammer - they fell inside.
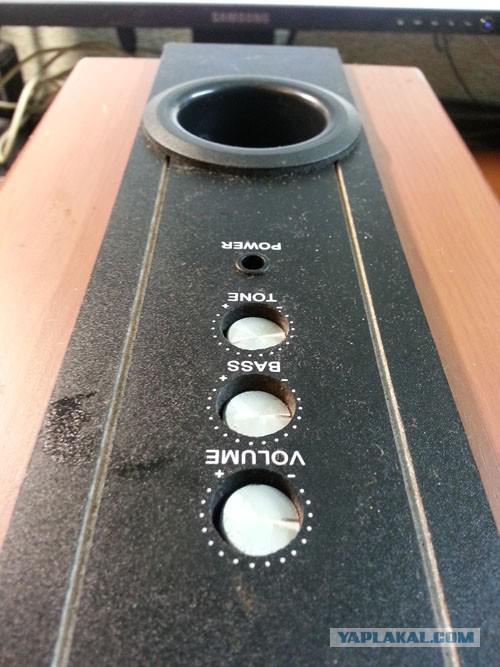
6. Break off the crossbar, pulled the bell, cut away the excess and put back (then, however, decided that with a piece of input socket for birds would be too slippery, and removed it altogether, but is so).
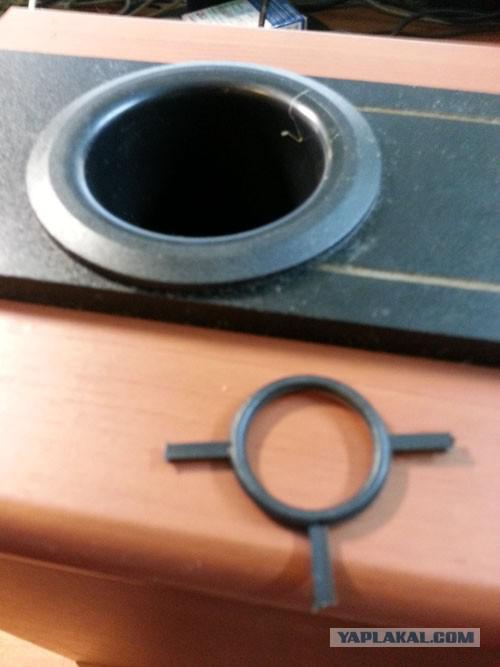
7.
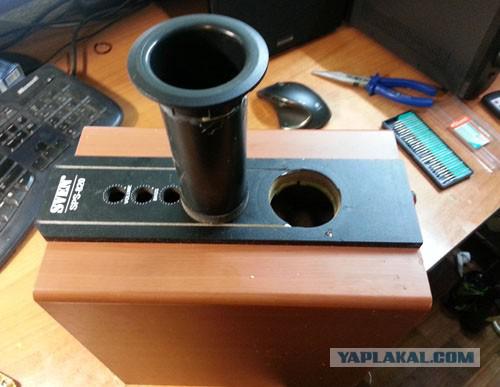
8.
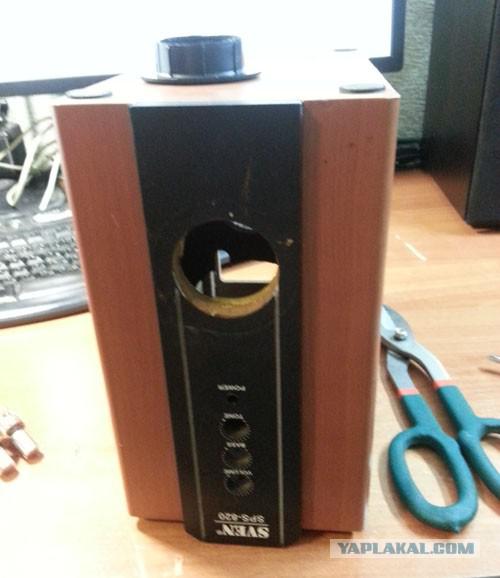
9.
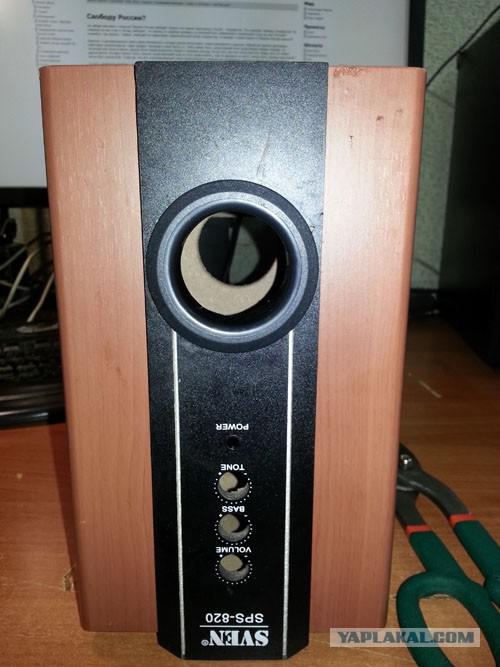
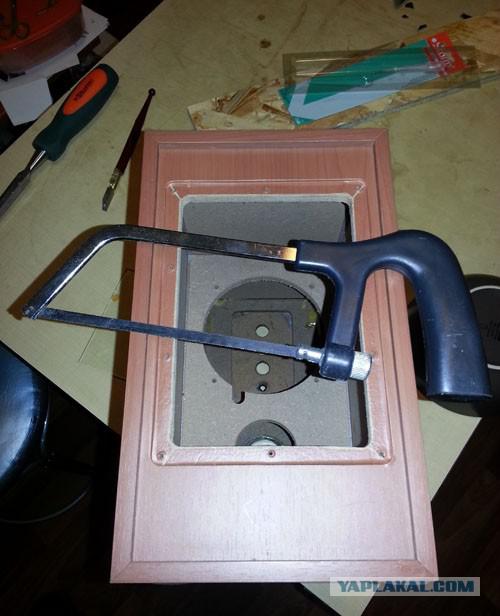
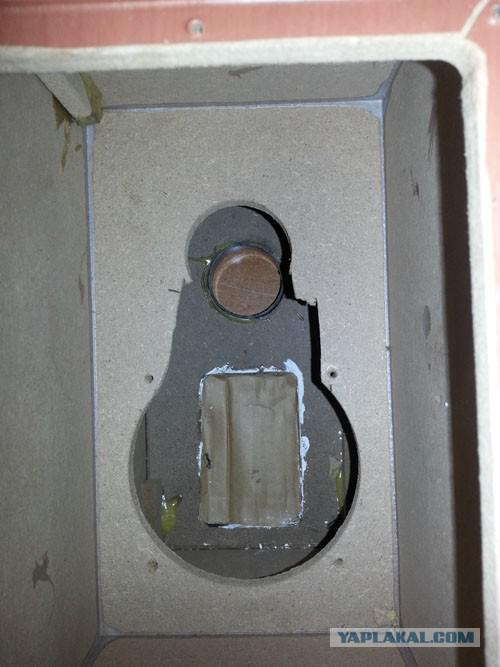
10. Use a small hacksaw removed the jumper between the holes in the inner partition, and then broke off all the buttons on the radio board, and put themselves back button. That they did not fell out, plastered them inside and closed cardboard with glue.
11.
12.
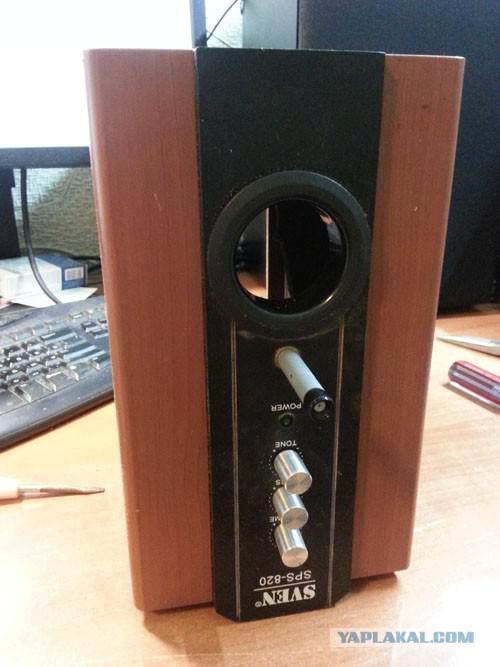
13. Drill holes for perch-additive and inserted into it - as this same perch - useless wifi-antenna.
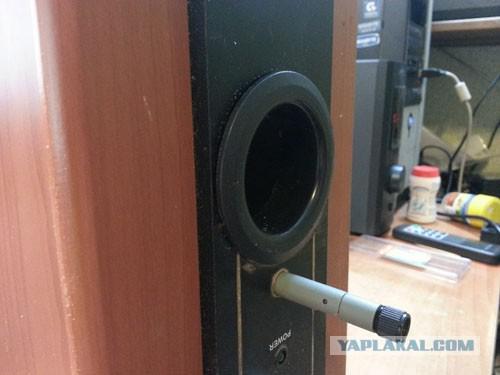
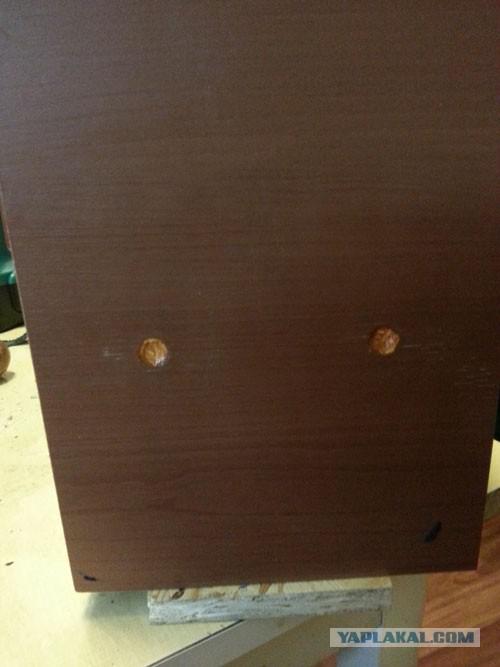
14. The screw that was previously bolted transformer should be screwed into place - that there were no holes in the roof of the future (ex-day). Rubber feet to tear off. They are no longer required.
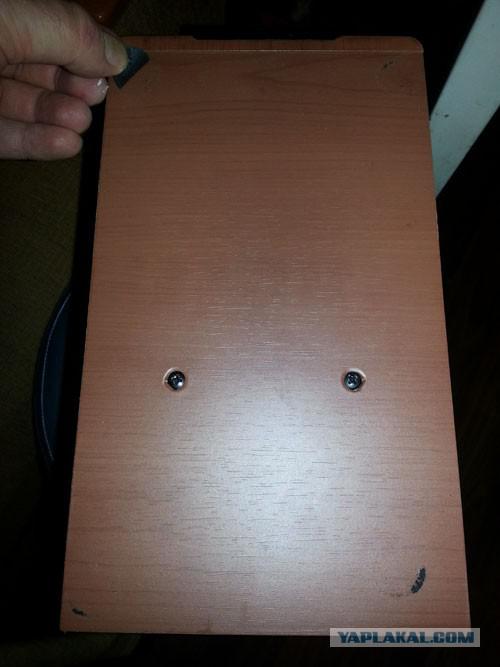
15. Further strongly insulated, and at the same time align the floor. In the sense of what is now the bottom.
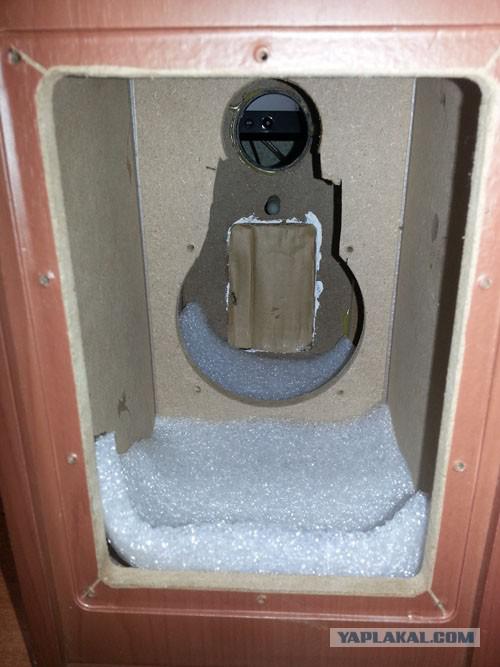
16.
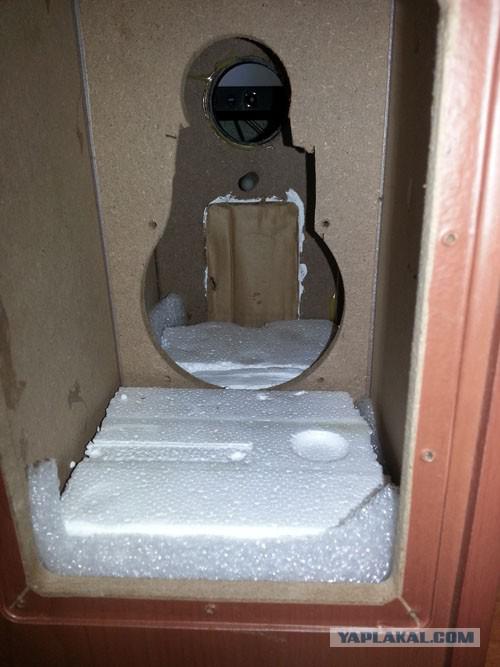
17. As has lost all sockets and buttons back cover is now gaping holes cut to close them, a piece of cardboard on its size.
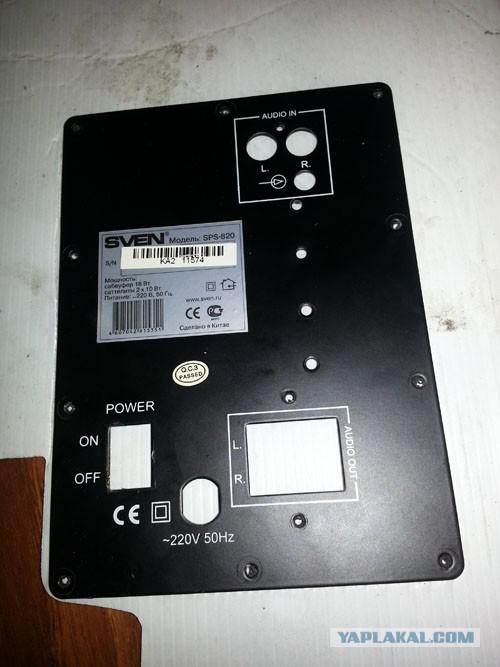
18. And before you fasten it in place, a couple of holes through which were previously bolted scarves with sockets on the inside back cover is screwed to the board. Screws nedokruchivayu, given that the rear wall is slightly recessed. Later, with the board (and a warming cardboard) to fasten the back cover.
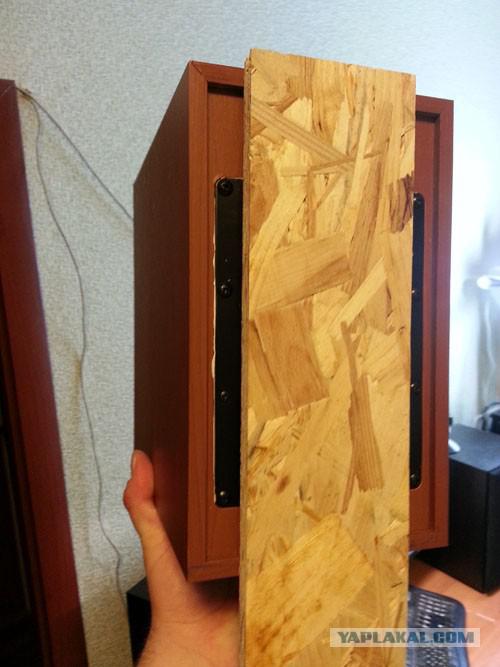
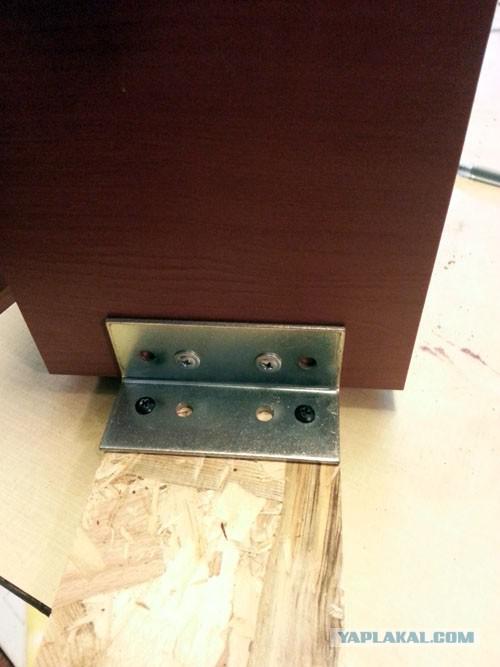
19. It is clear that these two screws a pretty heavy bird houses on the board will not hold. Therefore More Do the following: Lower fasten impressive area.
20. And we catch on top of the board to the top cover with three screws.
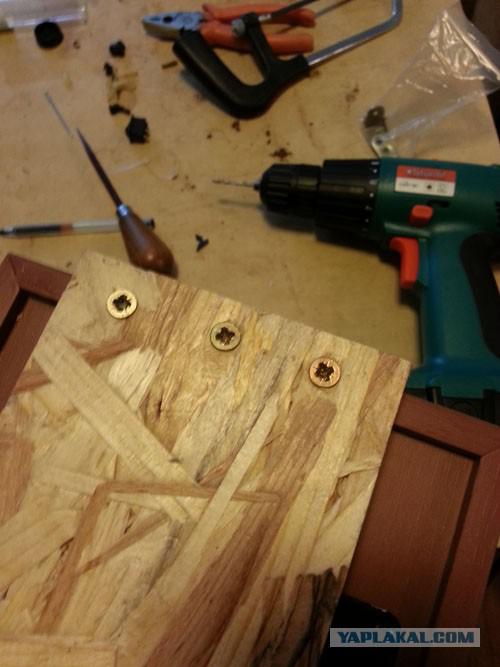
21. Caps screws in the roof shpaklyuem (later I'm still stuck on the roof waterproof reflective film, but not photographed it).
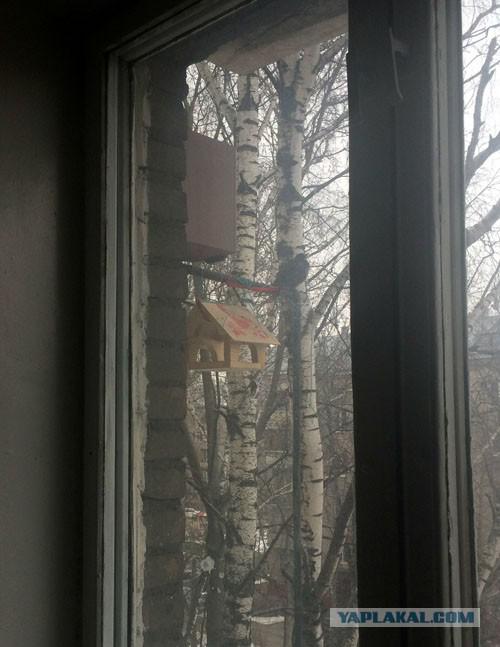
22. Thus, stylish haytekovy bird house was ready.
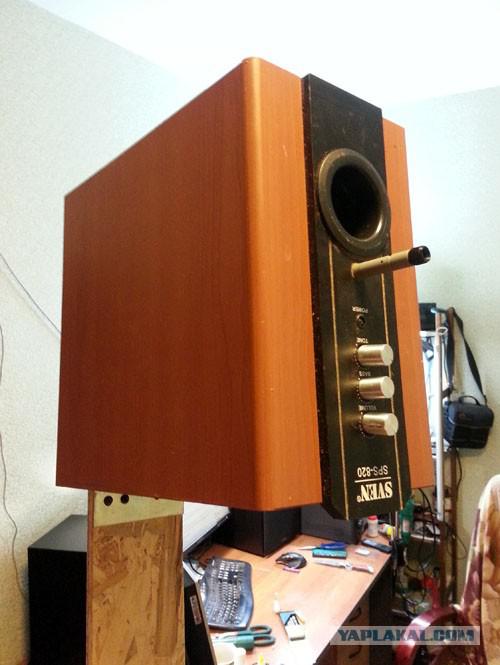
23.
Source: ">