440
Repair Stoves
In another office, it was unnecessary since, sparks and did not work the microwave oven.
Knowing my craving for "chegonibudpochinitinevazhnokakoybudetrezultat" gave it to me with giblets. This time, I was lucky!)
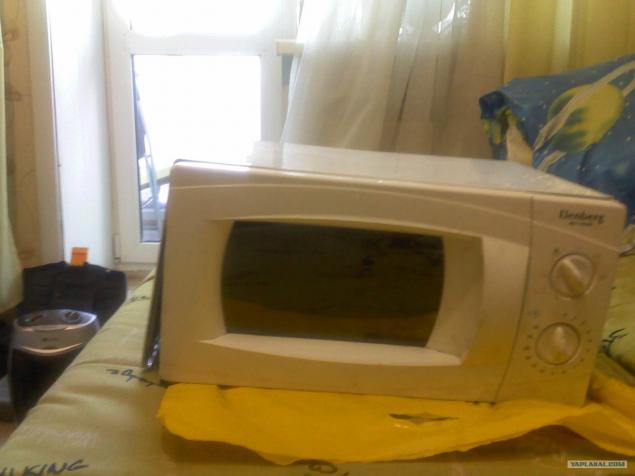
1. Here it is in the flesh.
Stsuko test when switched on, start to sparkle and emit sounds NLOshnye.
16 ph, pliz it does not break.
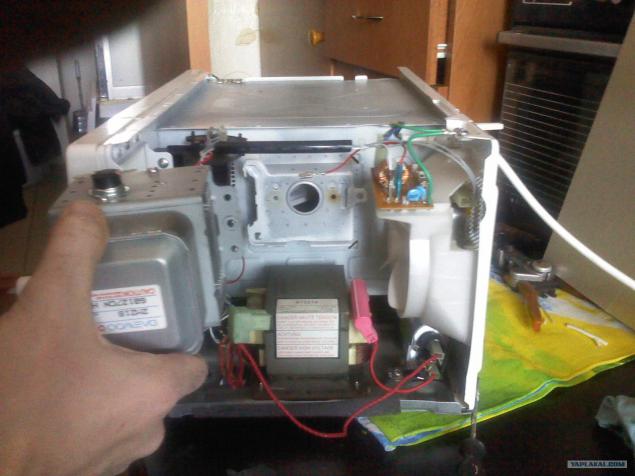
2. In the microwave or when not climbing, but you never know ... How to unscrew and remove the cap probably is not worth describing. As a result, I appeared in front of me And this picture.
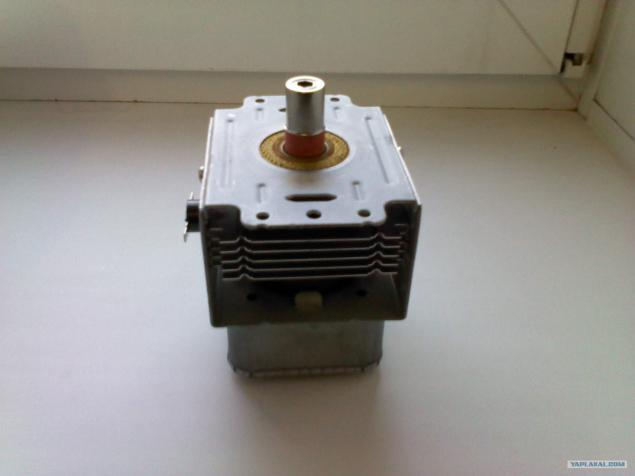
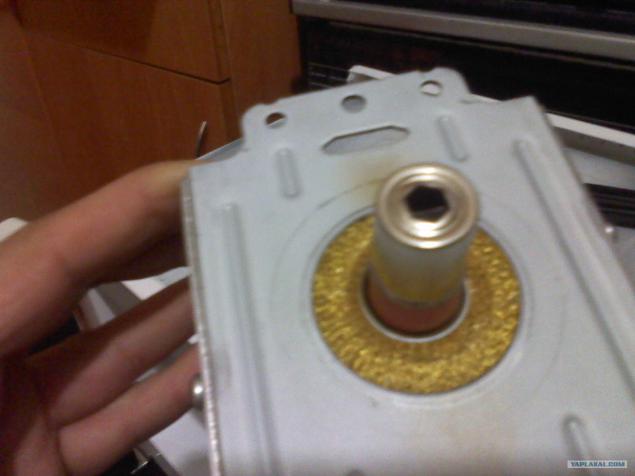
In the center was discovered object type Collider, which I believe is called a magnetron, although there are many doubts.)
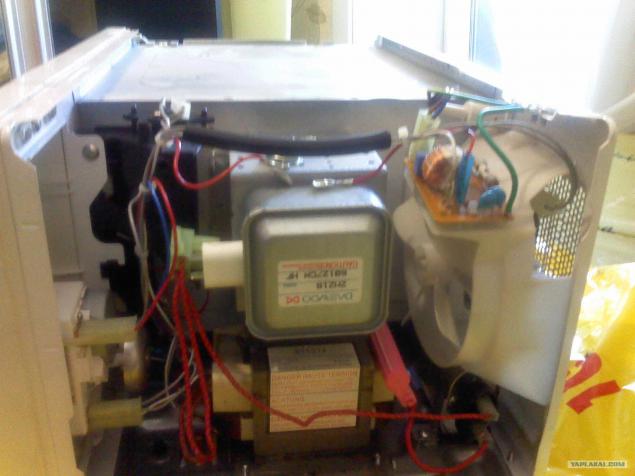
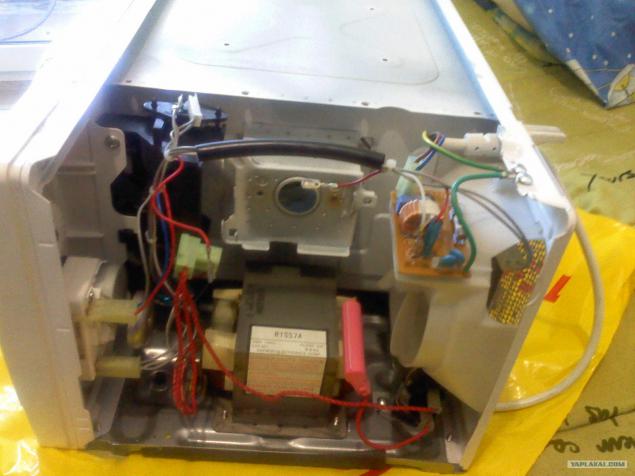
3. Although it is a serious thing, but is removed very easily. Unscrew a bolt, removed the main plug, and two shtekerochka with teplodatchika (I know, because I saw the same in the heater).
...
...
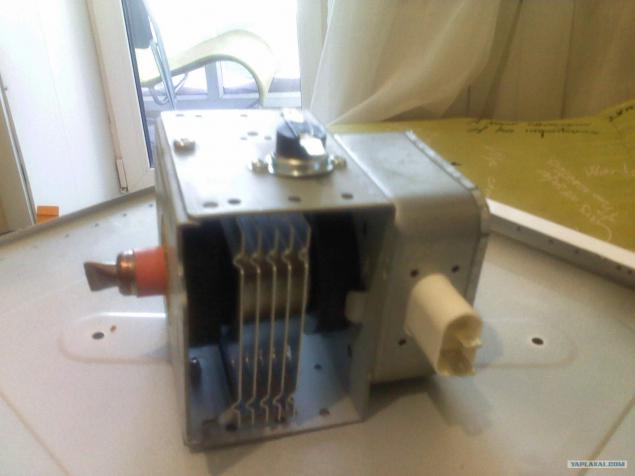
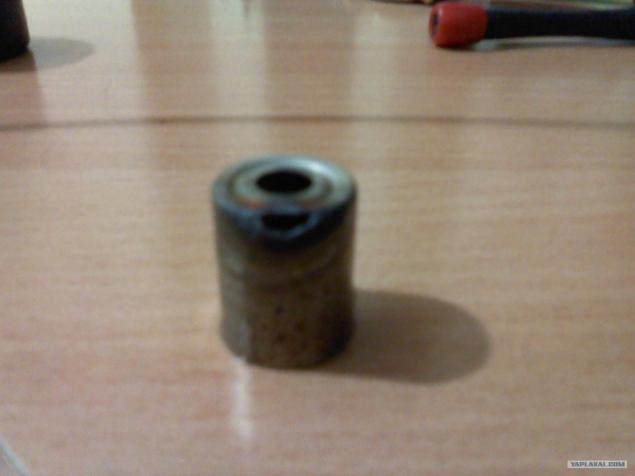
5. I was lucky just by visual inspection revealed damage to the first reason, it is a tip that fits on the axle of the vigorous magnetron. He went bankrupt and did not seem shy about it. I forgot to film it on the device, but will now be clear where it should be deployed.
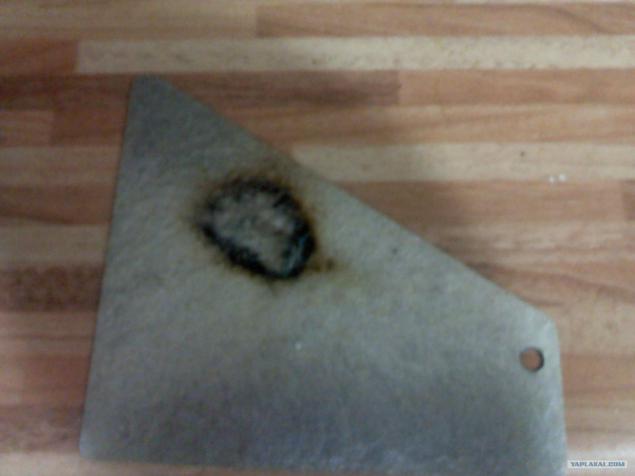
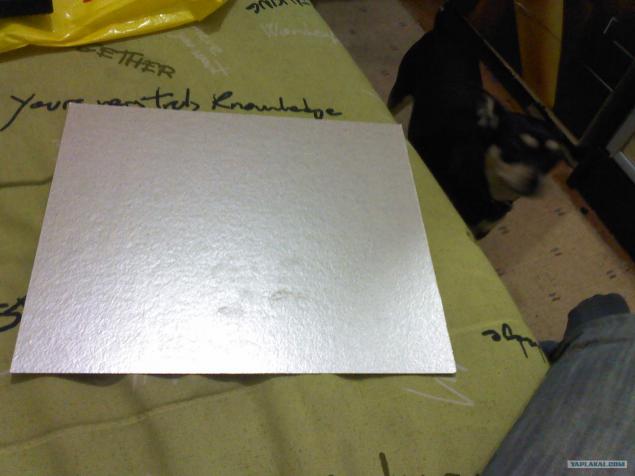
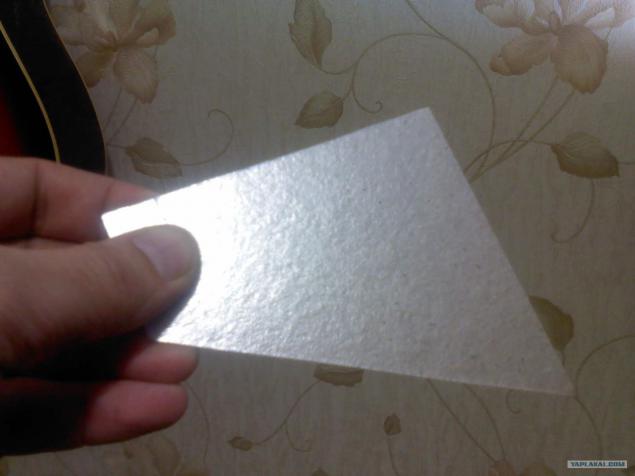
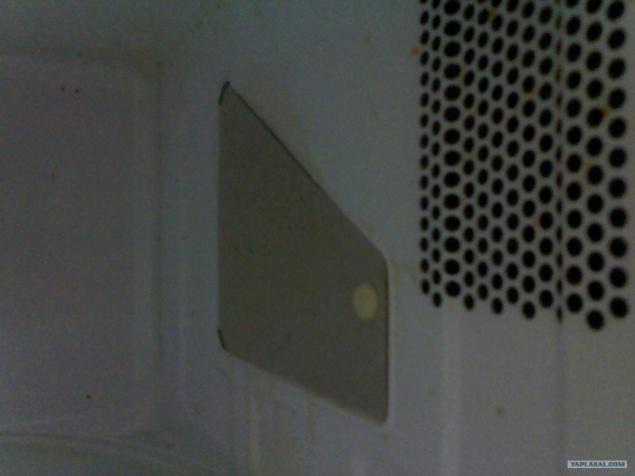
6. The second reason, too, could not help but throw in the eye. Mica, which covers the hole where the tip sticks out and, accordingly, and from where there is a source, blowing closed and heated food items. Sore, are not sfotal place her stay, but again, then we will see where it is in fact to be.
I must apologize for pechkavidvnutri, otdraival it renovated.
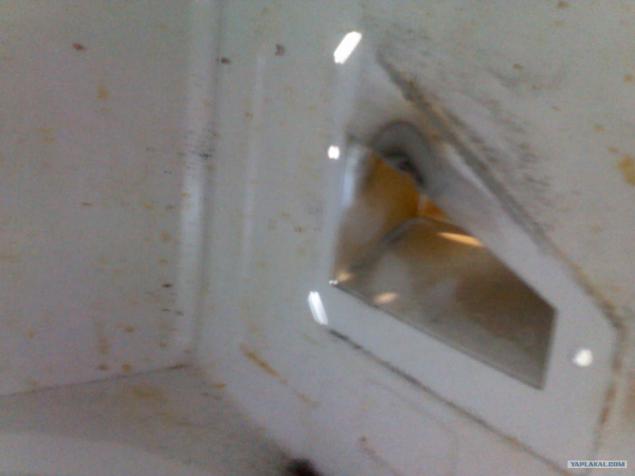
7. Of course, after the removal of the mica, it is difficult not to notice that the whole thing, is sewn to the body. So they spark and sounds and heating products unit.
...
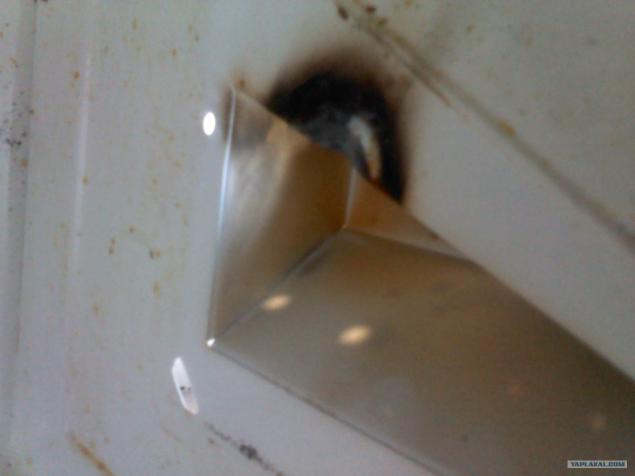
9. In general, I suspected that the visual inspection, in principle, it was revealed. I went to the store.
10. I bought a cap - 180rub., Mica - 40rub.
What was needed was more paint and sandpaper, but it was available.
The cap, cut the pattern mica.
...
...
12. Next, it was necessary to clean up the shell on both sides where it is sewn and dyed.
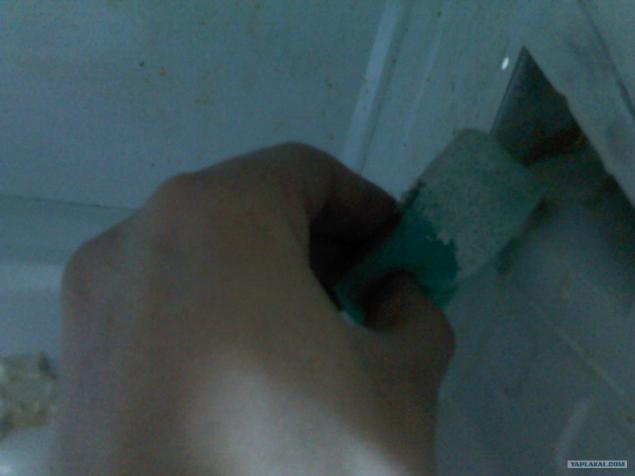
13. After drying, put in place and secure it mica.
14. All right, nice phase of assembly "Lego" and check.
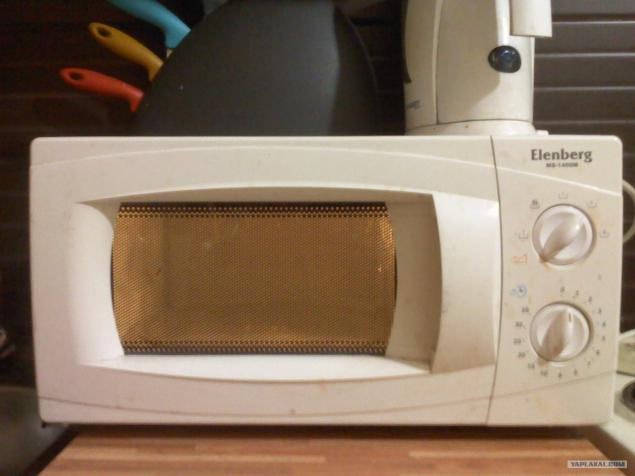
15. CLOSED !!!
By the way, I was interested in the cause of failure. All corny, grease and dust, gives such an effect and, especially, do not have expensive stoves. So the hostess, watch this!
Outcome: 220rub. and a couple of hours chegotohochetsyapodelat.
Good luck in your endeavors.
Everything.
Source: ">