1623
Repair. Joining the loggia
Long post about repairing ... Chelyabinsk. It was the autumn of 2012. In my possession it was (and is) two-bedroom apartment 121 series. The room with balcony was a parquet floor in a terrible state. Cold loggia also haunted. Having a birthday gift (15890r.) Away, began zapilivaem repair.
Number of photos: 61
Then I summarize cost.
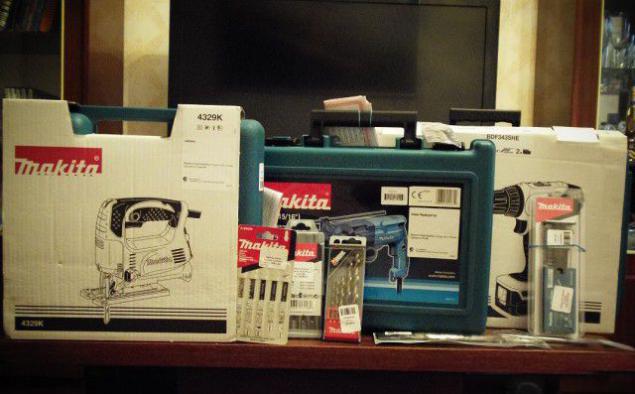
1
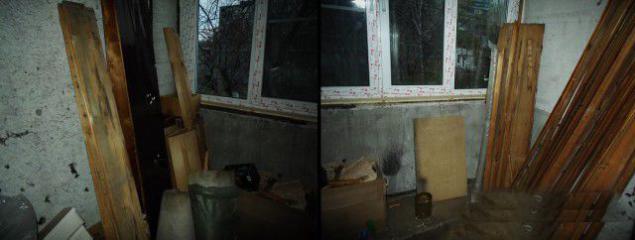
He began dismantling the old lining loggia. Then it turned out - were slats of larch. Decay and darkness.
In the entire apartment has replaced the old windows with plastic. Including loggia. (60000r.s installation, KBE 70 Accessories Roth)
2
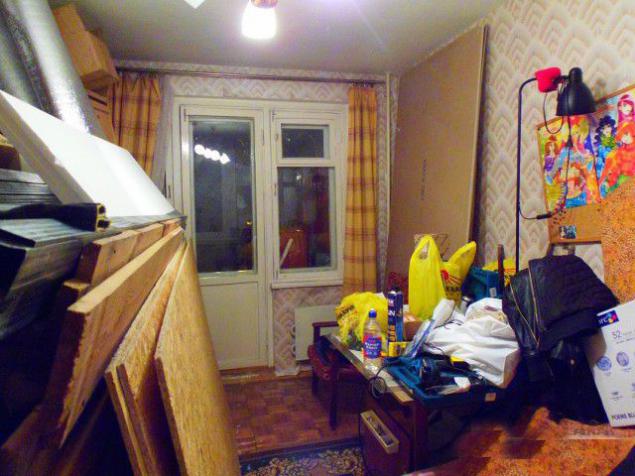
A few of the room
3
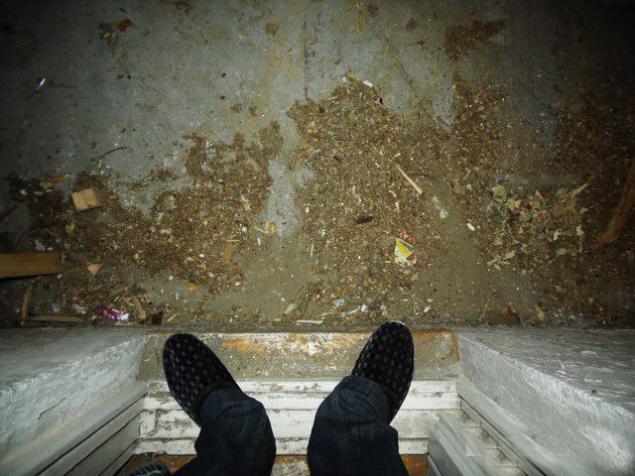
In a small gap at the threshold of 30 years is not enough crammed debris. That breathing this stuff for so many years.
4
Rubbish eliminated. Throw and nailed guides. All unnecessary holes zapeneny.
The photo of my friend and assistant Max.
Error №1: Junction floor slabs and closed area of an equilateral galvanizing. Although it was a huge insulation cold bridge.
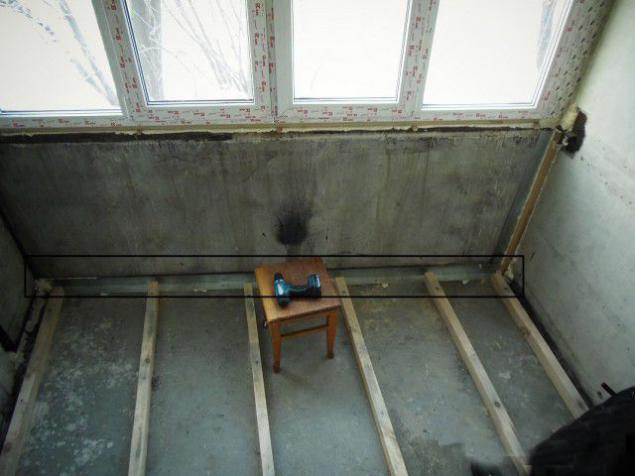
5
Small carried away, not until the photo was.
On the floor laid stone wool 50mm 3 layers. OSB 9 mm in 2 layers.
Error №2 tonkovat happened. Then there will be another layer of 12mm.
Walls - heat-reflecting foil substrate penoplex outside and 40mm in one layer. Fixed between the guides for foam lining. Brand "bezmontazhnoe fixation».
The cost of insulation around 7000r.
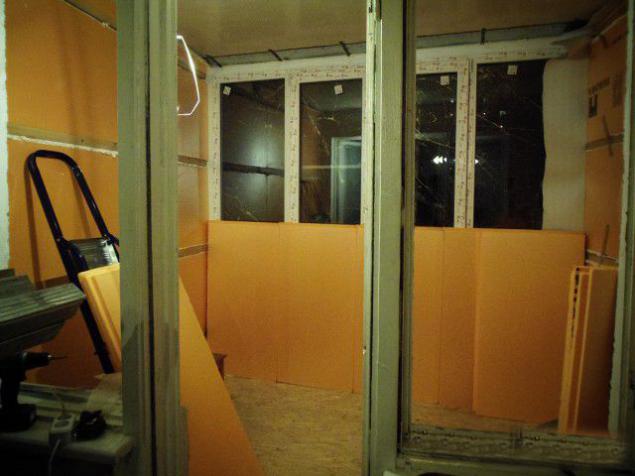
6
"Bezmontazhnoe fixation».
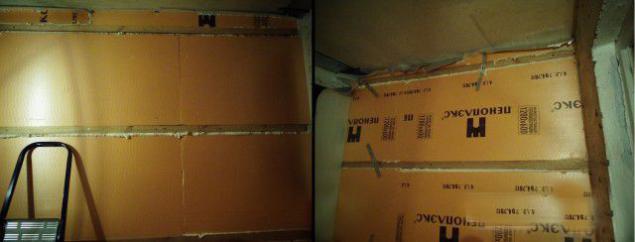
7
The temperature rises.
Windows and doors are removed
On January 4th Street, about -20holoda outside.
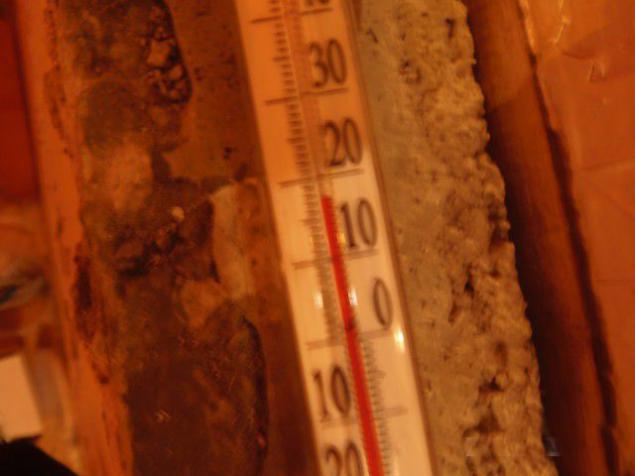
8
The same technology. Ceiling.
Small pieces is not enough. A new stack of open longer wanted. Handy foam from the refrigerator.
Set the sill and frame underneath. At the window insulation in 2 layers.
Error №3 Start having the repair all the necessary amount of money for its completion.
Hoard money, but is made from old temporary lounger cushions.
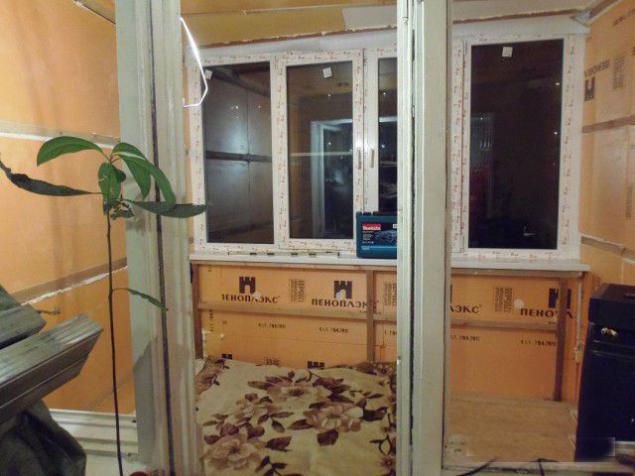
9
Organized by the retro corner. PS1, Panasonic 1995 and 1996. vidak electric fireplace for a complete buzz.
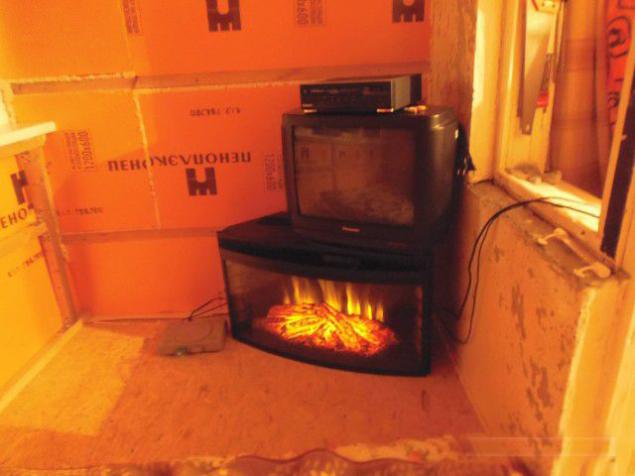
10
Chaos in the room and dismantling balcony unit.
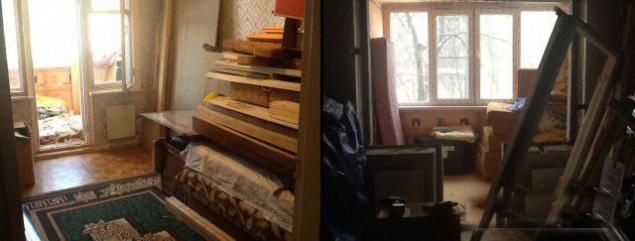
11
Cleaning, purchase of material. Wallpaper falling off the walls themselves.
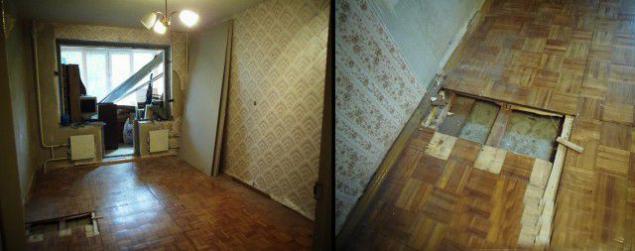
12
Removing the floor and wallpaper
Photos from aypada, izvninyayte for quality.
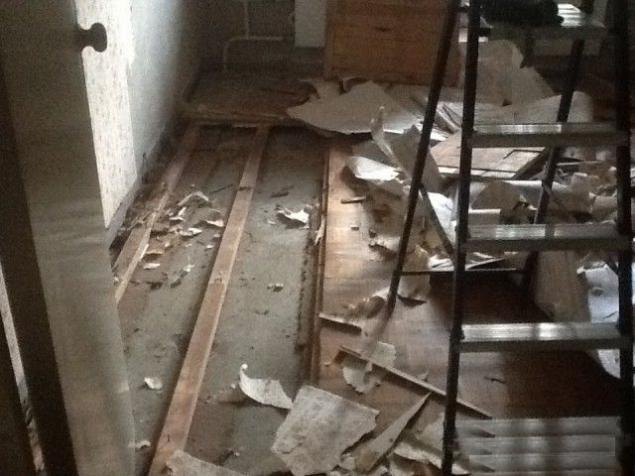
13
OSB, GCR, impregnation, and plaster betonokontakt
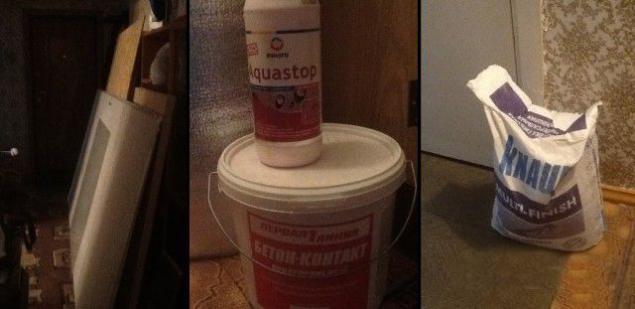
14
Thank you for the generous gift to the builders under the floor. Again this by shit breathed 30 years. Complete lack of respect for people.
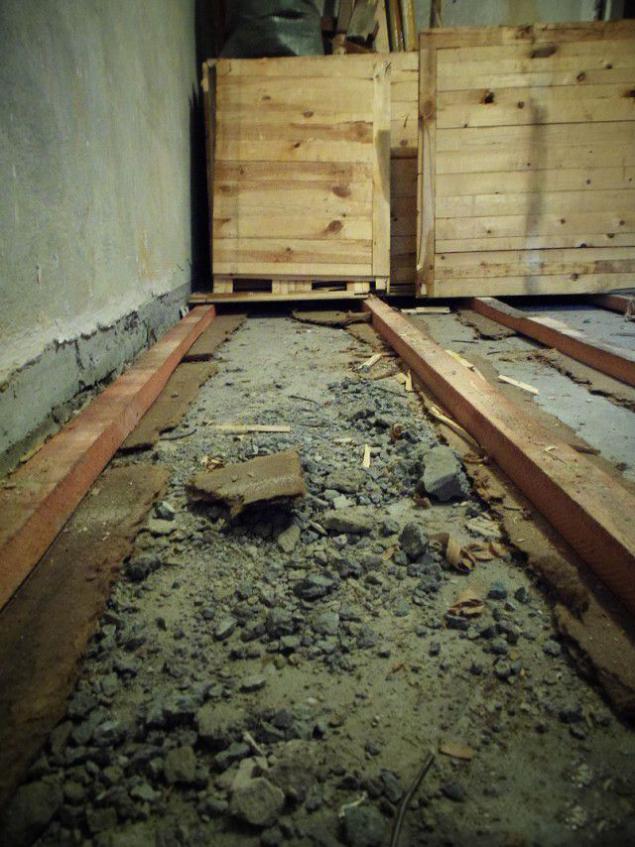
15
Down shit
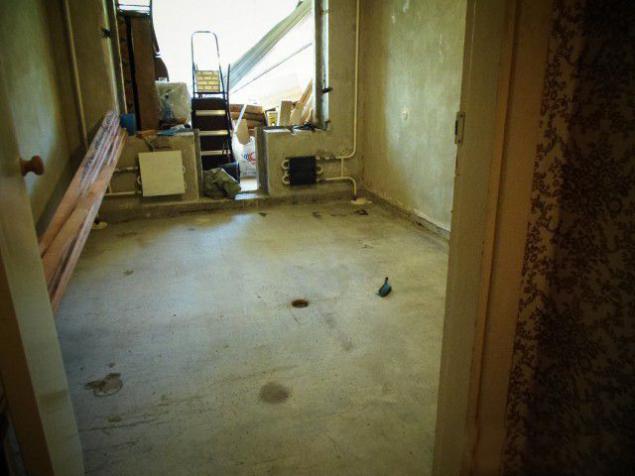
16
Along zapilivaem of chipboard box in the bathroom. His wife begged)
Cost of approximately 2000P out
With this by shit I do not want to work
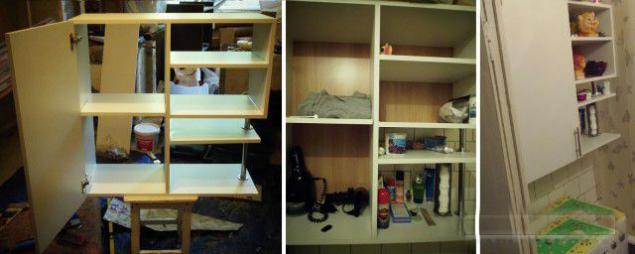
17
Laghi use the old, because still good and strong. In addition, the required length, processed and blablabla I just lazy.
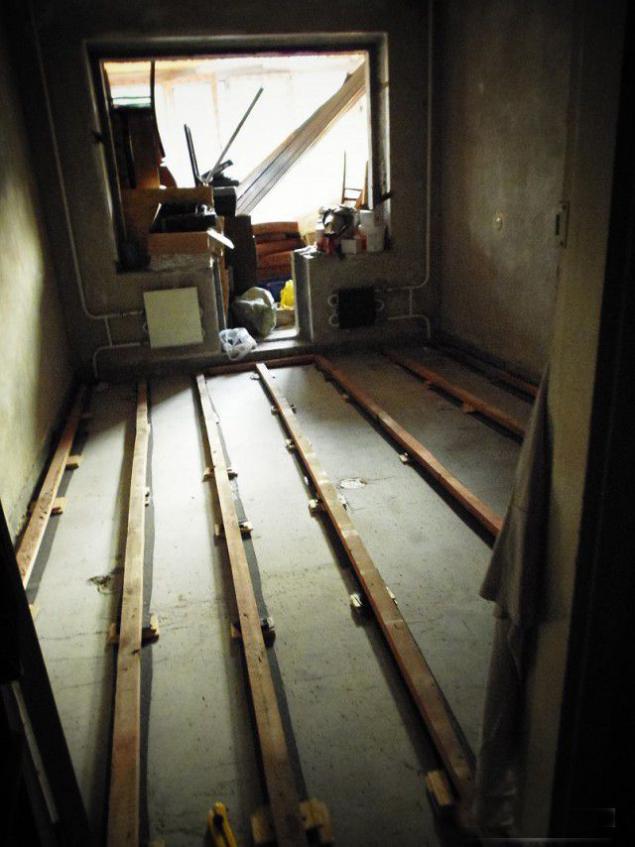
18
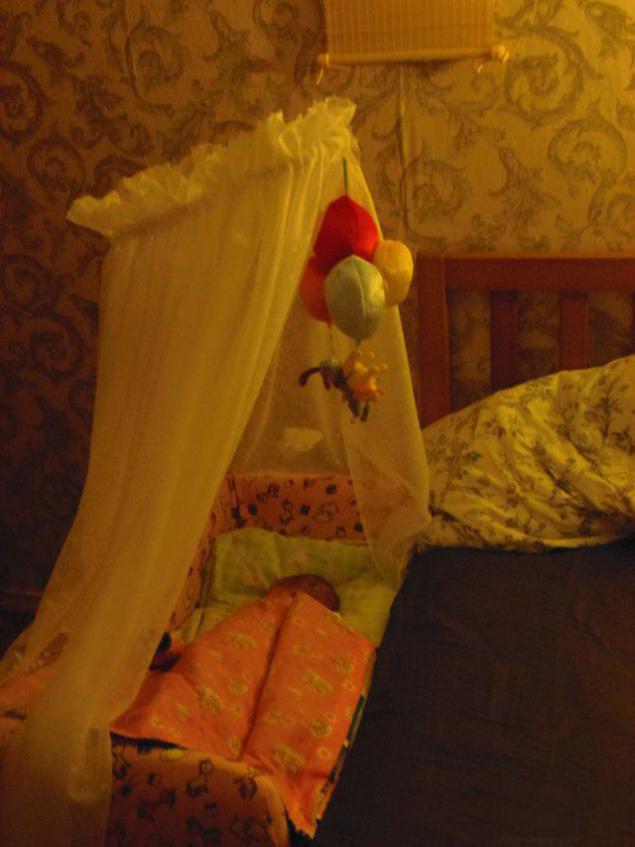
Along the way, I was born docha favorite.
Now officially it repair a child's room.
Making her bedside crib.
Who cares to do a mini report later.
19
Staley exactly
2 layers of OSB 12mm. It is not difficult, and even enjoyable process.
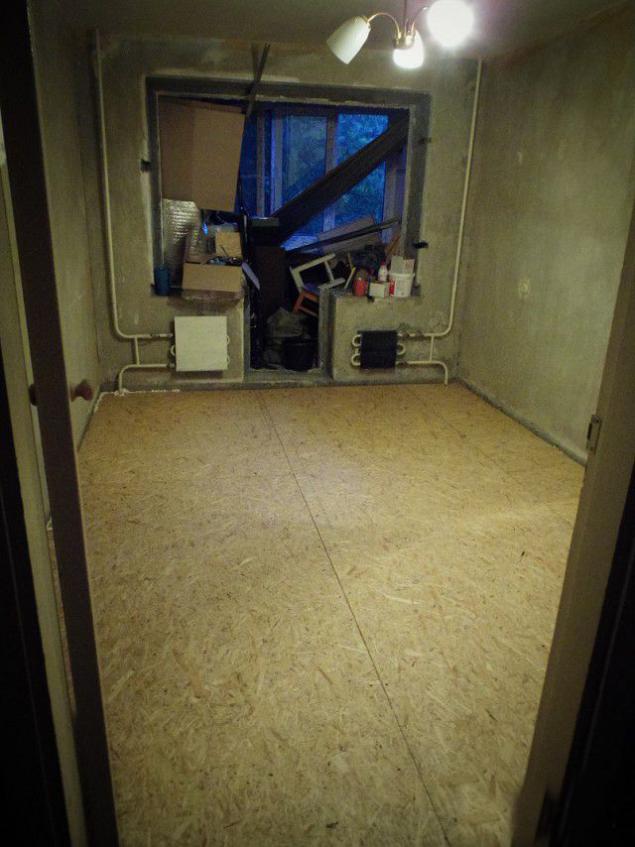
20
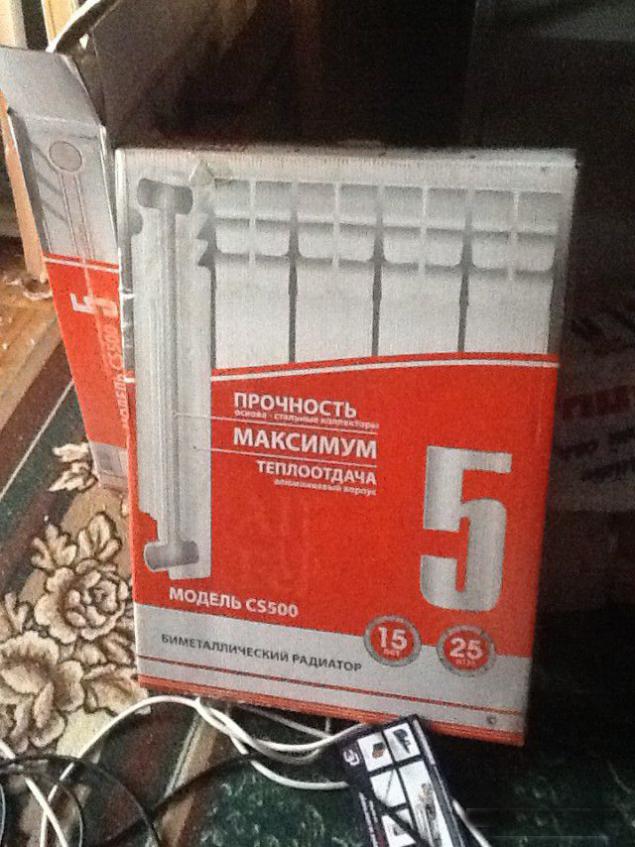
For 3 months before I bought 2 of bimetallic radiator 5 sections. With work turned 10000r. (2h2500 and 5000)
21
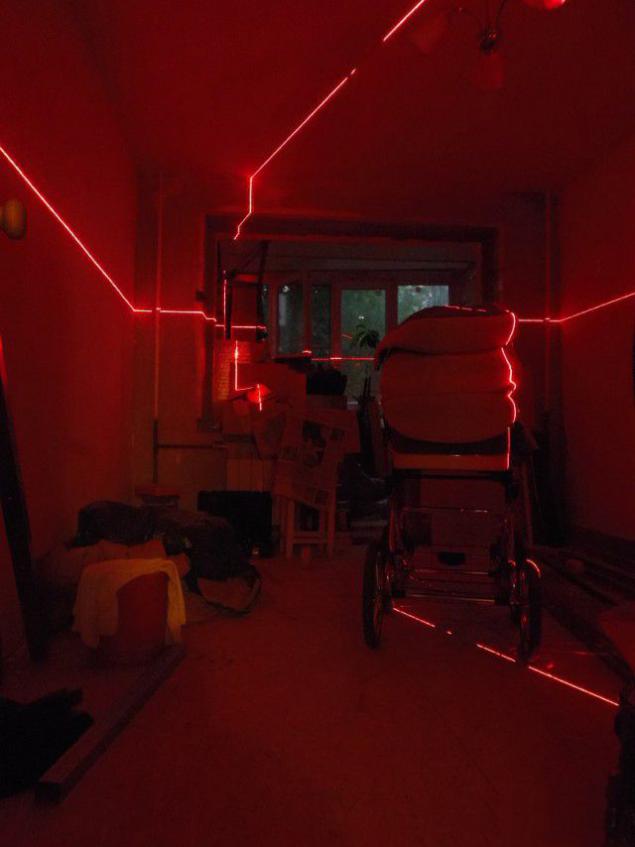
Acquired Laser Level Bosch PCL 20 set. 4821r. Good, but the plumb line is not working at the same time with other.
22
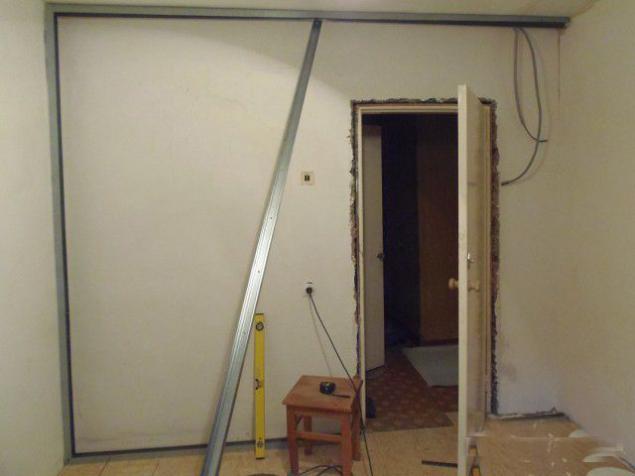
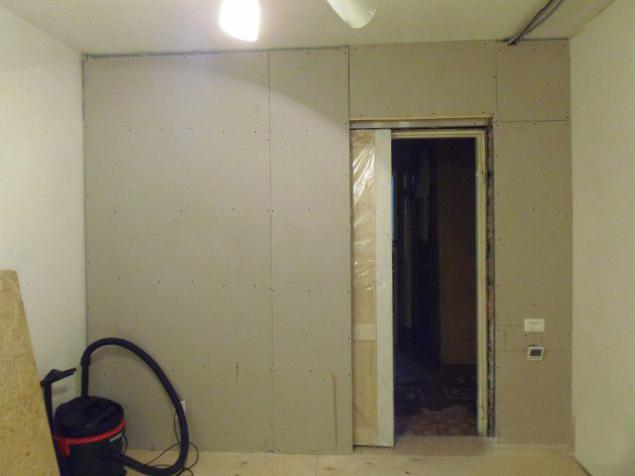
Lepim false wall. We need her to hide the sliding door.
23
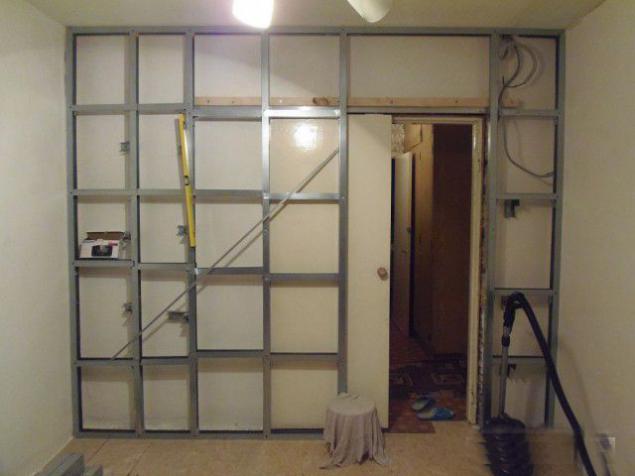
Curves \ obliquely, but the wall is done. Fasten top rail for the door. We hang the old door to test the system.
Caution Do not forget about mortgages for ceilings (if the plan). Gypsum screws can fly. (This photo is no mortgage, but will be later)
24
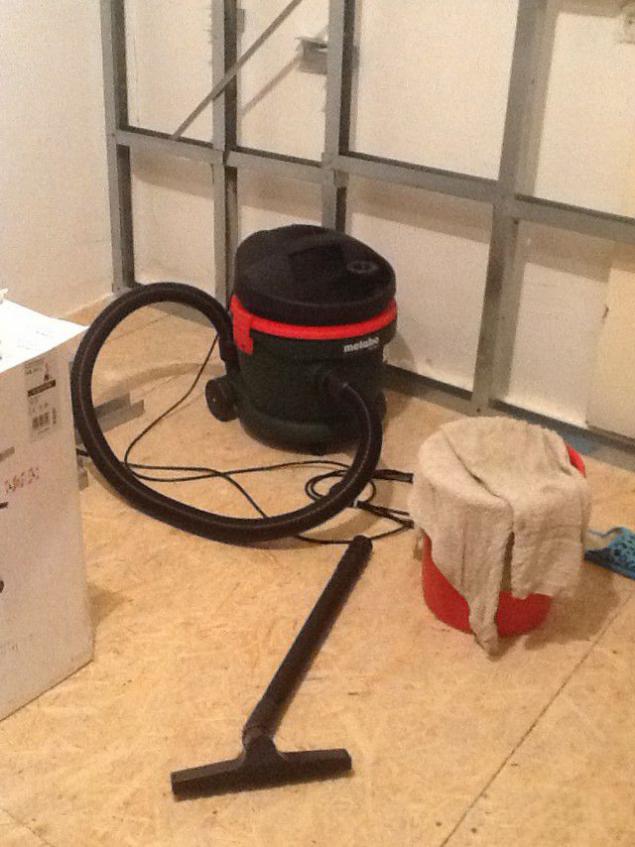
Died household vacuum cleaner Samsung. Do not delivered cement dust. I bought a building Metabo AS 20 L (5722r.) And a regular Phillips.
25
Getting to the second false wall lining.

26
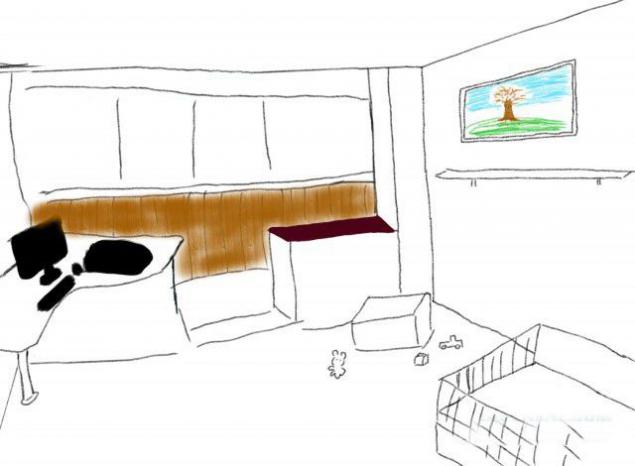
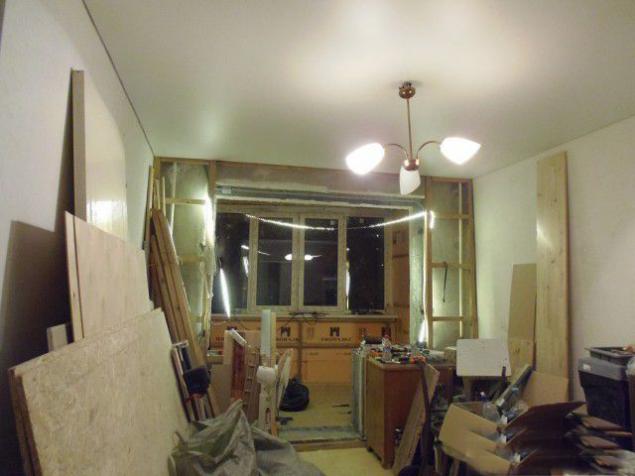
Estimated vision of all this ugliness. Loggia smoothly flows into the room. One wall of the room of the lining.
27
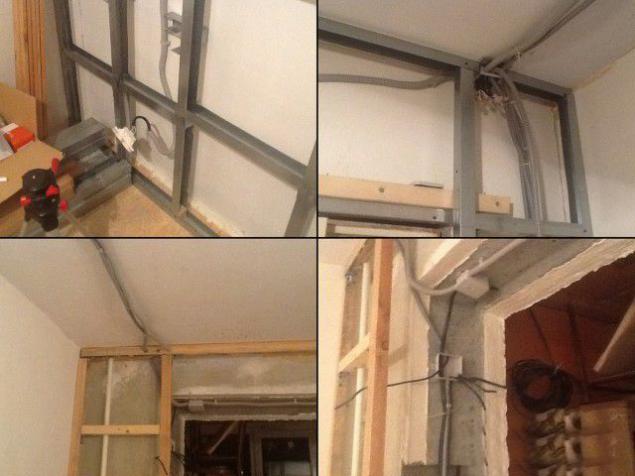
Pull the new wiring. Light - 2x1, 5, 3x2 socket, 5. Copper. Total room 3 outlet. One on the balcony.
28
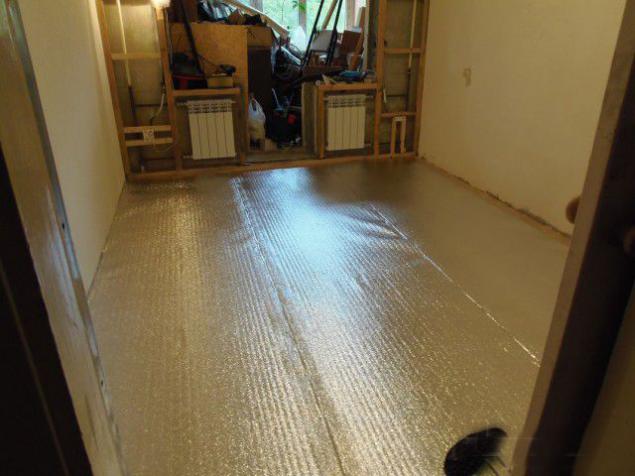
Start putting warm floor.
29
Connection, tests, samples, a pleasant warmth, etc.
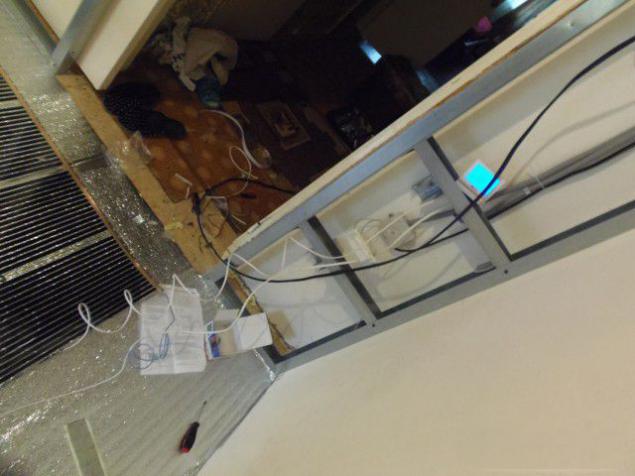
30
Sutured plywood 4mm. Buy door. Trying to punch lock for the sliding door.
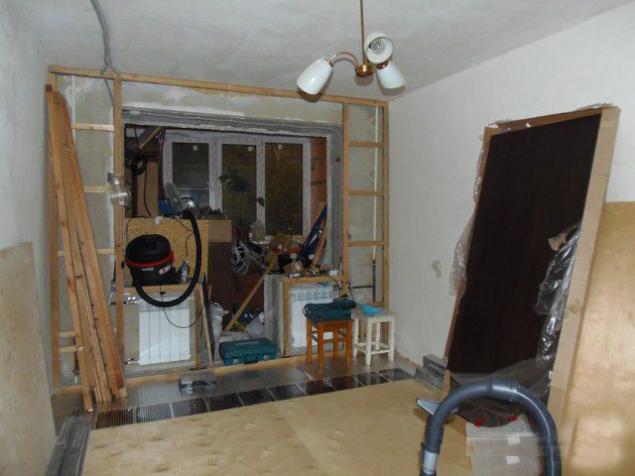
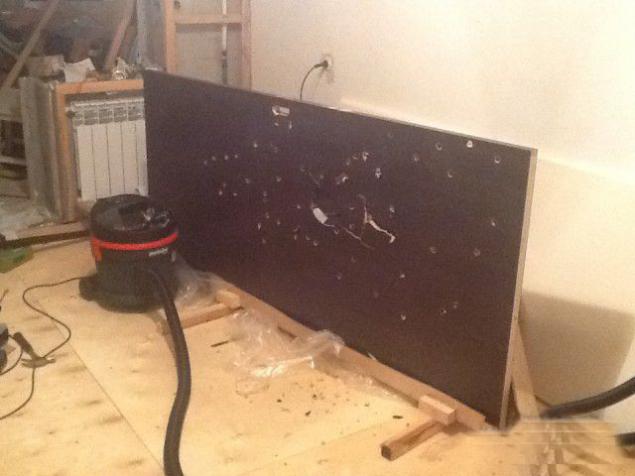
31
The door of 1150 rubles was predictably govyanoy. Psihanul :).
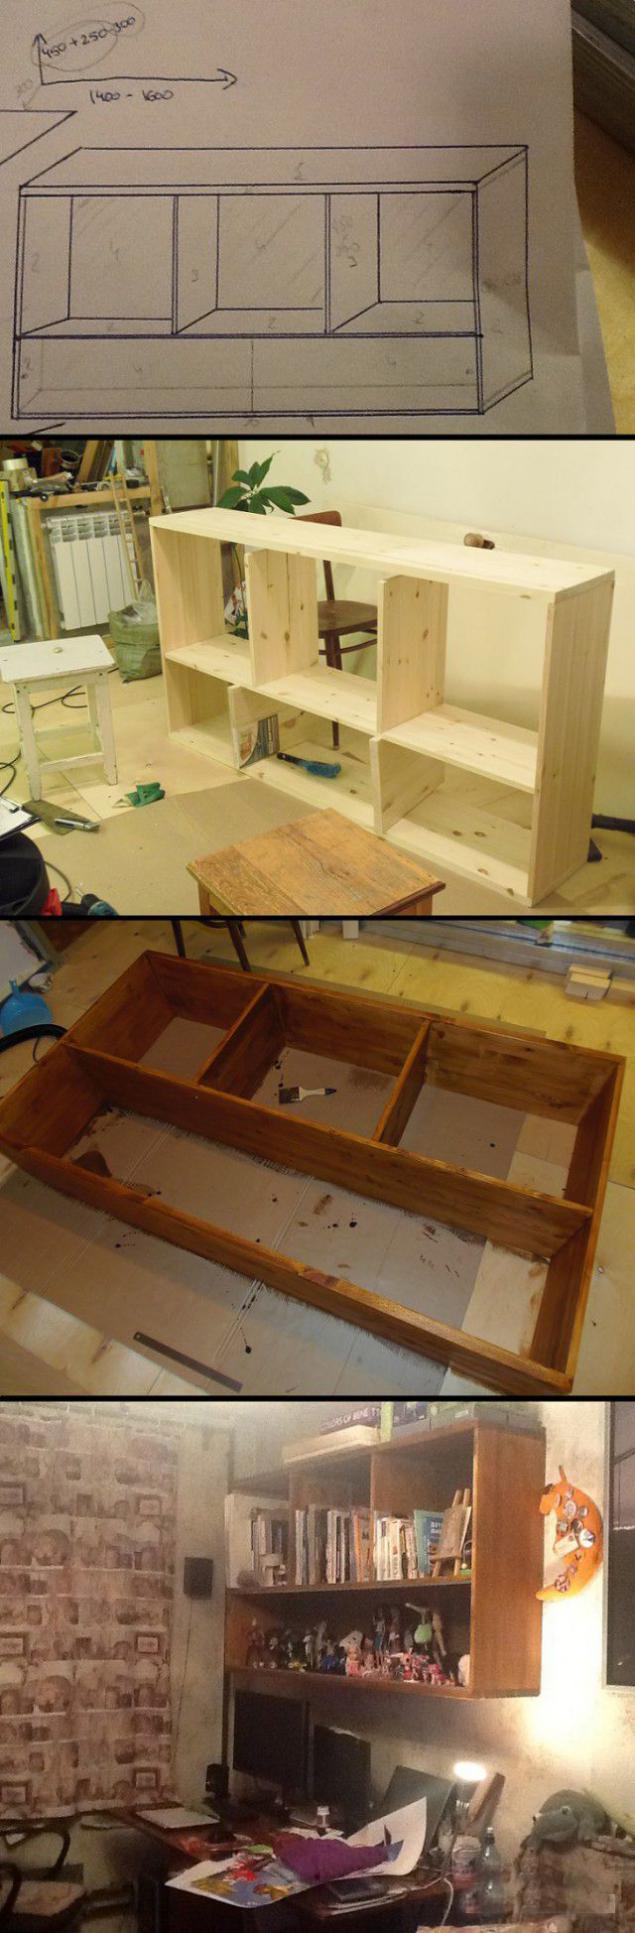
32
Along the way, his wife begged the shelf for all small things.
Later, I put 2 sliding glass.
33
Stitched Gips.
I bought a solid wood door. I had to fiddle with the door itself "completely." No one took up the custom sidebar and installation of one of the castle door. Therefore, saving on expensive door (in the shops is at least 4000-5000r), Box Lock (500r), assembly (1000-1500). The door is made of pine 2500r. delivery. Castle 1000r 1000r + sliding mechanism.
34
We pulled the ceiling. All gave 5000r.
35
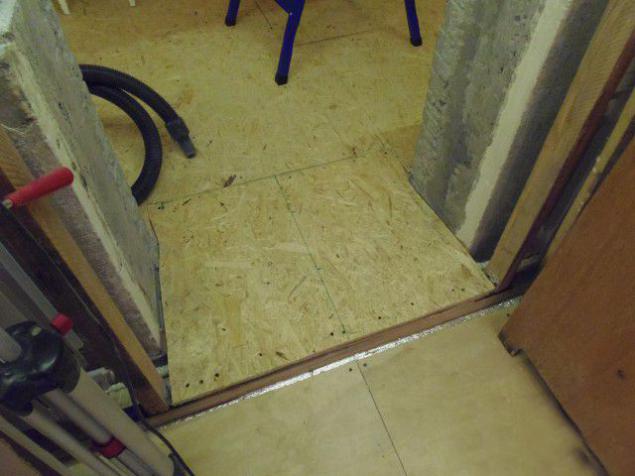
Promised layer of OSB and 12mm shaped nut.
36
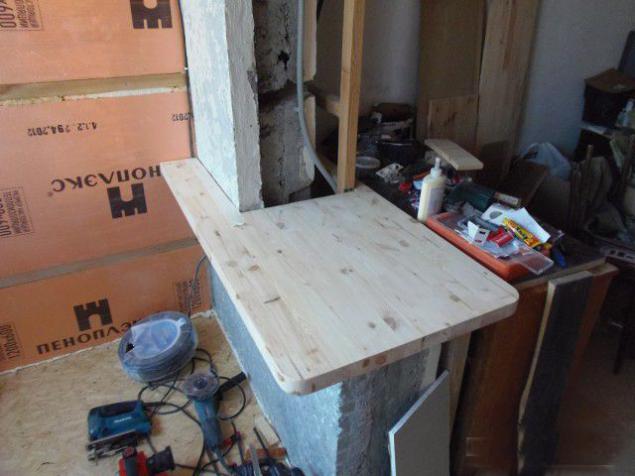
From furniture boards of collective farms jigsaw countertops. 2 shield, 10mm dowels and carpenter's glue. It turned firmly.
Freshly bought grinder cut off a quarter of the concrete and remove the paint from the loggia. It helps to get rid of the dust vacuum building. As during the process and after it. From this work bent to any household vacuum cleaner. Either would have dirtied the apartment dust. Metabo worked for their money only for the 2:00.
37
Great thoughts about the future of the workplace for a wife / daughter later.
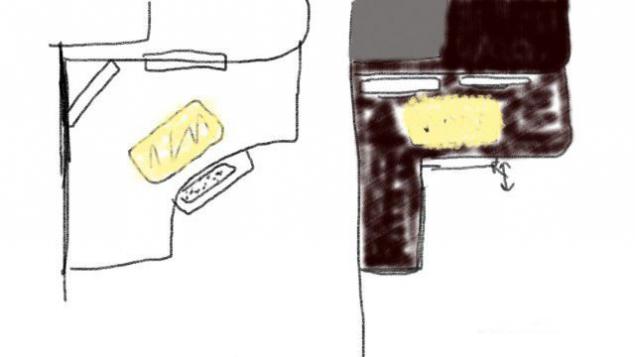
38
The second is ready
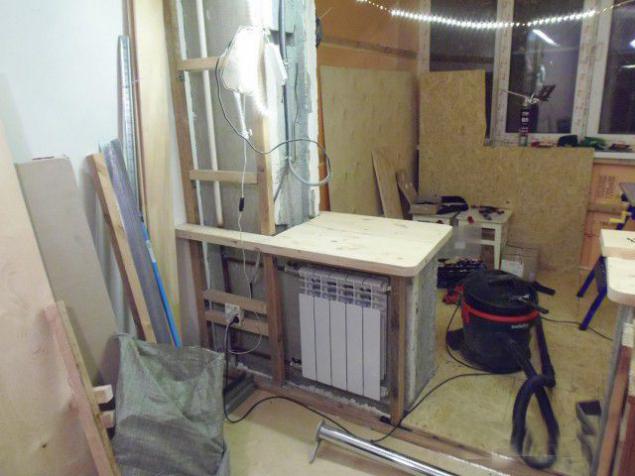
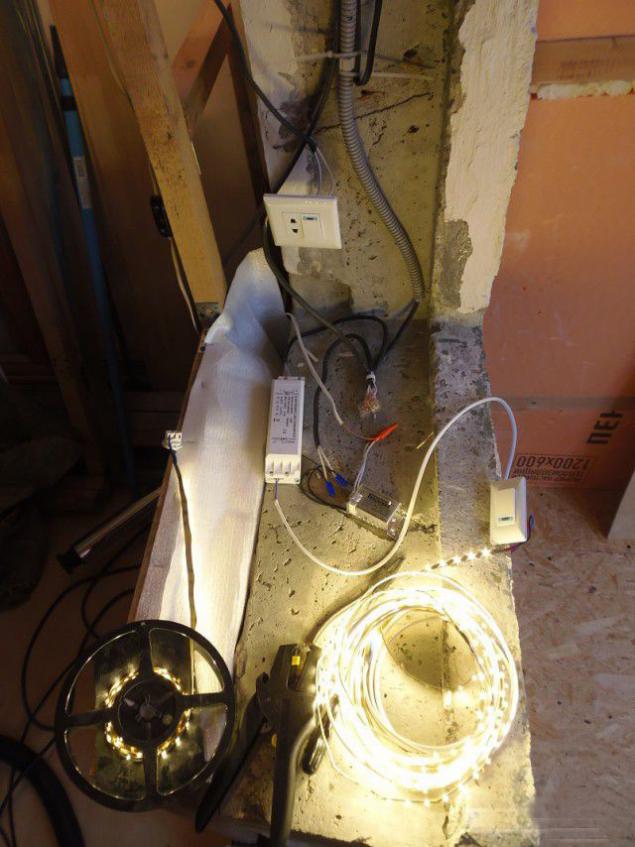
39
Prepare the wiring for the LED backlight tops
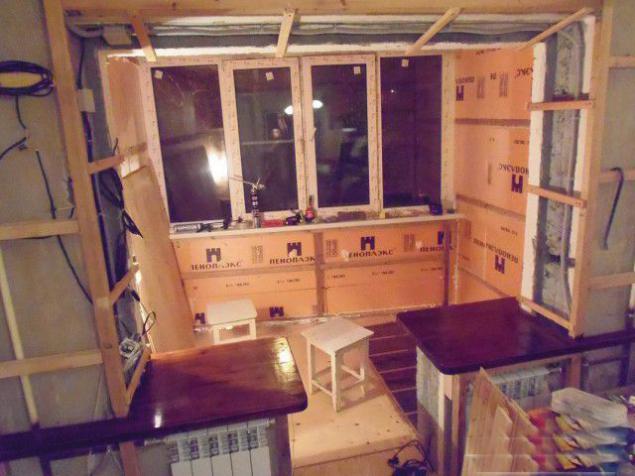
40
Lepim rest frame for lining.
We throw a warm floor in the loggia.
We cover the countertops spets.sostavom in 2 layers. He and stain and varnish simultaneously. Expensive, but worth it.
41
Gypsum residues allowed on the side panels. Who know what it is.
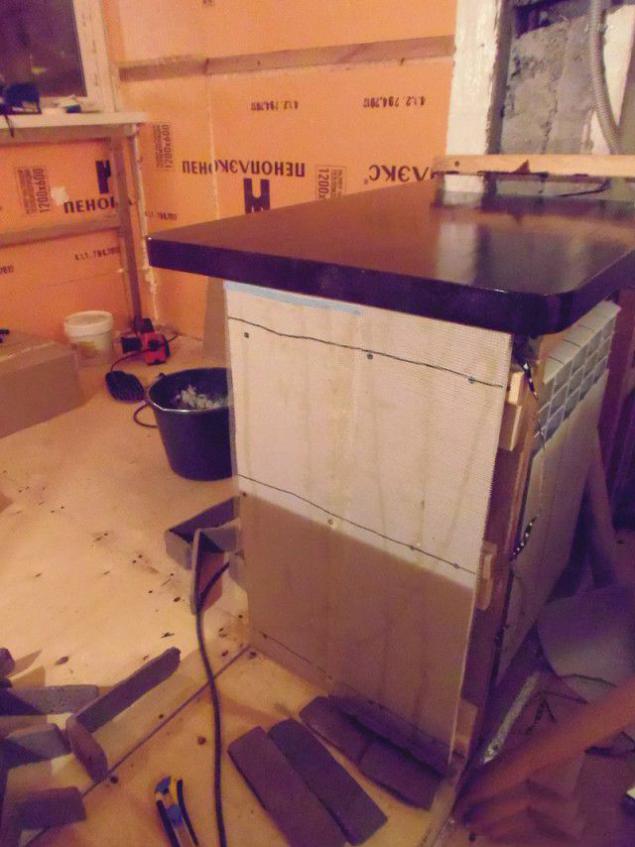
42
Decorative stone went.
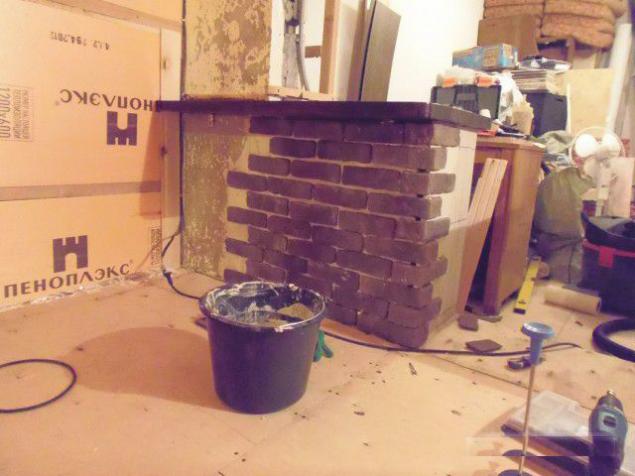
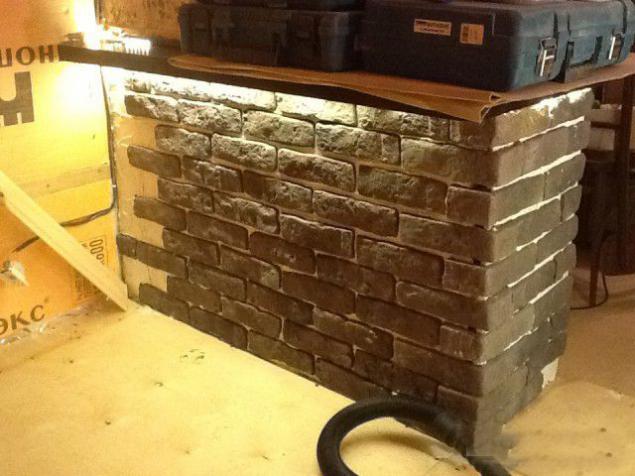
43
Look how the light falls on the rocks. I am happy as an elephant.
44
I purchased about 20 m2 lime lining and any related fines. Start slowly with his father.
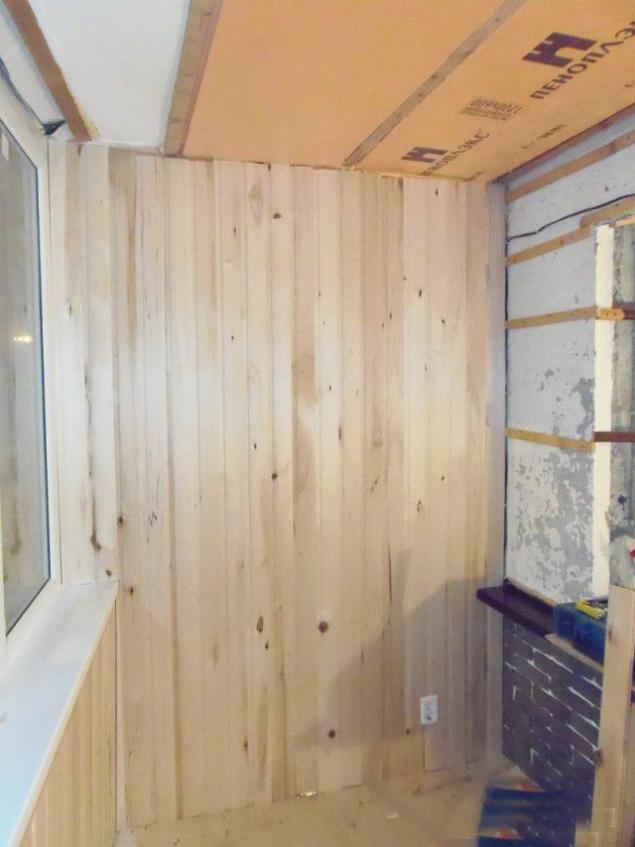
45
3 out of 5 in the walls ready. Do not forget about the power supply for lamps \ outlets. A couple of times had little to dismantle the wall :)
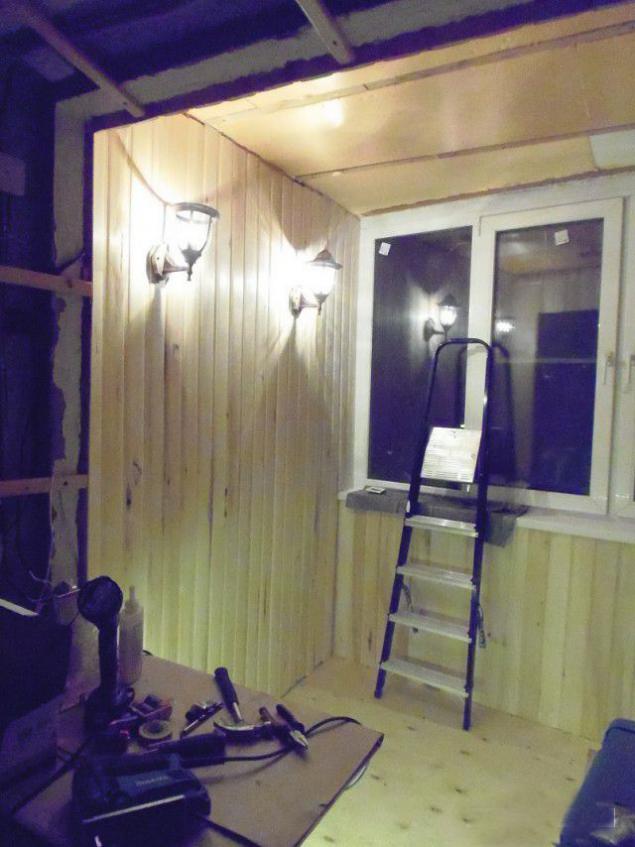
46
Photo hygienic plague the lights.
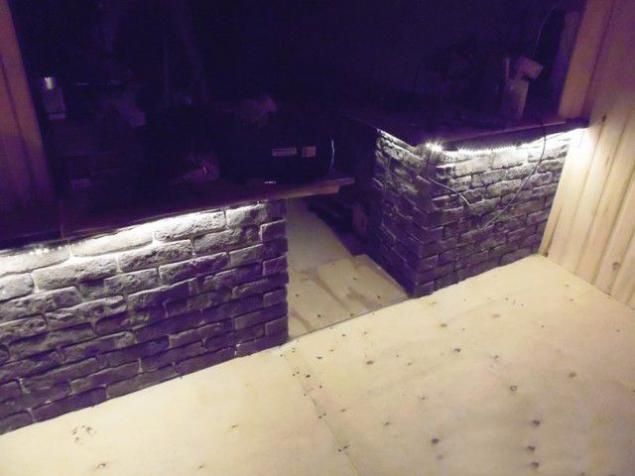
47
Crepe, drill and fasten again
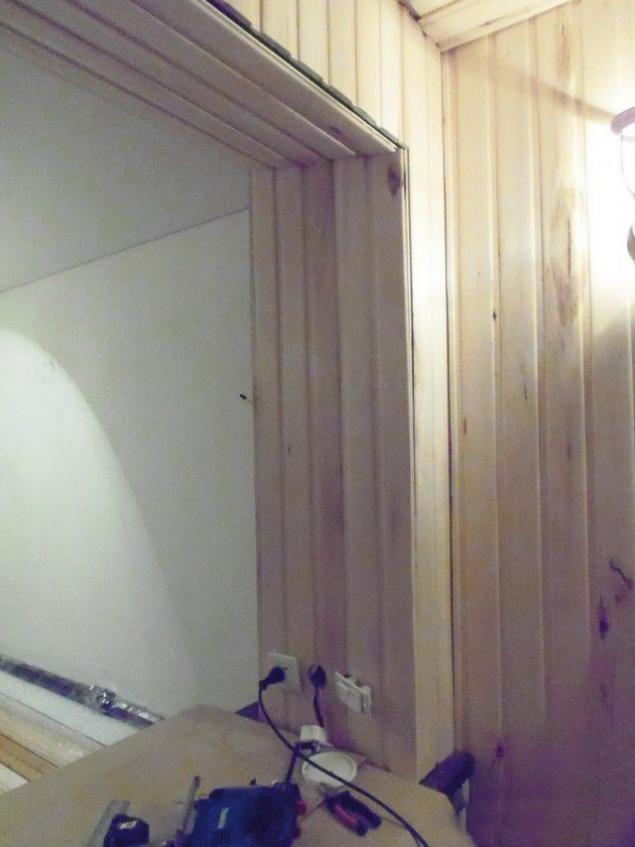
48
Already somehow ennobled room.
The smell of the lining of the Divine. The air is cleaner, sweeter. Sleeping in a room is a pleasure. You sleep better. The child is the most it!
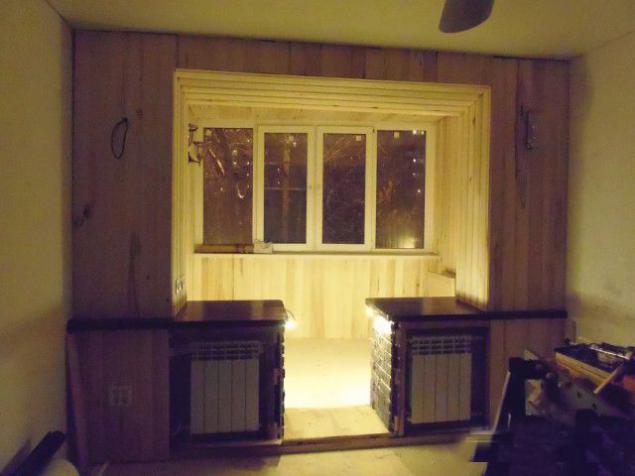
49
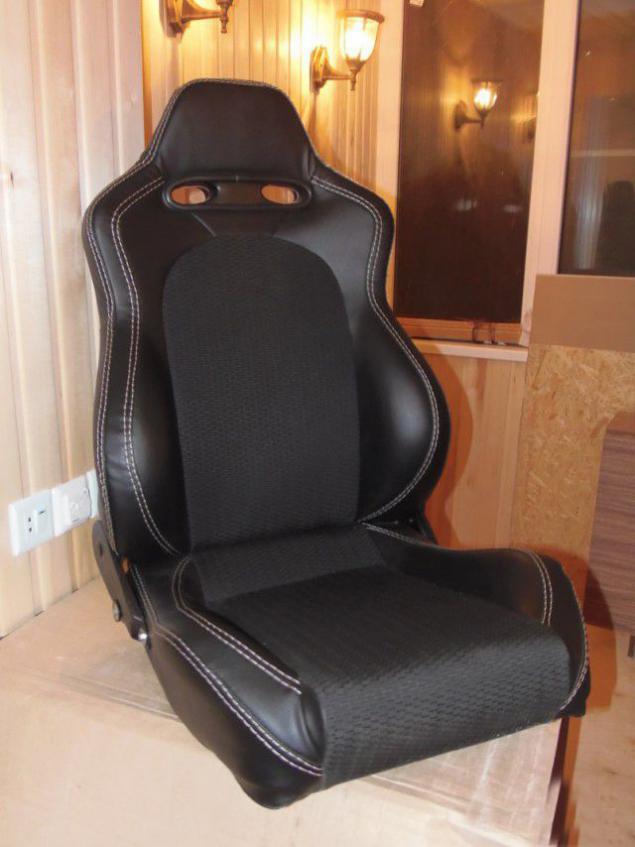
Since I'm a fan of the game series Gran Turismo, it has got a small bonus for the repair: Logitech G27 steering wheel and seat for him. Later, to make homemade cockpit for a full immersion in the game.
50
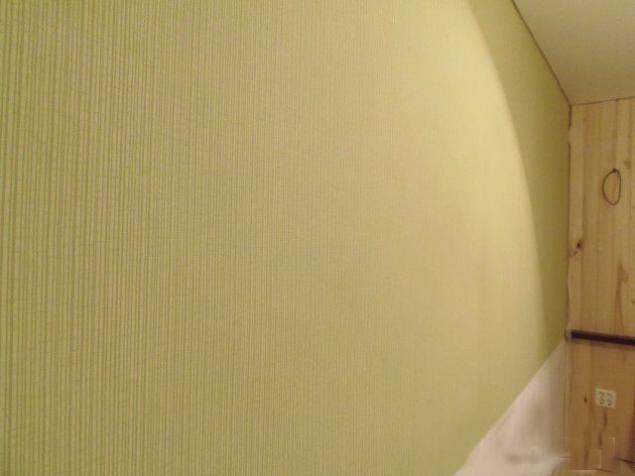
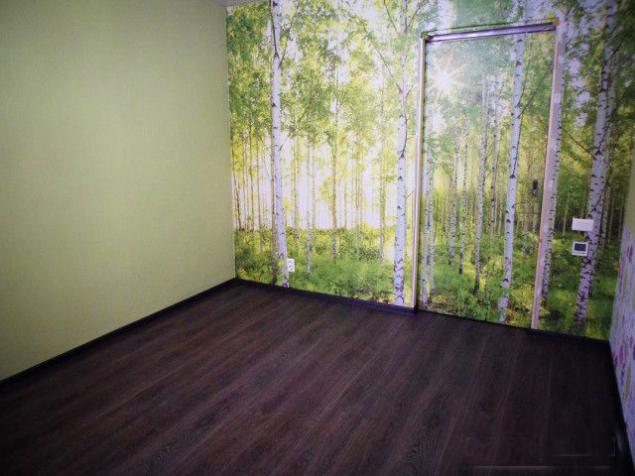
Time wallpaper
51
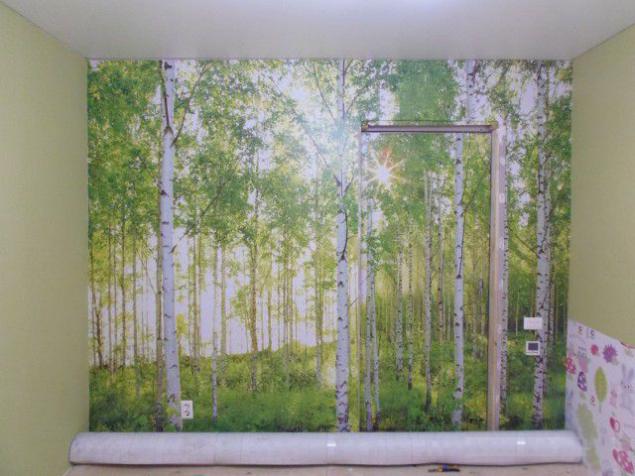
Mural
52
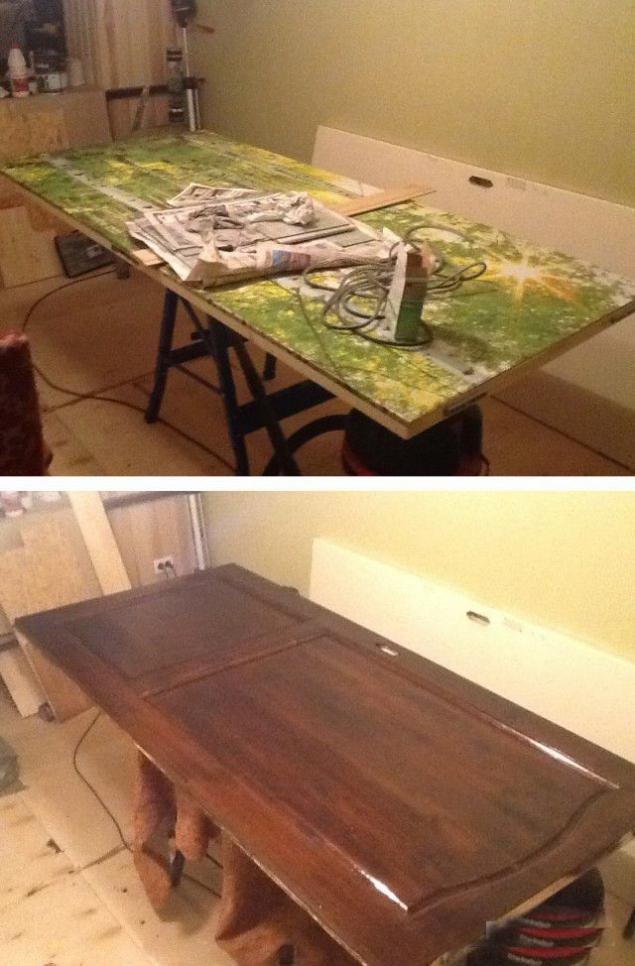
Few details about the door
Nailed on one side fiberboard. Glue Desktop
On the other cover the same composition as the countertops.
We hang back.
53
Time linoleum. Tarket Tango3
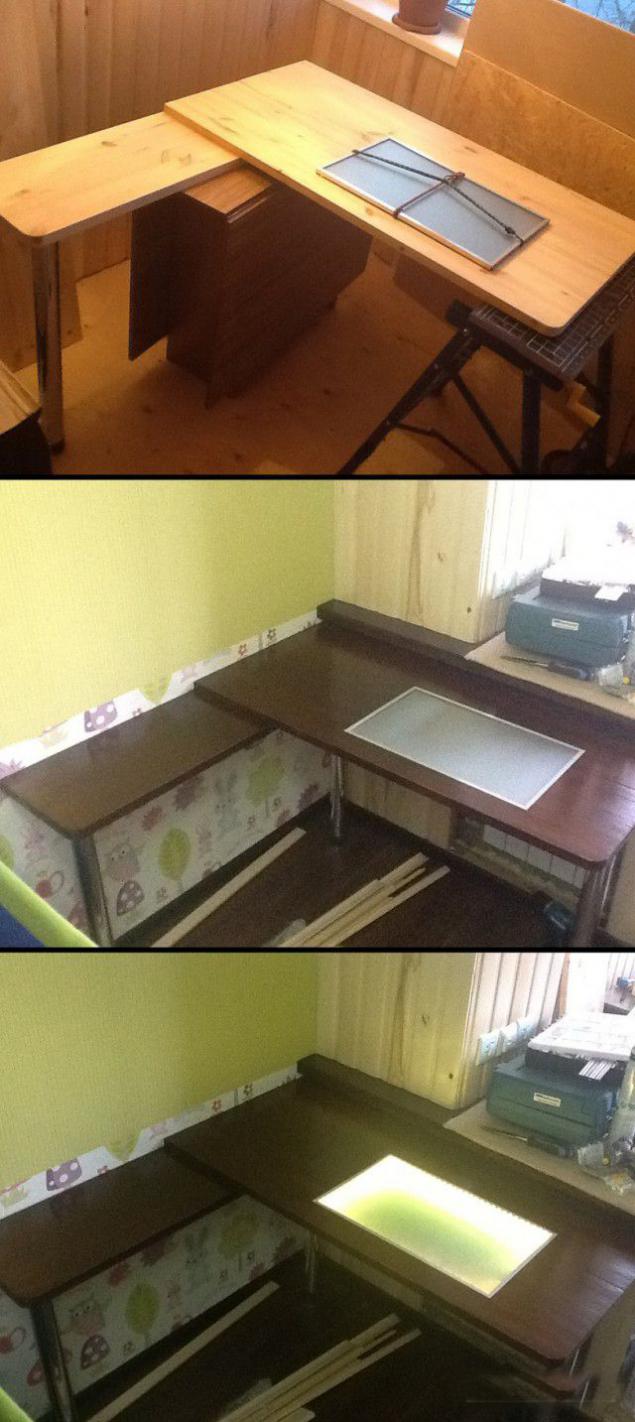
54
Wife gruzanula table: it is necessary light. The wife of the artist. Draws gradually.
Standard scheme: Furniture panels, glue, screws and some jigsaw.
The same composition as previously.
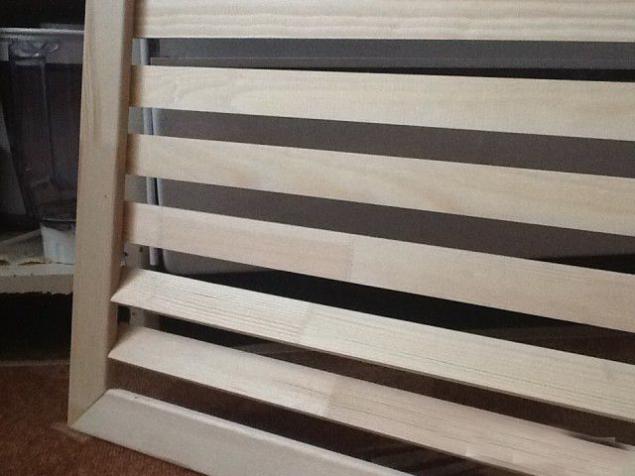
55
Homemade grilles.
Below 2 strips face inward.
Top 4 outside.
Jigsaw, glue, nails furniture stapler charged.
The store could not find the size. For one besides the price tag 600r, I did for 2 500r.
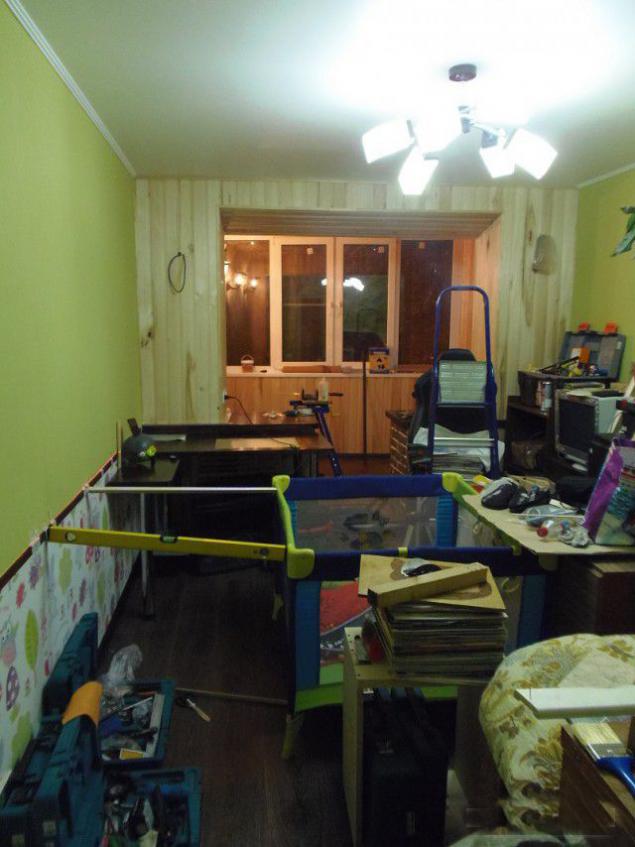
56
Sticking dividing crap wallpaper
Creative chaos and help in this arena.
57
We attain the loggia.
Need more blinds!
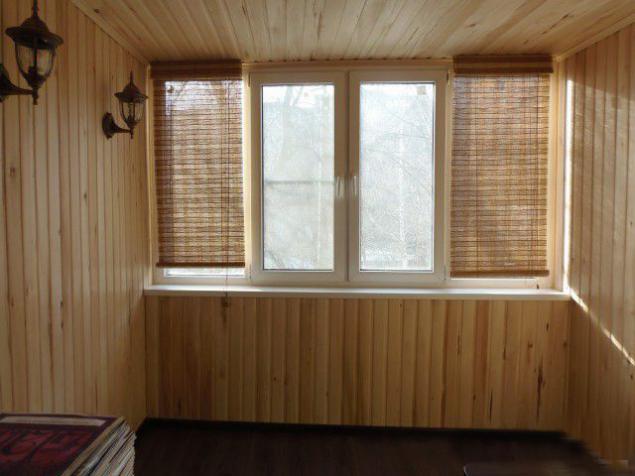
58
Customer satisfied.
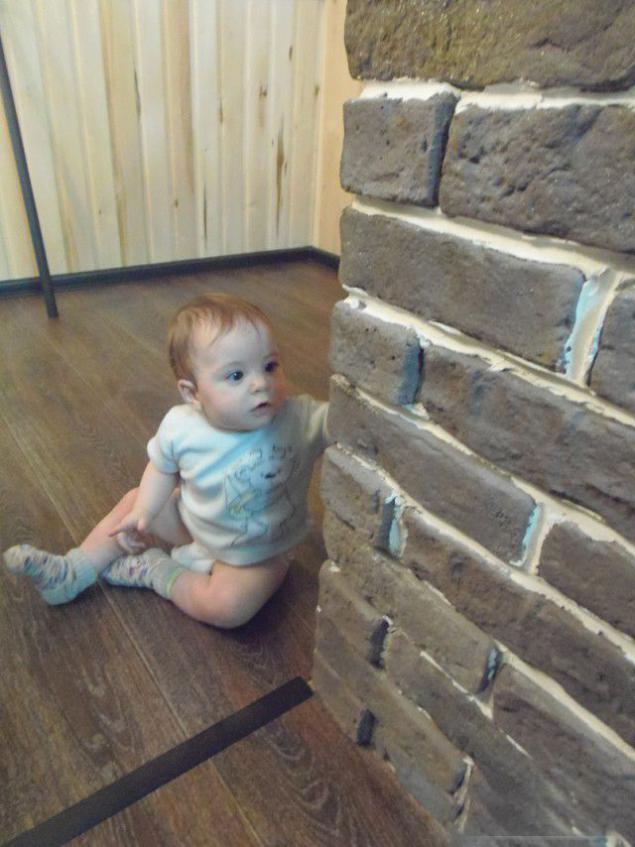
59
Old furniture temporarily out to the loggia.
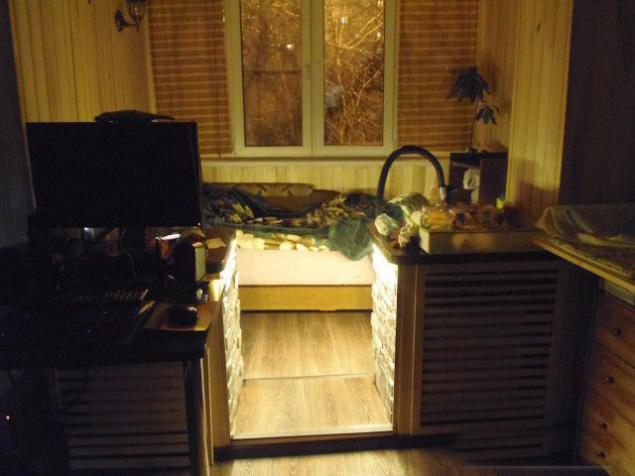
60
Something like a panorama. Just do not hit on the head.
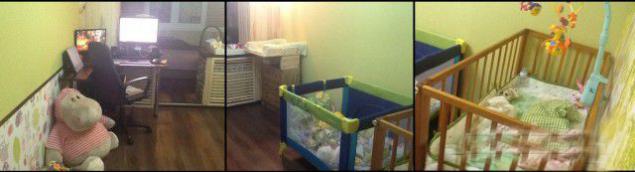
61
Total
Over the year and a half I had to get married, and start to have to raise a child. It was delayed mainly due to lack of timely financial and employment work.
It remains to choose a bra and pin cashing door.
Little entertaining arithmetic:
Molded - 16000r.
Linoleum and plinth - 9722r.
Stone mixes - 7000r.
OSB - 7100r.
Ceiling - 5000r.
Radiators and taps - 4350 + 1680r.
Replacement radiators - 5000r.
Chandeliers LED - 4600
Hardware, fixing and stuff - 4000r.
Dry mixes - 1000r.
Costs for countertops - 2500r.
Decorative lighting - 1000r.
The main lighting balcony - 2h480r.
Warm floor mounting + - 4600 + 300r.
Sensors for underfloor heating - 3600r. per 2 pcs. (One steep, other simpler)
Wallpaper - 5500r.
All the electrics - 9000r.
Plywood 4mm - 1752r.
Door + MDF + Castle + mechanism = 2500 + 360 + 1000 + 1000 = 4860r.
Metal profiles for GCR - 3500r.
GCR - 3 sheets do not remember for how long. No more than 250r \ thing.
Warming + companion - 6500 + 2000.
The amount of materials and labor, which I can not do myself = 112, 274r.
Instrument was bought at 35000r.
At the start of Castorama and went through the day. Therefore, costs in these and similar stores compelling cost almost 30000r.
Glazing balconies came to clean about 20000r.
More than 160 000r and a half years and a lot of experience. Thank you all!
--img62--
Source: