804
Puppet Warp
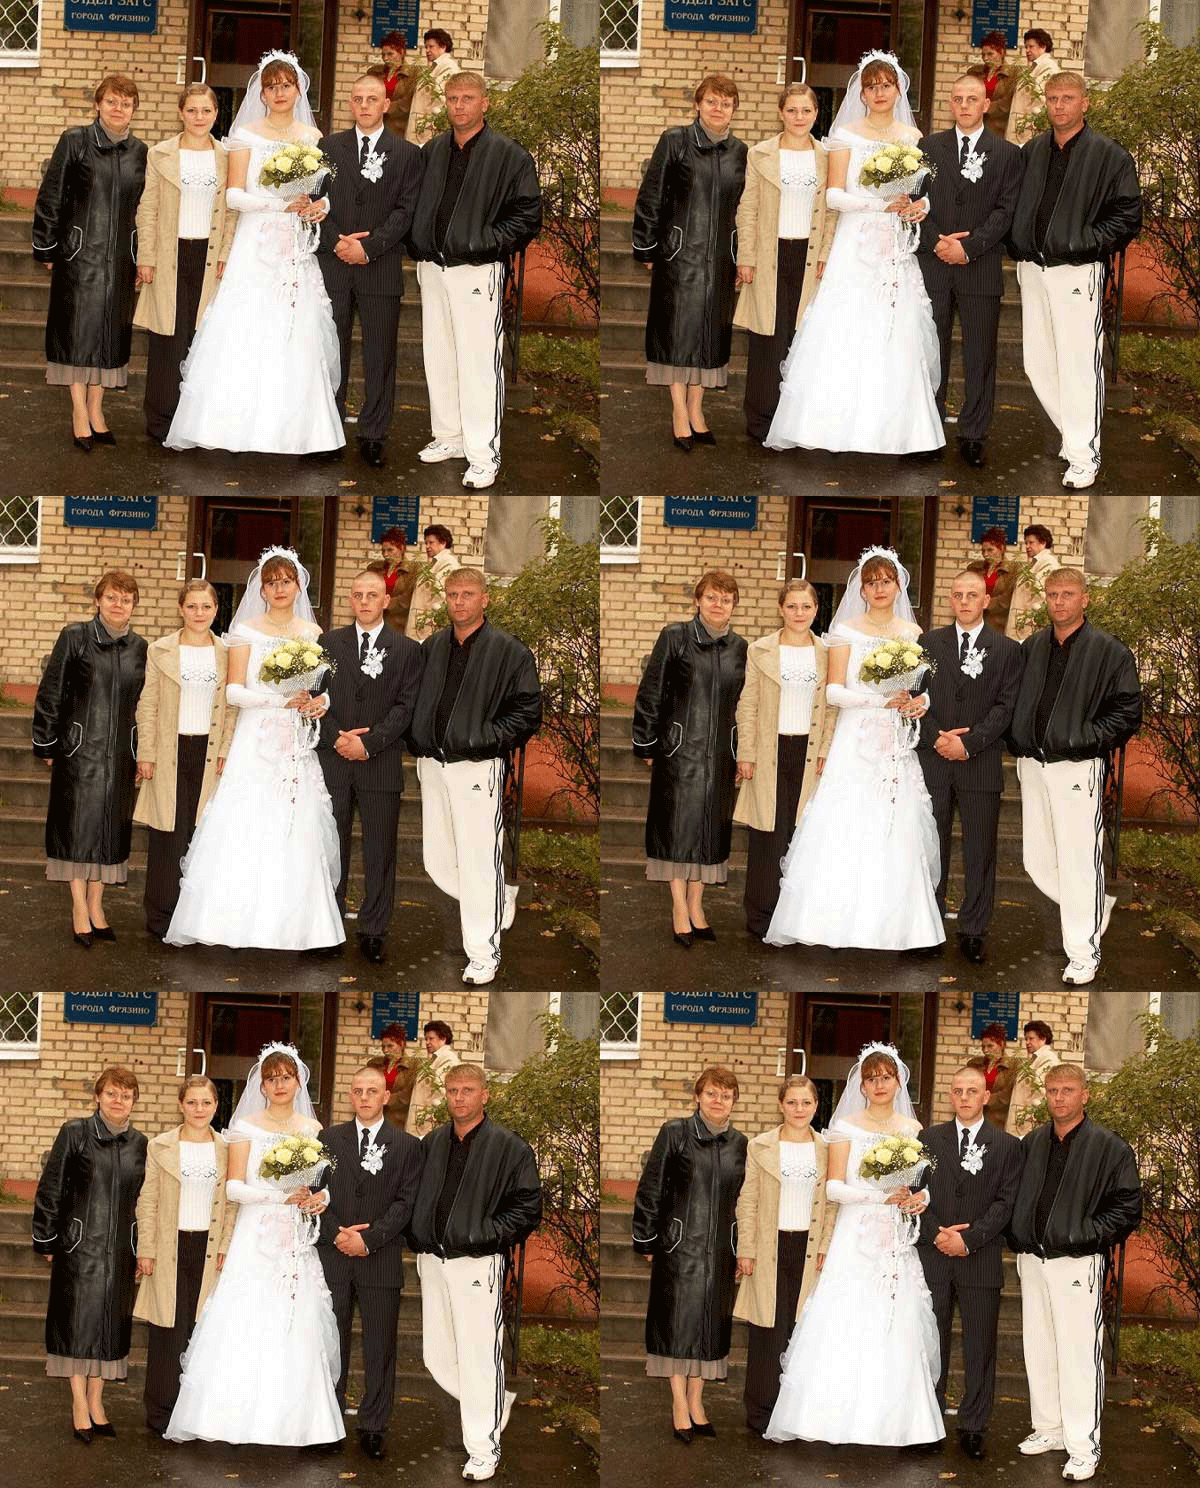
To help fotozhaberu!
10 steps | 10 img. | 3 gif | not to break | the title of "Photoshop Master" do not apply.
So, character animation within fotozhaby.
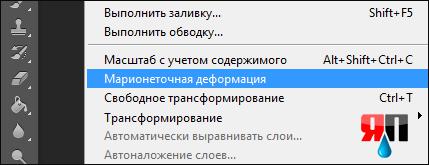
- How does the engine?
- Can your own words?
- Of course! Vzhzhzhzh, vzhzhzhzh, vzhzhzhzhzhzhzhzh ... ©
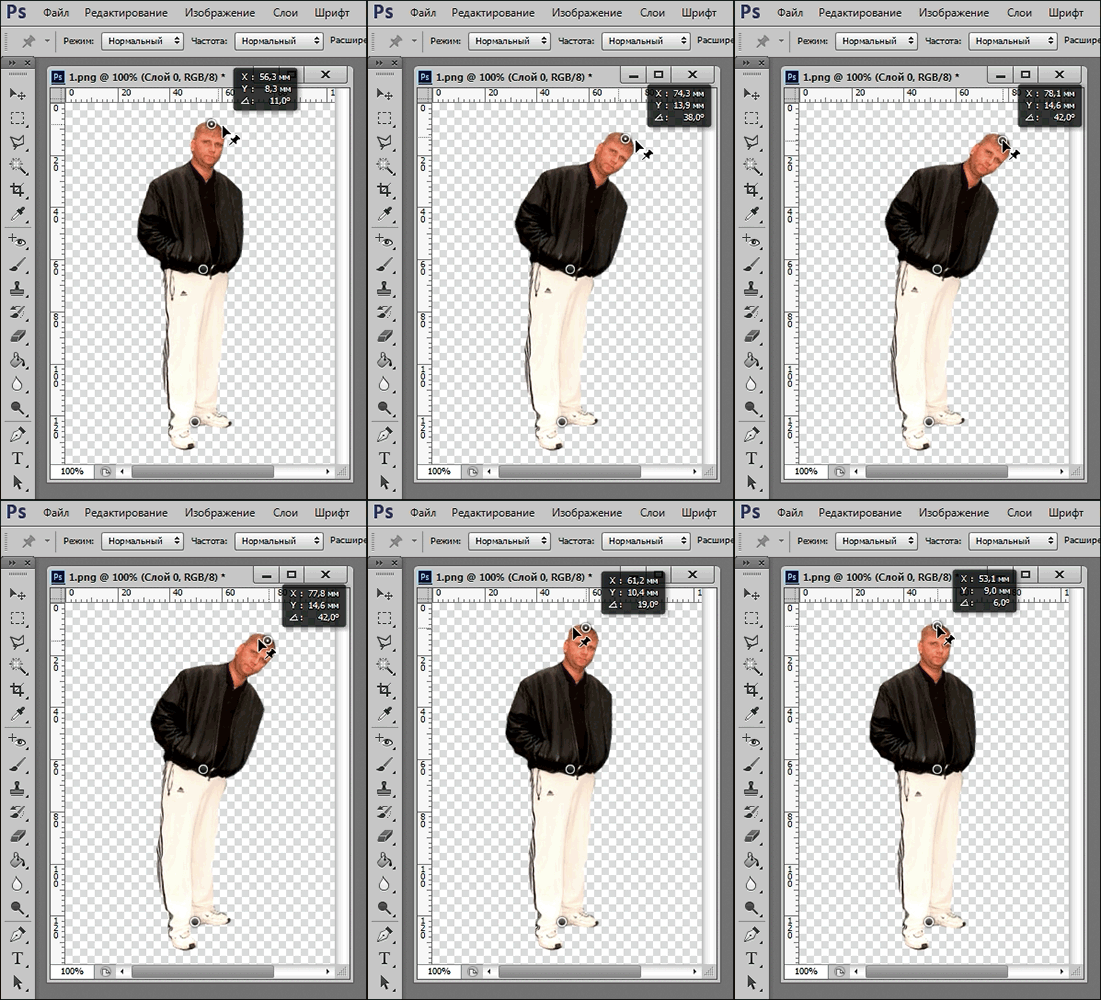
Speaking in his own words, the principle of operation is as follows, after you choose Puppet Warp tool, you need to add so-called "pins" that capture your image on the site. Now, selecting pin, begin gently move it in the desired direction, thereby distorting the image. The tool is intuitive enough to try once.
Actually, just the result itself, to make it clear what will be discussed further.
"Witnesses itching leg»
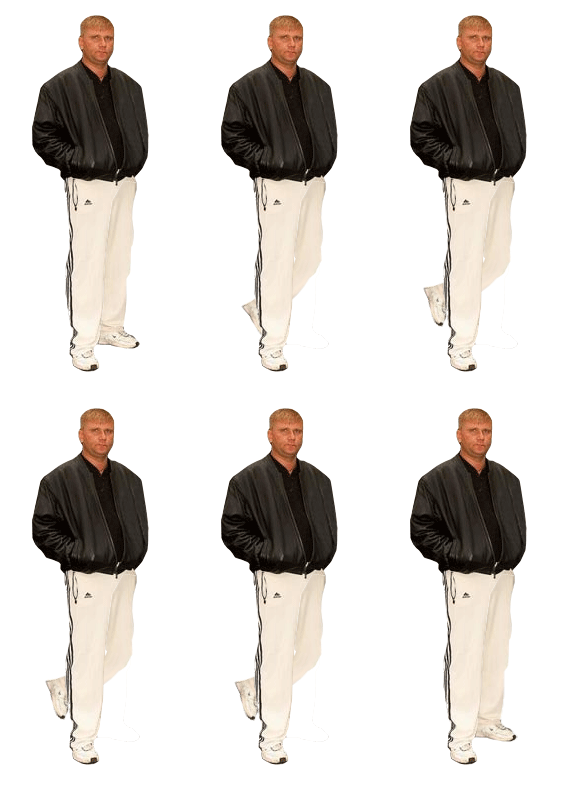
Now, step by step.
Step 1.
Take the original image and get rid of the background. I chose the tool "magic wand».
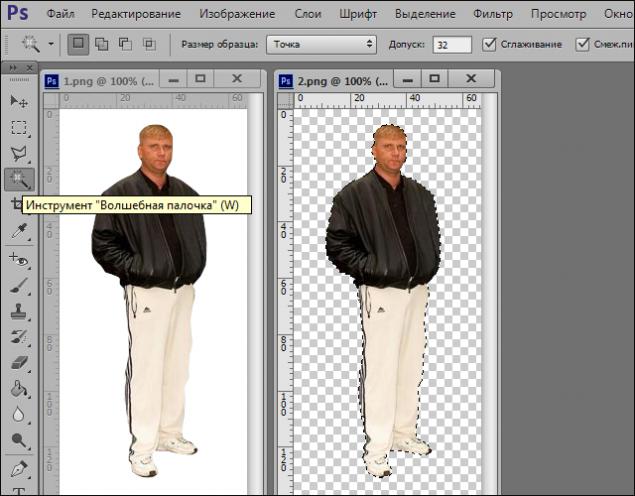
Step 2. Select the right leg of the Witness and make it into a separate layer.
The tool "Polygonal Lasso».
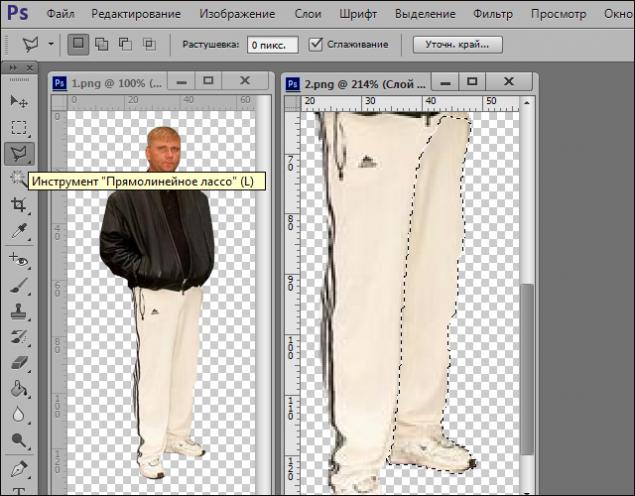
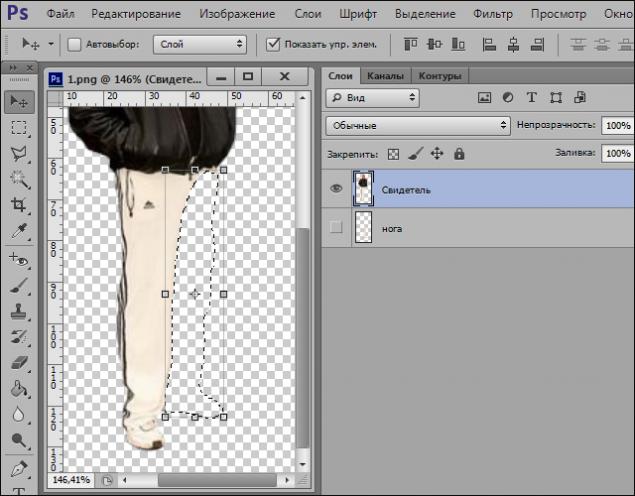
Step 3. Layer with a leg now taking a back seat, and it basically remove.
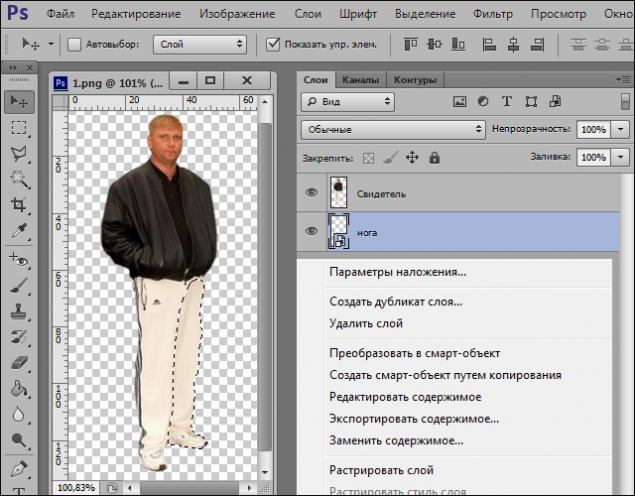
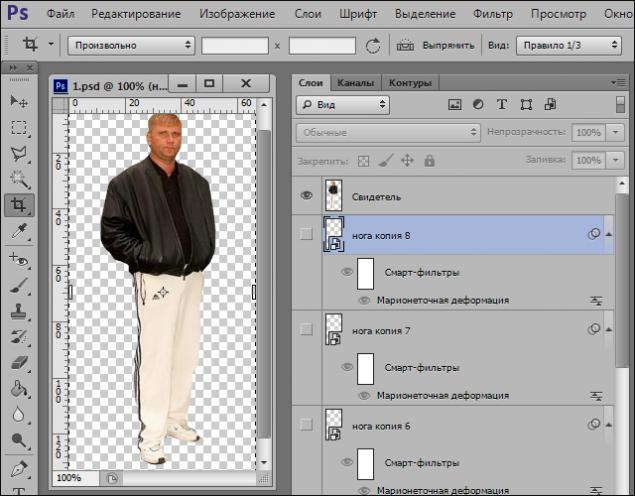
Step 4: Convert a layer with a foot in the smart object (right-click on the layer - to convert to smart object). Conversion is necessary for everyone to not just add new pins. On subsequent calls Puppet Warp tool, they will remain in their places.
Step 5: Edit tab - Puppet Warp tool.
Fix a pin upper leg so that it remains stationary, press Enter and duplicate our layer. Ctrl + J
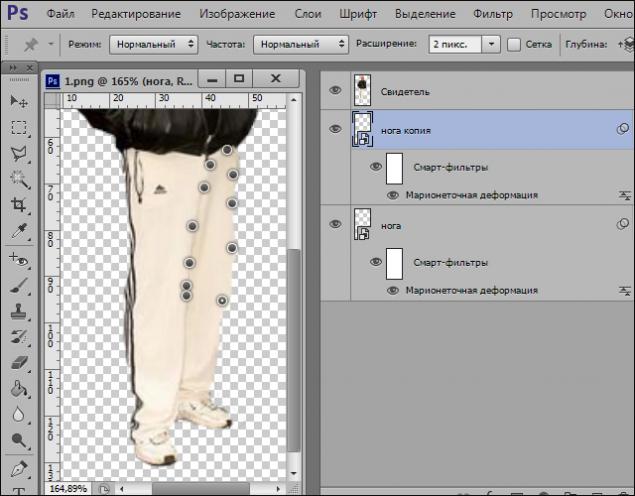
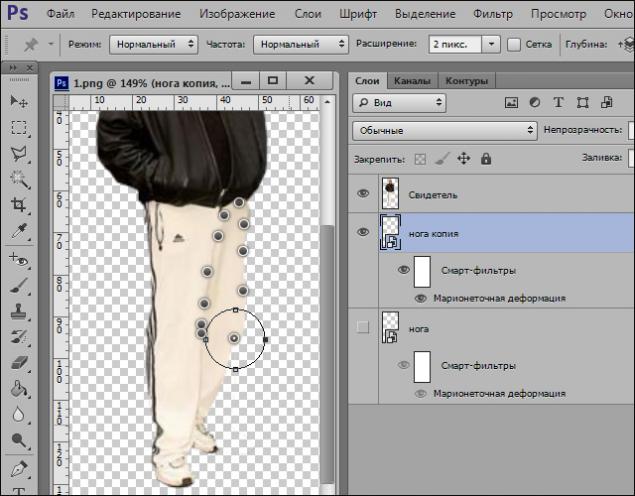
Step 6 Edit tab - Puppet Warp tool. Select the pin on the knee, hold the Alt key and begin to slowly rotate the foot clockwise. Press Enter.
Step 7. To create the animation, we need to fix all phases of foot traffic. Duplicate the layer Ctrl + J and repeat Step 6, the appearance of the previous disabled. To illustrate the stages of movement (left to right).
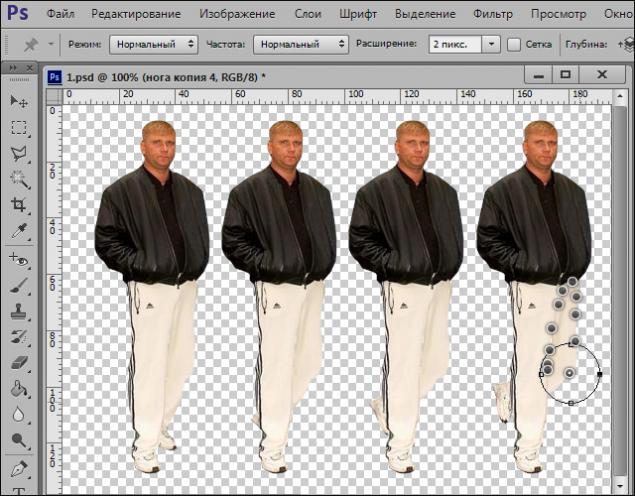
Step 8. At this point, you are doing Step 7, the necessary number of times. The more layers, the more frames. The more frames, the "smooth" animation will be played.
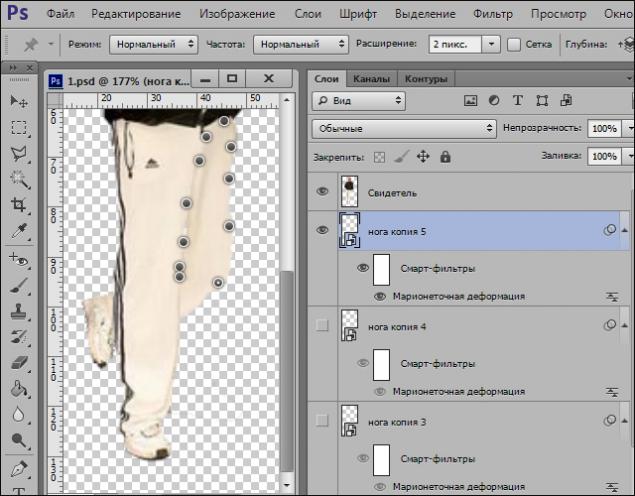
Step 9. In the end, you should have about 8 layers with different positions of the feet.
Next, remove the visibility of all the layers except the first layer, and a witness.
Step 10. The animation is very easy. In the animation in the upper right hand corner on the right is a drop-down menu in the menu, select the function to create images of the layers, and then select all the frames and set the range of 0 ~ 08 seconds, then save for web - devices.
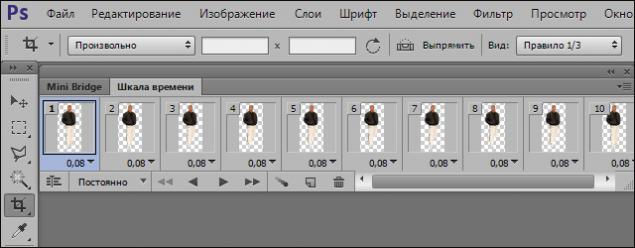
And finally in his element