1934
Master Class "Creating jewelry"

- Epoxy resin;
- Silicone Moulds (for epoxy resin);
- Disposable gloves, syringes, cups, stirring sticks;
- Various natural materials (dried flowers, shells, pebbles it.d.);
- Potal, stained paint, powder perleks.
I work on a regular file, so as not to stain the table.
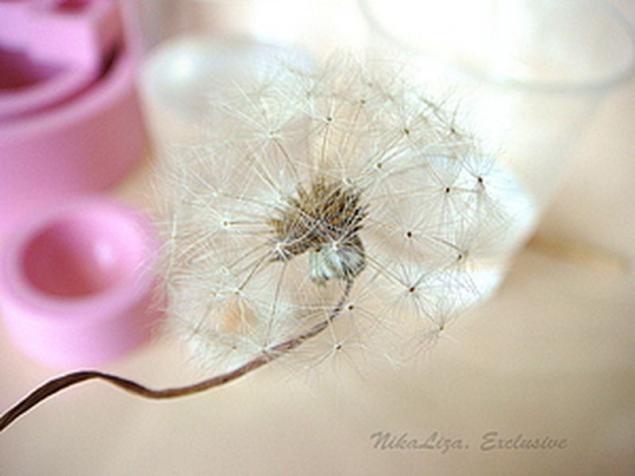
To create a pendant from the hemisphere, I picked two different dandelion, so you can compare how they will look in the final version.

Before you begin, thoroughly rinse all Molde, who are planning to use, wipe them dry. Wearing gloves, disposable cups, pour in the resin and hardener (which is easier to dial them with a syringe). We work in a well-ventilated area.
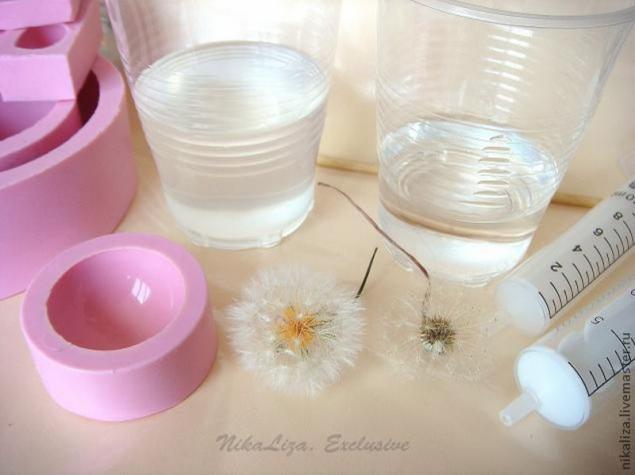
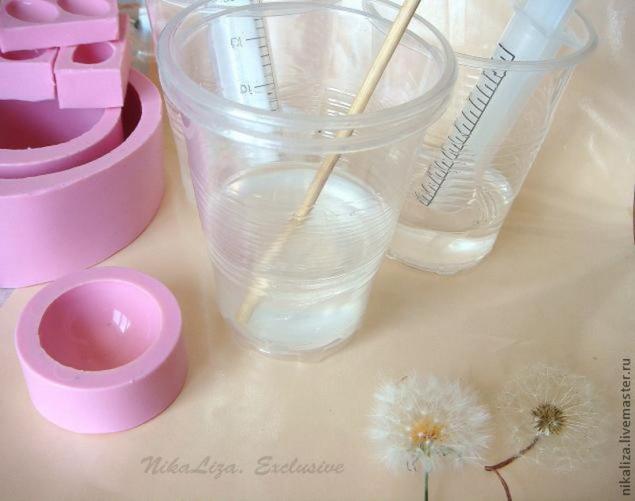
Measured off the required amount of resin poured into clean, dry glass, another syringe Measure out the required amount of hardener and add to the resin. Different manufacturers of its proportions, so carefully read what is written on the package and follow all recommendations on work. The accuracy depends on the final result, if the resin is not frozen, so the proportions have been violated, or a mixture is not well mixed with each other.
If you take a syringe with a rubber insert inside the curing agent will not splash when it was poured into epoxy. Wooden stick (can be used for barbeque skewers), the resulting mixture is thoroughly mixed. I pinpoint the time by 10 minutes, and interfering with a circular motion so as to prevent the ingress of air.
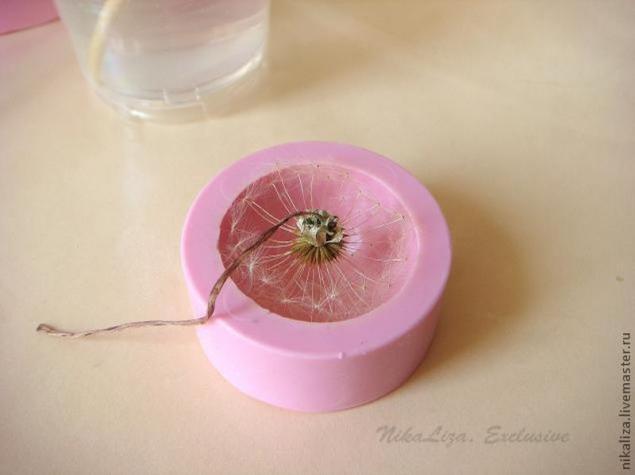
Molde laid neatly dandelion (lower parachutes I removed with tweezers).
After mixing the resin where I leave - that for half an hour, to the chemical reaction was: judged that the reaction proceeds can be warmed by a glass with a resin. Empirically, I found that it is not necessary to operate in very hot weather, the reaction will proceed very rapidly and the resin hardens completely within half an hour. It refers to the resin, that I use from different manufacturers - different criteria.
Carefully pour a thin stream of resin in Mold, on a dandelion.
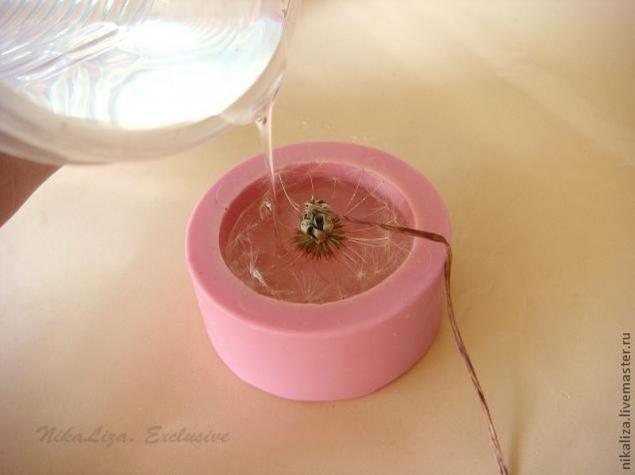
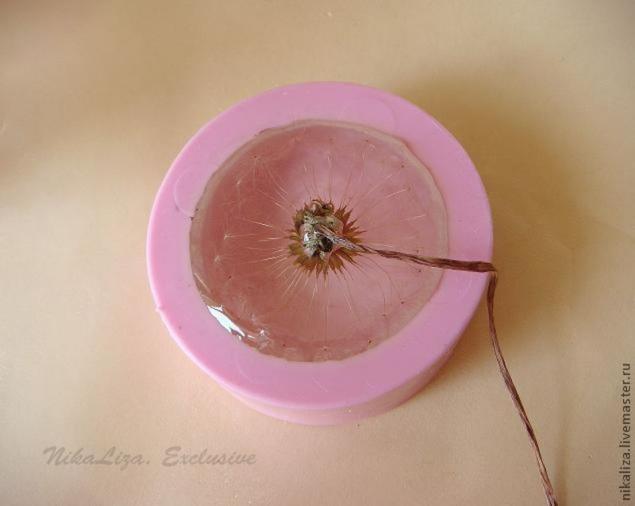
Since after curing it settles a bit, we pour so as to obtain a small convex lens.
Now I'll show you how you can make beautiful rings of glass pieces, washed and polished by the sea.
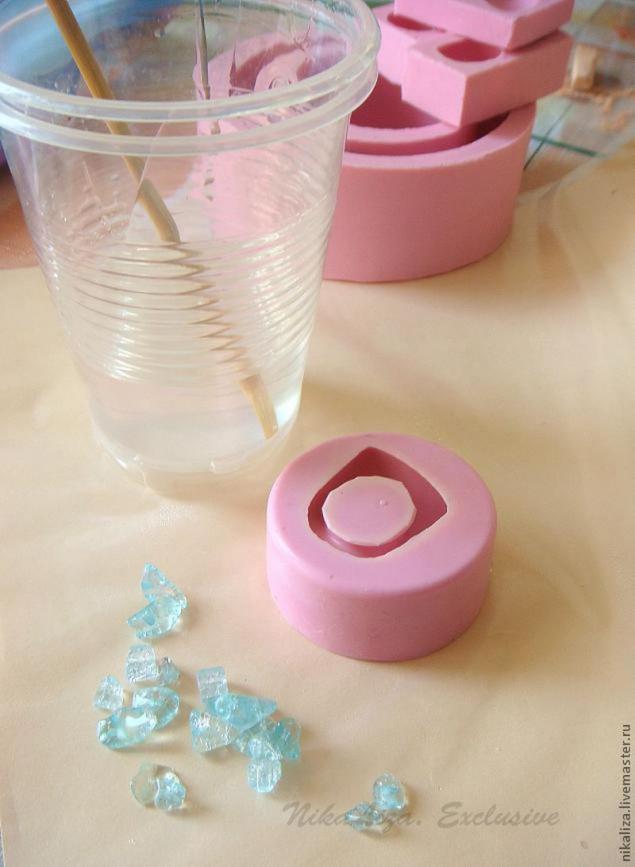
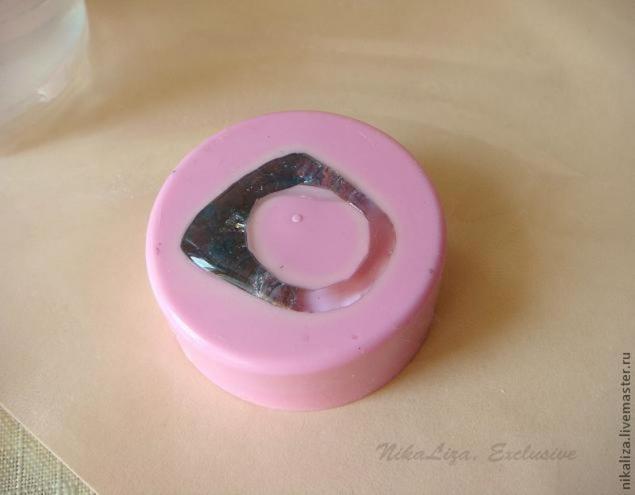
Pour a little resin, laid the stones, carefully top up the top, as you would with the hemisphere, to get a convex surface.

Cases earrings with parachutes dandelions. Pour a little of the resin, stick distribute. At this stage, the resin is gradually thicken, it is just necessary that parachutes were in a position where they put.

Puts bunch.

Top topped up with resin with a small bulge. If you do this carefully, you will eventually need a minimum grinding.
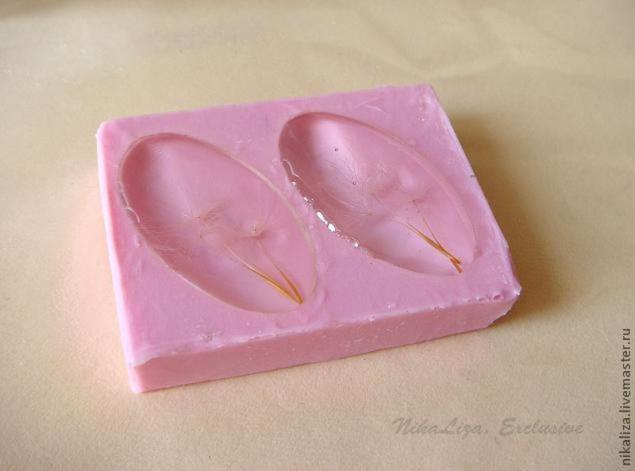
Likewise, it turns out, and a truncated ball. Pour half Mold resin.

Puts the required number of parachutes toothpick or, like me, a big needle (it well to wipe off the resin).
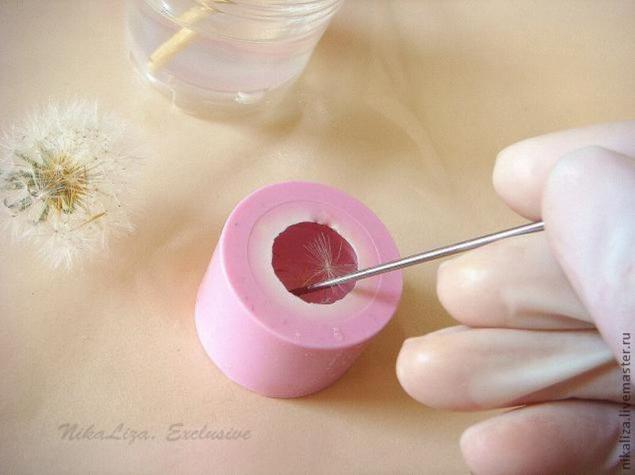
Refill the resin in the MDL with dandelion.

And now to make a bracelet with shells from the Black and Azov Seas. Similarly, in a clean, dry garter Moldavian pour epoxy. By this time, she became even more dense, so part of it is on the walls, that I should be. Add to the Moldavian shells, pebbles, sea stars, all that is interesting) pours crushed shells, which adhere to the walls, creating the effect of limbo.

Half an hour before, I had prepared a new batch of resin, very carefully pour on top to avoid unnecessary bubbles. If you still have bubbles, you can heat the oven to 80 degrees, ventilate, to put Mold resin (MDL withstand temperatures up to + 204 C). The bubbles come out.
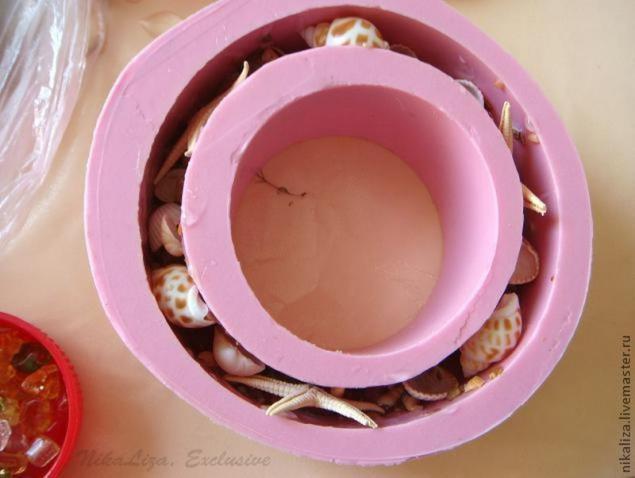
It is important that the Moldavian standing on a flat surface, otherwise the resin hardens in an inclined position. The more accurate pour epoxy, the less need to then grind. I poured the resin as much as possible to the top, with a small bulge.
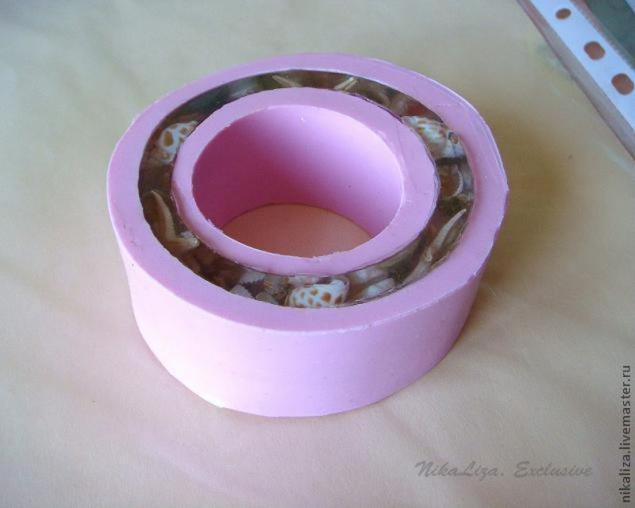
Now we wait a day to dry the resin. To the surface of the product did not hit the trash / dust, you must cover them with something, a box, cover.
At this time, we make a pendant. Prepare the basic background - Apply liquid plastic on the workpiece. Polymer clay, roll into a thin layer, cover, distribute and bake in the oven. Give cool, and you can start working.

Pour a few drops of resin so as to be able to distribute on the surface and using tweezers and needles compose a completely dried leaves - flowers composition. The resin acts as a glue that does not allow easy Immortelles budge. It is not necessary to use the resin fills the living or poorly dried flowers, over time, they spoil and turn black.

Since the back of the pendant has a holder, I had to put it in the MDL, the surface is horizontal. I never fail to think in advance what should be the composition, so I spread all the appropriate flowers and herbs and enthusiastically begins to collect the small living picture.

The result in this little world. Left to dry, after the resin is cured, you can pour the second layer to form a convex lens beautiful.

Gone hours, the resin is completely solidified, and I took all the resulting preform. This bracelet, its upper part.
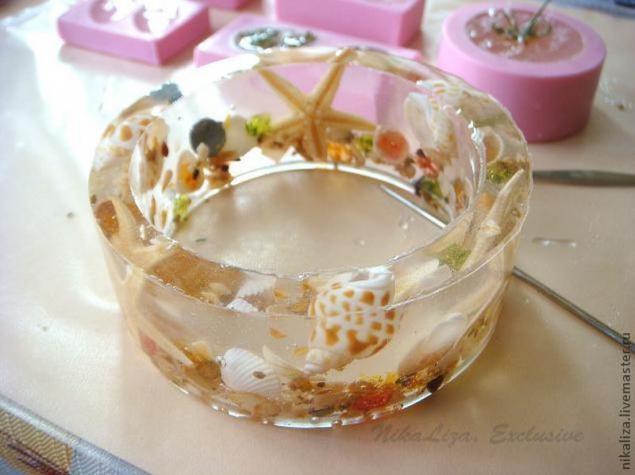
The same principle can be pendant, earrings, ring, etc.

This is a hemisphere with dandelion next second, orange, for comparison.

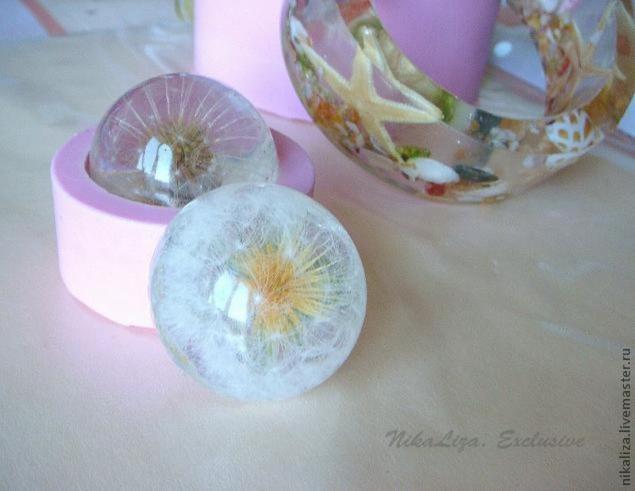
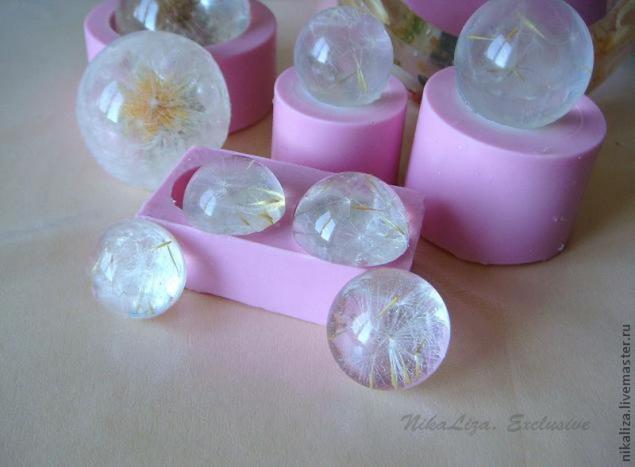
This will get truncated balls with parachutes:

I also flooded the small polusferki:

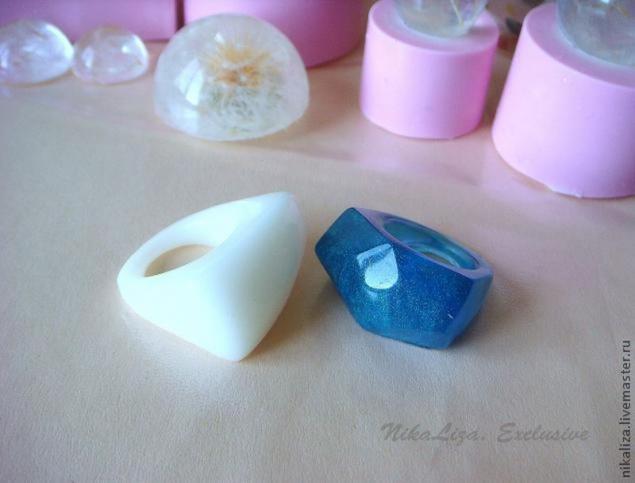
Rings of sea glass pieces for comparison put those made earlier.
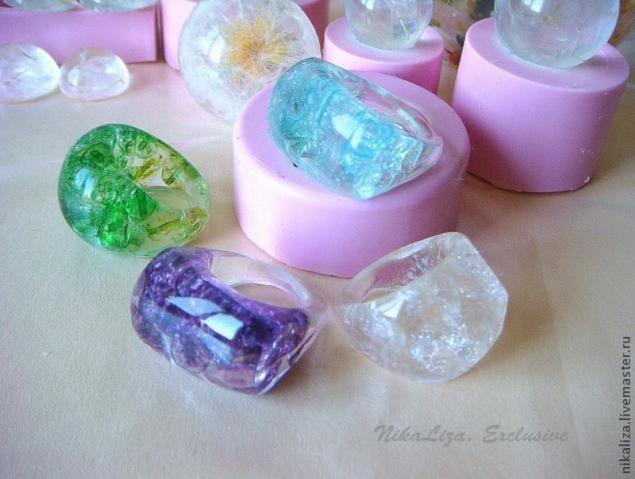
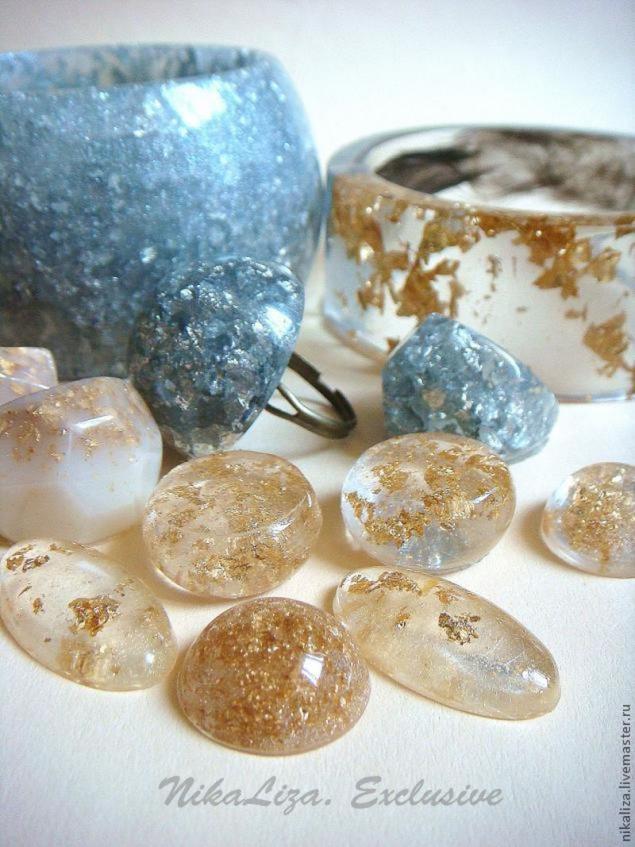
If you add a drop of resin stained glass paint or powder perleks, you can get different shades of resin. When painting stained glass paint it necessary to add quite a droplet, as the proportions between resin and hardener can be violated staining, resulting in a product can not harden or become sticky when touched.
You can add potal and get an interesting decoration.
This lens with parachutes, it seems, are beautiful. So, as was intended.
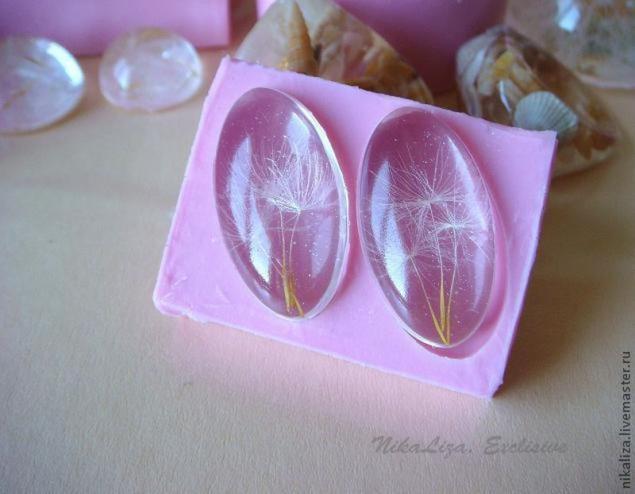
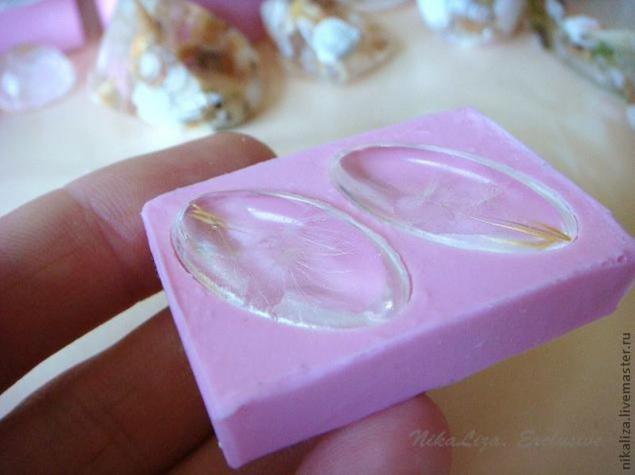
The reverse side has remained at the same level with the edges of the lenses.
Here is the reverse side of the pendant after curing of the resin.
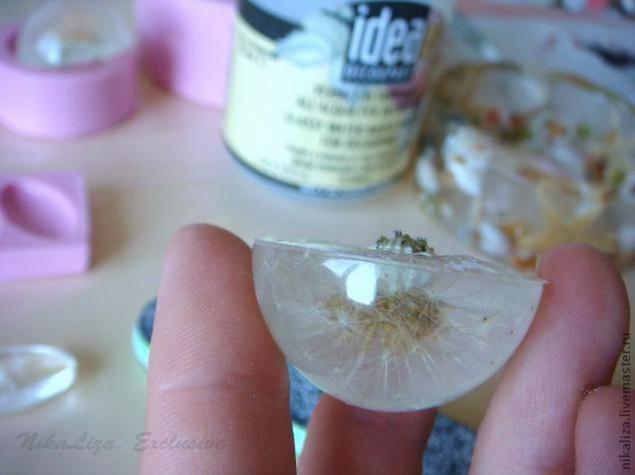
Carefully grind, and not to breathe the dust, you can wear a mask / respirator.
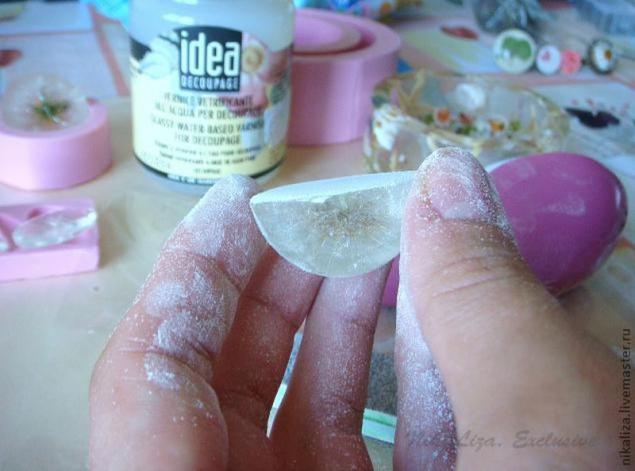
The back of the hemisphere after grinding.
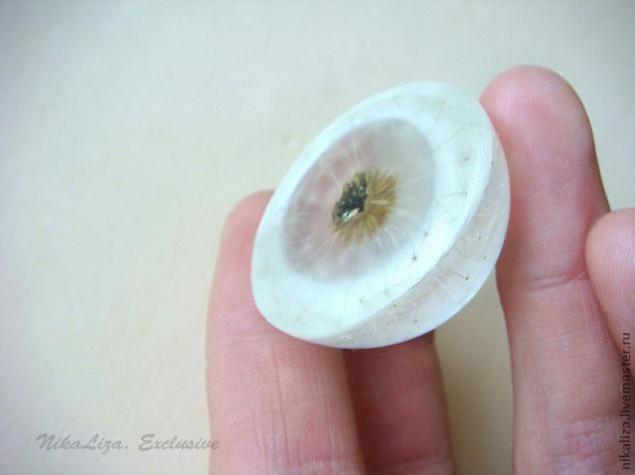
After complete solidification must be sanded rough and sharp edges.
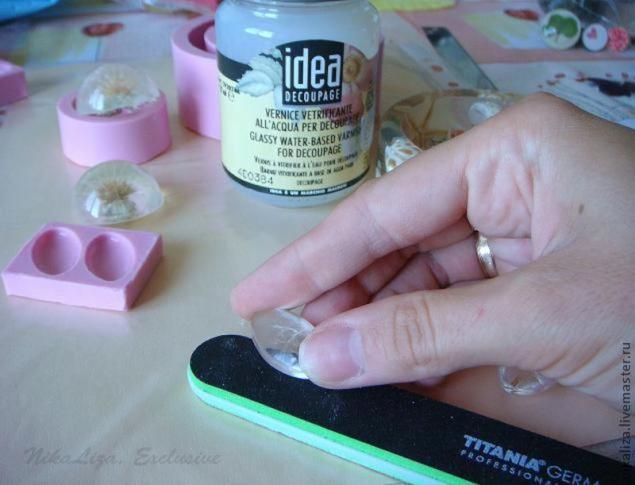
Likewise do with the bracelet, you can take his assistant machine for manicure, as I did, most importantly, buy a good battery.
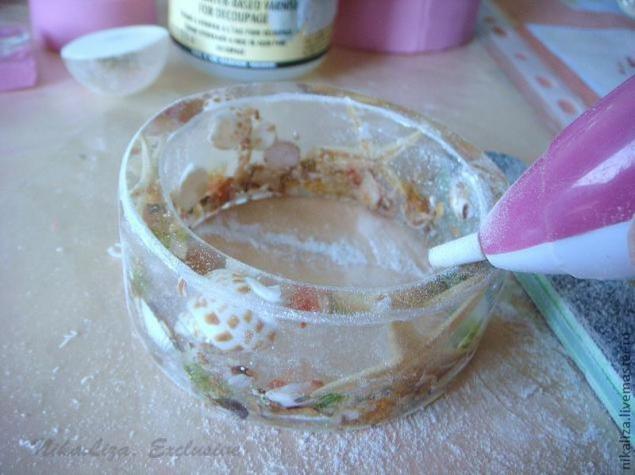
As you can see, I needed a minimum of grinding the edge of the bracelet, because I took care of it in advance, when flooded resin mold.
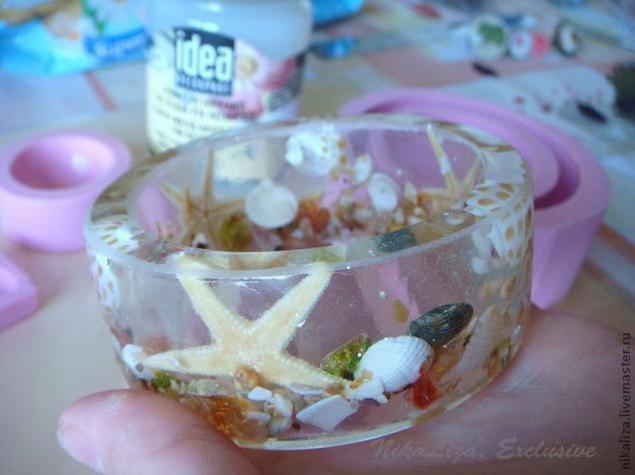
We cover the place of grinding varnish, I have this vitreous varnish layer - the minimum.
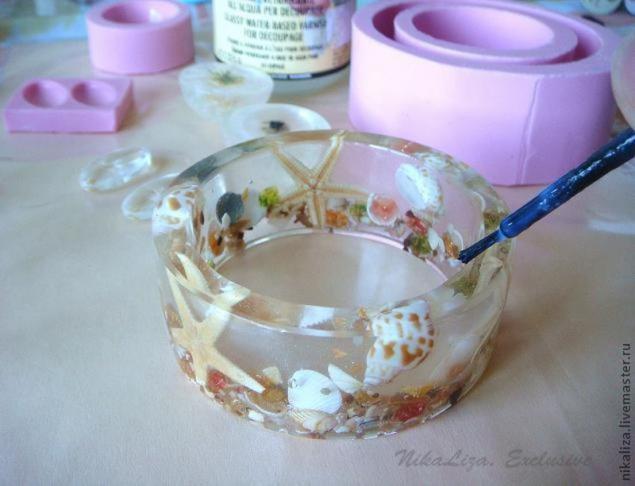
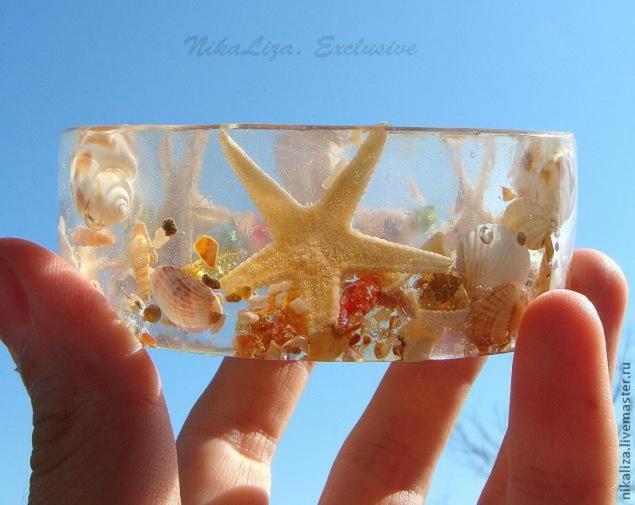
When the paint is dry, you can admire the result obtained.
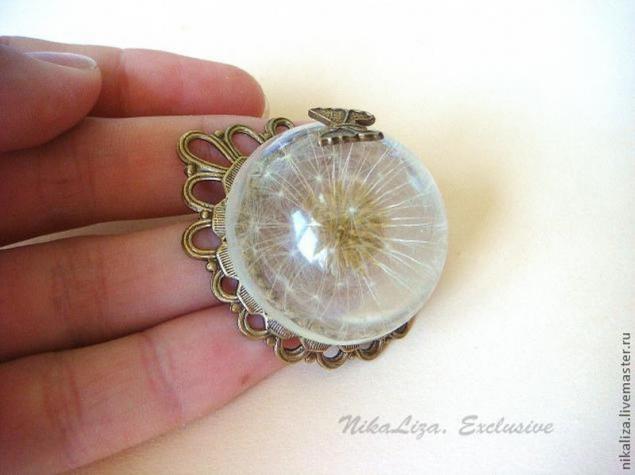
For a beautiful pendant, I picked up no less beautiful, dignified frame and adorned tiny butterfly.
Source: www.livemaster.ru