995
Handicraft post
One friend of mine is a creative hobby. Polymer clay it works wonders! I just could not help but share it with you. And since today's Yap kotovtornik, then spread on your court the process of creating broshi- kote.
25 photos.
Prepare a sketch of the future brooches, draw it (or printing through the printer) on a standard sheet of paper (preferably medium density).
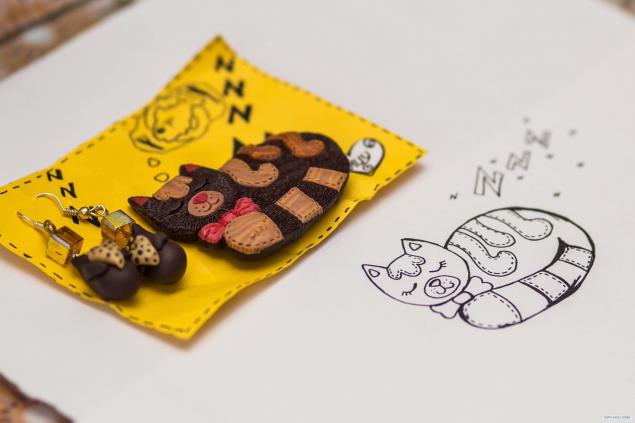
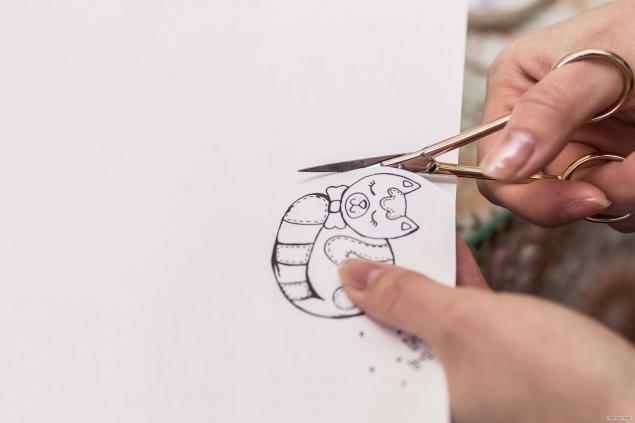
2 - Next, begin to carefully cut our sketch stencil.
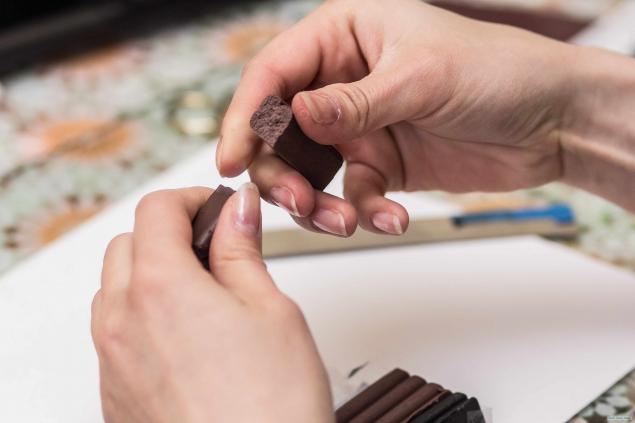
3 - Getting the most clay, begin to knead it, otschipnuv or cutting required amount.
4 - When the clay became soft and pliable, put it on a piece of paper or glass that would roll out, just like the dough :)
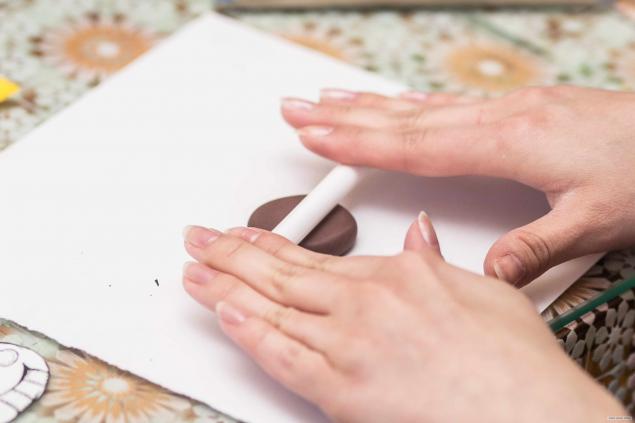
5 - Once the clay was rolled in a sufficiently thin layer applied our stencil and pass a couple of times skalochkoy that would be better pressed sketch.
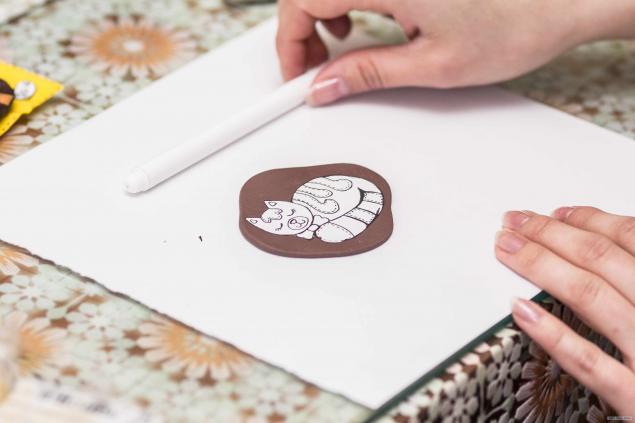
6 - Then the fun begins. Circle igolochkoj edge stencil and remove it with a layer of clay. As defined boundaries begin to cut the outline of Kitty.
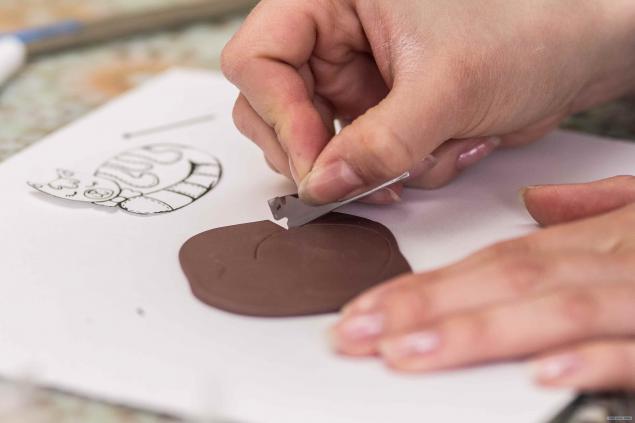
7. Now that we have the foundation of our cat, beginning to make it more three-dimensional and alive. Let's cut the stencil into small component pieces.
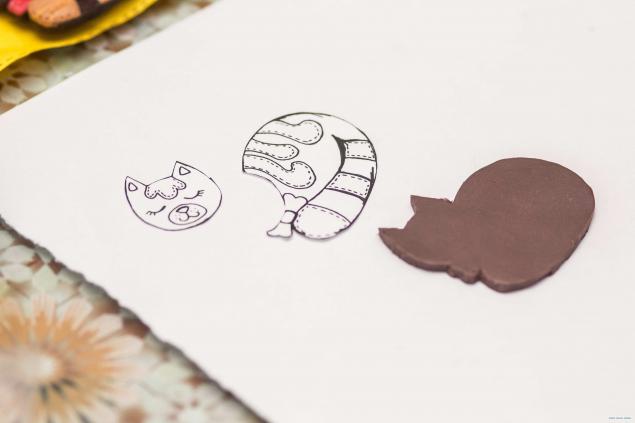
8. start with the head. By the way the details are very comfortable cut with half the usual razor
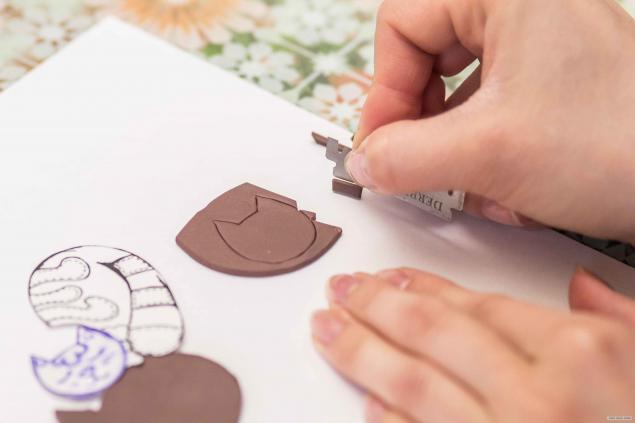
9. Cut parts are putting to the ground.
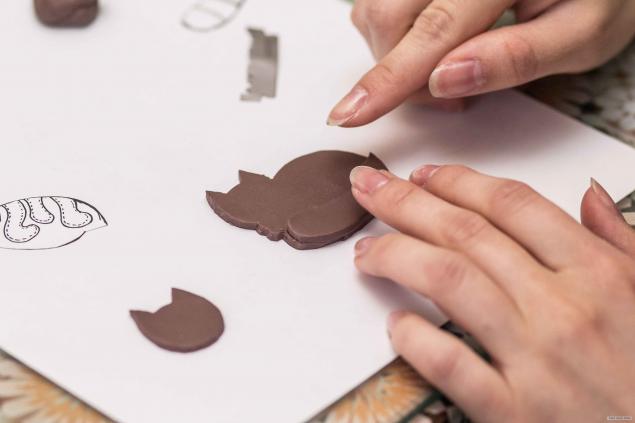
10. Smooth parts to the base, obscuring the seams and places of docking. On the sides you can walk a needle.
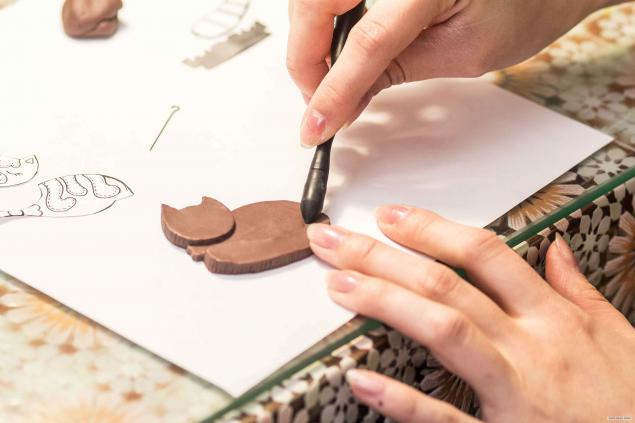
11. Now that you have a cat head and tail start to decorate it. Give it a nice red scarlet ribbon. Roll up a small ball from a piece of red-crimson clay, applying it to the desired location and slightly presses, smoothing it with a stack.
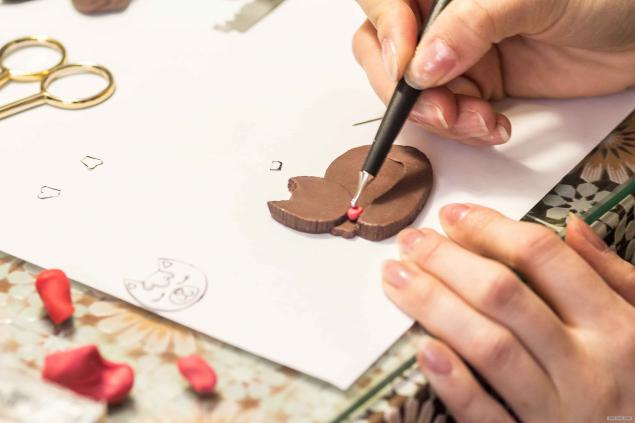
12. Of the new piece of clay form the corners of a bow, with the help of needles and even trim the edges.
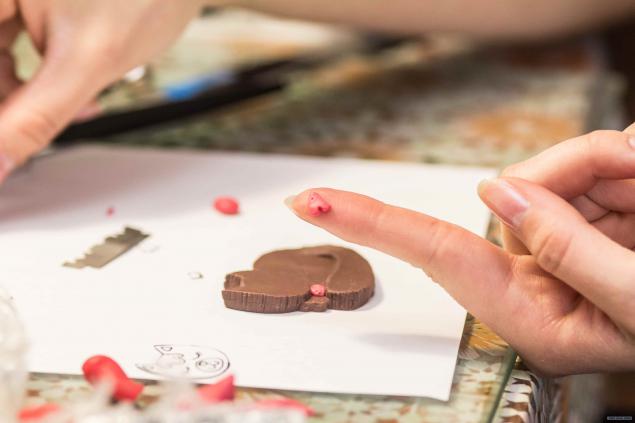
13. We put ready to bow to the edge of his seredinke, obscuring the seams and engages a needle or stack.
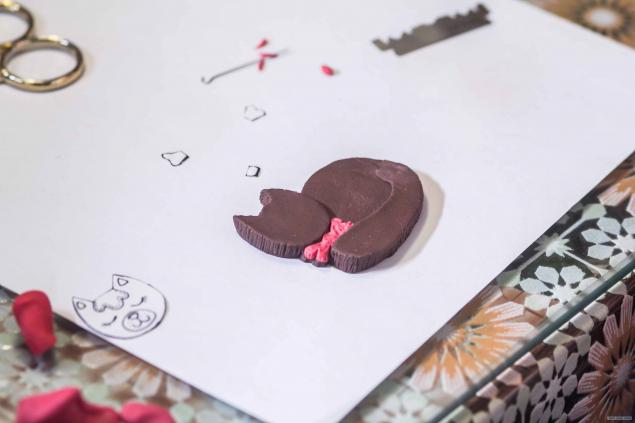
14. To make a bow texture, you can designate it a border of dark red clay. To do this, we roll out a thin piece of sausage from the clay and the thin line with the help of needles applied in the right places at the bow.
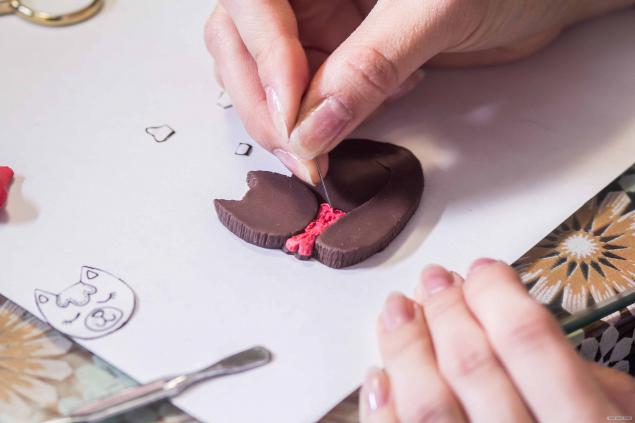
15. From another couple of pieces of red and scarlet Kata clay balls, stack make small holes in the ears of a cat, and to put the red and crimson balls, stroking them a needle.
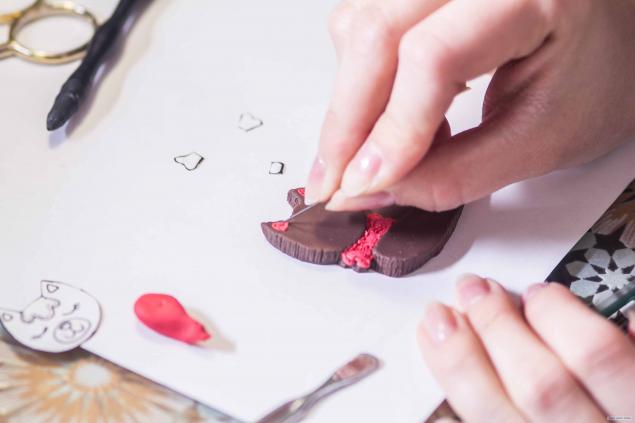
16. Using the technique of mixing different colors of clay to make a ponytail cat patterned strips. Roll out a layer of clay and cut out the necessary Circuits band applies them to the tail, then smoothes by a stack by hiding all seams and irregularities.
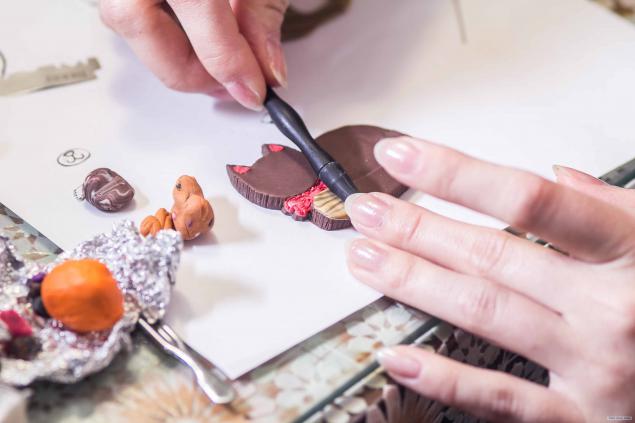
17. Repeat the process with the other bands on the tail, back and muzzle Mike Farley.
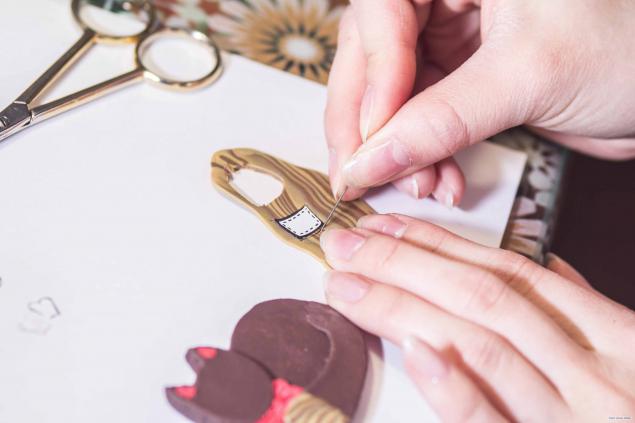
18. All stripes smooth and leveled using a stack or needles.
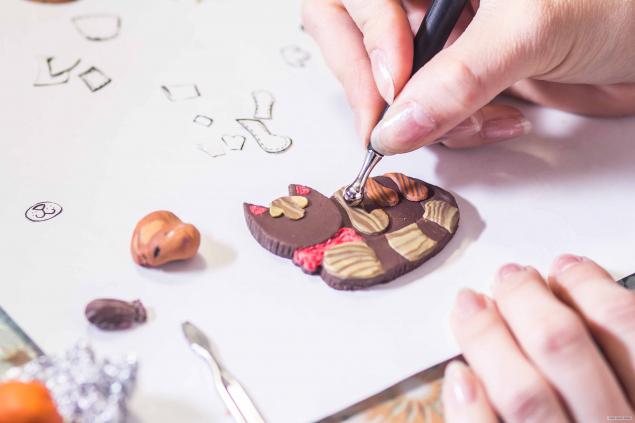
19. Continue to revive Mike Farley, and we give him a tip.
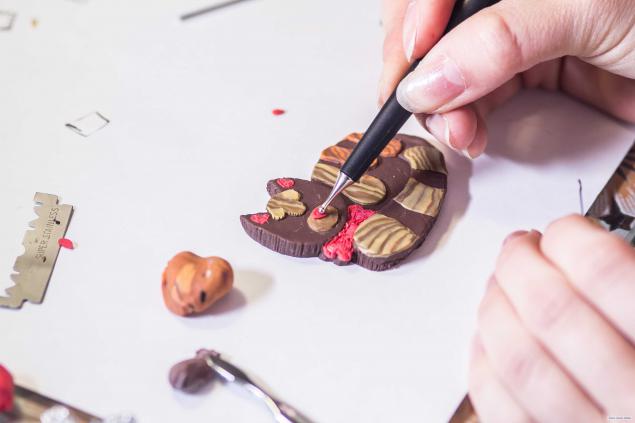
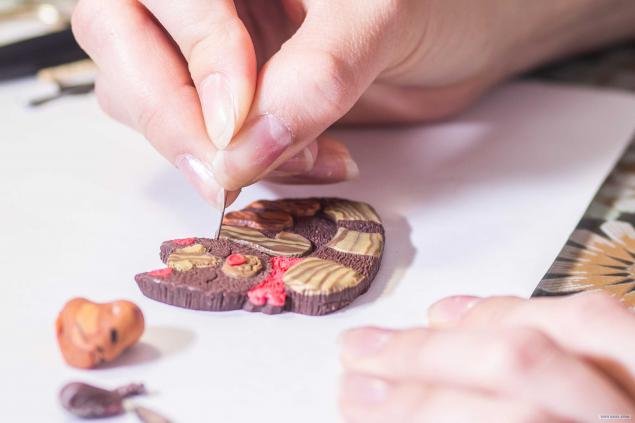
20. Now do Kitten fur: using needles create the texture around the perimeter of the body with the exception of Mike Farley strips.
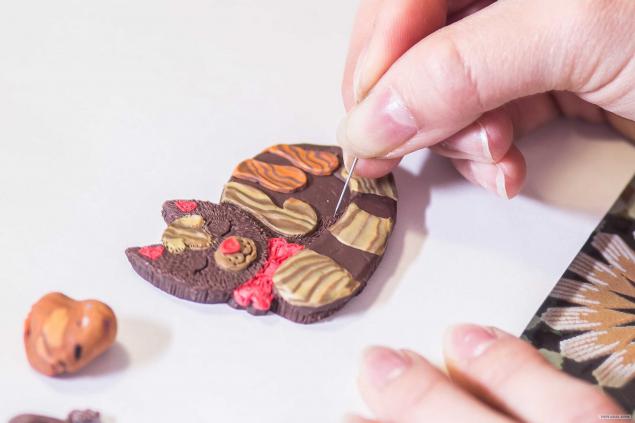
21. With the help of a needle outline the eye Mike Farley, mouth, mustache and everything else in its sole discretion.
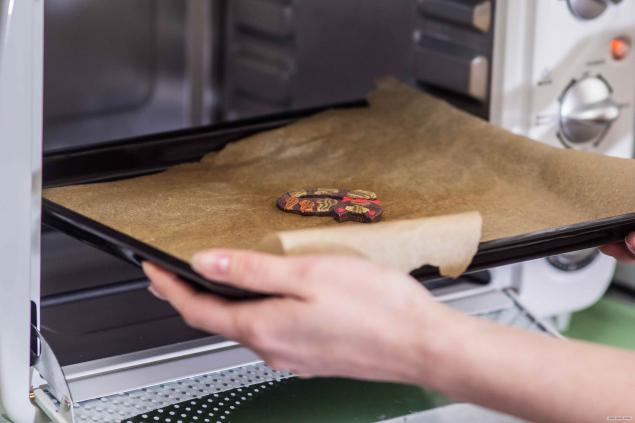
22. When all the manipulation is finished, we send Mike Farley baked. Better put clay on paper or foil baking.
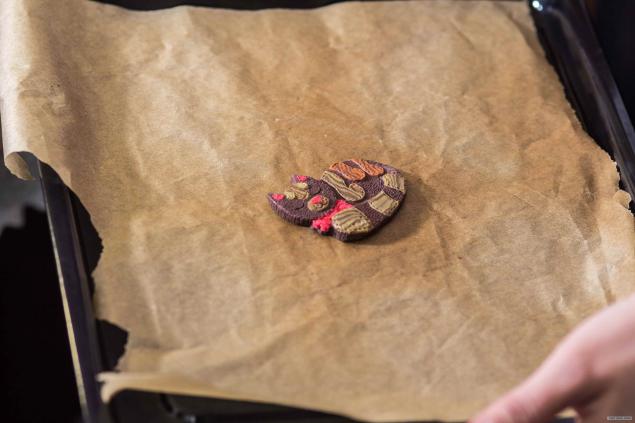
23. Good luck koteechka! Bake clay needed at 120-130 degrees, for a time of about 12-15 minutes.
24. When the caked clay, for faster cooling, it is better to send Mike Farley swim in the cold waters. And almost immediately and pull out a wipe with a dry cloth, or simply leave to dry.
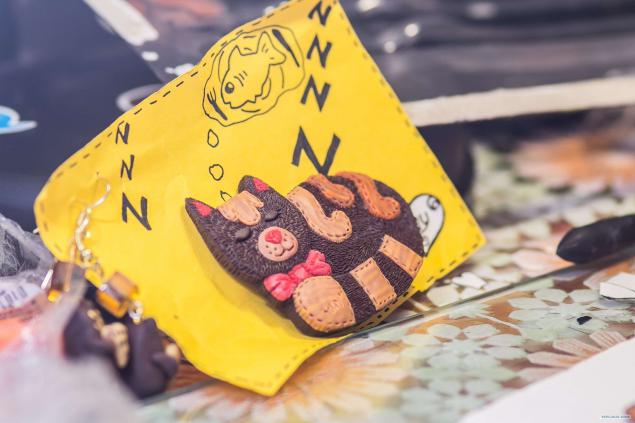
Once dried kote can turn it into a miracle brooch. We need to get super glue and pin to combine these two things, but rather coat with a pin and stick to the back of Kotofei properly pressed. A little after waiting time, you will be able to enjoy the results of their rukobdeny =)
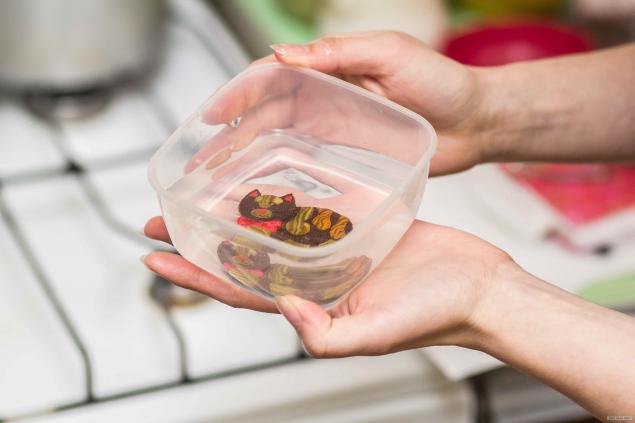
25. That's the finished result. I that's all, thank you for your attention. I wish you all good luck and success in his incarnation, and not just ideas. :) © Irina Belochkin