581
Fleshkina life
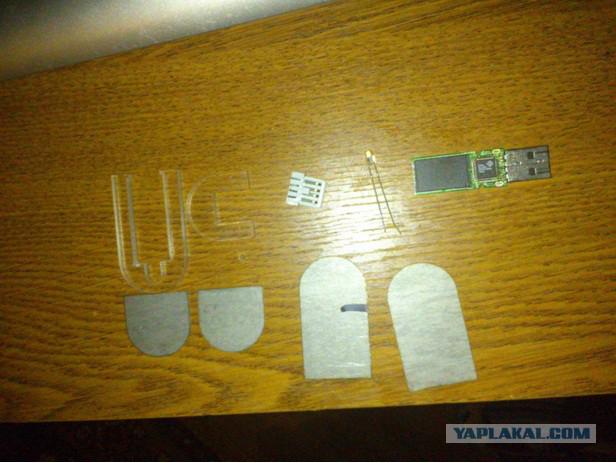
So it all began quite banal. It was acquired by the flash drive capacity of 16 gigabytes. For the time I worked flawlessly until the problems began with the case - apparently broke the lock that held the stick in the open state. Of course, not a fatal flaw, but ... actually, why not figure out her new body? So, no sooner said than done. The board was removed from the chip to the light, sketched on paper a sketch of the new building. After an active search for suitable materials and their refinement to the desired size in the sum had the following:
- Itself "hero of the occasion" flash drive;
- The red LED (later it was added to the current limiting resistor 100 ohms);
- The interior of the USB-socket for fixing the cap stick;
- For a small horseshoe cap stick (plexiglass);
- A large horseshoe for the most chips.
Bottom row - metal plate (stainless steel) for the body and cap of the stick. The idea of the body is quite simple (as the first time doing this kind of thing, decided not to hide the icon): a small horseshoe designed for the cap is placed inside of the USB-socket, a large horseshoe placed the board itself, and then after the necessary fine-tuning and refining the metal plates are glued epoxy adhesive to their respective horseshoe.
11 photos
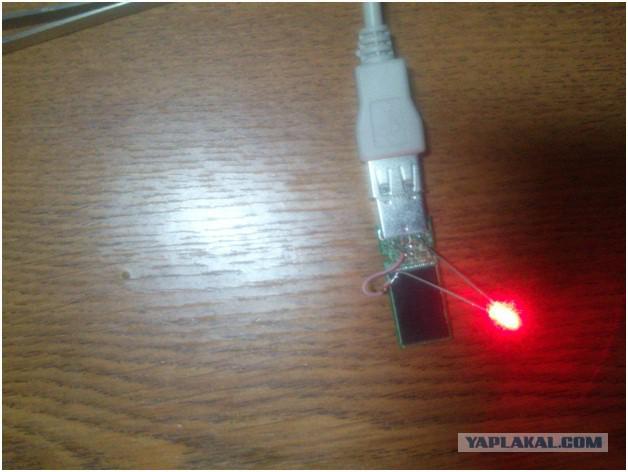
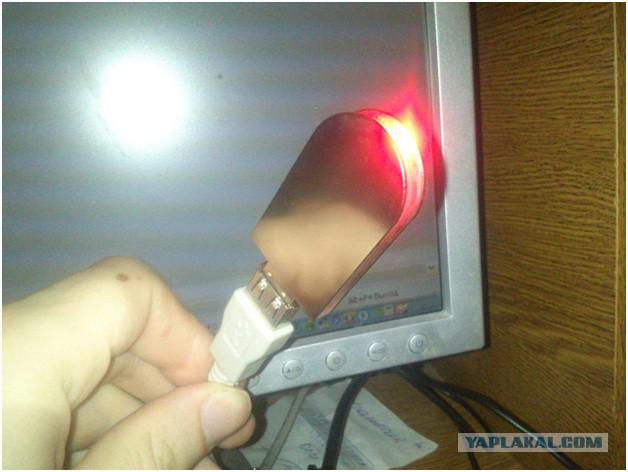
For the beauty of a great horseshoe housed not only the board but also the red LED with a current-limiting resistor. The figure below shows the checking of the design. Looking forward to the magnitude of the resistance I'm a little greedy, because He believed that after final assembly of the matte side of the Plexiglas will absorb most of the light emitted by the LED, but after the final assembly, it became clear that the greedy reason. Well, nothing has turned out as a good night light.
Then, through a small needle files sizes finishing the inside of the horseshoe board, LED and resistor were placed in the hull. Limiting resistor itself LED Superglue attached to the inside of the horseshoe.
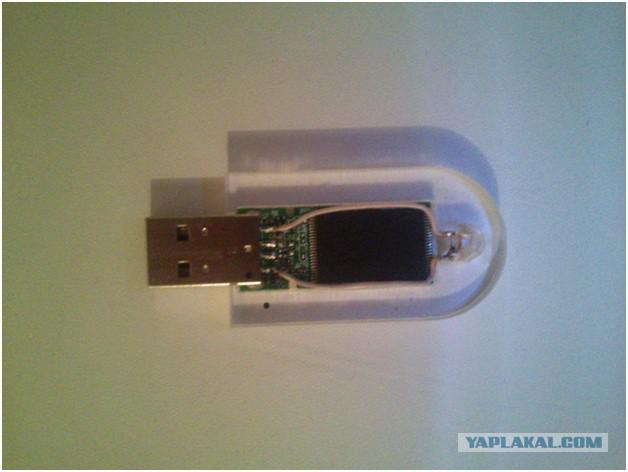
So it looked at the assembly stage when the
The cap of the stick. Everything is simple: the inside of the horseshoe small needle files has been reduced to the desired size and using an epoxy adhesive locked in place. The projecting portion has been removed dremmelem. The result is shown in the fourth and fifth photo.
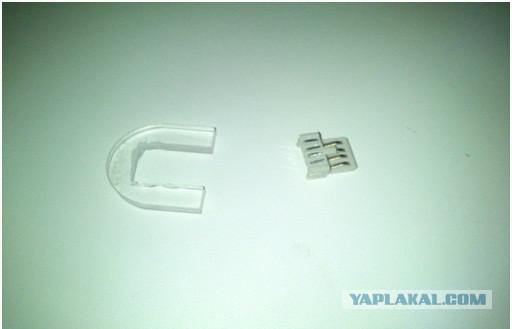
Cap
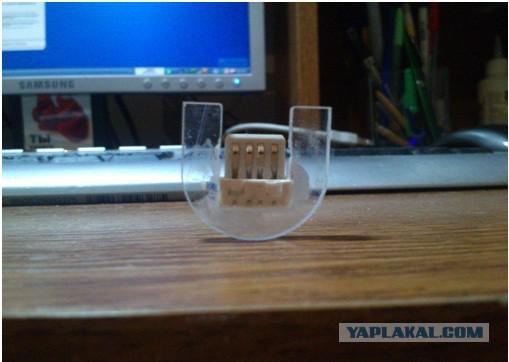
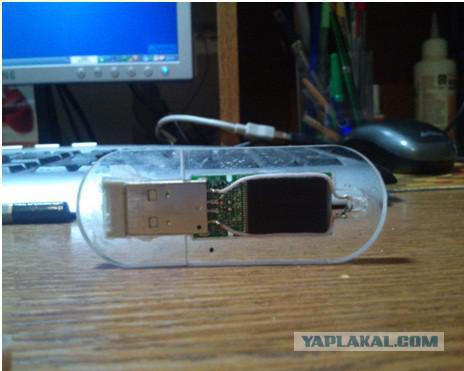
Below the photograph shows the flash drive in the assembled state before bonding with metal plates.
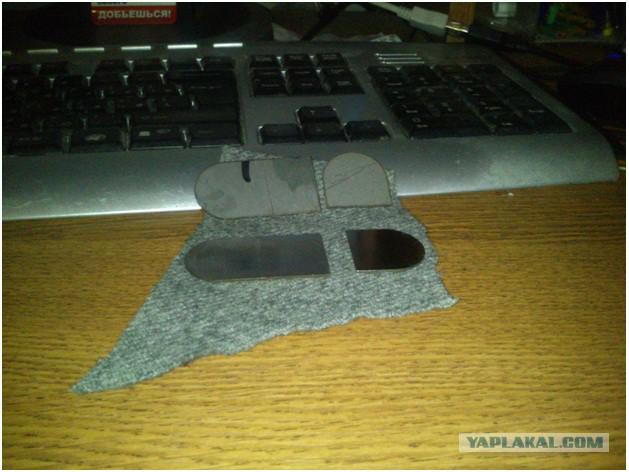
Metal plate before gluing dremmelem polished using felt tips and paste GOI. Top plate - prior to treatment, the bottom - and after.
Gluing, as mentioned above, carried out with the use of an epoxy adhesive. Immediately say about his flaws when after applying the adhesive slightly moved my pad, I just do not notice. This disadvantage is eliminated, but I did not want to spoil the image side face of the stick. As they say, a lesson for the future. And the result of all the papers presented at the photo below. Special thanks to all those who helped me with this idea!
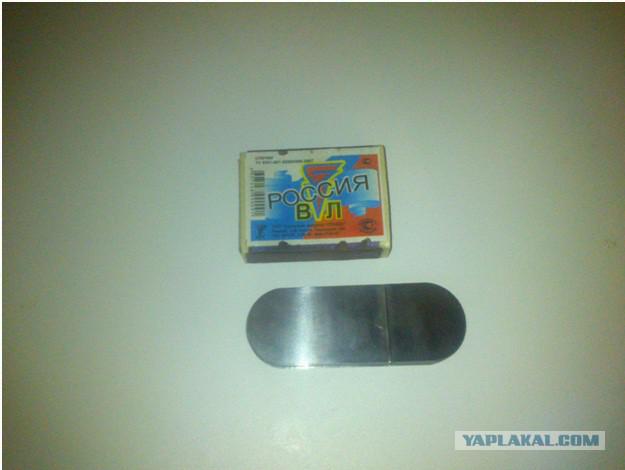
Result
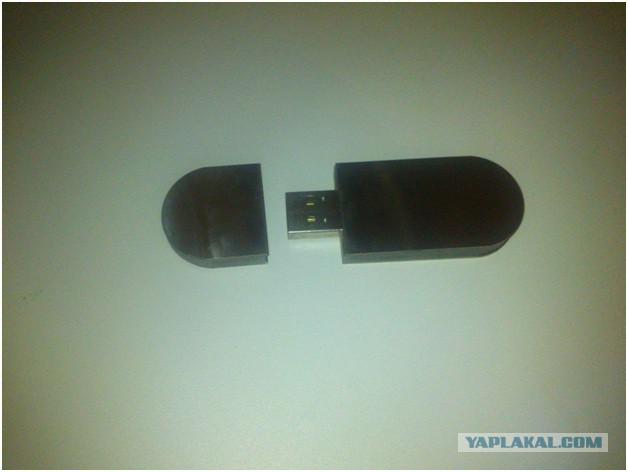
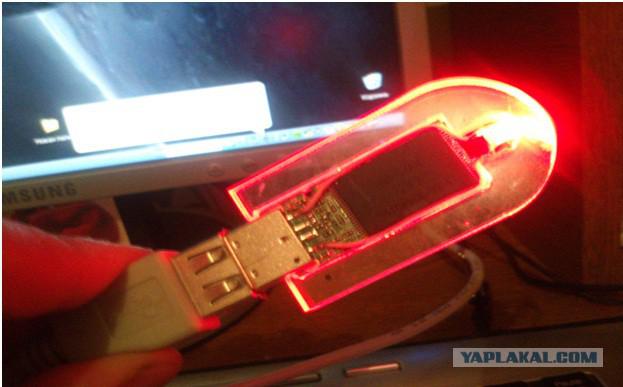
When connecting
Posted in [mergetime] 1383584425 [/ mergetime]
That's all, thank you for your attention.
Source: ">