1377
Construction gazebo
Good day, dear readers!
I want to tell you how I built a gazebo in the country.
Built with his wife and son since the 14th of May this year and still not completed.
Material - wood.
Size - the basic rectangle 3 * 3 + 5 "balconies" trapezoidal perform at 0, 5 m.
Form - octagon.
Costs more than 50,000 rubles (well, I did not keep accounts, and it was necessary ...)
Cause of construction - mother-in-law. "Build me a gazebo, and a grandson, I'll take to the cottage in the summer»
So will 22 photos.
Please do not break.
Try to lay out quickly, because as a description for each picture write in a notebook and a copy to the browser.
IMPORTANT !!! All shoals I already know. On the ideal does not pretend. State standards, specifications and technological standards are not followed.
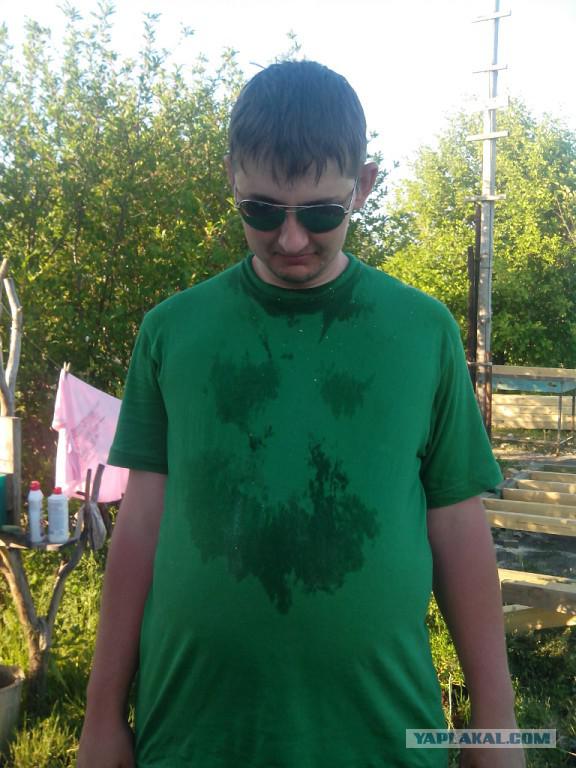
1. It was hot, very fun and sweated
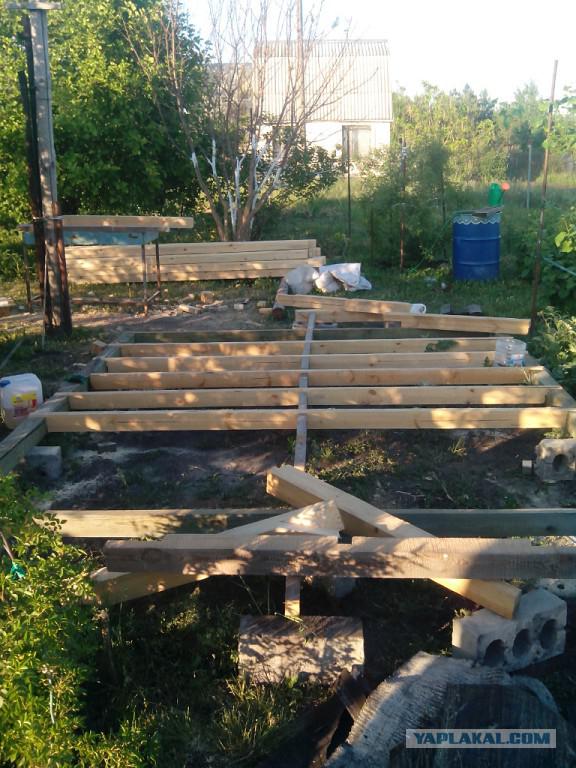
2. I collect the sill. As a foundation - 4 asbestos-cement pipes, concreted inside and out to a depth of 1 meter. Harness fastened to the anchor bolts. Also put cinder blocks every meter, roughly.
Central timber curve - what was. On the geometry of the gazebo is not affected because the joists to mark up the place. Tying 100 * 100, 100 * 50 lags
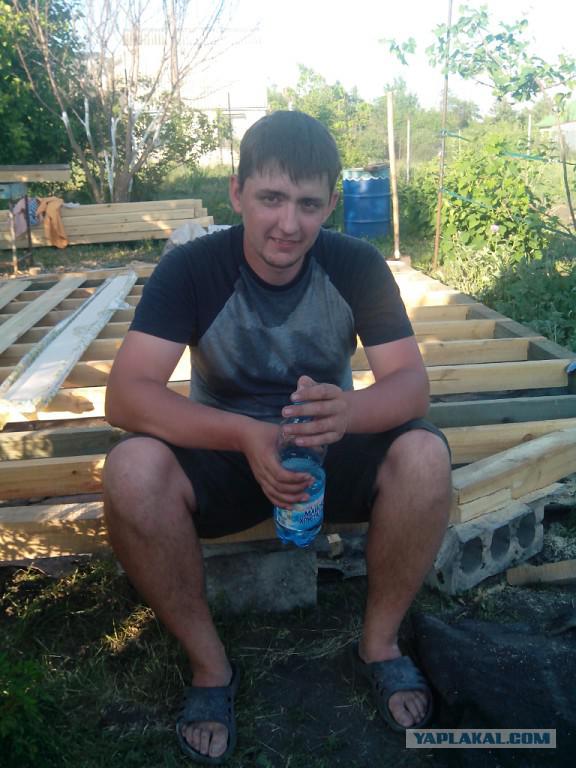
3. Vacationers can be seen ready to harness "balconies". At this point, I do not have a manual circular saw, hacksaw sawed all.
4. Chief Assistant - well filed nails
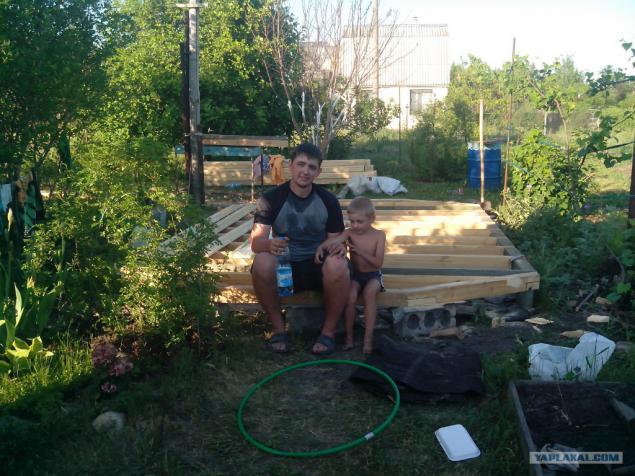
5. Here many people can write, "What are you doing! Who posts on the floor poses! It is necessary to put them on the harness! ". Explain - especially no difference. But in my case, the crucial role played by the time of construction. So quickly.
Put on the floor decking floor. On the ground under the floor in order - some herbicide, roofing felt old, sand with gravel. All processed wood impregnated against rot.
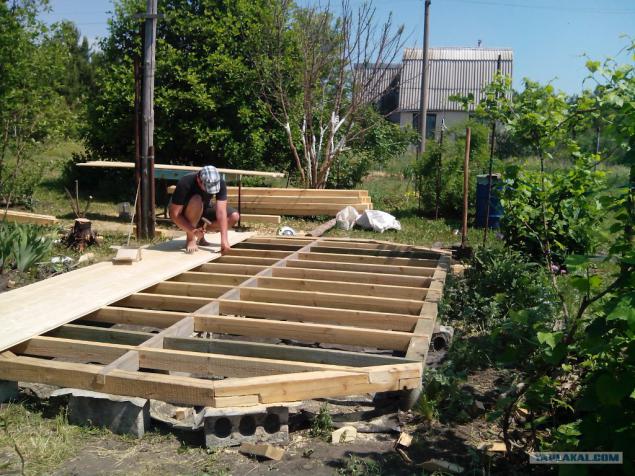
6. I do not earn photographed intermediate result. There are already pillars and upper rail, which I mark and sawed strictly on the bottom.
The top and bottom bracing for strength and beauty.
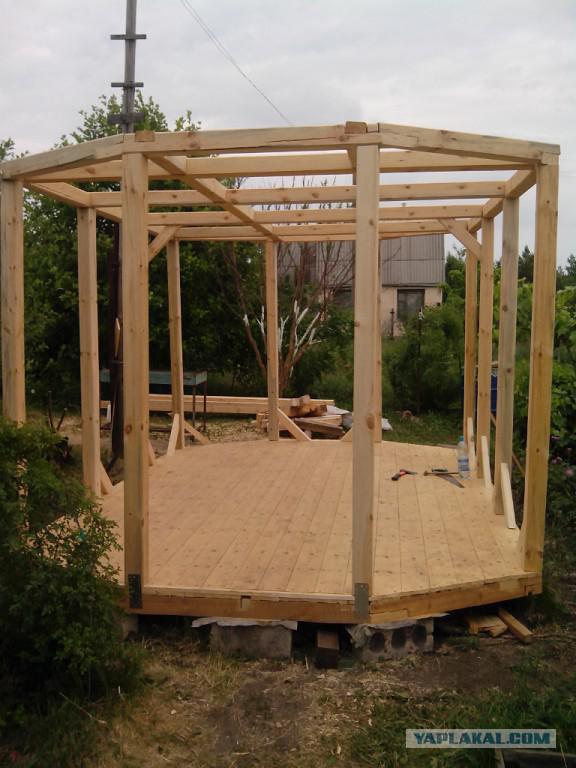
7. Put the rafters
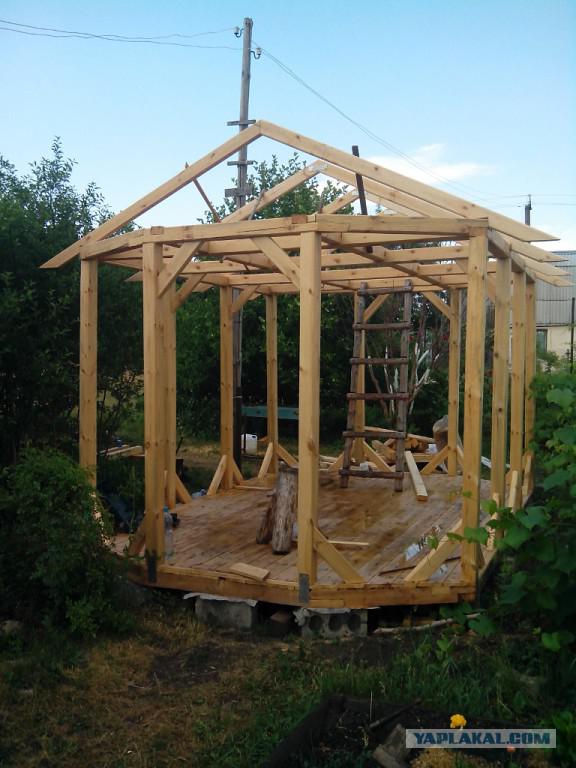
8. On the direct rays threw 9 mm. moisture-resistant OSB. Slanting rays decided not sew - to climb on the roof was convenient.
Well and started making soft roof. Shingles chose the cheapest Tilerkat Prima (560 rubles for Q3. M.). Tile twisted onto the screws with pressshayboy.
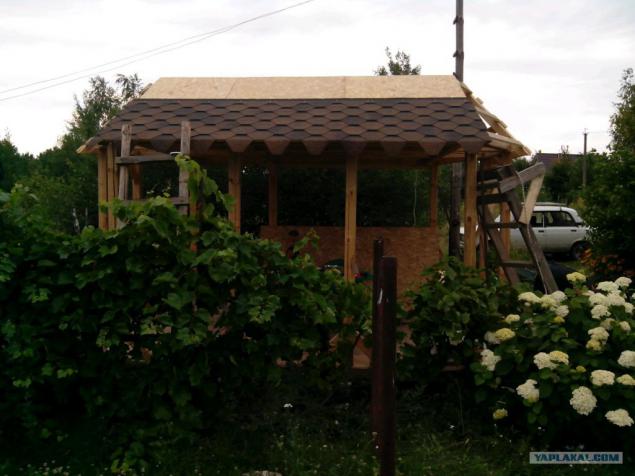
9. Continue to twist
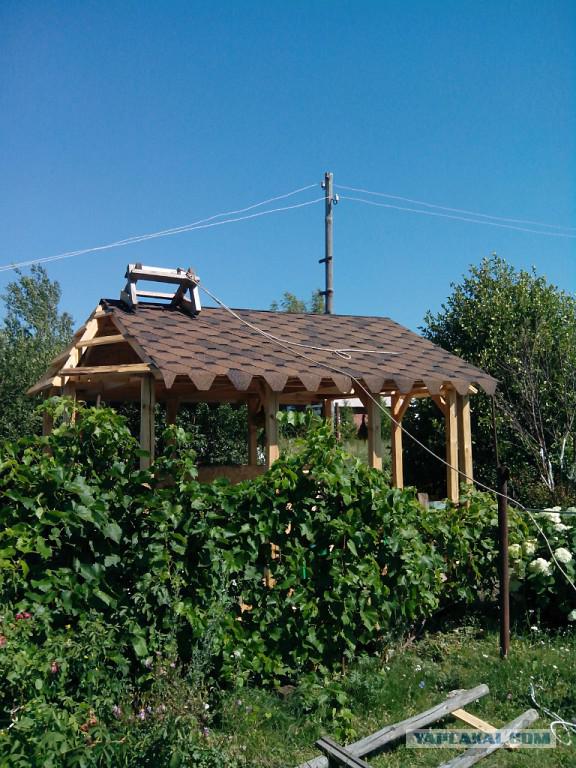
10. On the other hand
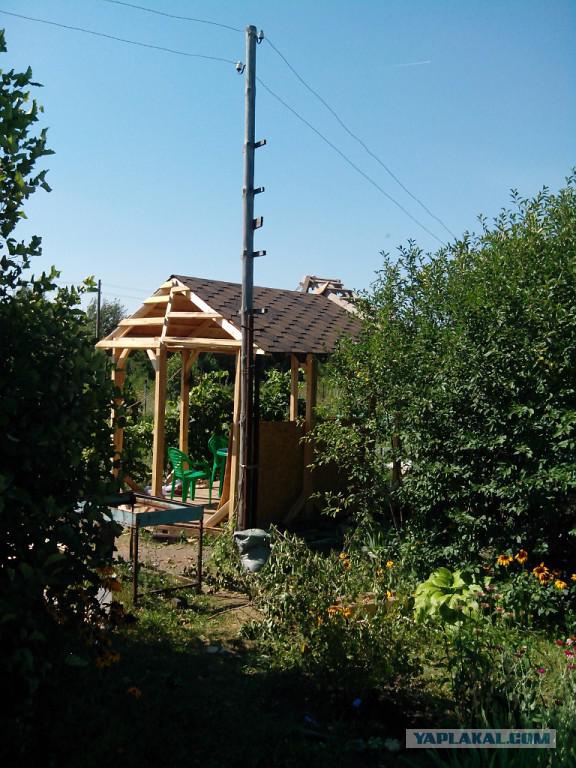
11. Did the slanting rays. Top put a metal horse.
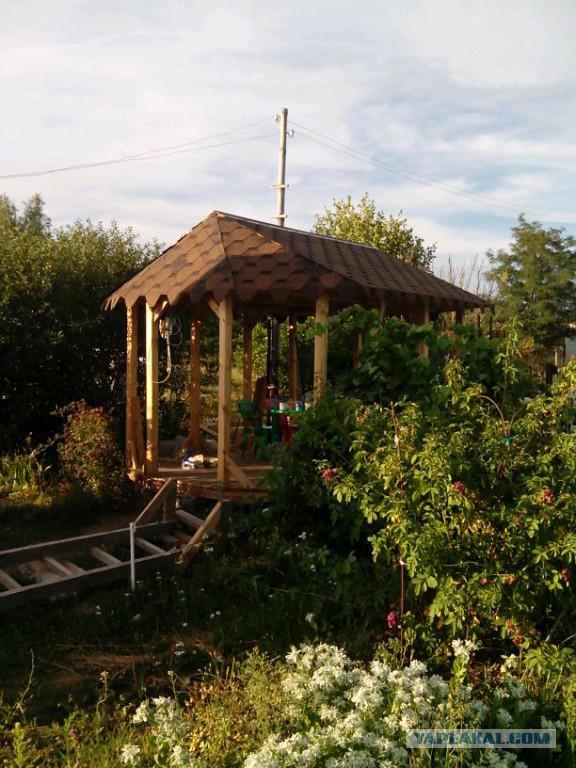
12. Did skates oblique ramps. Wife carved from the remains of the shingles. Still 2 packs had to buy more.

13. Closer
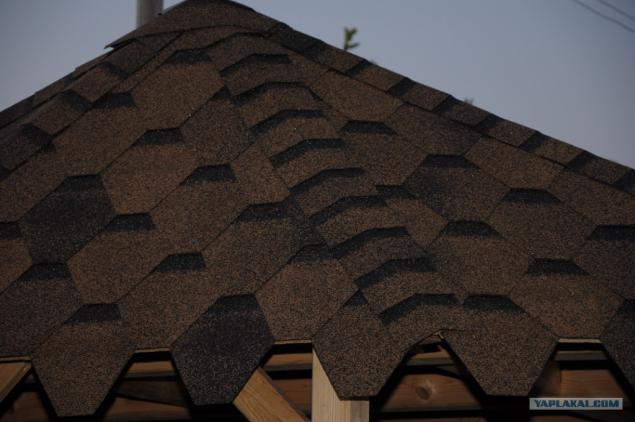
14. Again, a series of "how to draw an owl." Well, I was working!
Stitched lining the perimeter. Twisted screws through. Top closed all frames. Bottom will close curb tape.
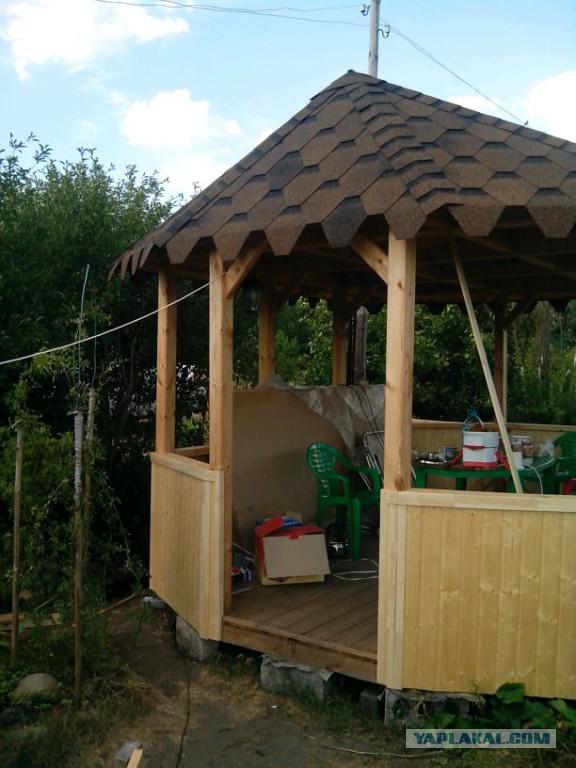
15. And on the other hand
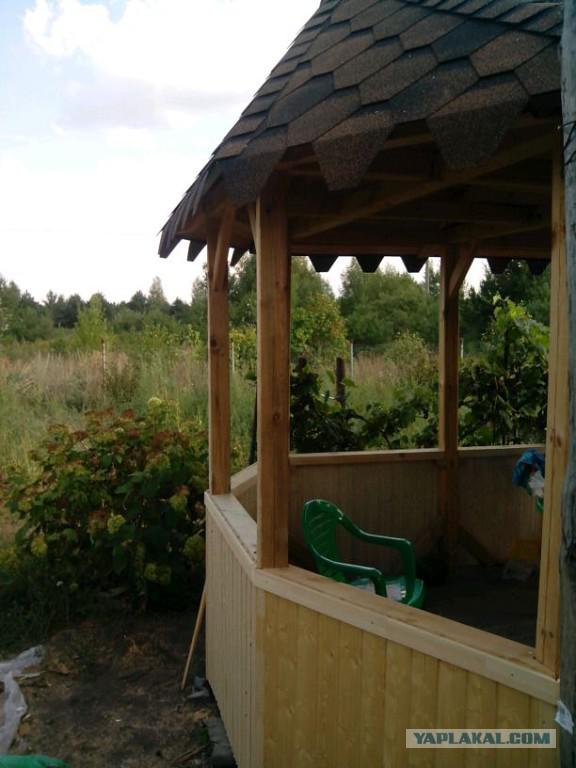
16. Wife covered impregnation. And here the exact same, you may notice that the ready "perilki».
Next will be a photo, where they are closer
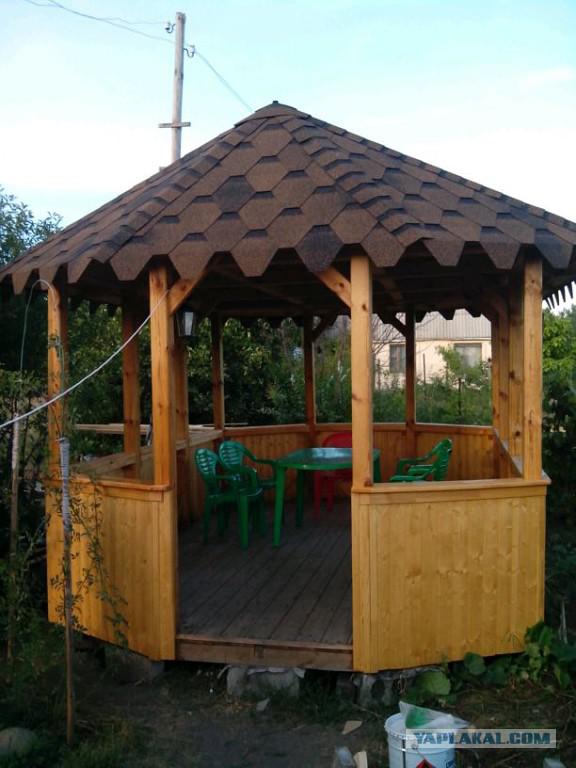
17. On the other hand
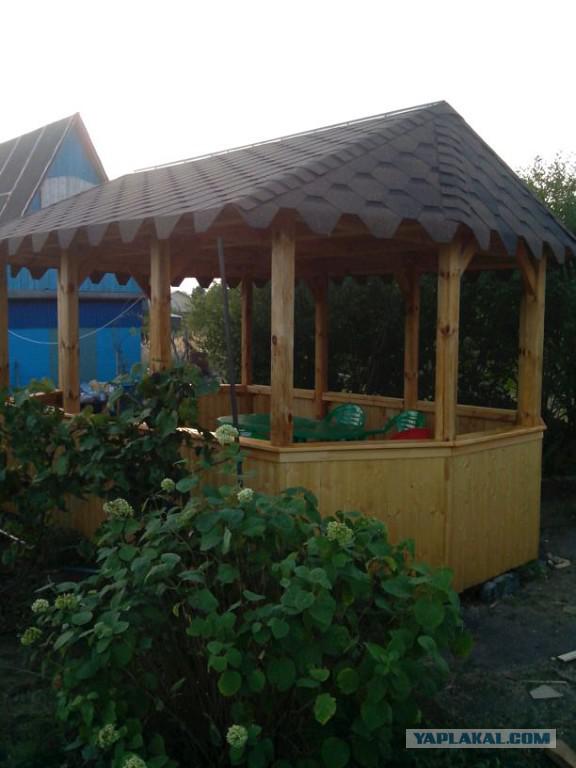
18. Here they are! Perilki! For each board cut the template out of cardboard.
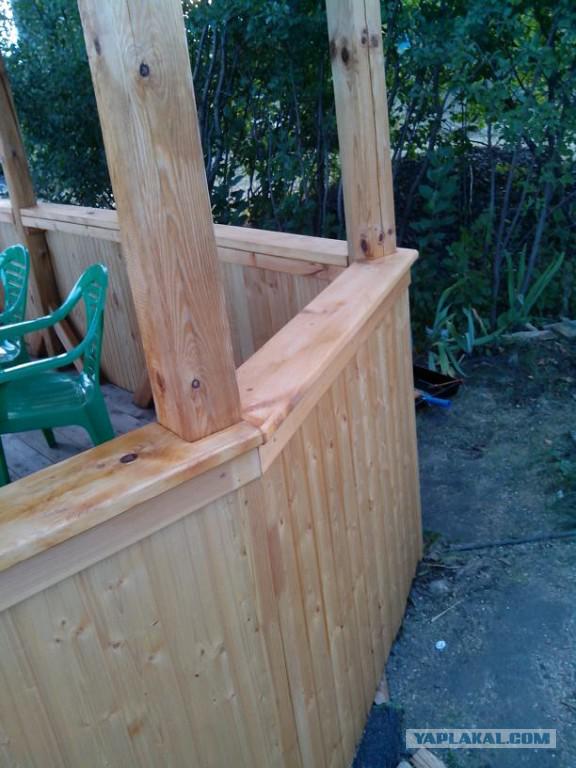
19. Another view
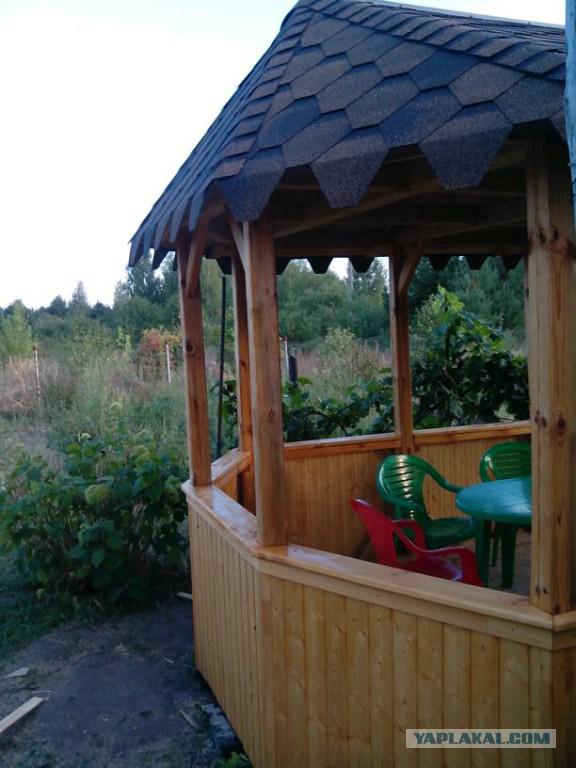
20. Removed all the trash out of the arbor.
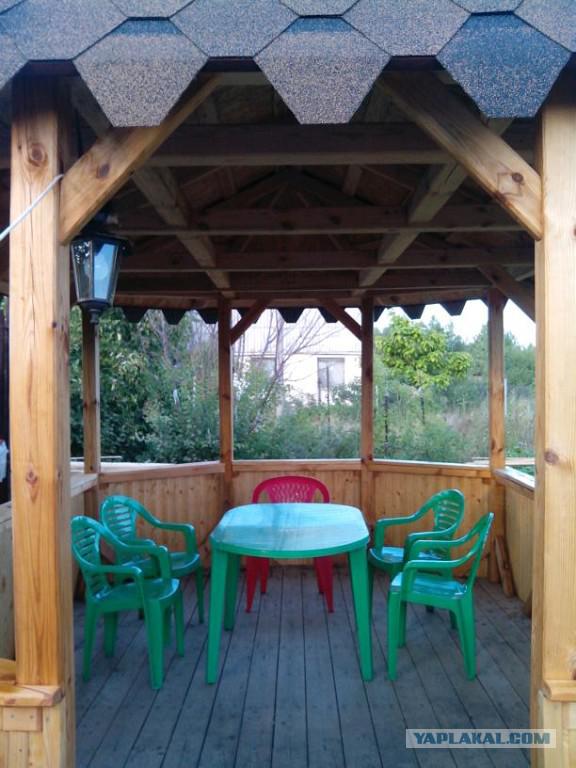
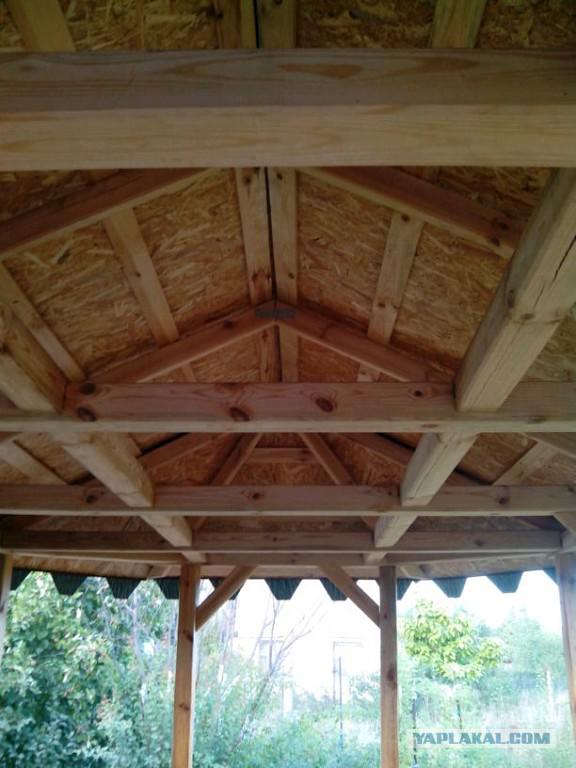
21. Here is the "ceiling". Could be made thinner beams and less often, but so ugly.
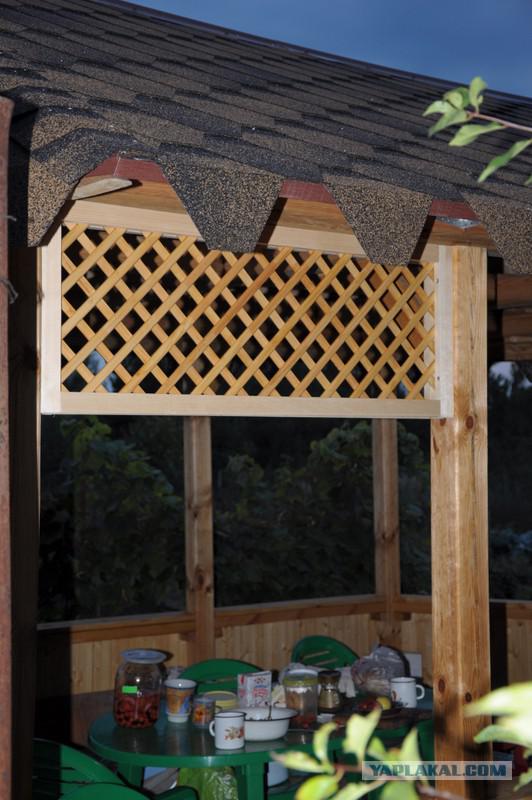
22. And the final picture - a decorative screen. Also did himself. So far made only 1. In the next year I will finish the rest.
Summarize:
As I wrote, the costs amounted to more than 50 000 rubles.
But it was worth it! Mother-in-law, father, wife and child are happy, and this is most important.
I have everything!