1430
Car speakers home
Intro:
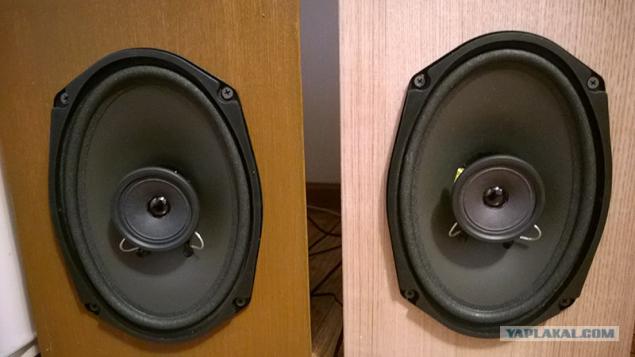
Hands itched all week. I thought, what to do? 2 Houses found abandoned speakers DLS m1269. It was decided to convert it into a home acoustics. Long thought about how to make an educated calculation of the enclosure, keep the volume and the necessary proportions. After a long meeting with a friend "audiophile", it was decided that the column for 2500 rubles, but plyashi may sound only 2,500 rubles, and to make them the most beautiful. The basis for the body was taken seven-layer plywood. Assembling the box on the screws and pasting its veneer. 3atarilsya in OBI, I was pleasantly surprised that the cut to size for free! Bought everything you need: screws, drills for wood, crown, wood glue, a brush and paint varnish.
36 photos + text.
1. Everything you need, cut to size plywood and beer to accelerate the process.
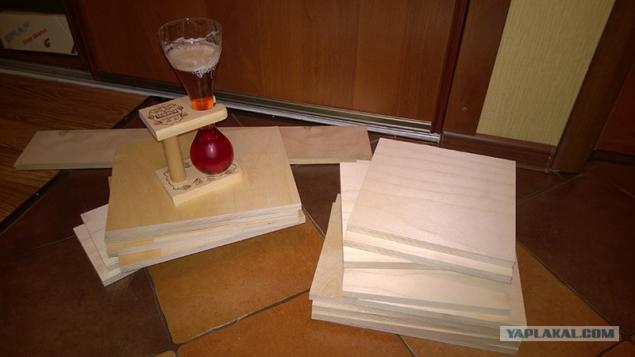
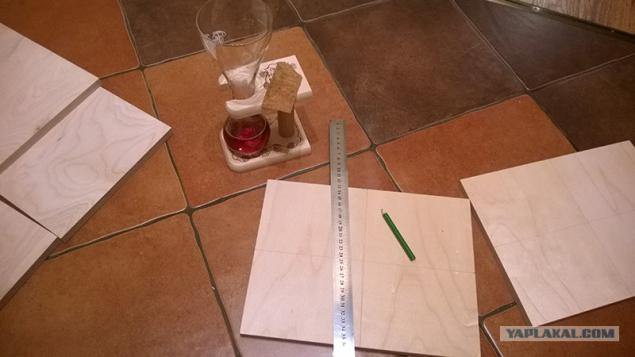
2. Accessories: ruler and pencil.
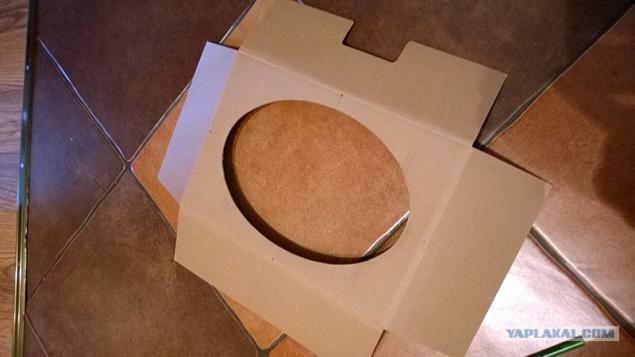
3. cardboard with a hole for the speaker was complete.
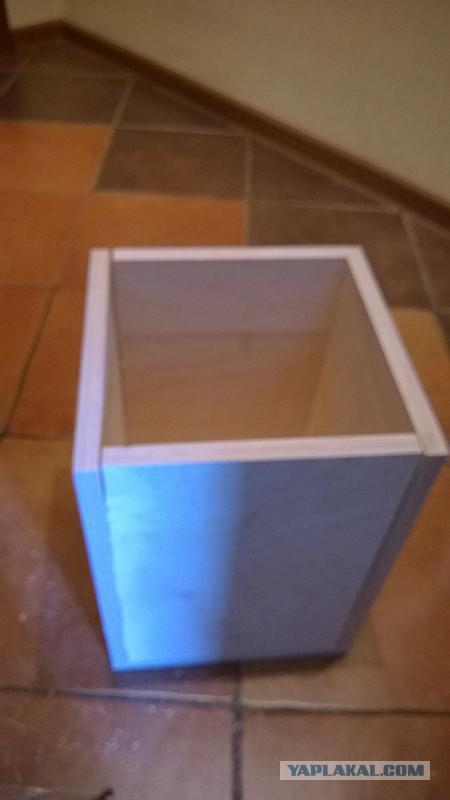
4. Build the body - a fascinating process, pictured almost ready box.
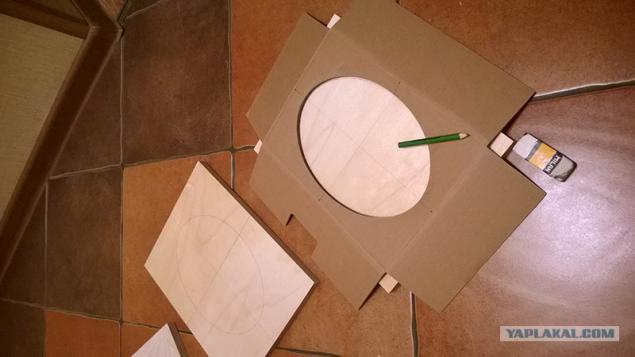
5. Use the cardboard oval mark up.
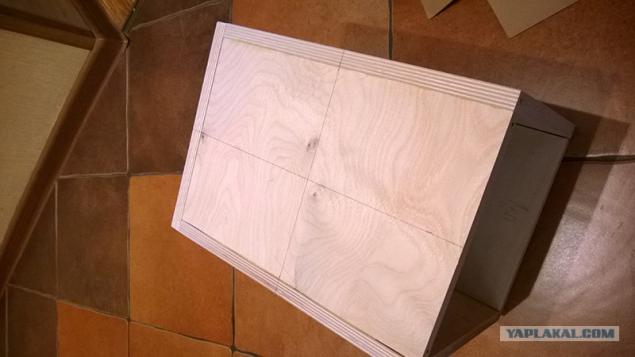
6. The mid-marked face of the column.
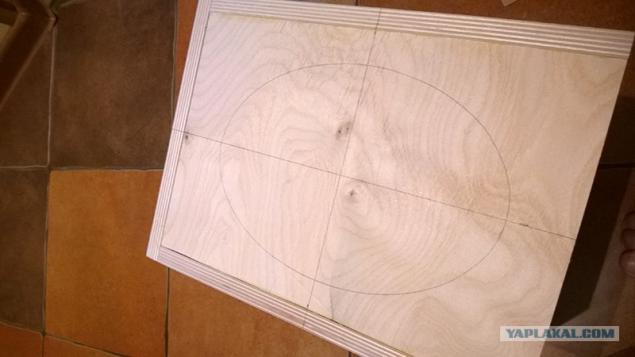
7. oval.
8. Drill with the drill bit hefty nasverlivaem around the perimeter of the hole.
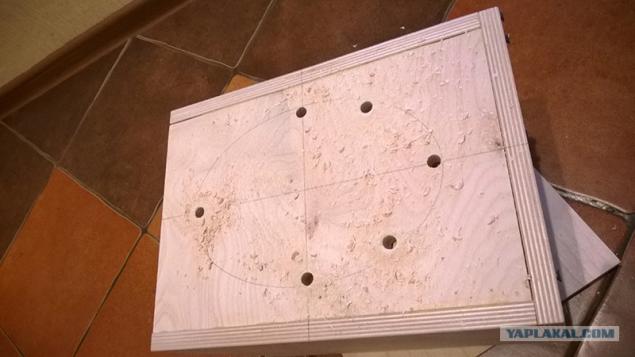
9. More holes
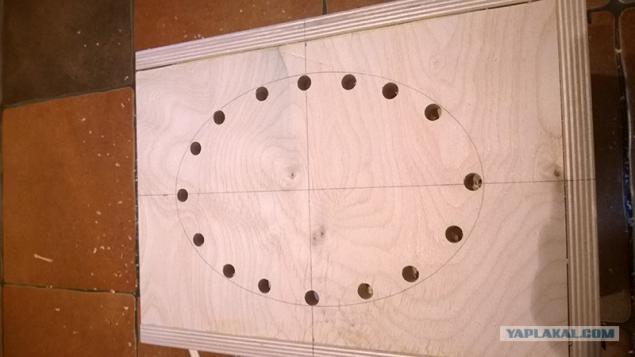
10. We finished drilling. My hands are shaking.
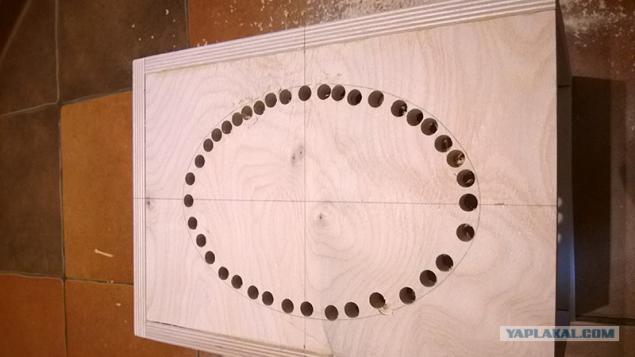
11. Take the jigsaw and begin to cut an oval.
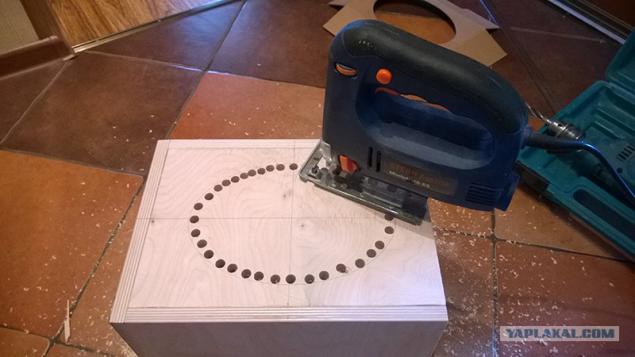
12. The hole is ready!
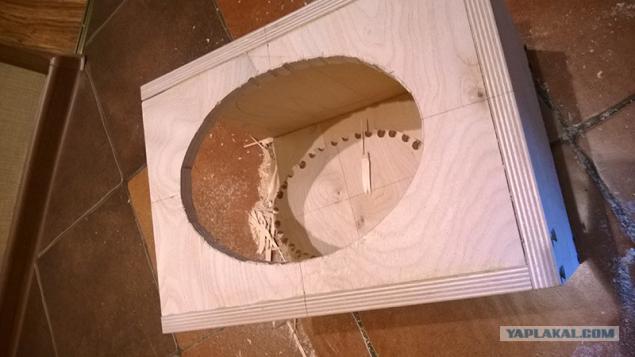
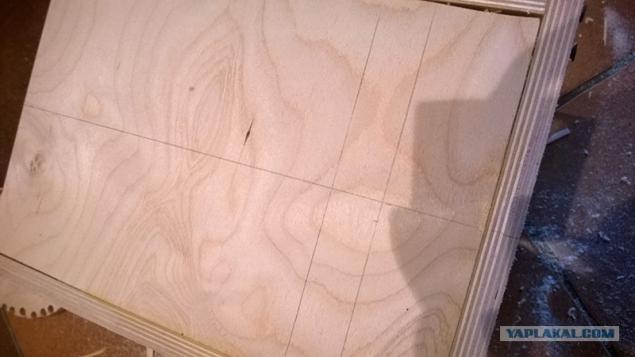
13. Overturn box and mark up a cent for the outlet.
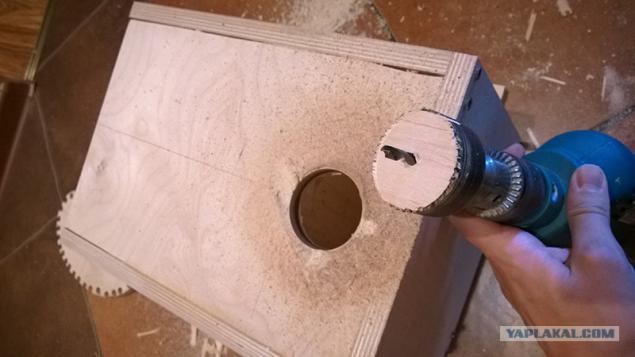
14. The crown drilled hole.
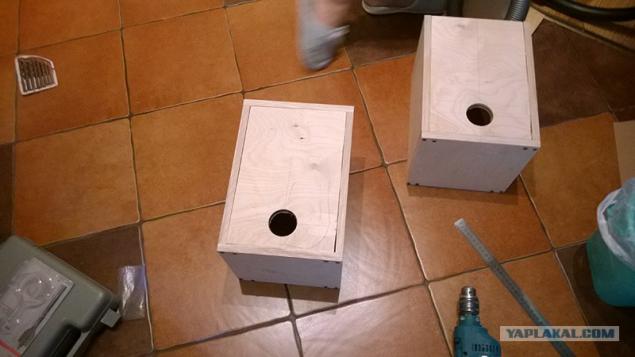
15. Two boxes are almost ready.
16. In the process, do not forget to have a snack and write. Since the process is exhausting, it is impossible to prevent dehydration and loss of strength.
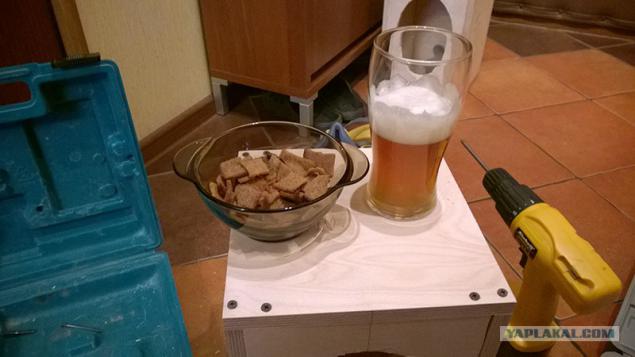
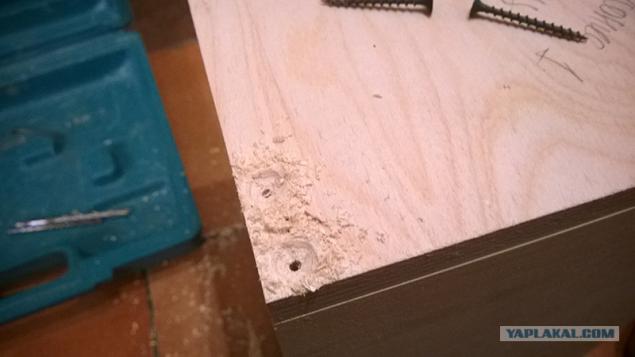
17. Do not forget to make "Patay" to the cap screws are flush with the body.
18. We leave to the market and buy a natural veneer. In my case it was Moskvoretsky market, the choice is not great, so buy that is.
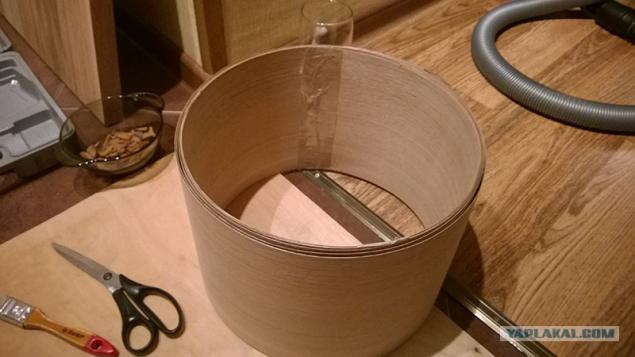
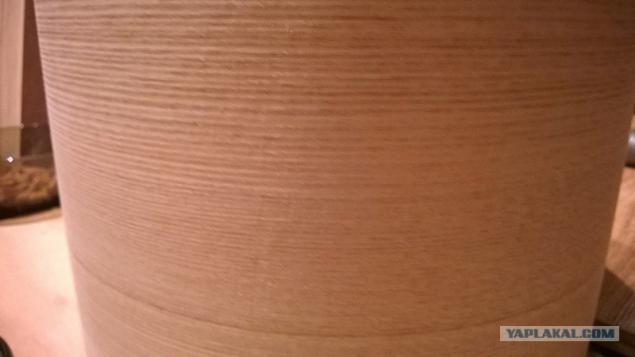
19. And here he is, our veneer. Cost about 200 rubles meters, width of 20 centimeters. I bargained for 180 rubles. Texture of veneer (go). For super pathos order via the Internet, the choice is much better
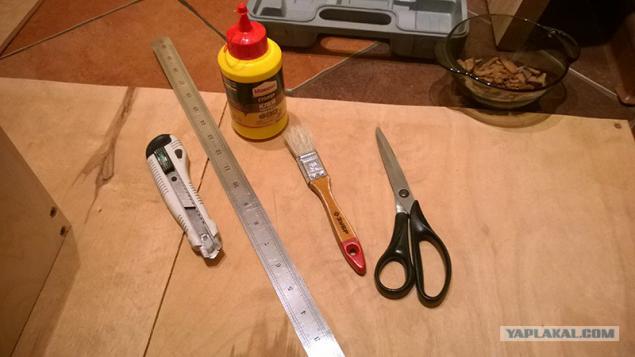
20. A tool for pasting: a sharp knife, ruler, wood glue, brush and scissors.
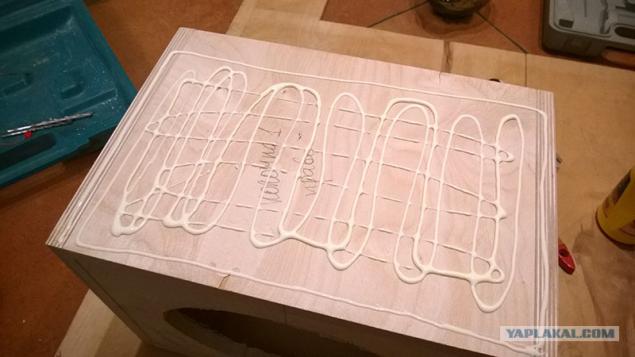
21. Apply glue to the box.
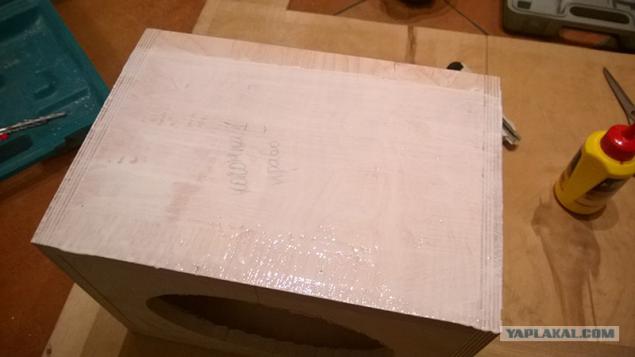
22. smeared brush and impose veneer. Smoothes hand.
23. presses scraps of plywood.
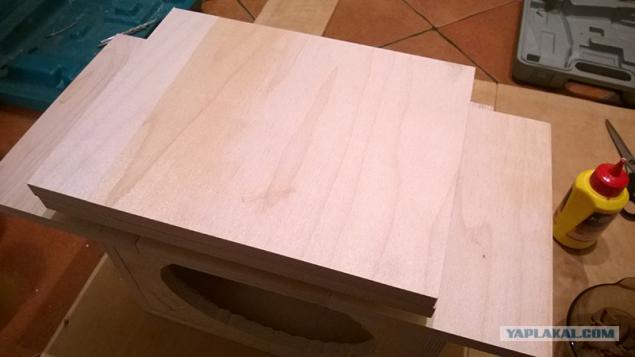
24. Take that and pressed harder, preferably 20-30 minutes.
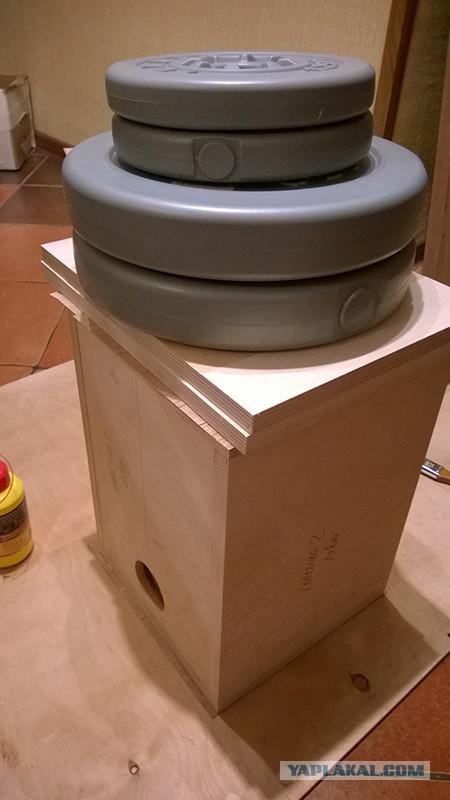
25. Remove the load and begin to level the edges. Warning! Veneer is necessary to glue with an overlap.
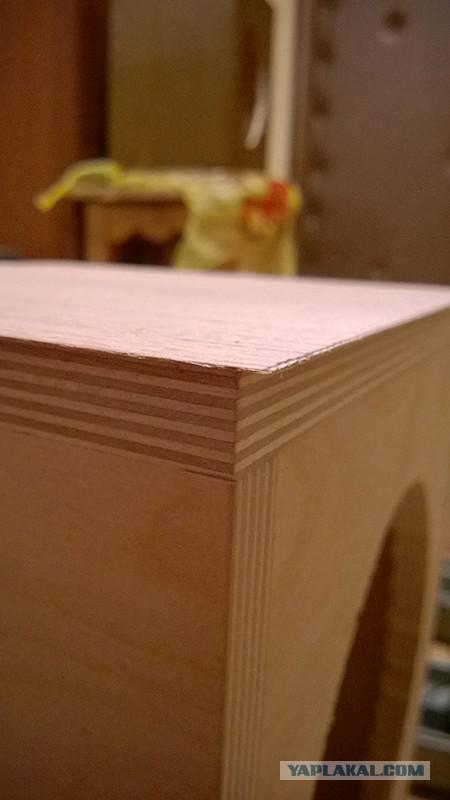
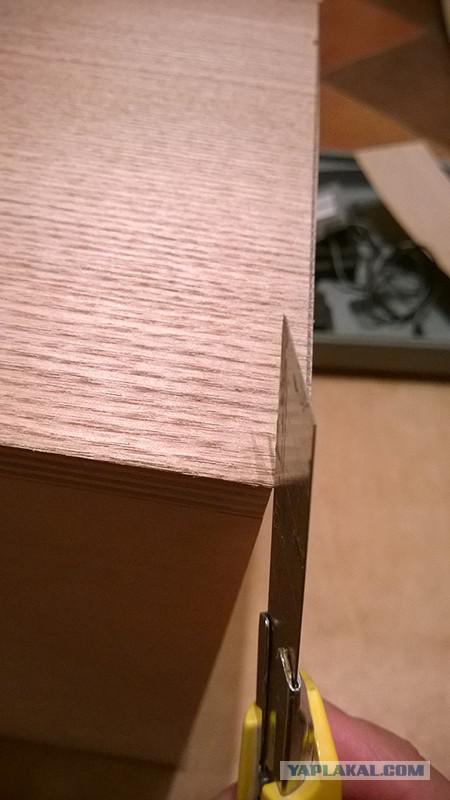
26. On the edge pass sharp knives, you can first promyat hands.
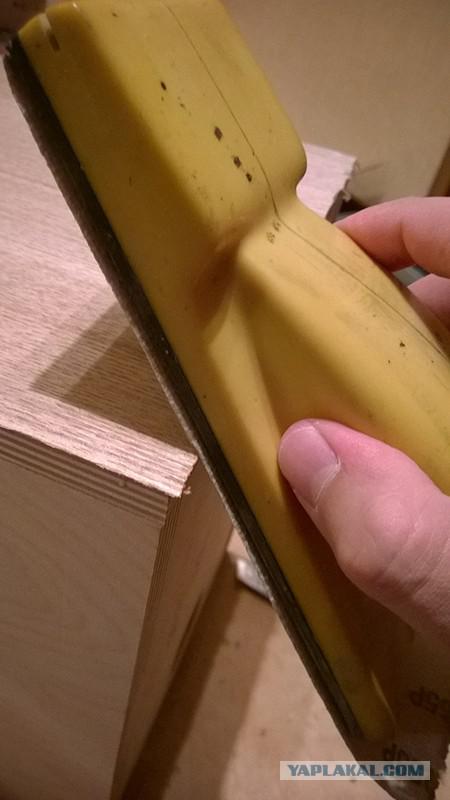
27. Next, coarse sandpaper (I used 80) grind the edge.
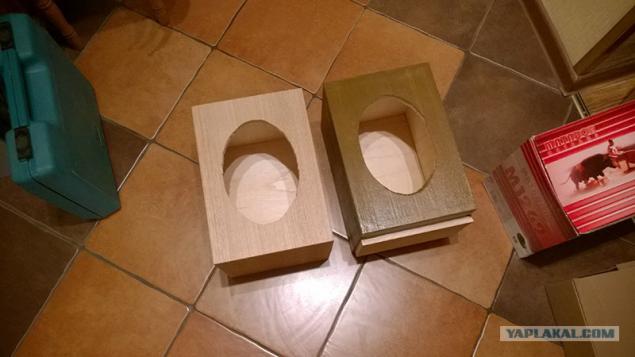
28. One box, for the sake of interest, inked varnish. Dissatisfied with the result! I will redo it. Photo 2 boxes, one uncoated and second, you get the idea.
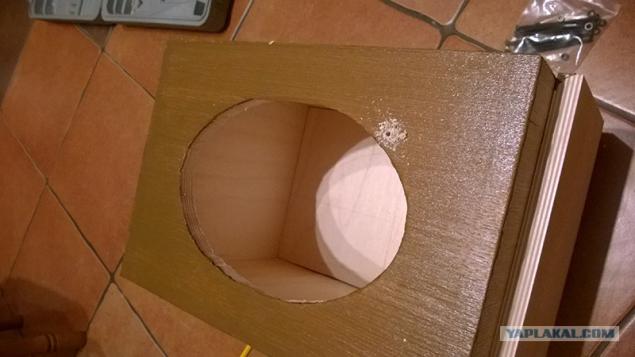
29. Nasverlivaem holes for mounting the speaker.
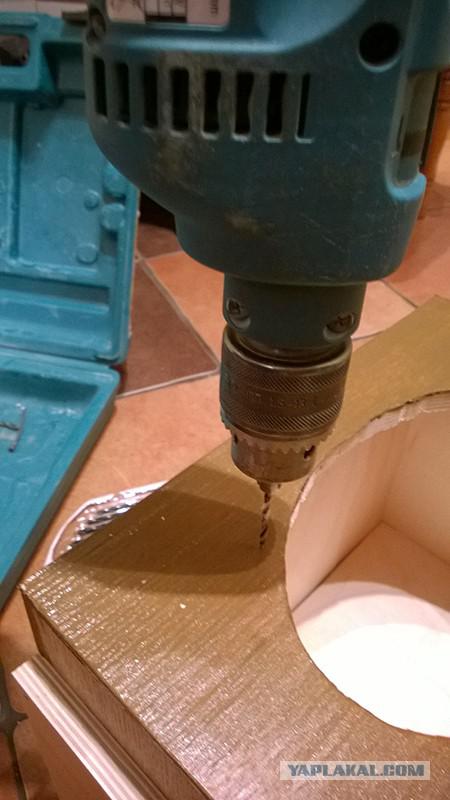
30. Drill in action.
31. Fasten the speakers in the set were washers, puts a!
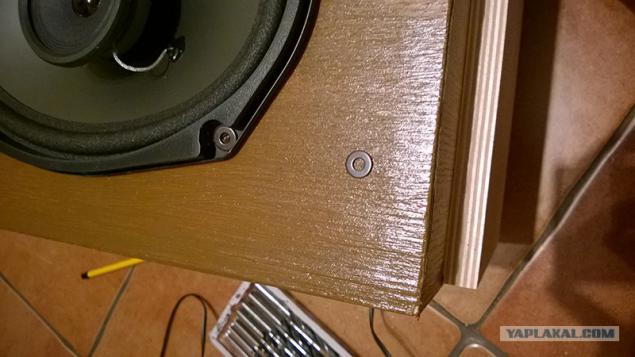
32. Fasten ordinary screws.
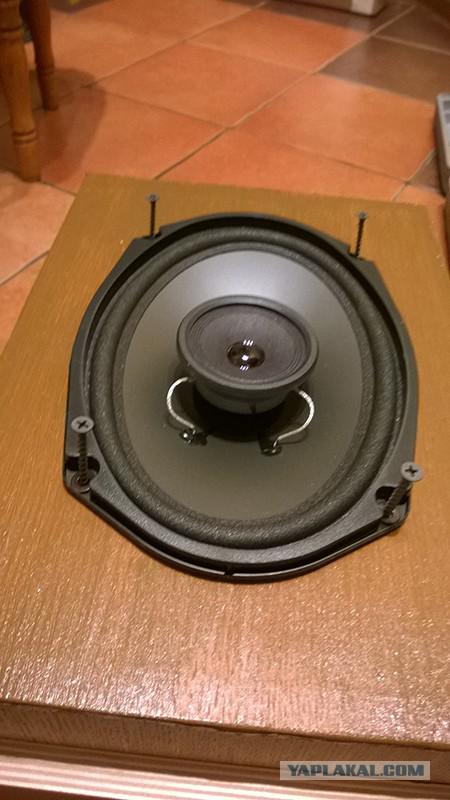
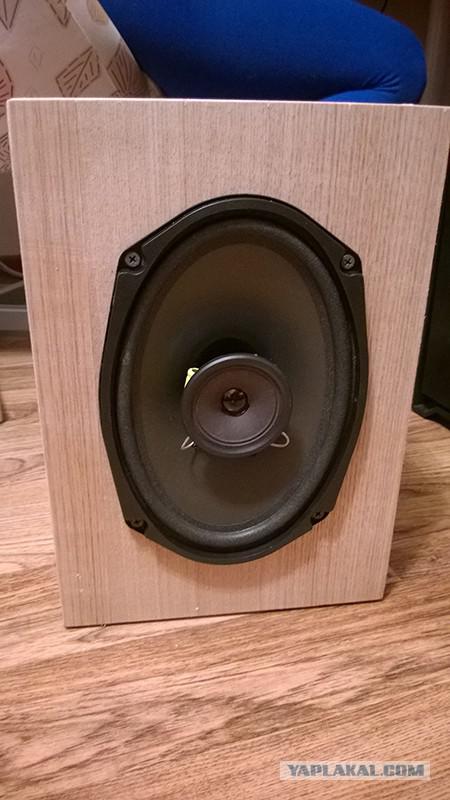
33. Done! The photo uncoated column.
34. The two together, I use the standard cover, but no! I will remake :)
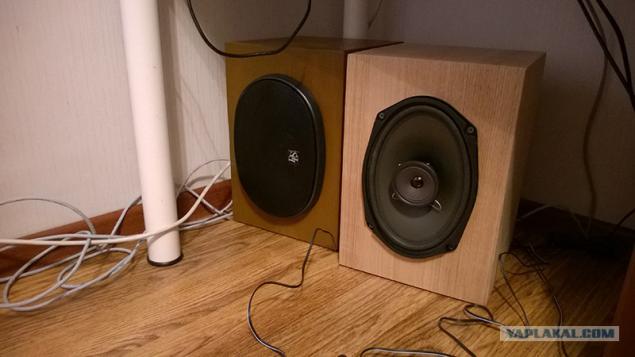
35. Full length.
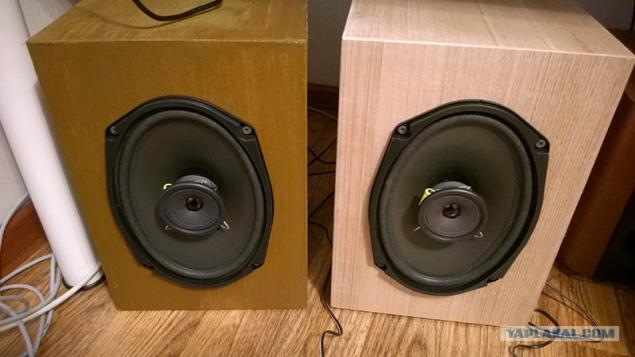
36. Thank you for your attention. In terms of sound result pleased.