663
Backlit Monitor
Hello dear reader Yap. I want to share with you a small selection of photo-creation of the backlight of the monitor. Yes, these lessons and reports on the network enough, but they did not suit me. Either they are very "provodastnye" or executed on expensive usb controllers. In general, you can go to the store and buy the wireless components, for example, LED ribbon ... but because you need to go out and buy. And I do not want to do. Therefore, I decided to make the backlight from scrap materials. I spent all of about 20 USD = 2.5 USD Yes, and more, I decided to do everything without soldering. Just basically set himself such a task. To be able to highlight this very easily be dismantled and removed at any time. In the end, I will unsubscribe. Wishing to break the selection, please be patient 5 min., The text I have prepared in advance.
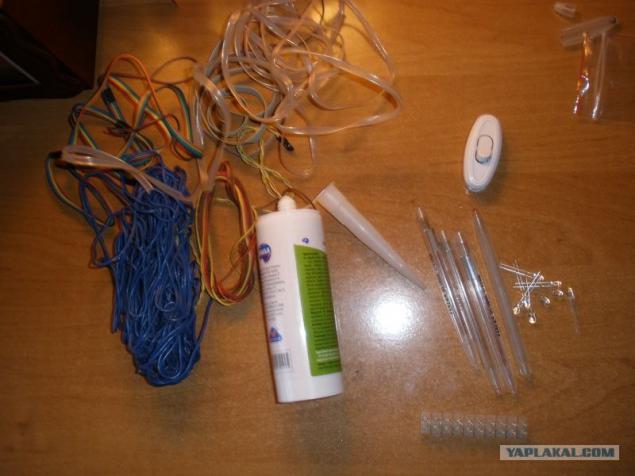
The material that we need:
4 pens;
8 LEDs;
The switch has two positions;
Konechniki on wires;
Klemnik;
Transparent silicone;
Wires.
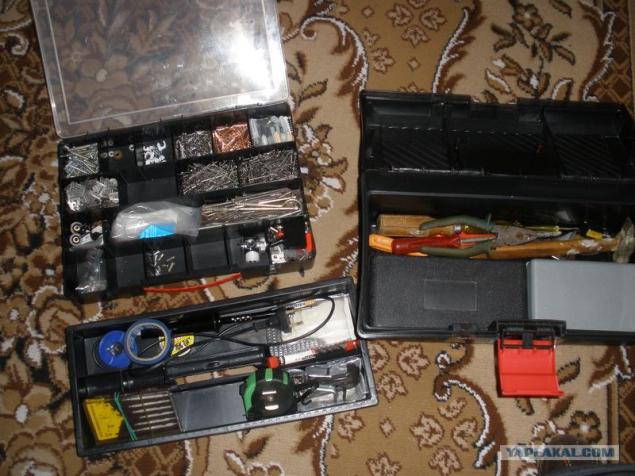
Tool
One of the most important elements for
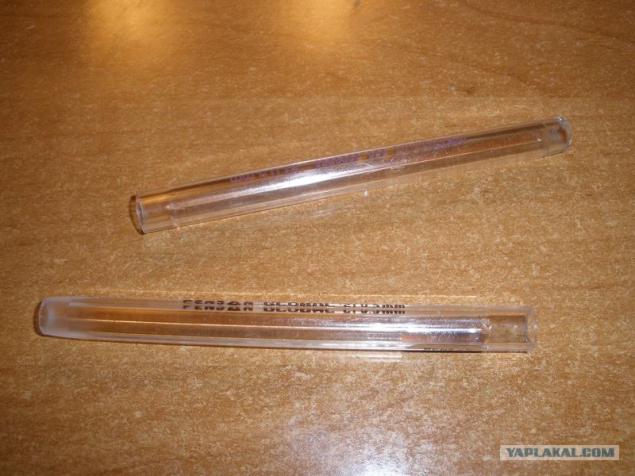
Remove from the handles everything that can be removed. And cut off the ends so that was a pipe of the same diameter.
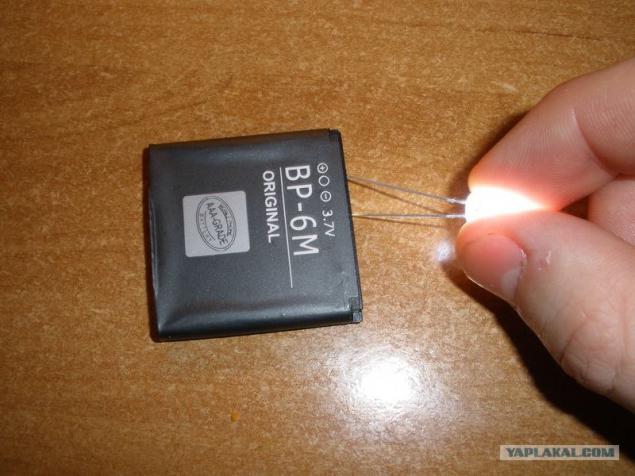
The LED I used to 3B. So I checked them on the battery from the phone. THROUGHOUT THE INSTALLATION IMPORTANT Note the polarity of the circuit as shown in the diagram.
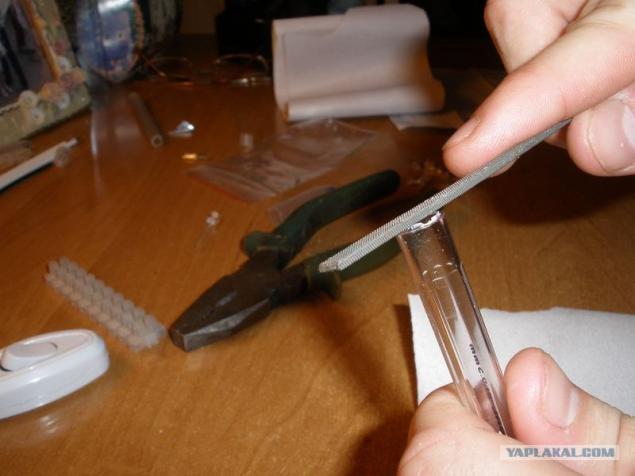
Needle flatten the ends of the handles.
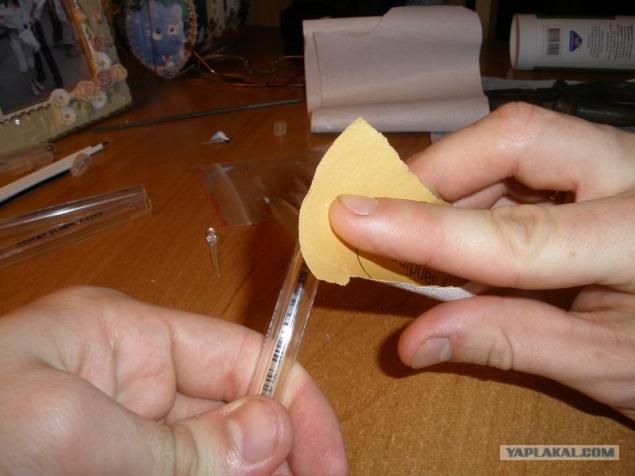
Then, we take a zero nazhdachku and matiruem handle to light diffusion was more even, and just nicer.
As a result, we have turned a kind of tube 4.
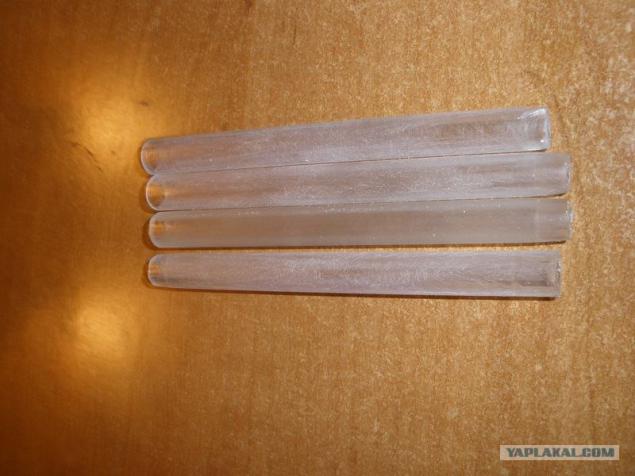
I, unfortunately, do not have a fluorescent liquid, so that the light was more or less uniform in the tube, fill it transparent silicone. The remaining silicone close up all the joints in the bathroom, how about asking your spouse.
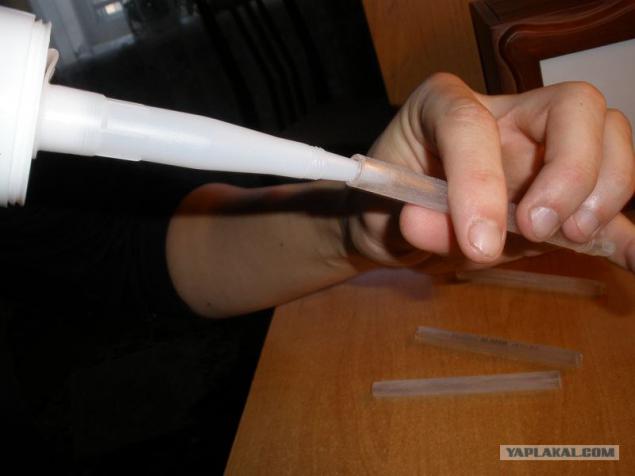
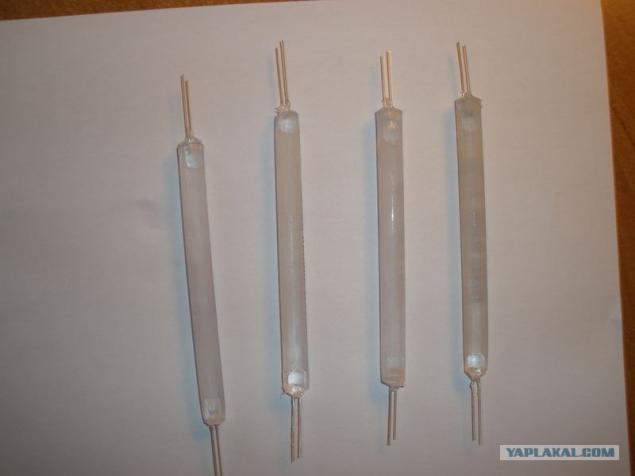
Filling tube, inserted on both sides of the LEDs. But only so that then can be soldered / Trailers / stick to the conclusions of the LED.
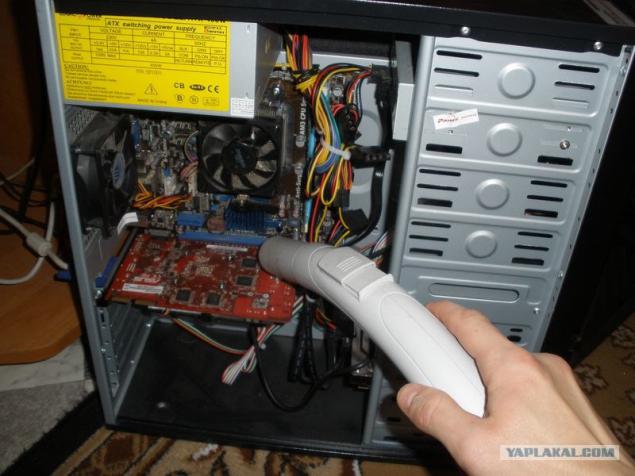
Dismantle the system unit.
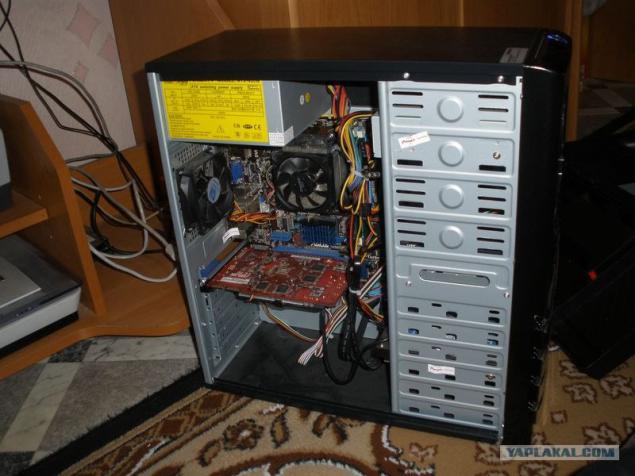
We take up the vacuum cleaner and do useful work.
Next, we find the free Kablo 4 pin from the power supply.
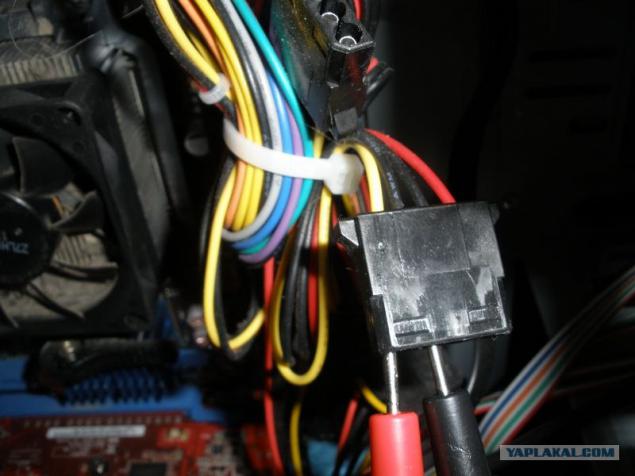
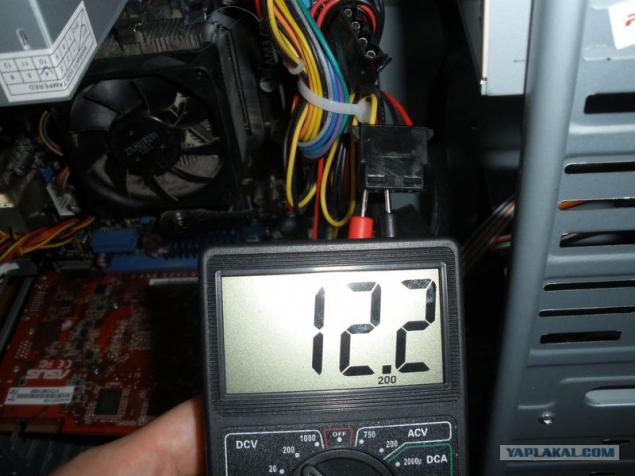
Using a multimeter, or the sensitivity of language, we find the conclusions Kabelkov where you can withdraw 12 V. Usually, it is yellow, and -12 V Black GND wires.
And since I did not know how I prikonnektitsya to the power supply and cut the wire for me is not an option, I bought the kind of adapter, $ 4 USD (0.5 USD) I, frankly, do not even know what it is designed.
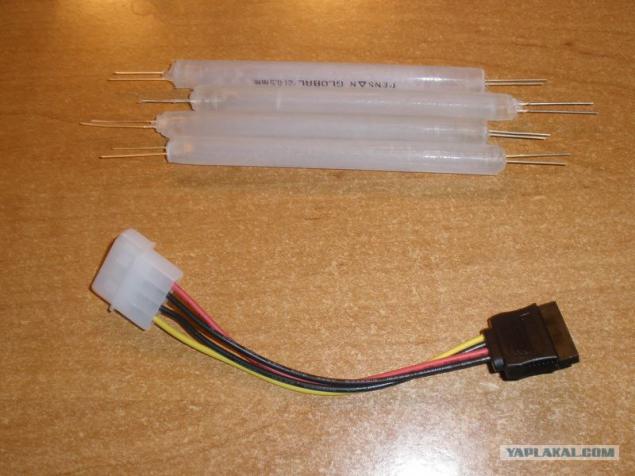
Cut off the unnecessary end of purchased wire and unnecessary wires. For convenience, Figaro konechniki on the wires.
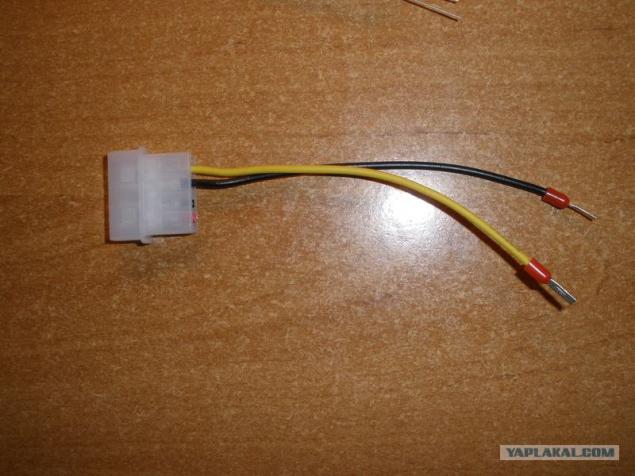
And that's the way I connect to the power supply without damaging the wires of the power supply.
And I deduce all of the system power supply. As you guessed, it will be a source of power for our lights. I convenient connection I use the terminal blocks.
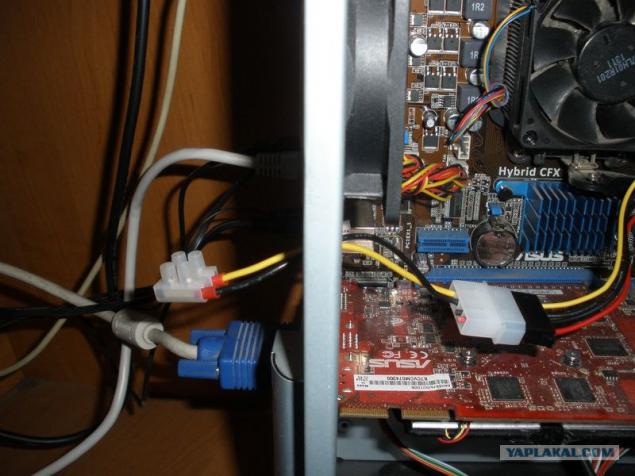
As seen from the diagram, the LEDs connected in series. Be careful with the polarity of the LEDs.
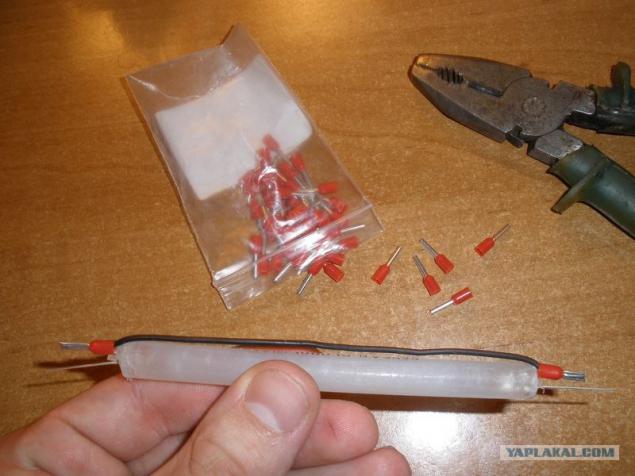
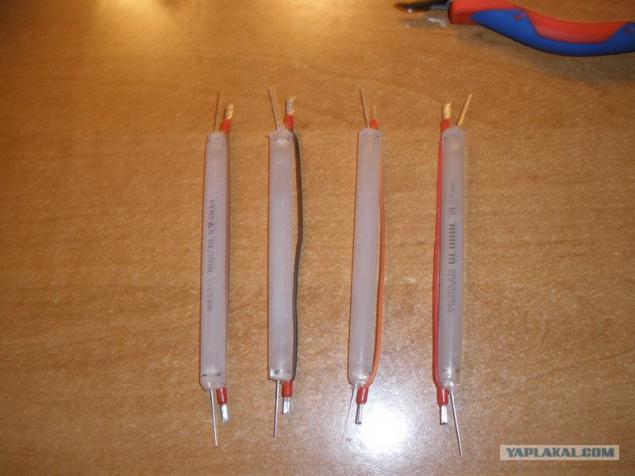
The result is a 4 "glow sticks" LEDs which are connected by each other.
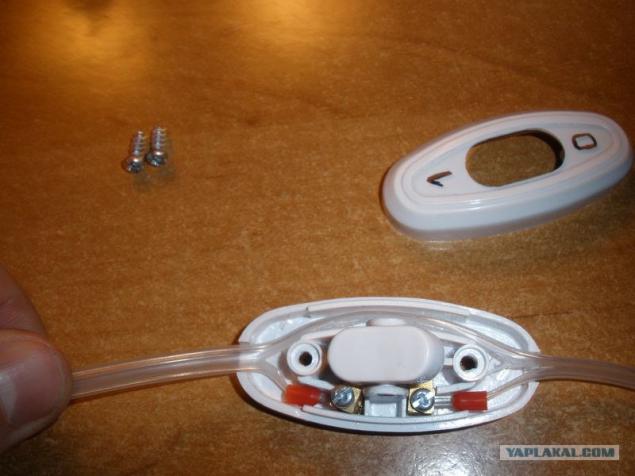
In order to allow all these things nafig extinguish when it is necessary, I Figaro switch. By the way, I use a regular telephone cable.
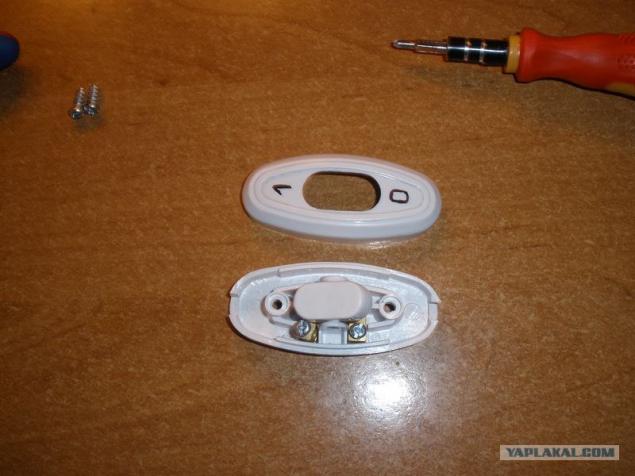
Disassemble it and make a break in the positive wire. This will prolong the life of the LEDs.
Source: ">