1015
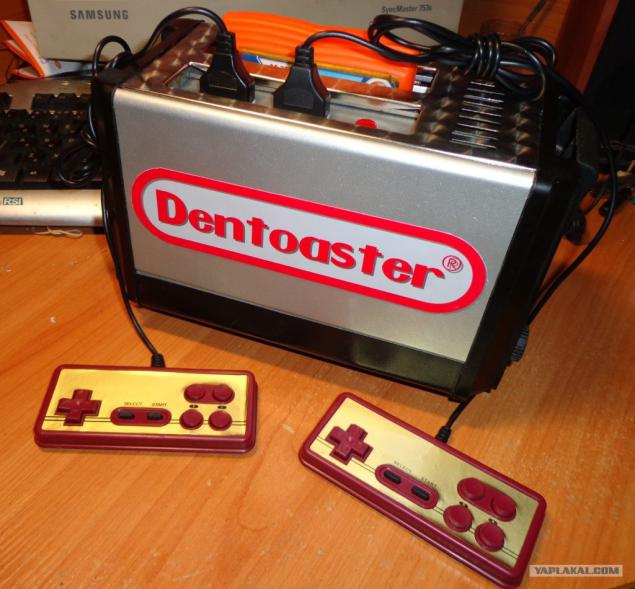
As I Dentoaster collected.
So, dear YaPovtsy today to tell you how to combine the two things in common one original gift. The network has a foreign character like AVGN, which deals with reviews of old consoles and games for them. So he has a pretty funny machine called Nintoaster. He represents the console NES in the body of the toaster. Scratching turnips, I thought, what have I done it and decided to put together such a device itself. But about the NES in our country basically no one never heard of, and all knew only Taiwanese-Chinese clone of the Japanese Famicom called Dendy. Therefore, it was decided to name the unit Dentoaster.
50 photos + video
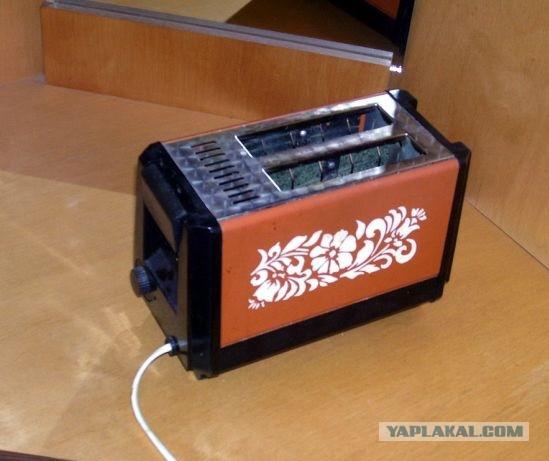
It all began with a search of a suitable on the body of the toaster. After waiting a month at a flea market I found an old Russian toaster and he looked like this (photo from the ad).
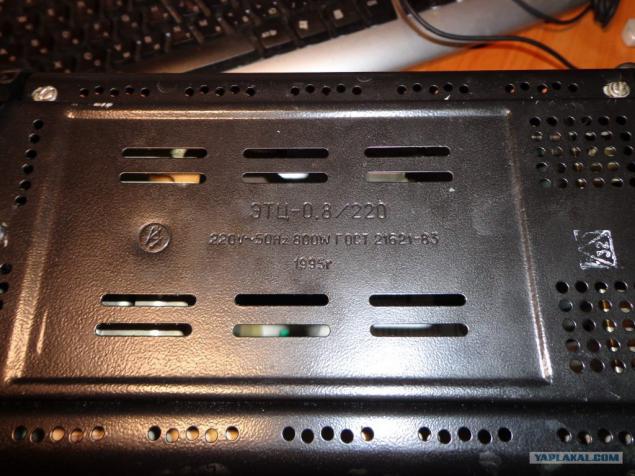
At the bottom of the toaster flaunted characteristics of the unit that made it in 1995, and 800 watts power. Despite his advanced age, toaster properly perform its main function.
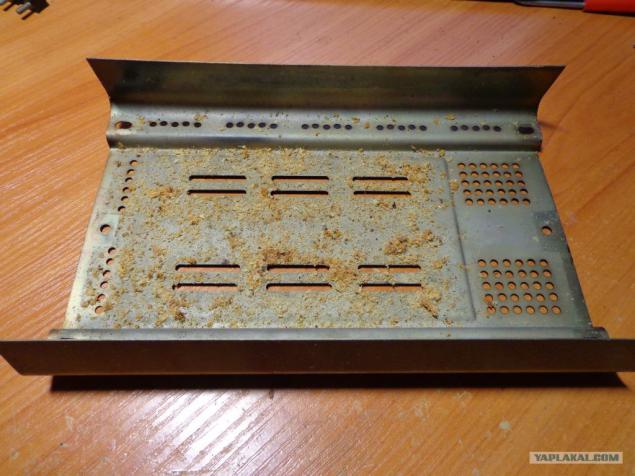
But years of use have affected him quite badly. The unit was covered in sludge and oil droplets. The benefit of cleaner gas stove with soot and grease coped with a bang. Photos of all this ugliness unfortunately did not, because once ran it from the case to launder. But there is a photo of the pallet with the crumbs that all 18 were saved by the use of the toaster and dry on there forever. That is still a spectacle, but still decided easy laundering.
Okay, now let's leave the body and engage the withdrawal of extra giblets. Remove the heating elements with mica insulation and guides grills bread.
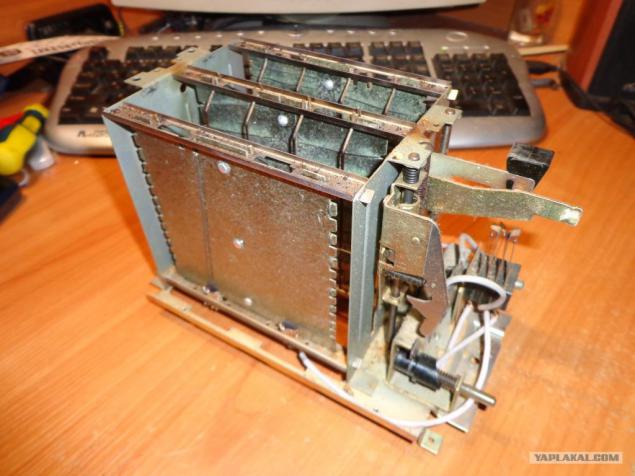
Now remove the part of the mechanism of lowering of bread - two undulating metal strips. Fortunately everything was spot-welding and separated quite easily.
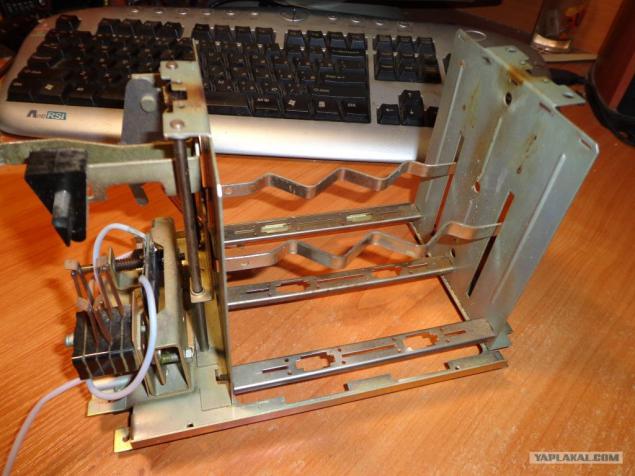
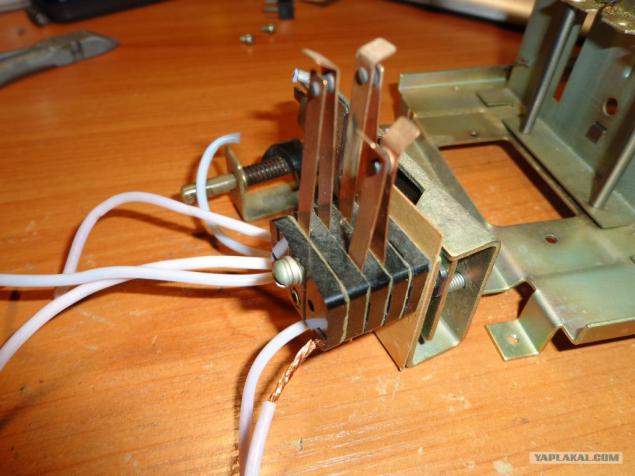
Temporarily unscrew a contact group with the timer.
And the bottom line here is we get such a structure.
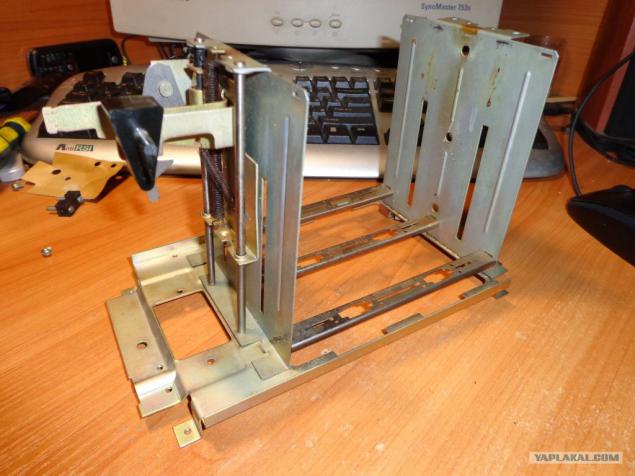
Clear the contact group from the dust and remnants of native unsolder wires.
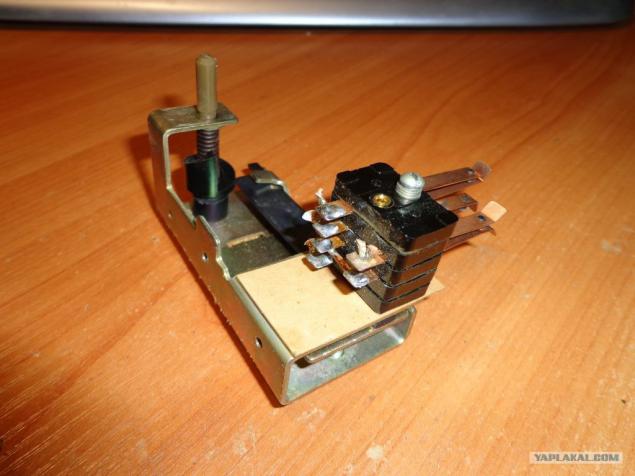
And screw it to the back design.
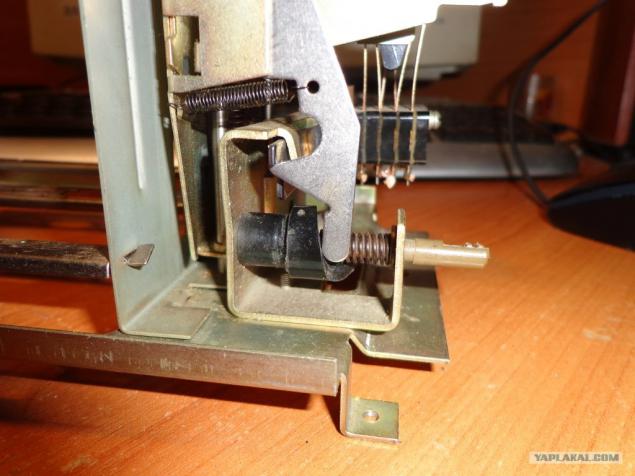
The left and right walls of the giblets were fastened longitudinal strips, but the design is heaving. It was therefore decided to solder strap marginalia. First outside.
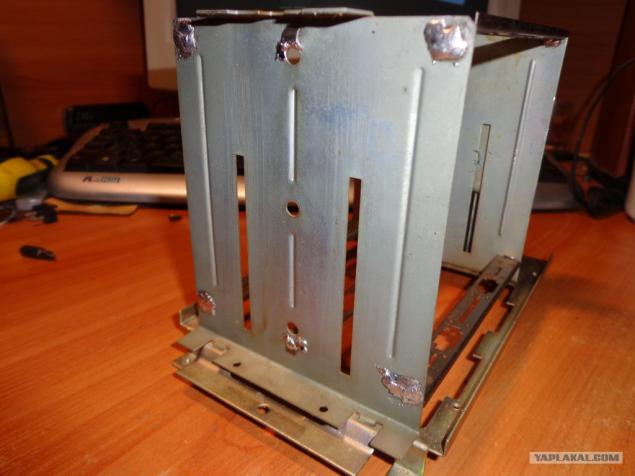
And then inside.
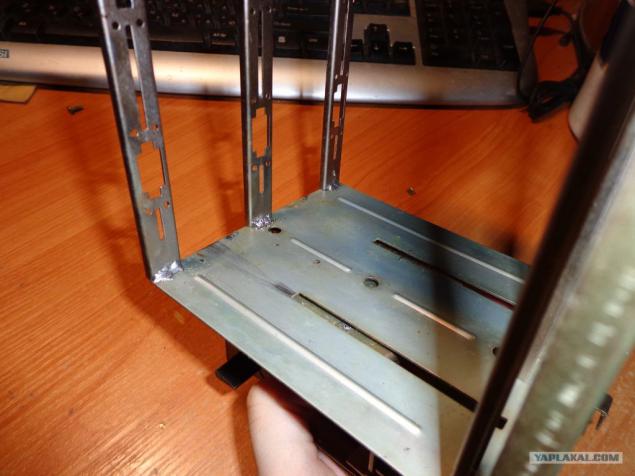
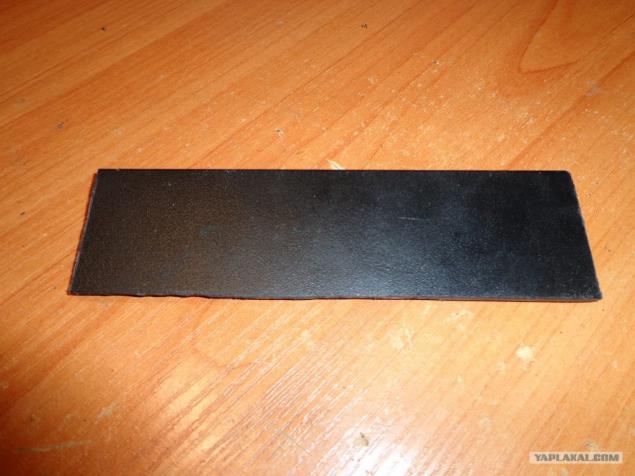
I then started manufacturing plugs from dust on the connector for kratridzhey. Make it was decided 5-tidyuymovoy plugs from sistemnika by sawing unnecessary.
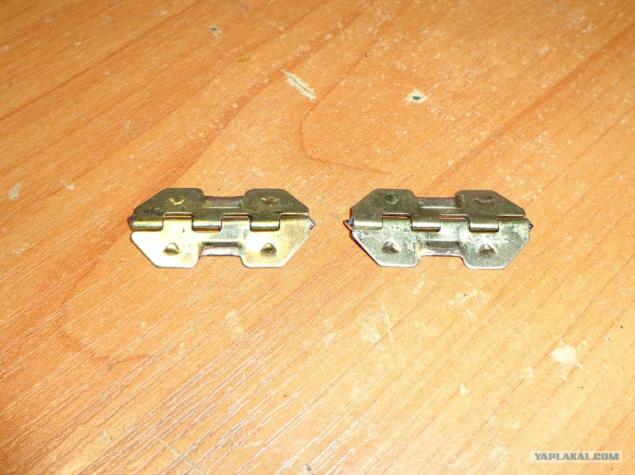
Rummaging in the bins found here are tiny loops which came in handy to all the case.
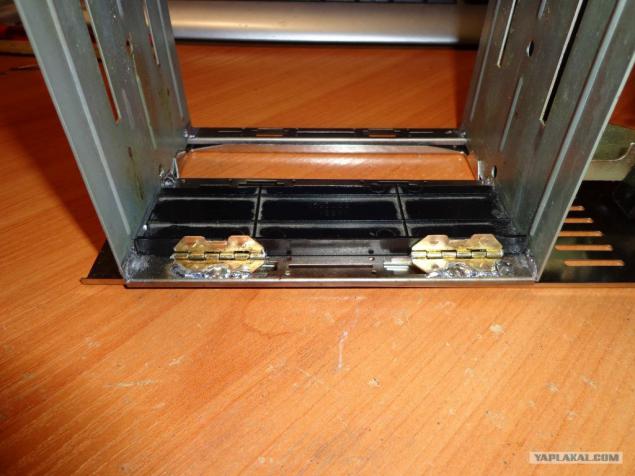
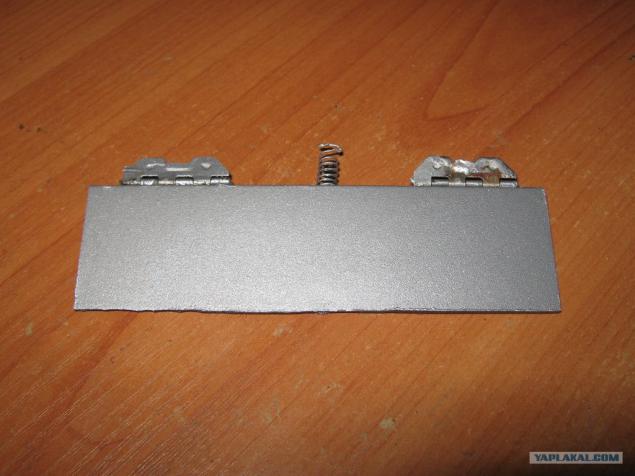
Temporarily picked hinges on soldering and superglue.
And as a mechanism attached a return spring.
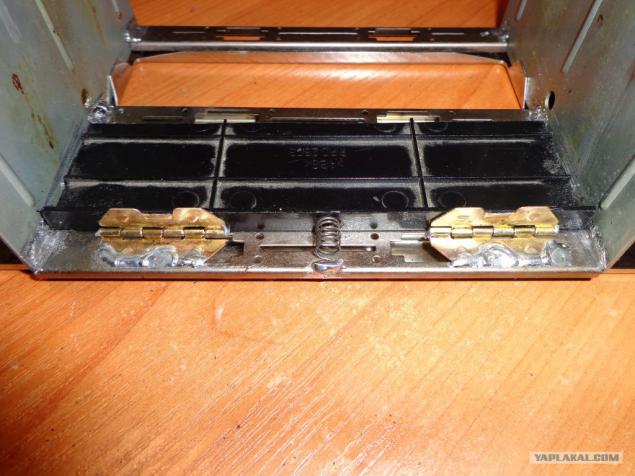
That's how it looks after the first prikidok.
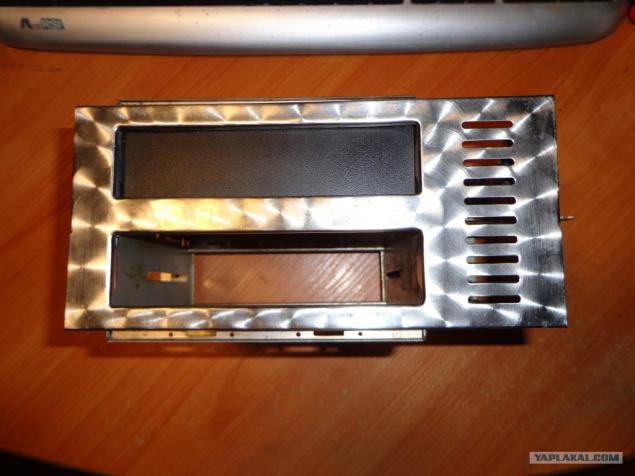
That's just the color from the toaster is not suitable, so it was decided to repaint it.
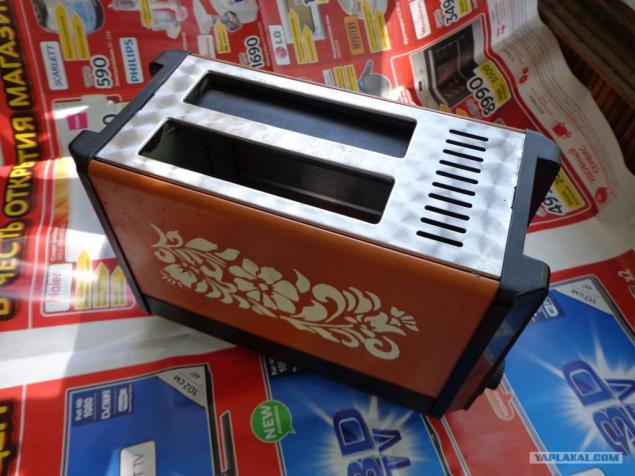
After repainting began to look much nicer.
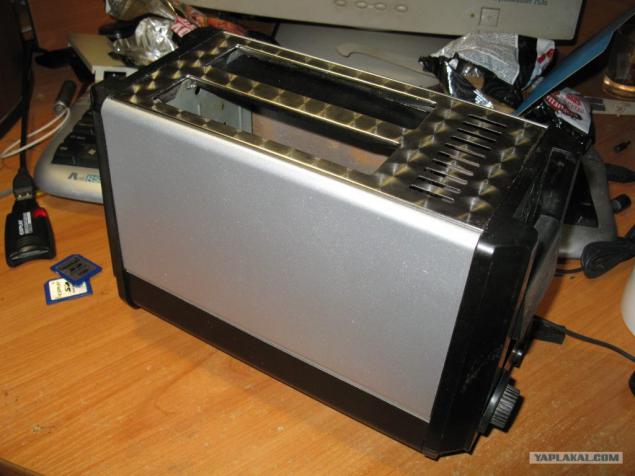
Accordingly, it was decided to paint the cap in the same color.
Panel connectors for joysticks and the reset button made out of the same caps.
We saw off the excess from her future and mark up the holes.
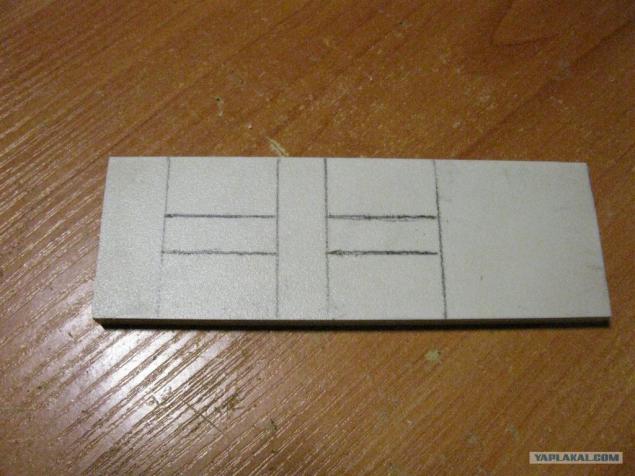
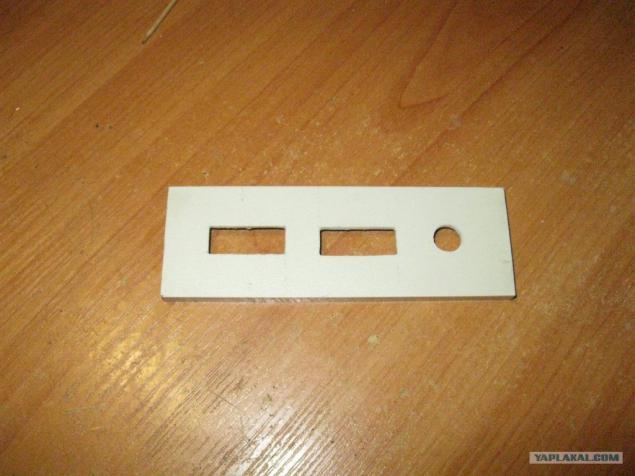
And in any way possible We perform them. I used Dremel and needle files.
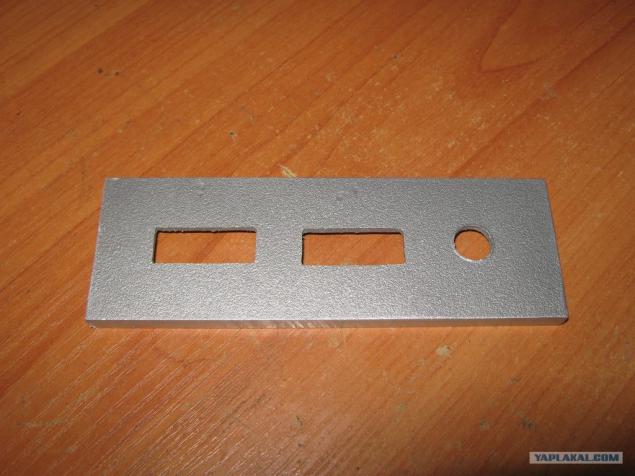
And then paint.
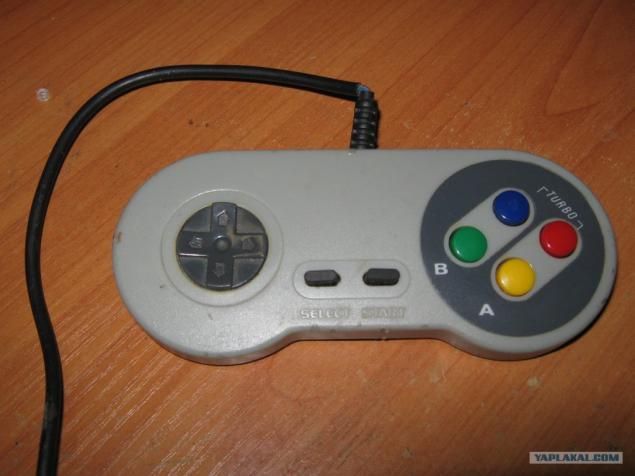
As a decorative part of the reset button, it was decided to donate only Joey, who I was with in '95. All the same, he has outlived his and half the buttons not working. And the wire solder was too lazy. About the very same button to write is nothing special, as it's just a button on the Chinese circuit, unlatched position. Such example, in Chinese laser pointers pose.
In short suprekley glue on decorative piece of a button.
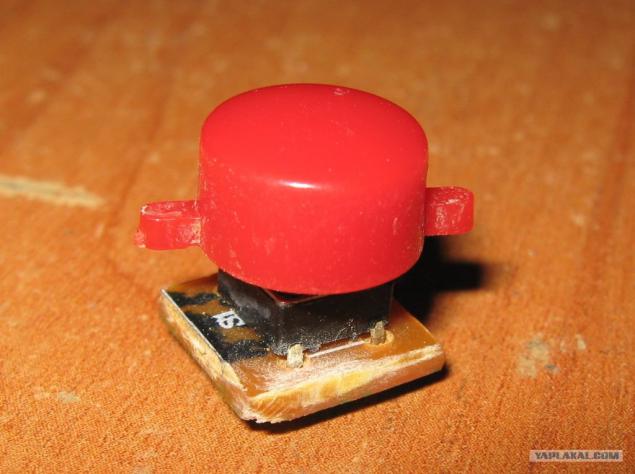
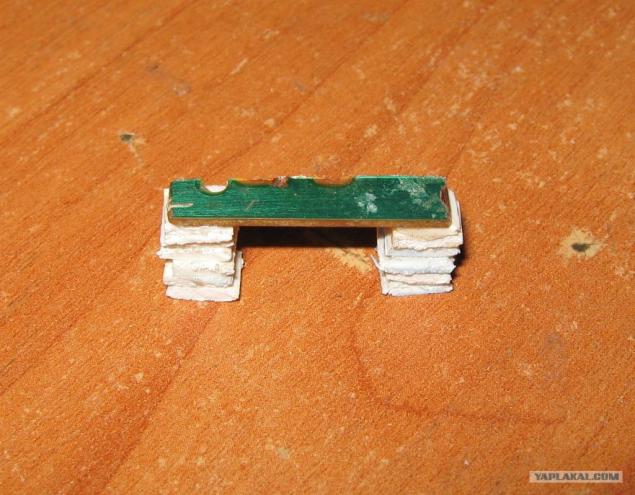
From scraps of plastic and about the PCB using the same superglue do improvised mount button.
And secures the entire structure at its intended location.
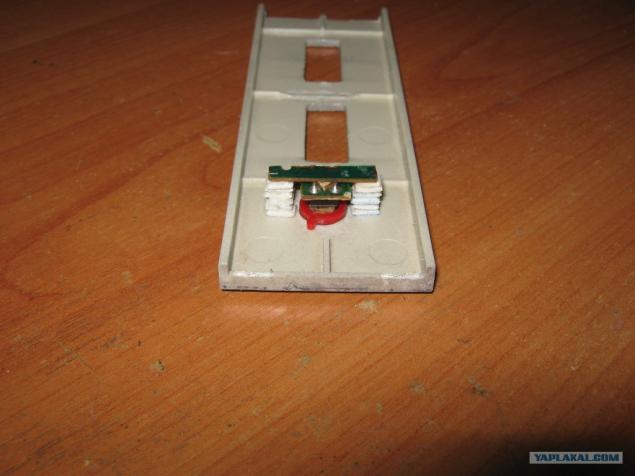
As a result, we get a result here.
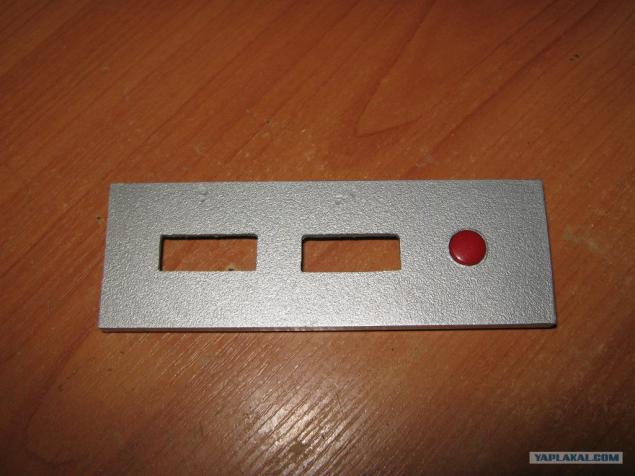
Now, our assort console.
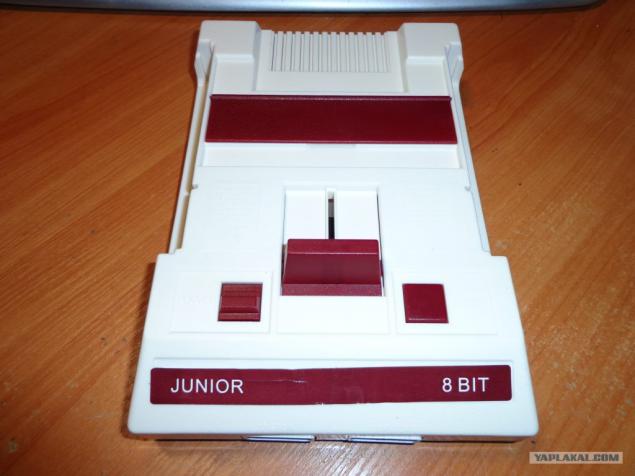
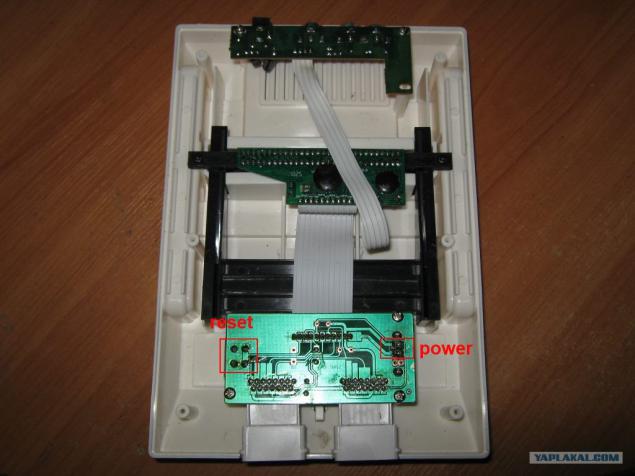
Offal from replica no match for the old console, but work with what we have. Clearly visible buttons power contacts and reset, which will have to solder.
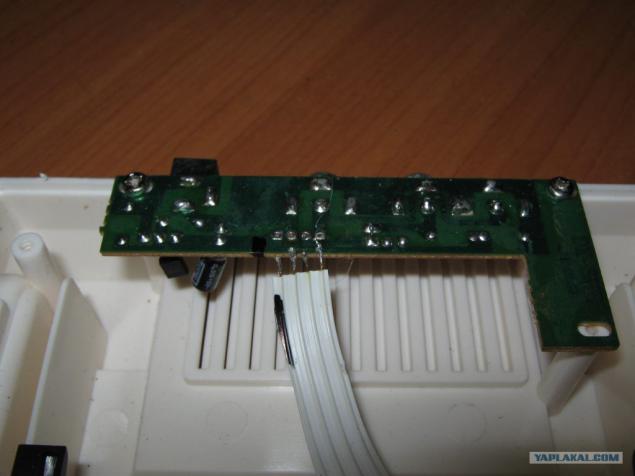
Temporarily unsolder cable from the board with a voltage regulator, and connectors to connect the cables.
Fixed on hotmelt board assembly joysticks and buttons on and reset. Native Button decided not desoldering, since they do not interfere in the case.
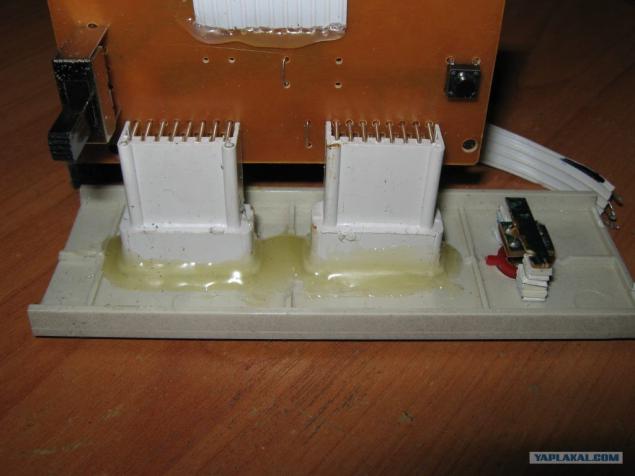
A card connector for the cartridge first to fasten the screws (thanks to native marginalia toaster holes already), and then fasten thermoplastic called "Polymorphus." You can and it was cold welding, but the plastic cools faster and more robust and resilient compound is obtained. So that the design will not collapse.
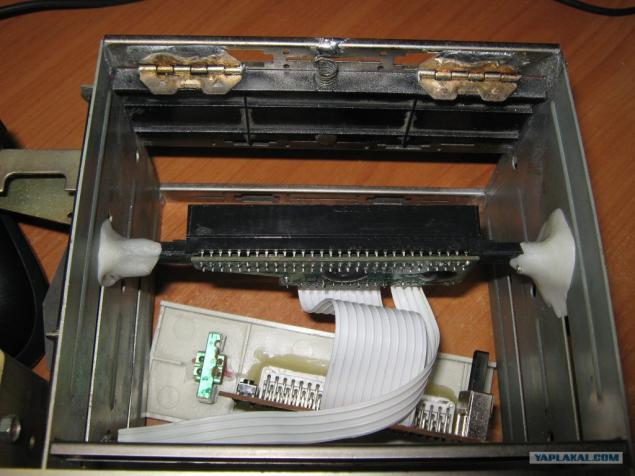
At the same hot melt and fasten Polymorphus panel connectors and buttons. That's how it looks from the outside disgrace.
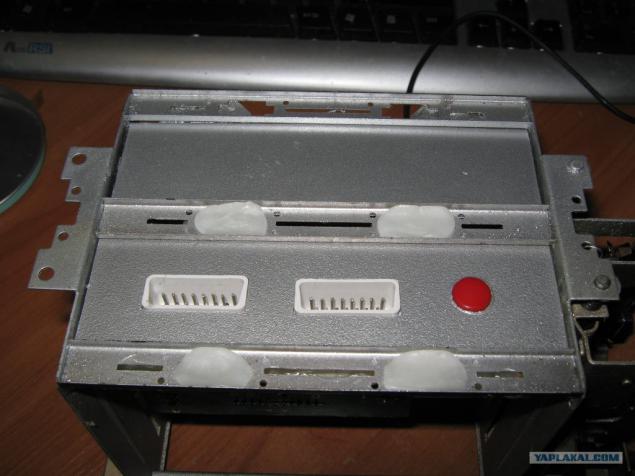
And this is from the inside.
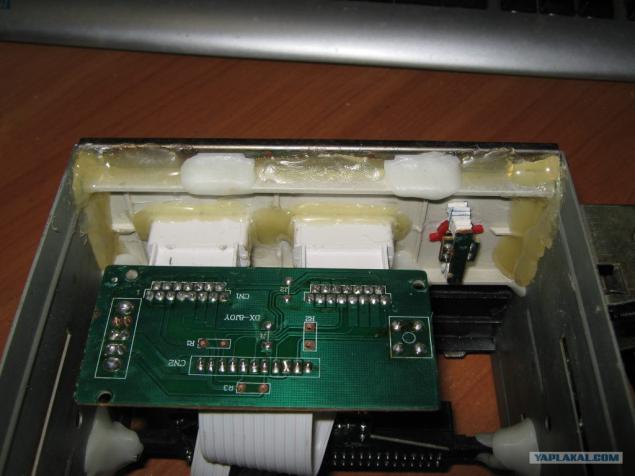
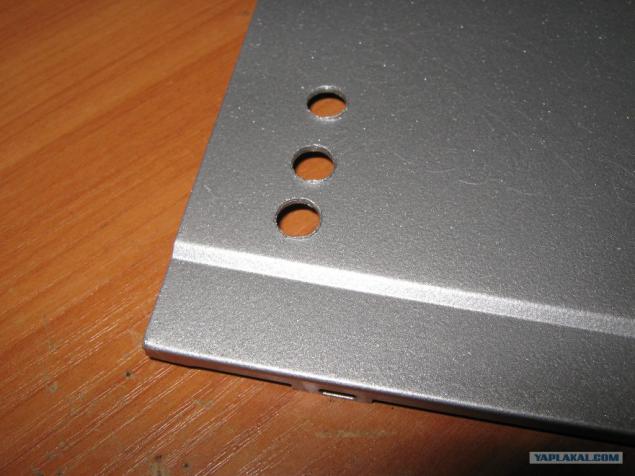
The sidewall of the caves under the cabling connectors. Here is my little school, led the drill. Therefore, a little crooked left. But nowhere to go, what's done is done.
We had one of the connectors, turn sideways and saw off the remnants of the board with the stabilizer.
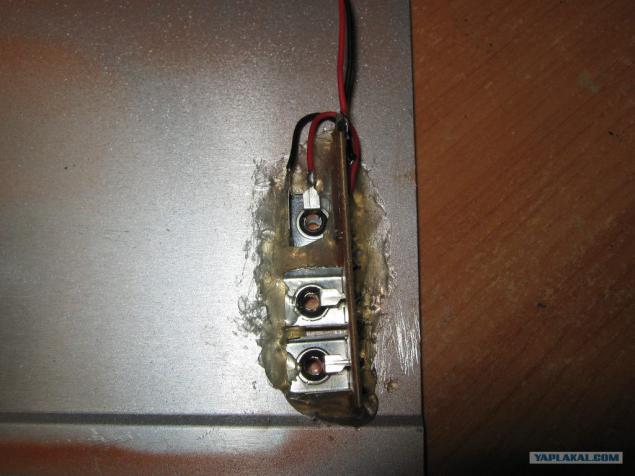
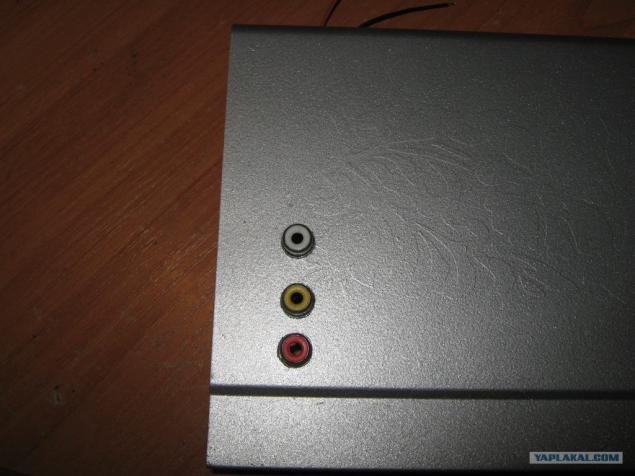
That's how it looks from the outside. Relatively tolerant. It could be worse.
Dremel with grinding attachment to grind out a place in the native power socket boxes, fasten it to the hot melt adhesive and solder to the stabilizer.
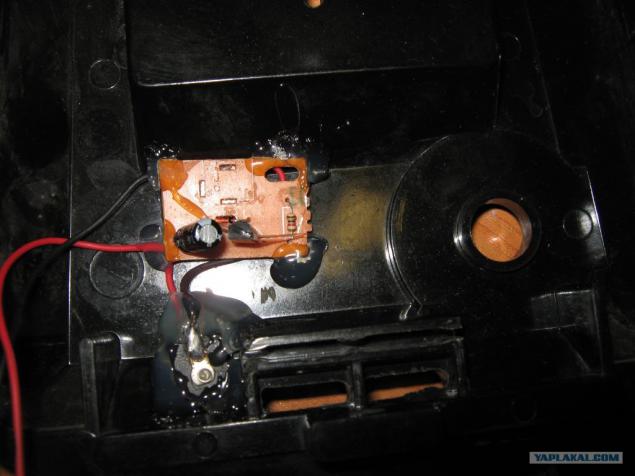
As if there was.
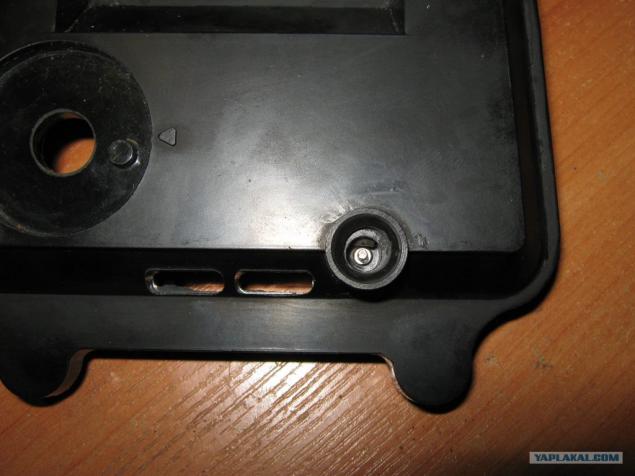
To the board with solder connectors RCA-trail, previously sealed-off and the power cord.
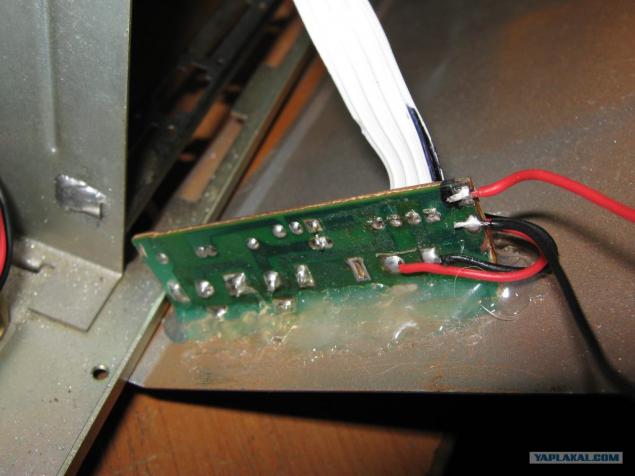
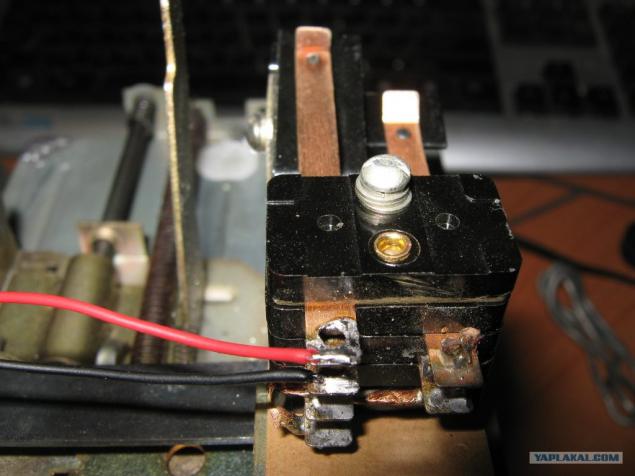
And by the contact group toaster solder wire inclusions, their other ends respectively soldered to the ON contacts listed above. Button reset, is also connected to the contact position on the board console.
Already finally fastened on clips, soldering and Polymorphus plug cartridge.
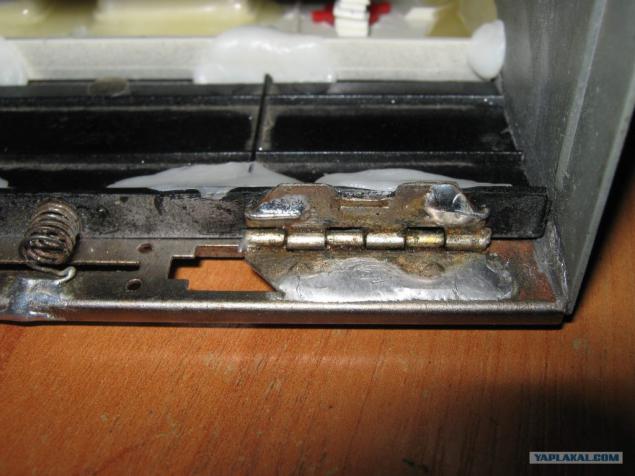
And to be sure yet nalyapyvaem to mount the connector itself. More precisely just extra plastic residue remained, and that's prilyapal to be sure.
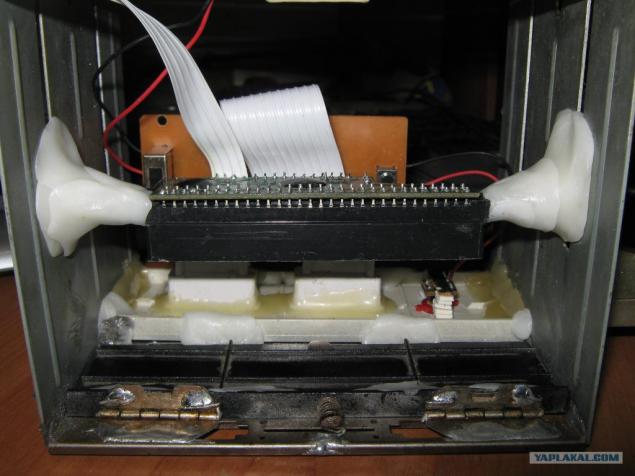
Well, for greater coverage of the fracture card when you insert the cartridge from the remnants kompovoy Polymorphus caps and made the base.
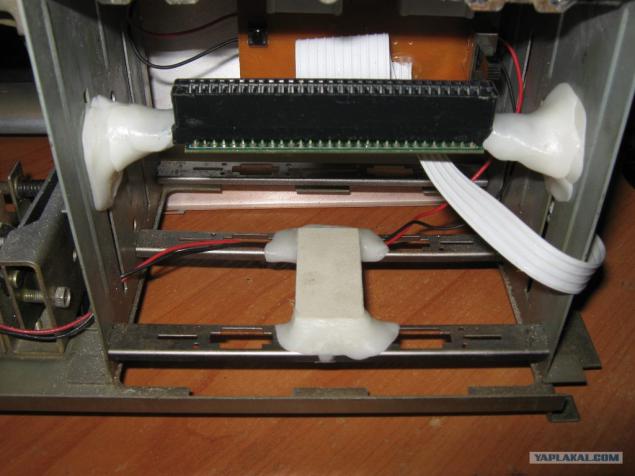
And backed it with a piece of the axle boxes for discs.
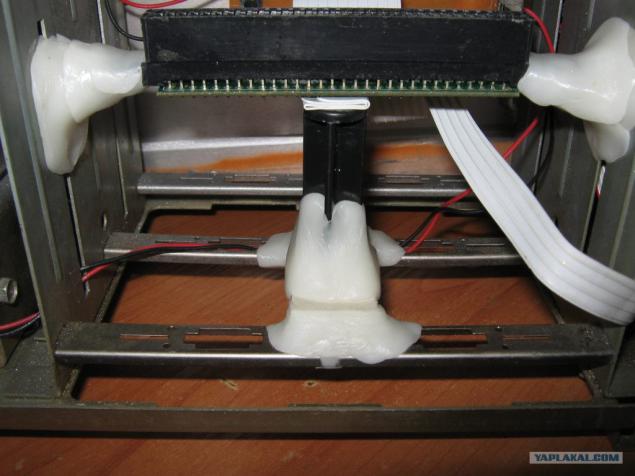
Finally, after assembling this unit we get here. It seems that everything is ready, but something was missing. And it is through the old paint flowers peeped.
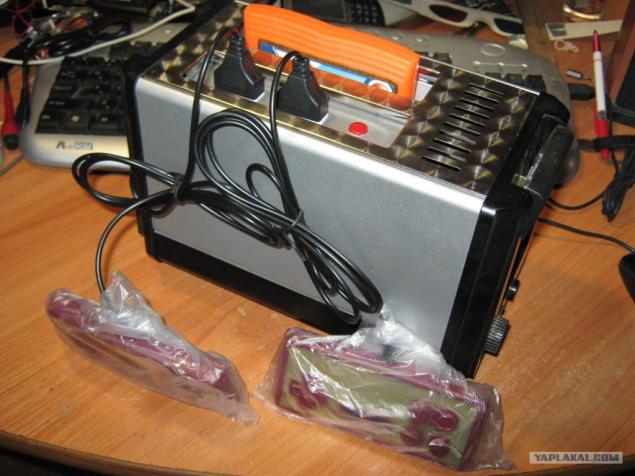
So in Photoshop and printed on navayal selfglue here such logos.
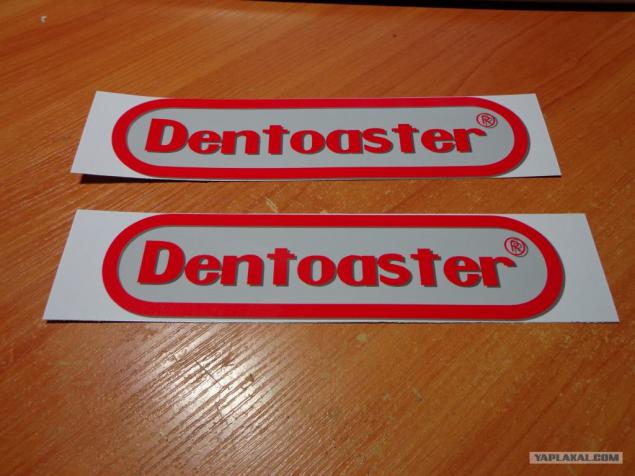
Now the device took a finished look. It remains only to pull up the power joey and TV and went running.
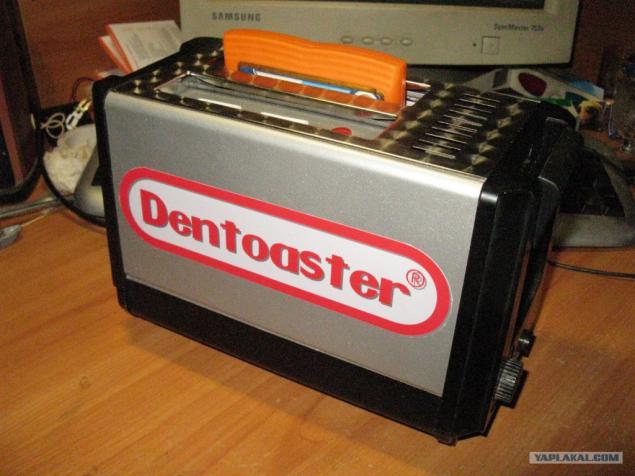
And the last photo.
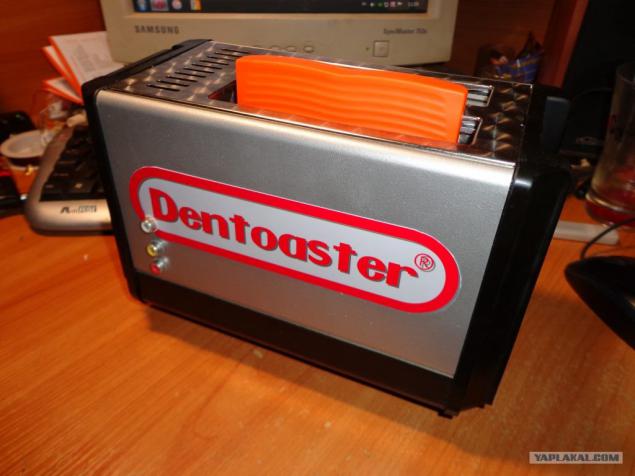
Well, at the end of a video demonstration of work. A little joke at the end of 4 minutes. Apologies for the dark video, here or dark or nothing would be seen. The camera takes a CRT telly bad.
That's all I wanted to say. Thank you for attention.
Source: ">