17571
Air hockey - do it yourself (46 photos + 1 video)
All fans of the popular game of air hockey should love this post.
One craftsman decided to please his son, who loves active board games.
He made an air hockey table with his own hands.
Let's take a look at his creation.
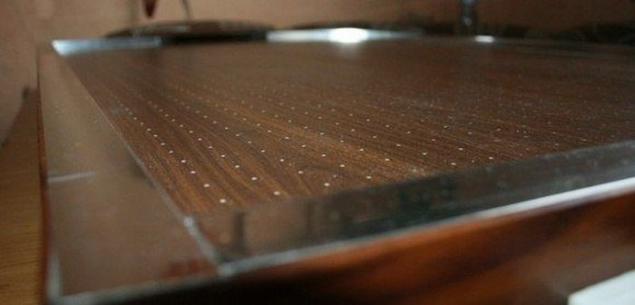
1. Airbox. For the bottom of the airbox, we will need 9 mm plywood, and for the top 4 strips of laminate flooring. The size of the box will be 1210x770 mm. Cut the desired piece of plywood a little larger than the size of the laminate (by 2-3 mm).
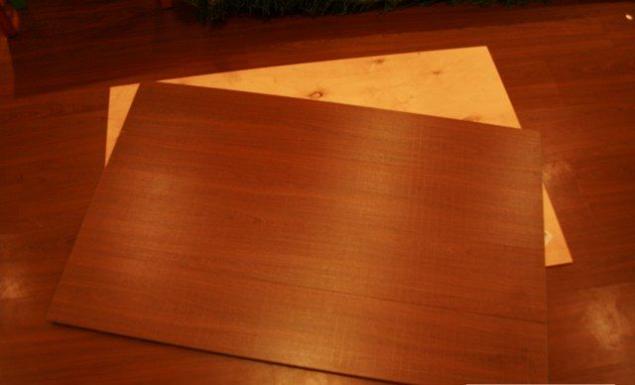
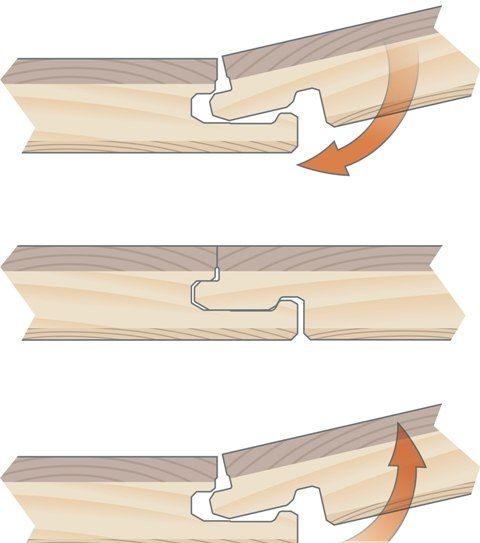
2. Connect the strips of laminate to each other "in a rigid hook" provided by the plates. By the way, laminate flooring was not chosen by chance. Before that, there were thoughts to make a base from plywood, boards, furniture boards, chipboard / fiberboard / MDF. But all were rejected due to the low strength, softness of the material, and suspected drilling damage (the holes should be small and even!).
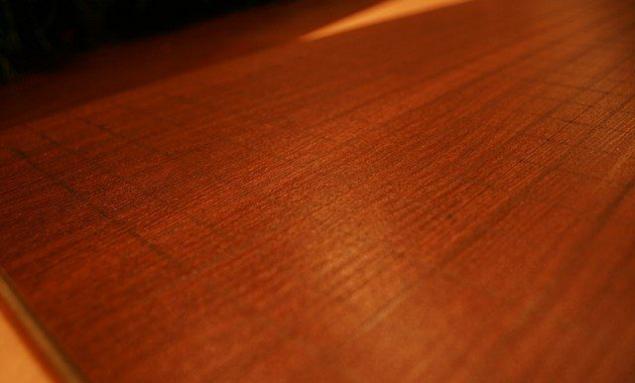
3. Mark the mesh for drilling holes. From each edge, we step back 30 mm (this is the size of each side) and another 10 mm in order not to make unnecessary holes at the edge. The pitch between the holes chose 20 mm.
4. Take a drill and drill about 2200 holes. The diameter of each hole is 1.5 mm. This is the most time-consuming and tedious operation when building a table. It ate up about 4 hours of my life and four drill bits. In total, I used 7 drills (quickly blunt). I did everything in the bathroom, because the mess is immeasurable (because I'm too lazy to clean up later). Then I widened all the holes on the back of the laminate with an awl.
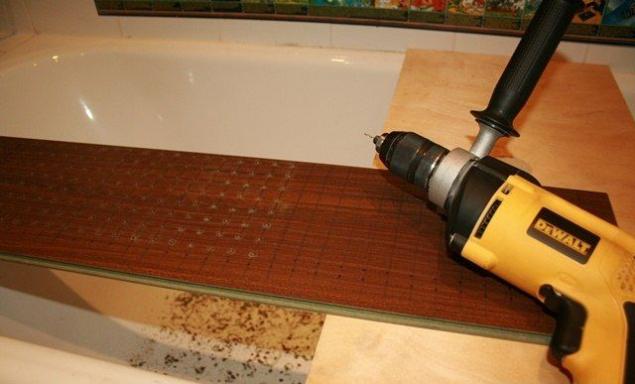
5. I bought two slats 45x15 3m and sawed into 4 parts (strictly according to the size of the plywood). These will be the sides of the airbox.
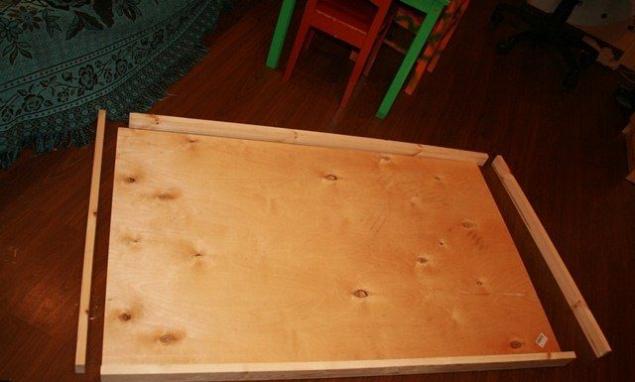
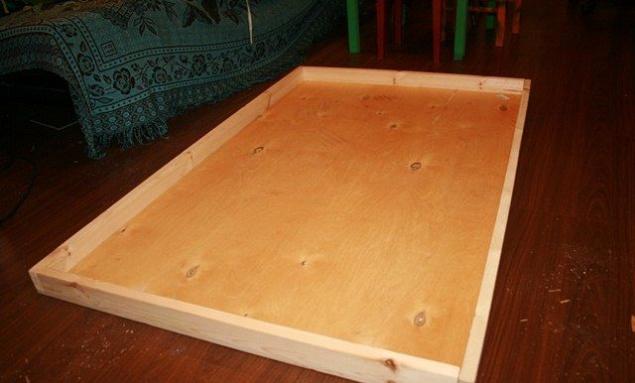
6. Drill holes in the plywood (be sure, otherwise it will crack) and slats and put it all from below on screws (you can nail it with nails without drilling, but then you need to bite off the sharp end of the nails with wire cutters). In general, you will have to drill here to hell, so you will dream of a drill for a very long time. Anecdote on the topic: Today a neighbor knocked on my door at 3 o'clock in the morning... I was afraid that the perforator almost fell out of my hands...
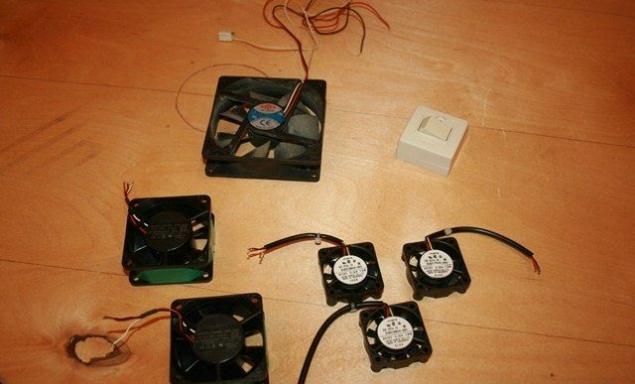
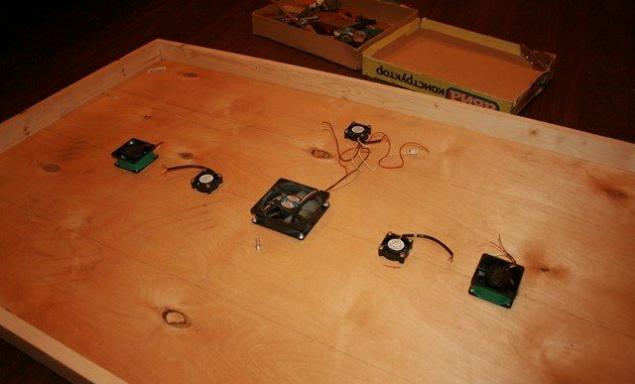
7. Electronics. We rummage through various computer junk and find 6 fans of different capacities and a power button.
8. Also take the power supply from the old scanner. PSU specifications: 12V 1.25A.
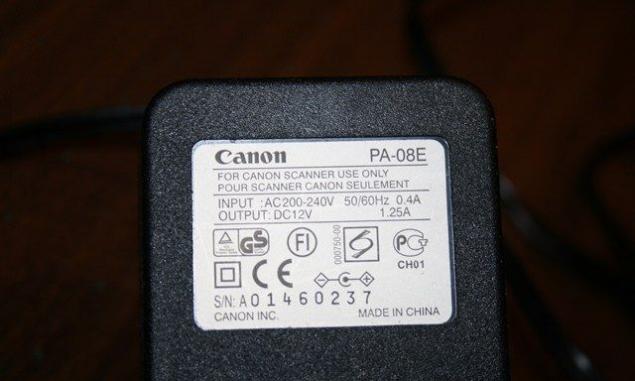
9. Sum up the consumption of all fans: 0.25 + 0.22 + 0.22 + 0.12 + 0.12 + 0.12 = 1.05A. Aha, there is still a margin for illuminating the gates with LEDs - this is good!
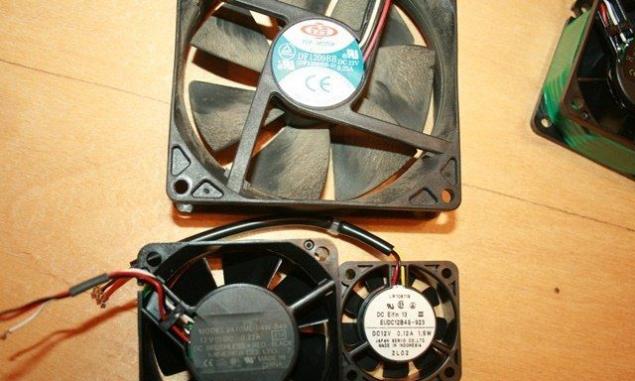
10. Mark the holes of the fans and places for the fastening screws. Drill holes for fans and holes for the fasteners of these fans.
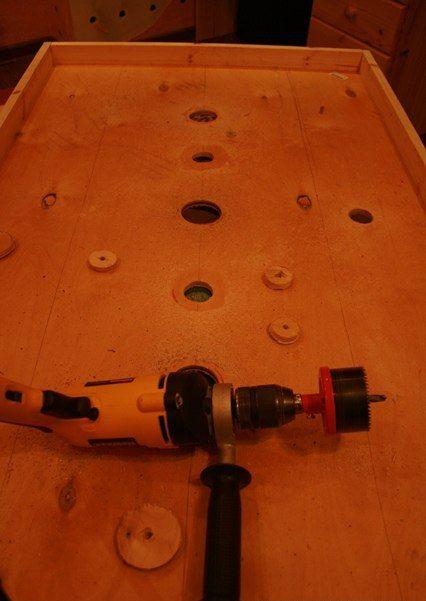
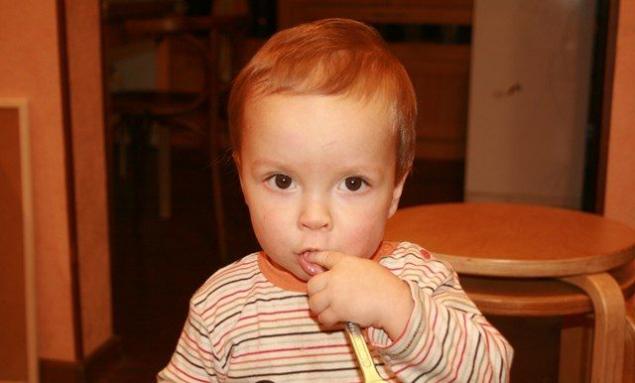
11. The cat's younger son came to help.
12. Grind the edges of the holes with a file and attach the fans. Long strips on the plywood indicate the joints of the laminate sheets.
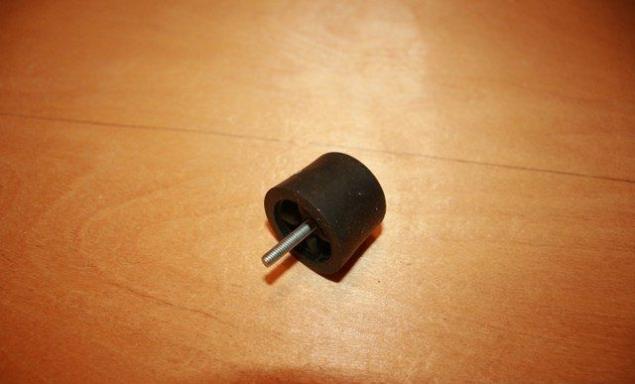
13. Since the structure is heavy and there must be space at the bottom of the table for air intake, I bought 5 rubber feet (door stoppers). They are made of very durable rubber and will help keep the table stable. In the photo is a leg with a screw threaded through it.
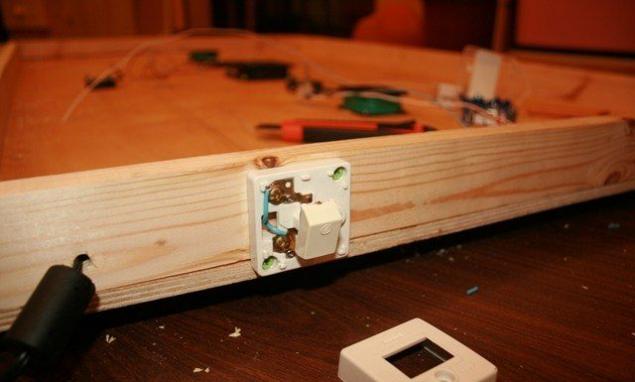
14. Attach the switch and connect the wires from the power supply to it.
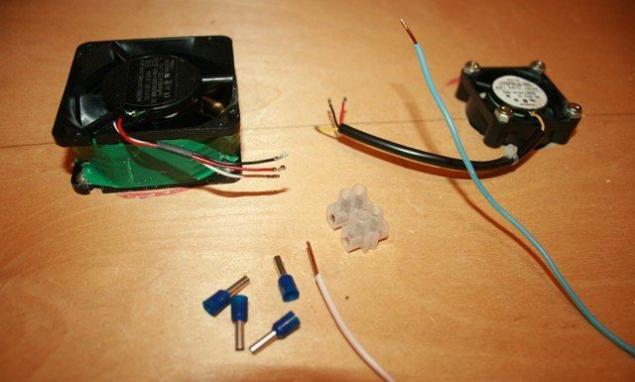
15. Put the fan wires on the terminals.
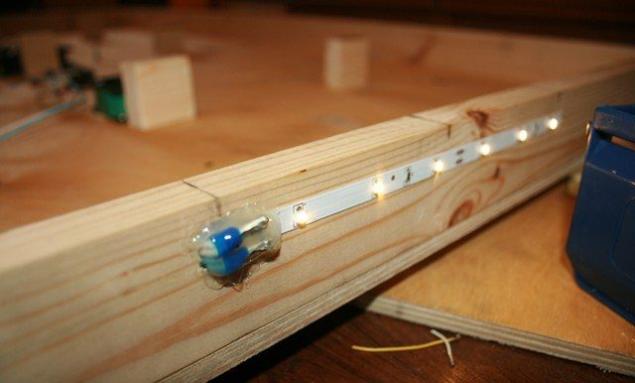
16. Bring the wires to the gate and glue the LED strip. Soldering and checking. Fill the soldering with a glue gun.
17. Saw the remaining part of the plank 45x15mm into 9 pieces and fasten it from below with screws along the seams of the laminate. We also put the rubber feet on the bottom of the screws and fasten them from the inside with a nut and a locknut. This is the picture. The power supply wire fits into the table in the lower right corner.
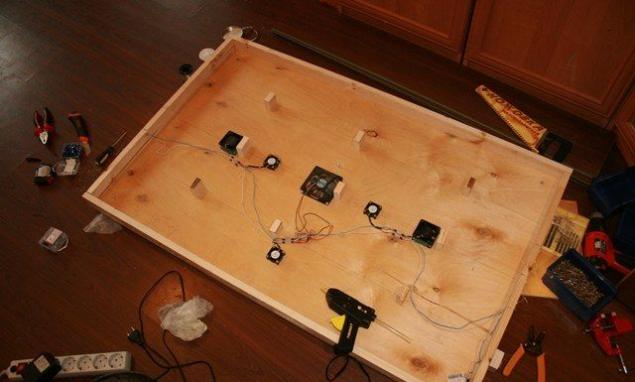
18. Take a regular sealant (I have a transparent plumber) and coat all the cracks along the edges, as well as the fans along the edge. We also glue the dangling wires and the wire of the power supply with a glue gun to the plywood. "Did you seal the wheel? "yes, I glued it all night. In the morning, the owner of the glue will come. ©Boomer"
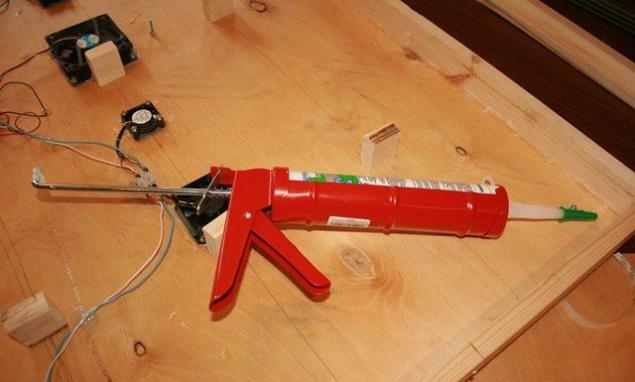
19. It turns out like this.
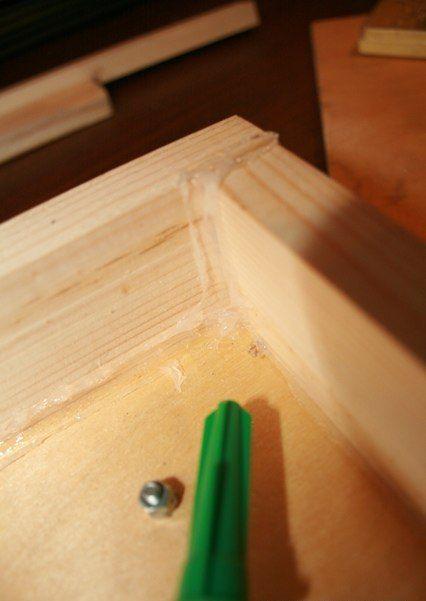
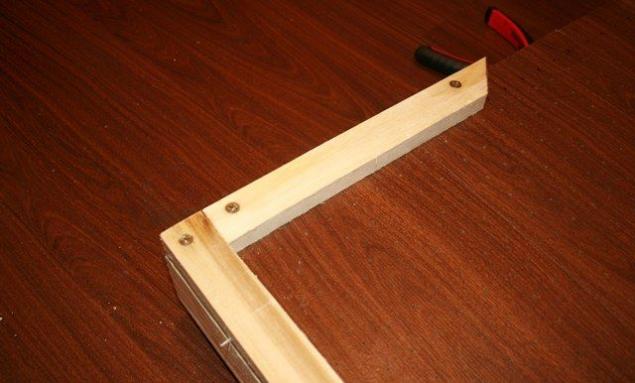
20. Buy a rail-edge 30x15 mm 2mx2 pcs. and cut it into the necessary parts (strictly according to the size of the plywood) and leave space for the gate. Connect the laminate and put it on the table, having previously smeared the slats attached to the plywood with a sealant on top (we also smear all 9 stands for the seams of the laminate). Drill holes through this whole hamburger and attach them to screws.
21. For the beauty and strength of the edge, I took two mirror-polished aluminum corners 30x15 mm 2 meters long. Sawing.
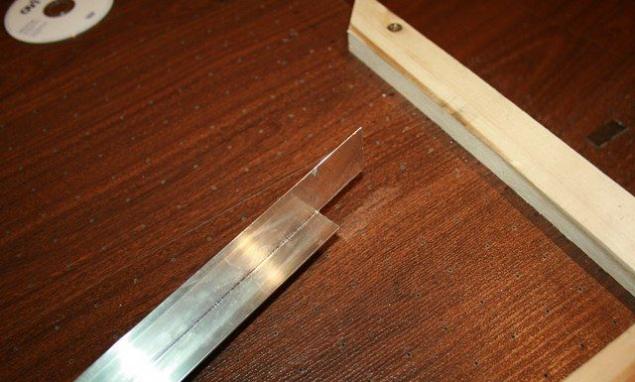
22. Trying it on. By the way, on the left in the photo is an excellent device for knees - I recommend it.
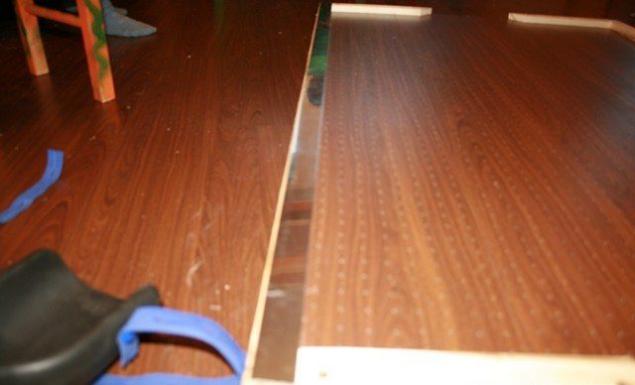
23. Senior Assistant.
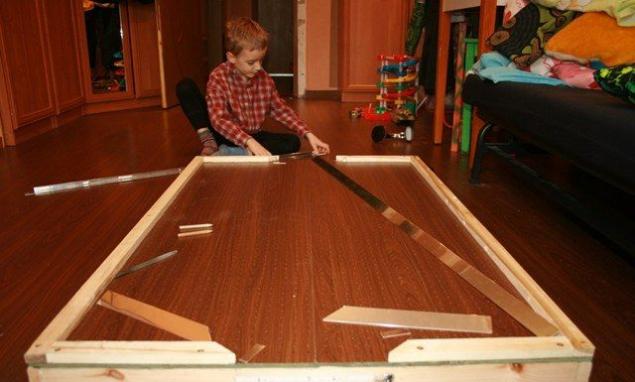
24. Next, take an adhesive film of a similar color.
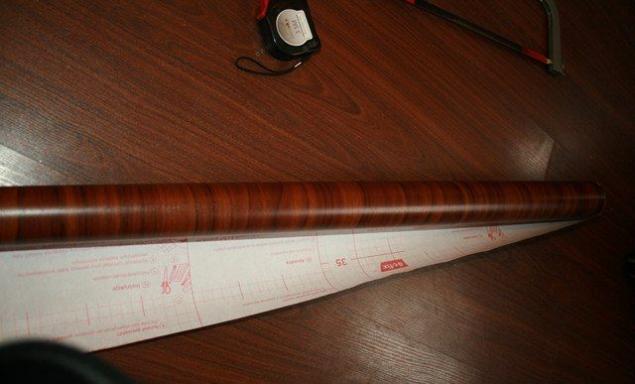
25. And glue around the perimeter. At the bottom, the margin is 1.5 cm, at the top 0.5-1 cm.
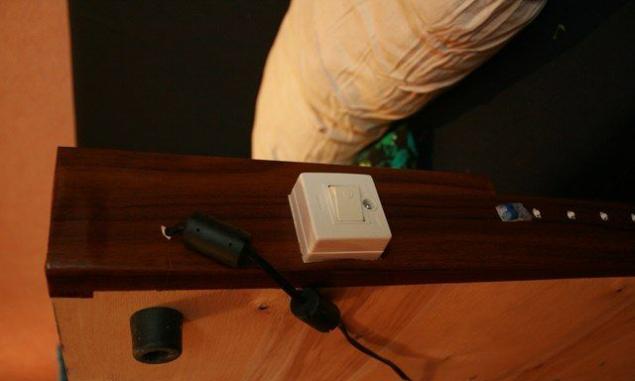
26. It turns out like this.
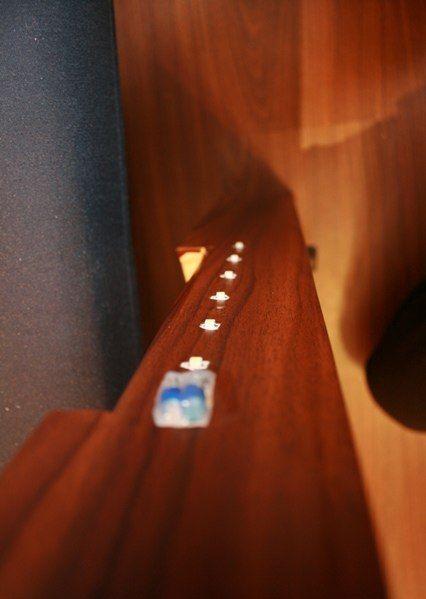
27. On top, the plank and film will be on double-sided tape (It doesn't stick to plywood and wood very much, but the corner will hold it).
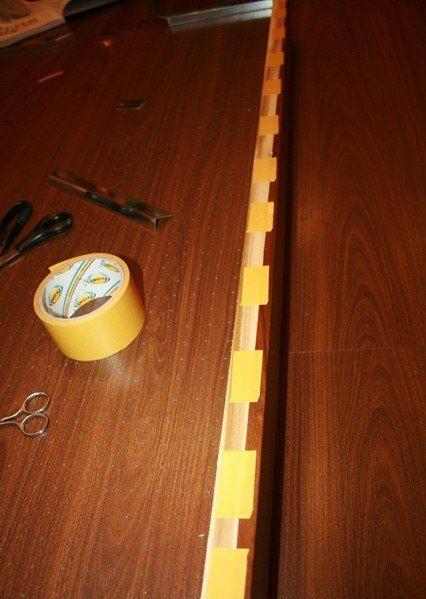
28. And seal the bottom with a furniture bracket.
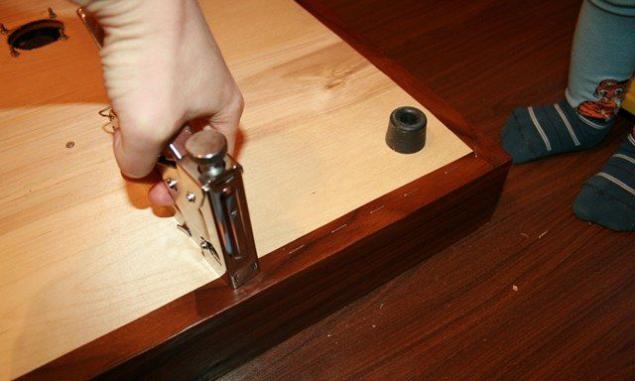
29. That's it.
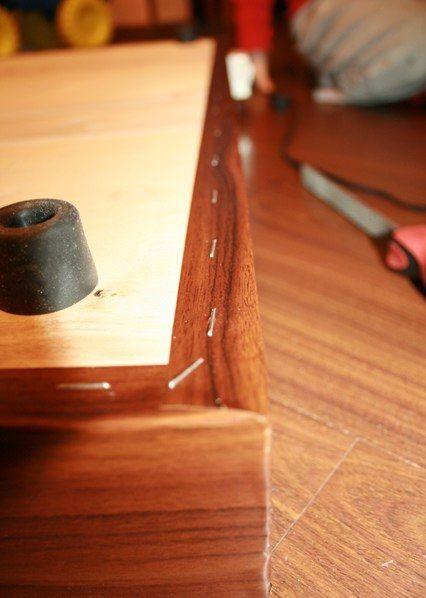
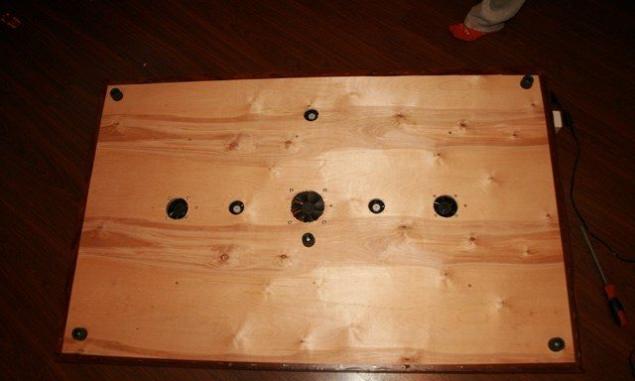
30. General view from below.
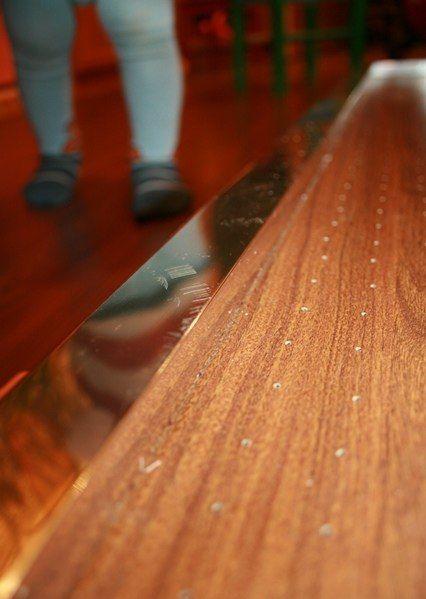
31. Attach the metal slats to the sides.
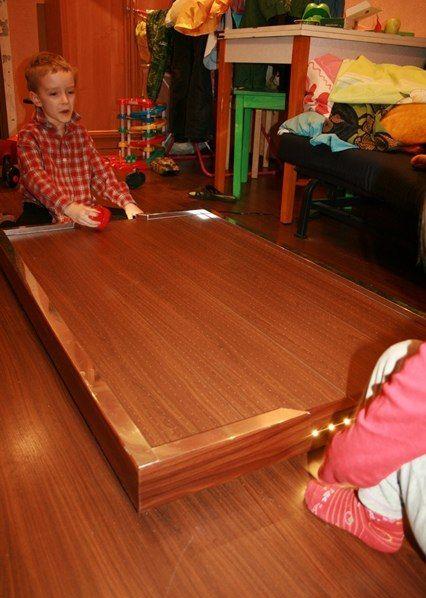
32. The children said ready, took away the table, demanded bats and a puck. He let him play a little.
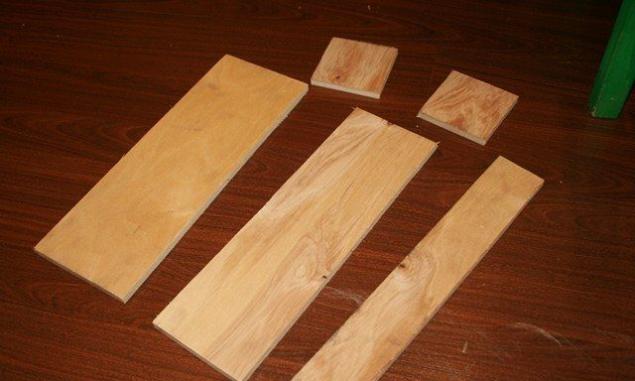
33. Gates. Cut the plywood into several parts.
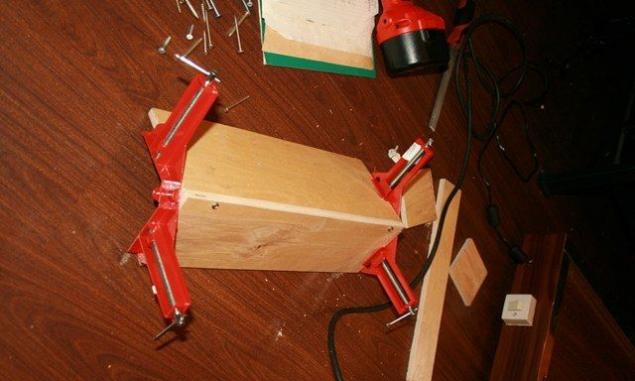
34. Connect with a clamp, drill holes and screw in screws.
35. Assembling the gate. Try it on the table.
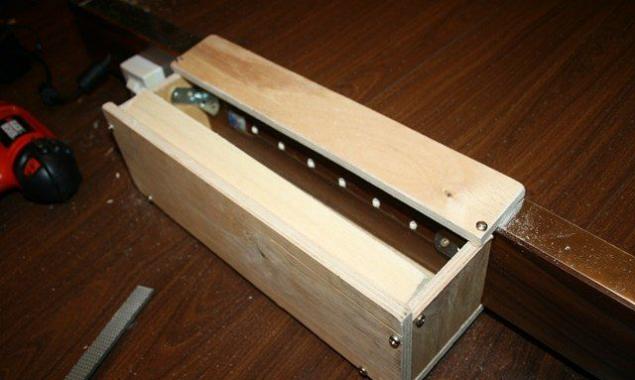
36. General view of the gate.
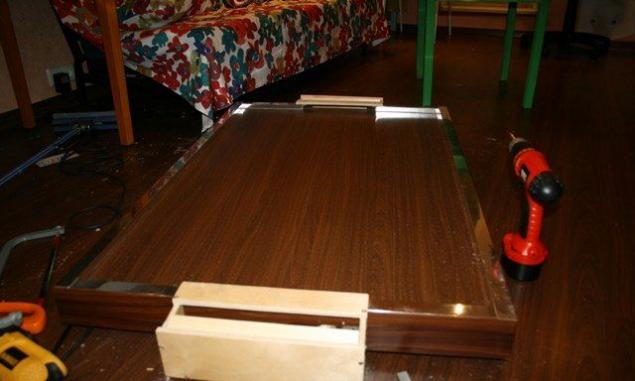
37. Illumination of the gate from the inside in the dark.
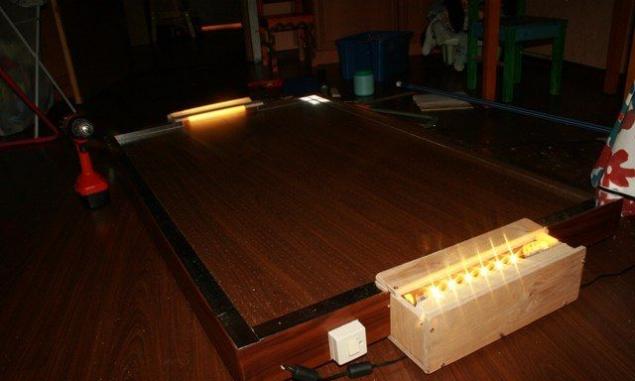
38. The design of the gate is closer.
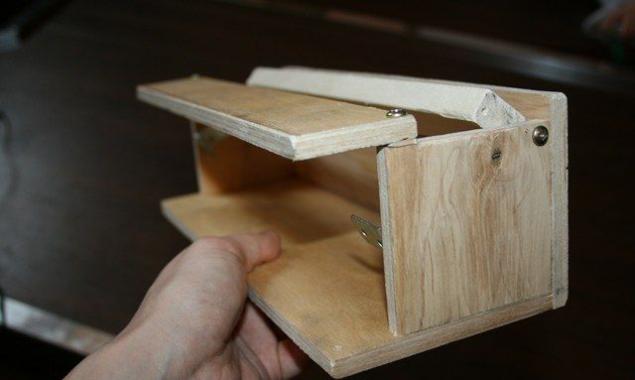
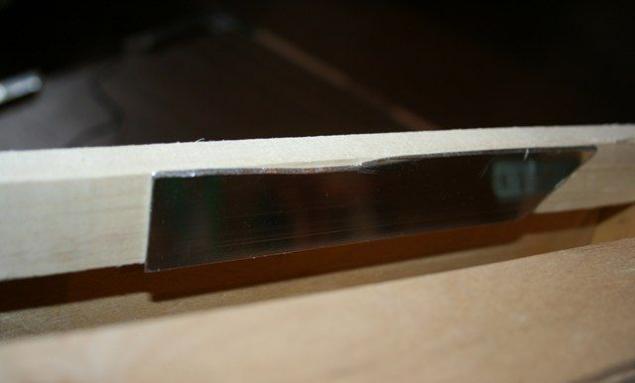
39. When checking the goal, the disc bounced off the soft wood (plank) and flew back to the table when it hit the goal. To eliminate the defect, glue the remains of the aluminum bar to the inclined rail immediately behind the gate on double-sided tape.
40. Glue the same film on the gate. Cut off the unnecessary.
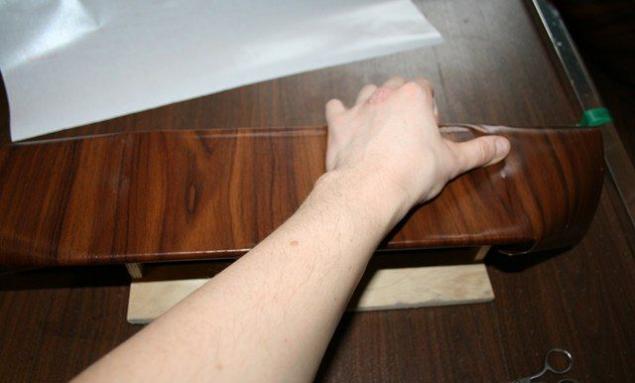
41. Get two such devices. I did not deliberately glue the inside with a film, because there will be constant wear of the walls with a washer and the film will simply tear. Instead of a duty carpet in the background, we see a colorful sofa.
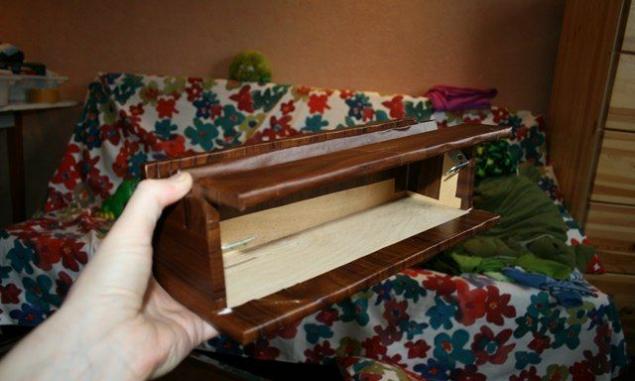
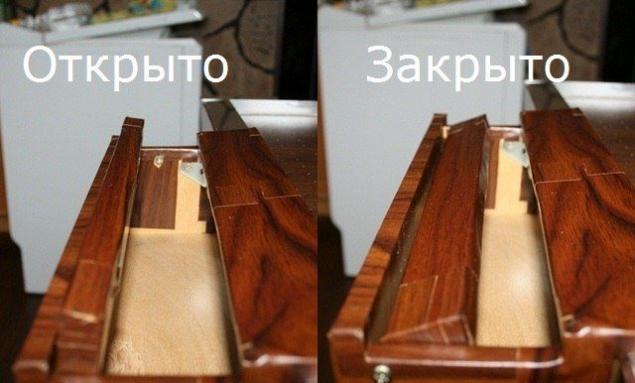
42. Attach the gate to the table. They are made with a "door" on top so that you can easily get the puck. When closing, the door is lowered onto the lock/travel limiter (an ordinary small screw inside the gate). This "door" serves as a rebound for the puck. It is on it that the aluminum plate is fixed.
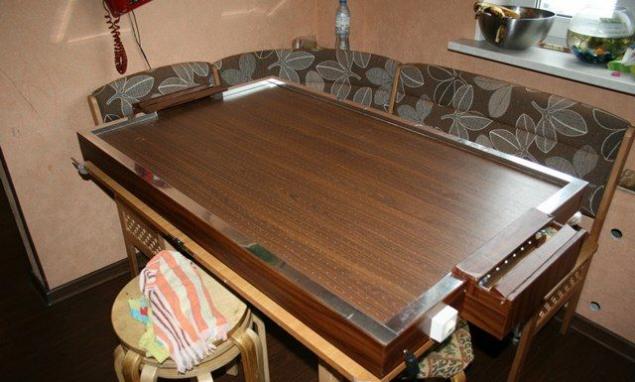
43. General view of the table.
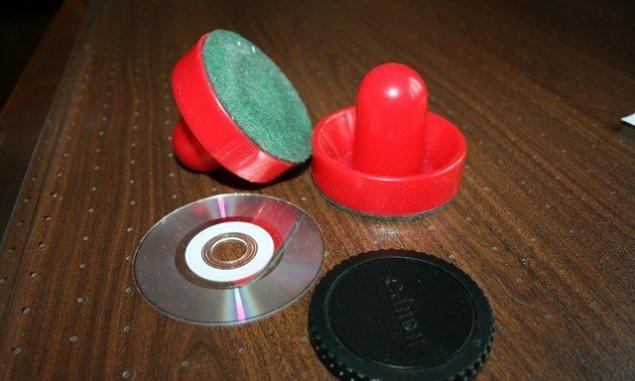
44. Take bats and washers. As a washer, I used a small CD and a lens cover.
45. The product is ready to eat!
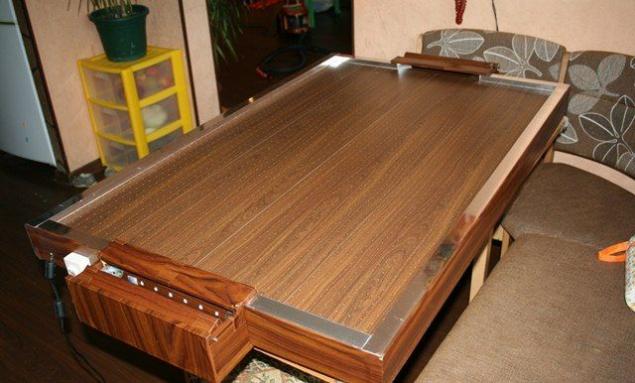
46. Gameplay itself (children took away at the stage of building the gate):
Production time: sketch of the plan, thoughts, purchase of everything necessary - 2 days. Standing: 2-3 hours in the evening, Wed-Thu-Fri and two full days Saturday-Sunday. That is, he met the deadline for a week.
And, probably, the most exciting question for many is about money:
A sheet of plywood 9mm 1525x1525mm – 569 rubles The rest will go to a dollhouse for a daughter/mother.
Laminate flooring - residues from floor replacement. There is still left - who needs to write in a PM.
IKEA pencils are free. You will really need a lot of them when applying the mesh.
Drills – 7 pcs. x 6 rubles = 42 rubles.
Slats 2x79 rubles = 158 rubles.
Slats 2x55 rubles = 110 rubles.
Fans have been removed from various faulty equipment or left over from PC repairs.
Rubber feet 5x79 rubles = 395 rubles.
Switch (small size) - 180 rubles I bought it a couple of years ago for a dollhouse.
Wire, terminals, clamps, glue rod, screws, staples - a trifle for 100 rubles each.
12V LED strip – 99 rubles There are still 4 pieces left for the dollhouse.
A can of sealant - 100 rubles.
Aluminum corner 689 rubles2 = 1378 rubles.
Double-sided tape – 60 rubles
Film - 119 rubles 1 meter. More than half is not used.
Bits 2x125 rubles = 250 rubles It turned out to be quite difficult to find in stock in Moscow. If I know where to buy - write in a PM.
An 8 cm compact disc was first tested as a puck, but was killed on the second day (split). Now we use the lens cap.
The help of a son x 2 pcs., a daughter 1 pc. is priceless.
Total: 3560 rubles.
The cheapest air hockey of this size in stores starts from 5-5.5 thousand.
Resume:
The power of the fans is quite enough for a smooth sliding of the CD. The lens cap does not hold very well, but for heavier "pancakes" you need more fans. Soon I will buy a real puck for air hockey and test it on it.
In fact, the cat cried a lot of information on building air hockey with your own hands on the Internet, so, basically, I came up with everything myself.
Of course, you can save on materials, and it will cost you much less. For example, instead of mirror slats for 700 rubles / piece, you can nail a strip of tin to the sides, or find plywood in the trash (saving 1378 + 569 = 1947 rubles), but I wanted to get a good, high-quality and beautiful product, which I achieved.
That's all I have. Thank you for your attention!
Source: www.liveinternet.ru