How to make repairs in the loggia with his hands
 Bashny.Net
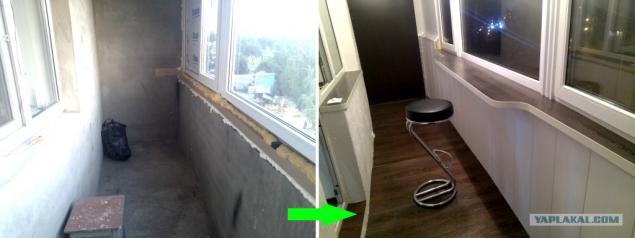
Having read numerous posts about rukozhopstve balconies, decided finally did my glaze and do its insulation and landscaping.
The idea was as follows:
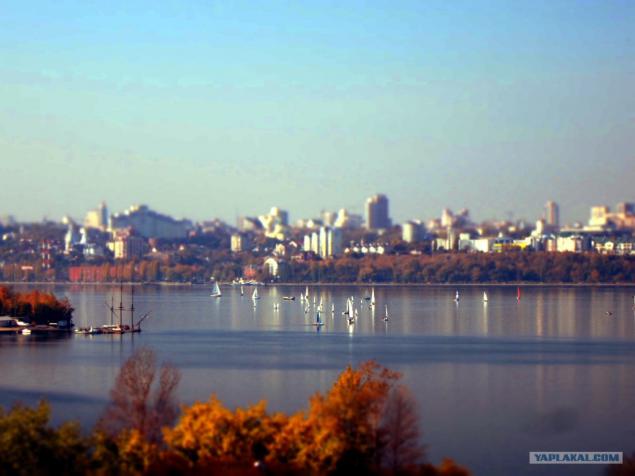
- Made of street loggia cozy lounge with a bar under the window (view from the window a);
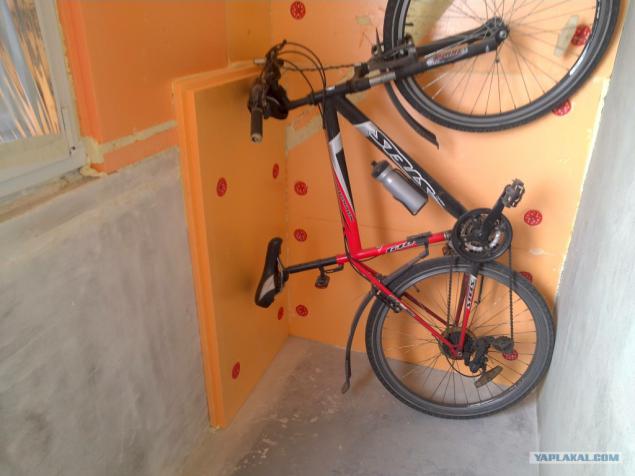
- Organize a closed space for storing various tourist and bicycle accessories;
- Warmed to the winter it was a continuation of the room and not just a cold glazed balcony (demolished completely glazed with a door separating the room from the balcony, while I will not, perhaps sometime later).
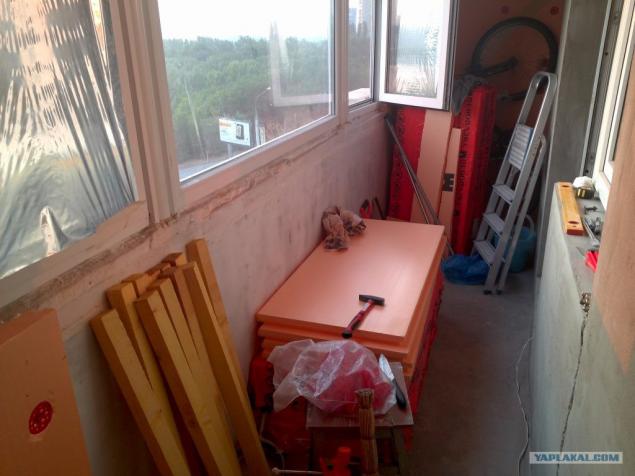
As it turned out, to the extent of work to be a lot of hemorrhoids due to the irregular shape of the loggia - the inner and outer walls of the semicircular. Accordingly, floor and ceiling, bar countertop near the wall were the most difficult stage.
So, what we are dealing:
The area of the loggia of about 6 m (according to plan at home anyway), width 1, 20m length on the outer wall 5, 5m length on the inside about 4, 8m.
42 photo.
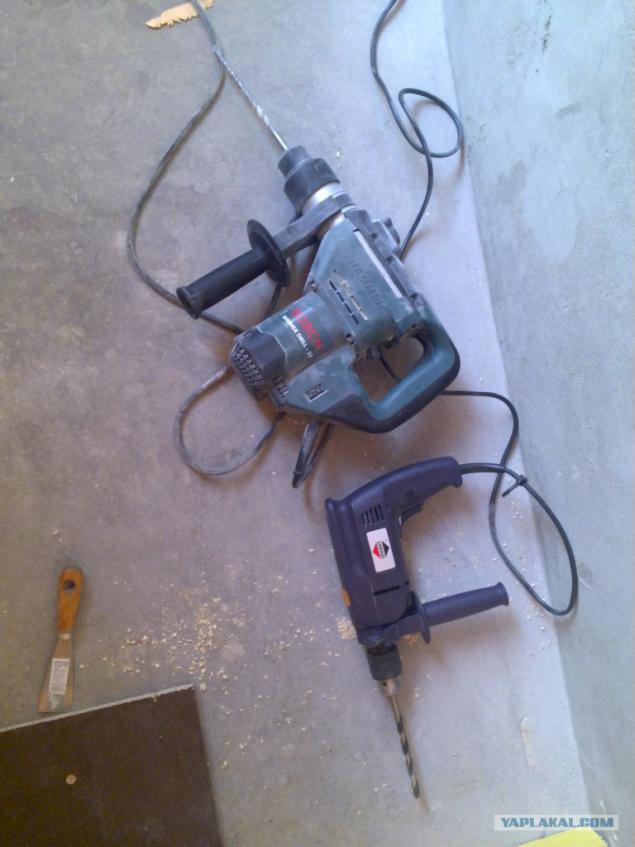
For the quality of the images do not scold, all photos with a tablet, well, sometimes with a punch.
Let's begin. Insulation:
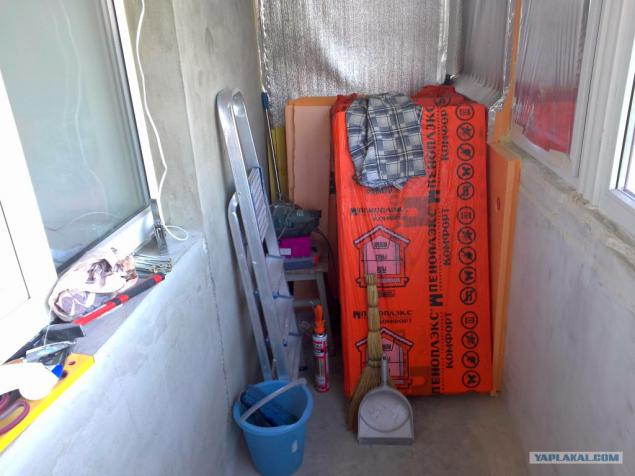
6 packs of extruded polystyrene Penoplex, 1 roll of foil penofol Izolon.
Strip the wire brush all concrete surfaces balcony.
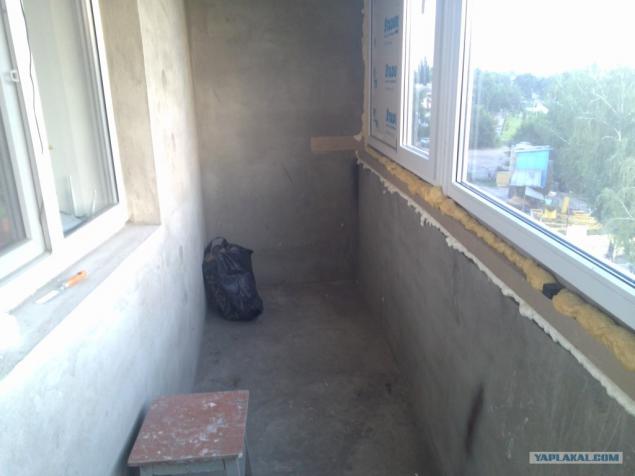
Propenyl remaining gap after installation of glazing.

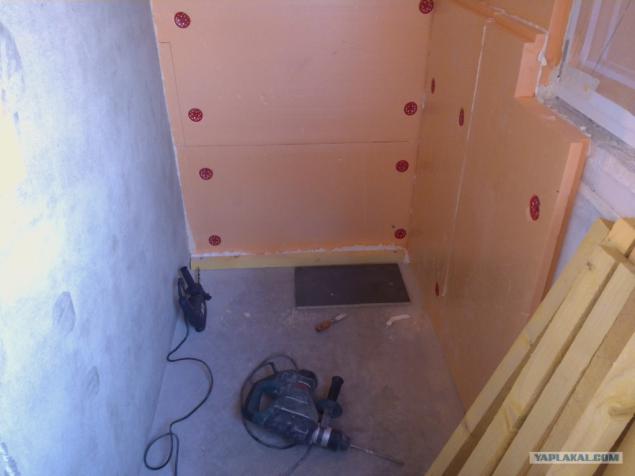
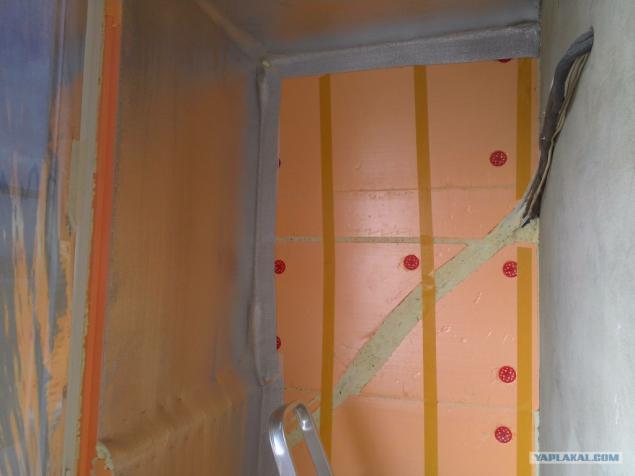
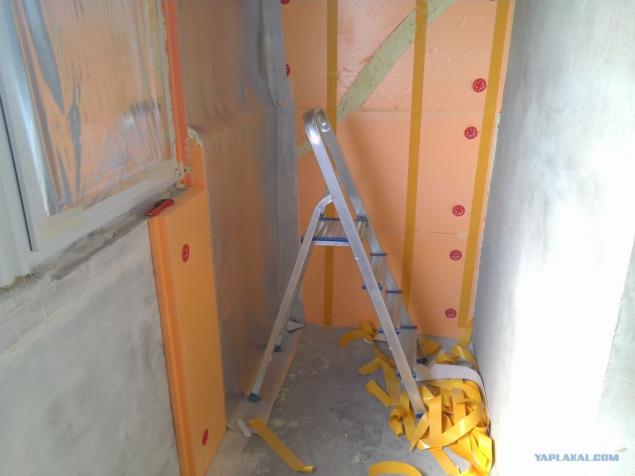
Getting to strengthen "fungi" insulation boards.
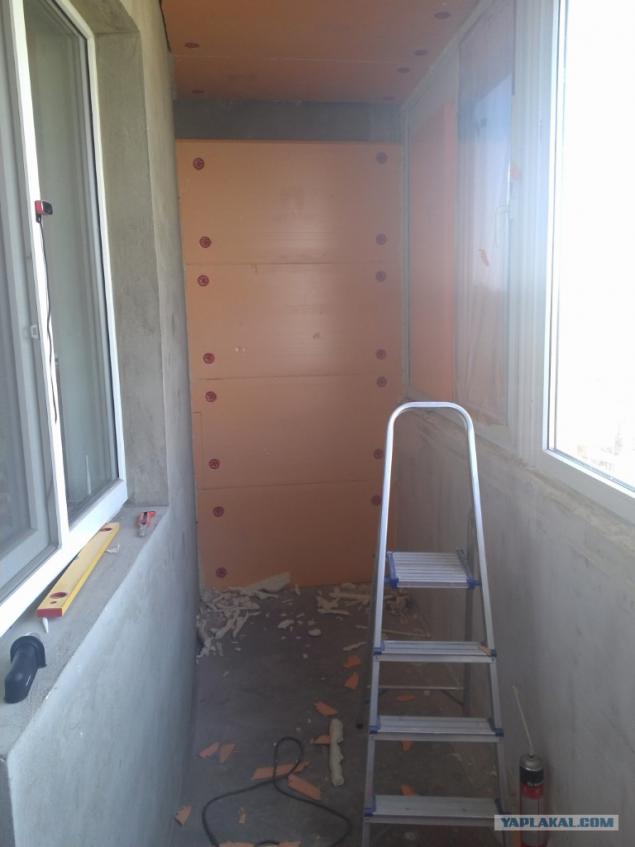
Long thought, closing the window blind (when installing glazing put on the edges of the balcony plastic sandwich panel meter wide, here assumed to be the place of storage and, respectively, the glass here I do not need). In general, it also decided to close the heater.
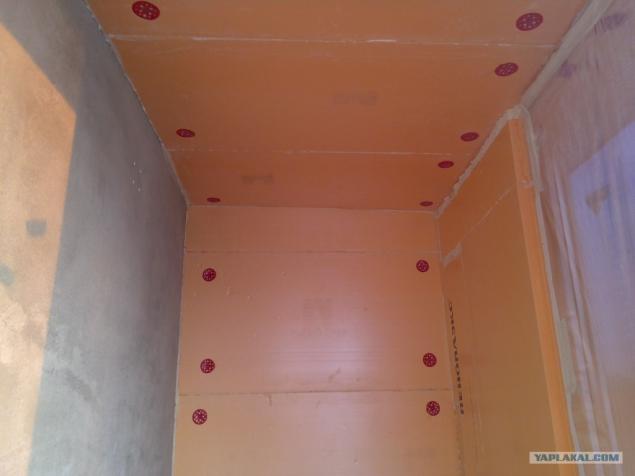
The other side - all similar, but more and cut the wires from under zapenil kondeya.
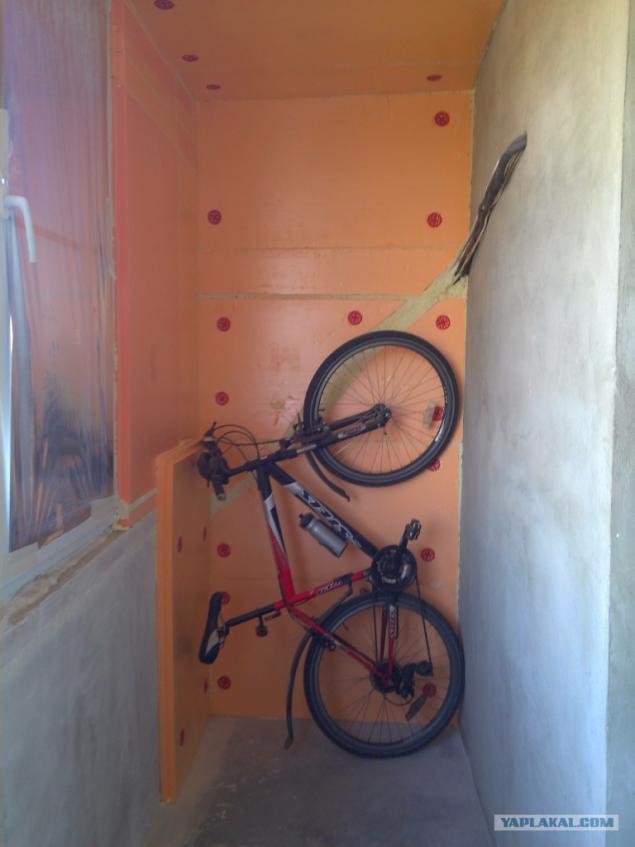
Closer. Here's a jamb naslaenii obtained at each other heaters due to the fact that the sandwich panel windows deeper than the wall. Alternative solutions are not found. A second layer of insulation to align did not - because it will not be seen because is the future "garage" for a bicycle, and its purpose - heat protection - such design performs.
I have become family ...
Along the way, bought the boards for the floor - future cross joists. Cover them with antiseptic and impregnation.
Screw the first lag on trial. All ok.
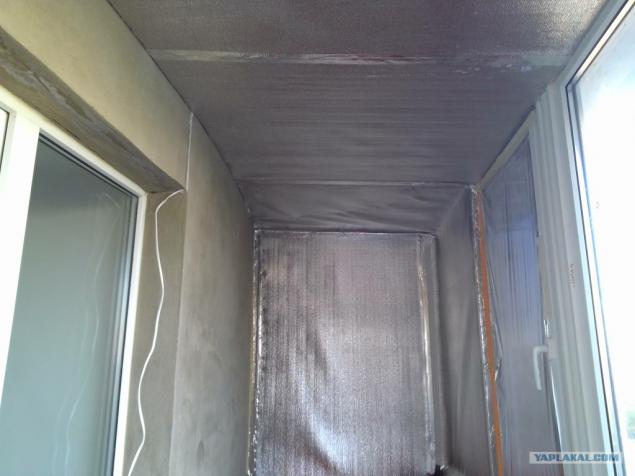
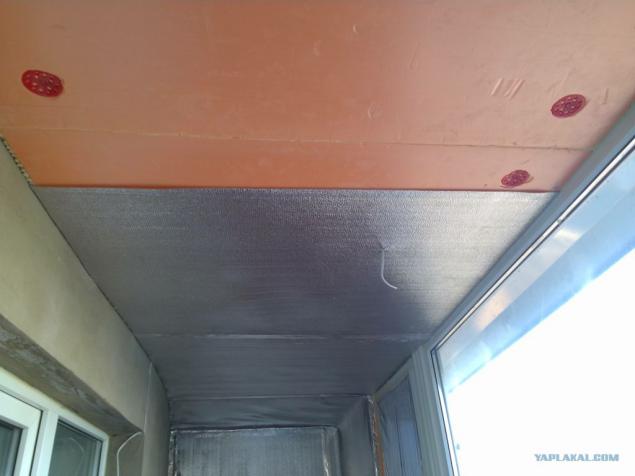
Began to paste the walls and ceiling foiled penofolom. Glued on a double scotch and glue that it does not corrode. Lohanulsya with purchase ... Later learned that penofol happens with self-adhesive base ... Remodel not. All joints were sealed with tape foiled.
Proshtrobil wall under the wire lighting.
Wire brought to light in the right place.
Proshtrobil under the wire to the socket (for the convector, which hang over it).
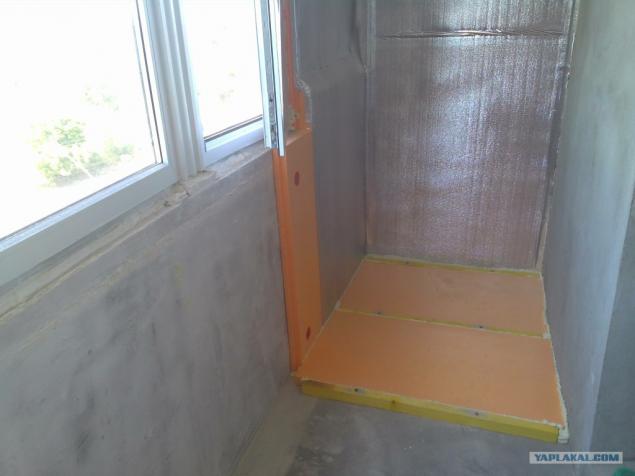
Similarly paste foiled penofolom other side of the balcony.
Insulation under the window until I can not be fixed, because yet countertops you want prisverlivat first, then to hide all this fixing heater.
Transverse joists and insulation on the floor. Zaparov undercut insulation because semicircular balcony and instead of rectangular slabs had to do the trapeze ...
Longitudinal joists.

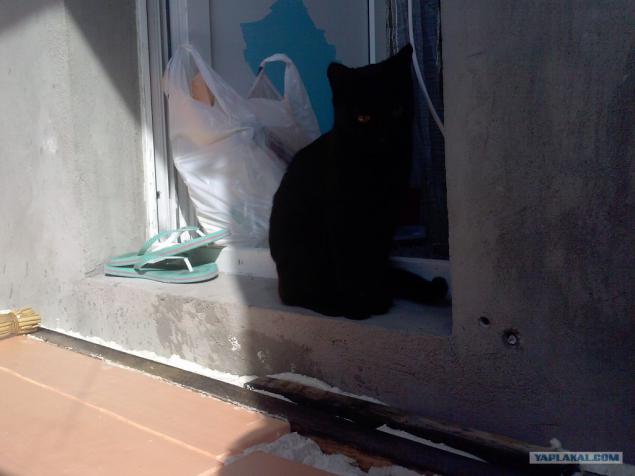
Kote oversees construction.
Between the longitudinal joists put the remaining insulation. Because were mostly scraps, you get atsky puzzle from foam and foam. ))
Now close all 16th plywood. Cut it was hemorrhoids still that ... Again, none of the right angle ...
It's the perfect solution - make stencils from sheets of drawing paper, and they had already cut the plywood.
Cut electric jigsaw. In the background is the old led since student days, which always had to be dragged, as place it always was on the balcony)
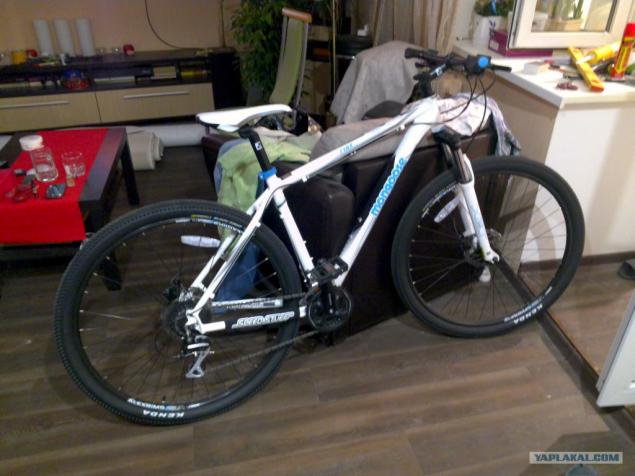
While there was no time to ride - all weekend spent on the balcony - bought in trialsporte on autumn 40% discount new led to 29 Wheels)
Tabletops are made to order. Searched probably a month, where you can make the whole length of the table top 3, 6 m in size. All standard countertop just 3m in length and joints do I do well, did not like, and other materials are not wanted or impracticality of prices. While you were looking for, and then waited when done, began to plaster interior walls decorative plaster. There is already connected wife)
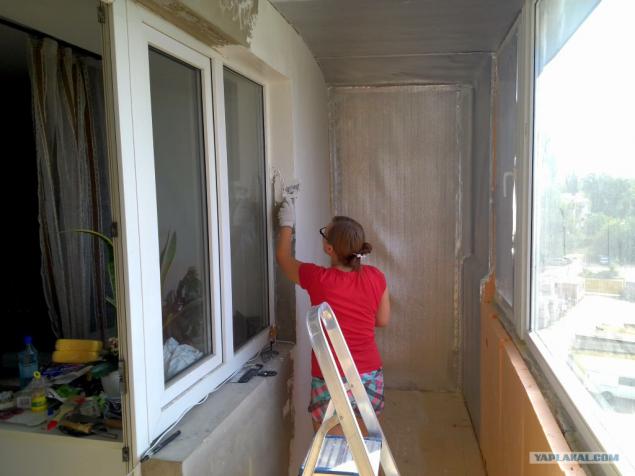
The photo is not very understandable, but it looks cool. Who saw the look of decorative plaster, will understand). Improvise with her for the first time in his life.

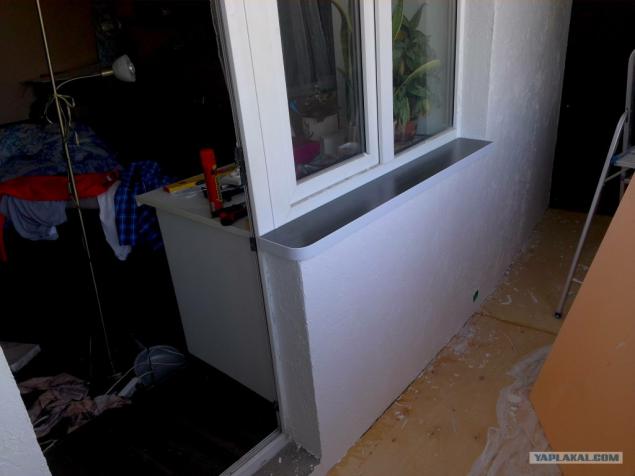
That came tabletop and small piece on the windowsill. Try - class!
Also put Escutcheon for future socket under the convector (If you look closely, you can see the green sticks of 15 cm from the floor).
Put it on the windowsill dowels. Pre bumped into her light switch with smooth control, put the socket.
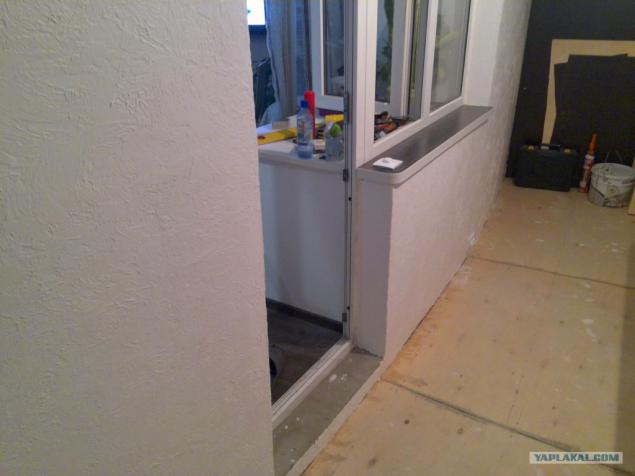
Not doing phot I cut smooth edge countertops rounded wall under the balcony and as I mounted to the wall, but it was atsky n *** ey! .. This is what happened in the end.
Finally sutured insulation.
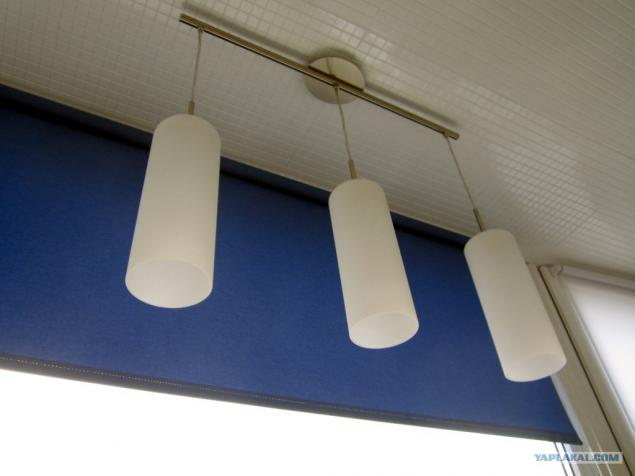
When the installers put glazed - the question of how to retreat from the ceiling as it was not raised. But when ceiling sewed insulation (50mm), I realized that I cant ... On otelochny ceiling material is 1, 5 cm (thickness - is going to interfere with open windows). Plastic panel has a thickness of 1, 6 cm long looked for alternatives ... ... In general, I bought a sample of small inexpensive plastic under the tile.
It turned out not bad, bought in the entire ceiling and pasted on liquid nails. At the same time put on the ceiling lamp and cast a spell over all looks together. Kind of cool.
Wall under the bar counter top stitched plastic.
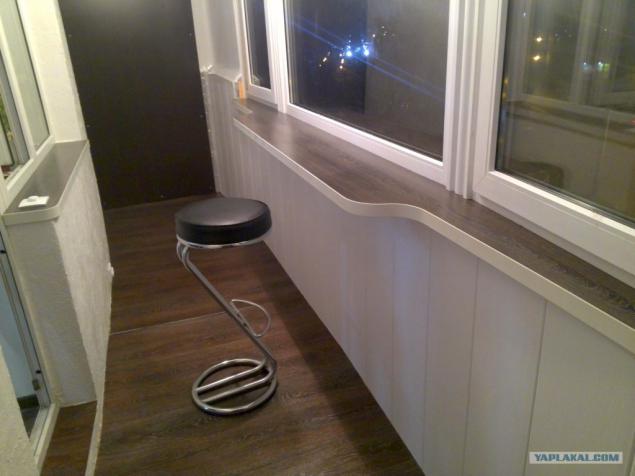
Dirty work is finished, you can lay linoleum (with laminate decided not to bother).
Fed up bar stools, which were on an open balcony a couple of years and was used only in the summer, respectively. Height too big - I will buy other and with the back.
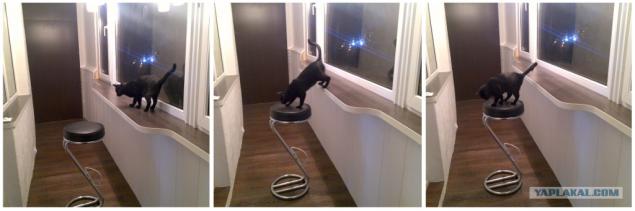
Kote Tests chair.
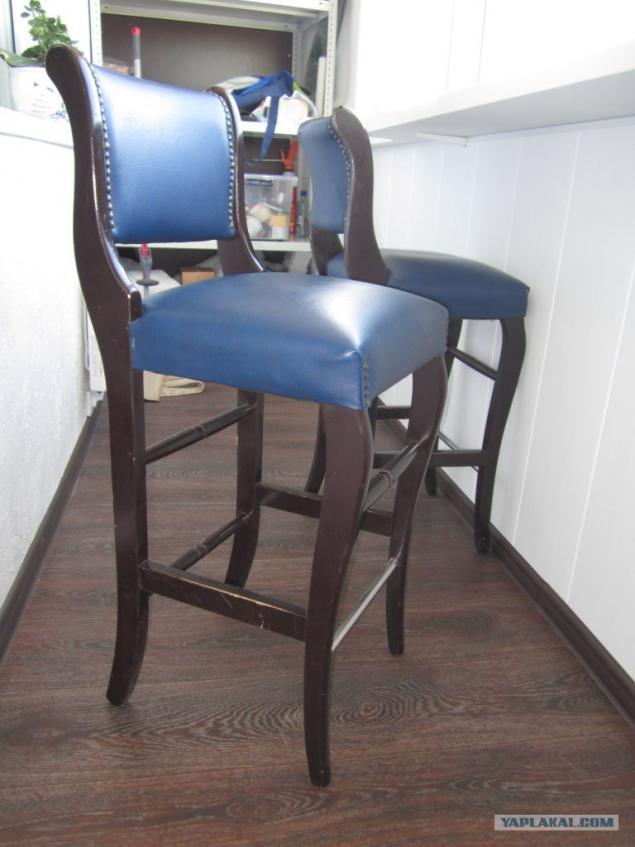
On Avito for 1k bought 2 chairs. Wanted to repaint a white tree, but so far decided to leave it as it is, the time will be - repainted.
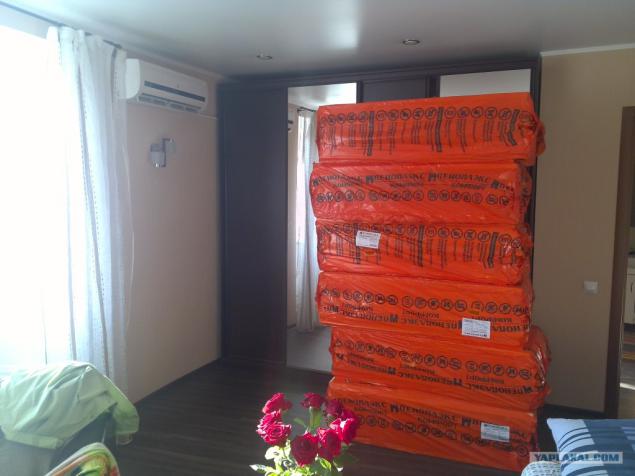
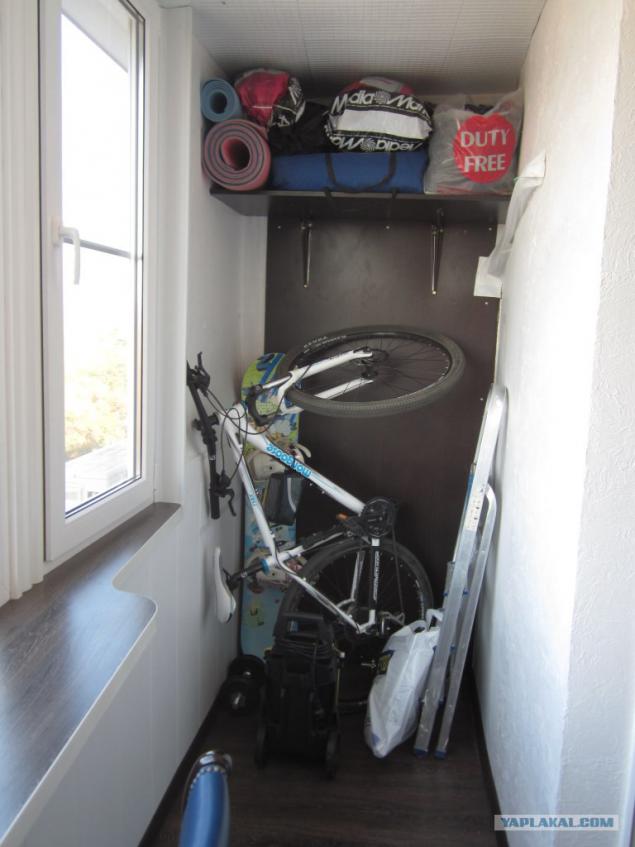
The wall behind the cabinet closed fiberboard sheet and made a big shelf for tent things. Try on the lead. Norms. "Garage" for the led will be closed fotoshtoroy the entire width and height of the opening.
On the other hand wanted to make a built-in wardrobe, but decided not rukozhopit and bought a rack made for 2 5k. The rack will be closed fotoshtoroy the entire width and height of the opening.
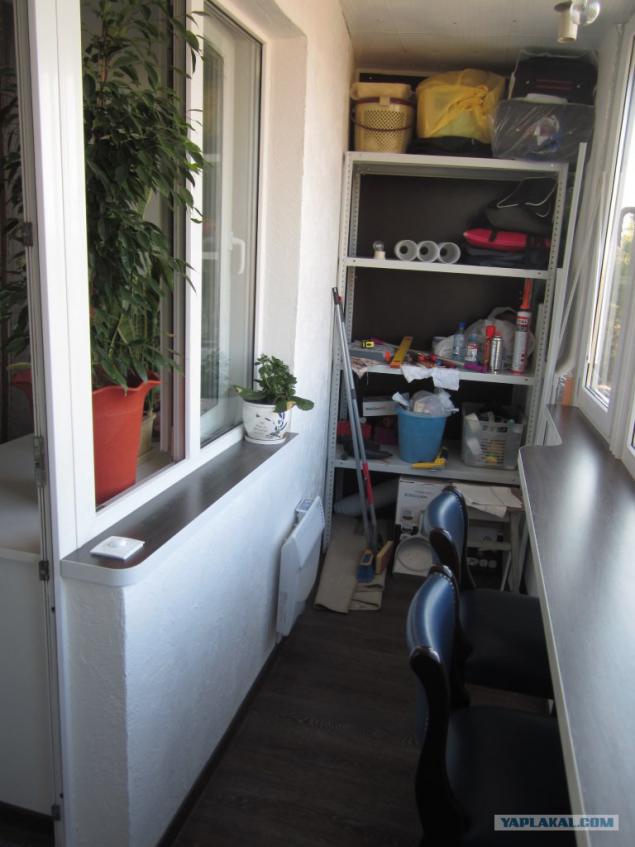
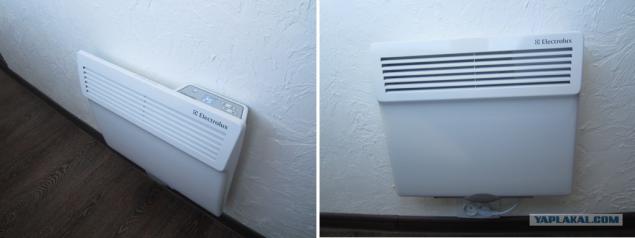
The previous photo is visible convector. Here it is closer. Power 1, 5kW.
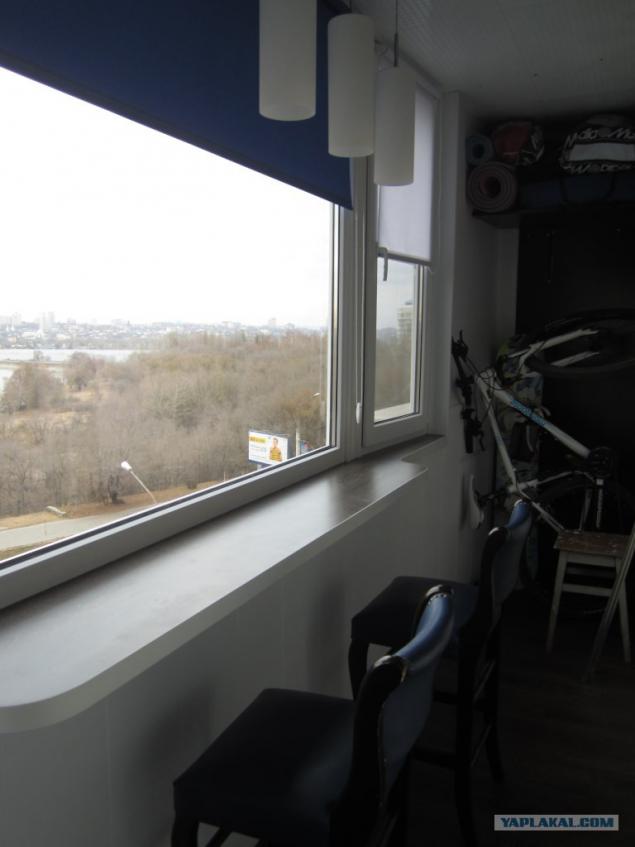
On windows it was decided to buy blinds. Lateral White Finish, and blue had to make to order, because big blinds (here width 180cm) hard to pick the color - almost no choice.
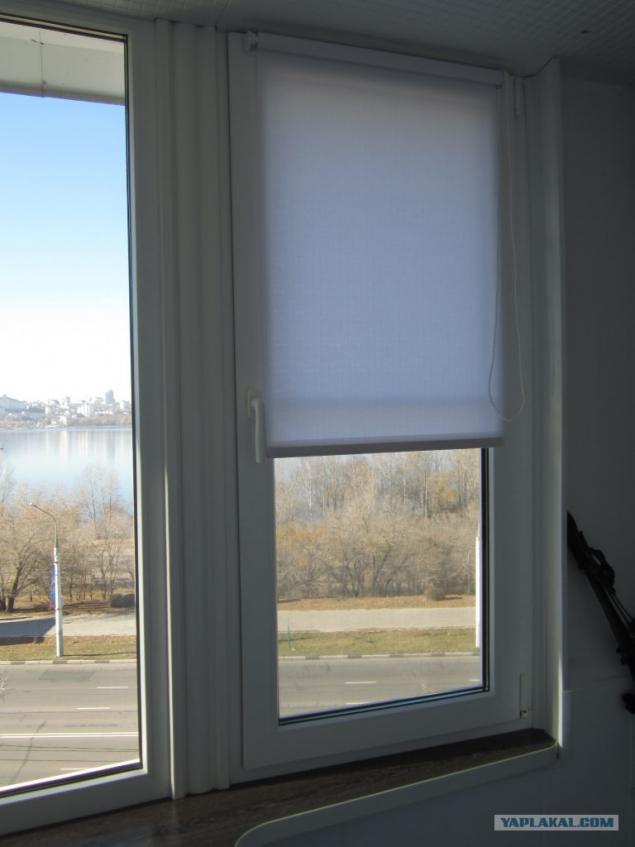
Central and roller blinds.
The view from the window.
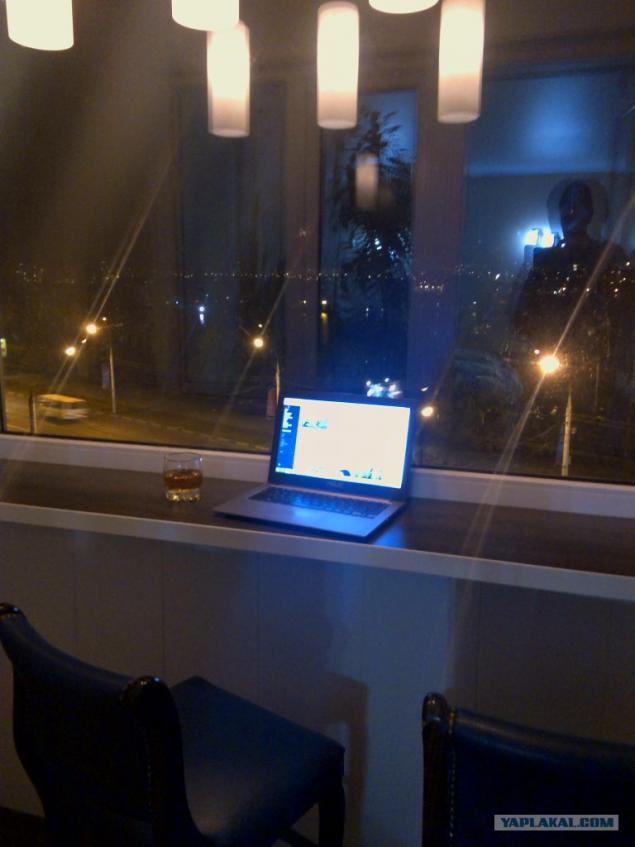
Cozy evening for noutom.
All work is completed, remains open storage compartment and led rack. While looking for the source code for fotoshtor, come autumn.
That's all.
Do not kick much, did so for the first time, without experience.
The idea was as follows:
- Made of street loggia cozy lounge with a bar under the window (view from the window a);
- Organize a closed space for storing various tourist and bicycle accessories;
- Warmed to the winter it was a continuation of the room and not just a cold glazed balcony (demolished completely glazed with a door separating the room from the balcony, while I will not, perhaps sometime later).
As it turned out, to the extent of work to be a lot of hemorrhoids due to the irregular shape of the loggia - the inner and outer walls of the semicircular. Accordingly, floor and ceiling, bar countertop near the wall were the most difficult stage.
So, what we are dealing:
The area of the loggia of about 6 m (according to plan at home anyway), width 1, 20m length on the outer wall 5, 5m length on the inside about 4, 8m.
42 photo.
For the quality of the images do not scold, all photos with a tablet, well, sometimes with a punch.

Let's begin. Insulation:
6 packs of extruded polystyrene Penoplex, 1 roll of foil penofol Izolon.

Strip the wire brush all concrete surfaces balcony.

Propenyl remaining gap after installation of glazing.

Getting to strengthen "fungi" insulation boards.

Long thought, closing the window blind (when installing glazing put on the edges of the balcony plastic sandwich panel meter wide, here assumed to be the place of storage and, respectively, the glass here I do not need). In general, it also decided to close the heater.

The other side - all similar, but more and cut the wires from under zapenil kondeya.

Closer. Here's a jamb naslaenii obtained at each other heaters due to the fact that the sandwich panel windows deeper than the wall. Alternative solutions are not found. A second layer of insulation to align did not - because it will not be seen because is the future "garage" for a bicycle, and its purpose - heat protection - such design performs.

I have become family ...

Along the way, bought the boards for the floor - future cross joists. Cover them with antiseptic and impregnation.

Screw the first lag on trial. All ok.

Began to paste the walls and ceiling foiled penofolom. Glued on a double scotch and glue that it does not corrode. Lohanulsya with purchase ... Later learned that penofol happens with self-adhesive base ... Remodel not. All joints were sealed with tape foiled.
Proshtrobil wall under the wire lighting.

Wire brought to light in the right place.

Proshtrobil under the wire to the socket (for the convector, which hang over it).

Similarly paste foiled penofolom other side of the balcony.

Insulation under the window until I can not be fixed, because yet countertops you want prisverlivat first, then to hide all this fixing heater.

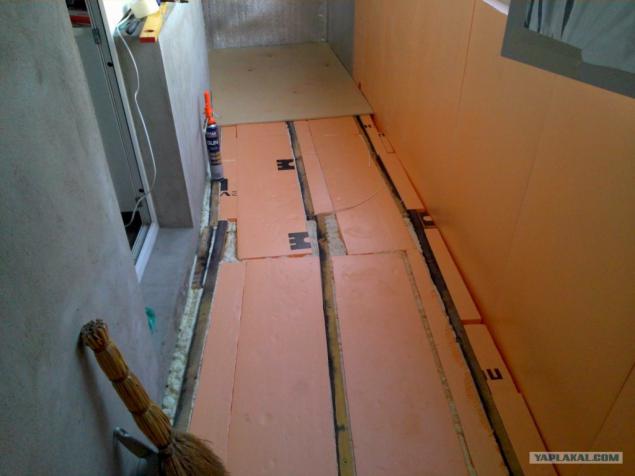
Transverse joists and insulation on the floor. Zaparov undercut insulation because semicircular balcony and instead of rectangular slabs had to do the trapeze ...

Longitudinal joists.

Kote oversees construction.

Between the longitudinal joists put the remaining insulation. Because were mostly scraps, you get atsky puzzle from foam and foam. ))
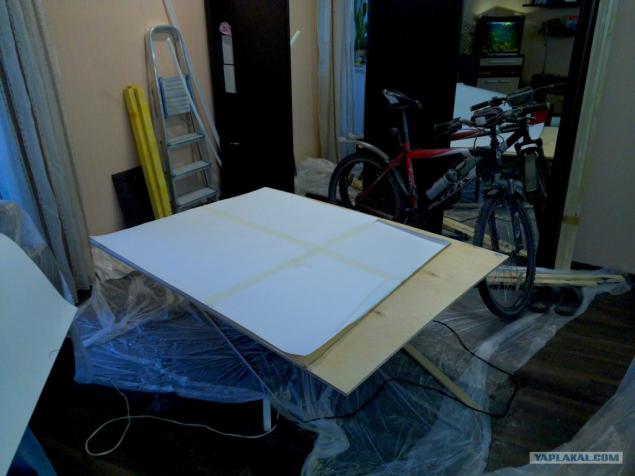
Now close all 16th plywood. Cut it was hemorrhoids still that ... Again, none of the right angle ...

It's the perfect solution - make stencils from sheets of drawing paper, and they had already cut the plywood.

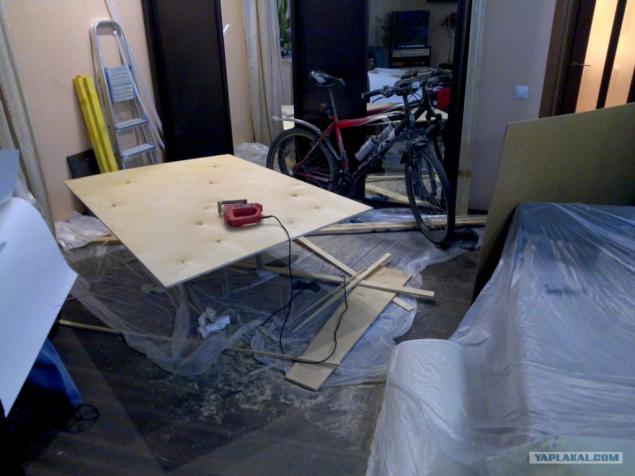
Cut electric jigsaw. In the background is the old led since student days, which always had to be dragged, as place it always was on the balcony)

While there was no time to ride - all weekend spent on the balcony - bought in trialsporte on autumn 40% discount new led to 29 Wheels)

Tabletops are made to order. Searched probably a month, where you can make the whole length of the table top 3, 6 m in size. All standard countertop just 3m in length and joints do I do well, did not like, and other materials are not wanted or impracticality of prices. While you were looking for, and then waited when done, began to plaster interior walls decorative plaster. There is already connected wife)

The photo is not very understandable, but it looks cool. Who saw the look of decorative plaster, will understand). Improvise with her for the first time in his life.

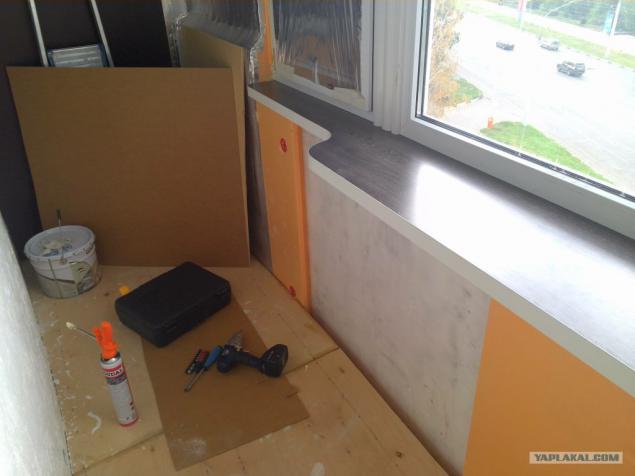
That came tabletop and small piece on the windowsill. Try - class!
Also put Escutcheon for future socket under the convector (If you look closely, you can see the green sticks of 15 cm from the floor).

Put it on the windowsill dowels. Pre bumped into her light switch with smooth control, put the socket.

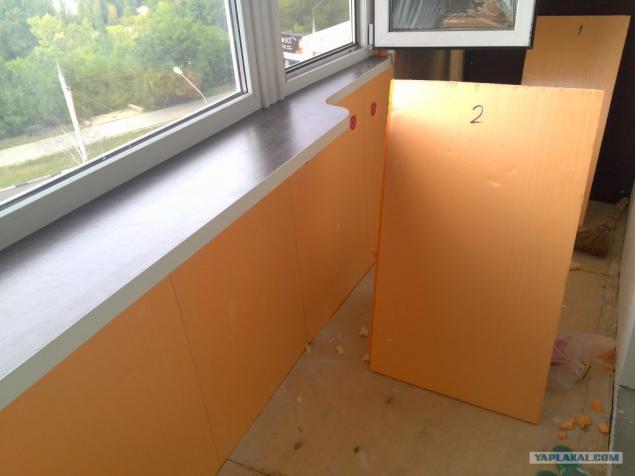
Not doing phot I cut smooth edge countertops rounded wall under the balcony and as I mounted to the wall, but it was atsky n *** ey! .. This is what happened in the end.

Finally sutured insulation.

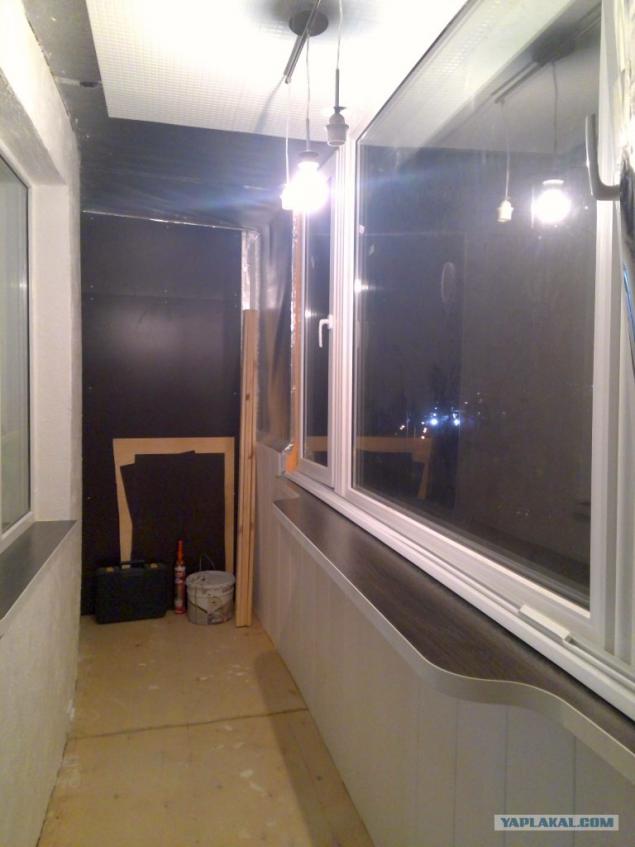
When the installers put glazed - the question of how to retreat from the ceiling as it was not raised. But when ceiling sewed insulation (50mm), I realized that I cant ... On otelochny ceiling material is 1, 5 cm (thickness - is going to interfere with open windows). Plastic panel has a thickness of 1, 6 cm long looked for alternatives ... ... In general, I bought a sample of small inexpensive plastic under the tile.

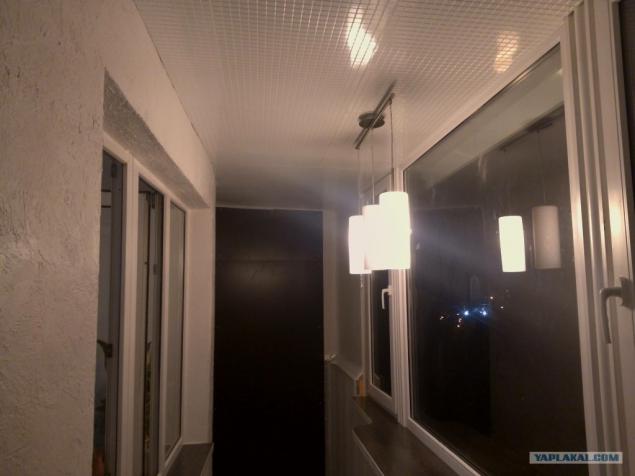
It turned out not bad, bought in the entire ceiling and pasted on liquid nails. At the same time put on the ceiling lamp and cast a spell over all looks together. Kind of cool.

Wall under the bar counter top stitched plastic.
Dirty work is finished, you can lay linoleum (with laminate decided not to bother).
Fed up bar stools, which were on an open balcony a couple of years and was used only in the summer, respectively. Height too big - I will buy other and with the back.

Kote Tests chair.

On Avito for 1k bought 2 chairs. Wanted to repaint a white tree, but so far decided to leave it as it is, the time will be - repainted.

The wall behind the cabinet closed fiberboard sheet and made a big shelf for tent things. Try on the lead. Norms. "Garage" for the led will be closed fotoshtoroy the entire width and height of the opening.

On the other hand wanted to make a built-in wardrobe, but decided not rukozhopit and bought a rack made for 2 5k. The rack will be closed fotoshtoroy the entire width and height of the opening.

The previous photo is visible convector. Here it is closer. Power 1, 5kW.

On windows it was decided to buy blinds. Lateral White Finish, and blue had to make to order, because big blinds (here width 180cm) hard to pick the color - almost no choice.

Central and roller blinds.

The view from the window.

Cozy evening for noutom.

All work is completed, remains open storage compartment and led rack. While looking for the source code for fotoshtor, come autumn.
That's all.
Do not kick much, did so for the first time, without experience.

Tags
See also
How to build a firewood tower at the dacha with his hands
How to build a terrace at the dacha with his hands
Easter egg with his own hands
How to make a street litter bin made of concrete
Pyrolytic boiler with their hands
How to build a gazebo from timber with your own hands
Installation of a copper roof with your hands
Led lights for garden with your own hands
How to make a home theater with your own hands