Kitchen rukozhopstvu dedicated
 Bashny.Net
After reviewing a recent theme of kitchen rukozhopstvo decided to answer Chembirlenu)
It is difficult to say that people enjoy the process ... but dirt in the apartment he just adds) But the result - definitely warms the soul)
This is how the kitchen looked after in a hurry and is not very well done renovation 6 years ago (as it looked before - gallery did not survive ... it's sad at all ..)
40 photos.
even an old kitchen from another angle
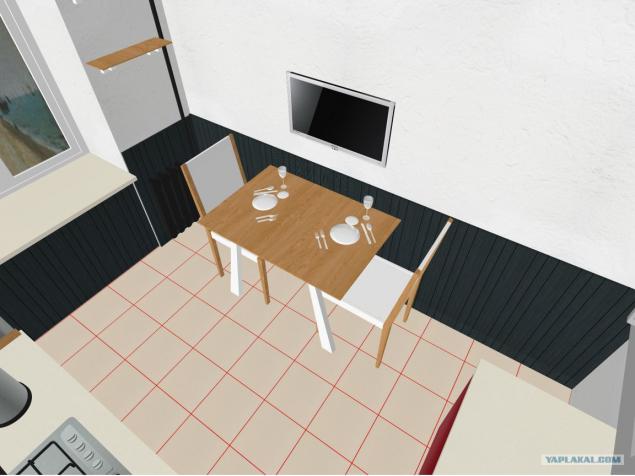
Then it was decided to start with a three-dimensional design of the project, then to not be excruciatingly painful to redo everything) Since Furniture was decided not to change, because the Swedish filings for 6 years do not lose their properties, proceeded from this in the design
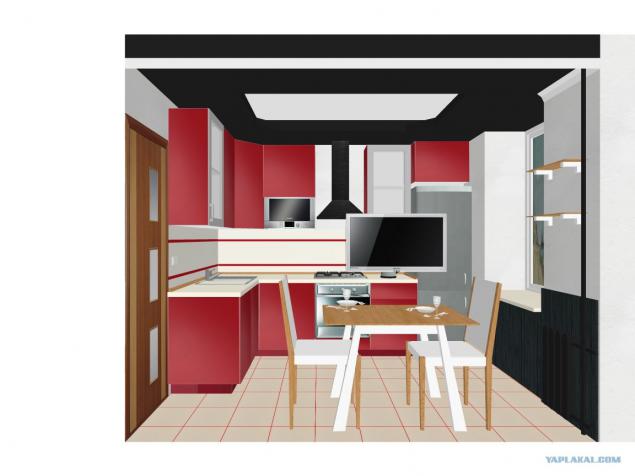
another project
Well, then I went to the process of dismantling the furniture (careful ... because ptom all ... well almost everything ... will be returned)
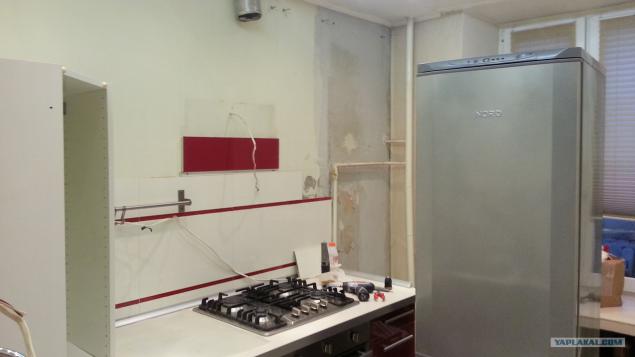
and old wallpaper. in this, and not only that helped me a spouse who contribute a share of romance in the process)))
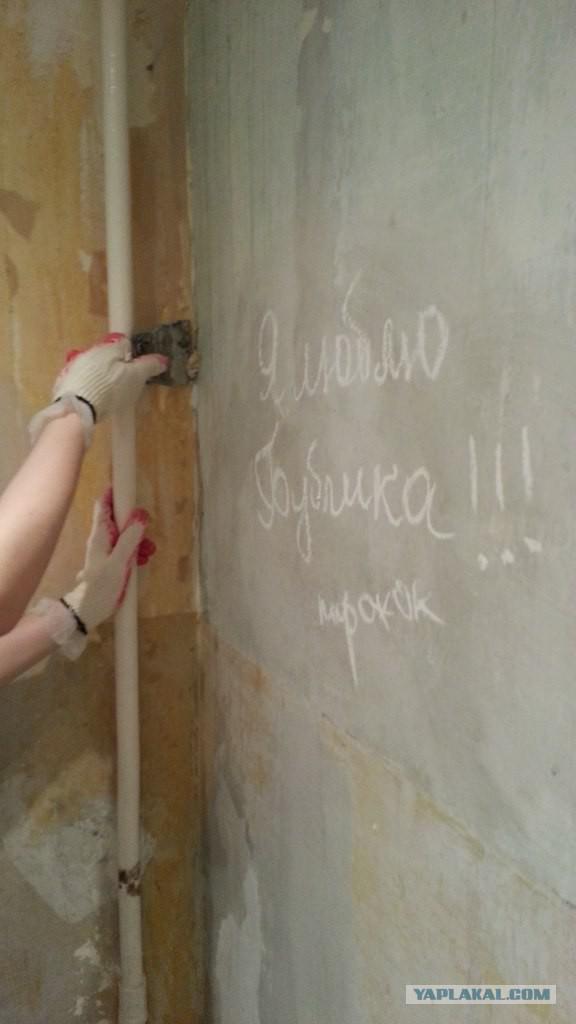
On the wall, it was decided to apply a decorative plaster with effect hut. But since Project 100% rukozhopny, then of course, it was decided not to buy pricey special mixtures (besides, they do not like the texture ..). The composition was made of plaster and quadrupeds German manufacturer of PVA glue and water
a little romance ...
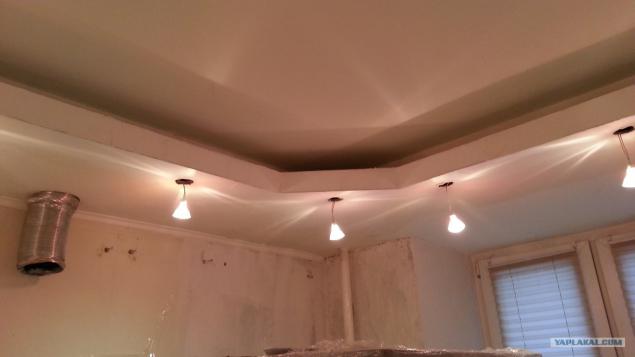
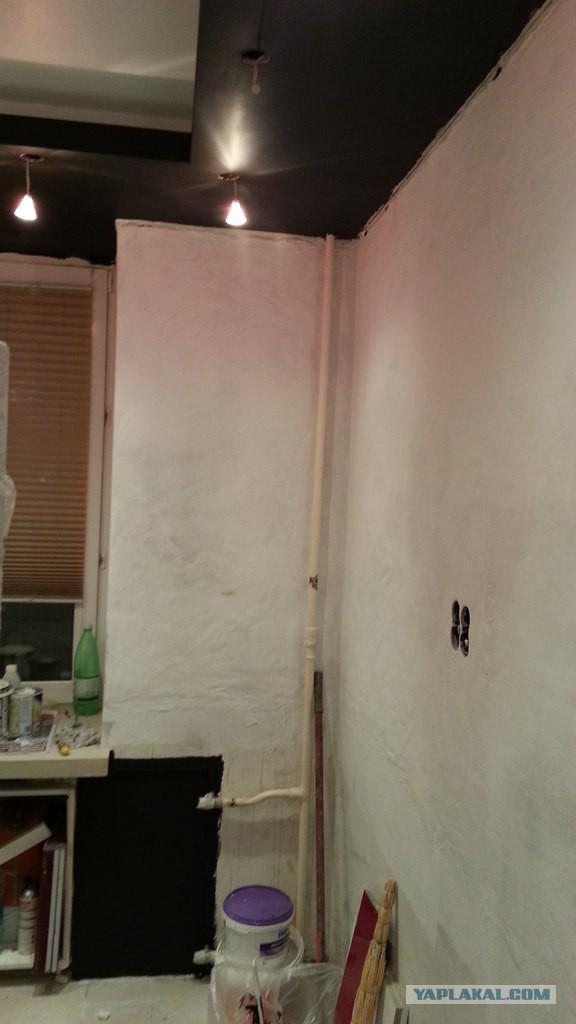
multi-level ceiling, too, has already been, but was done poorly: uneven, and the location of some of the fixtures in the area of kitchen furniture was a bit unfortunate ... so it trimmed and plastered again, so to remove cracks in the joints and crooked angles made
Under the window of his parents back in the Soviet years has been hollowed out so-called winter refrigerator ... The principle is quite rational solution: even in summer it is dark and cool place, because brick house. Rsheno would ennoble it by making a cultural box
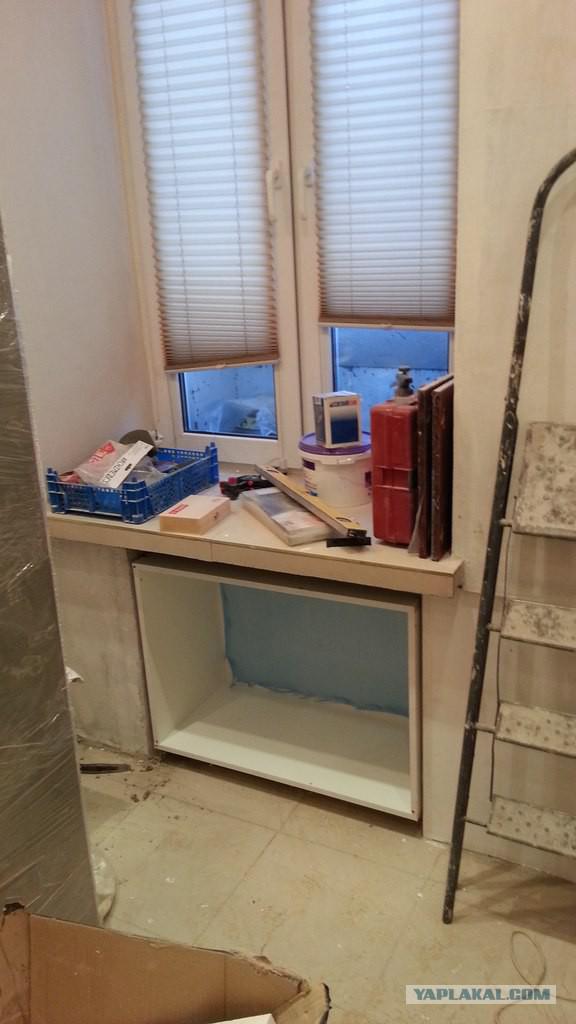
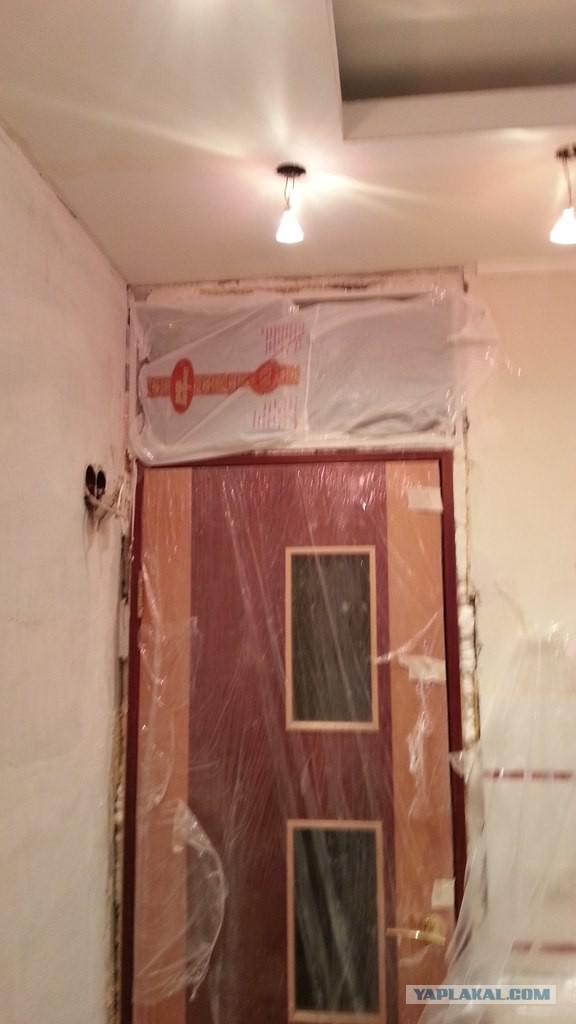
Since the project has been decided to remove several boxes mounted in the kitchen, it was decided to return to the mezzanine in the corridor. The hole above the door will keep it to themselves ... the mezzanine will be made in the process of repair in the hallway)
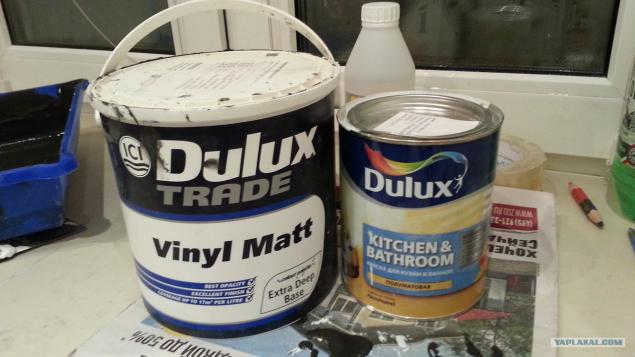
The painting is carried out here these colors in the color you want zakolerovanymi
We started, of course, from the ceiling. It was to be two-tone
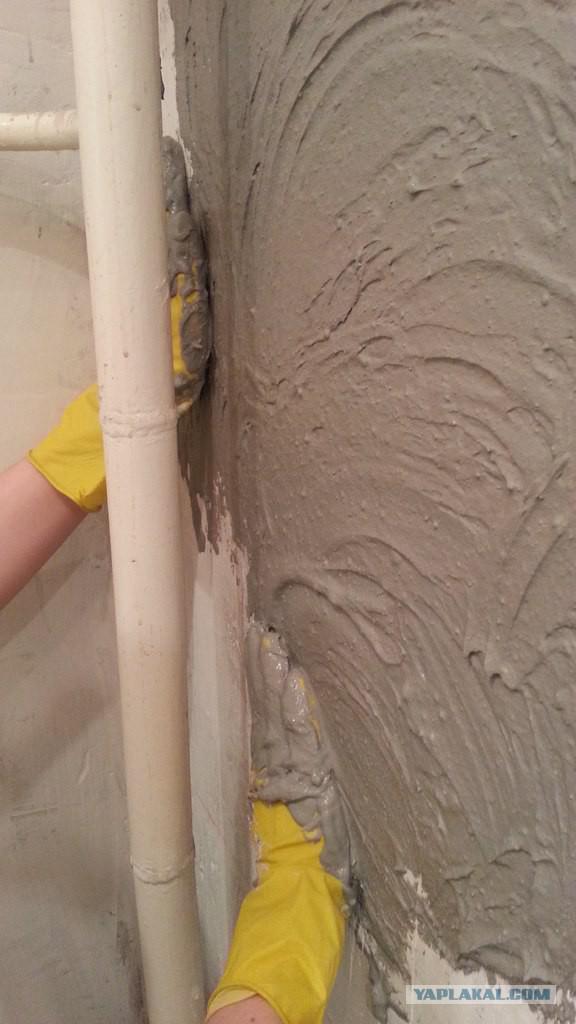
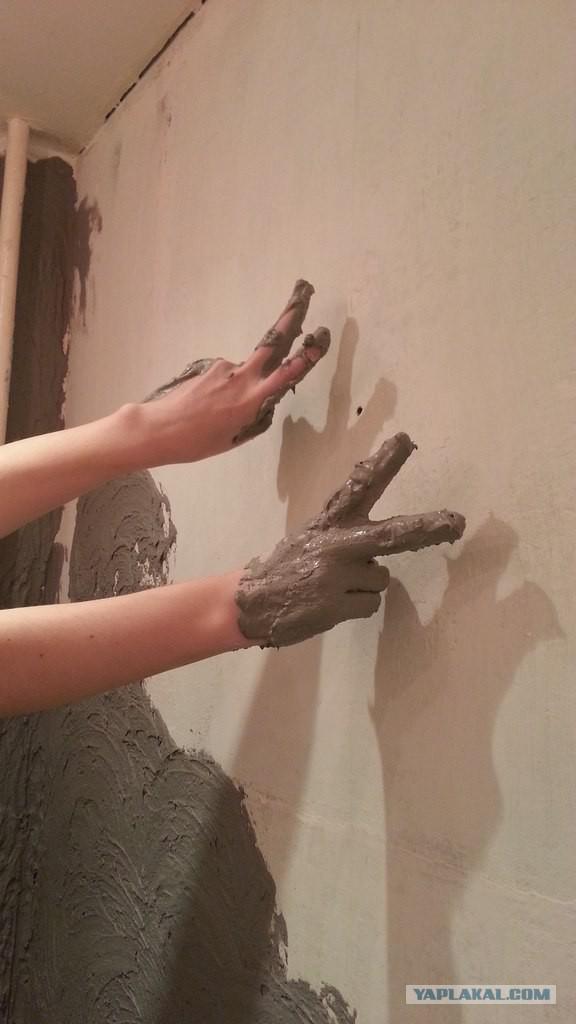
Next it was painted wall. By the way I forgot to say that the technology applying plaster "under the mud hut" was. First hands messy plaster is applied, and then, when it starts to dry out (about half an hour), it is necessary to level the uneven wet wide and soft brush. How to compare - a matter of taste)
Well, be marked for the future border of the lining
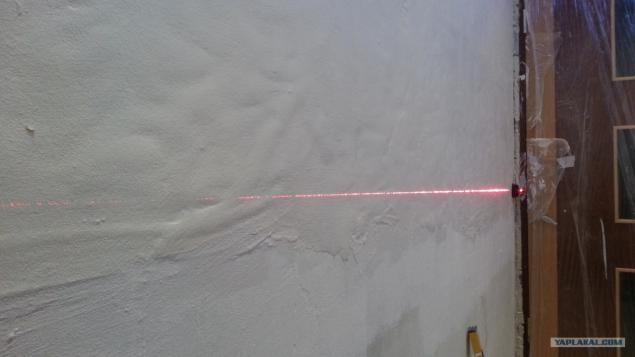
and then he actually zapilivaem curb. To avoid ugly colored lining joints in its fissuring / swelling, it was first painted, and then nailed to the wall in the PVA and klyaymery
here's another missed overall picture wall with shtukatrukoy
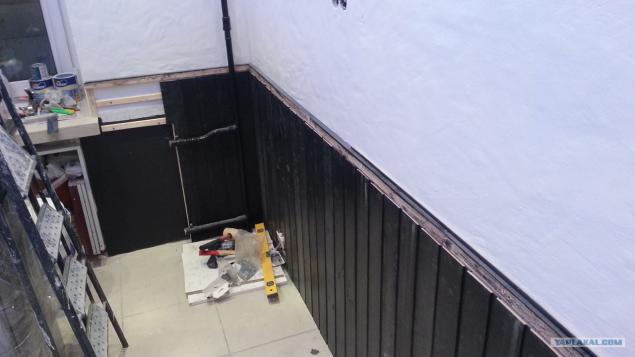
Facade of the box under the window was also made in the style of a wooden border, making it almost a secret))
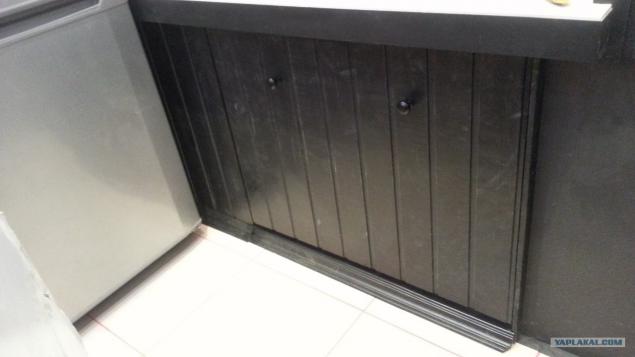
Inside were used mechanisms of Swedish lumber store)
Vysotoa non-standard box, but the width has been made standard - 80 cm, so there were no problems with accessories
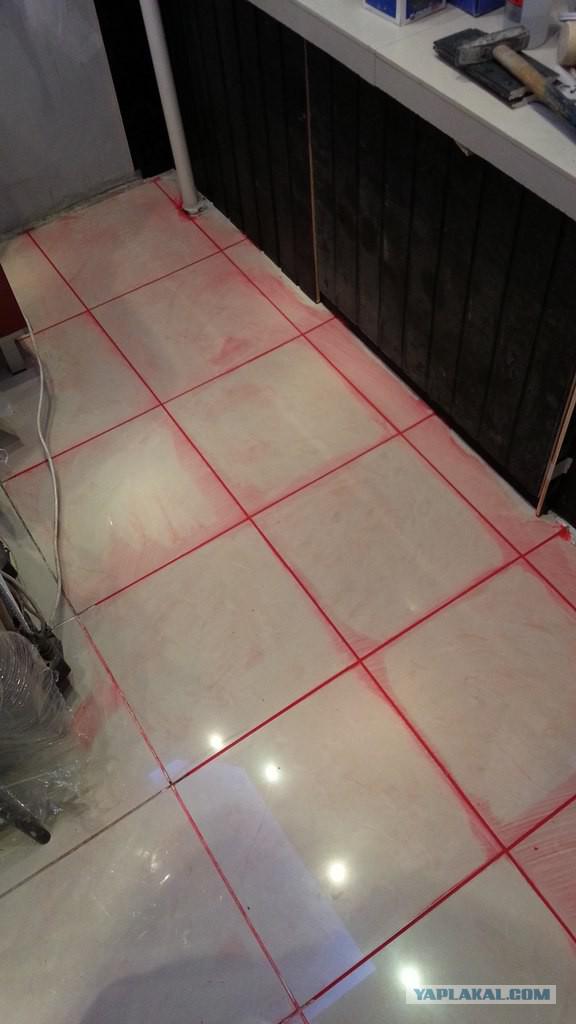
The floor was paved with granite, which is almost worn out, but the joints, daubed white grout become unsightly. It was decided to remove the old grout and make a new one - the red!
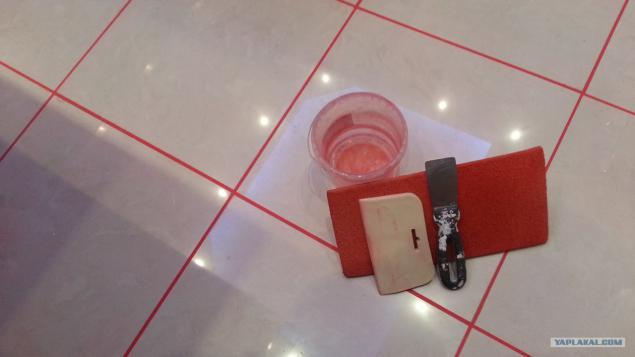
Tools
This finish is over ... it's time to do a return furniture. In the process, it was decided pomeyant worktop with laminated on wood, as well as change the sink and dishwasher to build
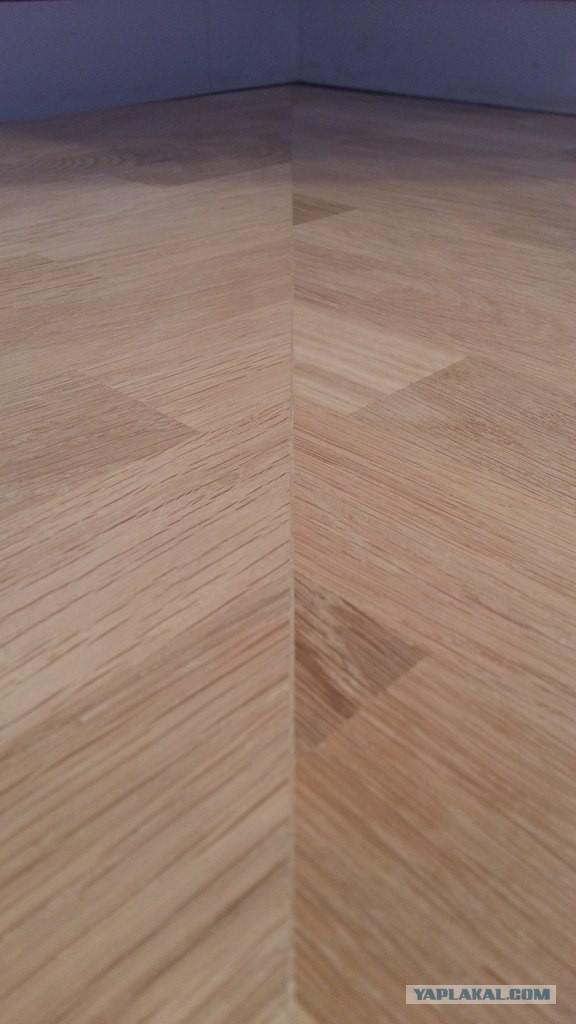
Splicing oblique angle worktops since it is much harder to do that ... because it is much more beautiful)
The joint is greased with white glue and contracted special ties underneath. proshkuril joint in a rough sandpaper P60 and finishing putty composition (PVA + sanding dust oak)
those same ties
seam after finishing grinding
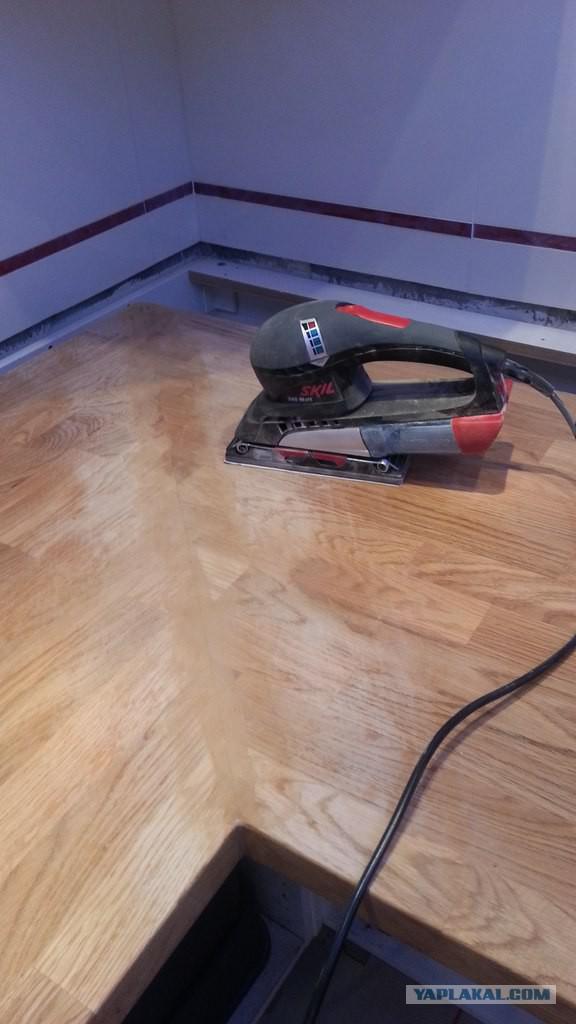
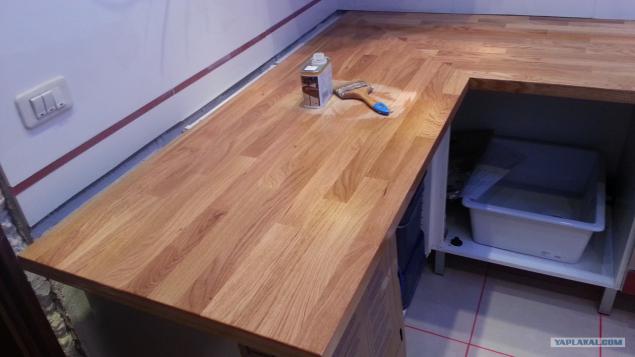
Worktop itself was bought by the Swedes ... it is covered with plant nepoymi than ... so all is good ground off and covered with oil OSMO worktop (no ads))
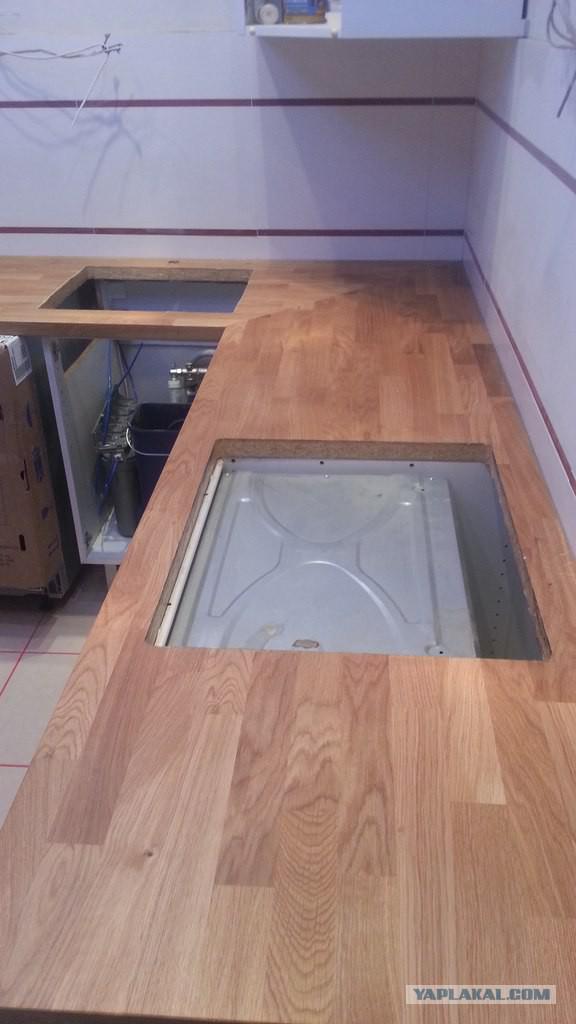
The holes under the sink and hob. Tabletop installed permanently, joint with tiles put on a transparent silicone sealant. It was decided not to put the plinth between the top and apron, for with him is ugly
joint with an apron closeup

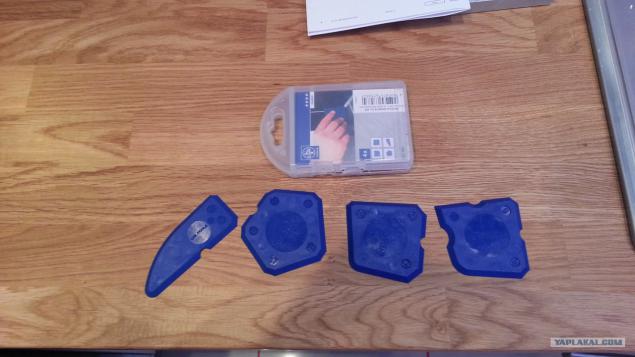
to get smooth and beautiful seams of the sealant - use here is a wonderful tool. Although previously I thought as well as many that you can finger / credit card, etc. do no worse. Even personal approximate beauty finger do not work)
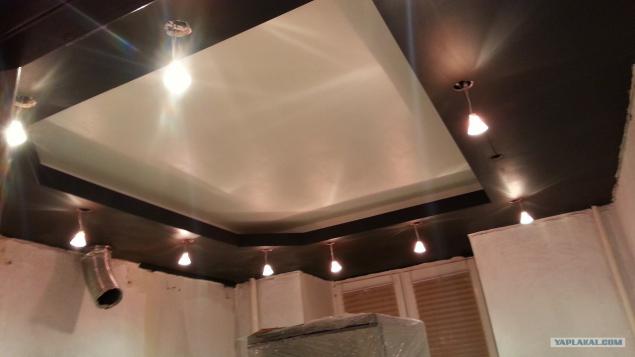
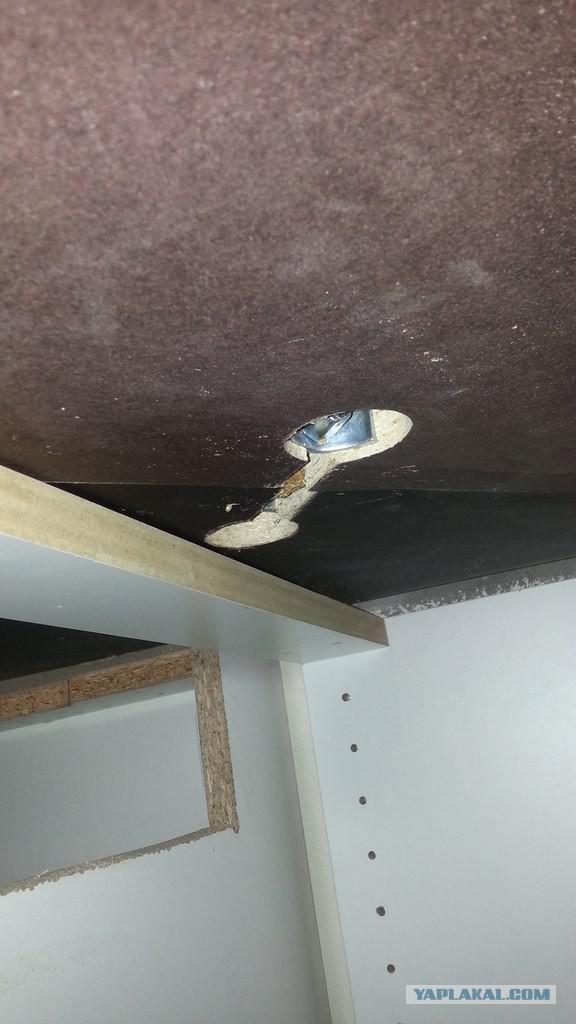
Meanwhile came LED Strip, which has been installed on the ceiling
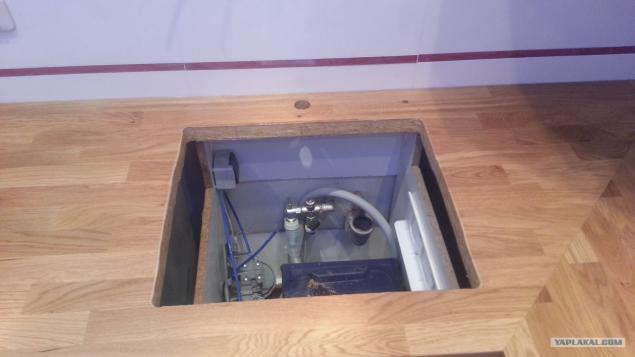
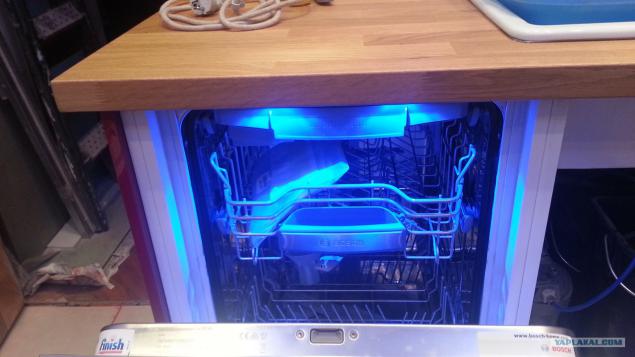
wiring made of water under the dishwasher, summed electricity
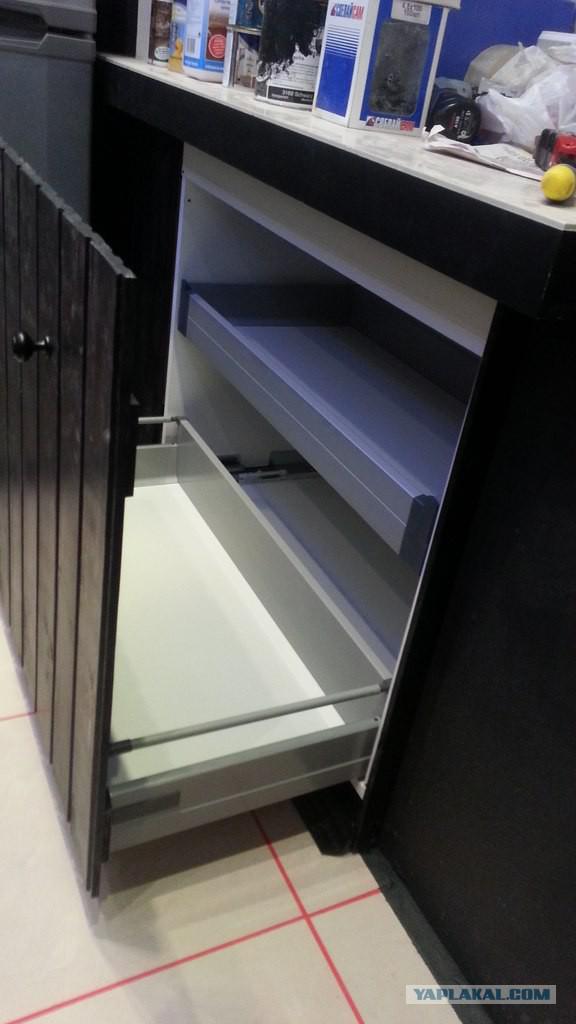
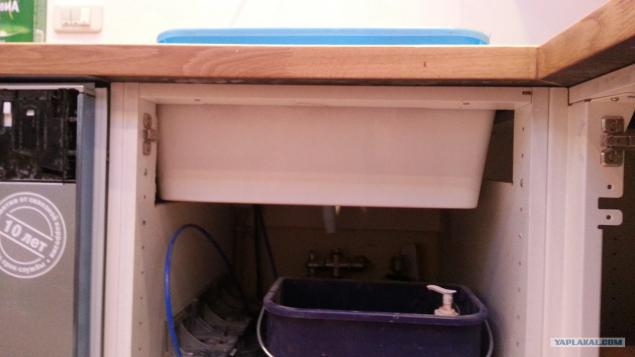
because It was the need to build a new sink. width of 60 cm. to 50 cm wide cabinet had rukozhopit ...
more rukozhipit had to posubomoechnoy machine ... because the only place for it was at the curb in a row ... and as you know, your body from PMM no mount tabletop and a side wall of the cabinet there is nothing ... I had to make a sandwich and three particleboard panels

as a result turned out. PMM 45 cm seated in the cabinet 50 cm
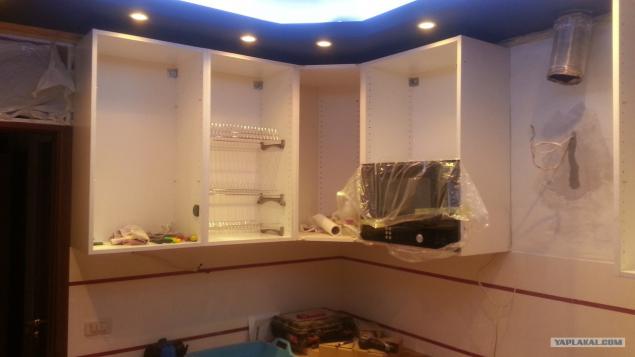
I cover the upper cabinets and built in microwave, so it does not take place on the table
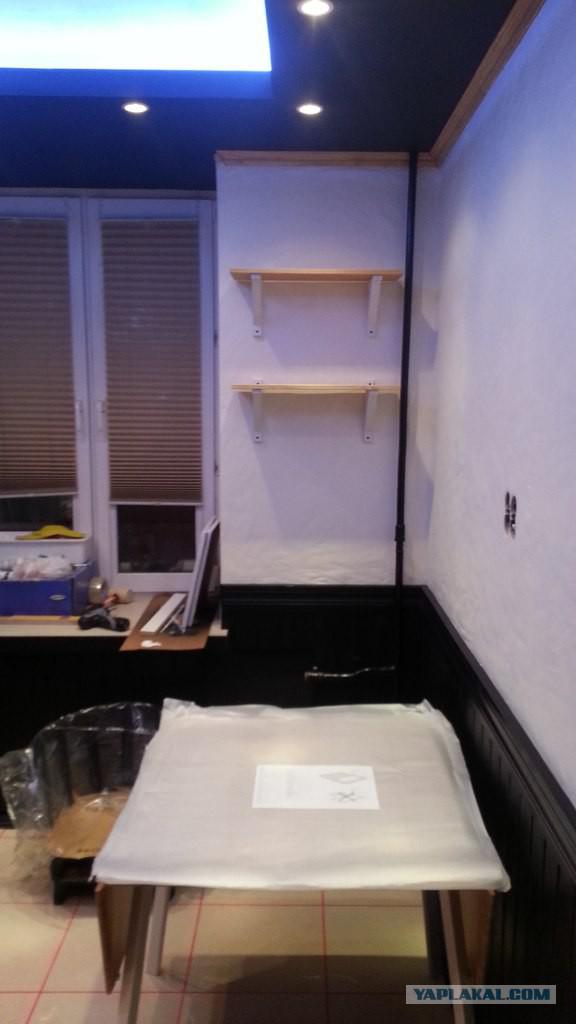
We put a table and chairs, decorative shelves hung on the wall
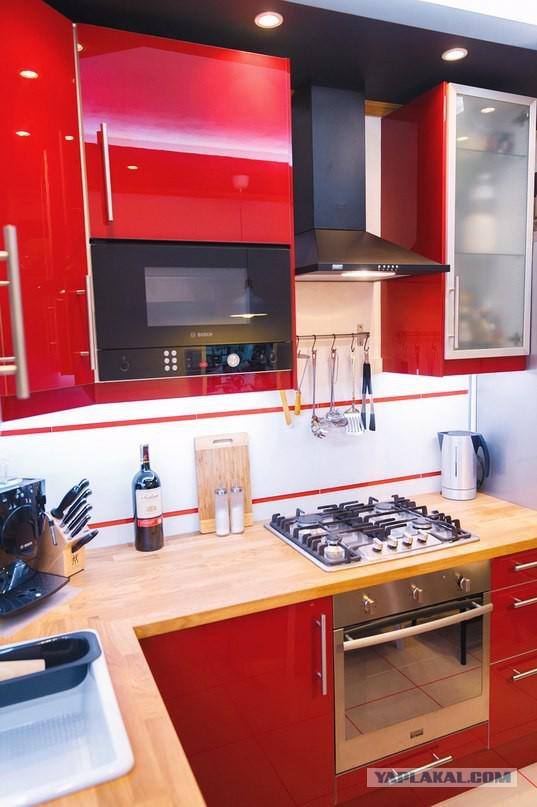
And now for a beautiful photo after the completion of all works)
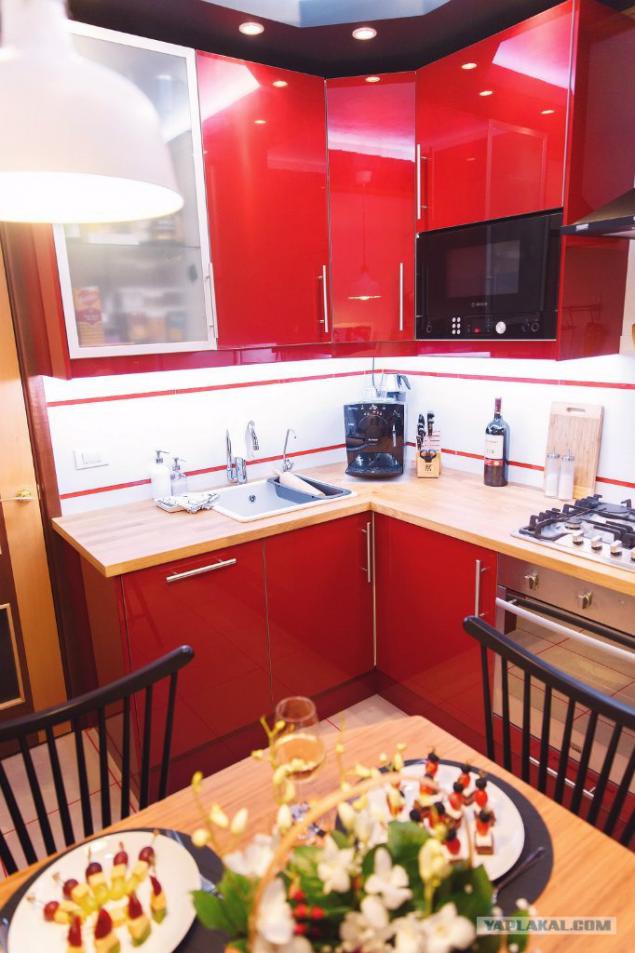
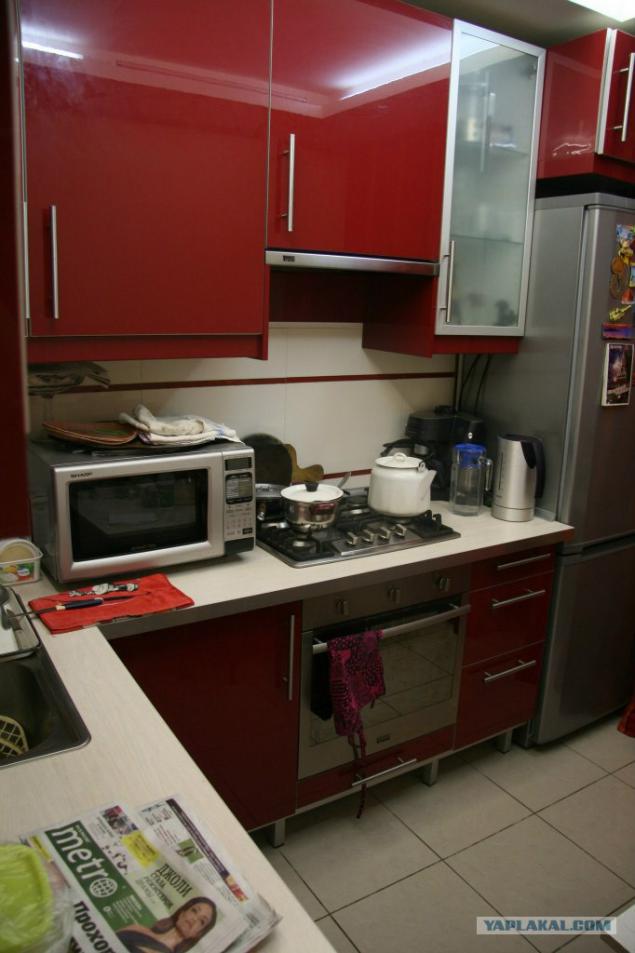
Here for installation of microwave door had to saw off the facade height is already in place) instead of hidden drawing and box over the stove, it was decided to hang the hood chimney, that little "unload" the mass of the wall cabinets
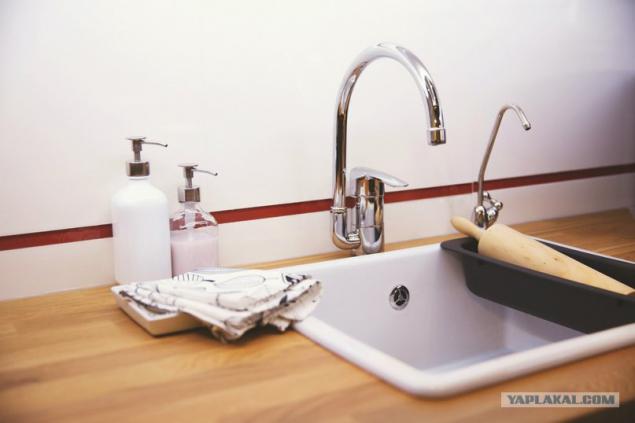
Sink with mixer. Here kosyachek ... cut a hole too close to the wall, so as a last resort open pen touches the wall of the mixer ((But in reality the crane never at full capacity are not open, so it's not critical)
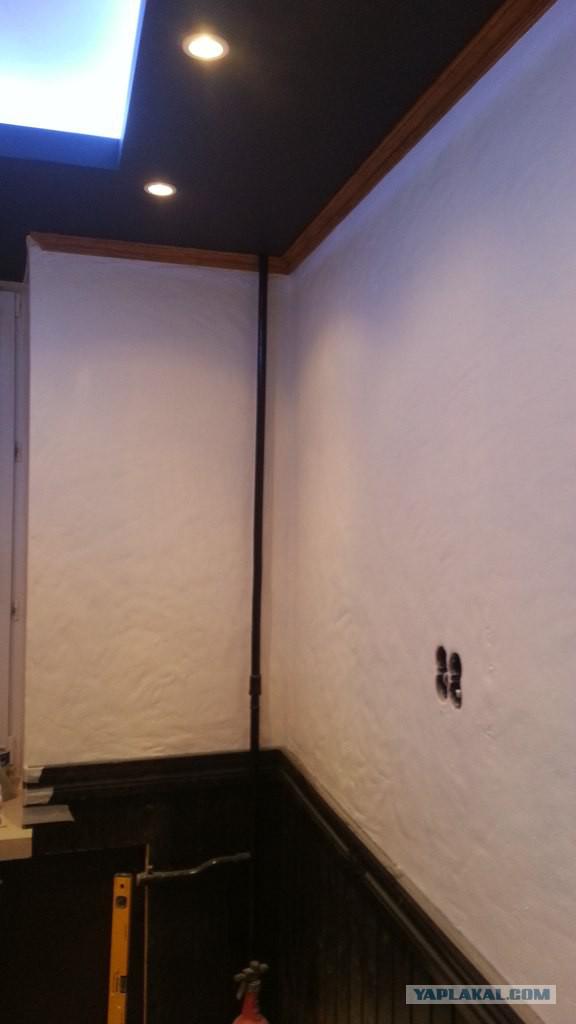
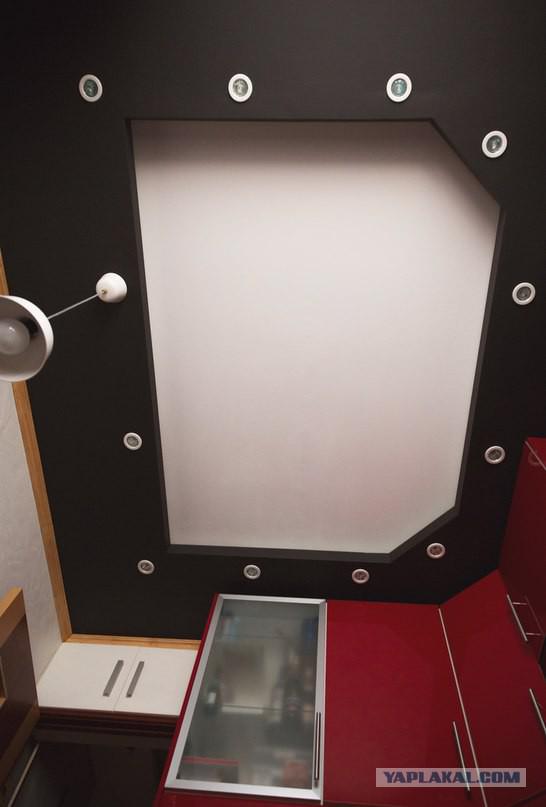
general view of the ceiling
Source:
It is difficult to say that people enjoy the process ... but dirt in the apartment he just adds) But the result - definitely warms the soul)
This is how the kitchen looked after in a hurry and is not very well done renovation 6 years ago (as it looked before - gallery did not survive ... it's sad at all ..)
40 photos.

even an old kitchen from another angle

Then it was decided to start with a three-dimensional design of the project, then to not be excruciatingly painful to redo everything) Since Furniture was decided not to change, because the Swedish filings for 6 years do not lose their properties, proceeded from this in the design

another project

Well, then I went to the process of dismantling the furniture (careful ... because ptom all ... well almost everything ... will be returned)

and old wallpaper. in this, and not only that helped me a spouse who contribute a share of romance in the process)))

On the wall, it was decided to apply a decorative plaster with effect hut. But since Project 100% rukozhopny, then of course, it was decided not to buy pricey special mixtures (besides, they do not like the texture ..). The composition was made of plaster and quadrupeds German manufacturer of PVA glue and water

a little romance ...

multi-level ceiling, too, has already been, but was done poorly: uneven, and the location of some of the fixtures in the area of kitchen furniture was a bit unfortunate ... so it trimmed and plastered again, so to remove cracks in the joints and crooked angles made

Under the window of his parents back in the Soviet years has been hollowed out so-called winter refrigerator ... The principle is quite rational solution: even in summer it is dark and cool place, because brick house. Rsheno would ennoble it by making a cultural box

Since the project has been decided to remove several boxes mounted in the kitchen, it was decided to return to the mezzanine in the corridor. The hole above the door will keep it to themselves ... the mezzanine will be made in the process of repair in the hallway)

The painting is carried out here these colors in the color you want zakolerovanymi

We started, of course, from the ceiling. It was to be two-tone

Next it was painted wall. By the way I forgot to say that the technology applying plaster "under the mud hut" was. First hands messy plaster is applied, and then, when it starts to dry out (about half an hour), it is necessary to level the uneven wet wide and soft brush. How to compare - a matter of taste)
Well, be marked for the future border of the lining

and then he actually zapilivaem curb. To avoid ugly colored lining joints in its fissuring / swelling, it was first painted, and then nailed to the wall in the PVA and klyaymery

here's another missed overall picture wall with shtukatrukoy

Facade of the box under the window was also made in the style of a wooden border, making it almost a secret))

Inside were used mechanisms of Swedish lumber store)
Vysotoa non-standard box, but the width has been made standard - 80 cm, so there were no problems with accessories

The floor was paved with granite, which is almost worn out, but the joints, daubed white grout become unsightly. It was decided to remove the old grout and make a new one - the red!

Tools

This finish is over ... it's time to do a return furniture. In the process, it was decided pomeyant worktop with laminated on wood, as well as change the sink and dishwasher to build
Splicing oblique angle worktops since it is much harder to do that ... because it is much more beautiful)
The joint is greased with white glue and contracted special ties underneath. proshkuril joint in a rough sandpaper P60 and finishing putty composition (PVA + sanding dust oak)

those same ties

seam after finishing grinding

Worktop itself was bought by the Swedes ... it is covered with plant nepoymi than ... so all is good ground off and covered with oil OSMO worktop (no ads))

The holes under the sink and hob. Tabletop installed permanently, joint with tiles put on a transparent silicone sealant. It was decided not to put the plinth between the top and apron, for with him is ugly

joint with an apron closeup

to get smooth and beautiful seams of the sealant - use here is a wonderful tool. Although previously I thought as well as many that you can finger / credit card, etc. do no worse. Even personal approximate beauty finger do not work)

Meanwhile came LED Strip, which has been installed on the ceiling

wiring made of water under the dishwasher, summed electricity

because It was the need to build a new sink. width of 60 cm. to 50 cm wide cabinet had rukozhopit ...

more rukozhipit had to posubomoechnoy machine ... because the only place for it was at the curb in a row ... and as you know, your body from PMM no mount tabletop and a side wall of the cabinet there is nothing ... I had to make a sandwich and three particleboard panels

as a result turned out. PMM 45 cm seated in the cabinet 50 cm

I cover the upper cabinets and built in microwave, so it does not take place on the table

We put a table and chairs, decorative shelves hung on the wall

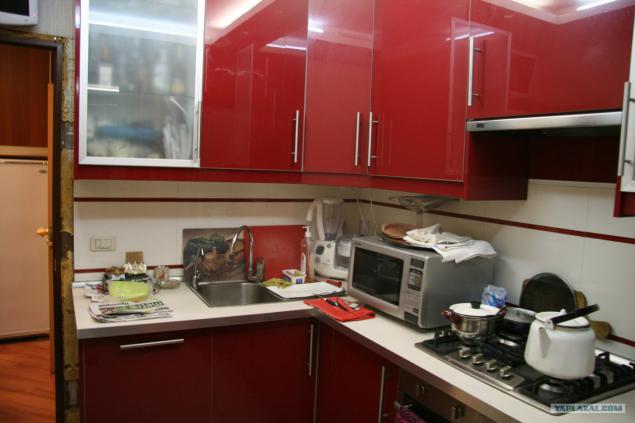
And now for a beautiful photo after the completion of all works)

Here for installation of microwave door had to saw off the facade height is already in place) instead of hidden drawing and box over the stove, it was decided to hang the hood chimney, that little "unload" the mass of the wall cabinets

Sink with mixer. Here kosyachek ... cut a hole too close to the wall, so as a last resort open pen touches the wall of the mixer ((But in reality the crane never at full capacity are not open, so it's not critical)

general view of the ceiling

Source:
Tags
See also
15 kitchen inventions that will inspire any chef. Impossible to go past them!
Cook beer at home.
The truth about the Moai
Psychedelic pictures (48 pieces)
How to teach a robot to cook?
17 coolest kitchen appliances, cook with them - a pleasure!
It is easy to clean the grille cooker. The Council, after which it will be as good as new!
25 original kitchen appliances for fans of tasty meal. Positive charge for each day is guaranteed!
Turn cooking into a holiday: 10 nontrivial kitchen gadgets!
Kitchen waste—organic alternative fertilizer