837
Steampunk Clock
I present to you the work Kovalchuk
Honestly spizzheno via
31 photos will end marked.

Ladies and gentlemen, I offer you the third model of hours of my production.
In the early hours it was all pretty simple in contrast to these.
The main objective this time was to make the device with me frequently used items, so as not to wear them separately. These hours invested another feature that can greatly expand their potential, but is it a little later.
Because nothing new materials: copper, brass, glass tubes.
This devayse (do not consider for advertising) in a copper body encased MP3 player assistant 093, which has on-board memory 4giga metro, 1 & quot; inch screen, and its most distinctive feature is the presence of an external speaker. So these watches are able to sing the speaker about 9 hours and 2 days through the headphones, causing me quite enough.
Just watch has a backlight and a flashlight (not particularly powerful "base") but is still enough so that he is always with you.
These watches have become for me a new step in the knowledge of usability, reliability and user-friendly. Since its inception been four days, and I never leave them. Any my desire that previously had to be somewhere, "flattery" immediately can be done, whether it's "Oh where did it fall! ?? a flashlight again not taken (("and & quot; And so it will work? ex, go for the power supply & quot ;. They are for me as salvation (though it turned out that not a large set of screwdrivers still would like to have)))))
So I give a selection of photos of the process of creating, and later of their special functions.
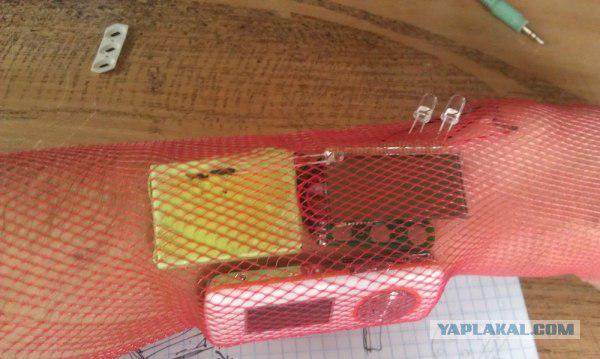
In the early robots, I still could not solve the question of the staffing granted ideas to help me and caught the eye mesh bottle, with which it has been decided who will be where.))

In a similar way, I think you can put any items on the body.

Then I went to completing the process of laying on the paper to create patterns.

Drawings and possible time to better understand how to be around.

...
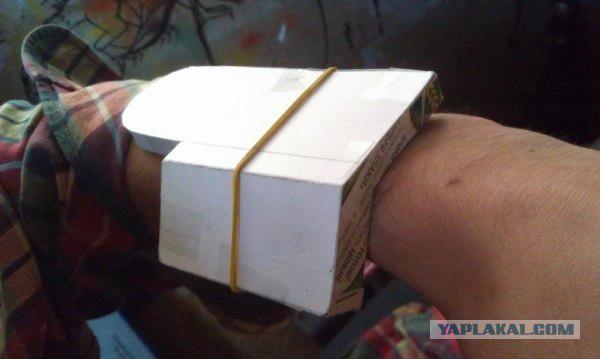
Cut out the pattern, stuck together with adhesive tape, tried - well, I thought, and I was afraid that it will be the same))

I started soldering box.
Cut blank for the lid.

Junction to solder the board began.
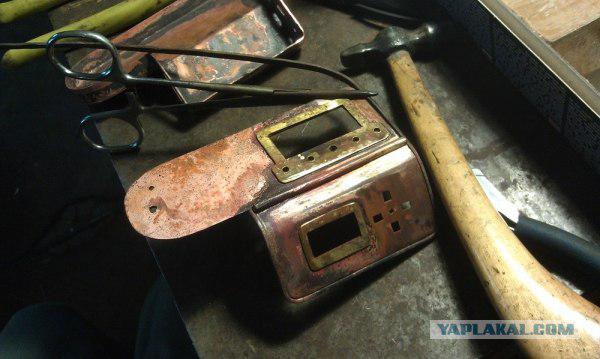
Folded, there is checked whether the player is (in the photo seems that the screen he does not fall, it is not just the back of the substrate)

Clean from soot, I was sitting in a stupor, what to do, look at the picture.
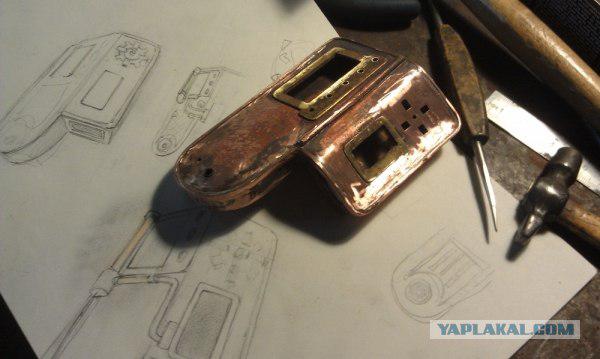
Did place under the lamp, I stick sit, look at the time - no time to stick, returned to work

Fit the hole under the connector (where rounding)

Forgot pictures, decorated connector soldered model number soldered mount for tubes.
He began to do grating.

Solder lattice try on the tube. I realized that soldered lattice crooked, then it was a lot of hassle, but the end result is optimally leveled.

Solder tabs on the grill (which later)
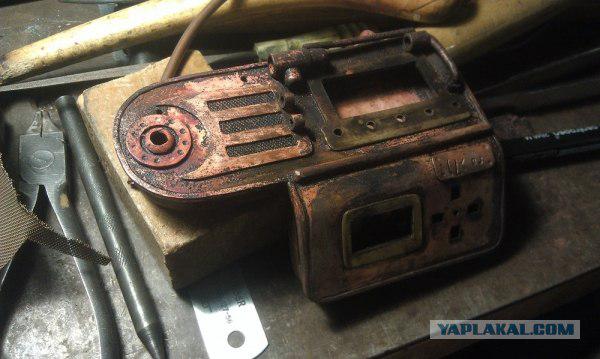
Fit the holes for the player.

Solder the speaker mesh.

Solder ring around the key player.
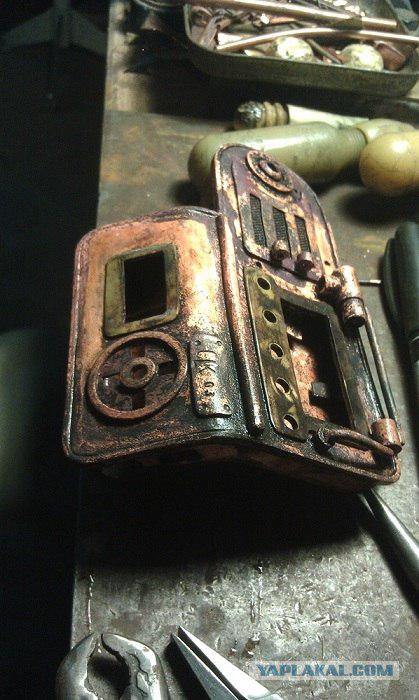
Solder belt clip. (behind the scenes, has made 10 this devysa buttons.)

After bathing in acid Navariya dark dark brew)), to deliver copper dark dark color.))

After the assembly, after 2 days before polishing, about the first hour of the night inspired by the mood to photograph them.
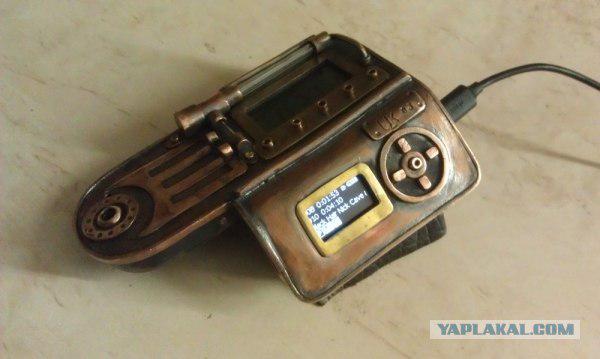
And the end result
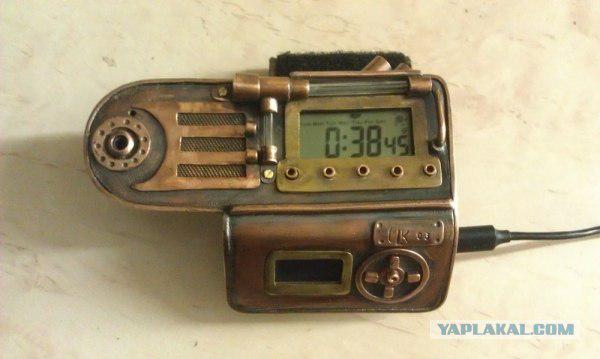
...

...

...

...

...

Photos in the dark
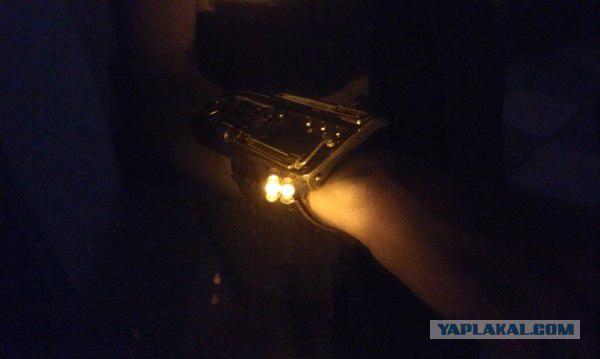
Now, Lord, we come to clarify the matter, "that in this feature?»
This option allows me to connect to the clock or something else, whether it's just a job where just need to check the electronics, and a complete module which is mounted directly on the clock. Namely, it clings to the tabs on top of the lattice near a small glass tube, and is fixed to the bottom of the next movement (because it uses the old socket from nokii, then at the bottom of the module connector is installed) directly into the slot.
It could be anything, even the same old Nokia))).
At the moment, I made a "lighter", which I often necessary. (It is styled course not, but it set a small resistor)))
And it looks like the photo))
That's all

Source: ">