622
About how the ladder gash
Good day.
That thought that you can have to retrain from the reader in polupisateli.
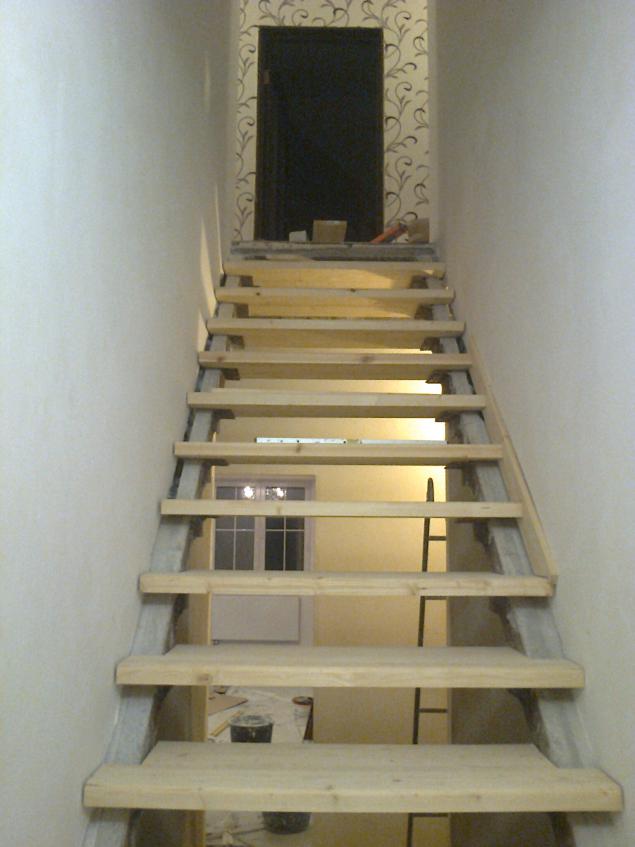
In general, back in 2008 we moved with his wife from the glorious city of Kaliningrad in the small but nice nemenee Sovetsk. Housing have their nebylo and there was a choice to buy or build. We decided to build. In the long history, but the fun of building a house will not go - many were, but in the process of construction was faced with the fact that a good carpenter is not so easy to find. And it was necessary to elevate the all-ladder on the 2nd floor. Carpenter, as I said, was not found. In this, we zamanzdryuchili it with a friend at your own risk. So the photo.
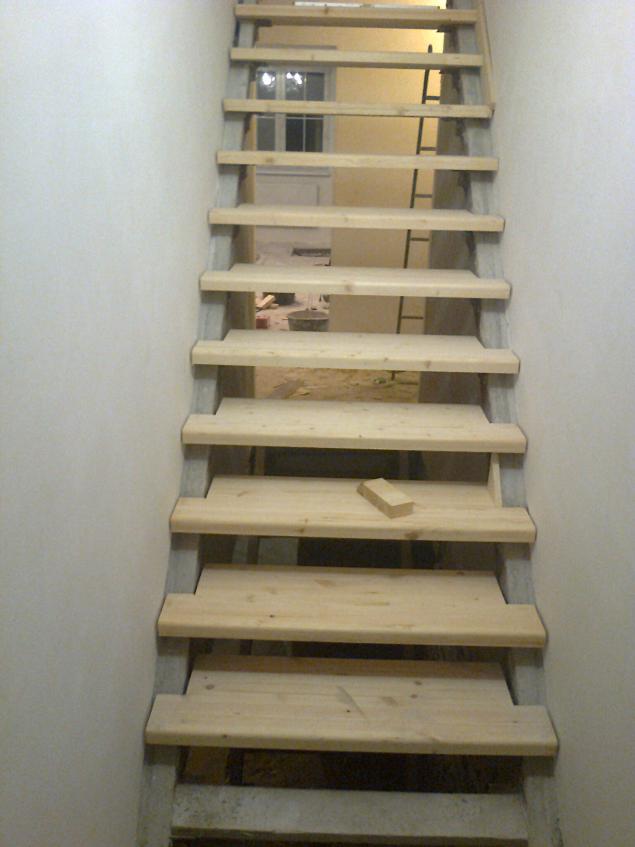
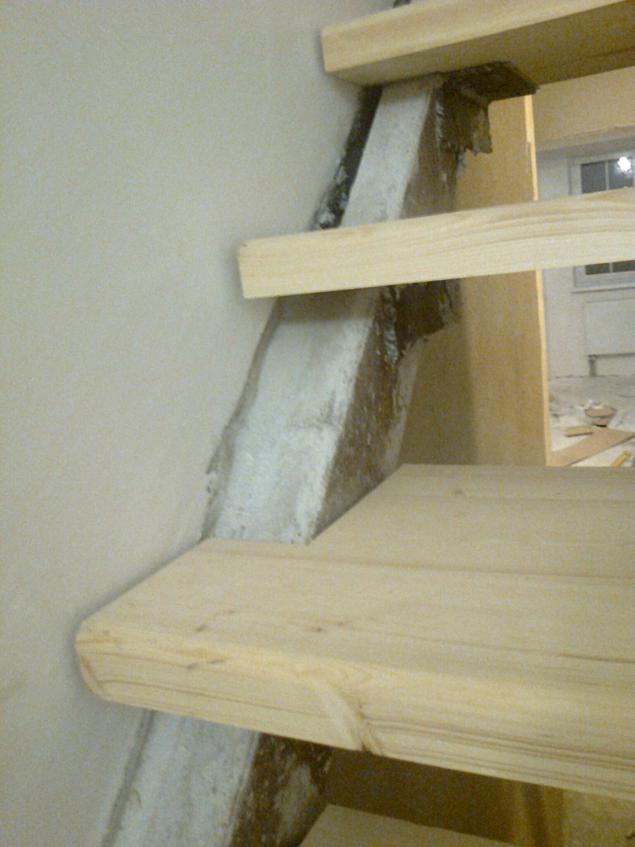
Initially there were 2 open U-welding areas. These were attached to the board. Penrvuyu seen in the previous photo. Steel obschivat. I forgot to write that the gallery will be 16. If you want to break it or not. Pofik. It was bought by the board, sawed to size and polished.
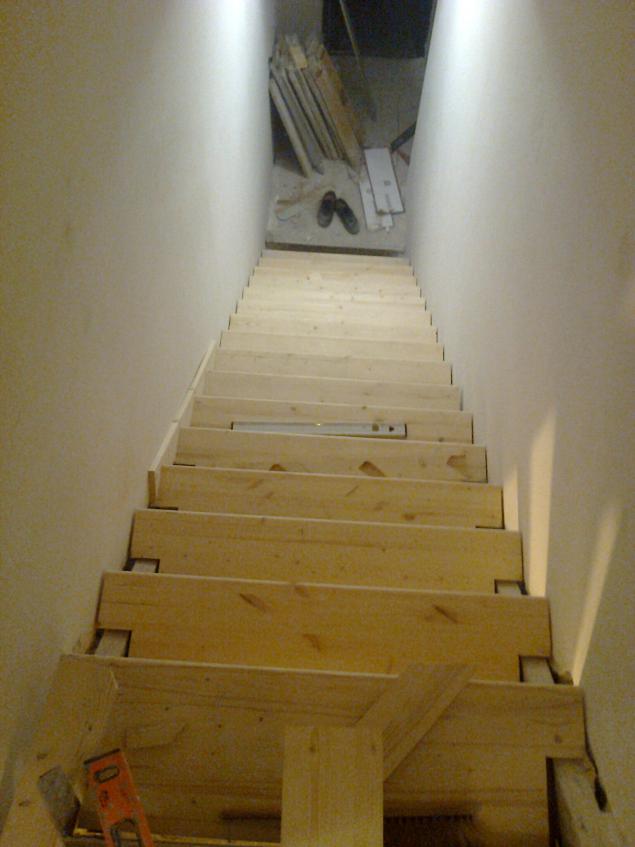
and more ...
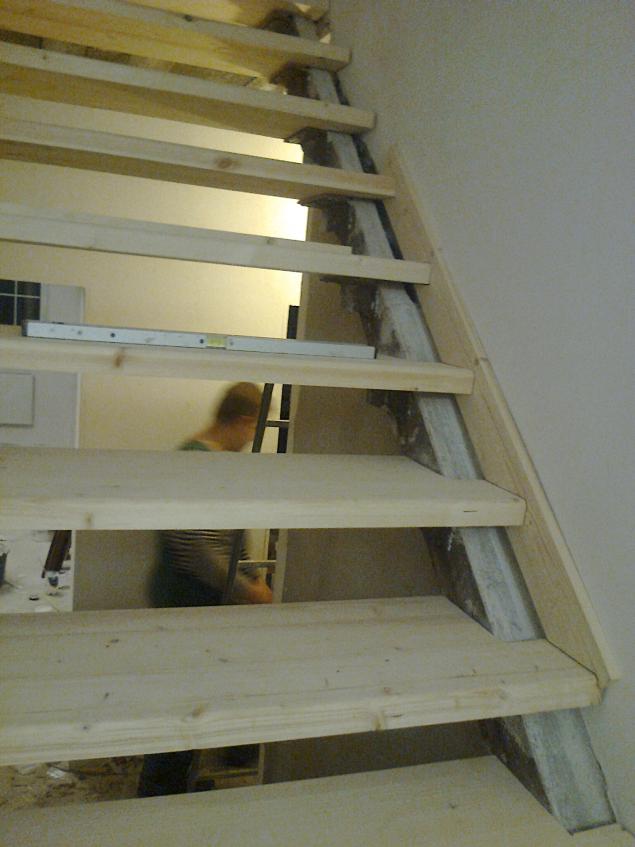
Marginalia were fitted long and dreary. Themselves were attached to the corners of the stage on the screws. Marginalia glue and furniture Chopik.
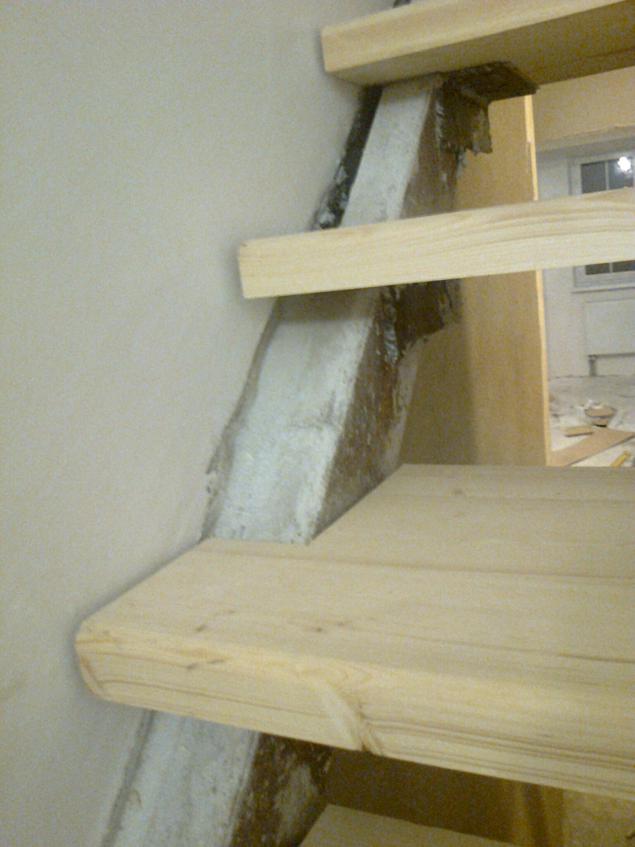
more ...
and ischo
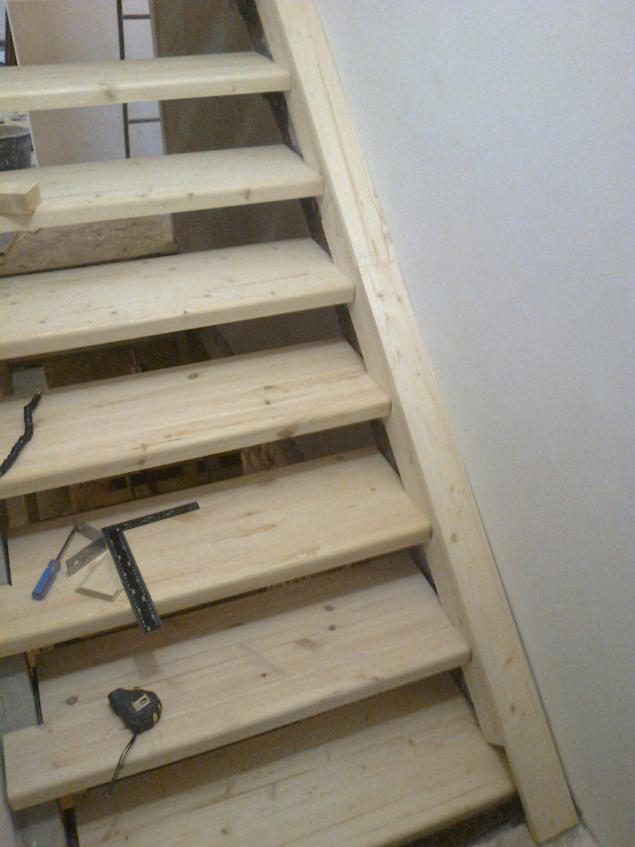
And here it is already planned bardyur. It is only the glue and Chopik.
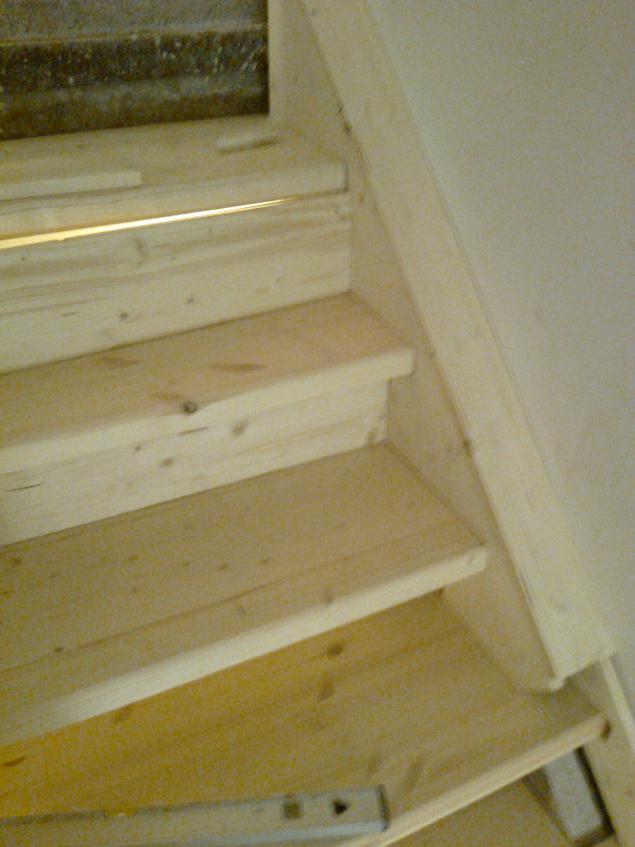
Rear panel with glue and screws
and more ...
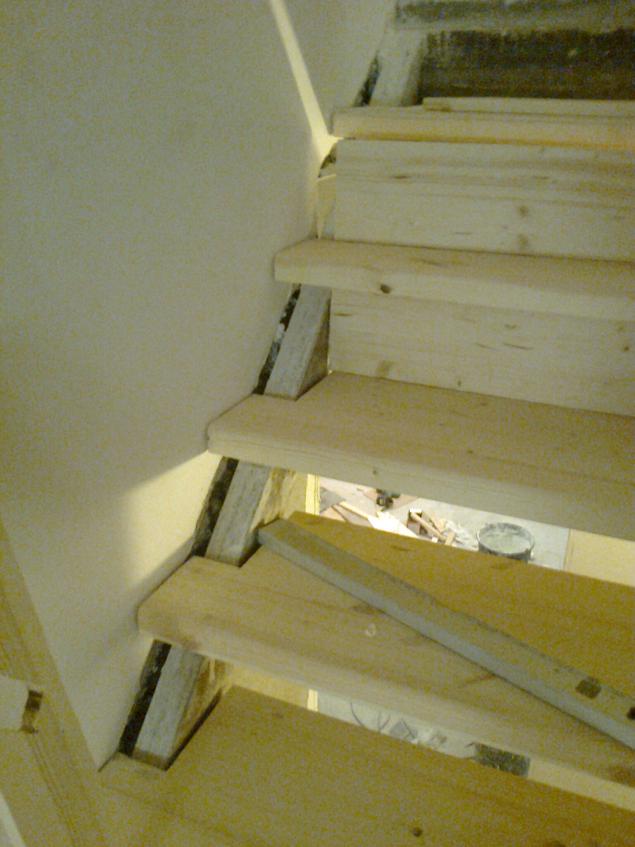
More
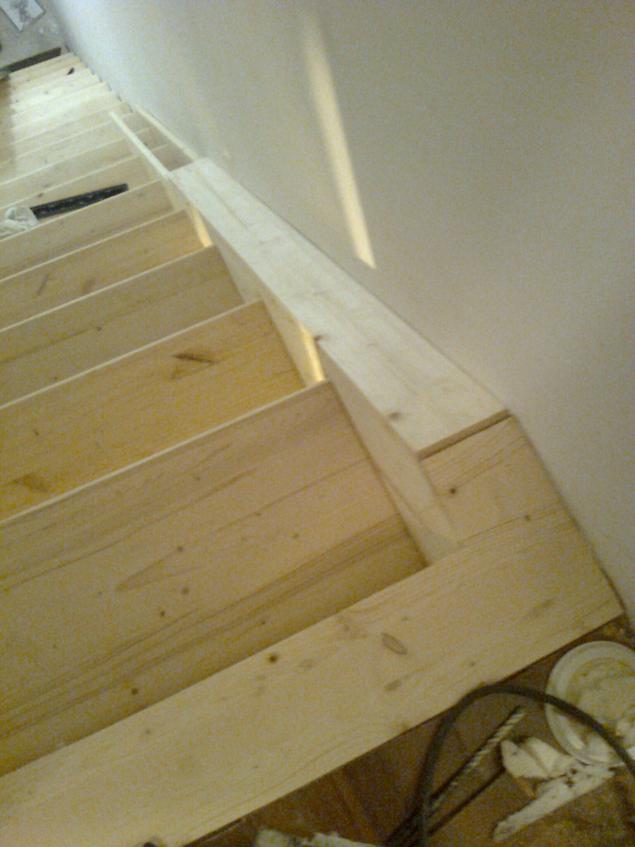
Source: ">