How to print photos in the USSR
 Bashny.Net
Let's look at the laborious process of printing photos in the Soviet times.
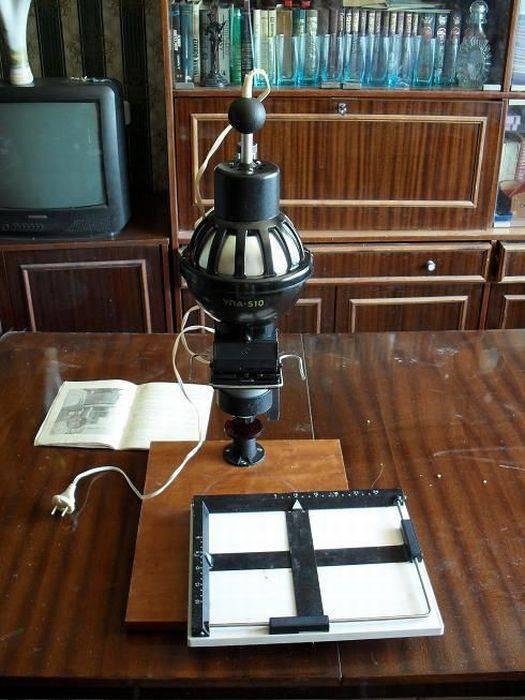
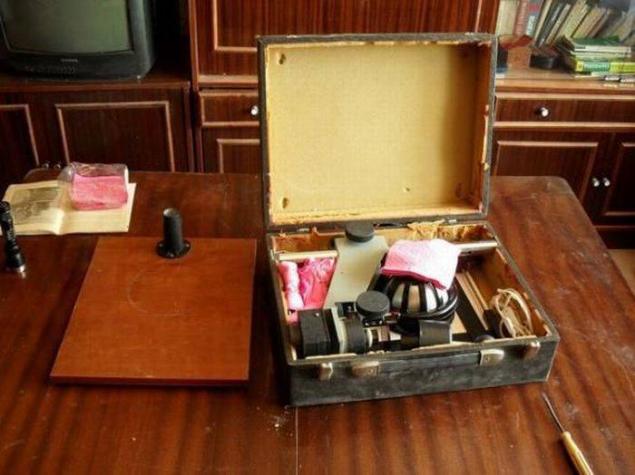
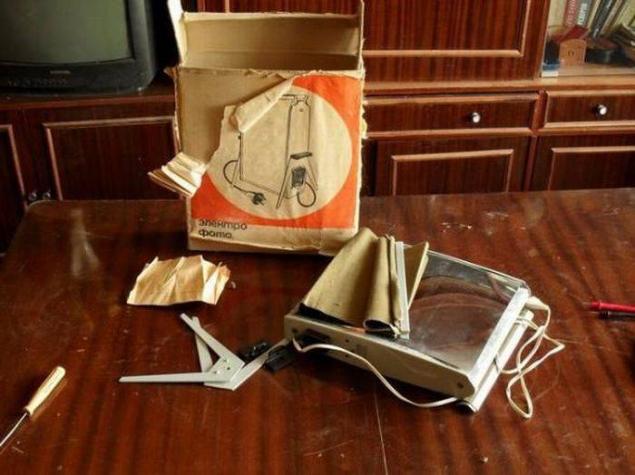
The film is filmed, taken when dry. We get enlarger
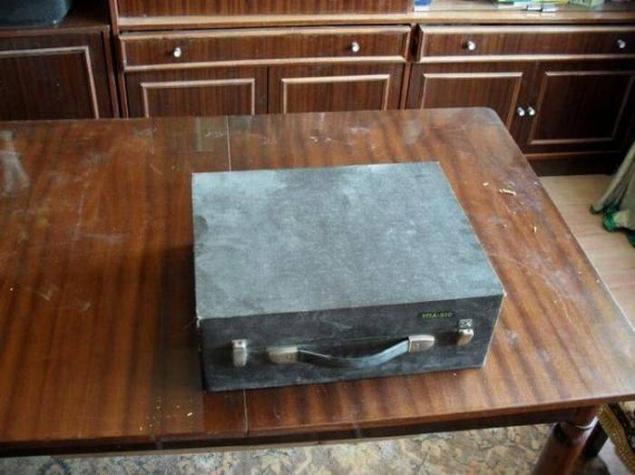
For the first time in 10 years, probably open lid of the suitcase.

Foam in the meantime disintegrated to the state of the sticky lewdness :(.
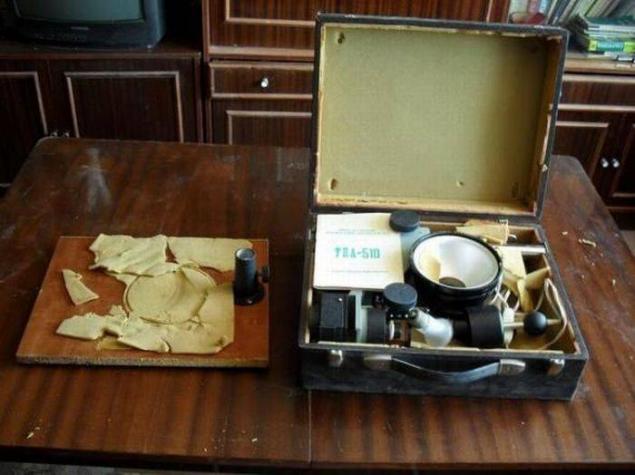
Scraped off it and start to get components.

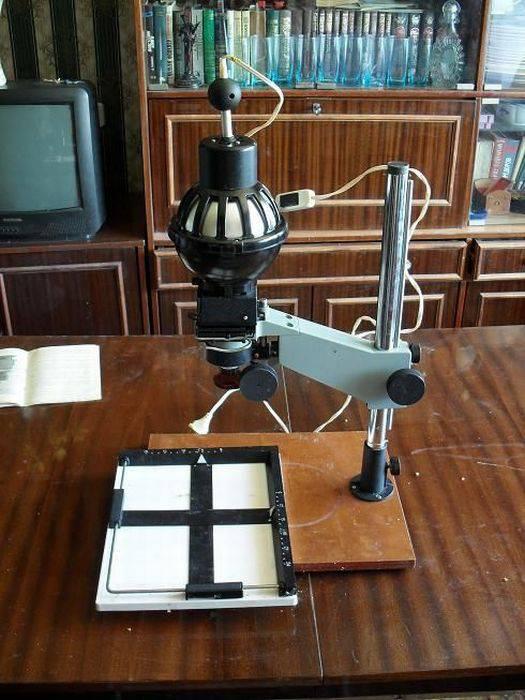
So, like everything got. Forgot would now be like this all going :)
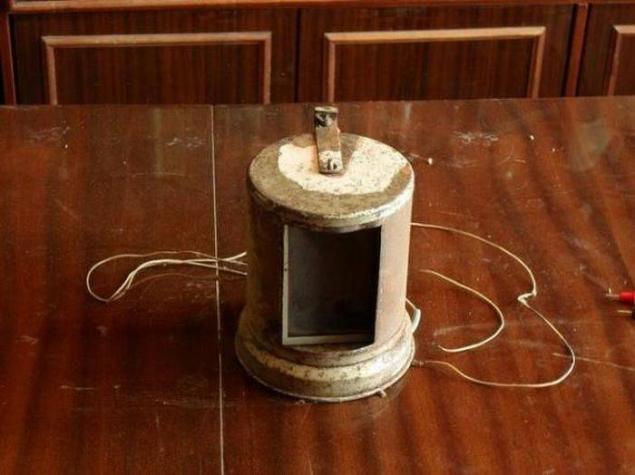
What a handsome man;)
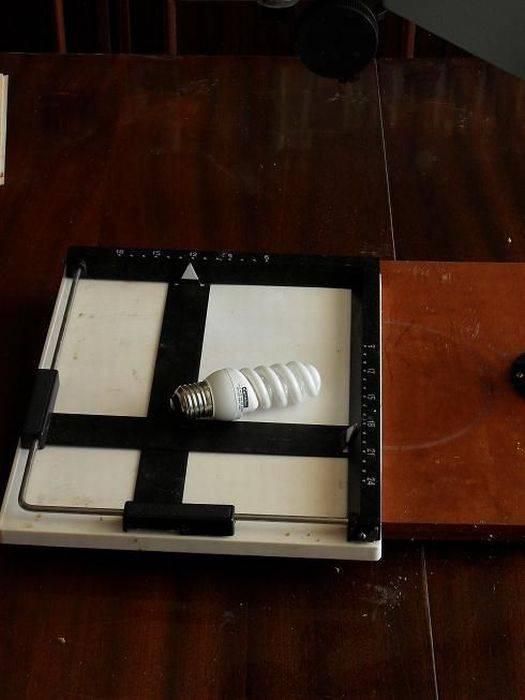
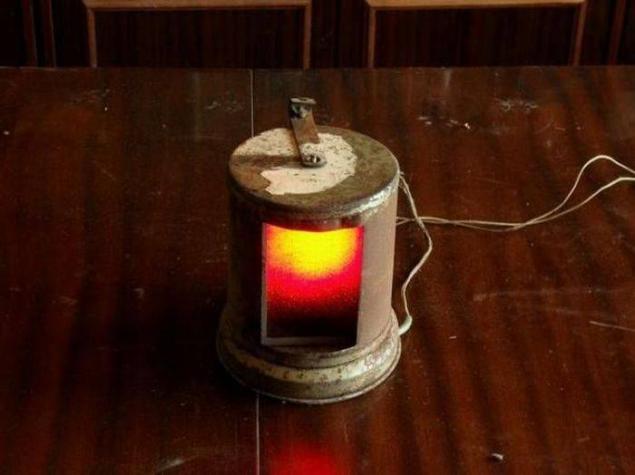
The lamp lay the same 10 years. Inside the campaign pieces of glass, clearly hear how they're hanging out. The very light matte, spiral state is not visible. Okay, we cleave to good luck. Include:
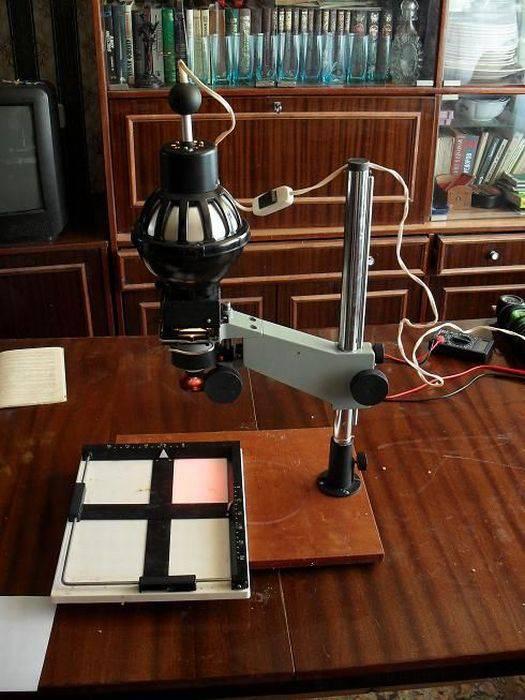
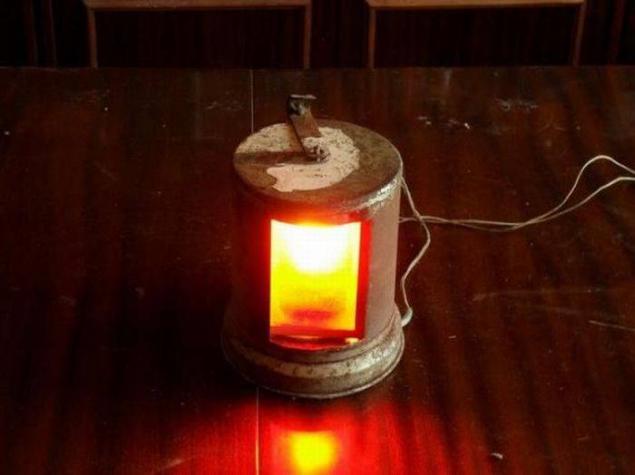
Ofiget. Lights. True as it is dull. Okay. For authenticity puts a photo.
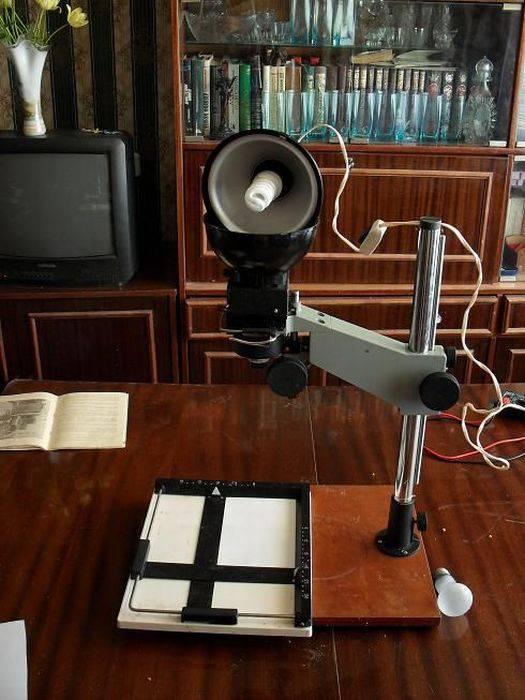
Not a light bulb shines nifiga. Enlarger to join civilization.
It looks cool. Let's see how it will work.
It is sad. It get even dimmer. It seems misses the focal length of the lens. Experiment for the sake of trying to shine a flashlight with a twisted prism.
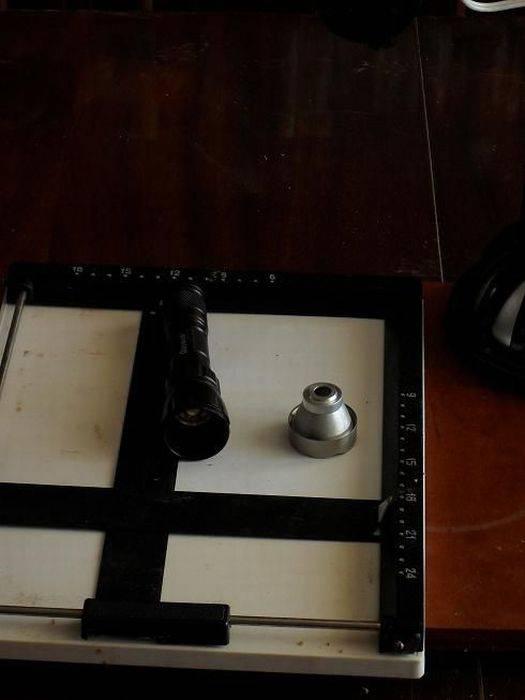
The result exceeds all expectations, but keep a flashlight so is not an option.

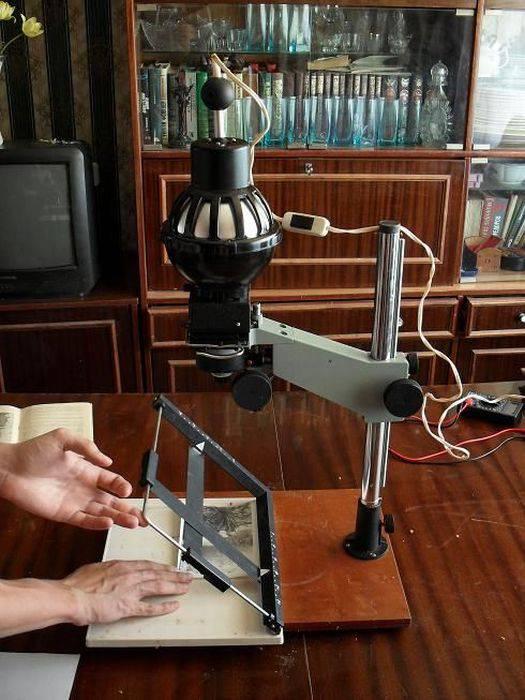
It's time to fill the tape. Choosing the right crop or resize (yes, framing was not done with Photoshop and select the desired crop box, which limited the area of exposure). At the same time put a piece of glass mat in a special pocket on the film.
Well, like nothing more interesting. Since the seal decomposed try to replace it with glamorous pink napkins.
I climbed clean enlarger and came across this.
What is he old. Anyway. Scrub away most vicious dirt dismantle it.
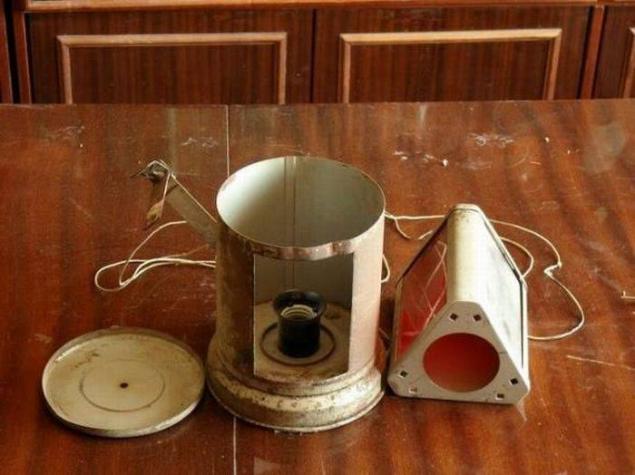
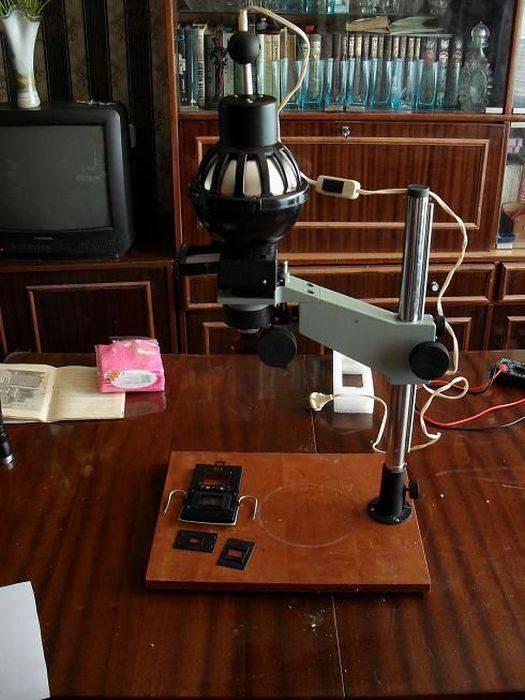
Energy-saving technologies, our all :). The lamp stood as a native, got a nice even light than incandescent

Lantern way tri-mode. Time:
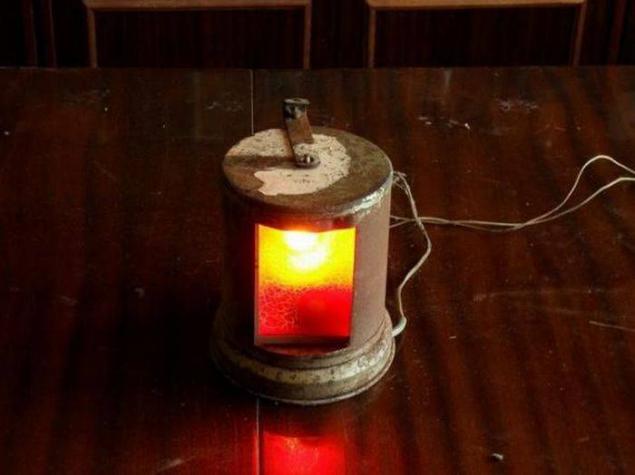
Two
And three:
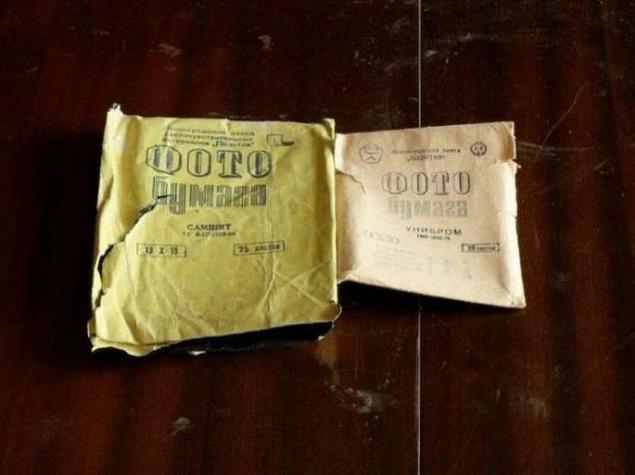
Well, if there are lights why not go all the Photo print process from scratch? Photographic paper, almost new :)
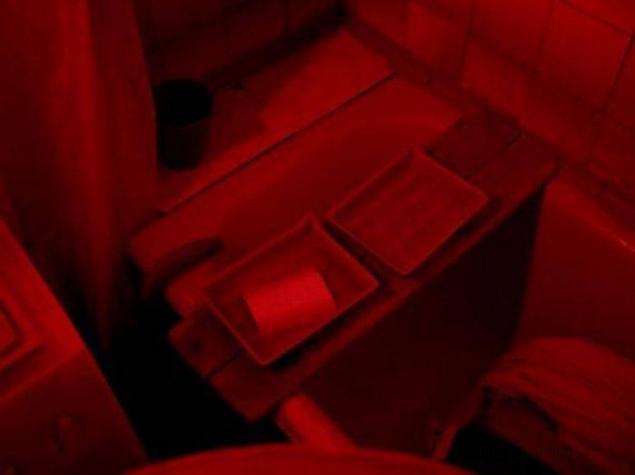
Workplace young photographer. In the bathroom, of course.
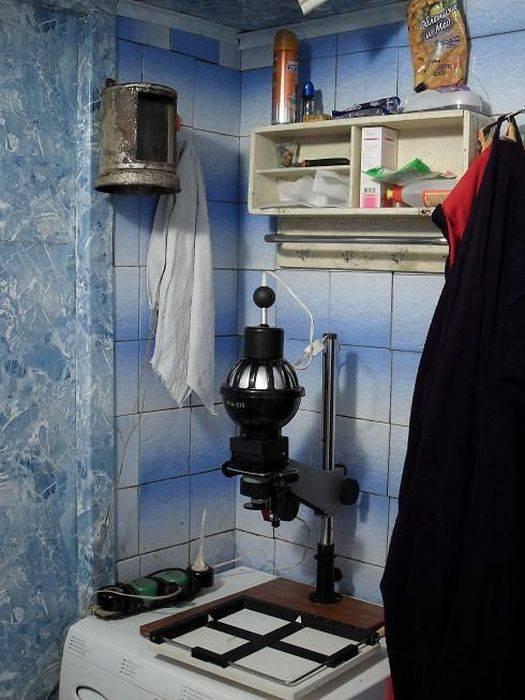
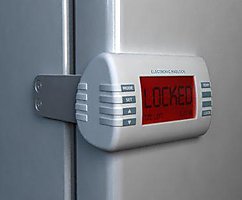
Trough with the developer, fixer lock.
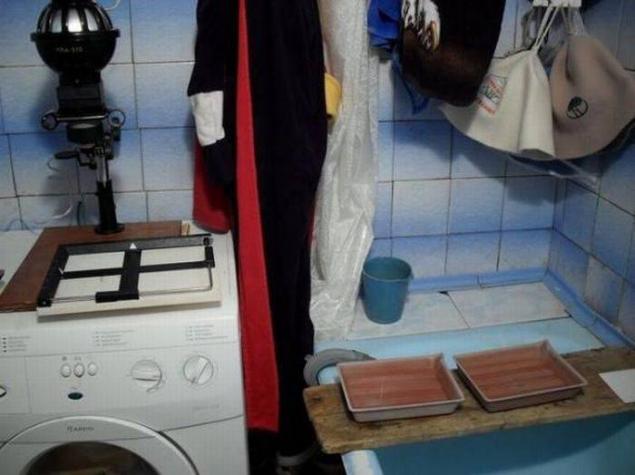
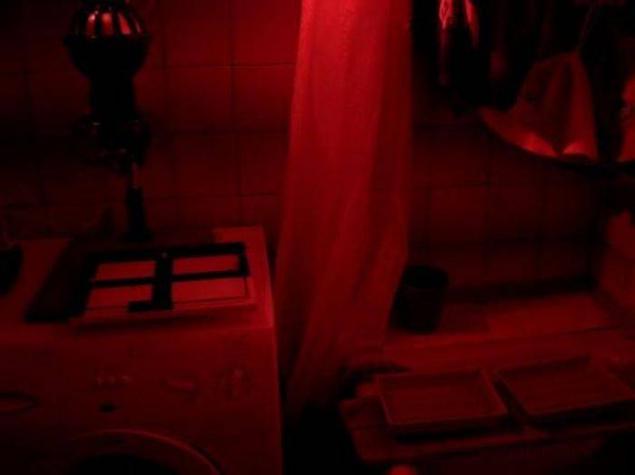
Photo paper and film can be run only by the light of a red lantern.
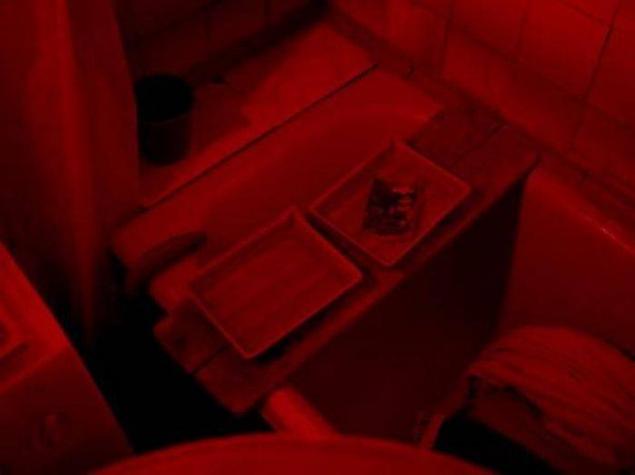
Refill film, put a piece of glass in front of red Lenses enlarger, include it, select the position of pre-seasoned paper
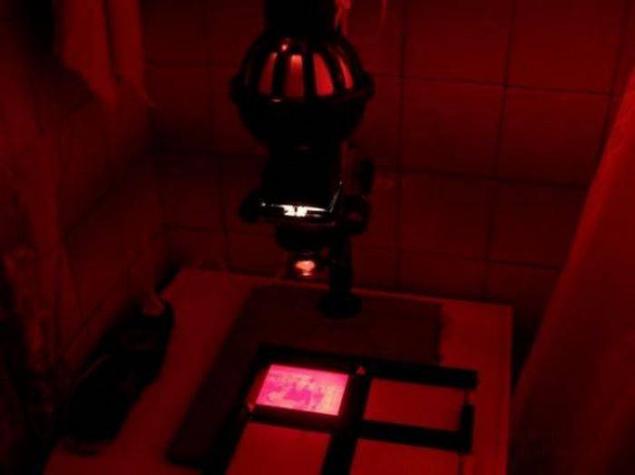
The most crucial moment. Remove the red piece of glass, count to ten. One, two ...
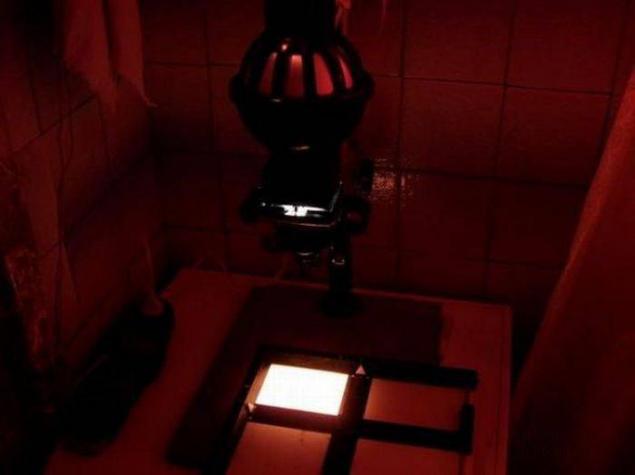
… Ten. The lens, gently take a piece of paper and the developer.
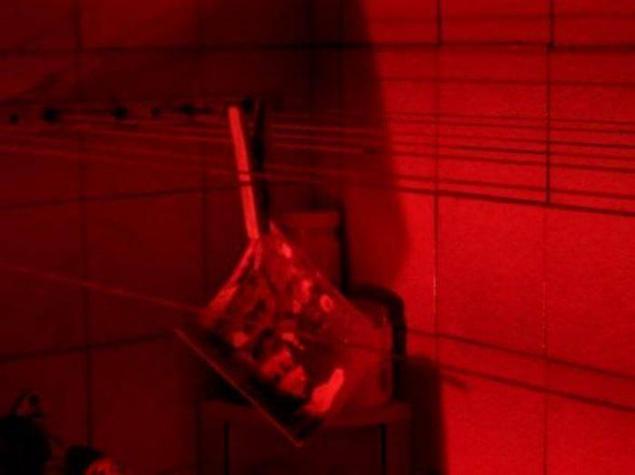
The picture appeared on the paper, wait until it becomes sufficiently clear. The main thing is not to overdo, and then deteriorate and it will be too dark. All further into the lock.
Wait till some time, washed in a basin of clean water and hang to flow around.
While the liquid flows from the pictures we obtain glyantsevatel. This heater with mirrored surfaces, which makes our glossy photos.
Screwed legs, handles, remove the mirror.
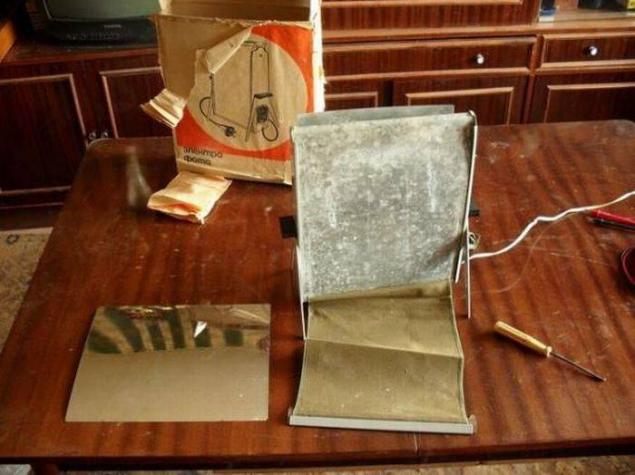
We put a photo picture to the mirror. Packer roller that there would be no air bubbles.

We put a mirror in place, close the cloth and is fastened on top of the special lock. We turn on the device and go to drink coffee.

After waiting a sufficient photo dry. Turn off glyantsevatel, remove the cloth and mirror. Photo of herself jumping into our hands. Smell svezheprosushennoy pictures remembered for a lifetime :)
The film is filmed, taken when dry. We get enlarger

For the first time in 10 years, probably open lid of the suitcase.

Foam in the meantime disintegrated to the state of the sticky lewdness :(.

Scraped off it and start to get components.

So, like everything got. Forgot would now be like this all going :)

What a handsome man;)

The lamp lay the same 10 years. Inside the campaign pieces of glass, clearly hear how they're hanging out. The very light matte, spiral state is not visible. Okay, we cleave to good luck. Include:

Ofiget. Lights. True as it is dull. Okay. For authenticity puts a photo.

Not a light bulb shines nifiga. Enlarger to join civilization.

It looks cool. Let's see how it will work.

It is sad. It get even dimmer. It seems misses the focal length of the lens. Experiment for the sake of trying to shine a flashlight with a twisted prism.

The result exceeds all expectations, but keep a flashlight so is not an option.

It's time to fill the tape. Choosing the right crop or resize (yes, framing was not done with Photoshop and select the desired crop box, which limited the area of exposure). At the same time put a piece of glass mat in a special pocket on the film.

Well, like nothing more interesting. Since the seal decomposed try to replace it with glamorous pink napkins.

I climbed clean enlarger and came across this.

What is he old. Anyway. Scrub away most vicious dirt dismantle it.

Energy-saving technologies, our all :). The lamp stood as a native, got a nice even light than incandescent

Lantern way tri-mode. Time:

Two

And three:

Well, if there are lights why not go all the Photo print process from scratch? Photographic paper, almost new :)

Workplace young photographer. In the bathroom, of course.

Trough with the developer, fixer lock.

Photo paper and film can be run only by the light of a red lantern.

Refill film, put a piece of glass in front of red Lenses enlarger, include it, select the position of pre-seasoned paper

The most crucial moment. Remove the red piece of glass, count to ten. One, two ...

… Ten. The lens, gently take a piece of paper and the developer.

The picture appeared on the paper, wait until it becomes sufficiently clear. The main thing is not to overdo, and then deteriorate and it will be too dark. All further into the lock.

Wait till some time, washed in a basin of clean water and hang to flow around.

While the liquid flows from the pictures we obtain glyantsevatel. This heater with mirrored surfaces, which makes our glossy photos.

Screwed legs, handles, remove the mirror.

We put a photo picture to the mirror. Packer roller that there would be no air bubbles.

We put a mirror in place, close the cloth and is fastened on top of the special lock. We turn on the device and go to drink coffee.

After waiting a sufficient photo dry. Turn off glyantsevatel, remove the cloth and mirror. Photo of herself jumping into our hands. Smell svezheprosushennoy pictures remembered for a lifetime :)
Tags
See also
Ten of the most famous labyrinths
Actors of the film "Guest from the Future" 30 years later. Such family!
The brilliant philosopher photographer Trini Schultz
Soviet foreign eyes cartoonist
Post-war photos in color 1946
International exhibition of robots (69 photos)
Popov Museum of Communications
Interesting photos from the shooting of the film "Harry Potter"
Radio telescope
Comparison of manned spacecraft of the first generation