Five things that can be printed on 3D-printer: Part №1, suit "Iron Man"
 Bashny.Net

name of the author of the project The model name of the printer: PICASO 3D Designer
The cost of the printer: 115 thousand rubles
Approximate weight: 11 kg
Approximate dimensions: 64 x 50 x 46 cm
The main advantages of the printer according to the author:
Print ABS plastic due to the closed chamber and heated table; High quality print (50 micron); availability of service support from domestic producers. The main disadvantages:
noisy when used at home. The amount of time spent on printing: 1232 hours
The number of spent material: 10260 meters (almost) plastic.
The financial cost of the material depend on the choice of plastic.
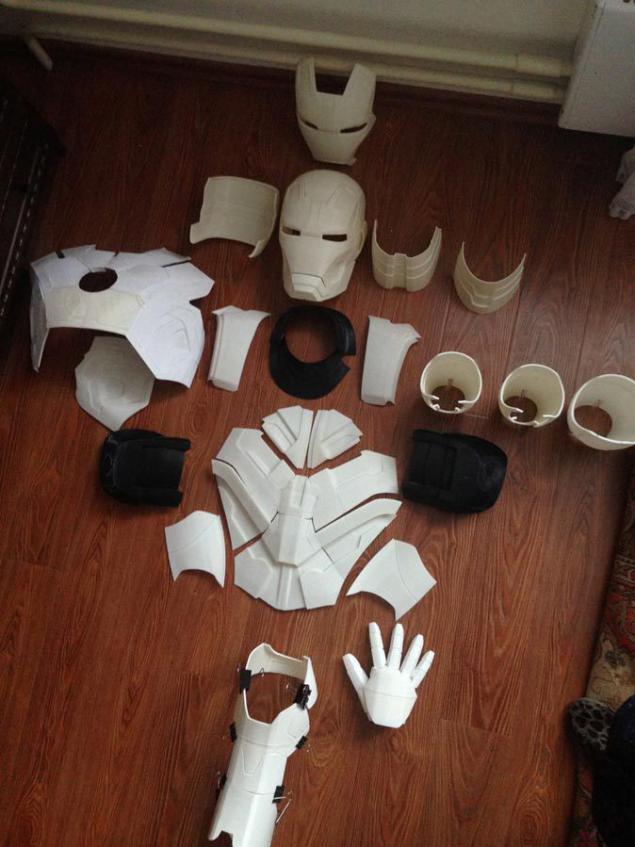
I want to tell you how to print on my printer, here is a unique, in my opinion, the suit "Iron Man." I'll tell you about the preparation and implementation - from idea to its realization.
It all started out with a rolling movie "Iron Man": I was immediately struck by the scale of the picture. There was a strange sense of duty (probably imbued with the heroic philosophy of the film) to create something as epic as that spectacle which became a film. Having tried many ways to create the same suit, I got the idea to print it on a 3D printer (which I, by the way, yet manages to be nice). But for the moment the idea is still in the active stage of implementation. The creation of such a suit - it's not one day ...
Finding everything that was in access, it was necessary to implement it in 3D-format for further transfer to the * .stl file and printing. The choice fell to several programs in the field of 3D-modeling.
When creating models were used 3D Studio Max, Blender, ZBrush, and an enormous amount of time on the modeling itself.
The project has not been without the involvement of other people. So I met a wonderful person and a professional in the field of 3D modeling - Zlochevsky Sergei (aka Sergey-Haker). It was he who did most of the work on a 3-dimensional model.
In his words: i>
«When Kostya invited me to participate in this project, first I did not quite understand what we need to do, and most importantly - how it all realized. Creating a model from scratch would be a long and laborious process, so we decided to take a sample model and bring it to the desired state. Initially tried to alter the model for the paper pattern, but she was in a sad, so that took a more appropriate model of artistic and since she began modeling. " Blockquote>
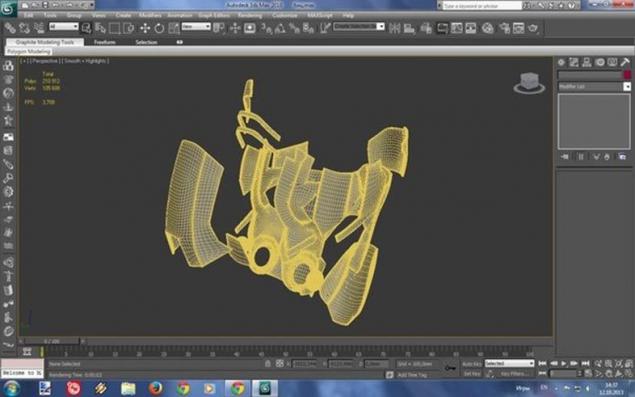
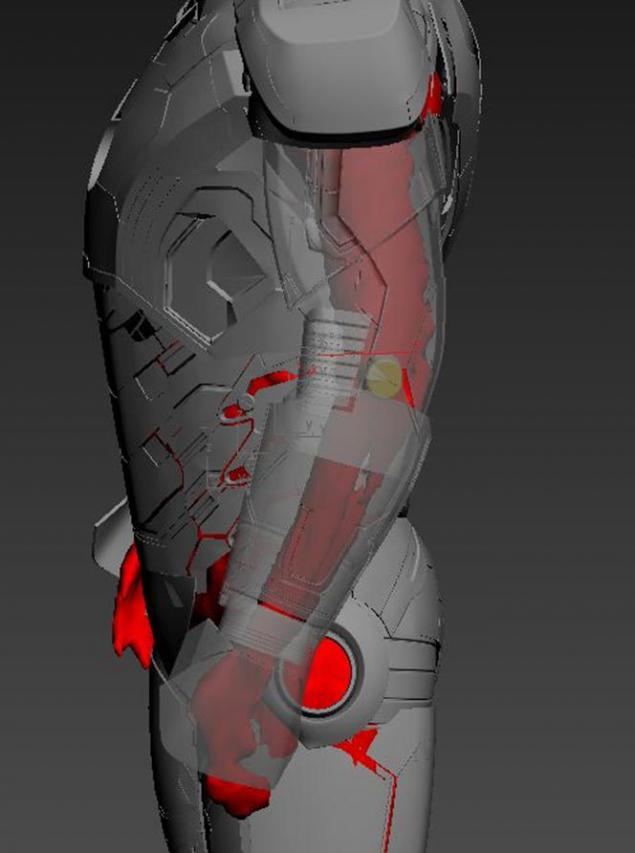
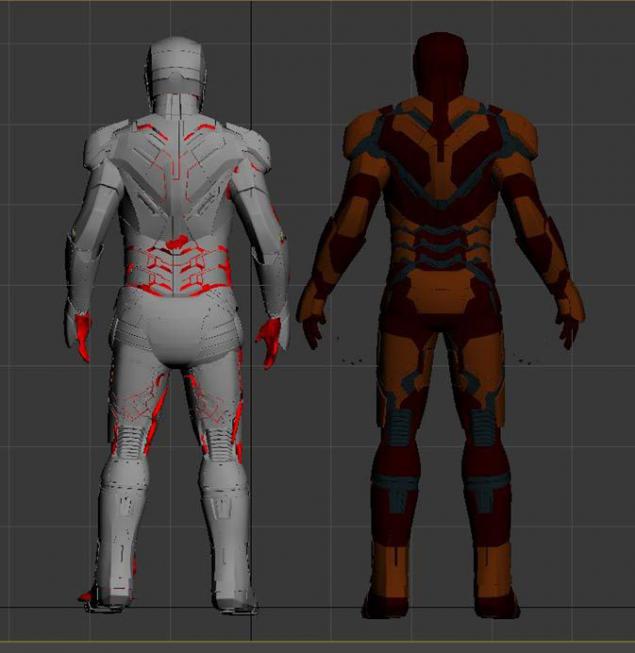
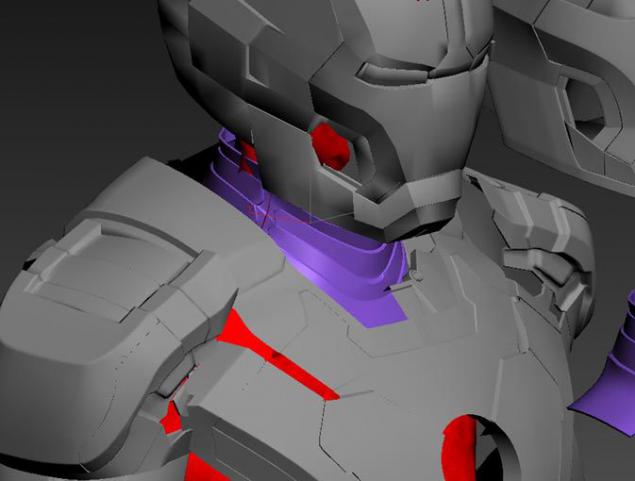
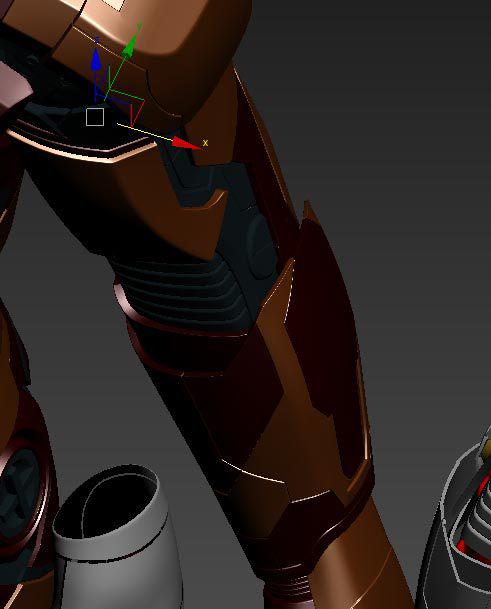
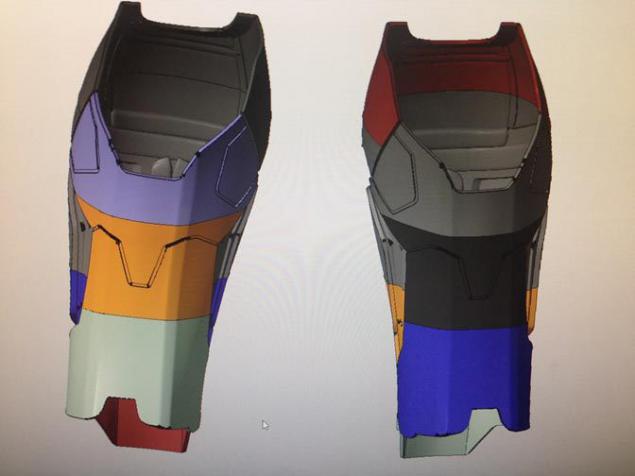
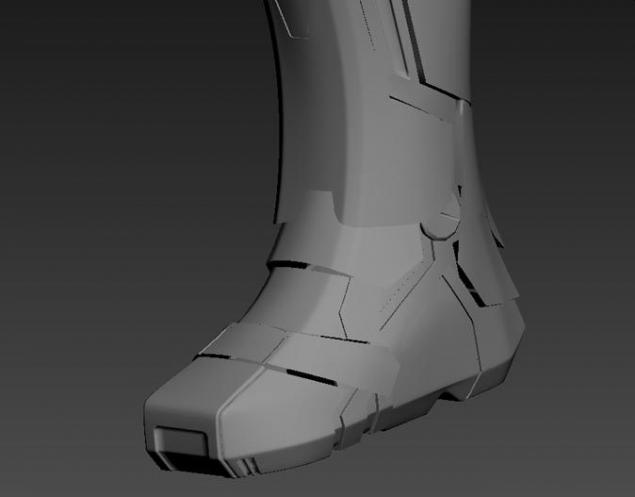
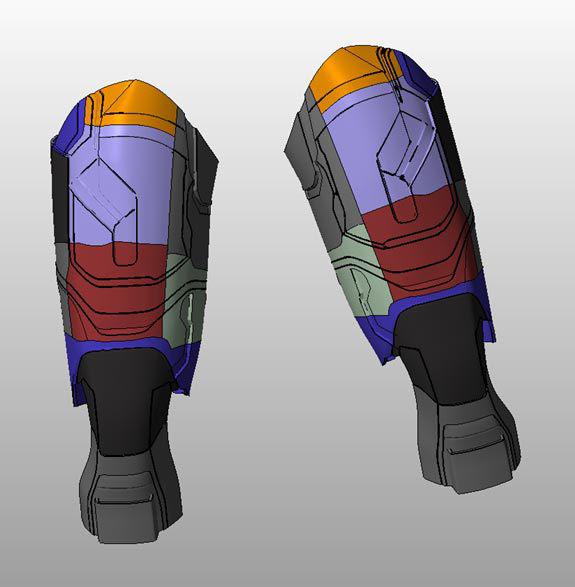
3D Max - package for working with 3rd dimensional models - provides a wide range of tools, so the main work has been done in it. Overlaid materials, photographs, diagrams, started to work. Model costume is an external sort of "armor" kinogeroya, so the main work - the removal of all unnecessary, alignment interconnected parts of the model (but it is important to comply with the maximum similarity with the original!) I spent a lot of time on the adaptation of the model, but it was worth it.
The result of our work was this:

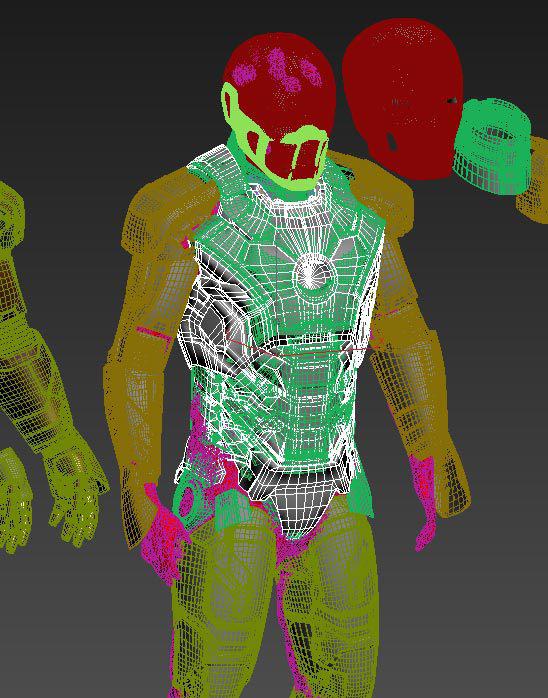
Further, there was a problem Resizing under me, we decided it quite original. Taken from the Kinect Xbox360. Connect the scanner to the computer on windows 8.1, used the standard programs OSes, though had to download multiple drivers and long enough to retry the process of scanning. The result was something like that.
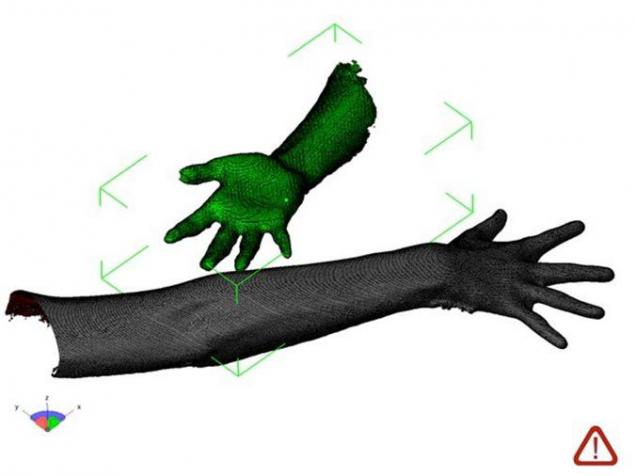
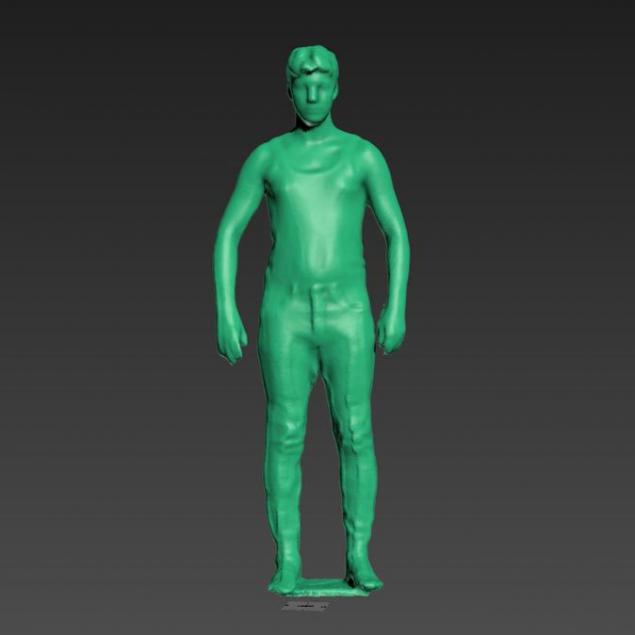
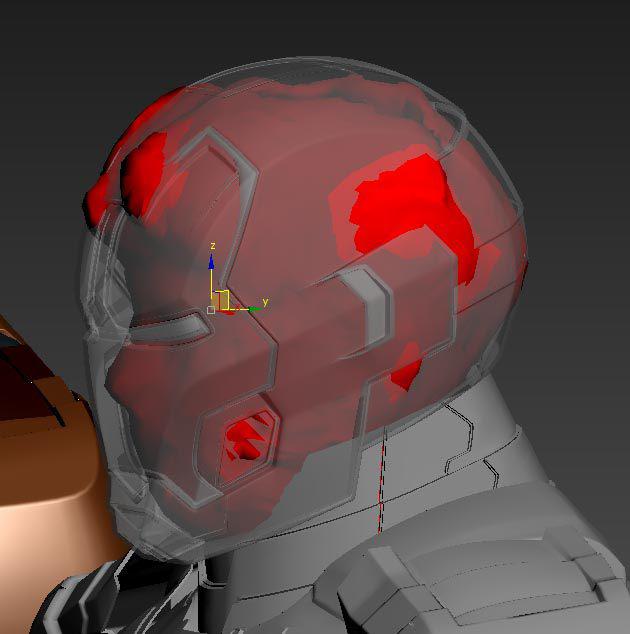
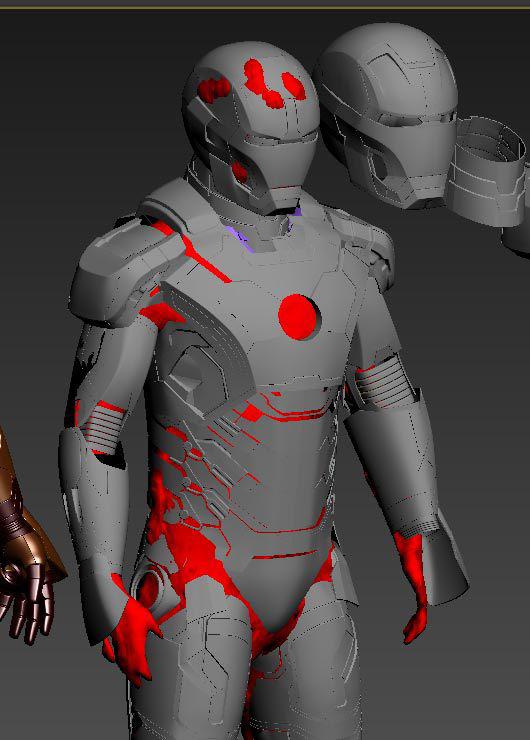
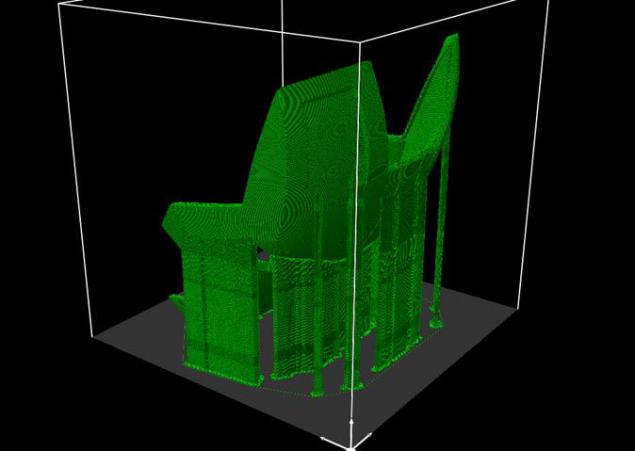
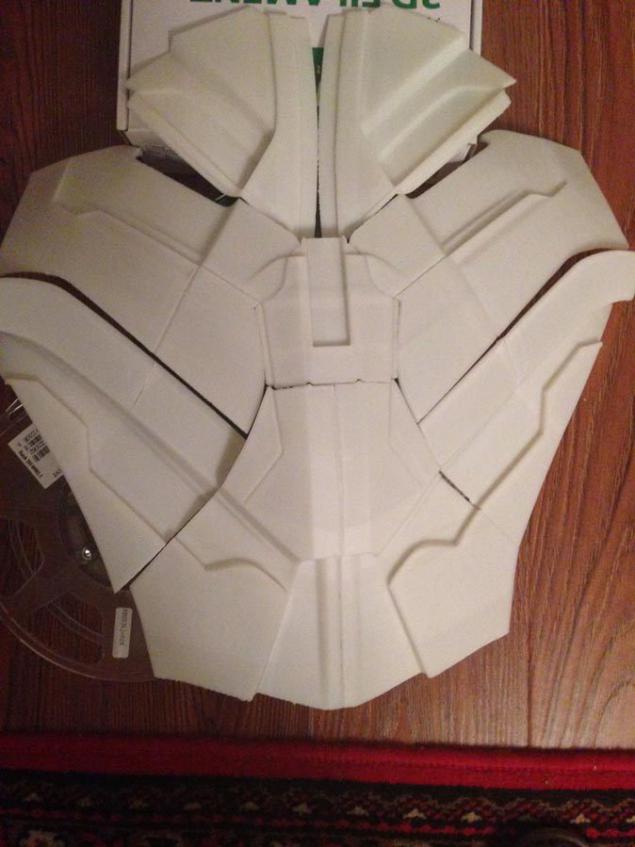
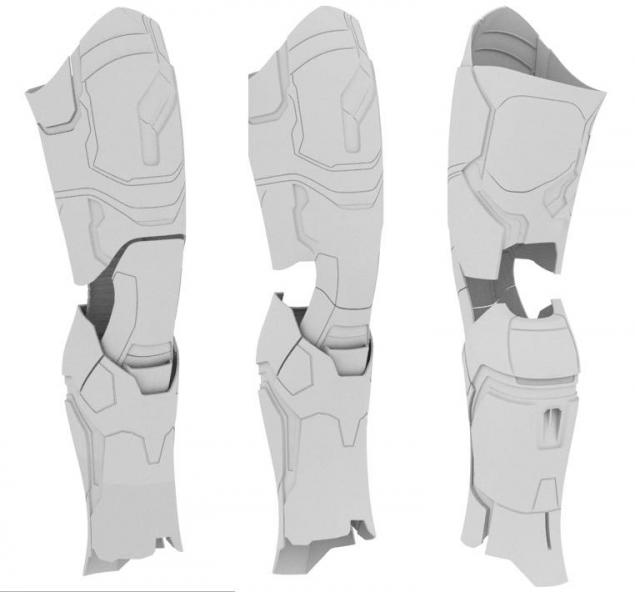
Get the exact size in 3D, it was necessary to combine them with smodelirovannymym suit.
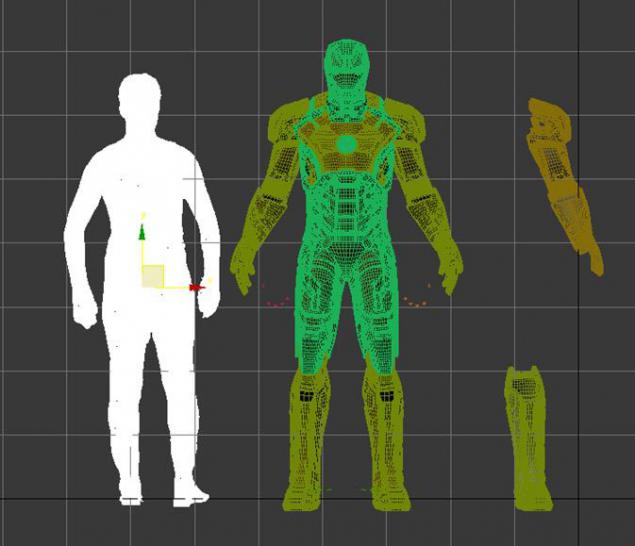
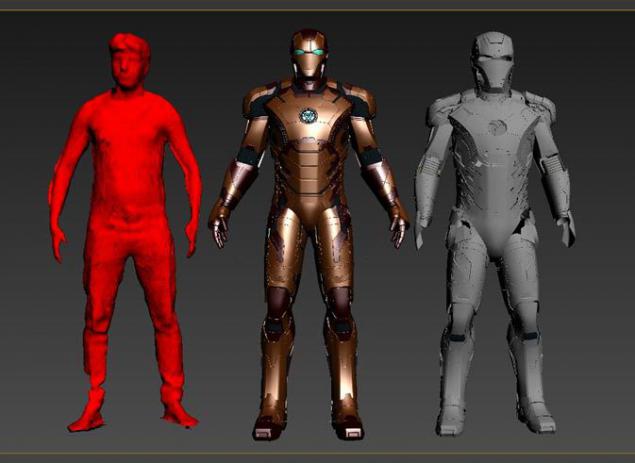
Calibrate every detail of the costume had to separate proportional resizing armor made unfit for use. As a result, he looked at me like that.
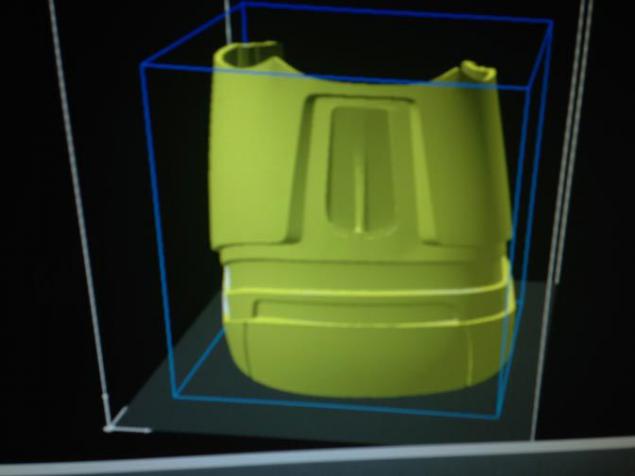
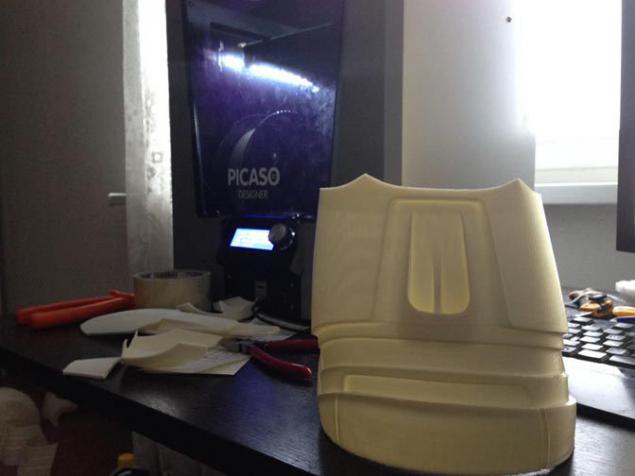
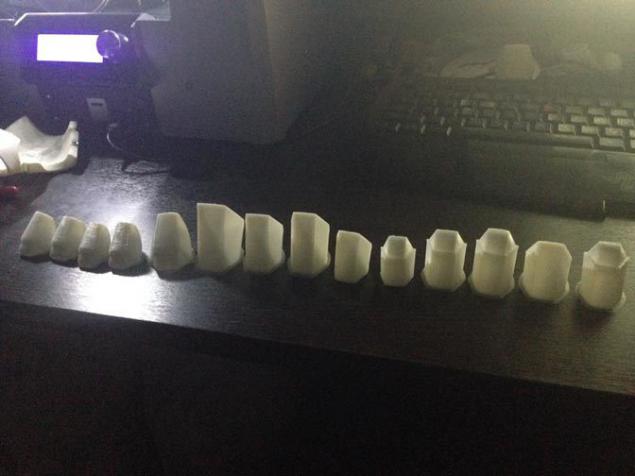
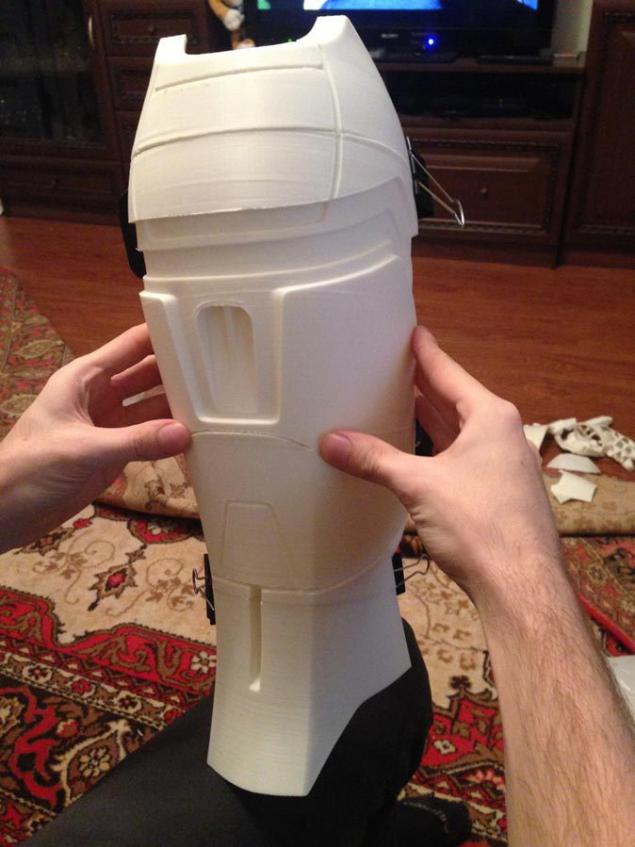
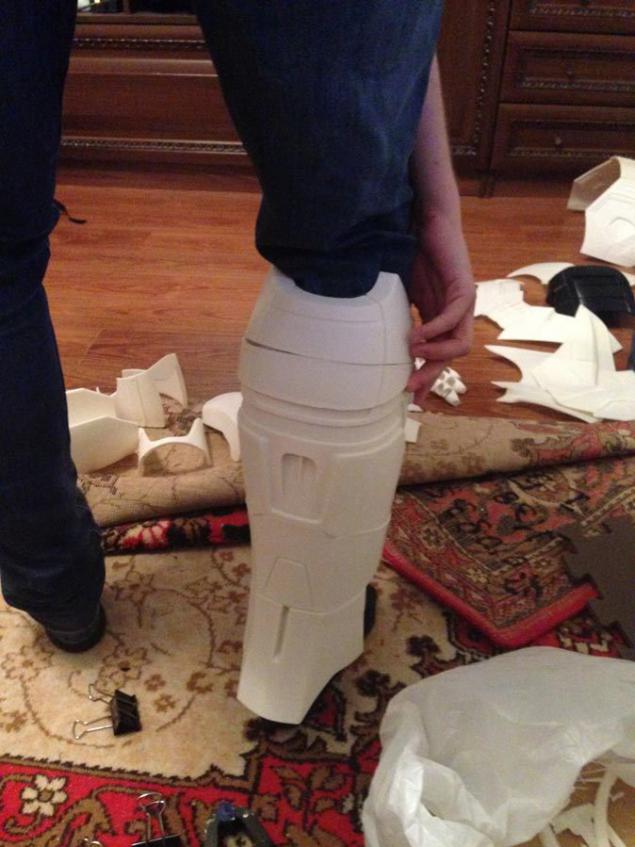
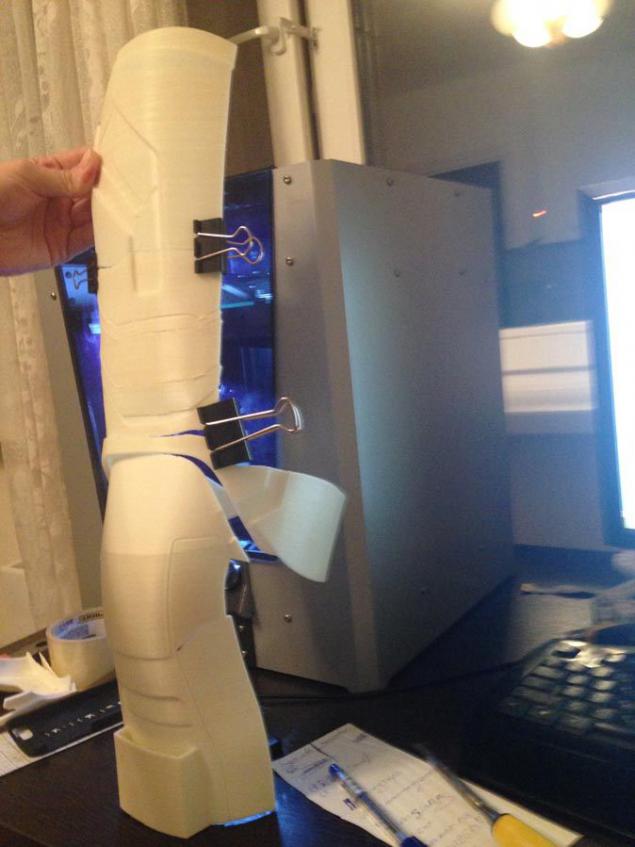
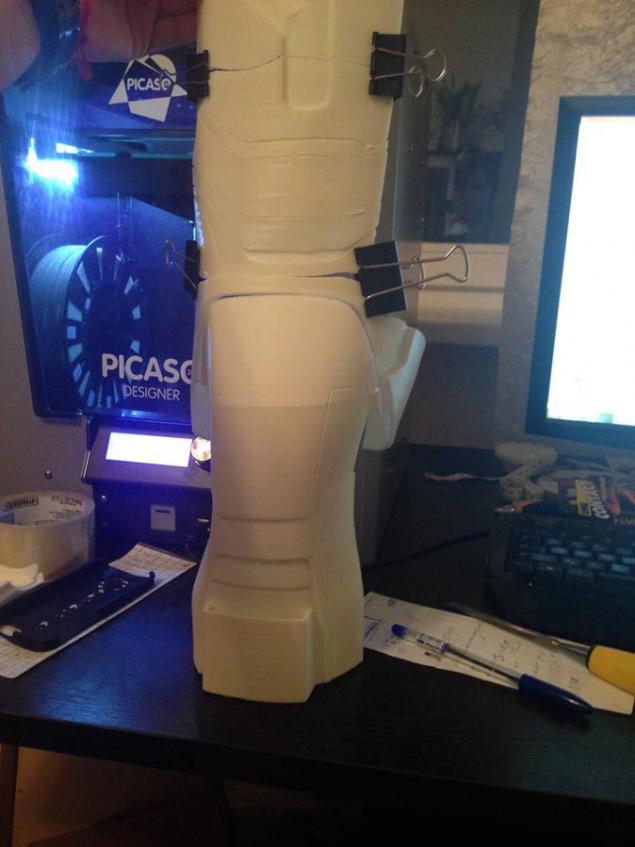
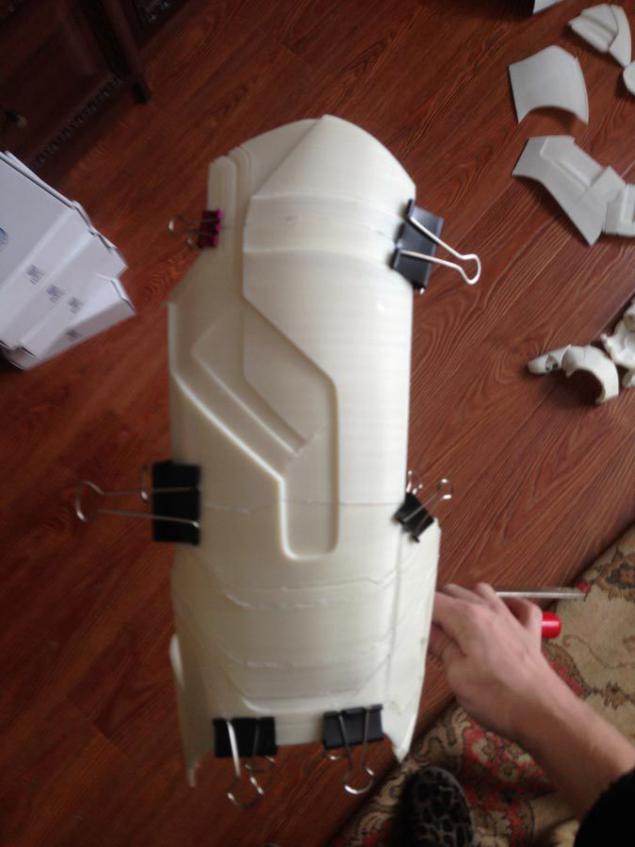
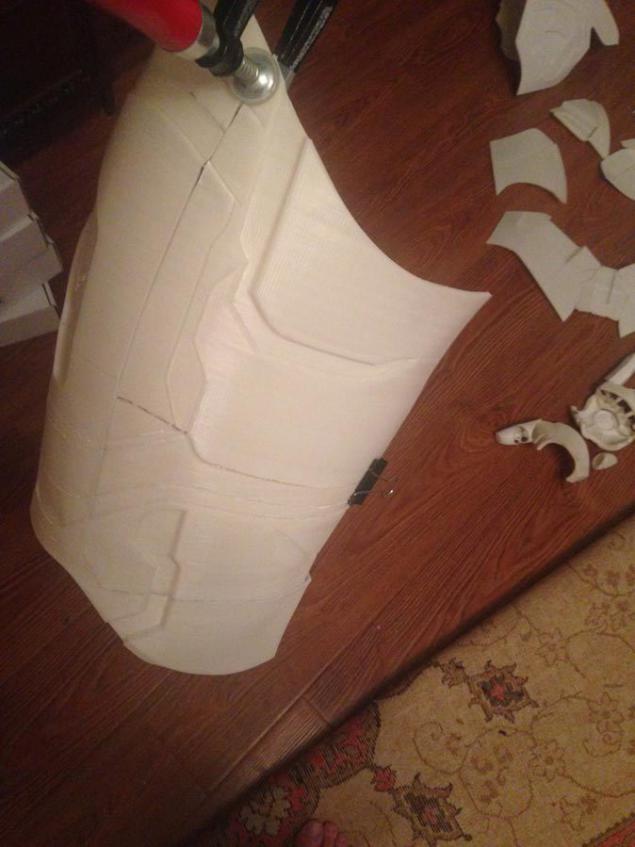
Now is the time of the press, and I am very pleased that the printer did not disappoint. Printing was done on PICASO 3D Designer using the program POLYGON FOR DESIGNER ver.1.3.
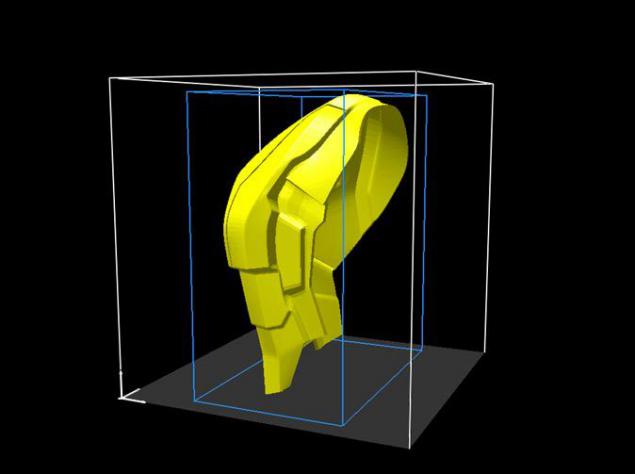
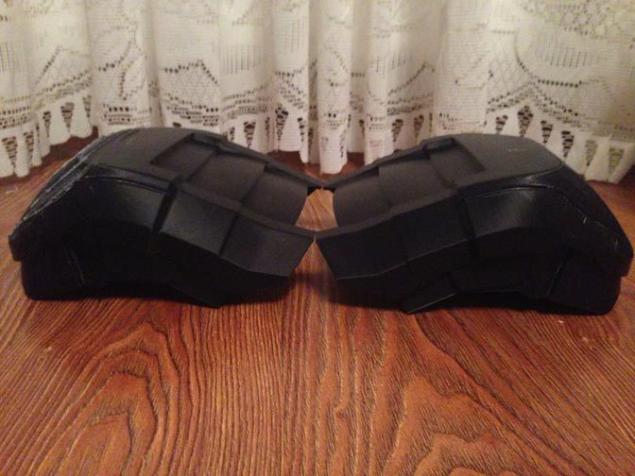
And here is how the item looks in the program and after printing:
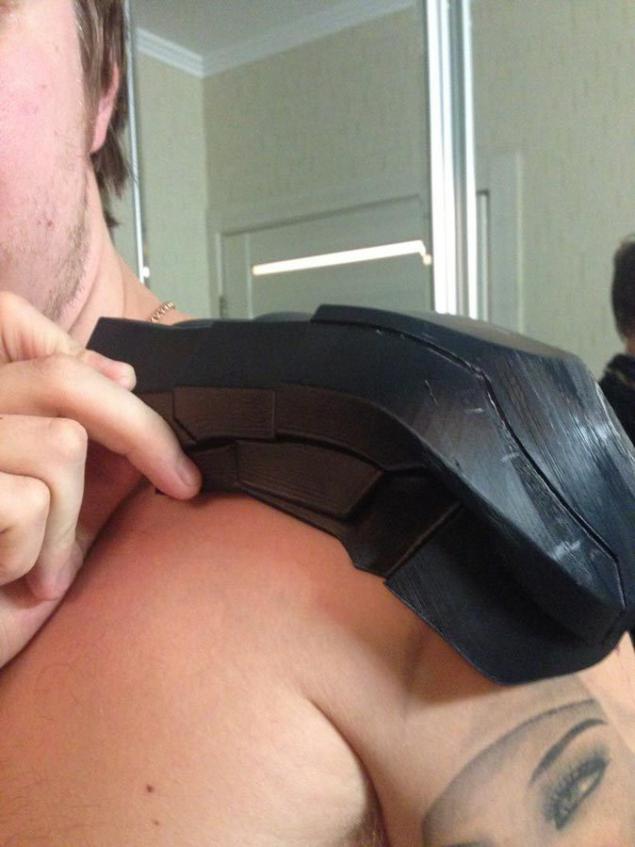
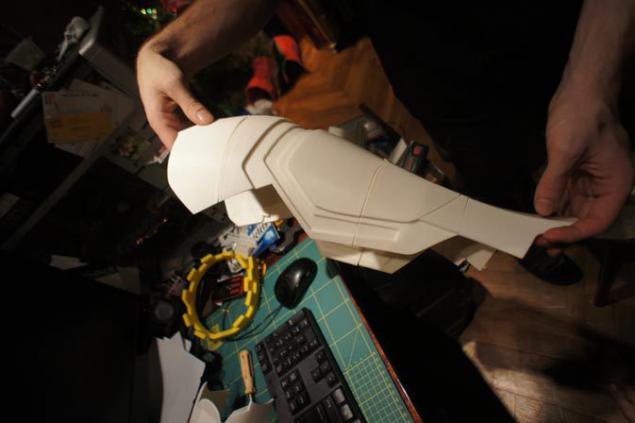
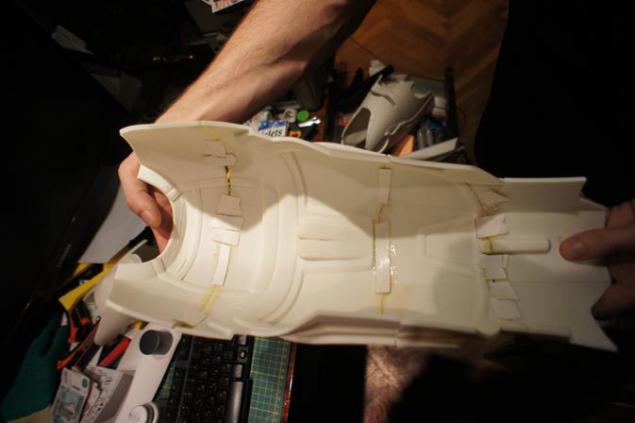
After the whole costume will be printed, I have a very long and tedious process step, painting and assembly. Of course, not as Tony Stark, but not too fast. And it will be the subject of a separate article.


At this point do not set. Because the suit continues to be created. In the end, the movie character built it not for one day. So that we have a small reserve time! ..
And yet - that's the time and material (in the sense - the material, not money) costs.
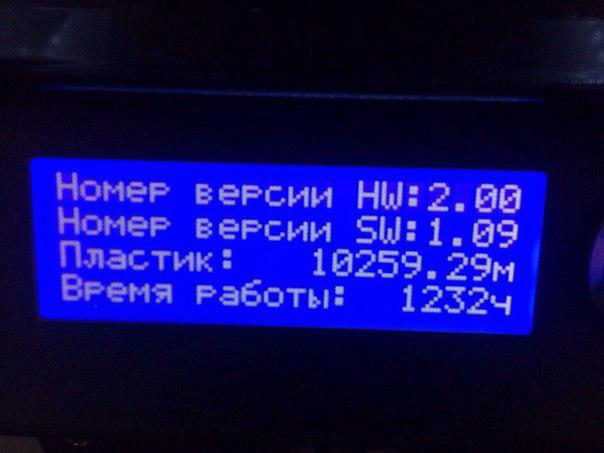
It seems that someone has a lot of free time ...
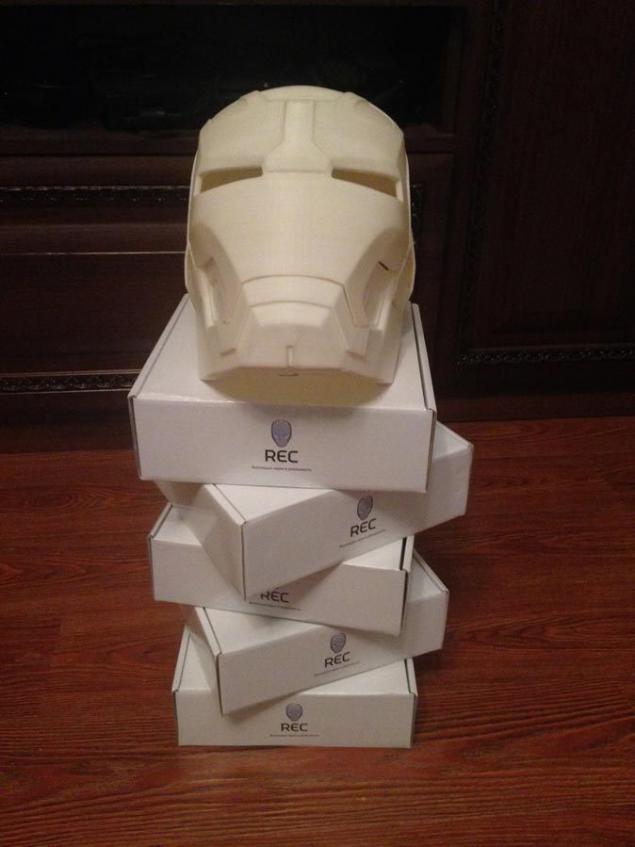
As for the amount spent plastic: not all details have been designed successfully on the first try. After the development, printing and fitting some of the details had to redo and print again. When printing complex parts have to use the support that is printed in the same ABSom, it takes quite a lot of material. This project is being implemented with the support of REC (thanks to them for natural plastic), so I can only orientate in terms of spent plastic - 30-35 coils.
Source: geektimes.ru/post/247704/


Tags
See also
"How can I, as an ordinary schoolboy, designed and built their model 3D printer"
Print tabs on the 3D printer or our Kote against the Japanese MiMi
Kubotronik - the path to a set of dice
Designer of the dice. Make cheaper than buying
Printer Review Freaks3D Kit from Elec Freaks - all to be honest
Hikaru skirt with his hands
20 sites that will help to find a new hobby
Five effects that you notice when you stop eating sugar
Five effects that You will notice when you stop eating sugar
20 things that can save your marriage