The Transfiguration of the kitchen table to the computer
 Bashny.Net
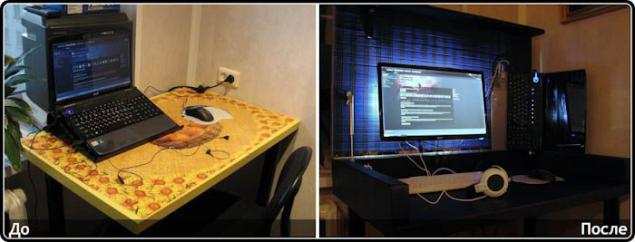
The idea of transformation of the kitchen table in the computer came during a walk on the famous Swedish store, where I saw a table with lifts the lid - space-saving, convenience and comfort all rolled into one. But to me it is not appropriate for two reasons: the price (about 7500 rubles.) And surface countertops - obviously not for the kitchen.
Initial conditions
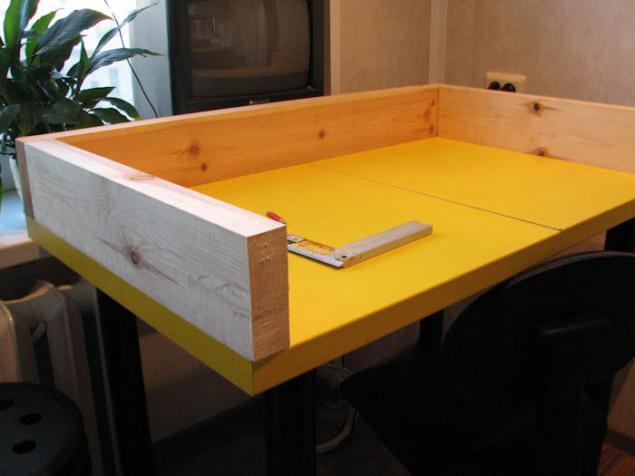
My kitchen table consisted of two trim tops, remaining after assembly kitchen, connected by two bars and raised on legs. Was the case for small - add a little bit and ennoble. Planned to perform a miracle over the weekend, but the work was delayed for a month.
Materials and tools
List of the necessary ingredients in advance, in the process making changes. That's what happened in the end.
Materials:
screed for countertops - 2x50 rubles.
worktop 1m - 720 rubles.
cant 2500h95h45 - 180 rubles.
2000h95h20 board - 100 rubles.
Piano hinges 120cm - 210 rubles.
gas spring 100N - 2h130 rubles.
Metal plate 500h80 - 2h85 rubles.
leatherette 2m - 150 rubles.
LED strip 1m - 250 rubles.
Transformer - 215 rubles.
switch - 60 rubles.
bracket for monitor - 220 rubles
dowel 5h16 1 pack. - 60 rubles.
bolts 5x20 6 pcs. - 30 rubles.
Bamboo fabric (width 1, 2 m) 0, 6 m - 270 rubles.
contact adhesive ("Moment" universal) - 60 rubles.
screws
Extras:
HDMI cable 1m - 200 rubles.
corner swivel adapter DVI-HDMI - 600 rubles.
Tools:
screwdriver
jigsaw
Stapler Furniture
pliers
screwdriver
Knife building
scissors
awl
drill bits for wood
LBM (Bulgarian)
hammer
Roulette
Pencil
sandpaper
iron
Work
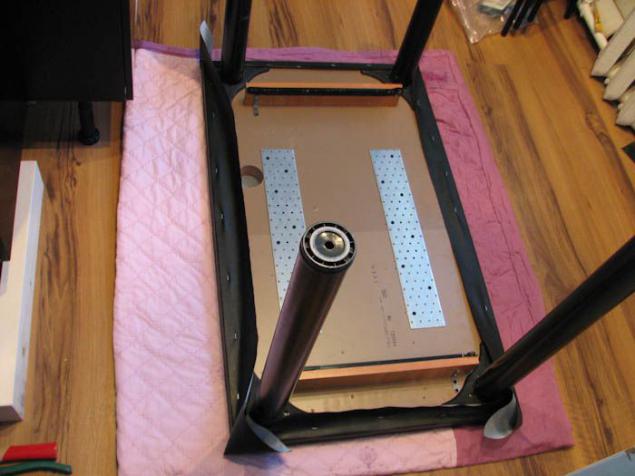
1. Pre-cut. First was bought timber 3000h120h45, height 12 cm is well seen, but I did not realize his mistake. Then it will be clear why. The photo is noticeable gap between the halves of the table top.
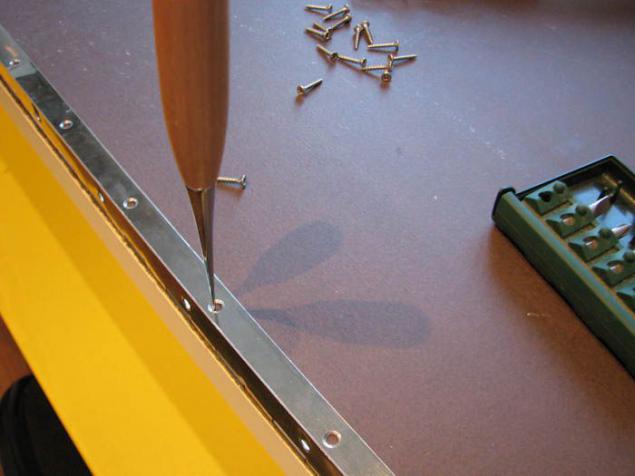
2. basting mounting holes piano hinges. Step is not necessary, but greatly facilitate the work.
3. Fixing piano hinges.

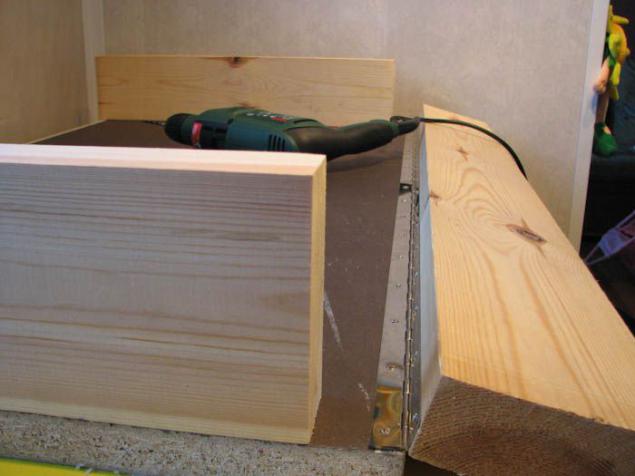
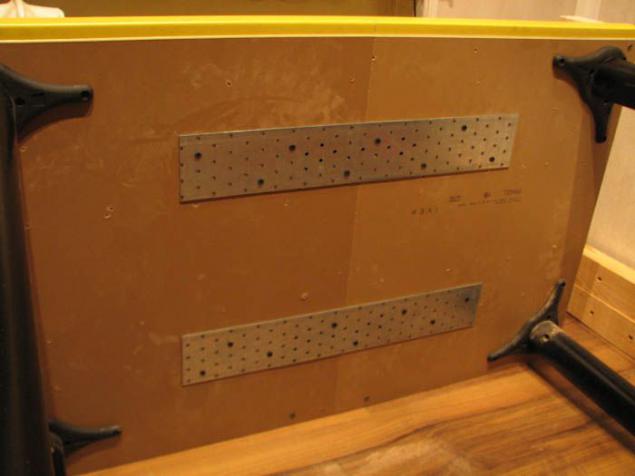
4. Pre-assembly. The bars are bolted to the table top to the bottom screws 100mm.

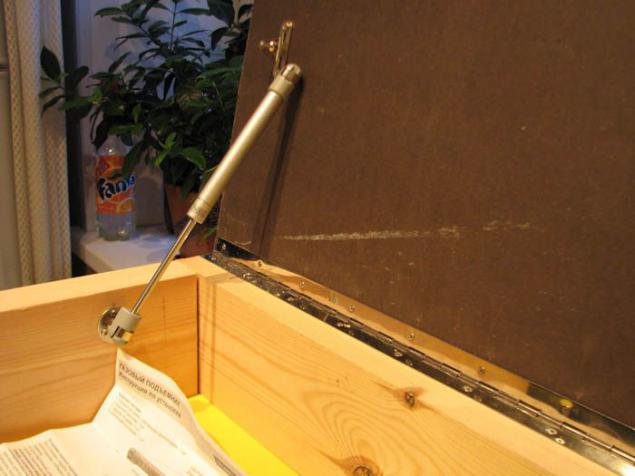
5. Mounting of gas springs. They had some trouble to find the right angle at which the table top can be closed without resorting to the stock springs.
6. To monitor bracket were selected here such dowels and bolts.

7. Mount bracket.
8. Mounting the Monitor.
9. Output.

At this stage, it became clear that the surface of the table rose to impermissible 14 cm and sit behind him was uncomfortable even for me (an increase of 183 cm), not to mention the children. The decision to cut off the legs of the table for a long time is ripe, but not 14 (!) As centimeters, because there is another problem - knees will rest on the bottom of the table.
On what save cherished centimeters:
change on timber beams 3000h120h45 2500h95h45 - minus 2, 5 cm
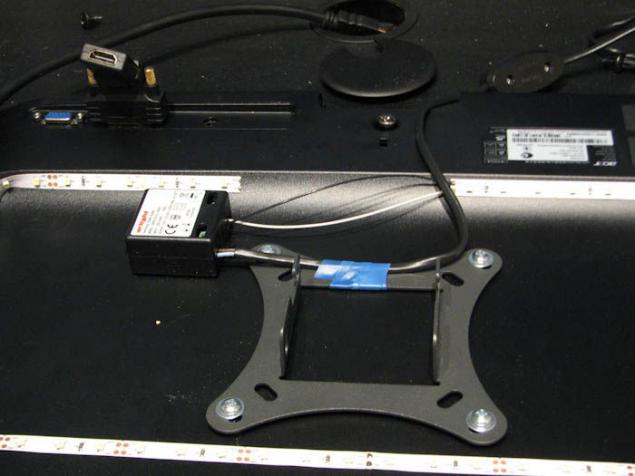
change the bracket is indented from the wall 68 mm bracket is indented 32 mm
remove the bars supporting the bottom half of the table top - minus 4, 5 cm
The result - table legs cut off by 8 cm.
10. Screed and strengthening countertops.
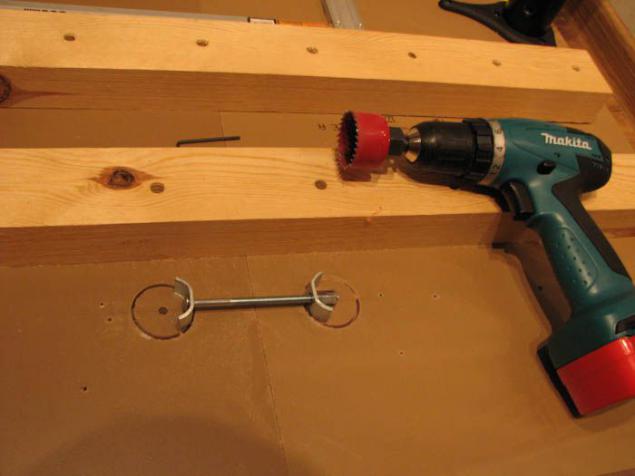
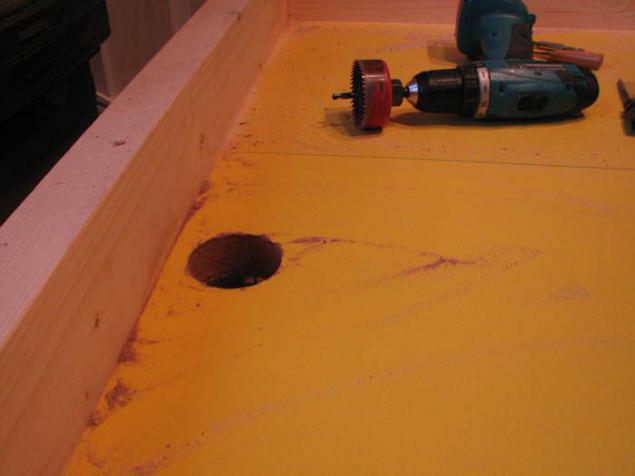
11. Hole computer plug.
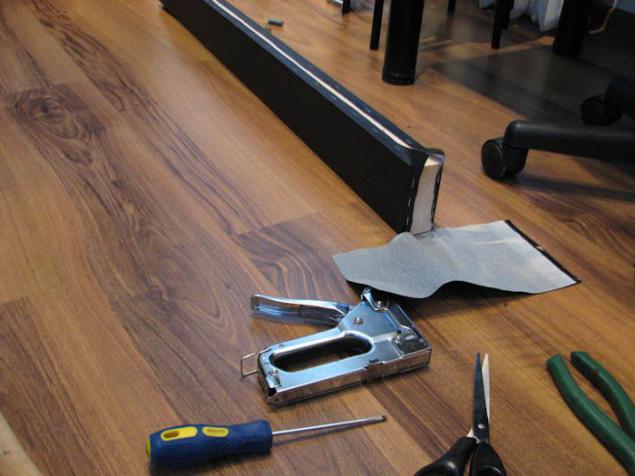
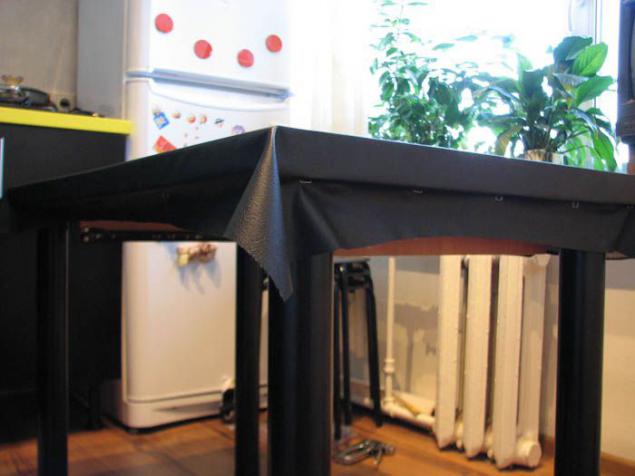
12. cording kozhzamom.
In the photo below you can see Mount for pull-out shelves, which planned to put the laptop. It's sad, but I had to get rid of it, because it interfered with his knees.
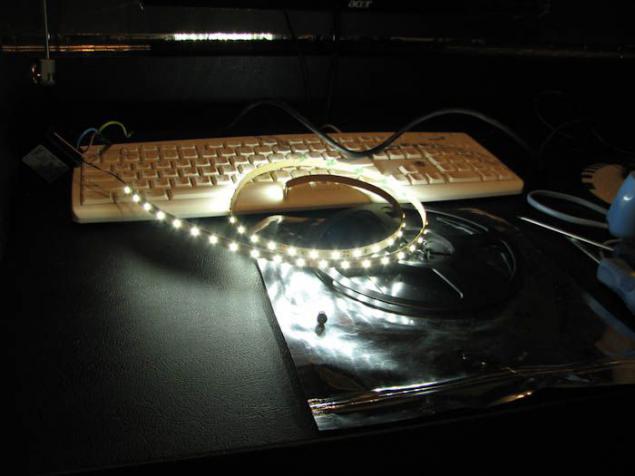
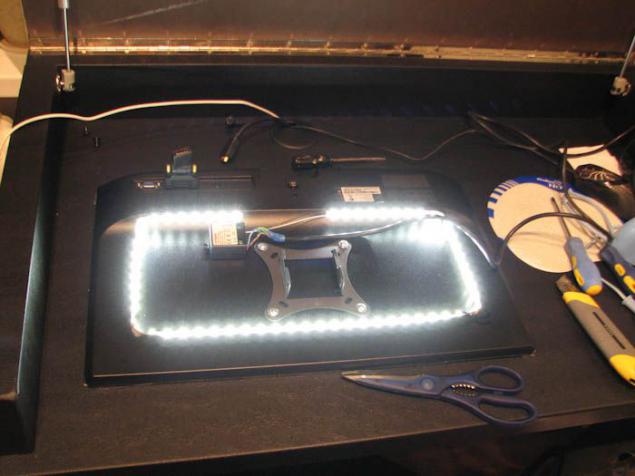
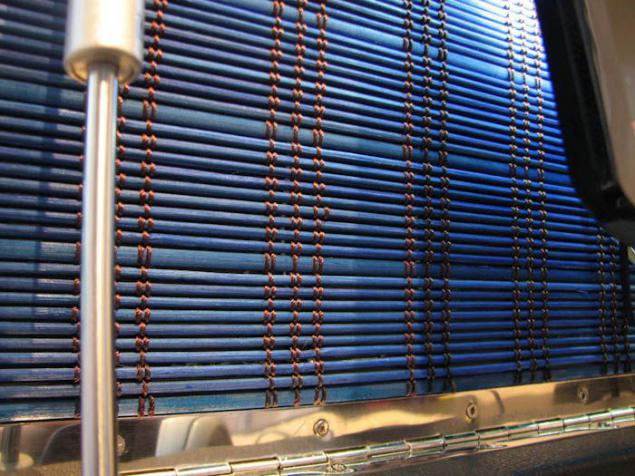
13. The backlight of the monitor. Here everything is simple - the film transformer outlet.
... And here is the duct tape ...
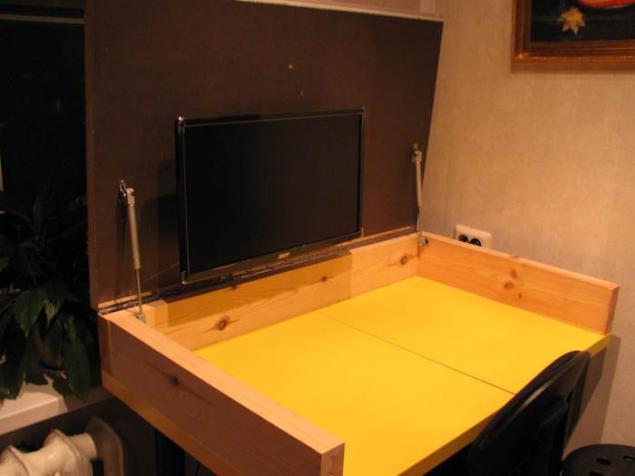
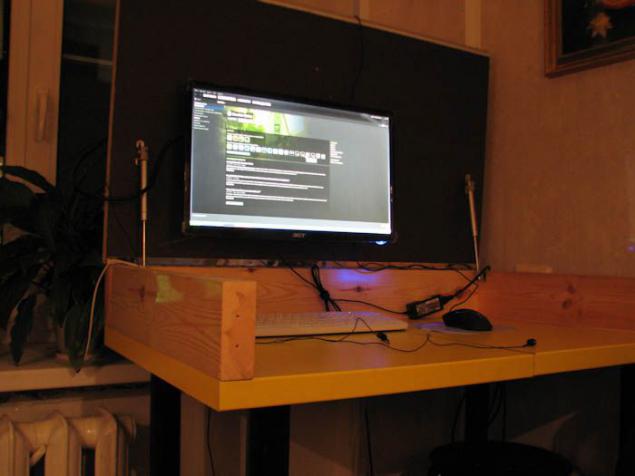
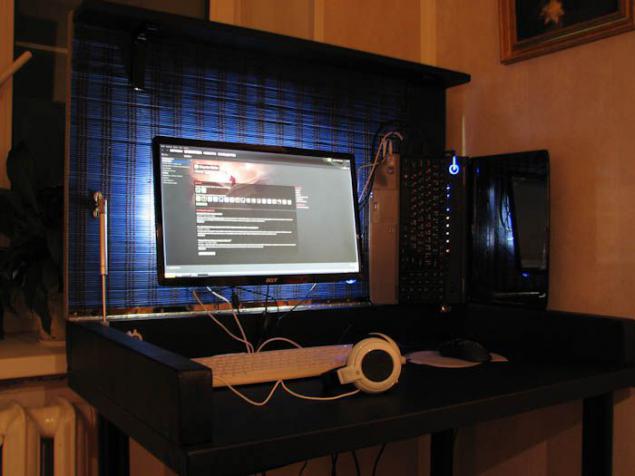
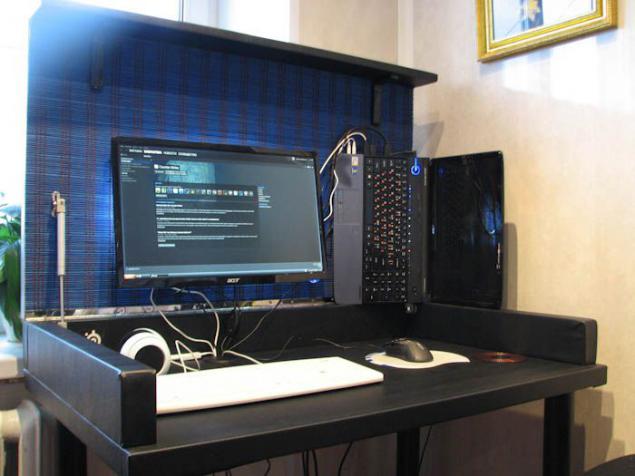
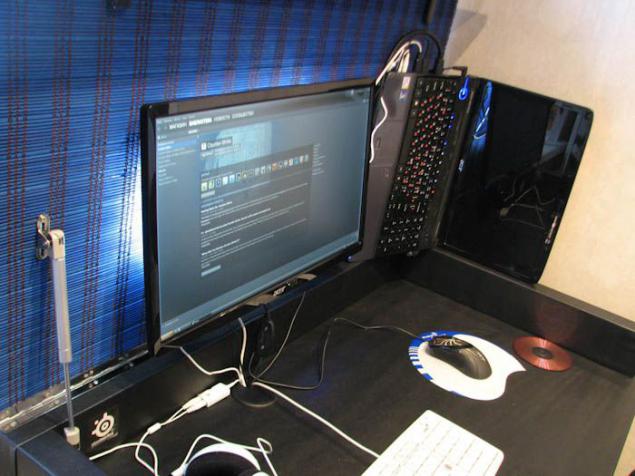
14. The final result. Evening lighting.
I apologize for the fact that there is no photo with bamboo cloth. It is glued to the usual universal glue "Moment».
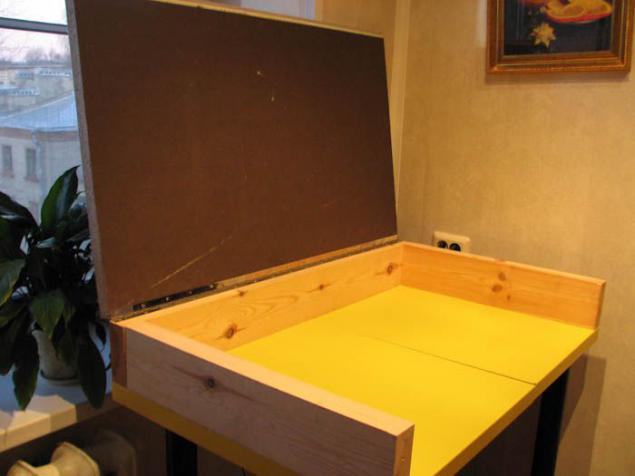
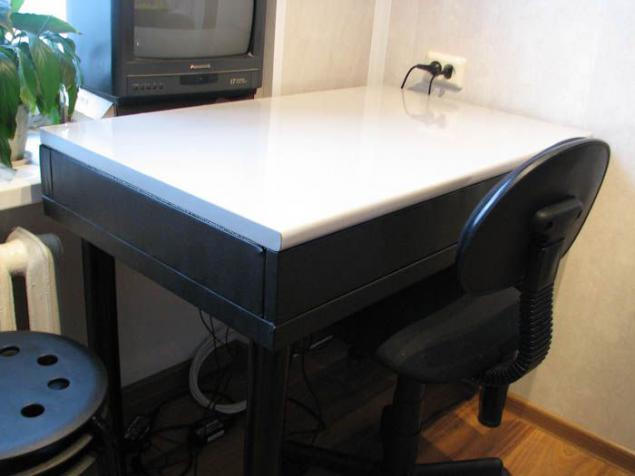
This is how the table looks in the closed position.
Well, a few more photos.
After working laptop folded and placed on the table.
Small explanation
All wires are stuck in the 220 extension, bolted from the bottom of the table.
Much time was spent searching for materials, which is why the work took almost a month.
Not enough pictures of some stages of the work, I ask forgiveness for it - was fond of the process and forgot to photograph the assembly process.
Angled HDMI adapter needed because of the peculiar structure of the monitor, the outputs of which are arranged perpendicular to the screen. The adapter allows you to put the HDMI cable along the monitor and reduce the distance between the back of the monitor and counter tops.
The monitor was presented for his birthday and the total cost is not included.
Summing up
The cost of acquisition amounted to about 3,500 rubles. Received a lot of fun to work hands, not his head. And, of course, is now a cozy computer desk.
PS. I am pleased to hear your suggestions, which remove the laptop.
UPD. There are many questions, whether it is convenient to sit at the table. Here are the figures: 65 cm - distance from the floor to the bottom of the table top, 81 cm - distance from the floor to the highest point. With my height is 183 cm enough space to throw a leg over the other.
UPD2. Laptop rid of - under the windowsill on a shelf attached to the wall, put the system unit. Now we can only open the lid and working / gaming place ready.
Tags
See also
Old new things: 5 reasons to write what others throw
Change the interior to fall — simple tips
Printer that hangs on the wall
Air hockey - DIY (46 pics + 1 video)
Working in an office
How to kill the wall sibya